If you’re looking forward to spring as much as I am, you’ll love these tender, fluffy Blueberry Cornmeal Tea Cakes. They taste like soft, sweet cornbread with the added freshness of juicy blueberries. The Honey Butter Icing adds the perfect, sweet finish. Who doesn’t love cornbread slathered with honey and butter? It’s a match made in heaven and it works so well on these delightful tea cakes.
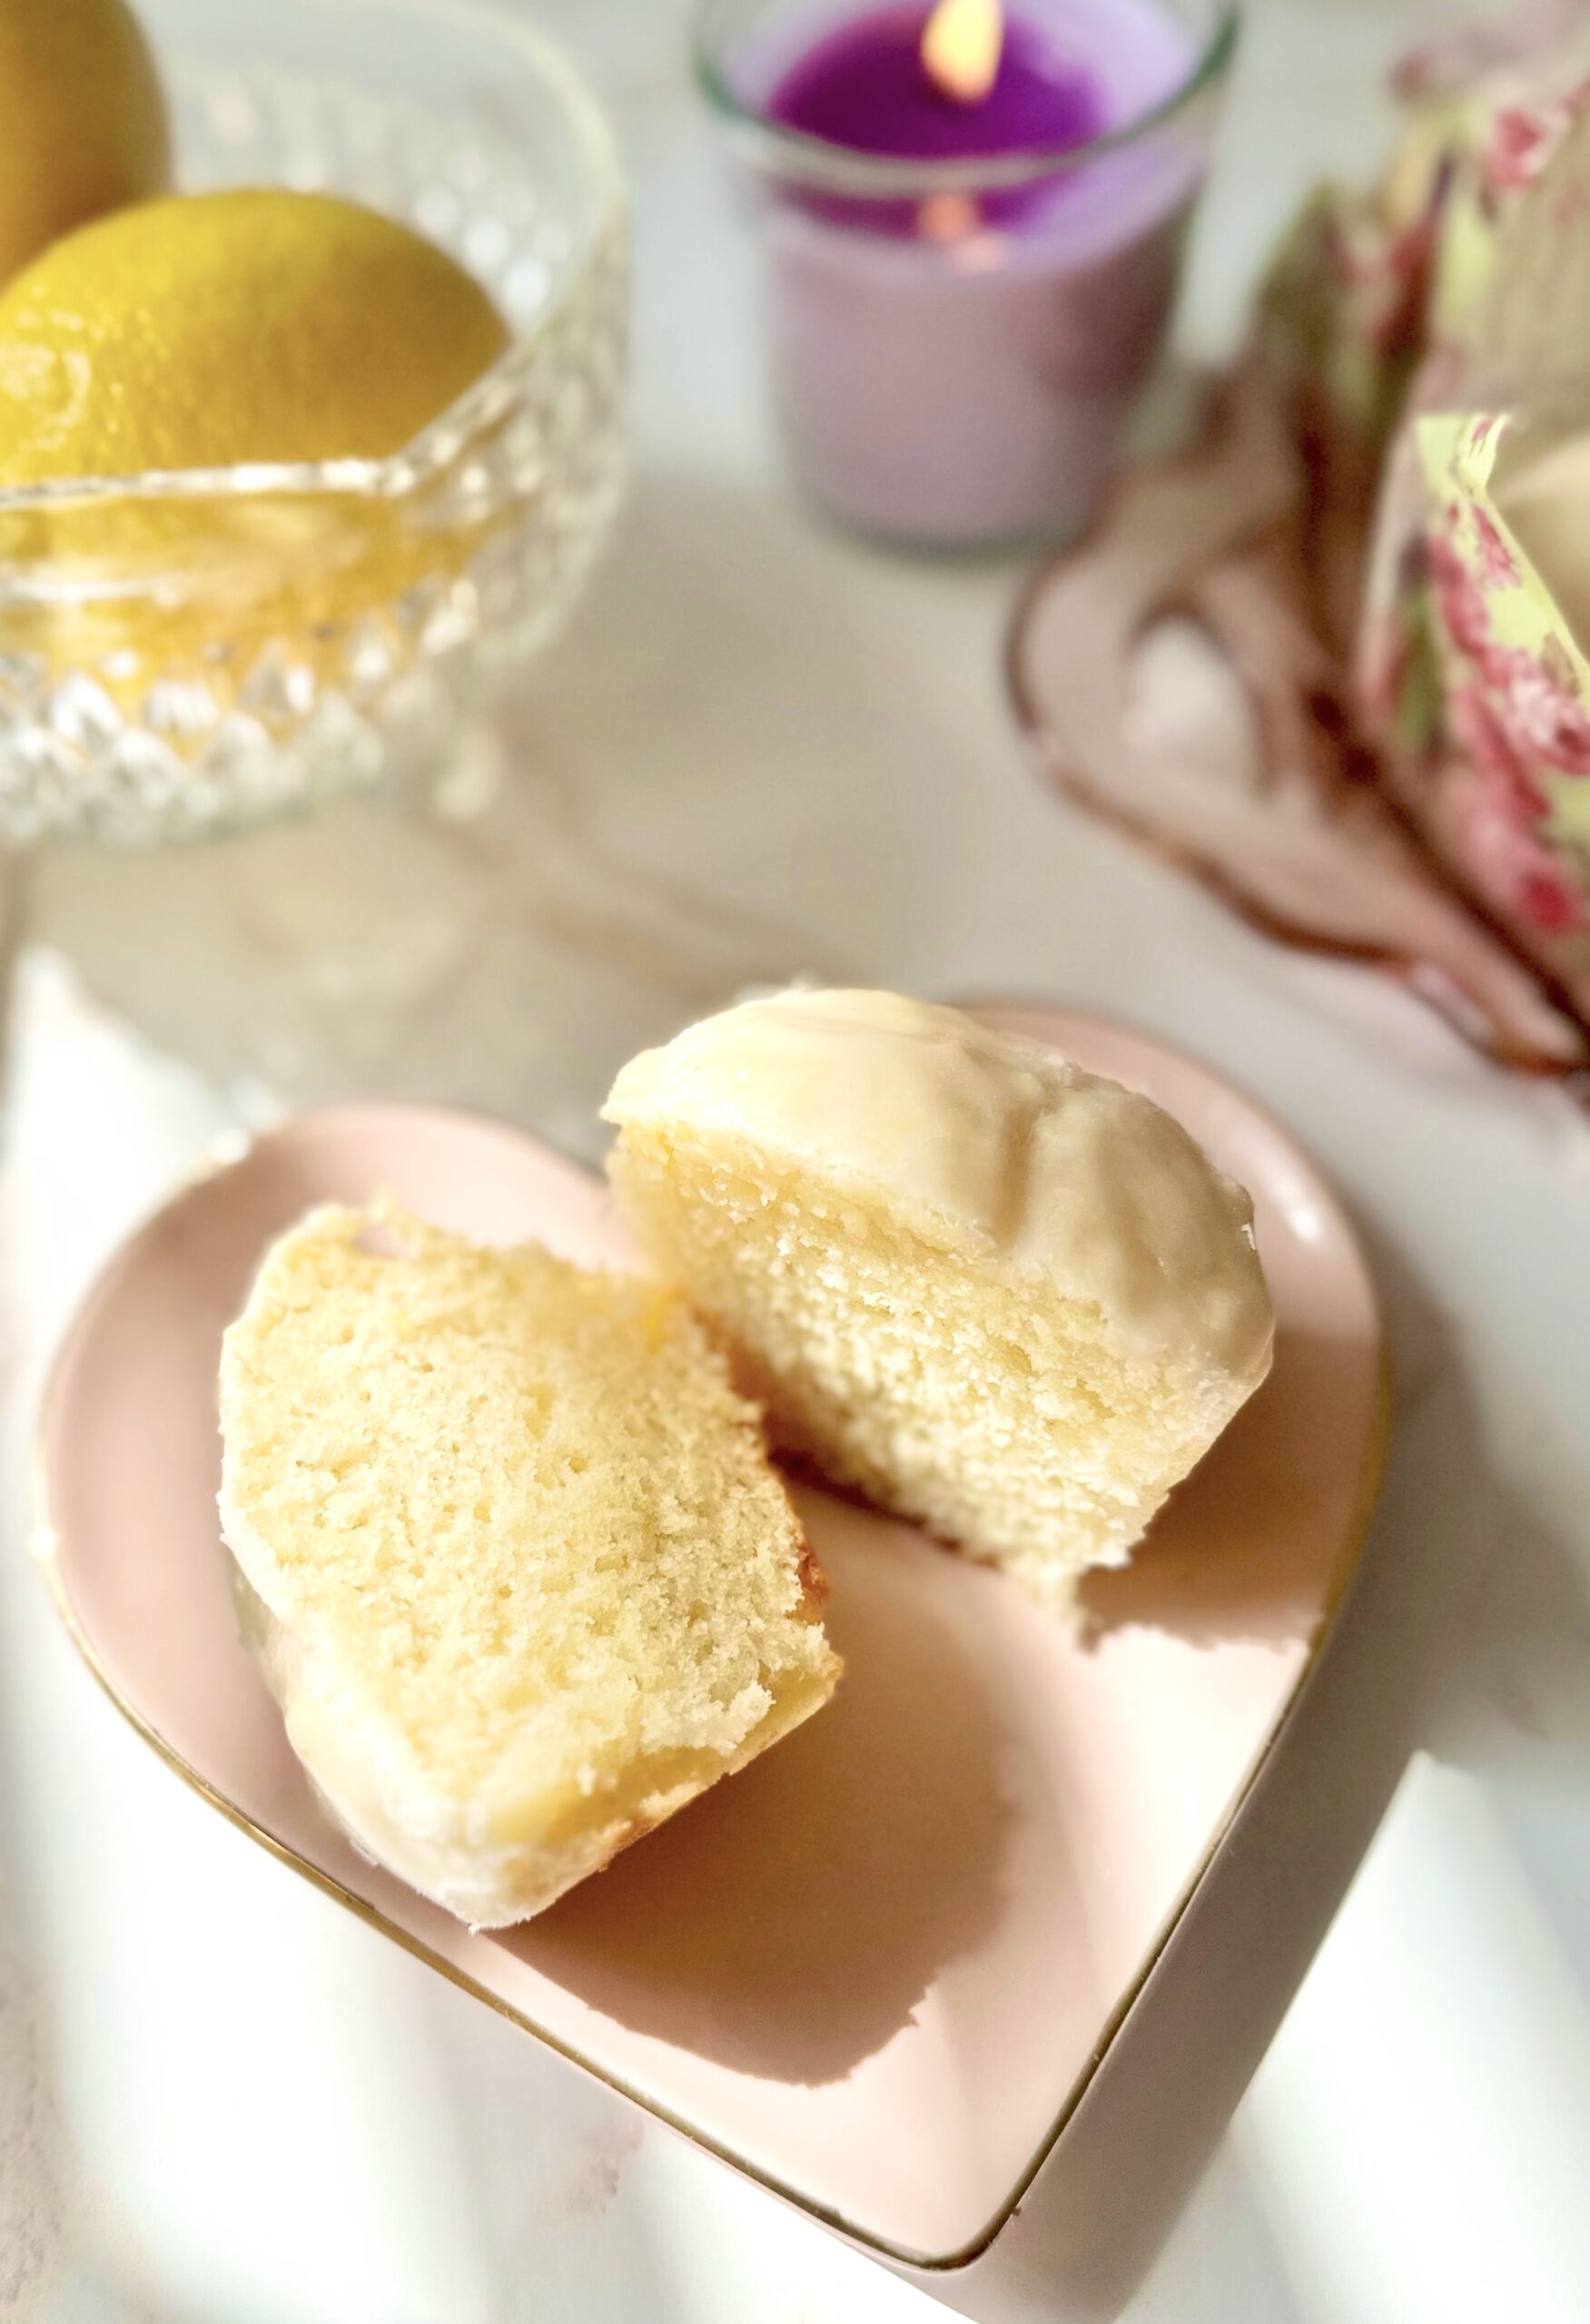
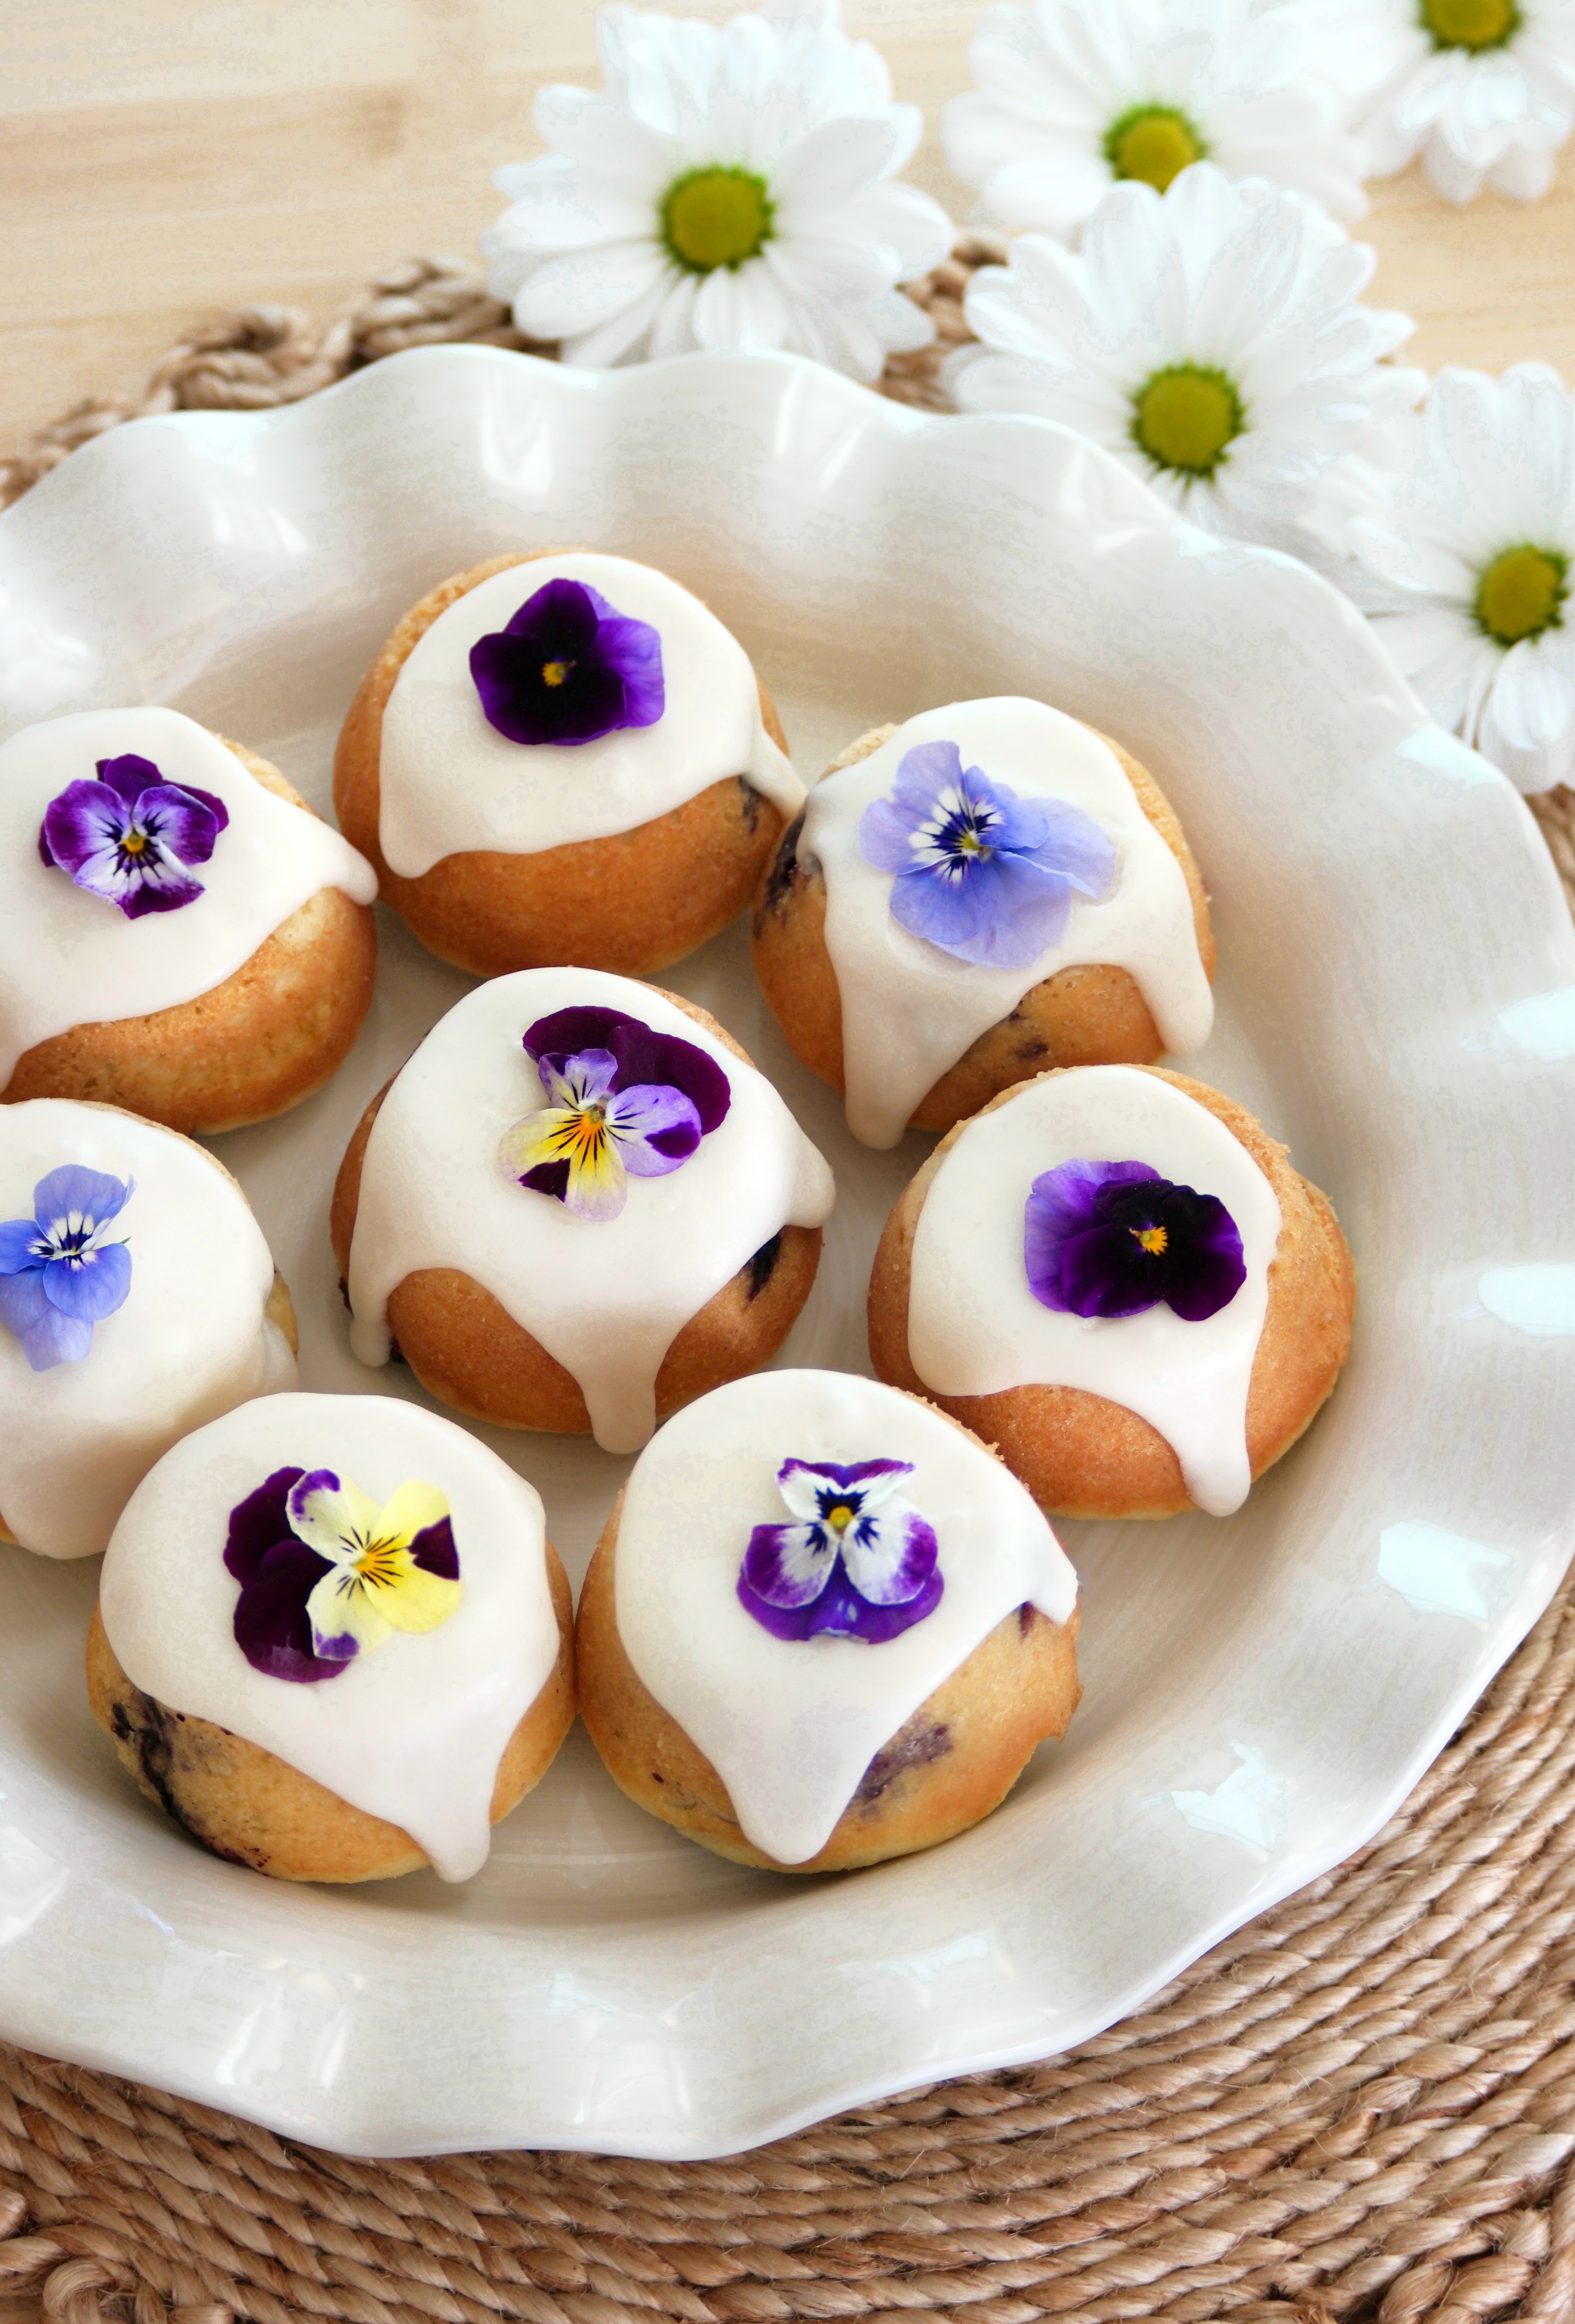
I placed them upside down because they look more pretty and elegant that way. I added some fresh, pesticide free violas to the tops. They would also be cute decorated with fresh blueberries or chamomile flowers.
This versatile recipe can also be made into muffins by filling the muffin pan cups 2/3 full instead of 1/2 full. The baking time may be a little longer. Place the muffins right side up on the cooling rack.
To see the inside of the tea cakes, watch the TikTok video. Click here.
Blueberry Cornmeal Tea Cakes with Honey Butter Icing
Ingredients
Blueberry Cornmeal Tea Cakes
- 1 ¼ cups (159g) all purpose flour, sifted
- ½ cup plus 2 1/2 tablespoons (130g) granulated sugar
- ¼ cup (36g) cornmeal
- 2 teaspoons baking powder
- ½ teaspoon fine sea salt
- 2 large eggs
- ¾ cup (170g) sour cream
- ¼ cup (57ml) vegetable oil or neutral oil of your choice
- 2 tablespoons (28g) unsalted butter, melted
- ¾ teaspoon pure vanilla extract
- Zest of 1 small lemon
- 1 cup (170g) blueberries
Honey Butter Icing
- 1 cup (120g) powdered sugar, sifted
- 2 tablespoons (28g) unsalted butter, melted
- 1 tablespoon honey
- Pinch fine sea salt
- 1-2 tablespoons whole milk or half and half
Instructions
Blueberry Cornmeal Tea Cakes
- Preheat the oven to 350ºF (180ºC). Grease and flour a 12-serving muffin pan*.
- In a large bowl, whisk together the flour, sugar, cornmeal, baking powder and salt.
- In a medium bowl, whisk together the eggs, sour cream, oil, butter, vanilla and lemon zest until smooth.
- Stir the wet ingredients into the dry ingredients until combined. Don't over mix. A few lumps are okay. Fold in the blueberries.
- Fill the muffin cups half full. Bake until the tops of the cakes are light golden, the tops are springy and a toothpick inserted into the center of the cakes comes out clean, about 14-16 minutes.
- Cool the cakes in the pan for 5 minutes, then remove them from the pan and place them upside down on a cooling rack. Top the cooled cakes with Honey Butter Icing.
Honey Butter Icing
- In a medium bowl, whisk together the powdered sugar, butter, honey, salt and 1 tablespoon of milk. Add additional milk as needed to achieve your desired consistency. Whisk until smooth.