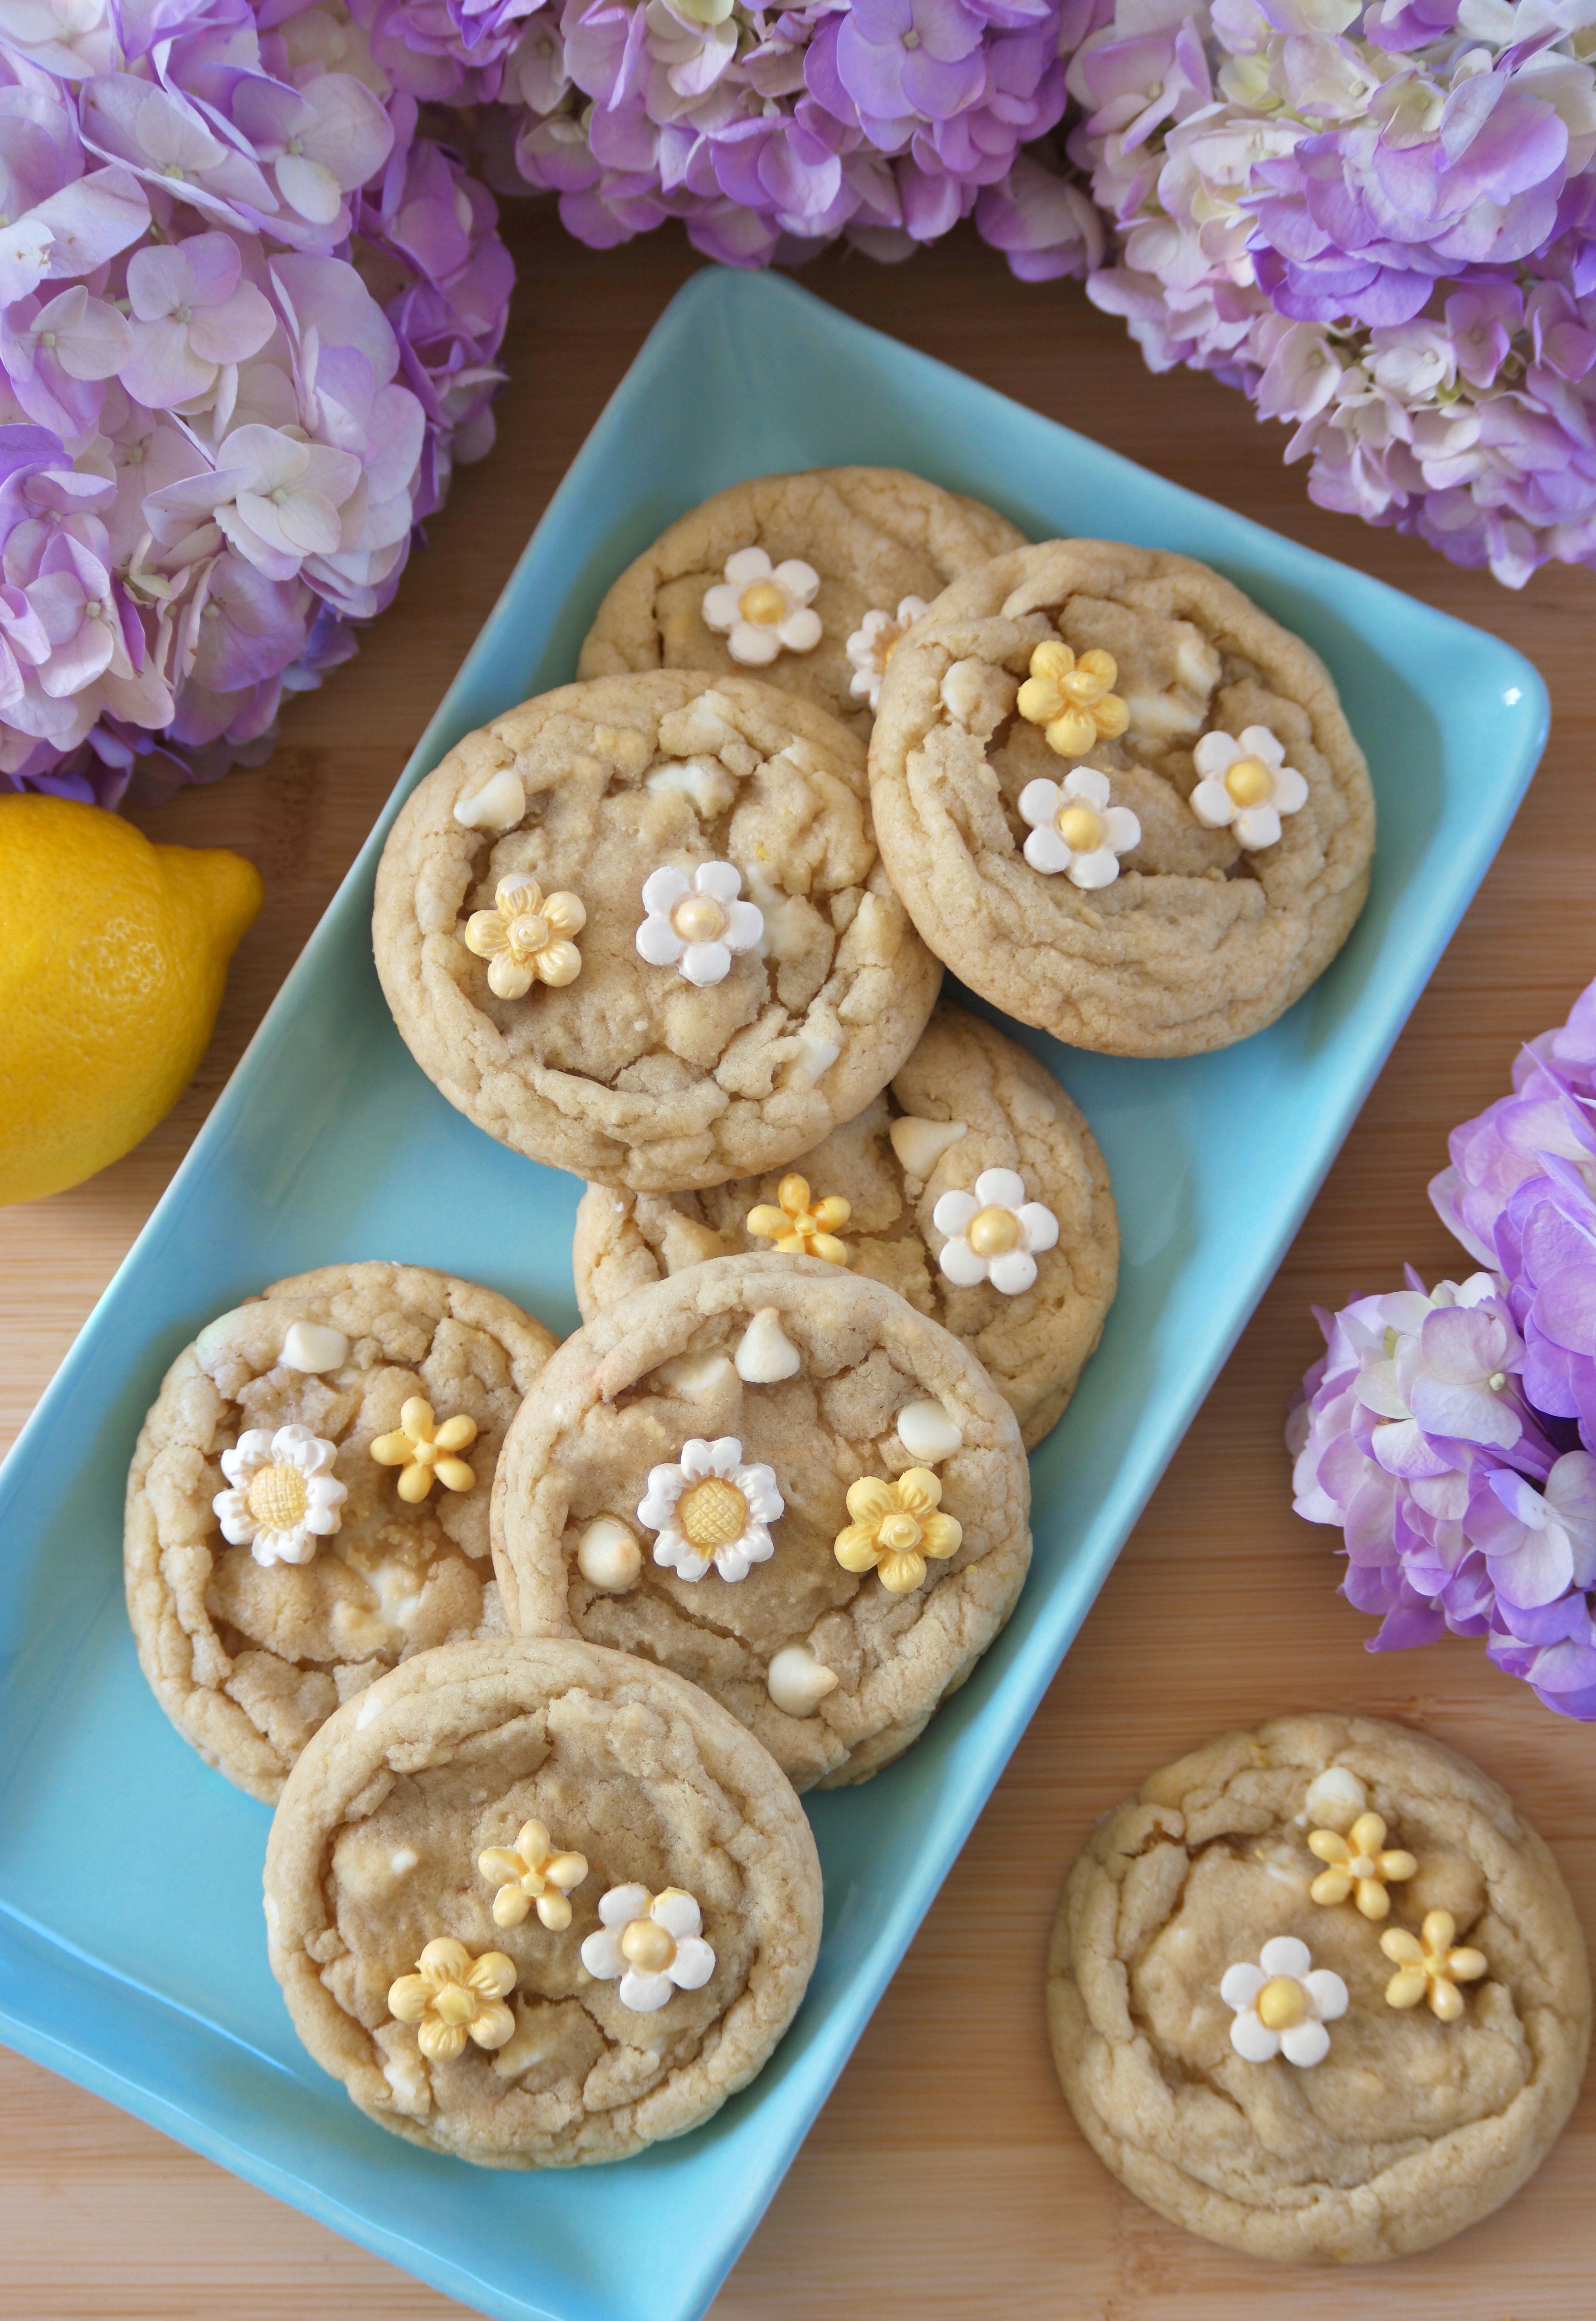
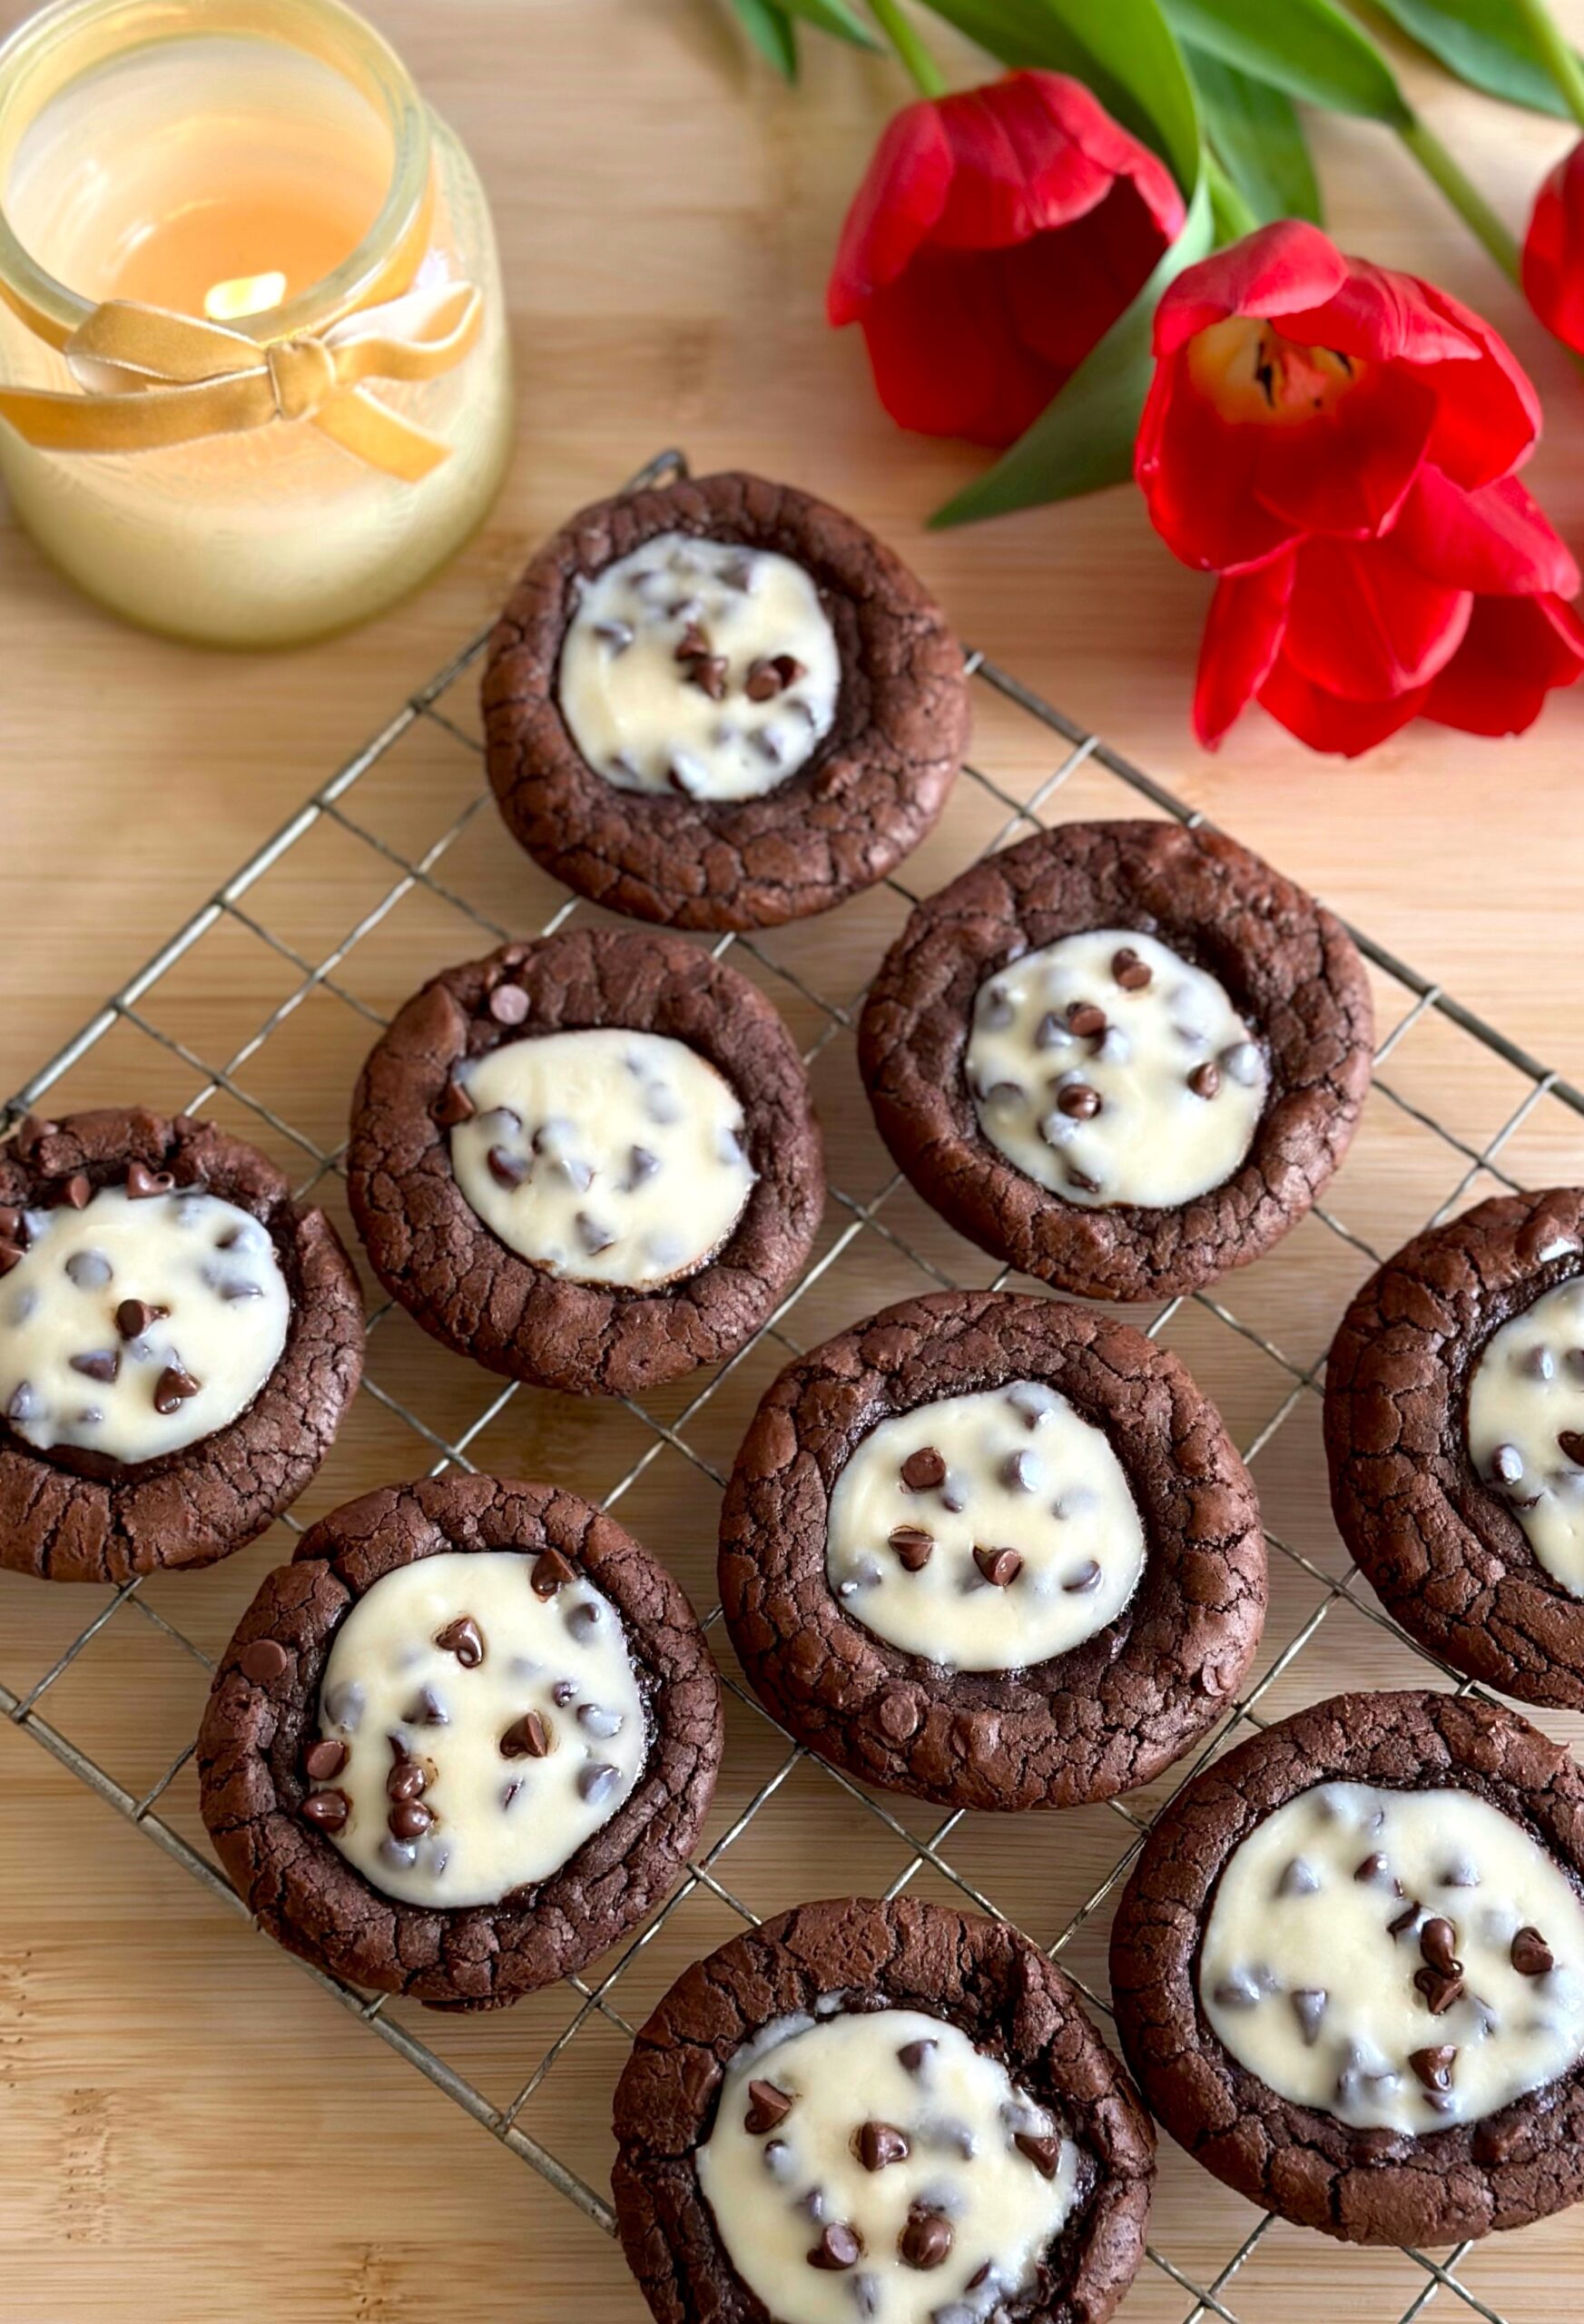
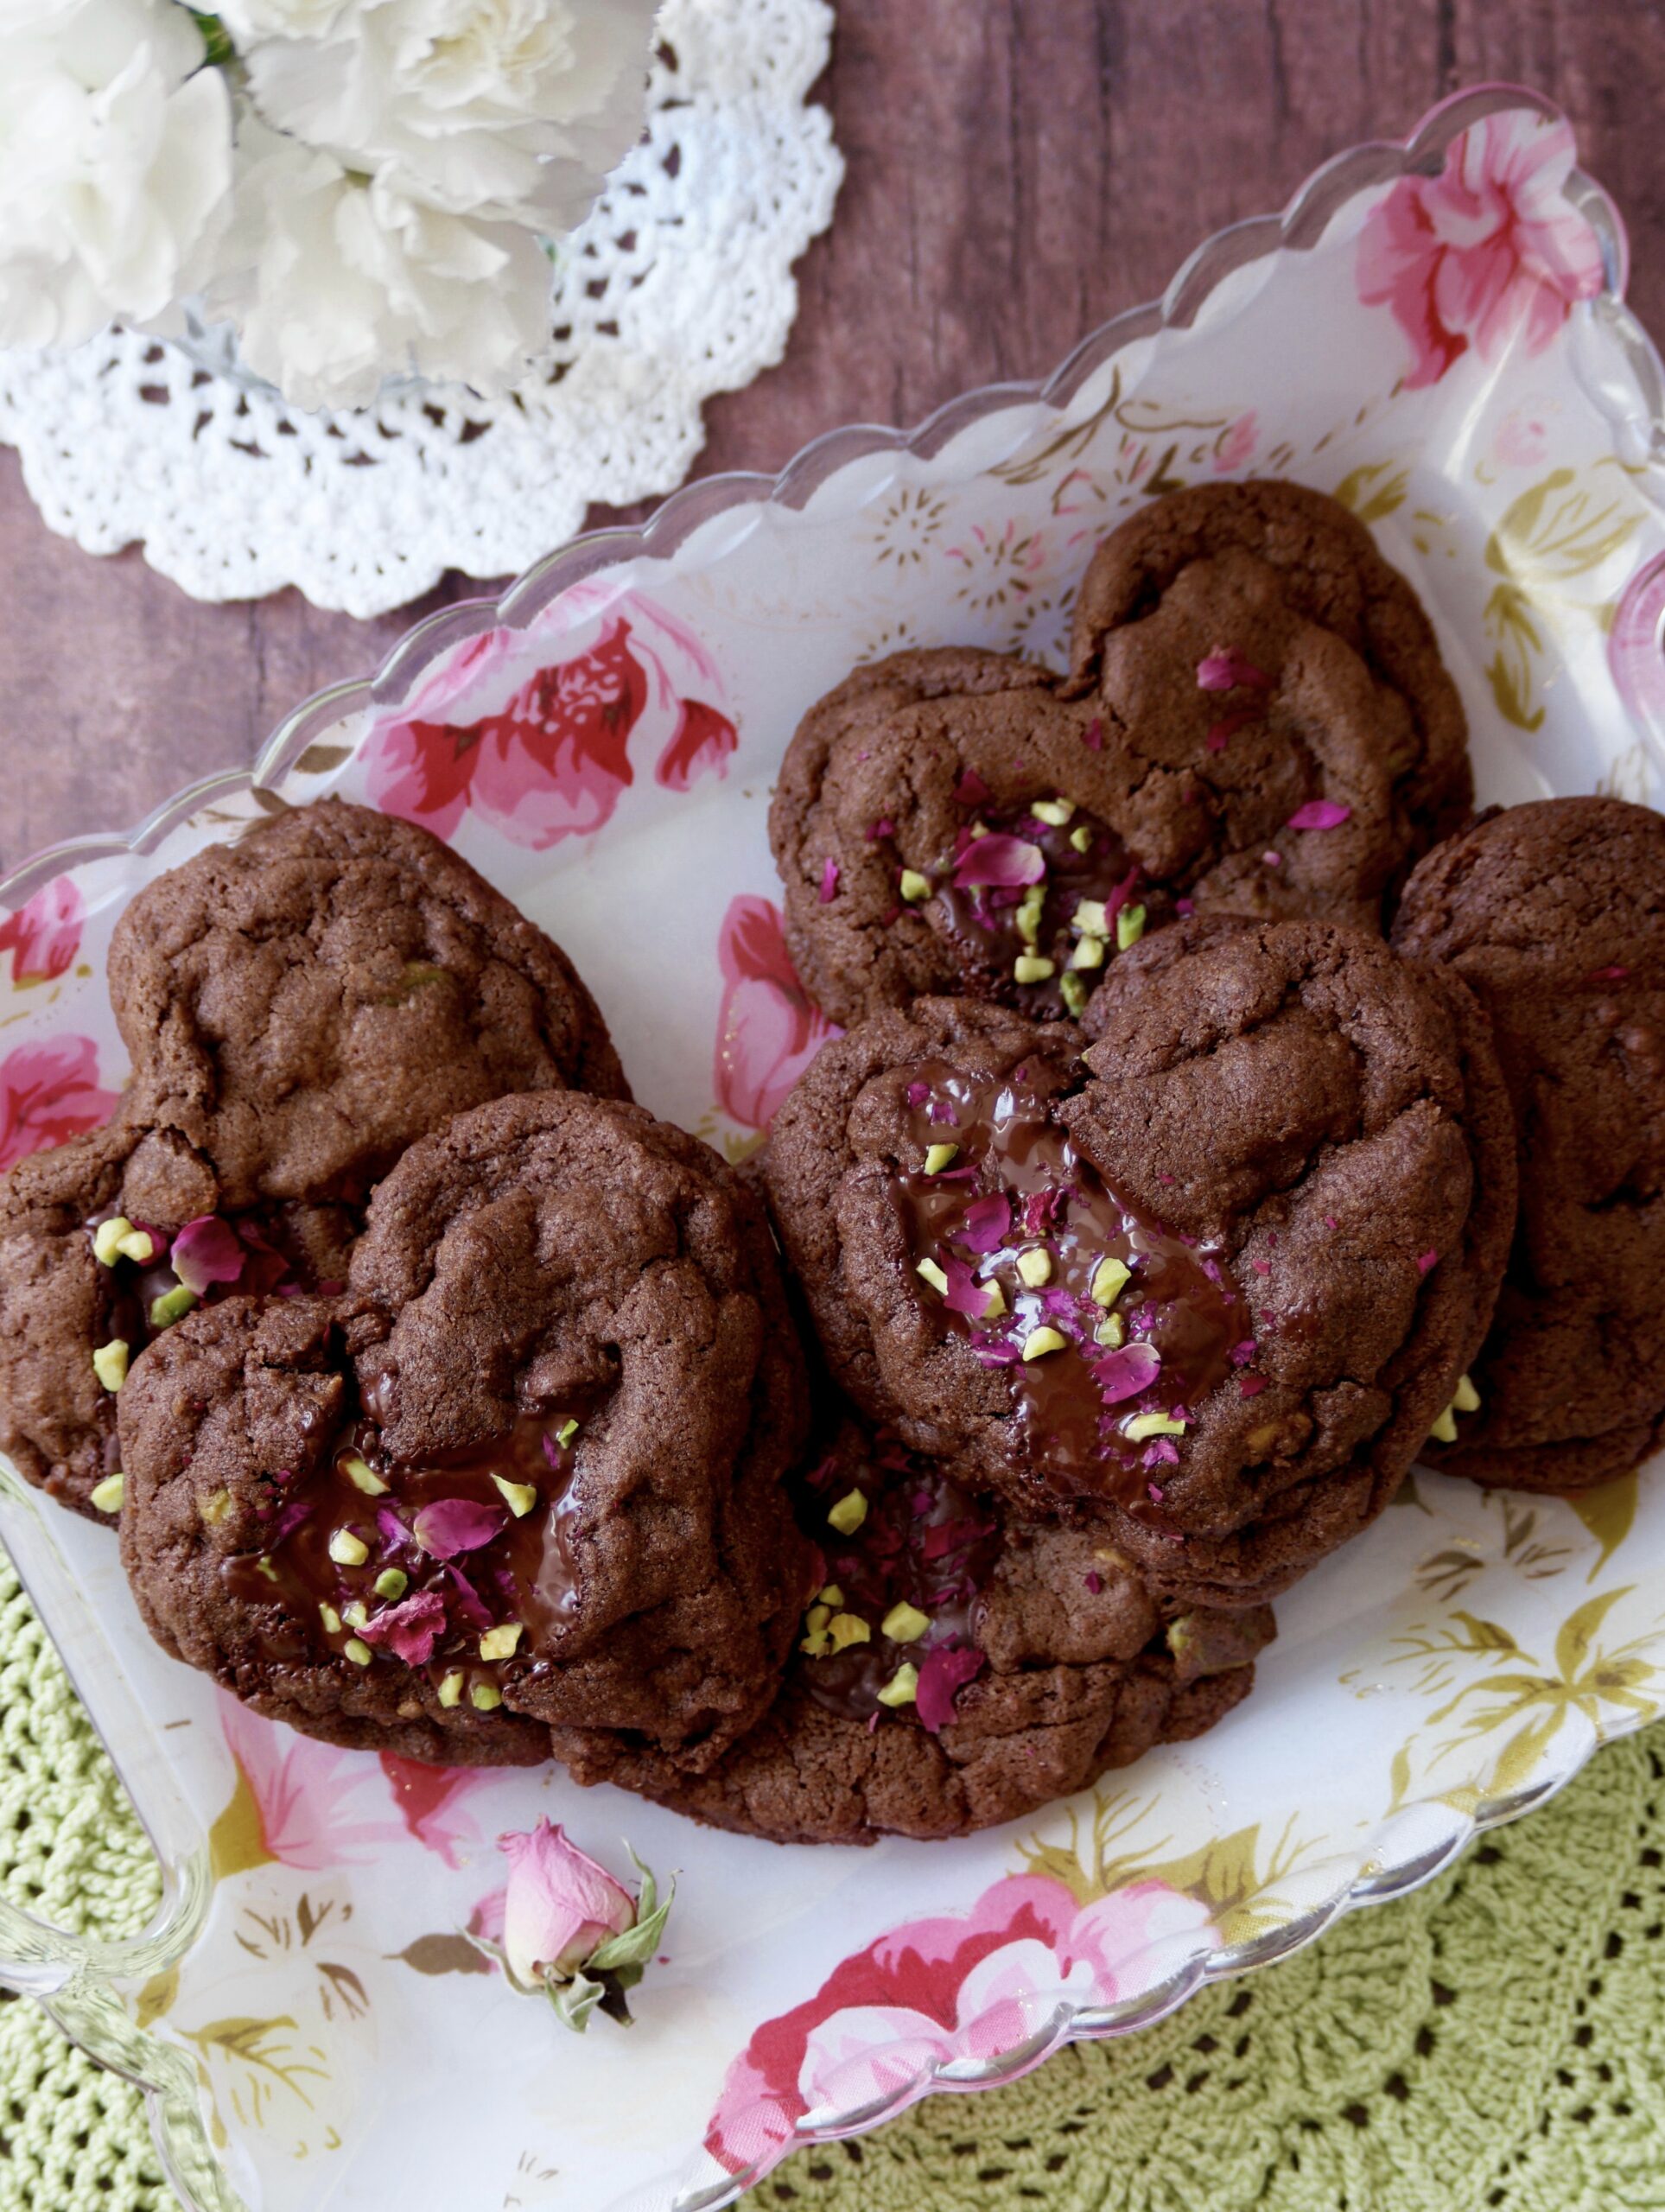
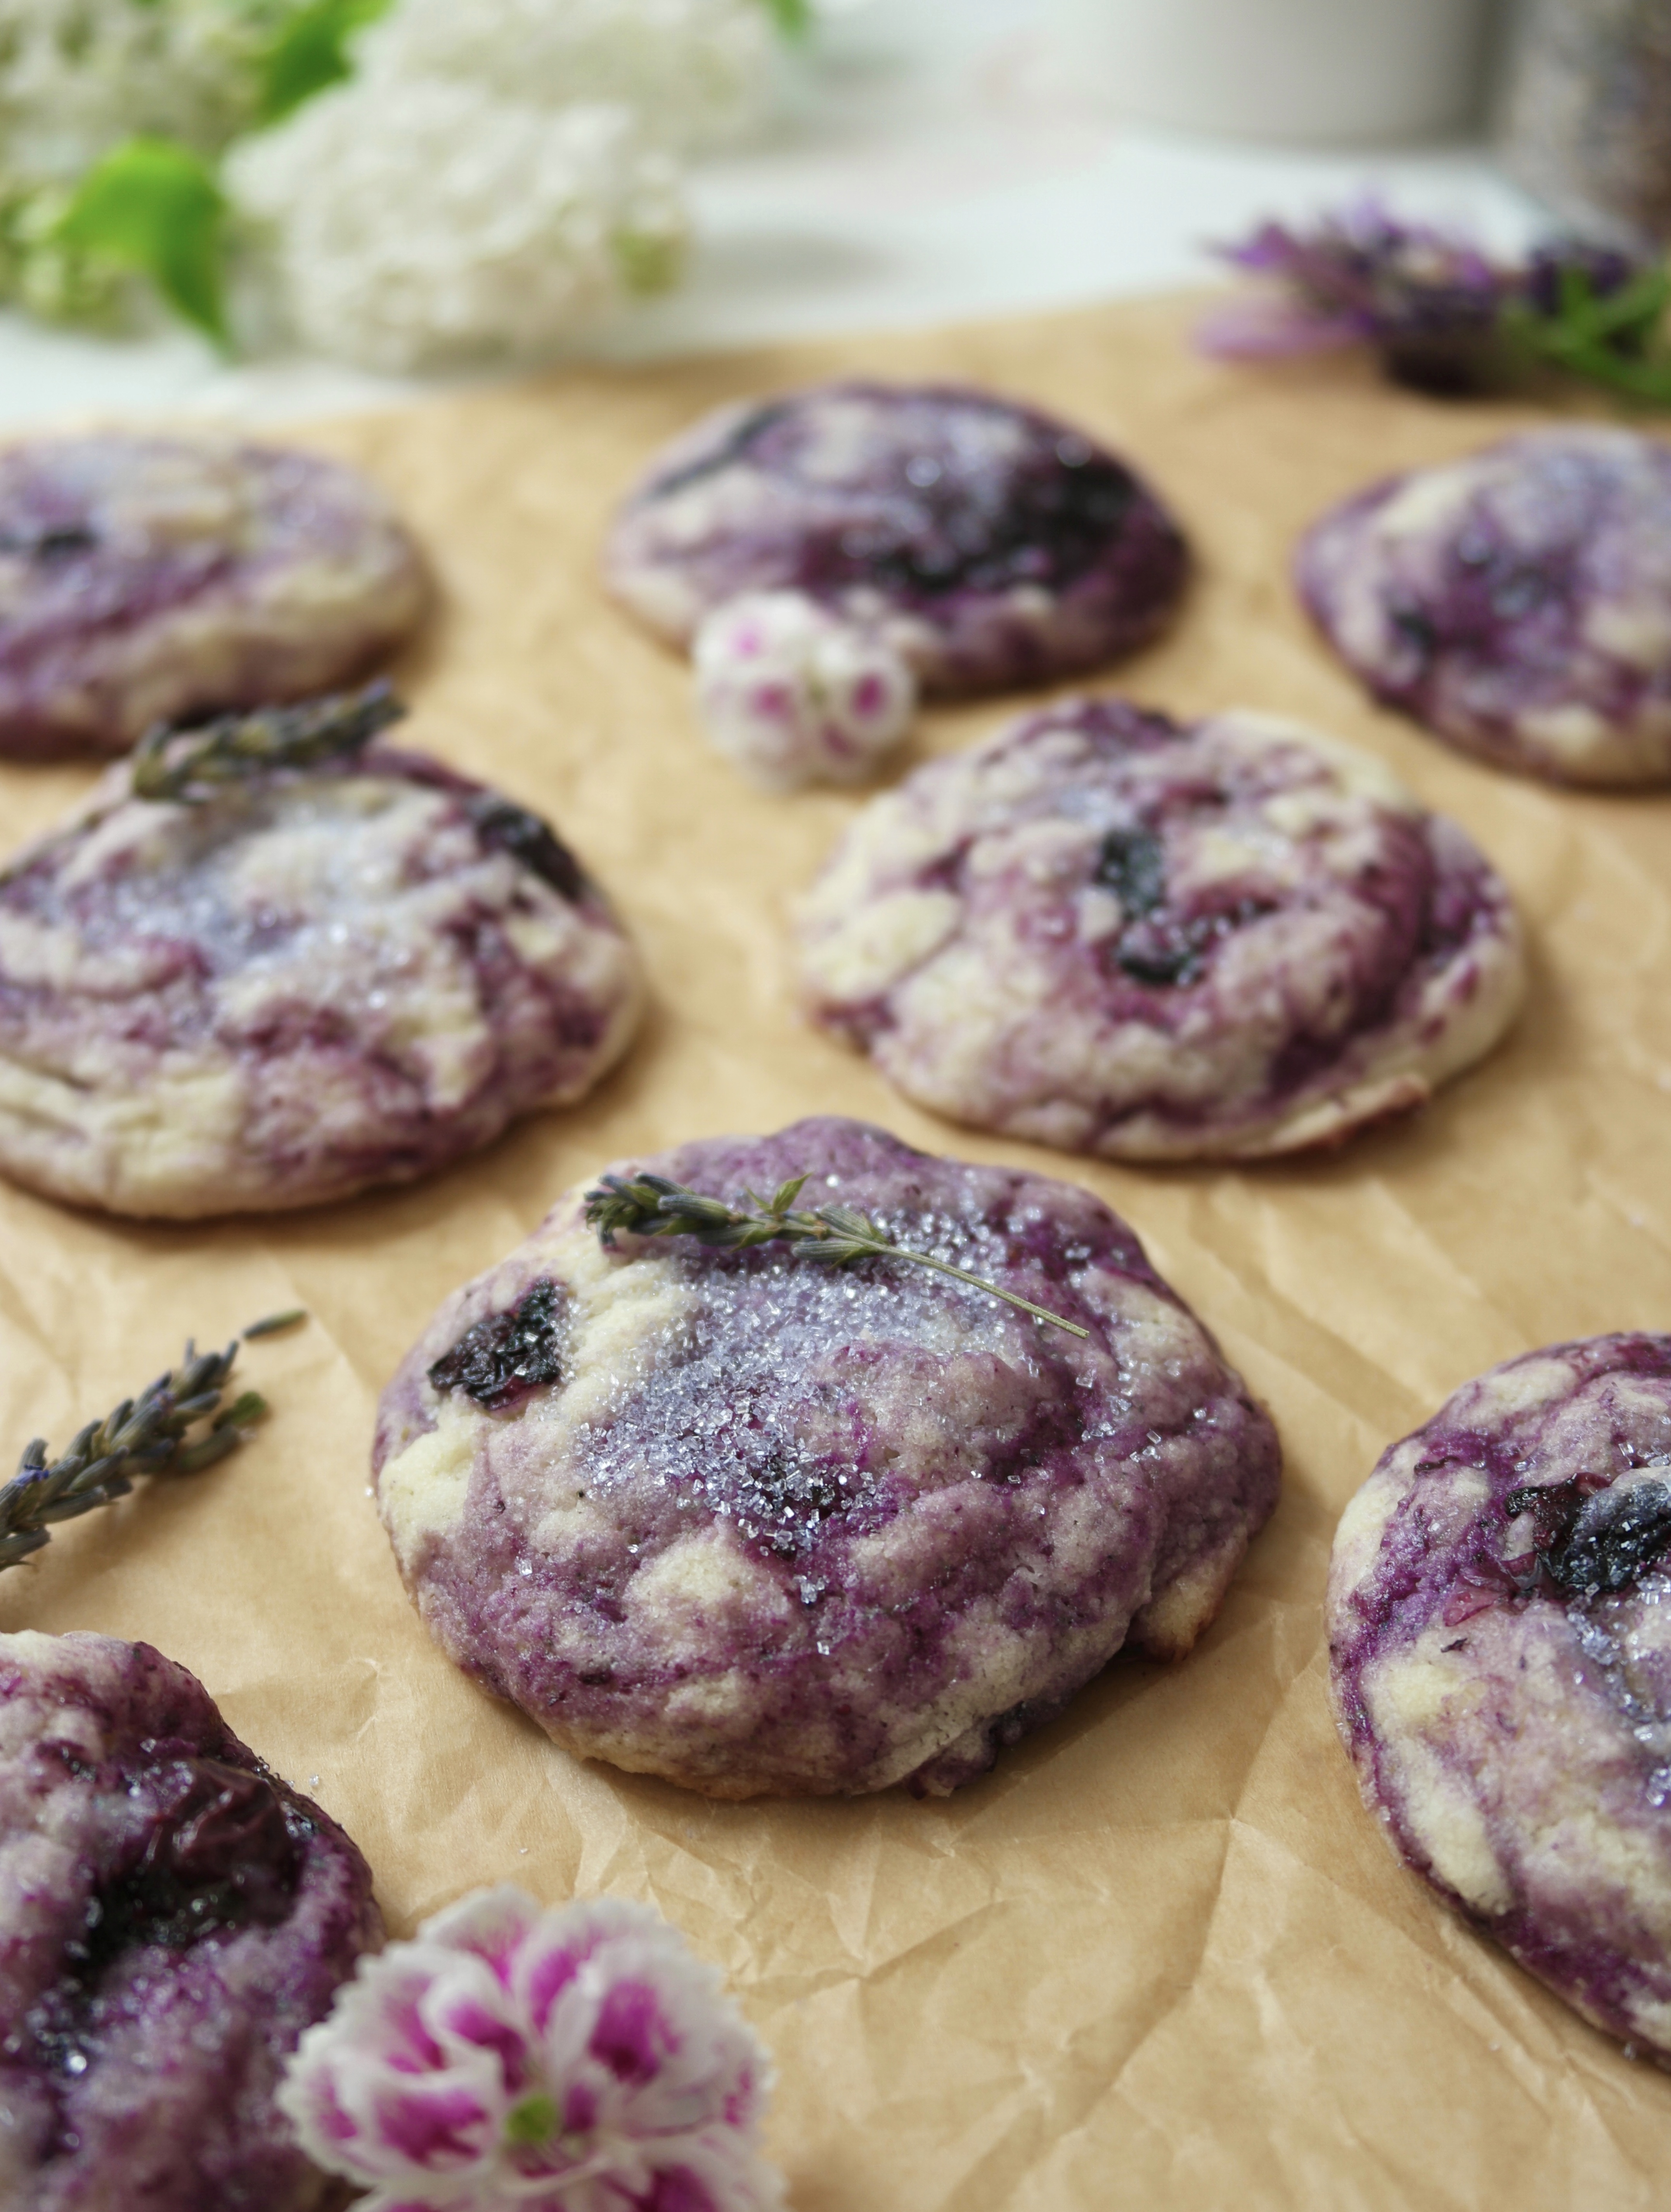
Many of us love chocolate chip cookies and banana bread so much, that I thought those two iconic bakes would be delicious combined in a cookie. Most of the banana cookies I tried were soft and cakey, which is fine, but I wanted a cookie with chewy centers and crisp, buttery edges. That end result was a challenge with bananas, because they add moisture and softness to baked goods. After a bit of trial and error, I came up with these incredibly delicious, rich, salty-sweet cookies with those coveted chewy centers and crisp edges.
| Servings |
cookies
|
Ingredients
Easy Salted Caramel Sauce
- 10 soft caramel candies I used Werther's
- 2 tbsp (15ml) heavy cream
- generous pinch fine sea salt
Ingredients
Easy Salted Caramel Sauce
|
|
Instructions
- Line 2 large cookie sheets with parchment paper. In a medium bowl, whisk together the flour, baking powder, salt and cinnamon.
- In a medium saucepan, over medium heat, melt the butter. Continue cooking, stirring occasionally, until the butter is deep golden and fragrant. When brown specks start to form in the bottom of the pan, immediately transfer the butter to a large bowl.
- Add the brown sugar and the granulated sugar to the butter. Mix until well combined. Beat in the egg yolk, banana and vanilla extract. Stir in the flour mixture just until combined. Fold in the chocolate and nuts.
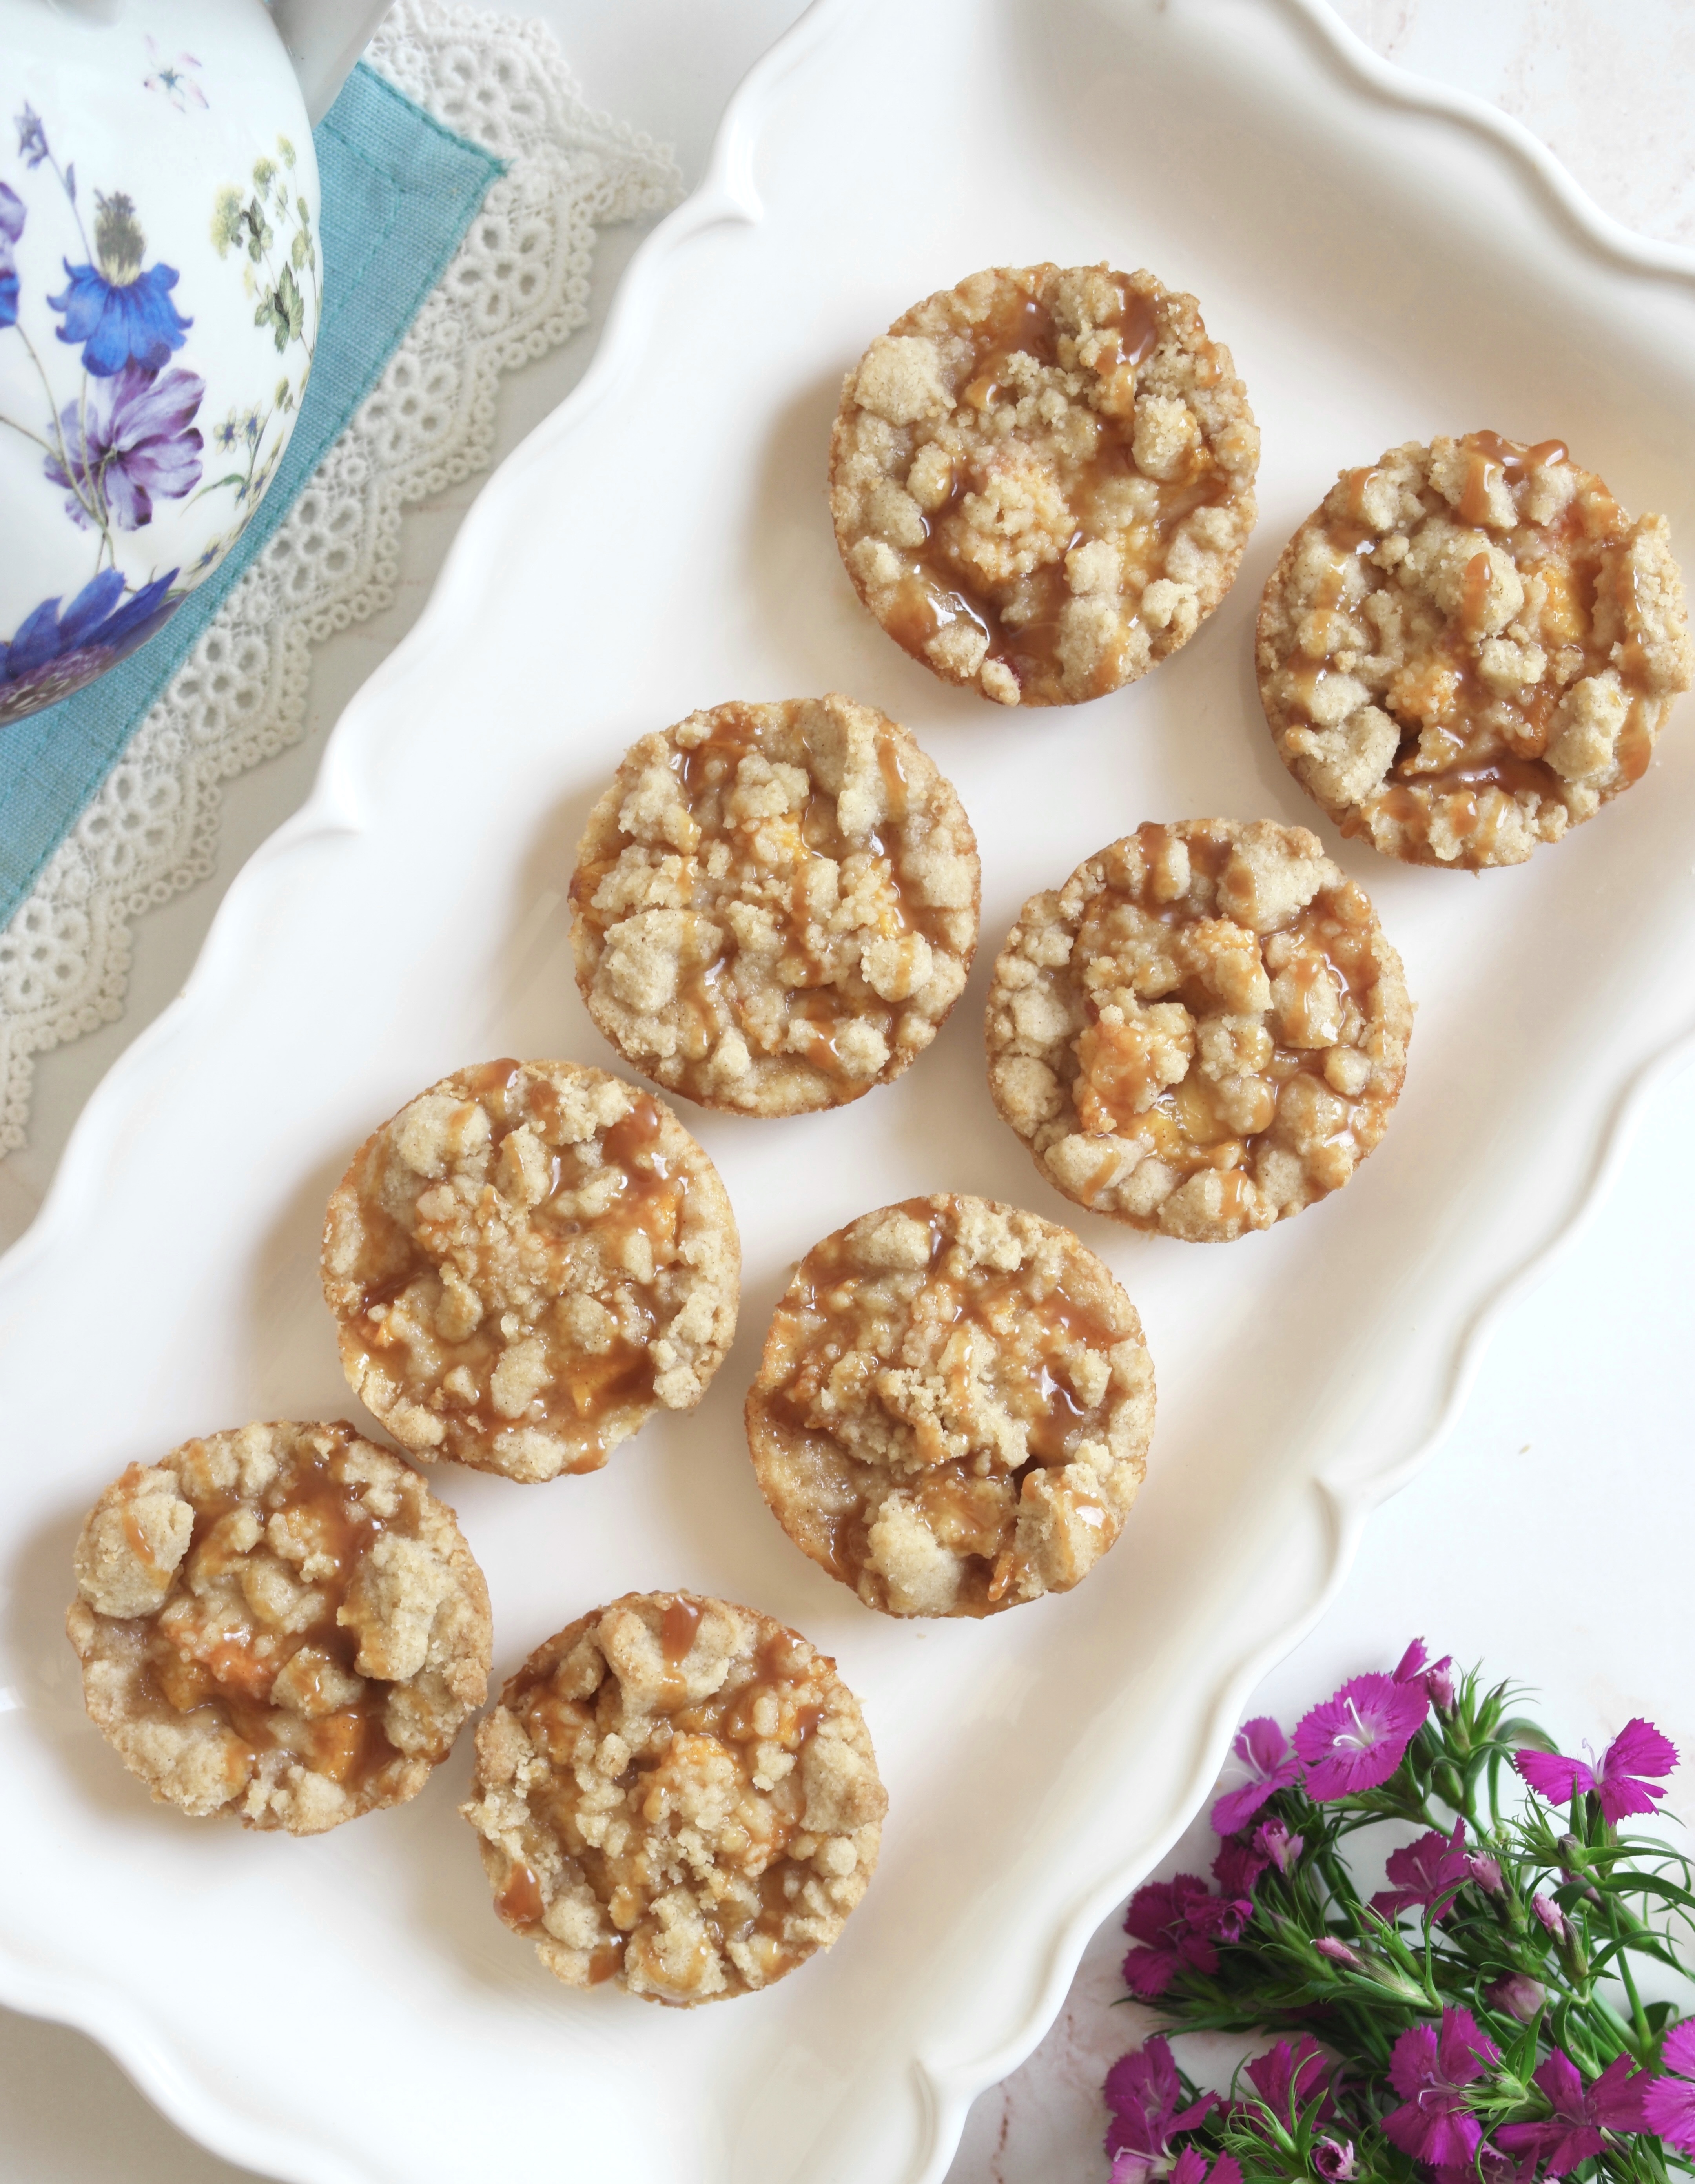
- Form the cookie dough into 2-tablespoon size balls. I used a #30 portion scoop, tightly packed.* Place them about 3 inches apart onto the baking sheets. Top each dough ball with a banana chip and a piece of chocolate. Refrigerate for 30 minutes to 1 hour.
- Preheat the oven to 350ºF (180ºC). Bake the cookies until the tops are set ant the edges are golden brown, about 10-12 minutes. Remove the cookies from the oven and immediately use a large round cookie cutter or a small bowl to shape the hot cookies. Place the cookie cutter onto the cookie sheet over each cookie and slide it around each one a couple of times to achieve round, crinkly cookies. Work quickly before the cookies set. Let the cookies cool on the baking sheet for 2 minutes, then transfer them to a cooling rack. Spoon caramel sauce onto the warm cookies.
Easy Salted Caramel Sauce
- Combine the caramel candies and the heavy cream in a small saucepan over medium heat. Stir gently until melted and smooth. Add salt to taste.
Recipe Notes
*To find the portion scoop I used, click here.