Chocolate Hazelnut Crunch Cake

Chocolate Hazelnut Crunch Cake

Baking is considered to be a form of therapy for many people, myself included. It can help relieve stress and help you refocus your mind. Using your senses in a positive way can increase endorphins and we’ve all heard about the way chocolate is known to improve your mood. This Chocolate Hazelnut Crunch Cake is the ultimate baking therapy. Chopping the hazelnut chocolates for this recipe is extremely satisfying. Spreading this luxurious buttercream is so therapeutic. Don’t you love cakes like this, where you can swirl the frosting to your heart’s content?

The contrasting textures of the silky, smooth Nutella buttercream and the crunchy chopped hazelnut chocolates are divine. This soft, moist cake already stands on it’s own, but all of these delicious elements combined take it over the top!

Print Recipe
Chocolate Hazelnut Crunch Cake
Soft, moist chocolate sheet cake with silky Nutella buttercream, topped with chopped hazelnut chocolates and toasted hazelnuts
Course Dessert
Keyword cake, chocolate
Servings
servings
Ingredients
Chocolate Cake
Nutella Swiss Meringue Buttercream
Topping
Course Dessert
Keyword cake, chocolate
Servings
servings
Ingredients
Chocolate Cake
Nutella Swiss Meringue Buttercream
Topping
Instructions
Chocolate Cake
  1. Preheat the oven to 350°F (180°C). Line a 9-inch square baking pan* with parchment paper.
  2. In a large bowl, whisk together the flour, cocoa powder, cornstarch, baking powder, baking soda, and salt until well combined. Stir in the granulated sugar and brown sugar.
  3. n a medium-size bowl, whisk together the oil, egg, egg yolk, vanilla extract and sour cream. Add this mixture to the dry ingredients. Beat until combined, then gradually mix in the hot coffee until the batter is smooth. Transfer the batter to the baking pan.
  4. Bake until a toothpick inserted into the center comes out mostly clean or with a few moist crumbs attached, about 18-23 minutes. Cool in the pan for 10 minutes, then remove the cake and carefully transfer it to a cooling rack. Frost the cooled cake. Top with the chopped chocolates and hazelnuts right before serving.
Nutella Swiss Meringue Buttercream
  1. Combine the egg whites and sugar in a large heatproof bowl set over a pan of gently simmering water, making sure the water doesn’t touch the bottom of the bowl. Whisk constantly until the sugar is dissolved reaches temperature of 160ºF (71°C)

  2. Transfer the mixture to the bowl of a stand mixer with a whisk attachment. Whisk on low speed until frothy, gradually increasing to medium-high speed. Whisk until glossy, stiff peaks form and the mixture reaches room temperature.

  3. Turn the mixer to medium-low speed. Add butter, a few pieces at a time, allowing the butter to fully incorporate before adding more. Turn the mixer up to medium speed. If the mixture looks curdled, keep mixing and it will correct itself. 

  4. When the buttercream is smooth and well combined, switch to a paddle attachment. On low speed, mix in the vanilla extract, salt. Gradually mix in the Nutella. Continue mixing on low speed for a few minutes until smooth.

Recipe Notes

*To find my favorite 9-inch square baking pan, click here.
White Velvet Snowflake Cakes


Print Recipe


White Velvet Snowflake Cakes

Soft, plush vanilla mini cakes with vanilla icing

Course Dessert
Keyword cake, white velvet

Servings
cakes


Ingredients
Snowflake Cakes

Vanilla Icing

Course Dessert
Keyword cake, white velvet

Servings
cakes


Ingredients
Snowflake Cakes

Vanilla Icing


Instructions
Snowflake Cakes
  1. Preheat the oven to 350ºF (177ºC). Spray a 6-serving silicone snowflake mini cake mold* with nonstick spray. Use a small pastry brush to brush the spray into all of the crevices. Tap out any excess spray. Place the mold on a baking sheet.

  1. In a large bowl, whisk together the cake flour, baking powder and salt. Add the sugar and whisk to combine. Add the butter and beat, with an electric mixer on low speed, until the butter is evenly distributed and the mixture looks like crumbs with no large chunks.

  2. In a medium bowl, whisk together the milk, egg whites, oil and vanilla. Slowly add the milk mixture to the flour mixture and continue beating on low until smooth, about 1-2 minutes.

  3. Transfer the batter to the prepared pan, evenly distributing the batter and filling the cavities a little more than half full. Bake until the tops of the cakes are light golden and a toothpick inserted into the centers of the cakes comes out clean, about 18-22 minutes. Be careful not to over bake. Let the cakes cool in the pan for about 7 minutes then turn the cakes out onto a cooling rack to cool completely.

  4. Brush one or two coats of vanilla icing on the tops and sides of the cakes. Decorate as desired. I used fine opal sanding sugar, candy snowflakes and candy pearls.

Vanilla Icing
  1. In a medium bowl, whisk together the powdered sugar, butter, vanilla, salt and 1 tablespoon of milk until smooth. Add additional milk as need to achieve your desired consistency.


Recipe Notes

I used a 6-serving silicone mold with 3-inch diameter, 1-inch deep cavities.


Pink Velvet Cookies

Pink Velvet Cookies

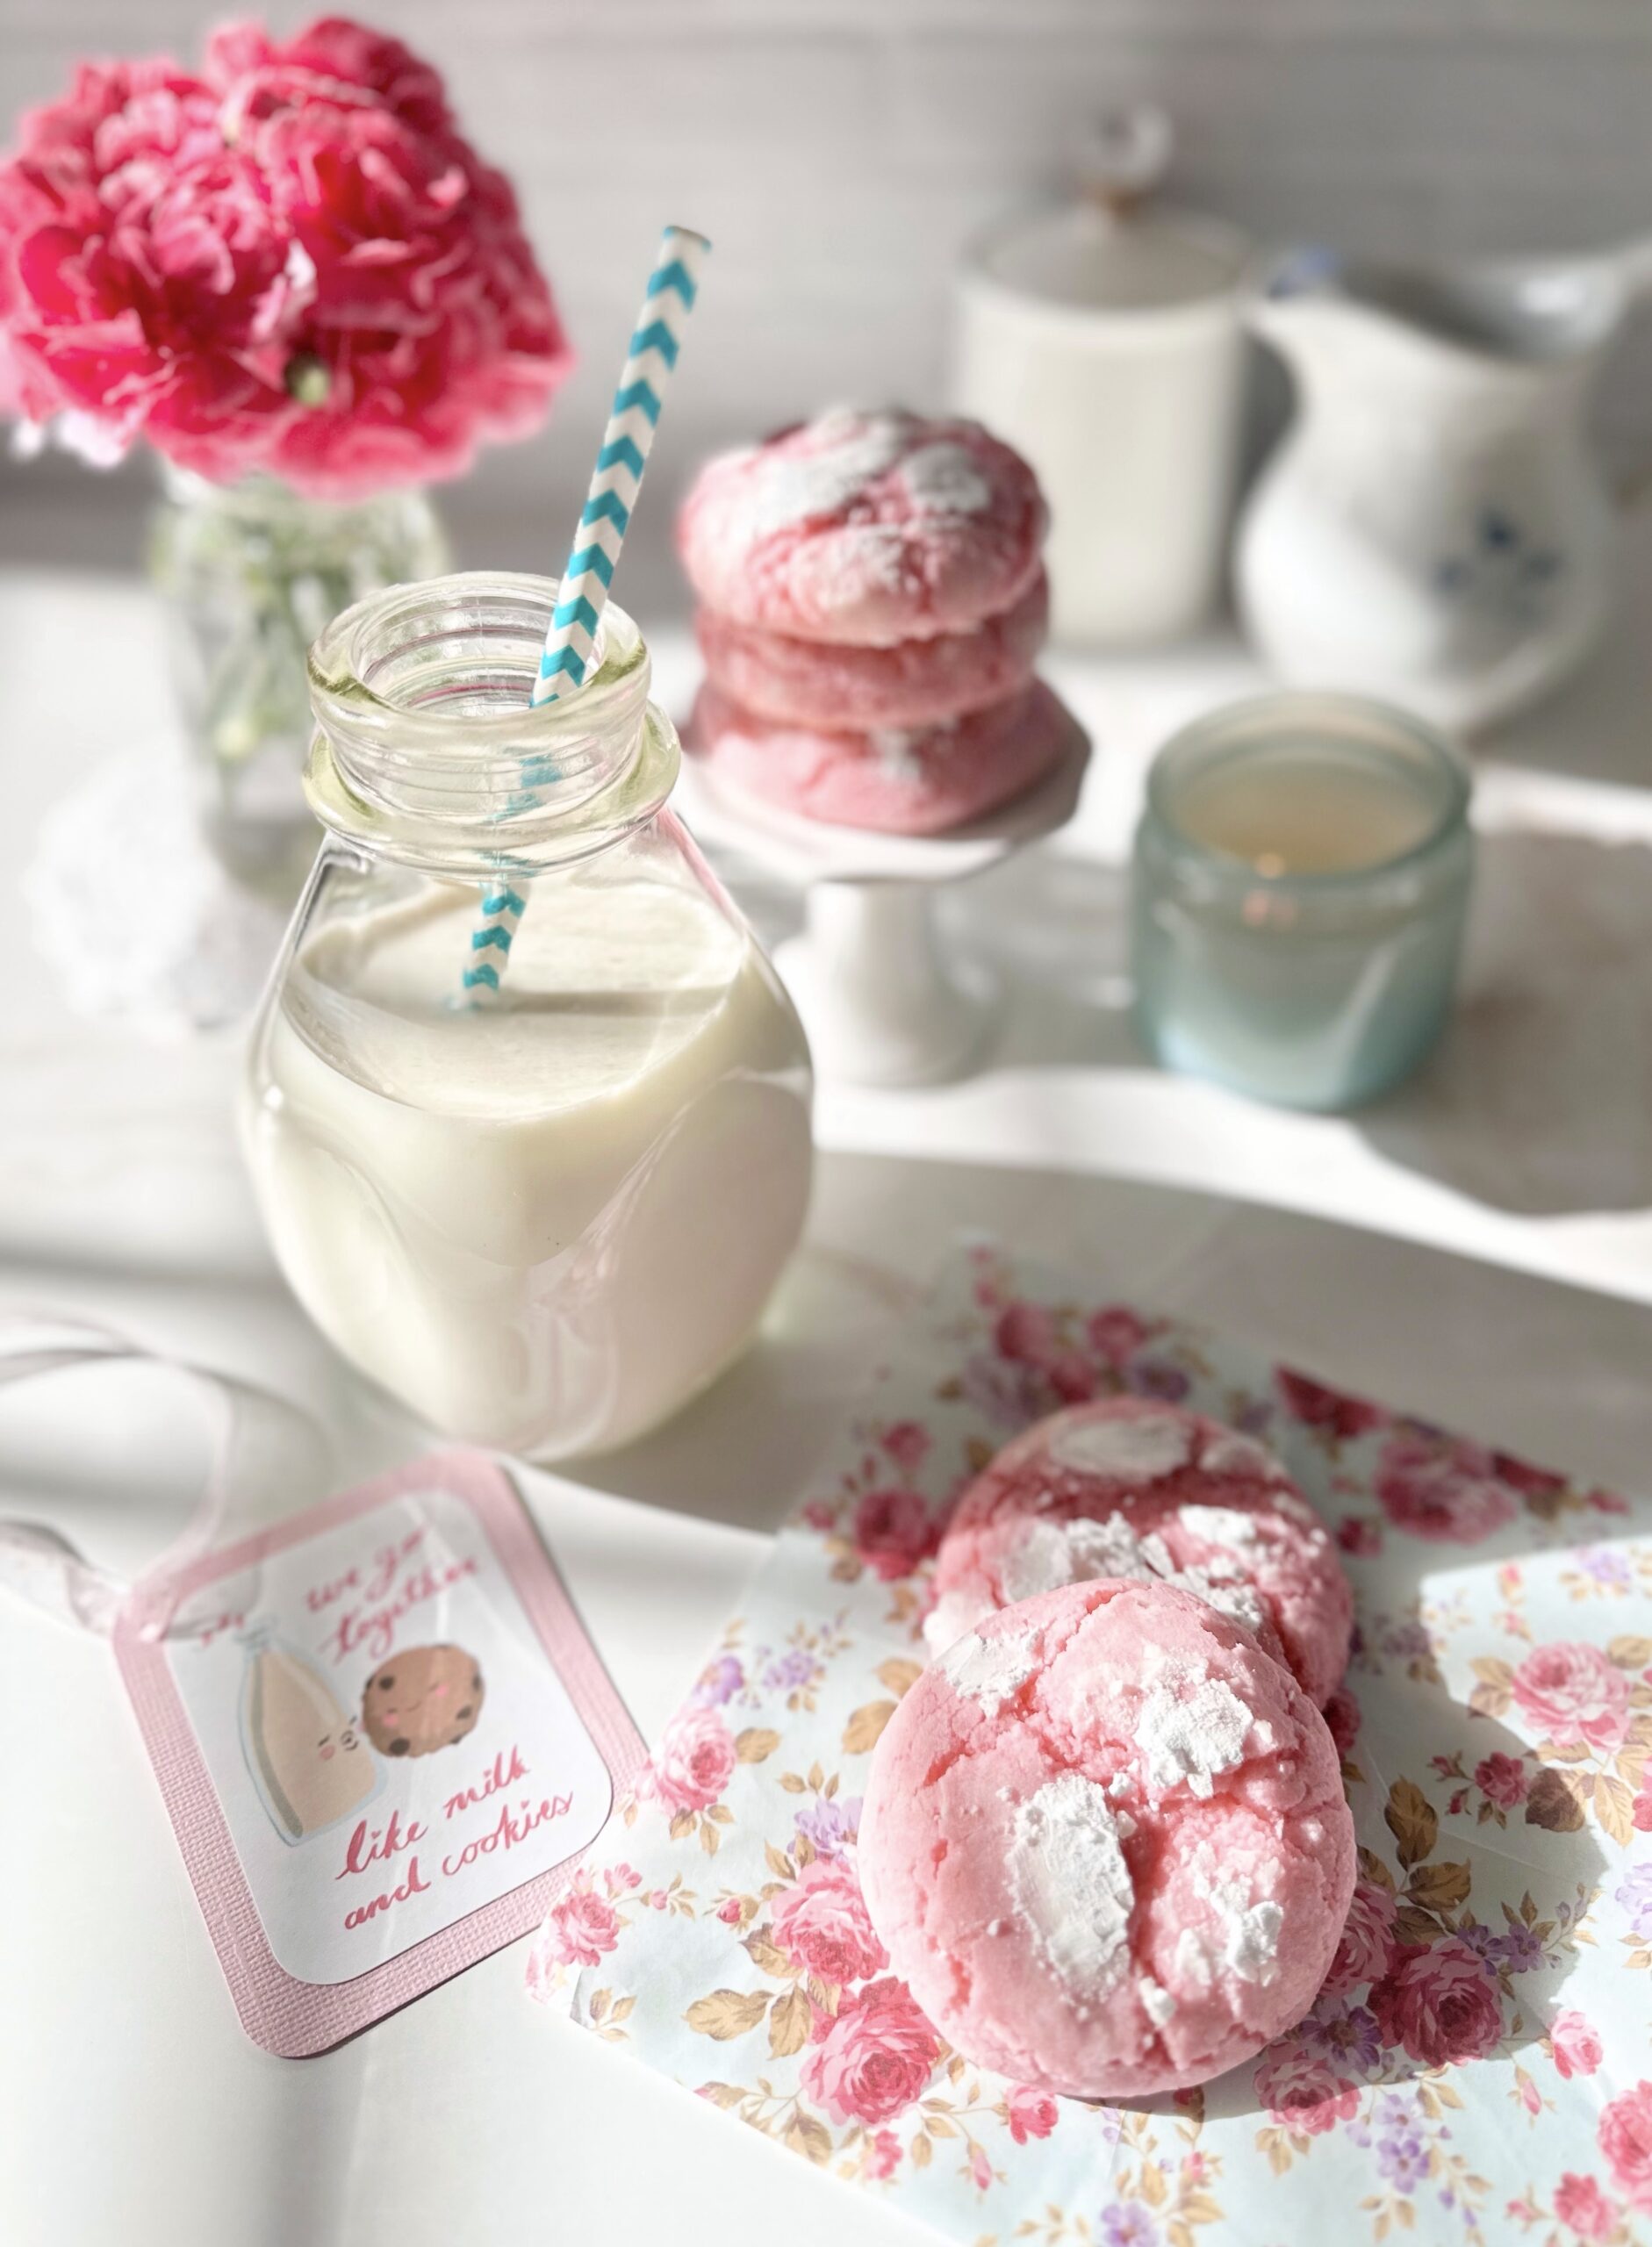
Whenever I walk into a bakery, my eyes are always drawn to anything pink. Pink cupcakes, cookies, donuts or anything with pink icing will inevitably come home with me. This probably started in childhood. Most bakeries back then, including the bakery my aunt always took me to, had pink boxes, so I associate it with delicious, freshly baked treats. Maybe pink desserts do taste better or maybe our minds just tell us that. Either way, if you love pink treats, you’ll love these cookies.

Pink velvet is similar to red velvet, but without the cocoa powder and red food color. The texture should be somewhat velvety, like red velvet cake. I have yet to taste a velvety red velvet cookie, but I think the texture of these cookies is pretty velvety as long as they’re not over baked. Pink velvet desserts are typically vanilla flavored. I upgraded the flavor by adding a touch of cherry flavoring. It’s not enough to give you cherry flavored cookies, but it will add depth to vanilla flavored treats. It’s an old bakery trick that I learned years ago that adds a fruity note in the background.

For best baking results, I recommend using a scale to weigh your ingredients, especially your dry ingredients. If you love baking, you should invest in a food scale if you don’t already have one.

To watch the Pink Velvet Cookies TikTok video, click here. To watch the Pink Velvet Cookies Instagram video, click here.

Print Recipe
Pink Velvet Cookies
Pink vanilla flavored crinkle cookies with chewy exteriors and soft, velvety centers
Course Dessert
Keyword cookies, pink velvet
Servings
cookies
Ingredients
Optional
Course Dessert
Keyword cookies, pink velvet
Servings
cookies
Ingredients
Optional
Instructions
  1. Preheat oven to 350ºF. Line two large cookie sheets with parchment paper.
  2. In a medium bowl, whisk together flour, cornstarch, baking powder, and salt.
  3. In a large bowl, cream butter, sugar and oil until light and fluffy.
  4. Beat egg whites into butter mixture in two addition, until well combined.
  5. Beat in extracts until well combined.
  6. Add gel food color, a little at a time with a toothpick, until desired shade of pink is reached. (Adding remaining ingredients will lighten the color slightly.) Beat until evenly distributed.
  7. Add flour mixture to batter and beat just until combined. Mix in white chocolate chips if using.
  8. Roll dough into balls, about 2 tablespoons each. I used a #30 portion scoop.*** Roll dough very generously in powdered sugar. Place two inches apart onto prepared cookie sheets.
  9. Bake until cookies are puffed and tops are set, about 11-13 minutes. Transfer cookies to a cooling rack.
Recipe Notes

*The cherry flavoring in this recipe is not intended to make a cherry flavored cookie. The addition of cherry flavoring adds a subtle fruity note. You can also use pure cherry extract. Use a bit less (scant 1/2 teaspoon)  because extracts tend to be stronger than flavorings. DO NOT use imitation cherry extract. It has a medicinal flavor that will disappoint you. If you want your cookies to be cherry or strawberry flavor, reduce vanilla extract to 1/2 teaspoon and  use 1- 1 1/2 teaspoons of natural cherry or strawberry flavoring.

**To find the pink gel food color I used, click here.

***To find the portion scoop I used, click here.

This recipe was updated on 2/14/23.

Lilac Vanilla Mini Cakes

Lilac Vanilla Mini Cakes

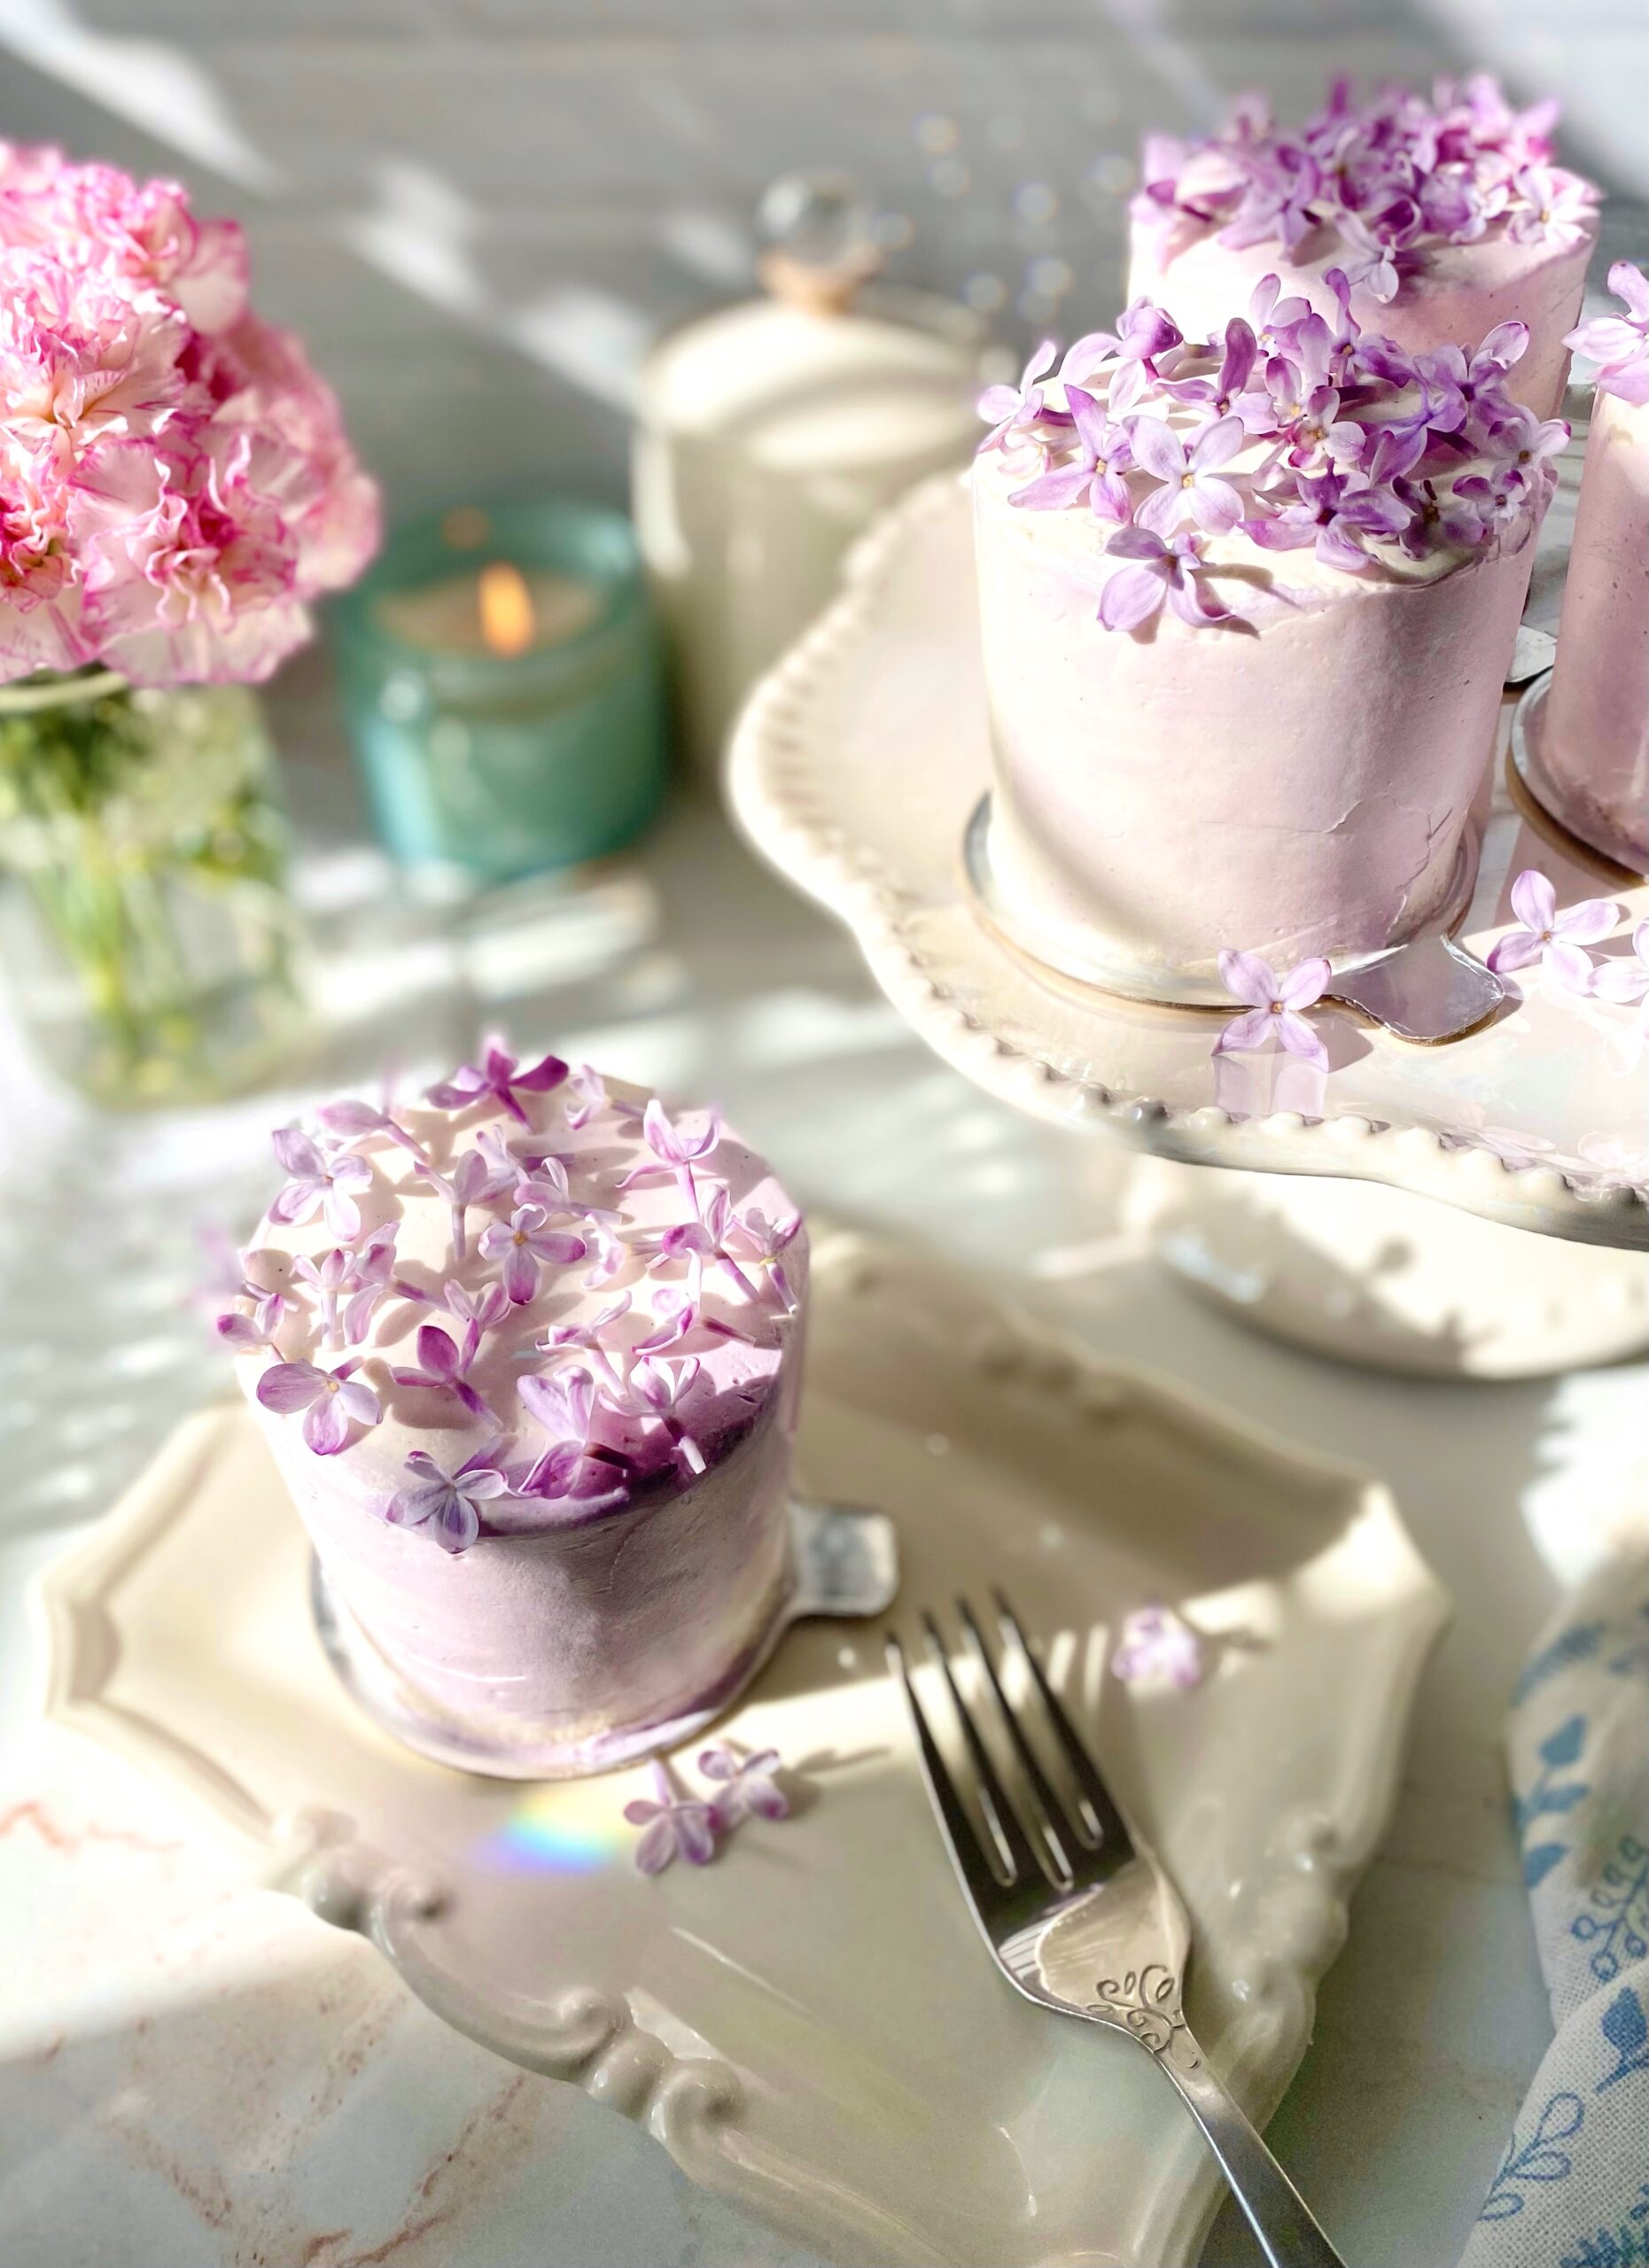
Once upon a time, there was a little black bear who woke up from a long nap. As she stretched, she felt her tummy growl. She ventured into the morning sunshine and smelled something sweet. She sniffed the air, following the sweet fragrance until she came upon a beautiful purple tree. She climbed up to a comfy branch and ate the tender, purple blossoms to her heart’s content.

Bears, butterflies and bees know something good when they see it. We humans can also enjoy lilacs. I knew lilacs were edible, but I hadn’t tasted them until recently. The flavor reminds me of beets, slightly sweet with a vegetable aftertaste. I really wanted to try lilac syrup after seeing so many photos of pretty purple syrup online. I discovered that lilac syrup is not purple. It’s more of a dull, brownish blue-green. Many people use food coloring or blueberries to color their syrup. I also discovered that lilac syrup will turn a pretty shade of mauve by adding a small amount of lemon juice to the finished syrup. Since I would be using my lilac syrup inside of cake layers, I let it remain its natural color. I made a simple syrup with lilac blossoms and let them steep for a couple of hours. It was just long enough to give a subtle lilac flavor without being too floral. If you want a stronger lilac flavor, I suggest using more lilac blossoms rather than steeping longer to avoid bitterness.

I paired the lilac syrup with this soft, fluffy vanilla cake and silky Swiss meringue buttercream. If you aren’t a fan of lilac syrup, feel free to use vanilla simple syrup instead and just use the lilac blossoms to decorate your cakes. They look stunning on any cake or cupcakes.

Print Recipe
Lilac Vanilla Mini Cakes
Soft, fluffy mini white vanilla cakes with lilac syrup and vanilla Swiss meringue buttercream, topped with lilac blossoms
Course Dessert
Servings
mini cakes
Ingredients
Lilac Syrup
White Vanilla Cake
Swiss Meringue Buttercream
Course Dessert
Servings
mini cakes
Ingredients
Lilac Syrup
White Vanilla Cake
Swiss Meringue Buttercream
Instructions
Lilac Syrup
  1. In a small saucepan combine the sugar and water. Bring to a boil over medium heat, stirring gently to dissolve the sugar. Add the the lilac blossoms and stir gently.
  2. Turn the heat down and simmer for 5 minutes.
  3. Remove from heat and allow the lilac blossoms to steep for 2 hours. Pass the lilac syrup through a mesh sieve.
White Vanilla Cake
  1. Preheat the oven to 350ºF (180ºC). Grease and flour two 9-inch round cake pans and line the bottoms with parchment paper.
  2. In a medium-size bowl, whisk together the cake flour, baking powder and salt until well combined. Set aside.
  3. In a large bowl, beat the butter, sugar, oil and vanilla bean paste with an electric mixer at medium speed, until light and fluffy, about 3 minutes.
  4. On medium speed, beat in the egg whites in two additions, then beat in the egg until well combined.
  5. On low speed, beat in one third of the flour mixture, then beat in the sour cream just until combined.
  6. Beat in the remaining flour in two additions, alternating with milk. Beat just until combined.
  7. Transfer the batter to prepared cake pans. Bake for 28-33 minutes, or until the tops of the cakes are light golden brown and a toothpick inserted in center comes out clean. Do not over bake.
  8. Allow the cakes to cool in the pans for 10 minutes, then remove from the pans and continue cooling on a wire rack.
  9. Cut each cake into four 2 3/4-inch rounds using a cookie or biscuit cutter.
  10. Using a pastry brush, brush the mini cakes generously with lilac syrup or vanilla simple syrup.
Swiss Meringue Buttercream
  1. Combine the egg whites and sugar in a large heatproof bowl. Set over a pan of gently simmering water, making sure the water doesn't touch the bottom of the bowl.
  2. Whisk constantly until the sugar is dissolved and a temperature of 160ºF (71ºC) is reached.
  3. Transfer the mixture to the bowl of a stand mixer with a whisk attachment. Whisk on low speed, gradually increasing to medium-high speed. Whisk until glossy, stiff peaks form and the mixture reaches room temperature.
  4. Turn the mixer to medium-low speed. Add the butter, a few pieces at a time, allowing it to fully incorporate before adding more. If the mixture looks curdled, keep mixing and it will correct itself.
  5. Switch to a paddle attachment. On low speed, mix in the vanilla bean paste and salt. Continue mixing on low speed for a few minutes until smooth.
  6. Remove about 3/4 cup of frosting and transfer it to a small bowl. Using a toothpick, place two tiny drops of lilac gel food color and one tiny drop of violet gel food color into the bowl. Mix with a spatula until well combined.
Assembly
  1. Smear a bit of frosting on each mini cake board. Top each one with a cake round, a layer of frosting, then a second cake round. Frost with a crumb coat if desired. Refrigerate of 15 minutes. Frost the mini cakes with white Swiss meringue buttercream, then smear small amounts of lilac Swiss meringue buttercream around the sides and top. Smooth frosting with a bench scraper and smooth the tops with a small offset spatula. Decorate with lilac blossoms.
Vanilla Simple Syrup (optional)
  1. Combine 1/2 cup sugar and 1/2 cup water in a small saucepan. Bring to a boil over medium heat, stirring gently to dissolve the sugar. When the sugar has dissolved, remove from heat and stir in 1 teaspoon vanilla bean paste or pure vanilla extract.
Recipe Notes

*If you can't find ultra fine granulated sugar, it's okay to substitute with regular granulated sugar.

**To find the lilac gel food color I used, click here.

***To find the violet gel food color I used, click here.

****To find 3-inch mini cake boards, click here.

The Nutcracker Land of Sweets Cupcakes

Nutcracker Land of Sweets Cupcakes

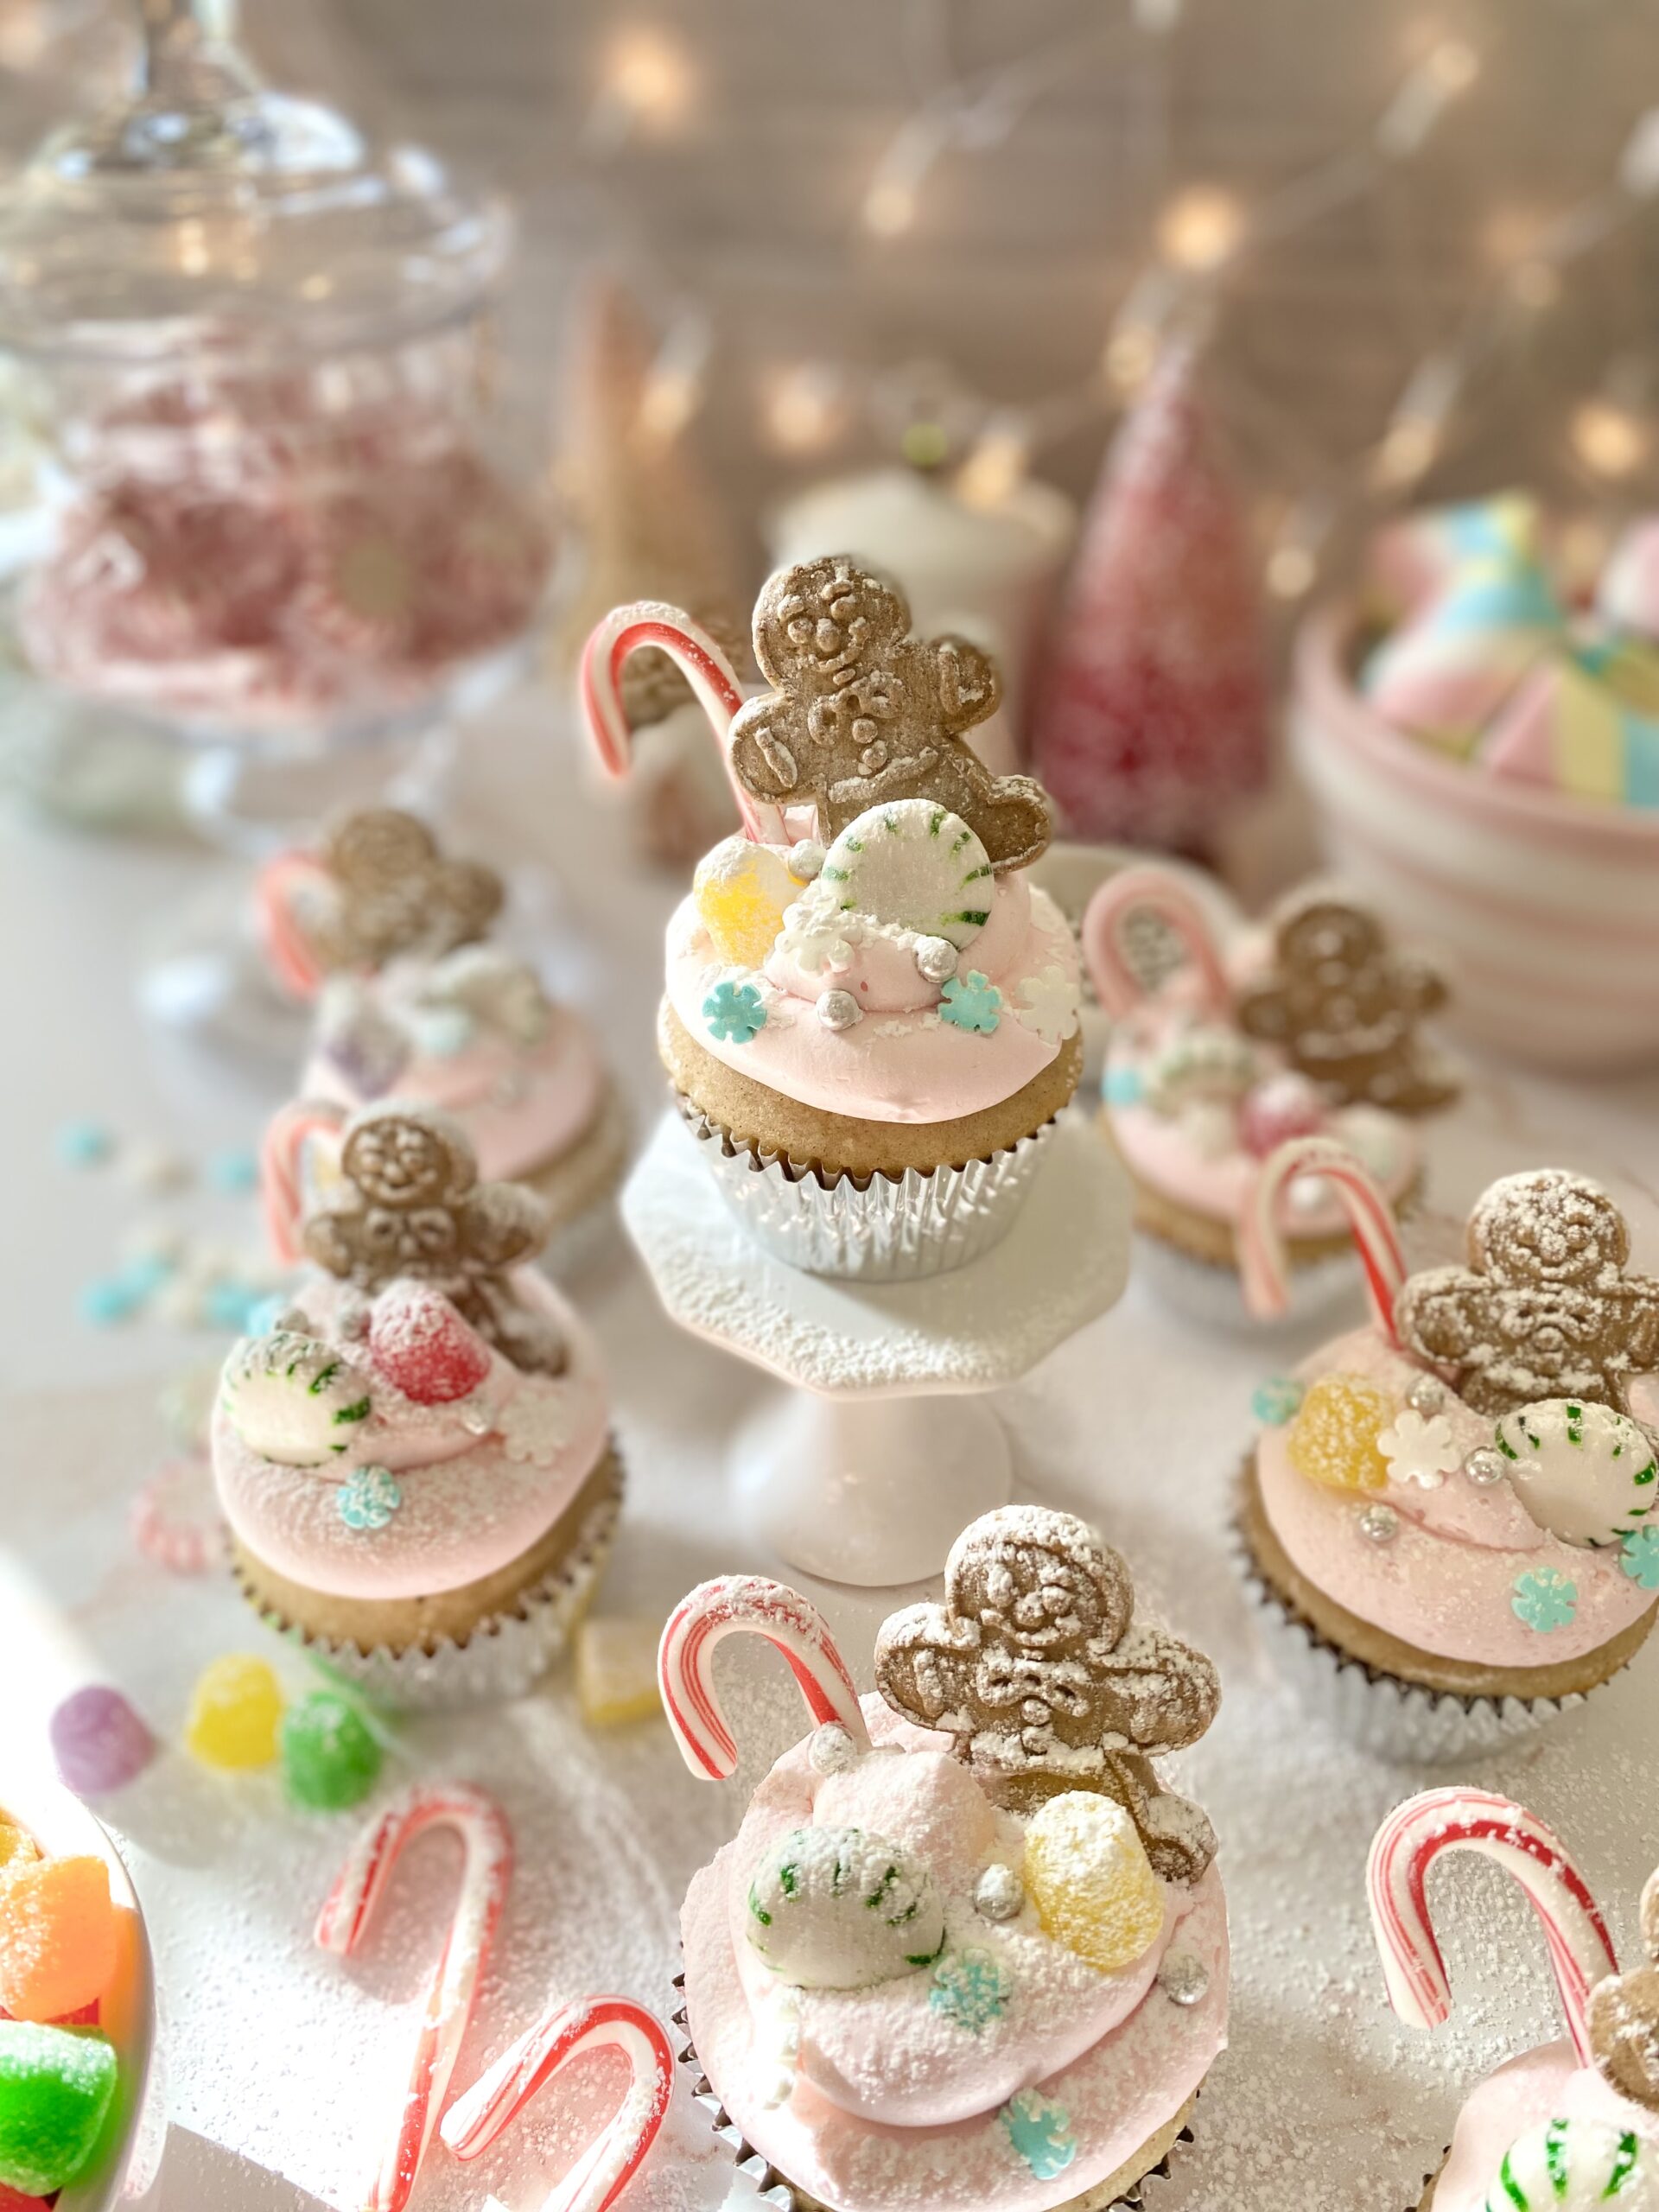
The tradition of enjoying the Nutcracker Ballet at Christmastime has been in my family for over 20 years. The Nutcracker Land of Sweets is a magical theme that has me mesmerized. Gingerbread, candy canes, gumdrops and billowy clouds of pink frosting are what dreams are made of. And that’s exactly what these dreamy cupcakes are made of. The cupcake flavor is a subtle spice cake. The recipe is adapted from a Martha Stewart cake recipe I made last summer. The original cake was paired with blackberry jam, but I knew plum jam would be perfect for these cupcakes. I topped them with a mildly sweet, fluffy Swiss meringue buttercream.

Part of the fun of making these cupcakes began at the store as I collected the sweets to decorate the cupcakes. Another perk of the job is taste testing the candy. I discovered that purple spice drops are licorice flavored and red spice drops are cinnamon. Who knew?

You might also like my Nutcracker Land of Sweets inspired candy bark. It’s a delightful holiday bark I designed that is often imitated. To view it, click here.

Print Recipe
The Nutcracker Land of Sweets Cupcakes
Spice cupcakes filled with plum jam, topped with fluffy pink frosting, gingerbread men and Christmas candy, and dusted with sugar snow
Course Dessert
Keyword cupcakes
Servings
cupcakes
Ingredients
Spice cupcakes
Pink Vanilla Swiss Meringue Buttercream
Course Dessert
Keyword cupcakes
Servings
cupcakes
Ingredients
Spice cupcakes
Pink Vanilla Swiss Meringue Buttercream
Instructions
Spice Cupcakes
  1. Preheat oven to 350ºF. Line a 12 serving muffin pan with disposable baking cups. (I used silver foil liners.)
  2. In a medium bowl, whisk together flours, baking powder, spices and salt. Set aside.
  3. In a large bowl, cream butter and sugar together with an electric mixer until light and fluffy.
  4. Add egg, egg white, and vanilla, one at a time, mixing until well combined.
  5. Add flour mixture in two additions, alternating with milk. Mix until combined.
  6. Divide batter evenly into wells of prepared muffin pan, filling about 2/3 full.
  7. Bake until light golden and toothpick inserted comes out clean, about 16-18 minutes.
  8. Let cool in muffin pan for 5 minutes. Gently transfer cupcakes to cooling rack to cool completely.
  9. Core the center of each cupcake, removing a 3/4-inch deep circle. Fill with jam and replace the circle top.
  10. Frost cupcakes with pink Swiss meringue buttercream. Decorate with cookies and candies. Lightly sprinkle with powdered sugar.
Pink Vanilla Swiss Meringue Buttercreamgue Buttercream
  1. Combine egg whites and sugar in a heatproof bowl. Set over a pan of gently simmering water.
  2. Whisk constantly until sugar is dissolved and temperature of 160ºF is reached.
  3. Transfer mixture to the bowl of a stand mixture with a whisk attachment. Whisk on low speed, gradually increasing to medium-high speed. Whisk until glossy, stiff peaks form and mixture reaches room temperature.
  4. Turn mixer to medium-low speed. Add butter, a few pieces at a time, allowing the butter to fully incorporate each time before adding more.
  5. Switch to paddle attachment. On low speed, mix in vanilla, salt and food color. Continue mixing on low speed for a few minutes until smooth.
Recipe Notes

Recipe adapted from Martha Stewart Spice Cake

Fairy Tale Meringue Cookies

Fairy tale meringue cookies

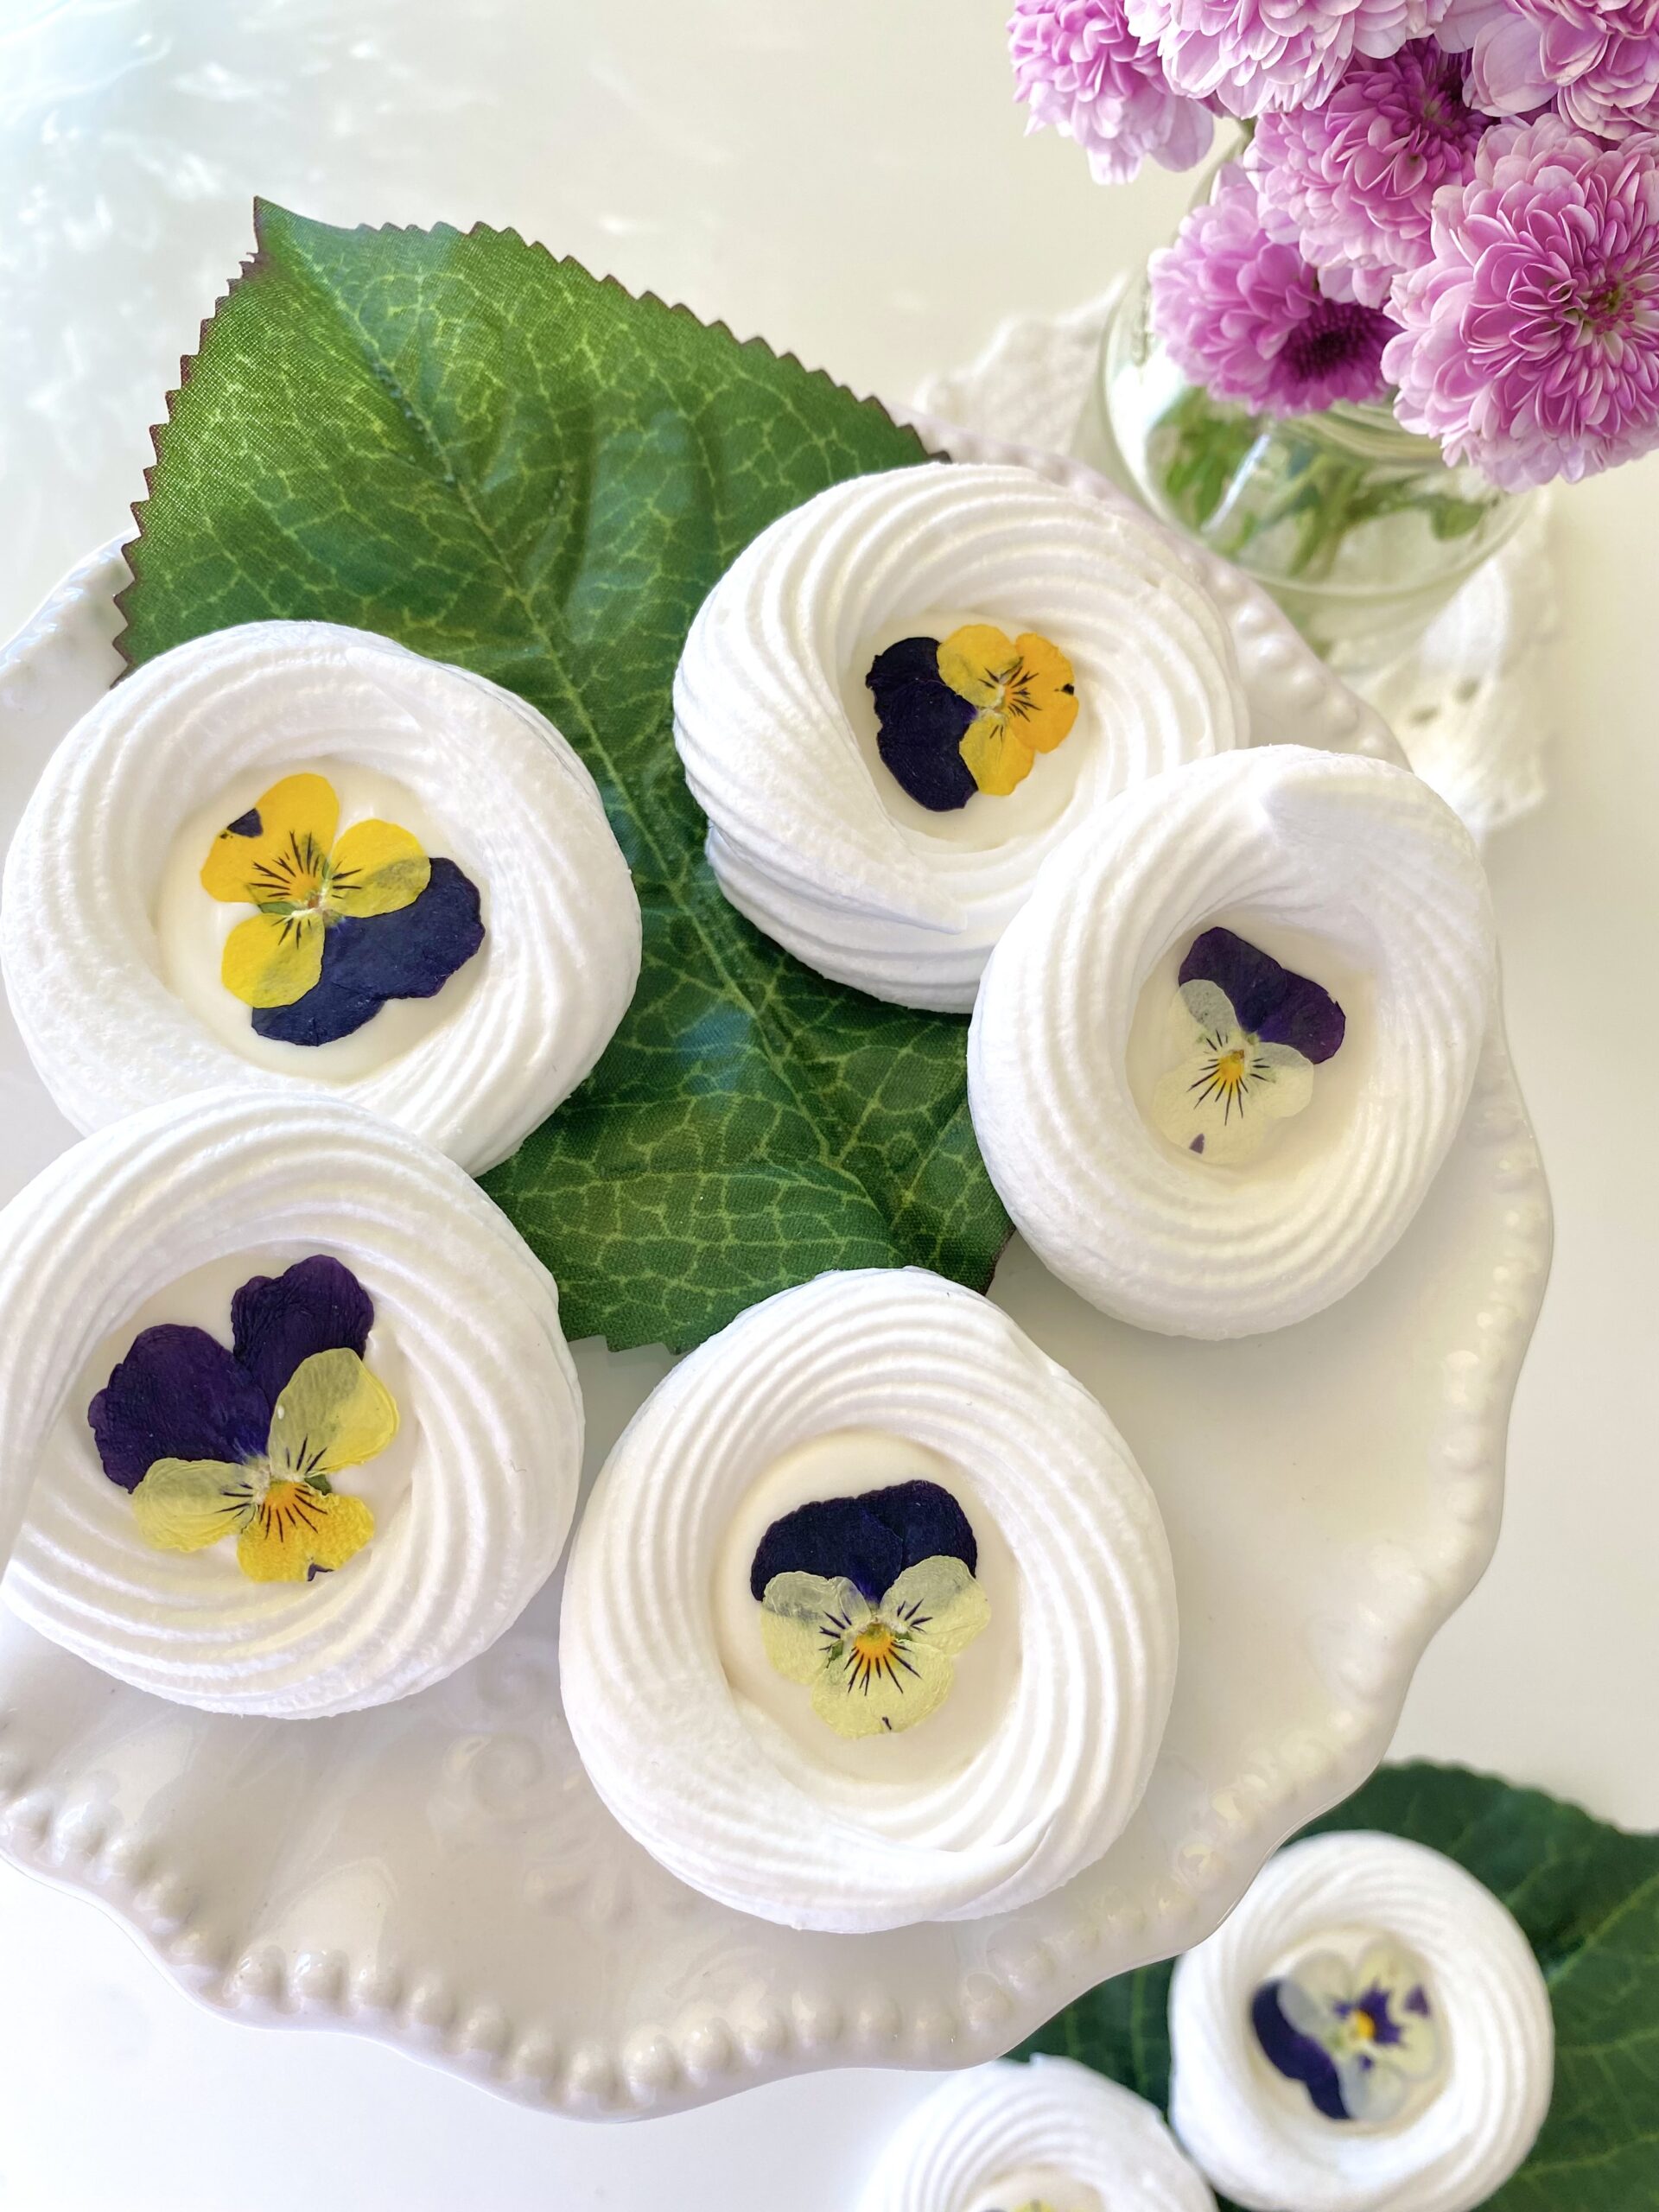
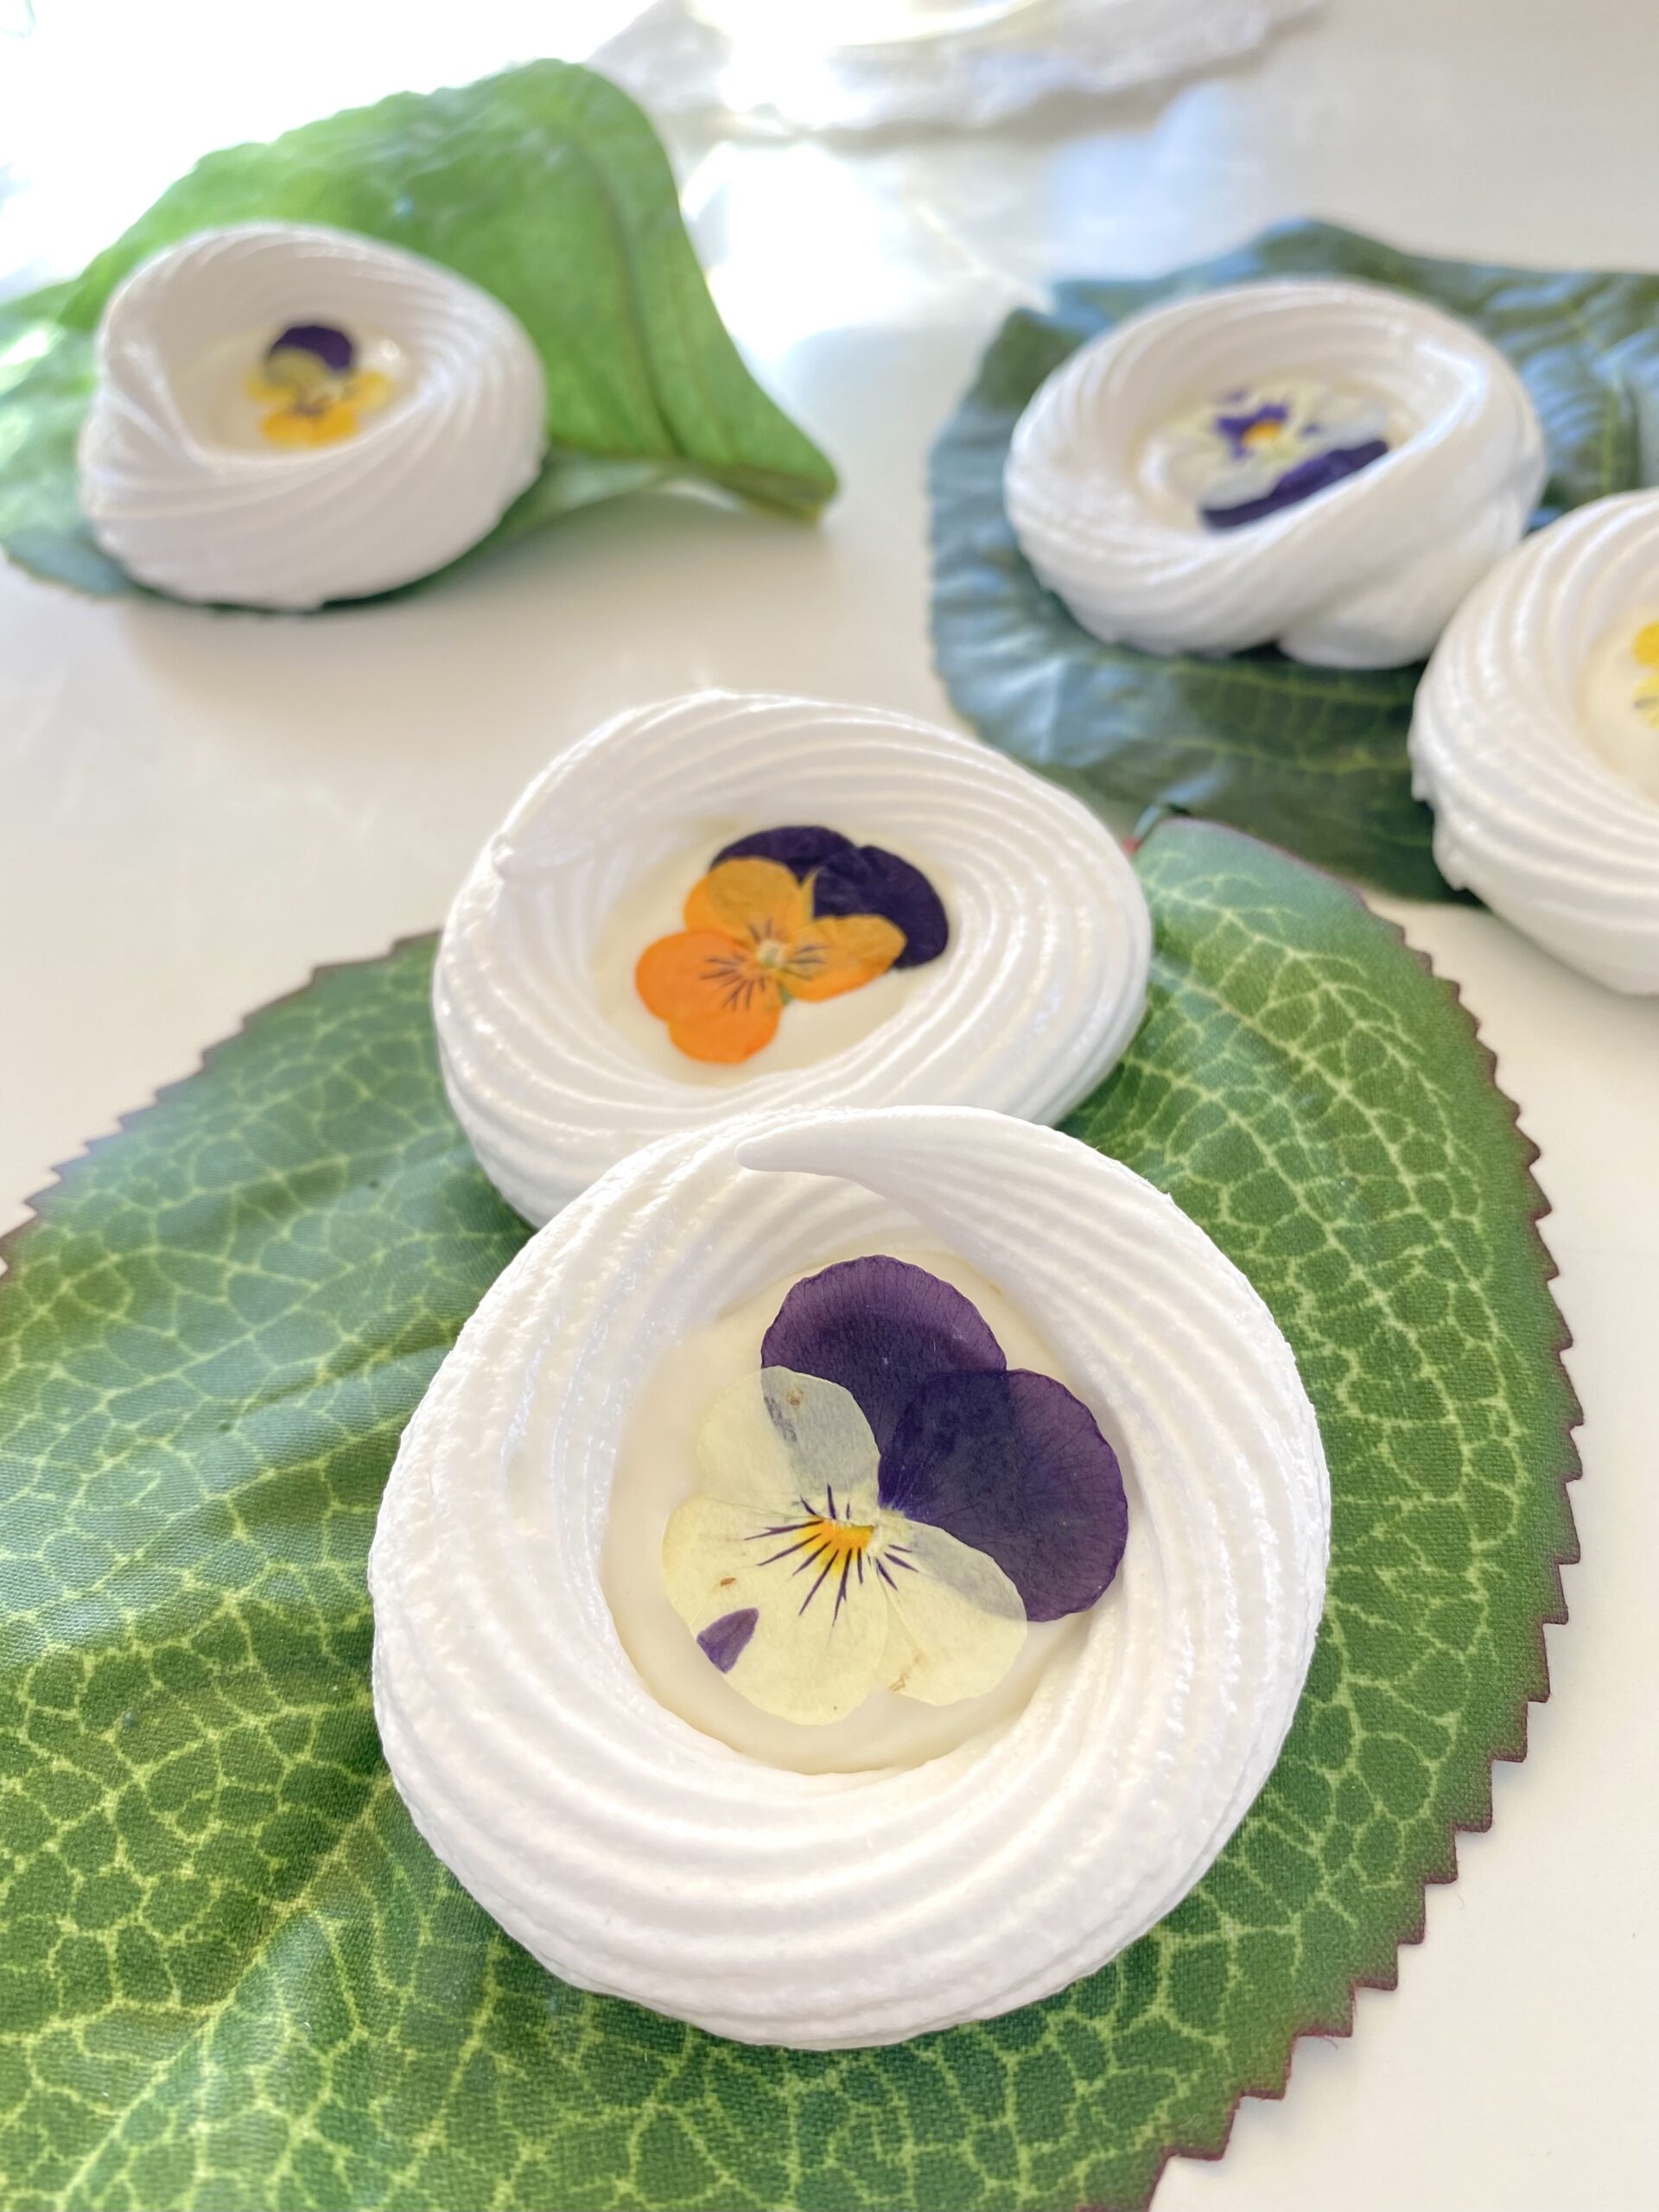
Sometimes we need a little magic in our lives. These pretty, dainty meringue cookies sparked a bit of magic in my life that I want to share with you. It started when I washed some beautiful little violas. Watching them float in a bowl of clear water was positively therapeutic. After pressing and weighing them down with a heavy book overnight, the reveal of perfectly flat, delicate blossoms was so satisfying. The process of making meringue is also very satisfying for me. I love the moment when the frothy egg and sugar mixture magically turns to glossy, billowy sweetness.

Piping the meringue circles was fun! I traced circles on the bottom of the parchment paper to use as a guide for stress-free piping. I used white chocolate to fill the center of the meringue circles, but you can also use white chocolate chips or candy melts. You can use any small edible flowers or flower petals. Feel free to express your creativity! Try using sprinkles, edible glitter or tint the meringue mixture with a few drops of gel food color.

fairy tale meringue cookies

Print Recipe
Fairy Tale Meringue Cookies
Meringue cookies filled with white chocolate and topped with pressed edible flowers
Keyword cookies
Servings
cookies
Ingredients
Pressed edible flowers
Meringue cookies
Keyword cookies
Servings
cookies
Ingredients
Pressed edible flowers
Meringue cookies
Instructions
Pressed edible flowers
  1. Gently wash edible flowers. Pat dry with paper towels.
  2. Press between parchment paper. Weigh down with a heavy book for at least 24 hours.
Meringue cookies
  1. Beat egg whites with an electric mixer at medium speed until frothy.
  2. Add cream of tartar and beat to soft peaks.
  3. Continue beating and gradually add sugar and almond extract.
  4. Turn mixer to high speed and beat to glossy, stiff peaks.
  5. Preheat oven to 200ºF. Line two large baking sheets with parchment paper.
  6. Transfer meringue to a piping bag fitted with a large star tip. *I used Ateco #864
  7. Pipe two-inch circles about an inch apart onto prepared baking sheets.
  8. Bake for one hour. Turn off oven and let meringues cool in oven.
  9. In a microwave safe container, microwave white chocolate for 10 second intervals until melted or melt on the stovetop in a double boiler.
  10. Transfer melted white chocolate to a squeeze bottle or a piping bag. Fill holes of meringue circles with white chocolate. Top each with a pressed flower.
  11. Let chocolate set at room temperature. Do not refrigerate.
Recipe Notes

*To find Ateco tip #864, click here.

Honeydukes Inspired Pink Coconut Ice Cake

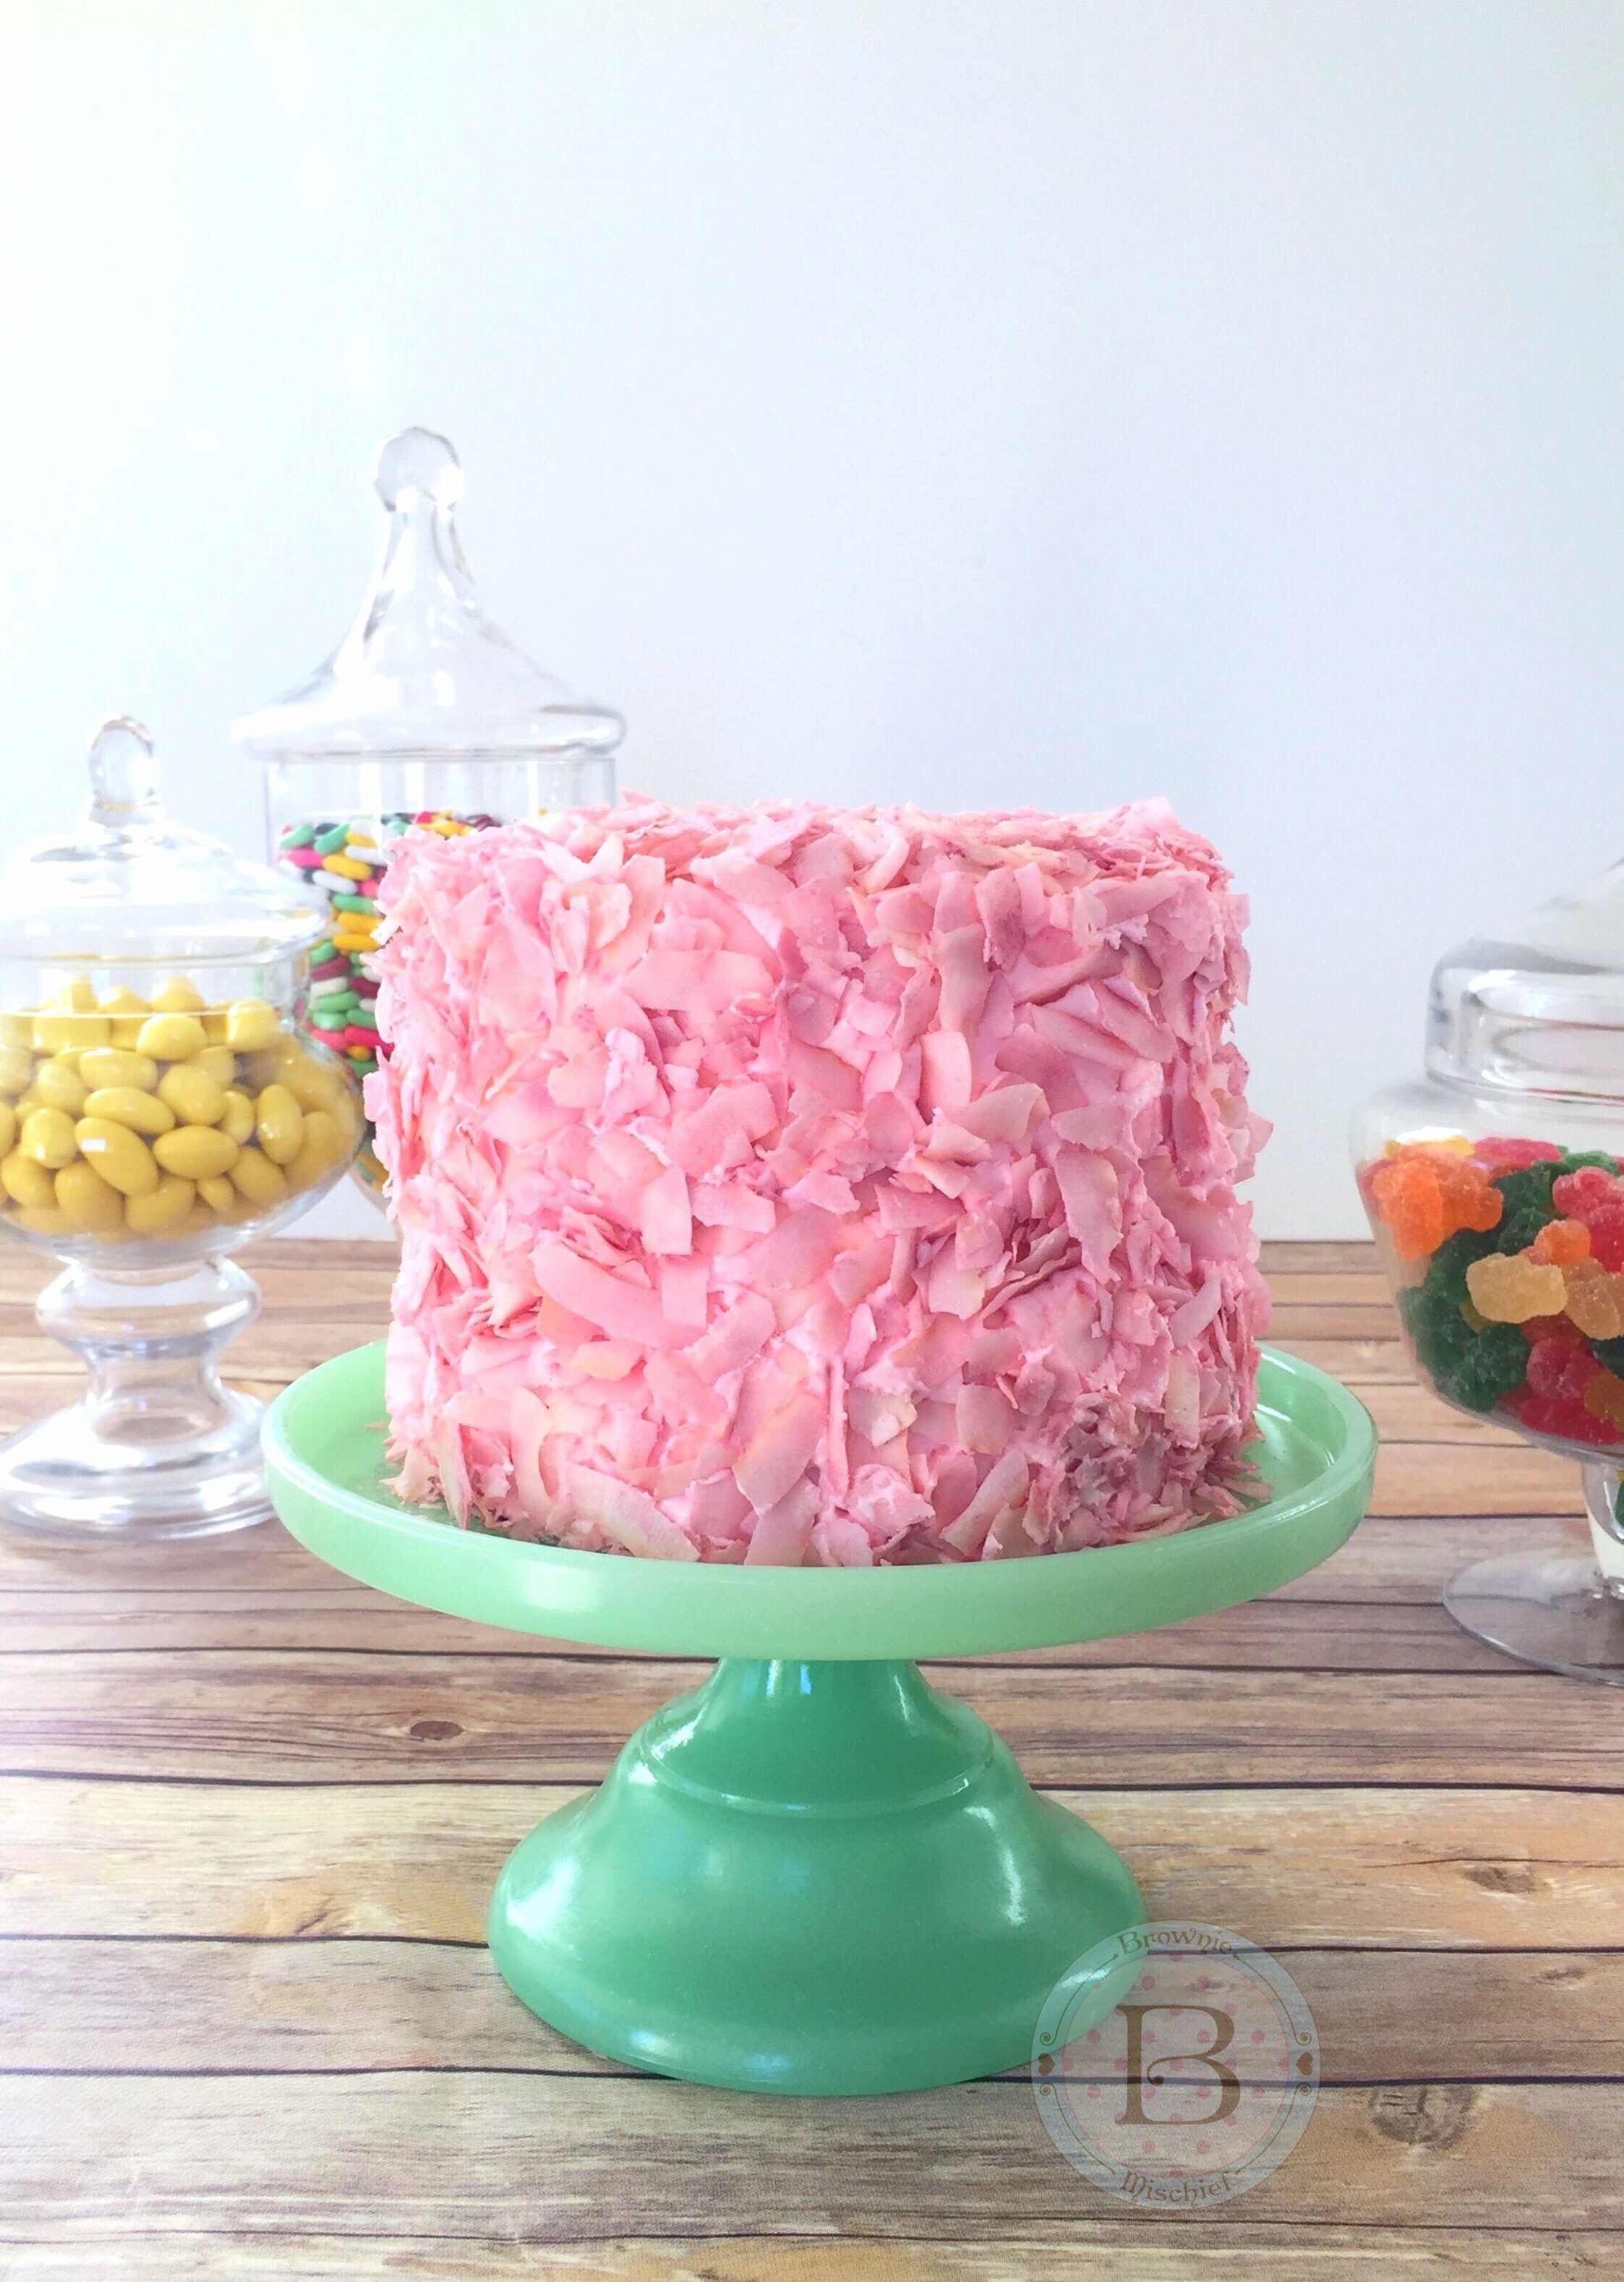
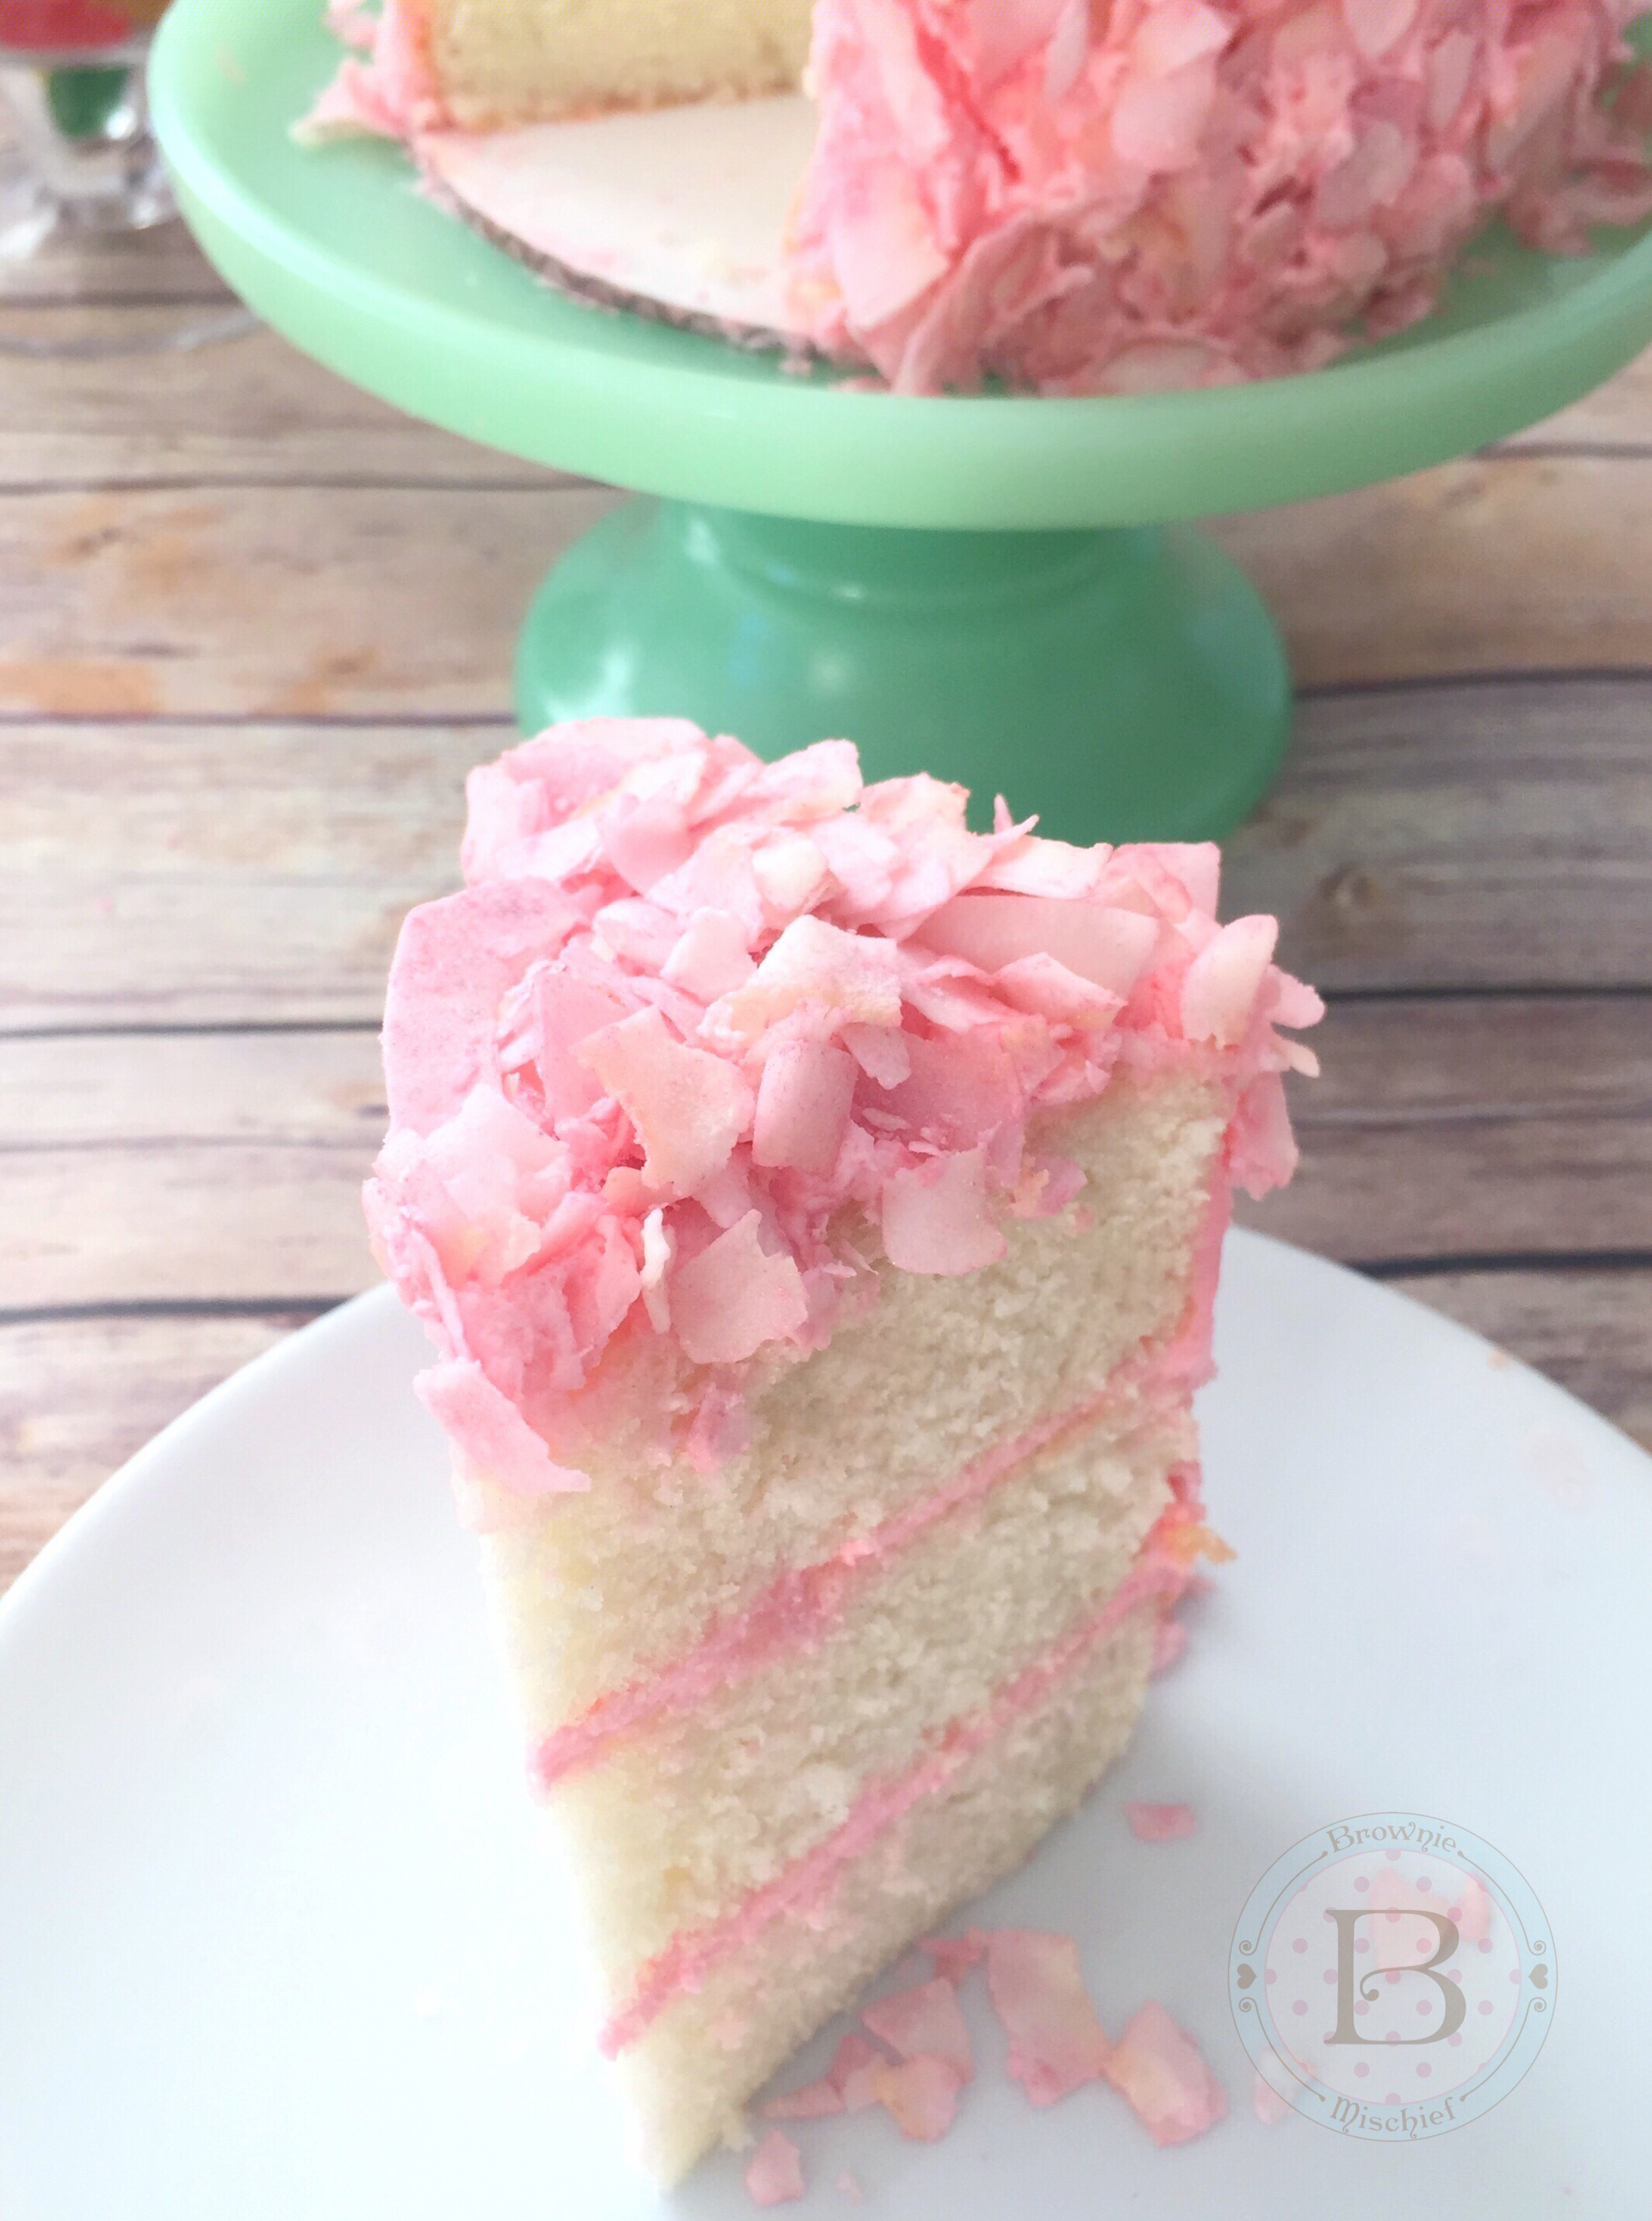
Honeydukes Inspired Pink Coconut Ice Cake by Brownie Mischief

I recently enjoyed a girls’ day out at Universal Studios Hollywood. My daughter is a Harry Potter fan, so of course we beelined straight to the Wizarding World of Harry Potter upon arrival at the theme park. We were spellbound by the ominous looking Hogwart’s Castle and the sparkling snow-topped shops of Hogsmeade. My daughter was in Harry Potter fan heaven, flitting around Hogsmeade, testing out her interactive wand and sipping some refreshing Butter Beer. It’s definitely a must-try

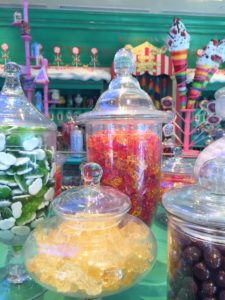
Our favorite shop was Honeydukes sweet shop, where anyone with a sweet tooth can get his or her candy wishes fulfilled. The candy selection was nothing short of magical. We picked up some Chocolate Flies, a Chocolate Frog and some Pink Coconut Ice candy.

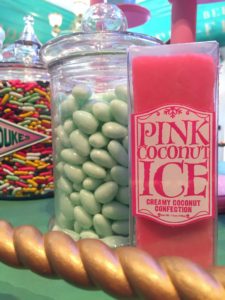
Honeydukes Candy                   Pink Coconut Ice Candy

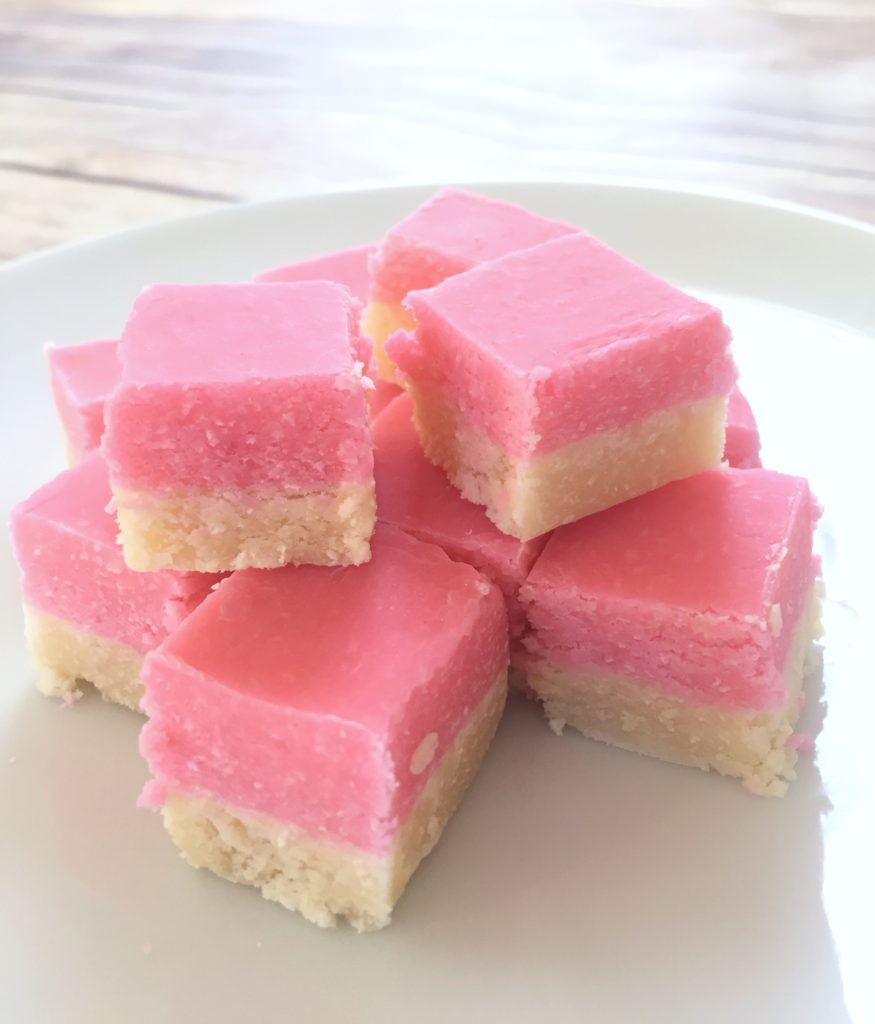
I was most excited to try the Pink Coconut Ice. I’ve been intrigued by the thought of this candy ever since it was mentioned in the book, Harry Potter and the Prisoner of Azkaban by J.K. Rowling. The Pink Coconut Ice candy is similar to a stiff fudge. It’s very sweet, so you can cut it into small squares and have plenty to share with friends.

Pink Coconut Ice Candy

I imagined the “shimmery pink squares” a little differently so, I decided to build on my imagined version of the coconut candy by making a shimmery pink coconut cake. I used my favorite coconut cake recipe and pink coconut buttercream. I tinted my buttercream with Americolor gel food color soft pink. I covered my cake in large flakes of unsweetened coconut. To find unsweetened coconut flakes, click here. I think the large flakes look more whimsical and add texture, but feel free to use whatever kind of coconut you prefer. I colored my coconut a shimmery, soft pink. Click here to see how I colored my coconut flakes.

Honeydukes Inspired Pink Coconut Ice Cake by Brownie Mischief

You don’t have to be a Harry Potter fan to appreciate this pink, fluffy, coconut-covered cake. I can imagine this pretty cake at any party or event with a pink theme. I hope you enjoy this perfectly Pink Coconut Ice Cake as much as we did!


Print Recipe


Pink Coconut Ice Cake

Moist, fluffy coconut cake with pink buttercream and coconut flakes

Course Dessert

Servings
6-inch cake (serves 6)


Ingredients
Coconut Cake

Pink Coconut Buttercream

Pink Coconut Flakes

Course Dessert

Servings
6-inch cake (serves 6)


Ingredients
Coconut Cake

Pink Coconut Buttercream

Pink Coconut Flakes


Instructions
Coconut Cake
  1. Preheat oven to 350º F. Grease three 6-inch cake pans.

  2. In a large bowl, sift together flour, baking powder and salt. Set aside.

  3. In a large bowl, beat butter, sugar and oil together with an electric mixer at medium speed, until light and fluffy, about 2-3 minutes.

  4. Beat in coconut extract. Gradually beat in egg whites until mixture is well combined, stopping to scrape the sides of the bowl.

  5. Beat in flour mixture in three additions, alternating with coconut milk, stopping to scrape the sides of the bowl.

  6. Pour batter into prepared pans, evenly distributing batter between the pans. Bake for 28-32 minutes, until a toothpick inserted into the center of pans comes out clean.

  7. Place pans on wire rack to cool for 10 minutes. Remove cakes from pans and place on rack to cool completely.

Pink Coconut Buttercream
  1. In a large bowl, beat butter with an electric mixer on medium speed, until light and fluffy.

  2. Add salt. Beat until combined.

  3. Turn off mixer. Add powdered sugar. Mix on low speed until sugar is moistened, then turn up to medium speed and beat until combined.

  4. Add coconut milk a little at a time, until desired consistency is reached. Add coconut extract and beat at medium speed until buttercream is smooth.

  5. Add gel food color with a toothpick, a little at a time, until desired consistency is reached. Beat at low speed until well blended.

  6. Fill and frost cake with Pink Coconut Buttercream.

Pink Coconut Flakes
  1. Place powdered sugar in a small bowl. Add a small amount of petal dust. Whisk together with a small whisk. Add additional petal dust until desired color is reached.

  2. Spread coconut flakes out onto a large shallow dish. Sprinkle powdered sugar mixture over coconut with a small sieve. Toss gently with gloved hands.

  3. Place cake on a baking sheet to catch excess coconut. Press colored coconut onto sides and top of cake.


Recipe Notes

*Do not substitute all-purpose flour. For best results weigh your dry ingredients. **For best results, use natural coconut extract. Imitation coconut flavorings may give your baked goods an unpleasant flavor. ***If your coconut milk is separated when you open the can, simply place it in a blender to emulsify before using. To find my favorite 6-inch cake pans, click here. To find the gel food color I used, click here. To find unsweetened coconut flakes, click here. To find the edible pearl dust I used, click here.