Maple Brown Sugar Madeleines

Maple Brown Sugar Madeleines

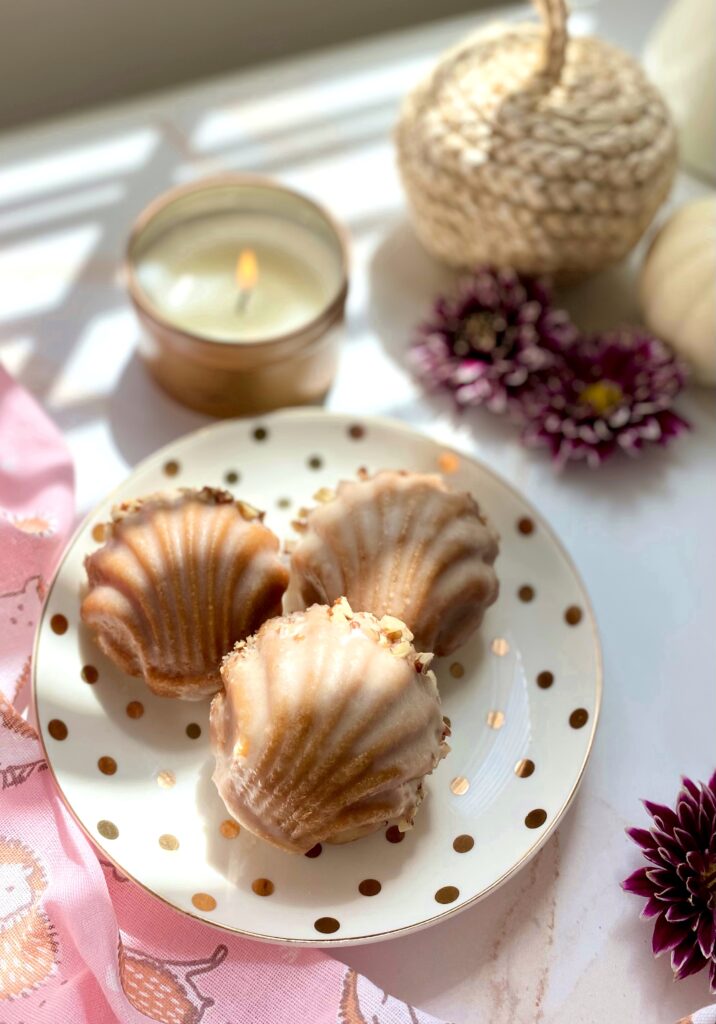
I had tea with with a well mannered hedgehog once on a crisp fall day. He brought me a tiny bouquet of flowers, which I placed in a small jam jar filled with water. He said the delightful maple scent of these Madeleines reminded him of his time in the woods, as a young hoglet. When he had his fill of the delicate little cakes, I wrapped some in a tea towel for his journey home.

As cooler weather approaches, I’m always looking for a little something to enjoy with a warm drink and a good book. Although traditional Madeleines typically remind me of spring, these Maple Brown Sugar Madeleines have a cozy fall feeling. They go well with coffee, tea or hot cocoa. If you want to make them for a friend, make the batter and keep it in the refrigerator. Bake the Madeleines right before your friend arrives.

I used a spherical Madeleine pan to make these maple scented little cakes. The Madeleines made in this pan are a little thicker and fluffier than those made in a traditional oval pan. To find the Madeleine pan I used, click here. You can certainly use a traditional pan if you prefer. Keep in mind that the baking time will be shorter and you will end up with about twice as many.

Print Recipe
Maple Brown Sugar Madeleines
Course Dessert
Cuisine French
Keyword madeleines, maple
Servings
Ingredients
Maple Brown Sugar Madeleines
Maple Icing
Course Dessert
Cuisine French
Keyword madeleines, maple
Servings
Ingredients
Maple Brown Sugar Madeleines
Maple Icing
Instructions
Maple Brown Sugar Madeleines
  1. In a medium bowl, sift together the flour, baking powder and salt.
  2. In a large bowl, beat the eggs, brown sugar and maple extract, on medium-high speed with an electric mixer, until the batter is voluminous, light in color and holds its shape when you lift the beater, about 8-10 minutes.
  3. Combine the melted butter and maple syrup.
  4. Gently fold the the flour mixture into the egg mixture in three additions, alternating with the melted butter. Fold just until combined, being careful not to deflate the batter. Make sure to scrape the bottom of the bowl to ensure that all of the flour is combined.
  5. Cover and refrigerate for 30-45 minutes.
  6. Preheat the oven to 350ºF (177ºC). Grease a spherical Madeleine pan* with nonstick spray or melted butter. Dust the pan with a light coating of flour. Tap out the excess flour.
  7. Fill the wells of the Madeleine pan with batter 3/4 full, about 2 tablespoons each, using a scoop**or a spoon. (If you're using a traditional oval Madeleine pan, fill 3/4 full, about a generous tablespoon of batter in each.)
  8. Bake until golden brown around the edges and puffed in the center, about 10-12 minutes. (Baking time for oval Madeleine pan will be about 7-8 minutes.) Do not over bake.
  9. Cool in the pan for one minute then turn Madeleines out onto a cooling rack to cool completely.
Maple Icing
  1. In a small bowl, whisk together the powdered sugar, melted butter, maple extract and one tablespoon of milk. Add additional milk as needed until your desired consistency is reached, Stir in a pinch of salt to taste.
  2. Brush icing onto the Madeleines with a pastry brush. Apply nuts to the edges of Madeleines. Serve immediately. Madeleines are best served the day they're baked.
Recipe Notes

*To find the Madeleine pan I used, click here.

**To find the scoop I used, click here.
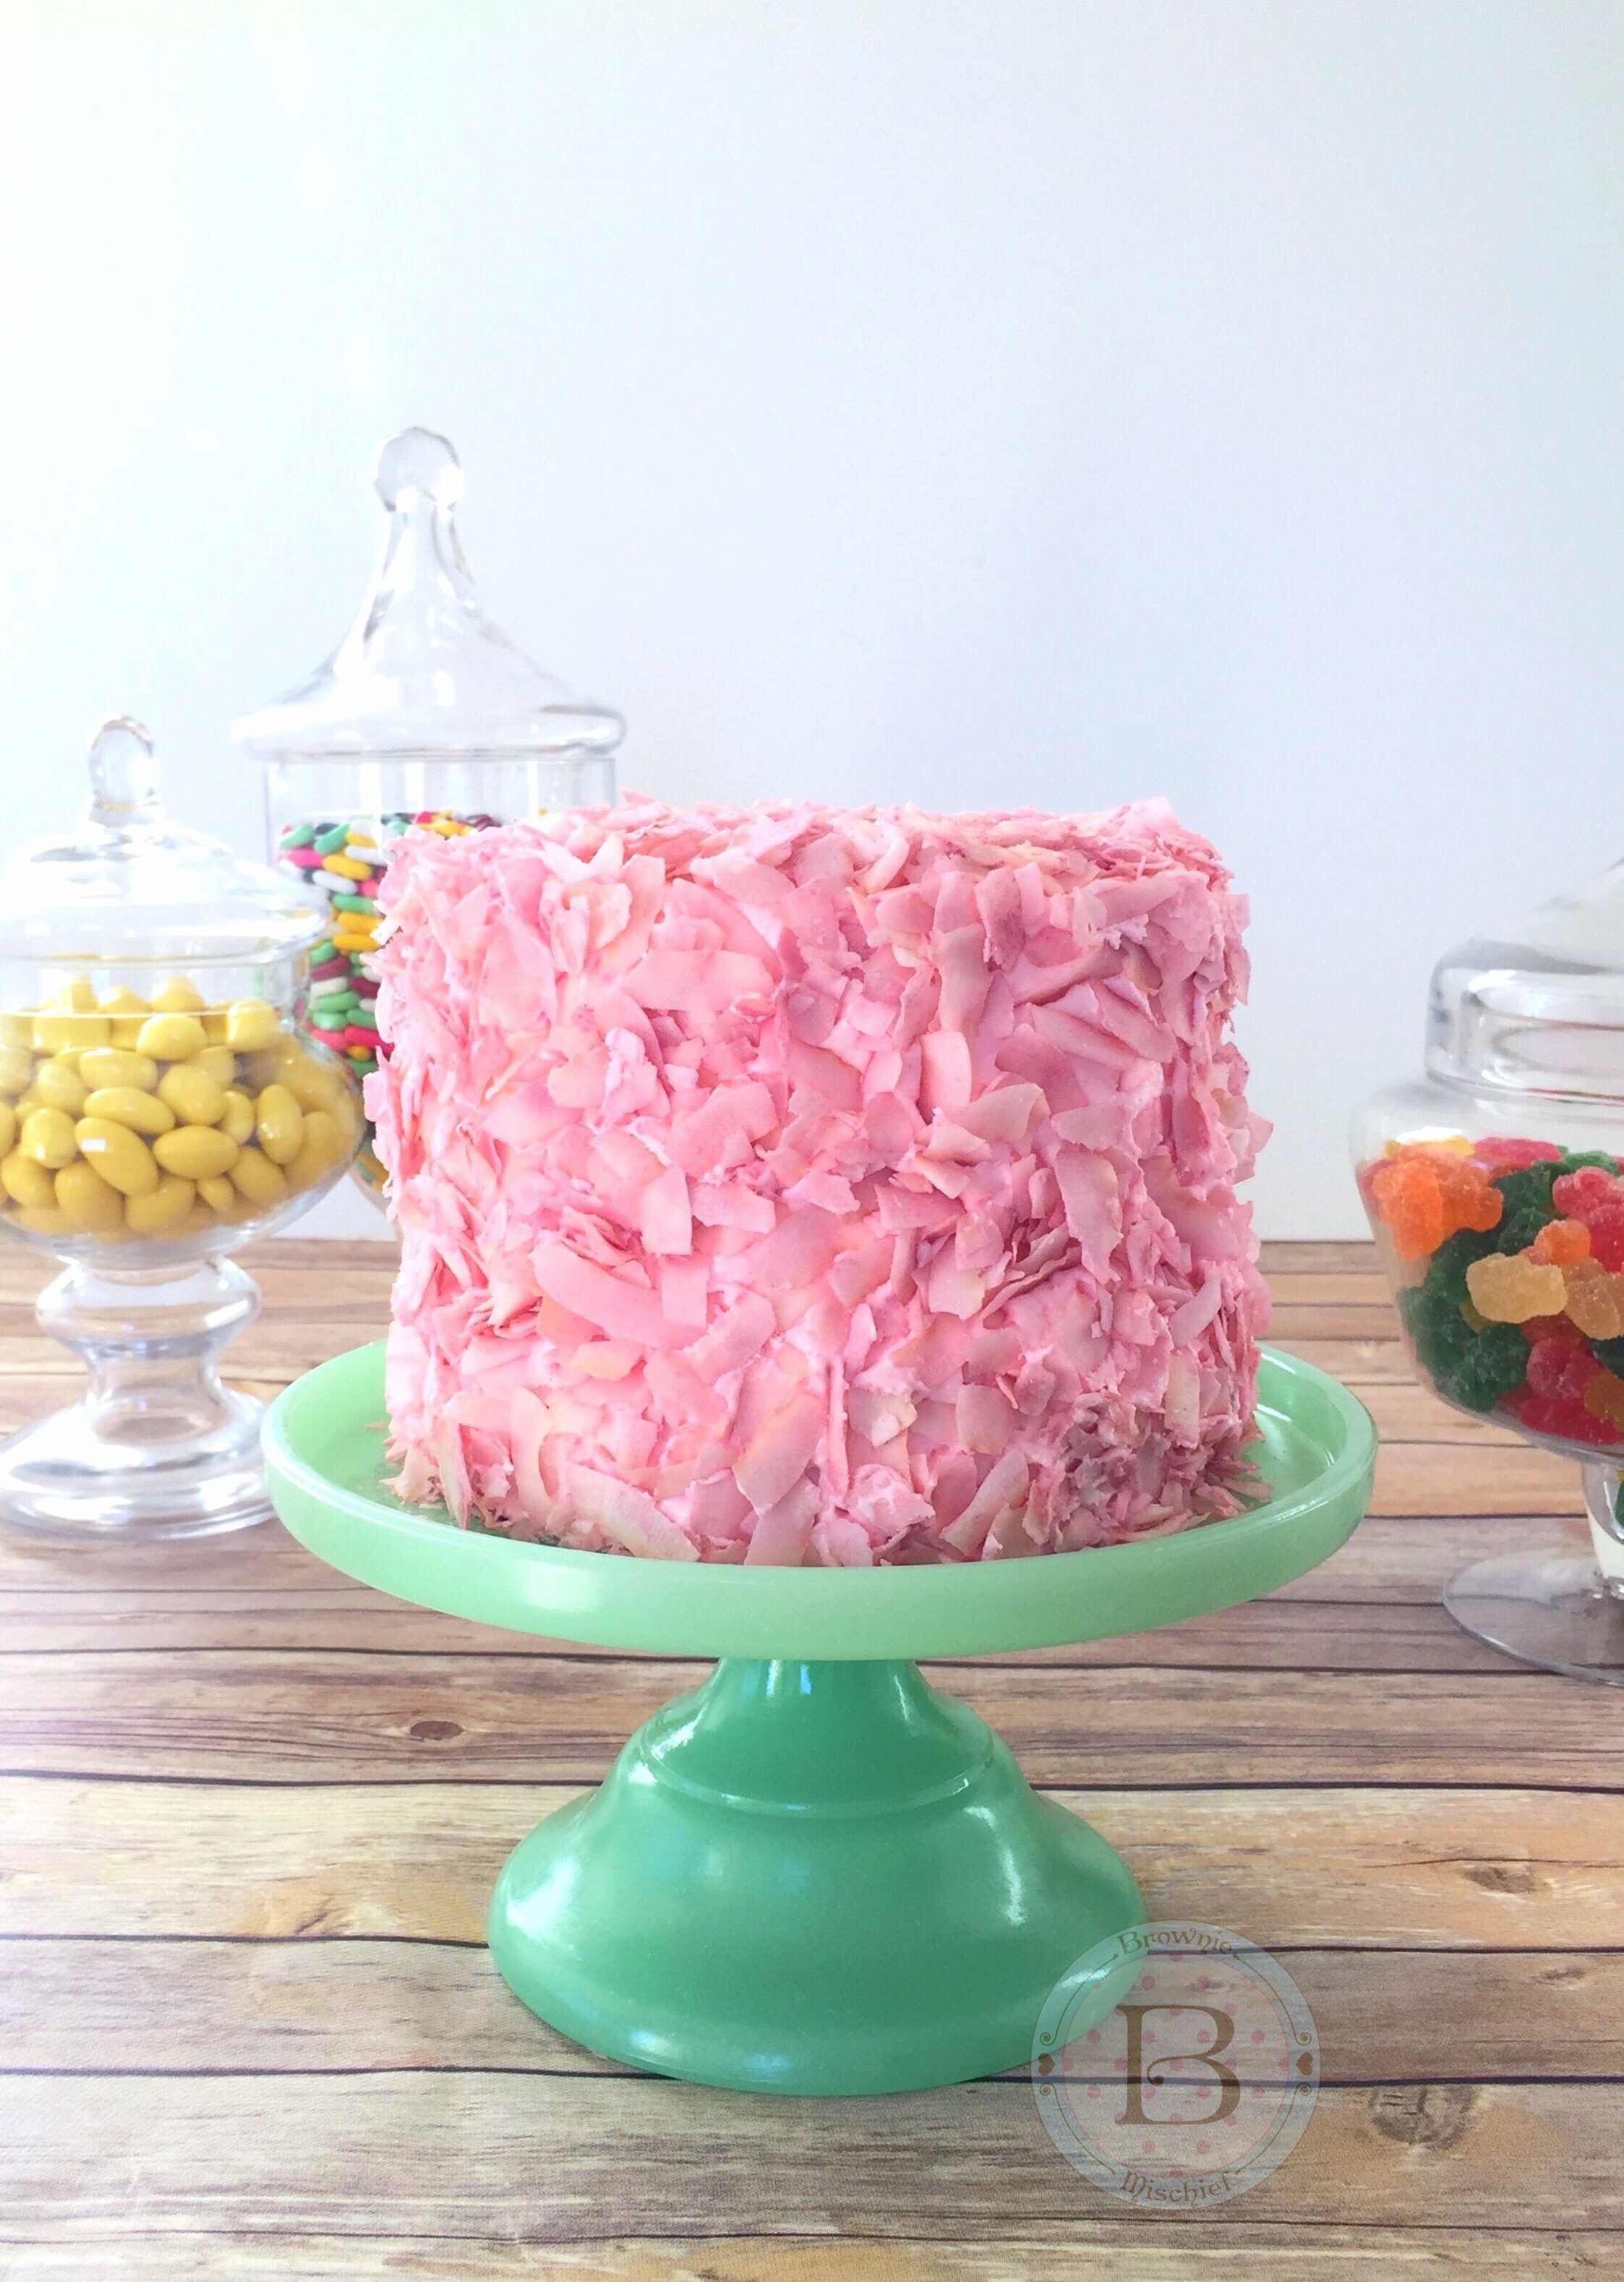
Honeydukes Inspired Pink Coconut Ice Cake

Honeydukes Inspired Pink Coconut Ice Cake by Brownie Mischief

I recently enjoyed a girls’ day out at Universal Studios Hollywood. My daughter is a Harry Potter fan, so of course we beelined straight to the Wizarding World of Harry Potter upon arrival at the theme park. We were spellbound by the ominous looking Hogwart’s Castle and the sparkling snow-topped shops of Hogsmeade. My daughter was in Harry Potter fan heaven, flitting around Hogsmeade, testing out her interactive wand and sipping some refreshing Butter Beer. It’s definitely a must-try

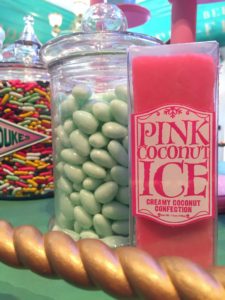
Our favorite shop was Honeydukes sweet shop, where anyone with a sweet tooth can get his or her candy wishes fulfilled. The candy selection was nothing short of magical. We picked up some Chocolate Flies, a Chocolate Frog and some Pink Coconut Ice candy.

Honeydukes Candy                   Pink Coconut Ice Candy

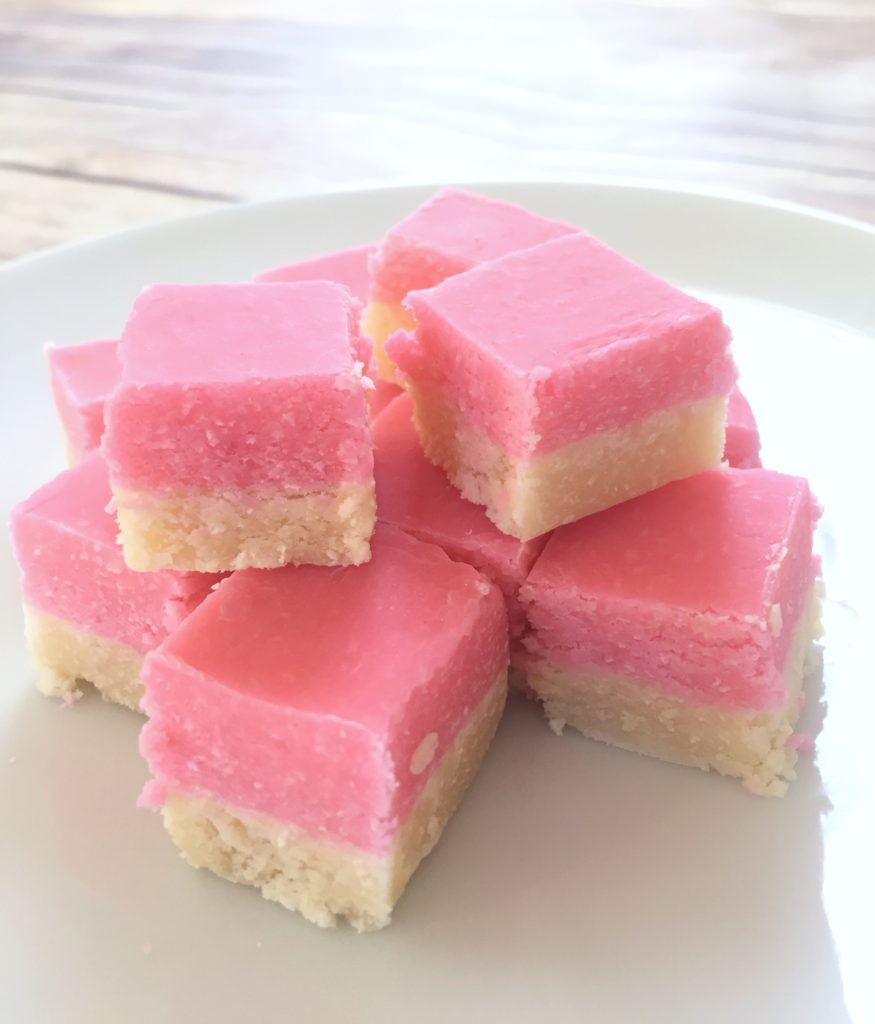
I was most excited to try the Pink Coconut Ice. I’ve been intrigued by the thought of this candy ever since it was mentioned in the book, Harry Potter and the Prisoner of Azkaban by J.K. Rowling. The Pink Coconut Ice candy is similar to a stiff fudge. It’s very sweet, so you can cut it into small squares and have plenty to share with friends.

Pink Coconut Ice Candy

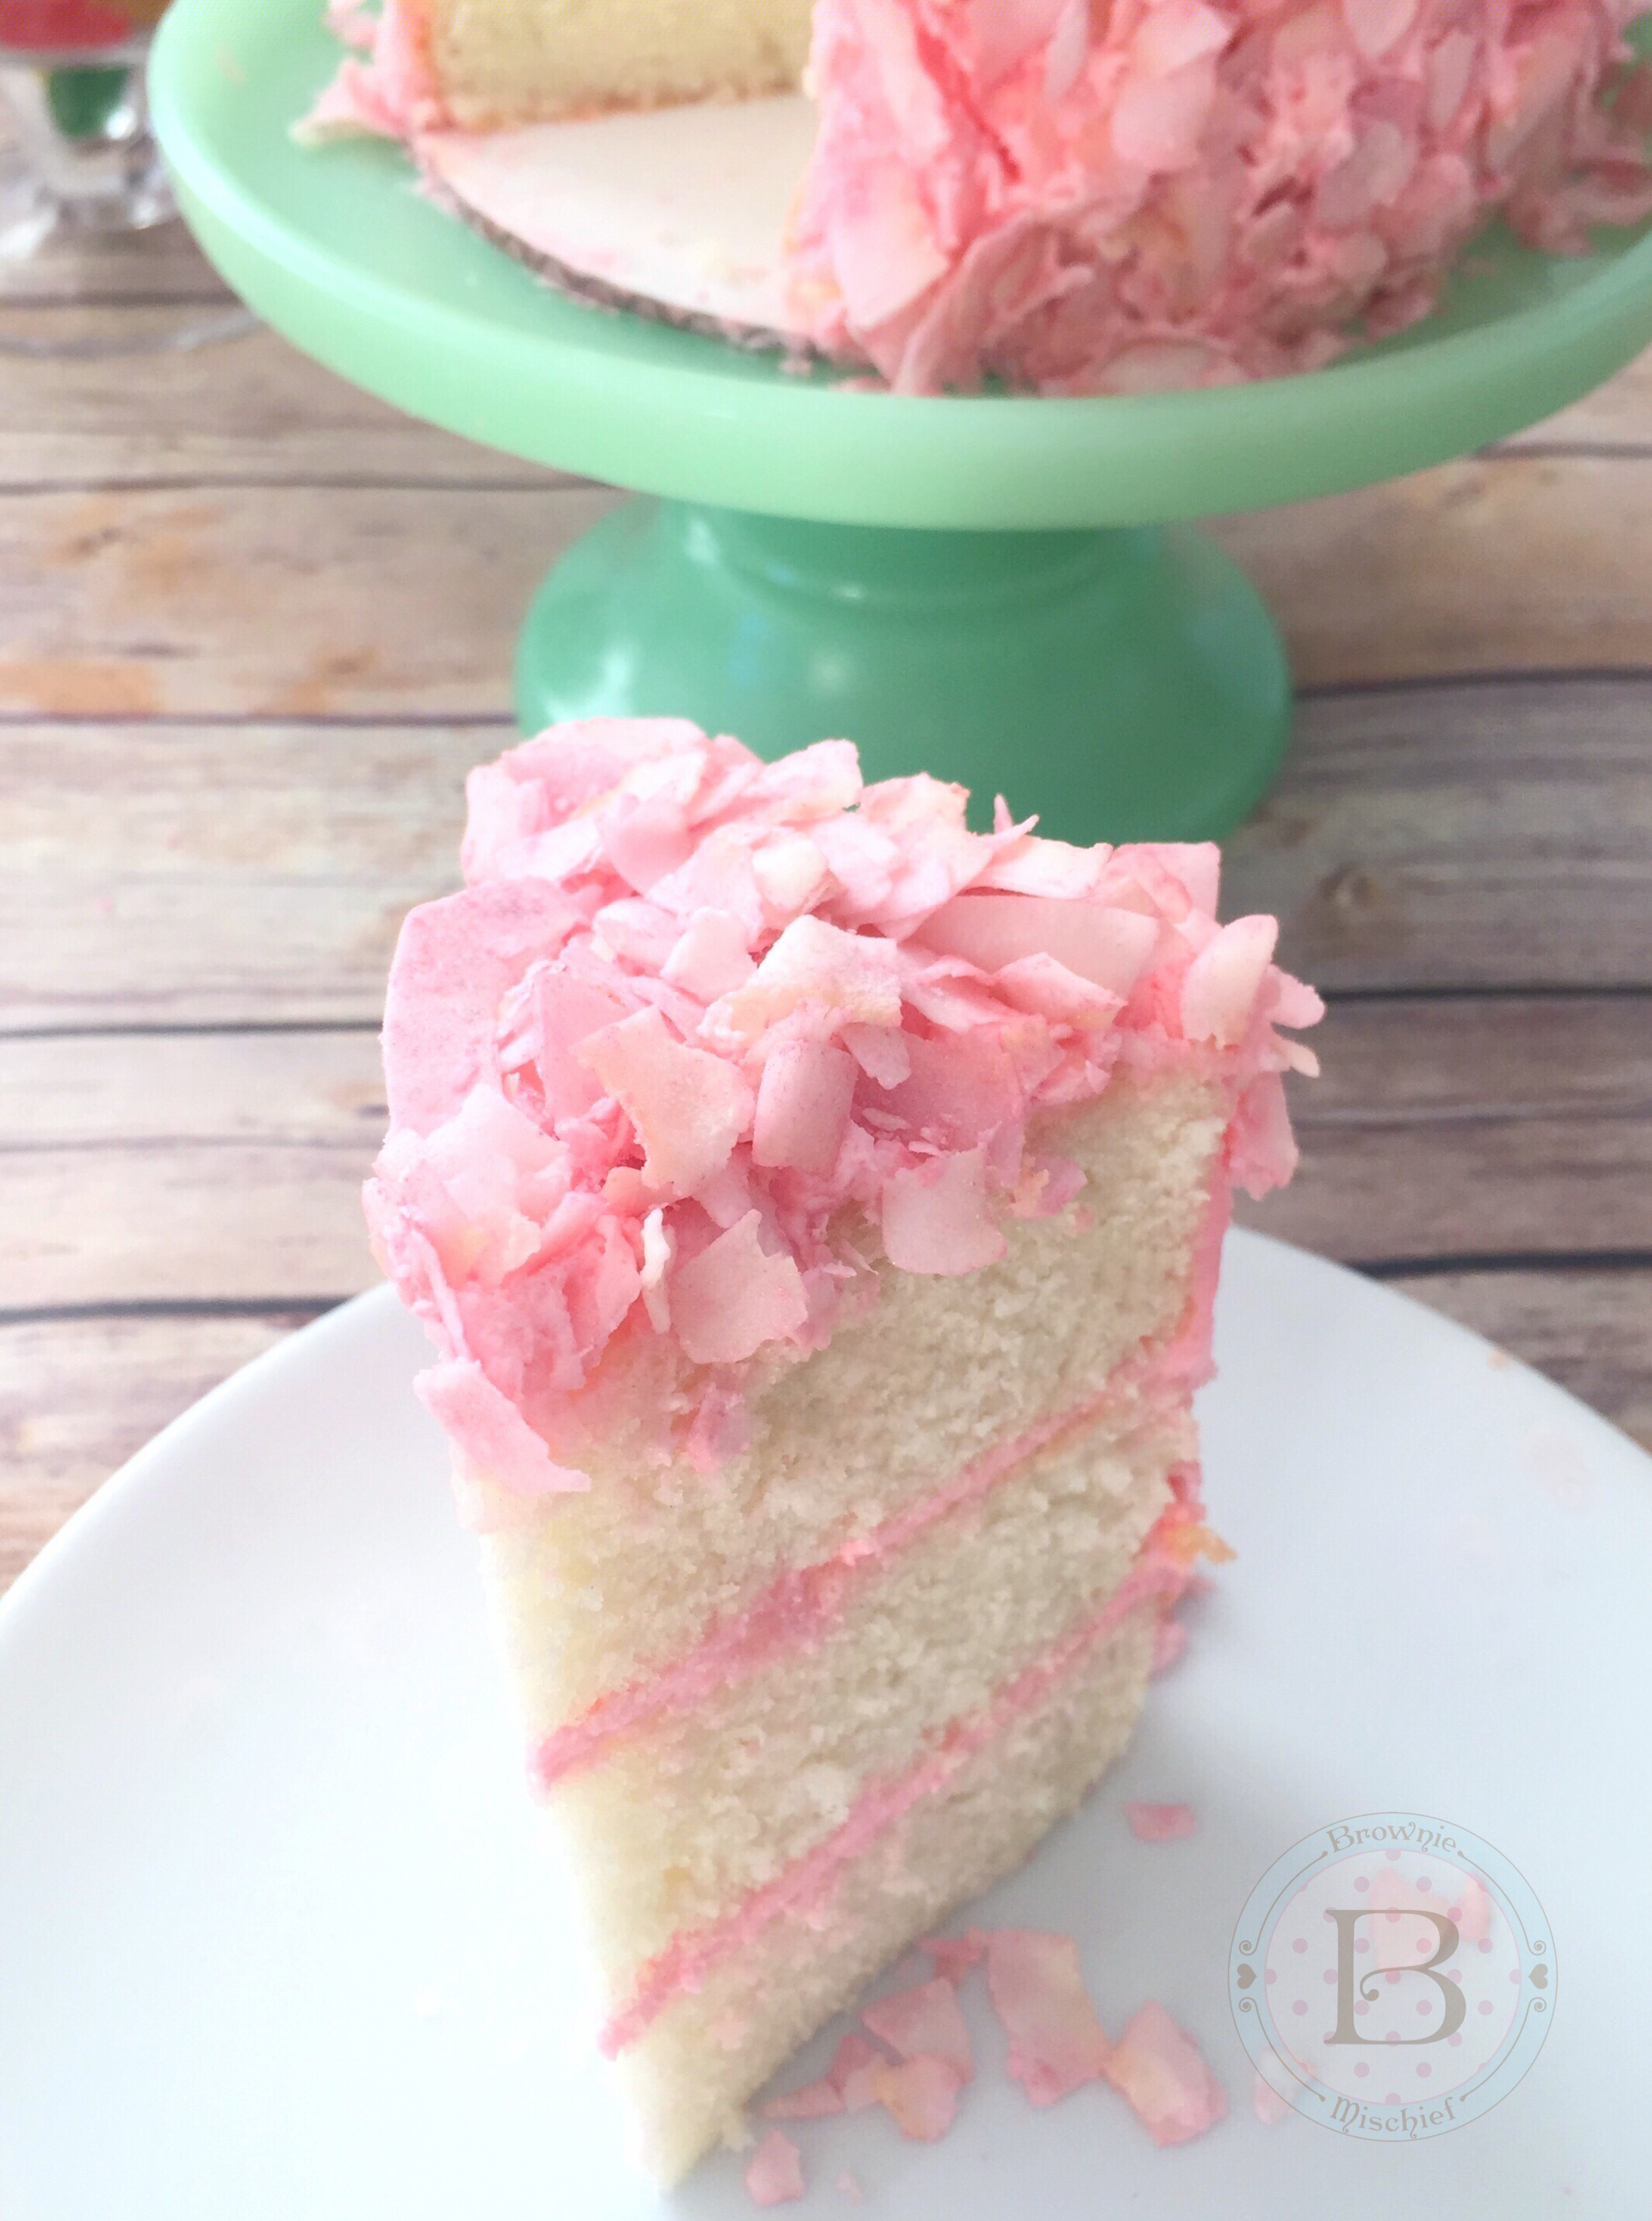
I imagined the “shimmery pink squares” a little differently so, I decided to build on my imagined version of the coconut candy by making a shimmery pink coconut cake. I used my favorite coconut cake recipe and pink coconut buttercream. I tinted my buttercream with Americolor gel food color soft pink. I covered my cake in large flakes of unsweetened coconut. To find unsweetened coconut flakes, click here. I think the large flakes look more whimsical and add texture, but feel free to use whatever kind of coconut you prefer. I colored my coconut a shimmery, soft pink. Click here to see how I colored my coconut flakes.

Honeydukes Inspired Pink Coconut Ice Cake by Brownie Mischief

You don’t have to be a Harry Potter fan to appreciate this pink, fluffy, coconut-covered cake. I can imagine this pretty cake at any party or event with a pink theme. I hope you enjoy this perfectly Pink Coconut Ice Cake as much as we did!


Print Recipe


Pink Coconut Ice Cake

Moist, fluffy coconut cake with pink buttercream and coconut flakes

Course Dessert

Servings
6-inch cake (serves 6)


Ingredients
Coconut Cake

Pink Coconut Buttercream

Pink Coconut Flakes

Course Dessert

Servings
6-inch cake (serves 6)


Ingredients
Coconut Cake

Pink Coconut Buttercream

Pink Coconut Flakes


Instructions
Coconut Cake
  1. Preheat oven to 350º F. Grease three 6-inch cake pans.

  2. In a large bowl, sift together flour, baking powder and salt. Set aside.

  3. In a large bowl, beat butter, sugar and oil together with an electric mixer at medium speed, until light and fluffy, about 2-3 minutes.

  4. Beat in coconut extract. Gradually beat in egg whites until mixture is well combined, stopping to scrape the sides of the bowl.

  5. Beat in flour mixture in three additions, alternating with coconut milk, stopping to scrape the sides of the bowl.

  6. Pour batter into prepared pans, evenly distributing batter between the pans. Bake for 28-32 minutes, until a toothpick inserted into the center of pans comes out clean.

  7. Place pans on wire rack to cool for 10 minutes. Remove cakes from pans and place on rack to cool completely.

Pink Coconut Buttercream
  1. In a large bowl, beat butter with an electric mixer on medium speed, until light and fluffy.

  2. Add salt. Beat until combined.

  3. Turn off mixer. Add powdered sugar. Mix on low speed until sugar is moistened, then turn up to medium speed and beat until combined.

  4. Add coconut milk a little at a time, until desired consistency is reached. Add coconut extract and beat at medium speed until buttercream is smooth.

  5. Add gel food color with a toothpick, a little at a time, until desired consistency is reached. Beat at low speed until well blended.

  6. Fill and frost cake with Pink Coconut Buttercream.

Pink Coconut Flakes
  1. Place powdered sugar in a small bowl. Add a small amount of petal dust. Whisk together with a small whisk. Add additional petal dust until desired color is reached.

  2. Spread coconut flakes out onto a large shallow dish. Sprinkle powdered sugar mixture over coconut with a small sieve. Toss gently with gloved hands.

  3. Place cake on a baking sheet to catch excess coconut. Press colored coconut onto sides and top of cake.


Recipe Notes

*Do not substitute all-purpose flour. For best results weigh your dry ingredients. **For best results, use natural coconut extract. Imitation coconut flavorings may give your baked goods an unpleasant flavor. ***If your coconut milk is separated when you open the can, simply place it in a blender to emulsify before using. To find my favorite 6-inch cake pans, click here. To find the gel food color I used, click here. To find unsweetened coconut flakes, click here. To find the edible pearl dust I used, click here.