Glazed Lemon Muffins

Glazed Lemon Muffins

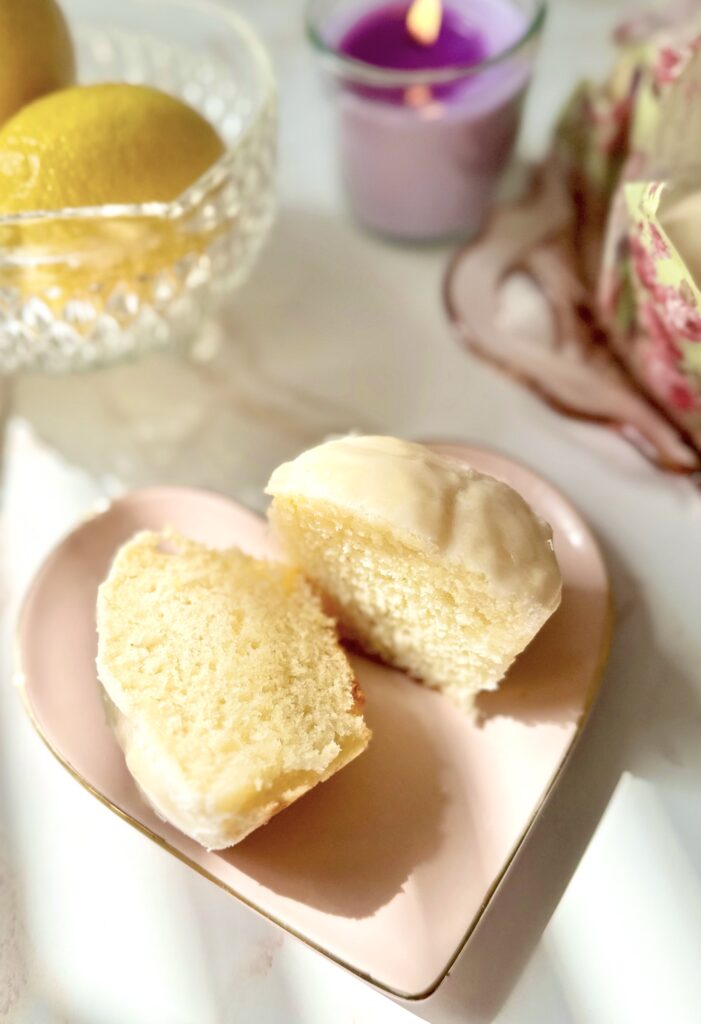
However your day is going today, it’s about to get better. I can confidently say these lemon muffins are some of the best you will ever taste. Follow the recipe exactly, weigh your ingredients and you’ll be enjoying these soft, tender muffins in no time.

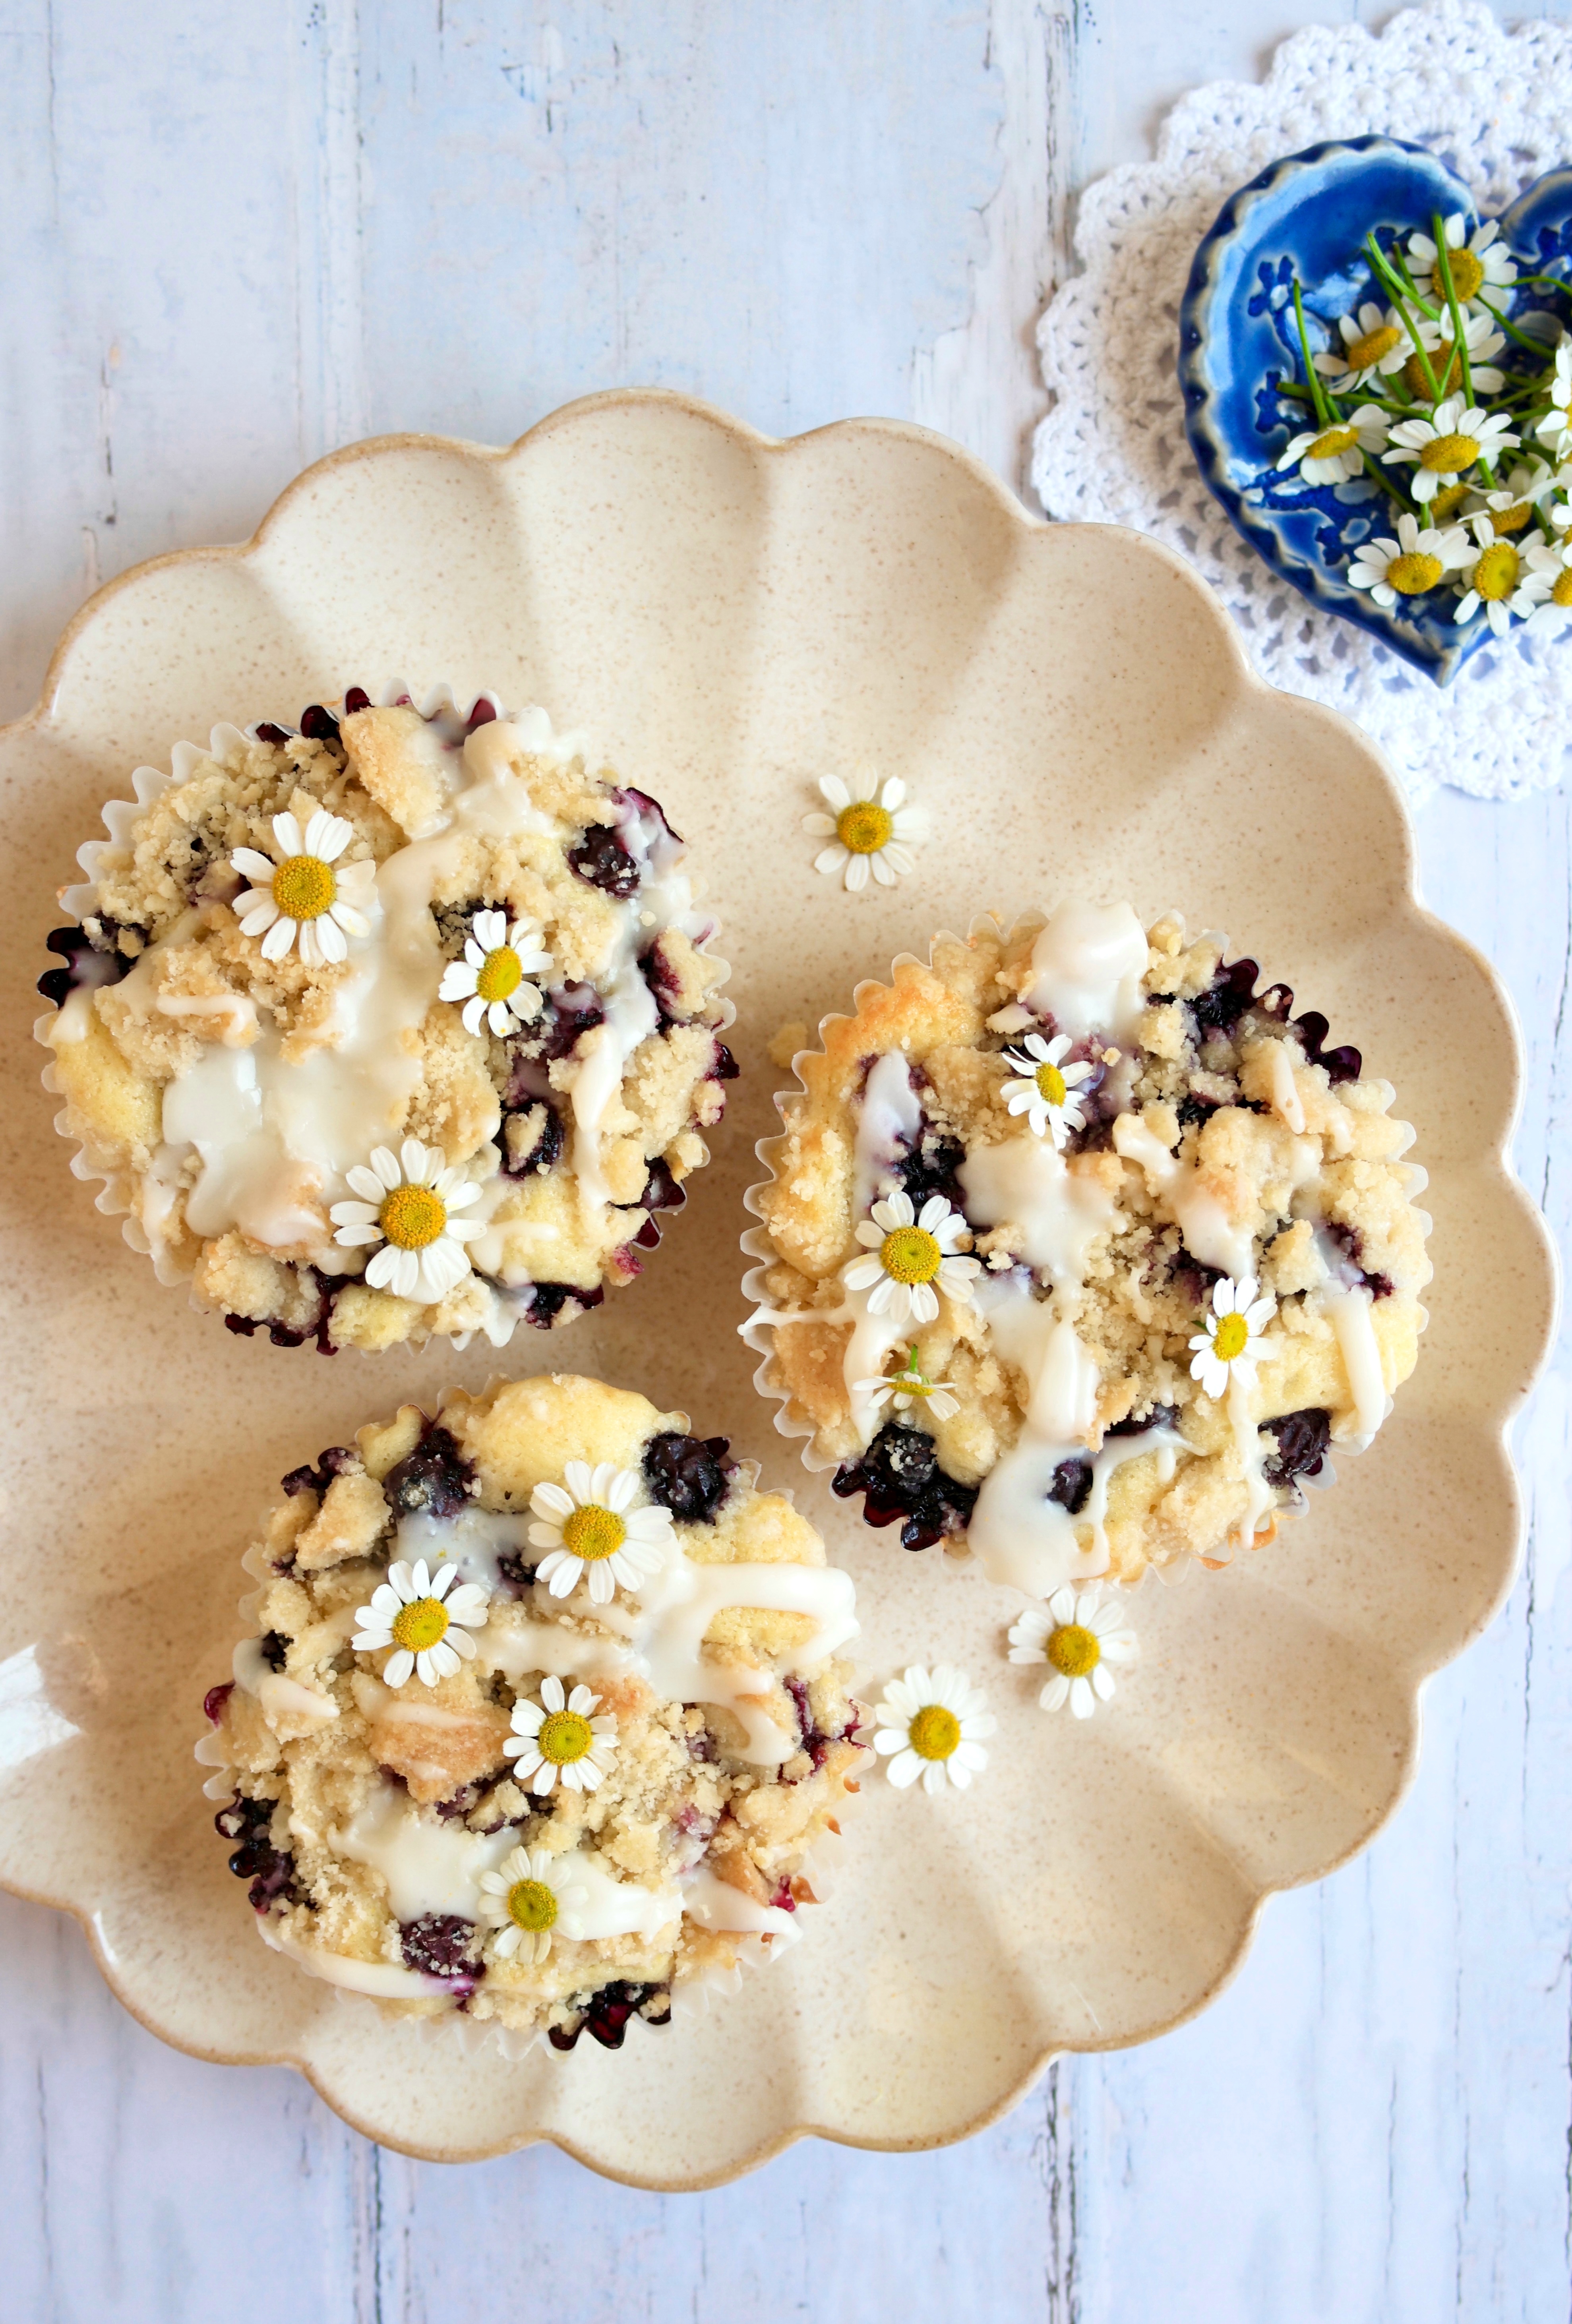
These delightful muffins are perfect for breakfast, brunch or an anytime snack. I love enjoying one with a cup of strawberry or chamomile tea.

Print Recipe
Glazed Lemon Muffins
Soft, tender lemon muffins glazed with lemon icing
Course Breakfast, Brunch
Keyword lemon, muffins
Servings
muffins
Ingredients
Muffins
Icing
Course Breakfast, Brunch
Keyword lemon, muffins
Servings
muffins
Ingredients
Muffins
Icing
Instructions
Muffins
  1. Preheat oven to 375ºF. Line a 12-serving muffin pan with tulip baking liners.* (You can also use standard muffin liners. They hold less batter so you may end up with a couple of extra muffins.)
  2. In a medium bowl, whisk together flour, baking powder, baking soda and salt.
  3. In a large bowl, cream butter, sugar and lemon zest, with an electric mixer, until light and fluffy.
  4. Add eggs one at a time and beat until well combined.
  5. Add extracts and beat until well combined.
  6. On low speed, mix in flour mixture in two additions alternating with half of sour cream after each addition. Mix just until combined. Batter will be thick.
  7. Divide batter evenly into muffin liners. (If using standard muffin liners, fill 3/4 full.)
  8. Bake at 375ºF for 5 minutes. Turn oven heat down to 350ºF and continue baking muffins until toothpick inserted in centers comes out clean, about 12-16 more minutes. Do not over bake.
  9. Transfer muffins to a cooling rack to cool completely. Brush icing onto muffin tops with a small pastry brush.
Icing
  1. Whisk icing powdered sugar, melted butter, and 1 tablespoon lemon juice together until smooth. Add additional lemon juice until desired consistency is reached.
Recipe Notes

*To find  tulip muffin liners, click here.

To find floral tulip muffin liners, click here.

Lemon Crinkle Cookies

Lemon Crinkle Cookies by Brownie Mischief
Click here to watch the video

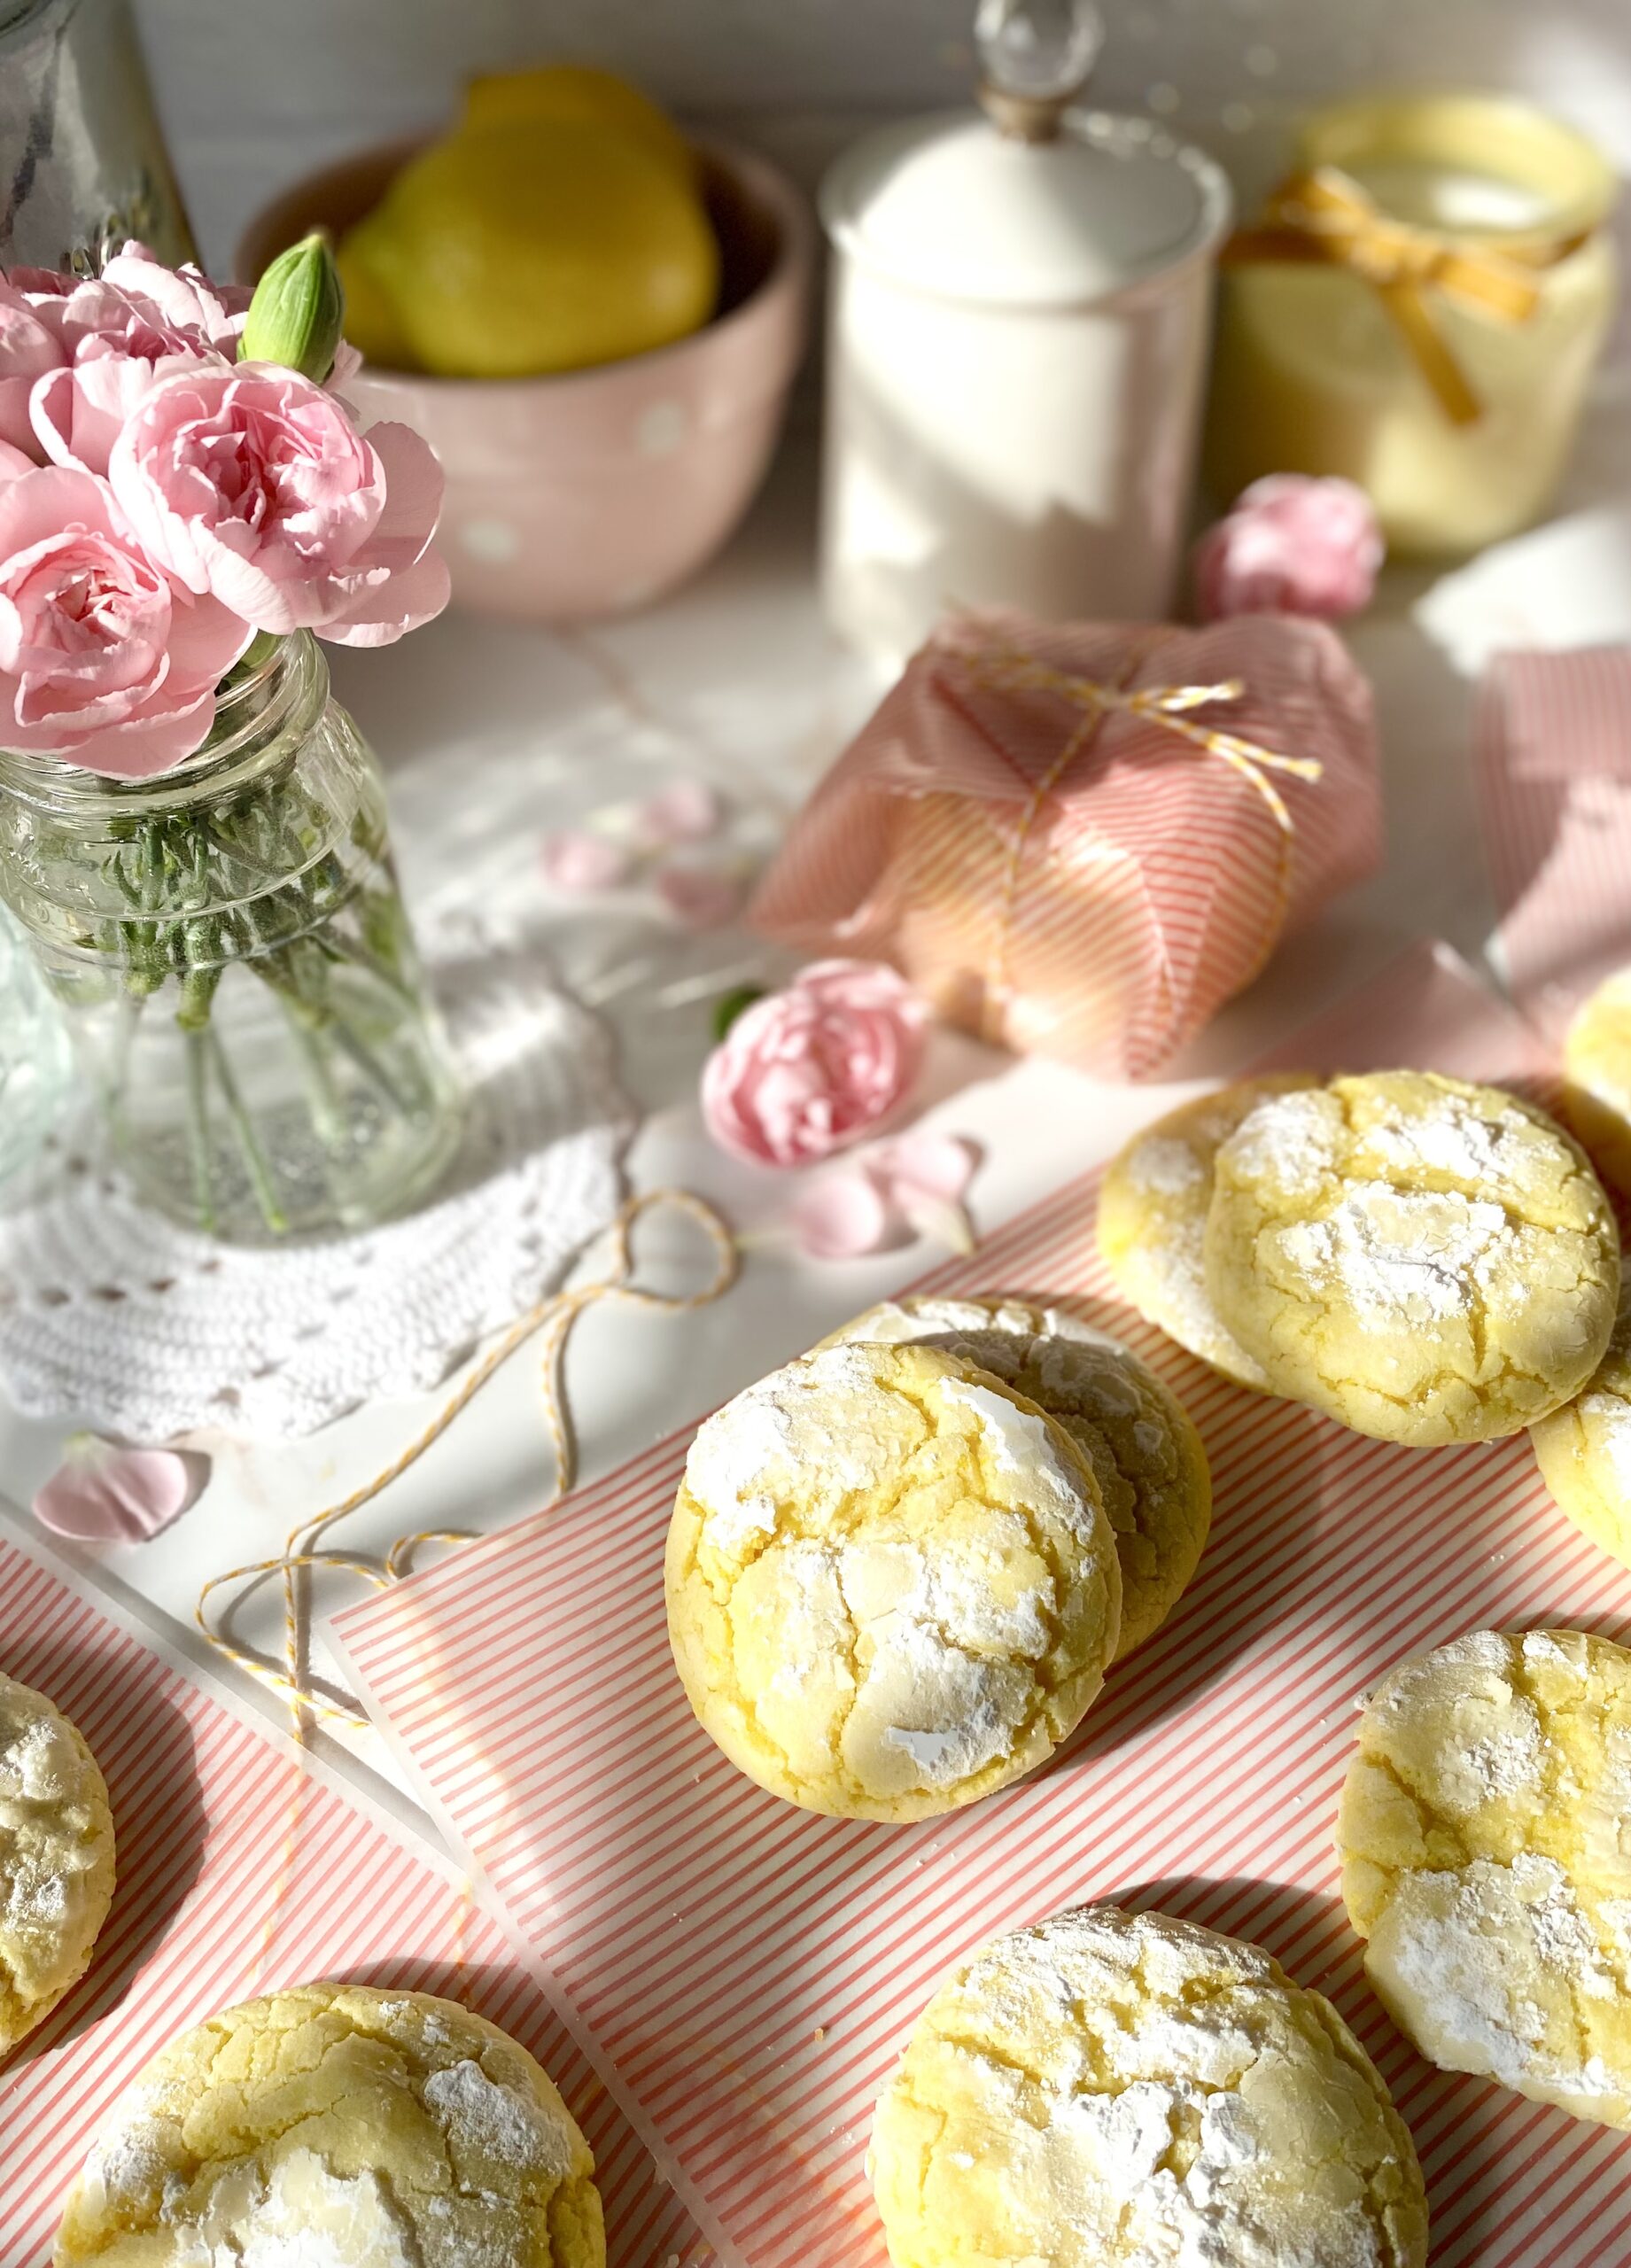
Crinkle cookies, also known as crackle cookies, have been around for a very long time. The pretty, crispy, cracked exterior and the soft, moist interior are what we love about them! There’s definitely no shortage of recipes for crinkles out there, everything from chocolate to red velvet. I even saw an audacious cookie company selling lemon crinkles for twelve dollars each, more money than it will cost for this entire batch! So many of the recipes I tried were disappointing, especially the ones made with cake mix. So I created my own version and I’m sharing it with you. Here’s to making sure delicious lemon crinkle cookies are available for all to enjoy, not just a select few.

This recipe requires a bit of chilling, which I know many people don’t like because they’re impatient. I happen to be one of those people. Old fashioned crinkle cookies require about 3 hours of chilling. My recipe has the addition of cornstarch, which helps prevent spreading and allows for a shorter chilling time. As an added bonus, cornstarch makes the cookies more tender. Win win!

Fresh lemon zest and lemon juice in these cookies is crucial to the best lemon flavor. A bit of pure lemon extract is added to enhance that flavor. Don’t be tempted to use imitation extracts. The flavor will disappoint you. I added two drops of lemon yellow food color, which made them so pretty they look like pure sunshine!

Print Recipe
Lemon Crinkle Cookies
Lemon cookies with a crackled, crispy exterior and a soft, tender interior
Course Dessert
Servings
cookies
Ingredients
Course Dessert
Servings
cookies
Ingredients
Instructions
  1. In a medium bowl, whisk together flour, cornstarch, baking powder, salt and baking soda. Set aside.
  2. In a large bowl, cream butter, sugar and lemon zest together until light and fluffy.
  3. Mix in egg until well combined.
  4. Mix in lemon juice and extracts until well combined.
  5. Add dry ingredients and mix just until combined.
  6. Add food color, if using, and stir to combine.
  7. Refrigerate cookie dough for 30 minutes to one hour.
  8. Preheat oven to 350ºF. Line two large cookie sheets with parchment paper.
  9. Roll cookies into balls, about 2 tablespoons each. **I used a #30 cookie scoop.
  10. Roll balls dough balls generously in powdered sugar.
  11. Place two inches apart onto prepared baking sheets.
  12. Bake for 10-12 minutes. Let cool on cookie sheet for one minute then transfer to cooling rack.
Recipe Notes

*To find Americolor lemon yellow gel food color, click here.

**To find a #30 cookie scoop, click here.

To find the striped wax paper pictured above, click here.


Raspberry Lemonade Brownies

Raspberry Lemonade Brownies by Brownie Mischief

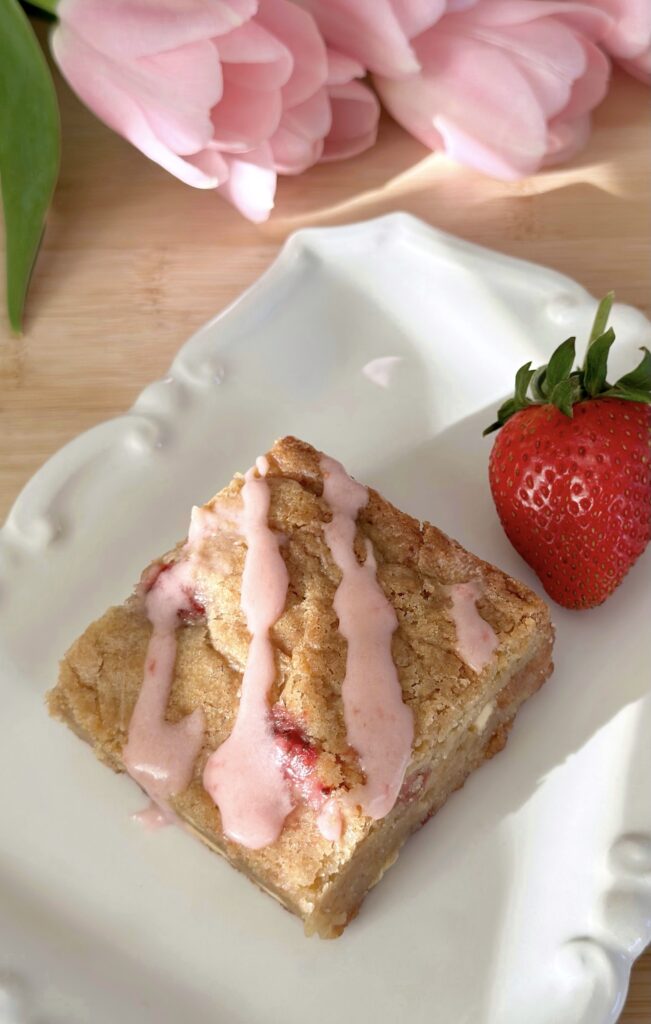
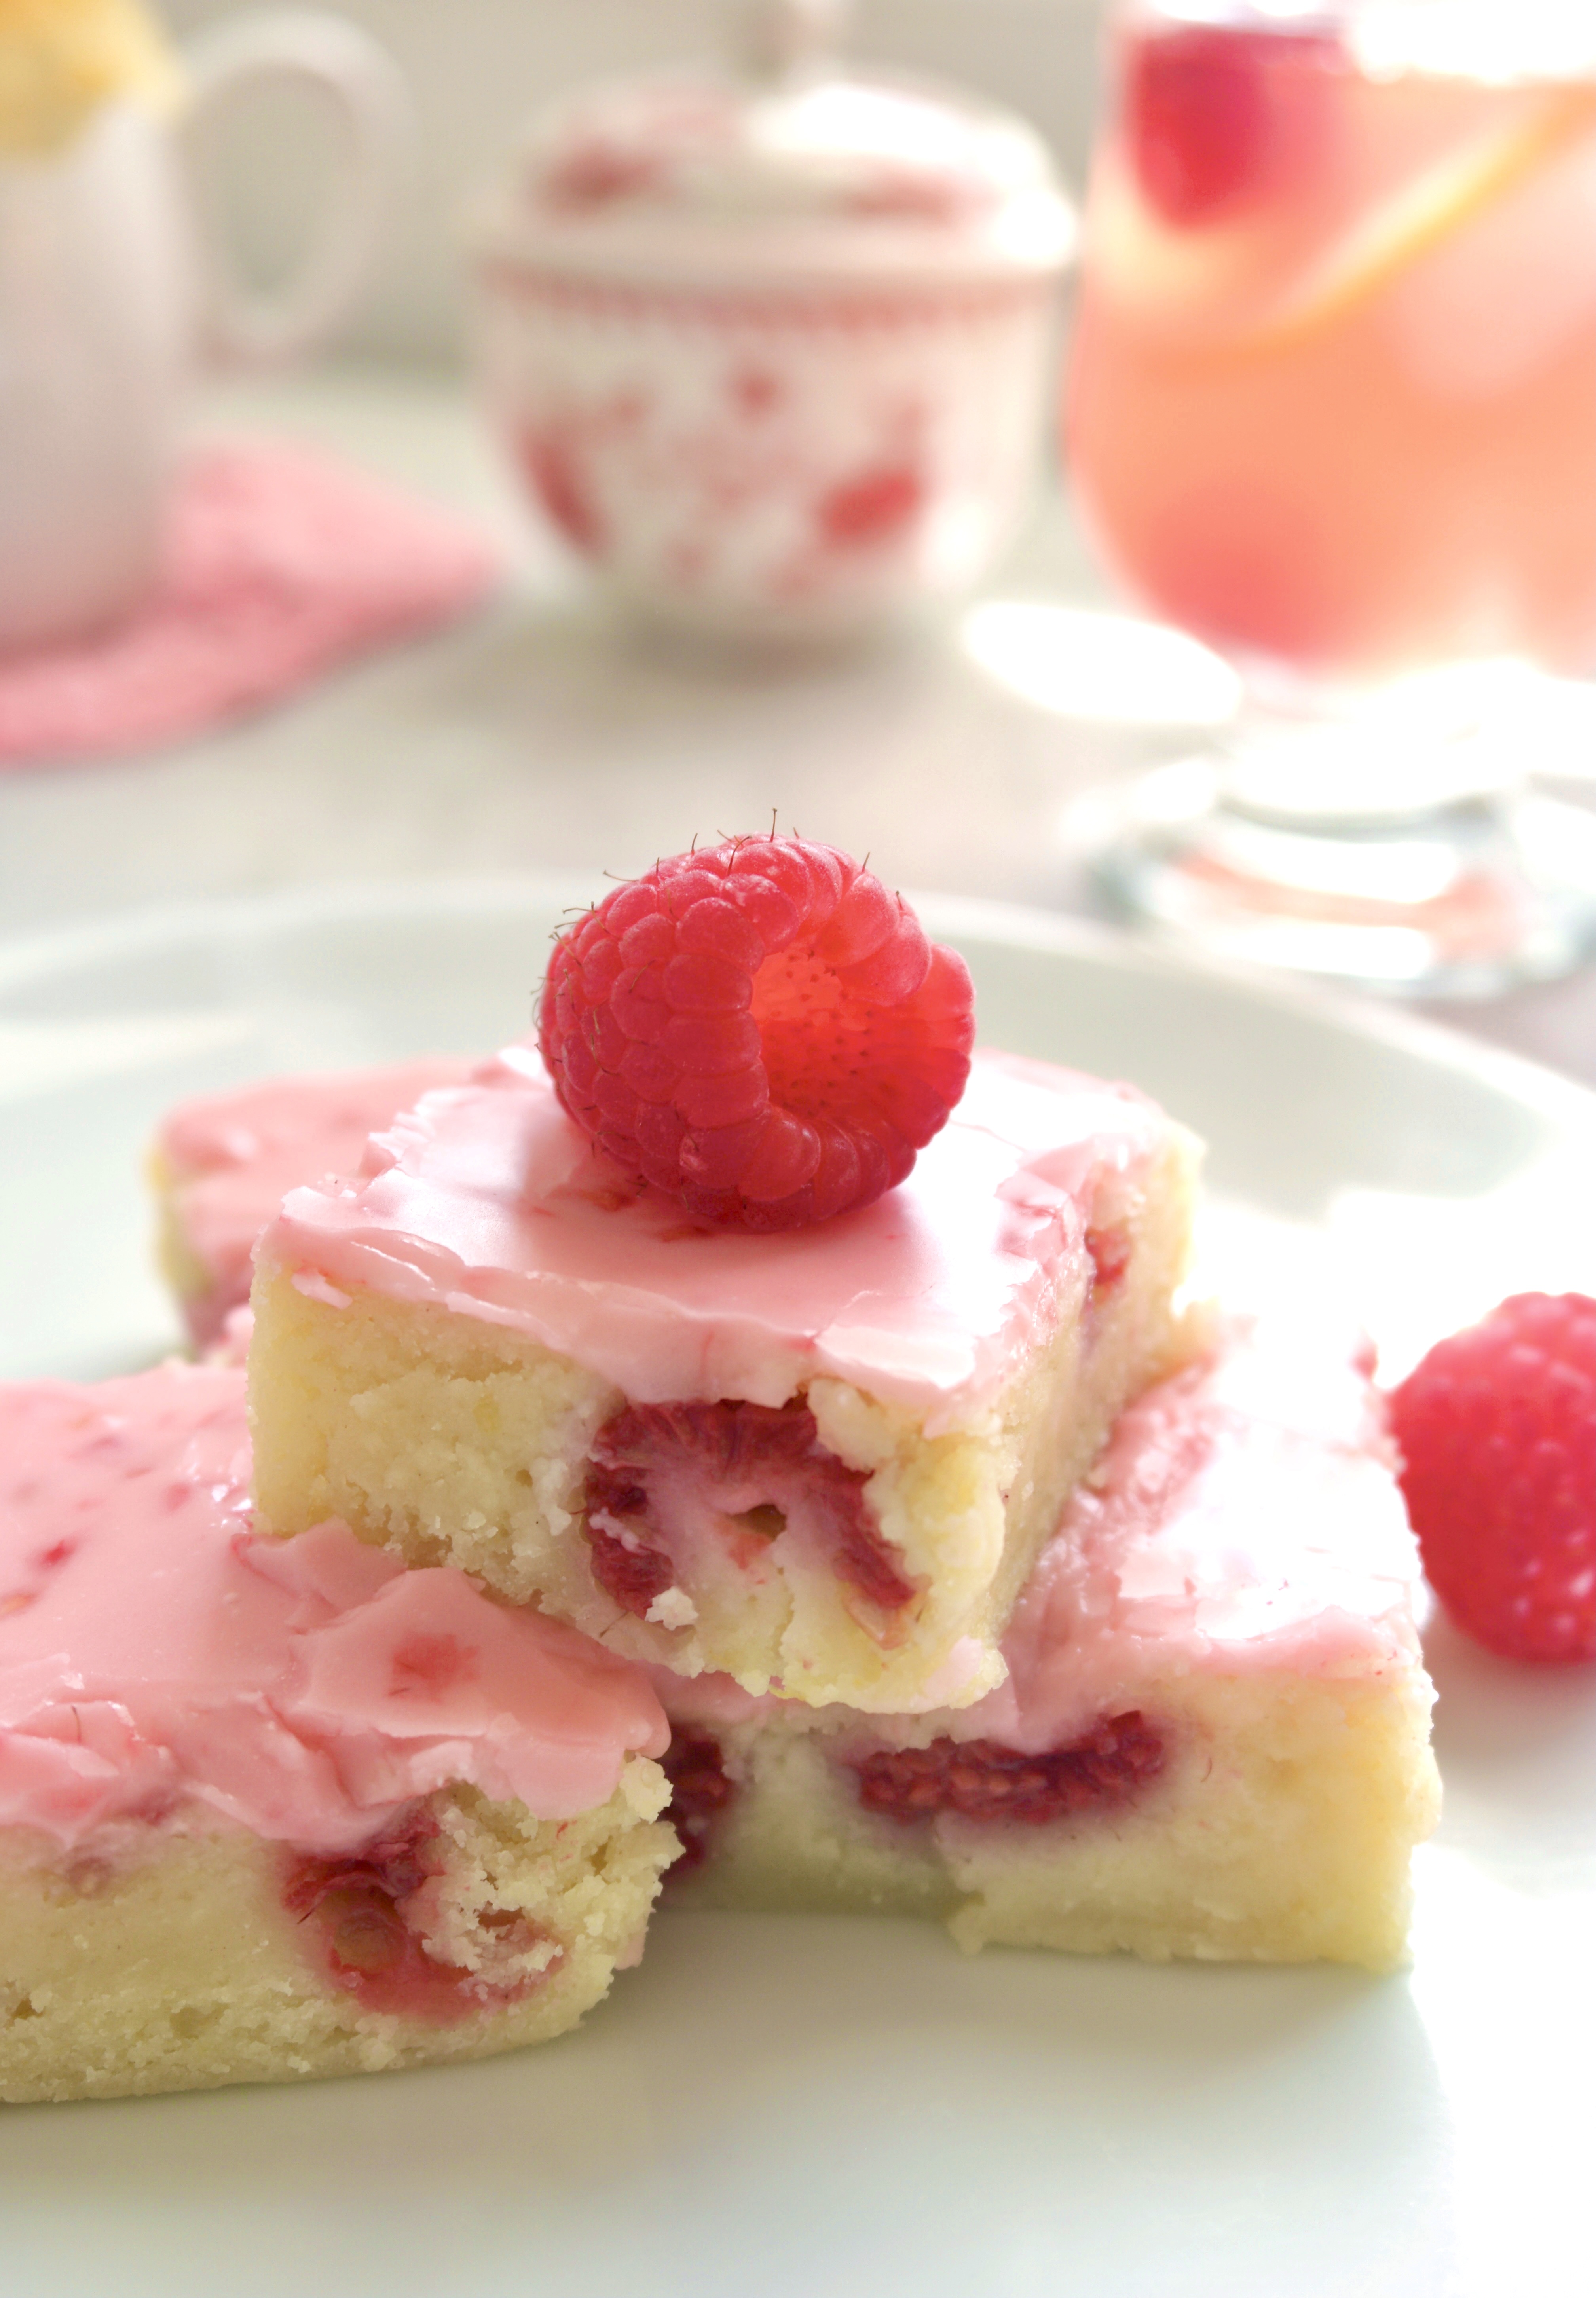
Here is the lemon brownie enlightenment no one asked for, brought to you by the self proclaimed lemon brownie expert, yours truly! We all know what a lemon bar is. The one we all know and love has a lemon curd filling on a shortbread crust, possibly drizzled with lemon icing or sprinkled with powdered sugar. The lemon brownie is a whole different animal. Don’t mistake lemon brownies for lemon cake either. Lemon brownies contain white chocolate which gives them a rich, fudgy texture like their chocolate cousins. We may be tempted to call them blondies, but blondies have a butterscotch flavor and typically don’t contain chocolate. Now that we got that straightened out, we can sleep peacefully tonight.

I grew up with a big lemon tree in my backyard and I loved experimenting with lemons in cooking and baking. I also experimented my way to the perfect lemonade ratio. Raspberry lemonade was one of my family’s favorites. The raspberry lemonade brownie recipe I’m sharing here has that same sweet-tart flavor we enjoyed back then.

One of my favorite things about this recipe is that there is no electric mixer needed. You can literally execute this recipe with only a wooden spoon to stir it! My other favorite thing is the burst of flavor and color from the fresh raspberries. The icing contains no food coloring. Just three raspberries will give you that luscious shade of pink!

Print Recipe
Raspberry Lemonade Brownies
Course Dessert
Servings
bars
Ingredients
Raspberry Lemonade Bownies
Raspberry Lemonade Icing
Course Dessert
Servings
bars
Ingredients
Raspberry Lemonade Bownies
Raspberry Lemonade Icing
Instructions
Raspberry Lemonade Bownies
  1. Preheat oven to 350ºF.
  2. Line an *8 x 8 inch baking pan with parchment paper.
  3. In a medium microwaveable bowl, heat white chocolate and butter in the microwave for 20 second intervals until melted. Alternately, melt white chocolate and butter on the stove in a double boiler.
  4. In a large bowl, combine melted chocolate and butter mixture, sugar, salt, lemon zest, lemon juice and eggs. Stir until smooth.
  5. Add flour and stir just until combined.
  6. Gently fold in raspberries.
  7. Transfer mixture to prepared baking pan. Bake until top is set and edges are light golden brown, about 25-28 minutes.
  8. Let cool completely.
Raspberry Lemonade Icing
  1. In a small bowl, smash raspberries with a fork.
  2. Add powdered sugar, melted butter and 1 tablespoon of lemon juice. Whisk until smooth, adding more lemon juice as necessary.
  3. Spread icing over cooled brownies.
  4. Cut into 2-inch squares and serve with additional raspberries, if desired.
Recipe Notes

*To find the 8 x 8 inch pan I used, click here.

Peaches & Cream Profiteroles

Peaches & Cream Profiteroles by Brownie Mischief

Summer is nearly over, and after the recent heatwave here in Southern California, I’m more than ready to welcome fall weather. But before I put on my fluffy sweater and dive into pumpkin spice everything, I want to enjoy the tail end of peach season, don’t you? Farmer’s markets and stores near my home are still brimming over with fresh peaches, so I picked up some peaches and decided to give them a proper goodbye and send them off in style.

Peaches & Cream Profiteroles by Brownie Mischief

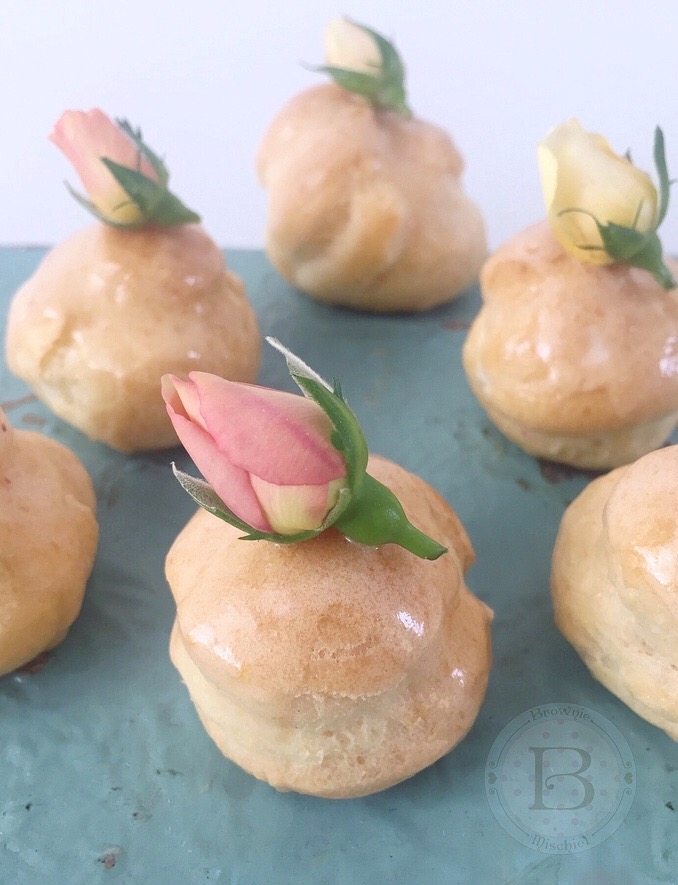
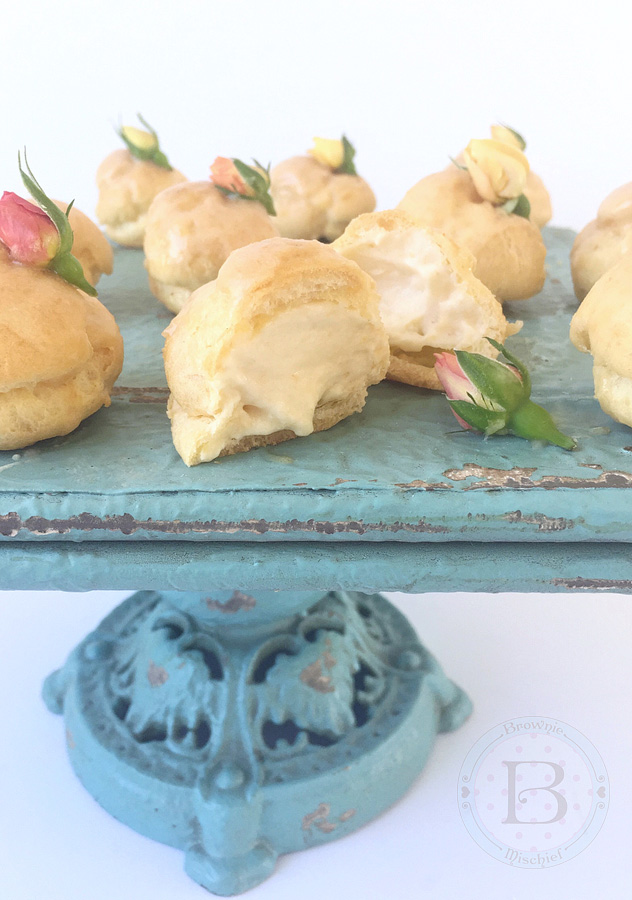
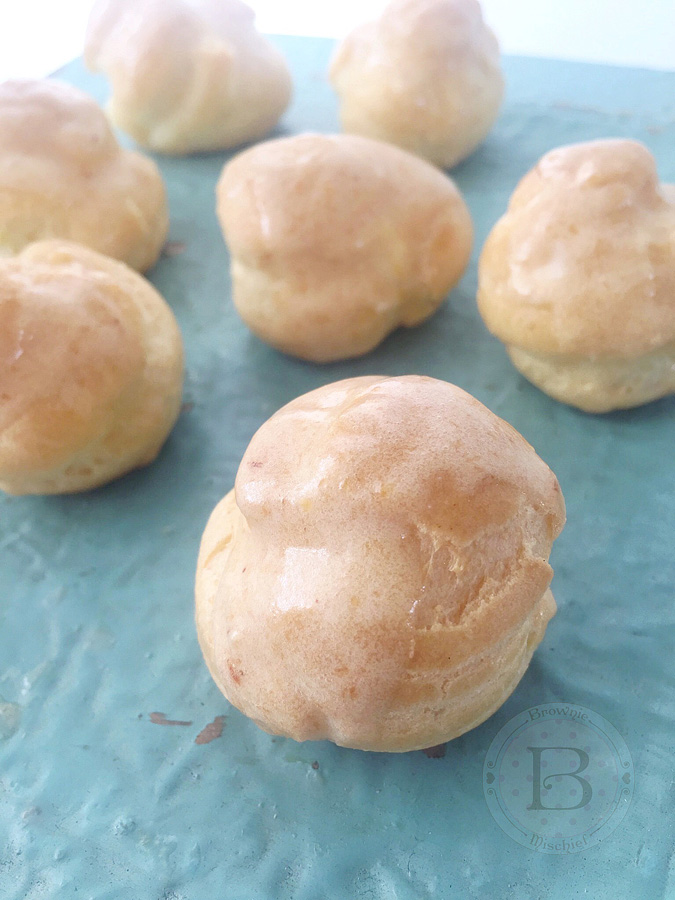
I created some luscious peaches and cream filled, bite-size puffs of choux pastry, called profiteroles. They’re like cream puffs, only smaller. The filling is creamy, but so light and airy that I’m convinced that these profiteroles have no calories! The recipe I’m sharing with you uses fresh peaches, but feel free to substitute frozen peaches if fresh peaches aren’t available. There are a lot of steps to this recipe, but the steps are done in stages and are very easy to do.

Peaches & Cream Profiteroles by Brownie Mischief

I decorated my profiteroles with fresh, pesticide-free miniature rosebuds, also known as spray roses. If you can’t find miniature rosebuds, pesticide-free rose petals would be a good substitute. You may not get a chance to embellish these little beauties. They have a way of popping into people’s mouths even before you can decorate them!


Print Recipe


Peaches & Cream Profiteroles

Bite-sized puffs of choux pastry filled with a creamy, fresh peach filling and topped with fresh peach icing.

Course Dessert
Cuisine French

Servings


Ingredients
Peach Purée

Peaches & Cream Filling

Profiteroles

Peach Icing

Course Dessert
Cuisine French

Servings


Ingredients
Peach Purée

Peaches & Cream Filling

Profiteroles

Peach Icing


Instructions
Peach Purée
  1. Purée peaches in a blender or food processor. Strain puréed peaches through a sieve. Stir in lemon juice.

  2. Place puréed peaches in a small saucepan. Bring to a boil over medium heat.

  3. Reduce heat and simmer until peach purée is reduced by half.

  4. Remove from heat. Stir in peach flavoring and set aside to cool completely.

Peaches and Cream Filling
  1. Bring milk to a boil in a small saucepan over medium heat.

  2. Meanwhile, whisk sugar, cornstarch and salt together in a medium bowl. Add the egg and whisk until smooth.

  3. When milk starts to boil, remove from heat and pour 1/3 of the hot milk into the egg mixture and whisk to combine.

  4. Pour the egg mixture into the remaining hot milk and cook over medium heat, stirring continuously, until the mixture comes to a boil and thickens.

  5. Remove from heat. Stir in butter and extracts.

  6. Pour mixture through a sieve placed over a bowl. Cover the surface of pastry cream with plastic wrap. Let cool.

  7. Set aside 2 tablespoons of cooled peach purée. Add remaining peach purée to cooled pastry cream and stir to combine. Chill in refrigerator.

  8. In a medium bowl, whip heavy cream to stiff peaks with an electric mixer at high speed. Fold whipped cream into peach pastry cream mixture. Set aside in refrigerator.

Profiteroles
  1. Preheat oven to 400ºF. Line two large baking sheets with parchment paper.

  2. Combine water, butter and salt in a medium saucepan and bring to a boil over medium heat.

  3. Reduce heat. Add flour and stir vigorously with a wooden spoon until mixture pulls away from sides of the pan and forms a ball.

  4. Transfer mixture to the bowl of a stand mixer. Mix on low speed until steam dissipates and mixture cools to lukewarm.

  5. Add eggs one at a time and beat with an electric mixer at medium speed, until smooth, stopping to scrape down bowl.

  6. Transfer mixture to a piping bag, fitted with a large round tip. (**I used Ateco tip 808.)

  7. Pipe 1 1/4 inch mounds, about 2 inches apart onto prepared baking sheets. Smooth tops with a wet finger.

  8. Bake for 15 minutes, then turn oven temperature down to 350ºF and continue baking until golden brown, about 8-10 more minutes. Using a toothpick or skewer poke a small hole in each profiterole to let steam escape. Place on a wire rack to cool completely.

  9. Using the tip of a paring knife, poke a pilot hole in the bottom of each profiterole.

  10. Place peaches and cream filling into a piping bag fitted with a medium round piping tip. (***I used Wilton tip 12.)

  11. Place piping tip into the pilot holes and fill each profiterole with filling.

Peach Icing
  1. In a small bowl, whisk all icing ingredients together and spoon over filled profiteroles. Refrigerate until ready to serve.


Recipe Notes

*To make peaches easy to peel, blanch them  in boiling water for about 30 seconds, then dunk  in ice water.

**To find Ateco tip 808, click here. ***To find Wilton tip 12, click here.