Peach Crumble Pie Cookies

Peach Crumble Pie Cookies

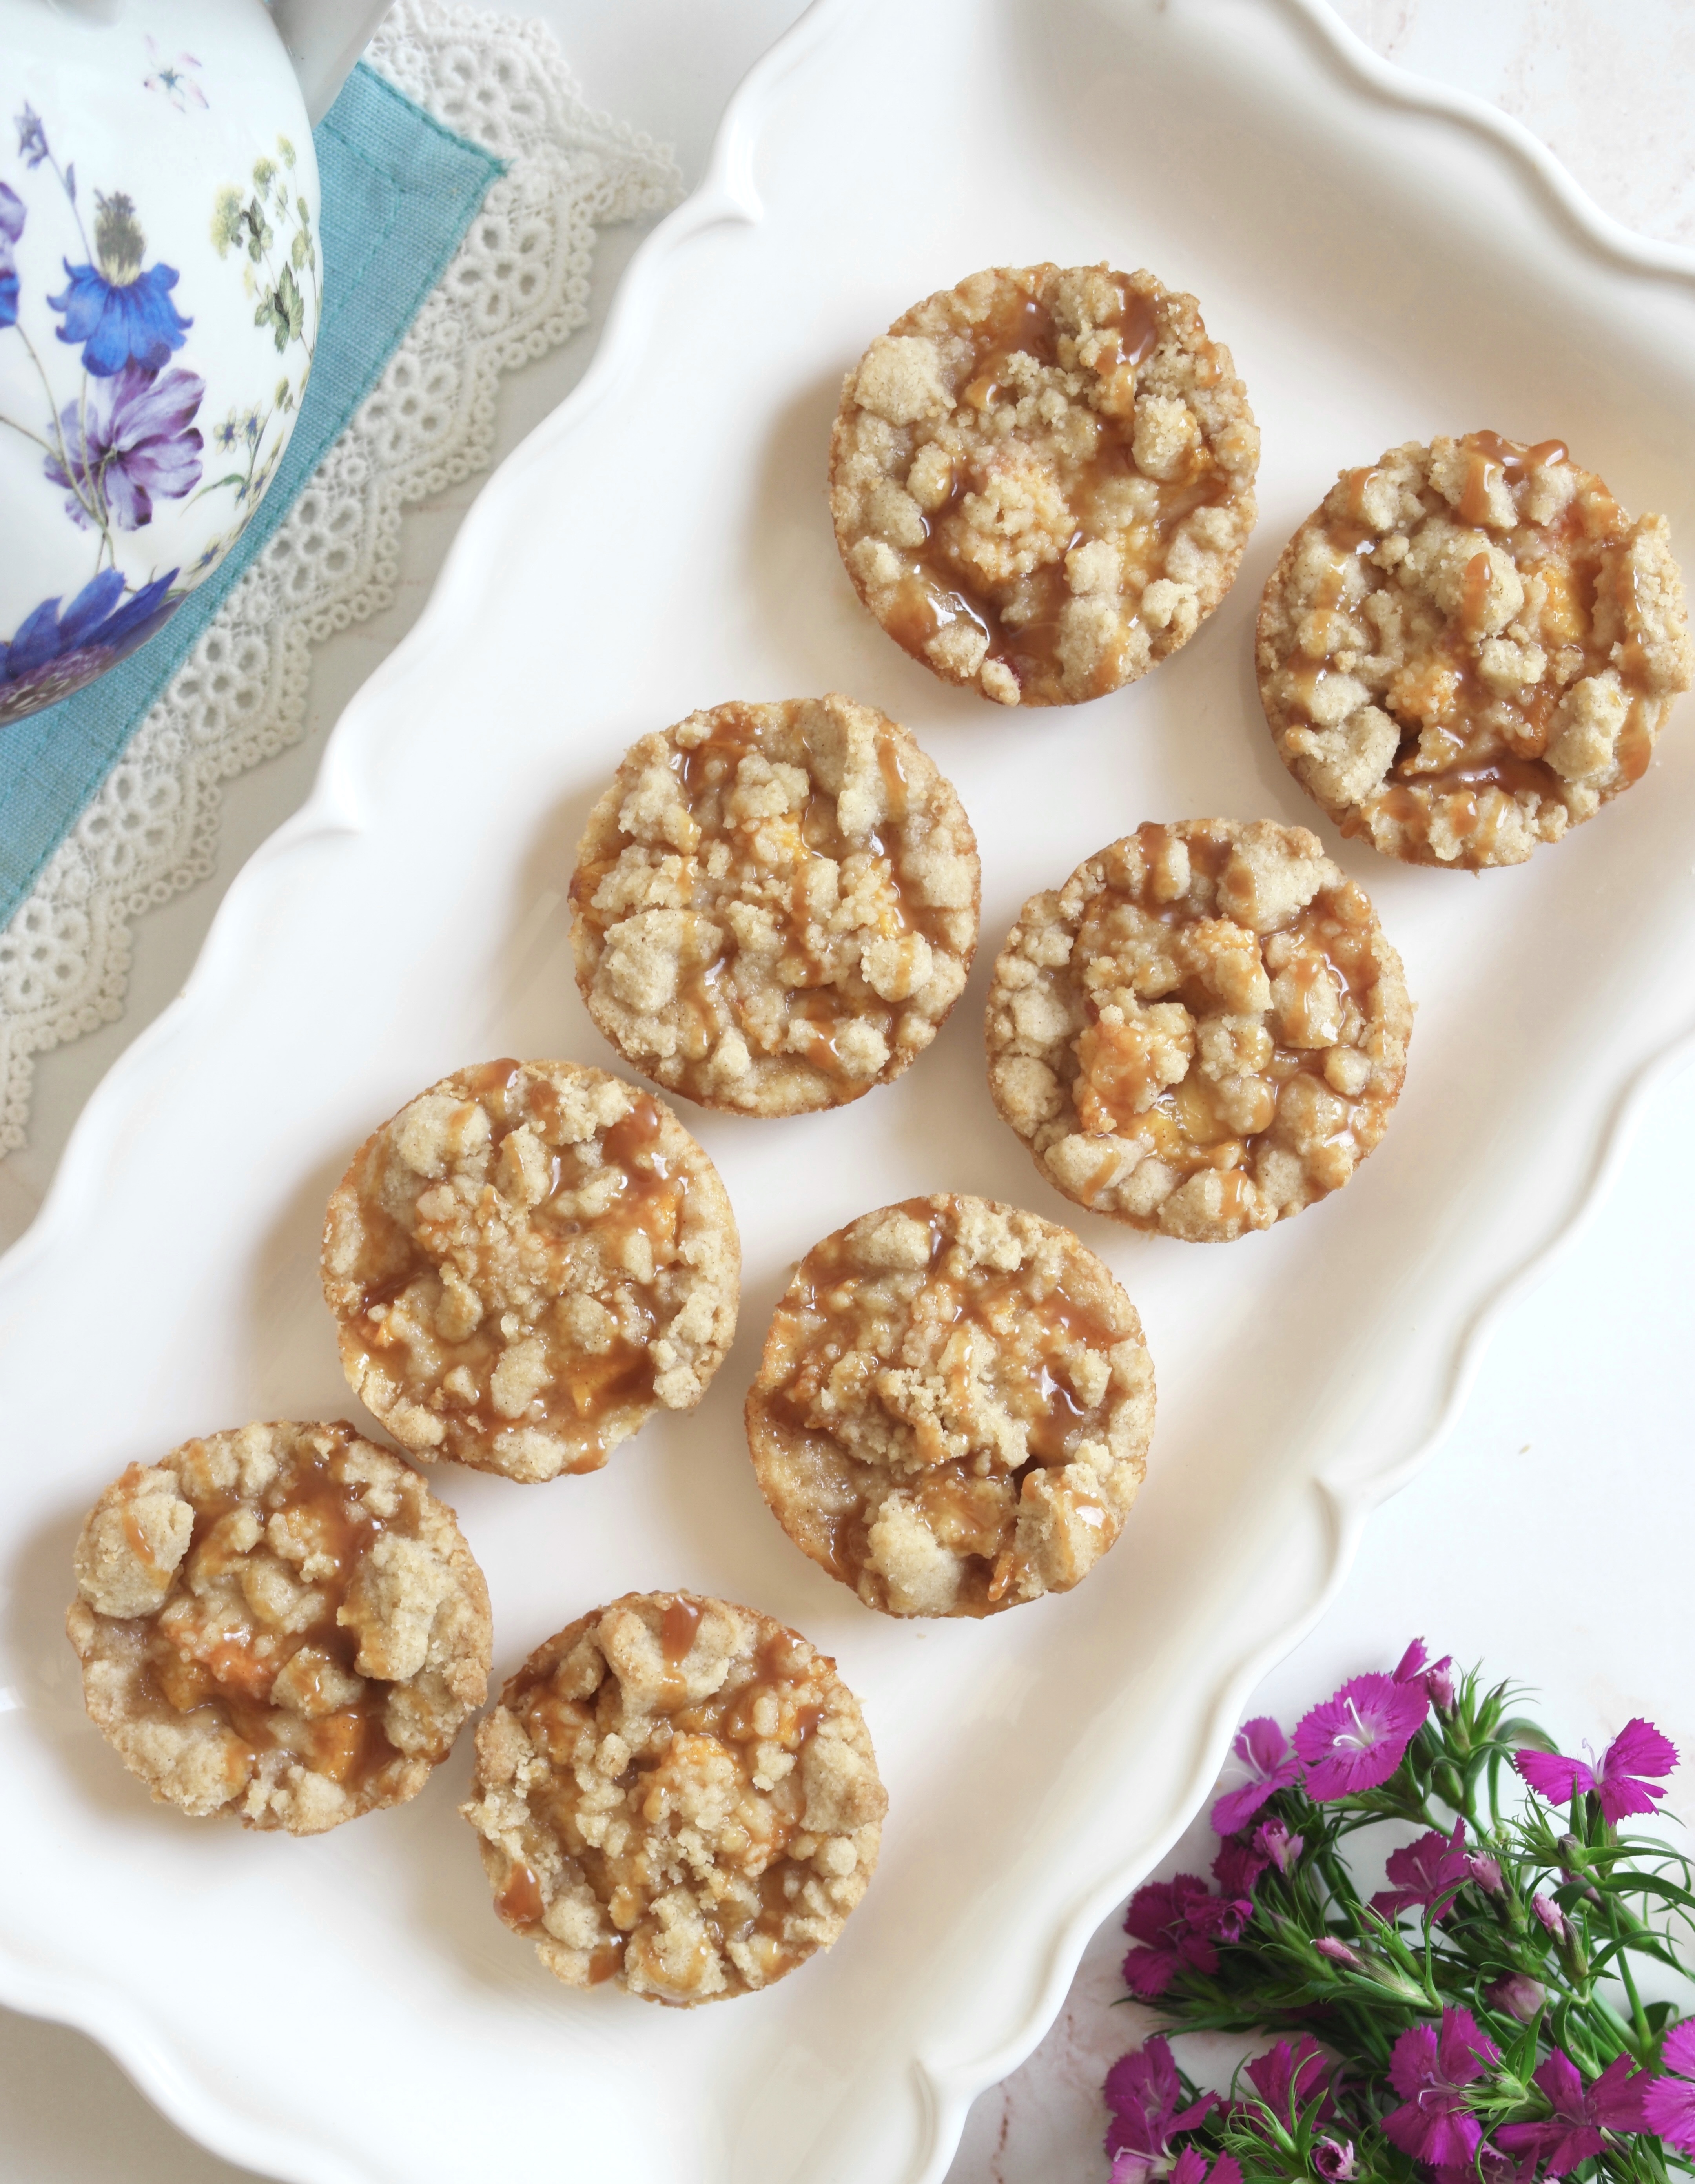
I couldn’t decide whether to call these cookies or pies, so I made a compromise. They’re about the size of cookies, but they taste like little peach crumble pies. The base is tender like shortbread or pie crust and the filling is made with fresh peaches. I’ve seen people make something similar with jam and call them cookies, but since I used fresh fruit for these, they deserve to be elevated to pie status.

The peaches are macerated to draw out the excess juices, to help avoid making your cookies soggy. If you’re impatient, don’t be tempted to skip this step. It’ll go by fast as you prep the crumb topping and the remaining ingredients.

When I first made these, I used cupcake liners because I was worried that they might stick to the pan. It turns out that they stick to the cupcake liners more than the pan. So the next time I made them, I opted to lightly spray the pan with nonstick spray instead of using liners. I ran a small thin offset spatula around the perimeter of the cookies to loosen them from the pan and they popped out nicely.

I love topping these little peach delights with caramel sauce. Salted caramel is also a delicious addition. Or you can simply sprinkle them with powdered sugar if you prefer.

Print Recipe
Peach Crumble Pie Cookies
Tender, peach-filled cookies with crumble topping and caramel drizzle
Keyword cookies, peach
Servings
Ingredients
Macerated Peaches
Crumble Topping
Cookies
Topping
Keyword cookies, peach
Servings
Ingredients
Macerated Peaches
Crumble Topping
Cookies
Topping
Instructions
Macerated Peaches
  1. In a medium bowl, toss peaches with lemon juice. Add the brown sugar and cinnamon. Stir gently to combine. Let stand 30 minutes.
  2. Drain the peaches, reserving 1 tablespoon of the juices. In a small bowl, whisk together the reserved 1 tablespoon of peach juice with the corn starch. Mix with the drained peaches.
Crumble Topping
  1. In a medium bowl, whisk together the flour, sugar, brown sugar, cinnamon and salt.
  2. With a pastry blender or with your fingertips, work the butter into the flour mixture until it looks like wet sand. Press the mixture together to form chunks.
Cookies
  1. Preheat the oven to 350ºF (180ºC). Lightly spray a 12-serving muffin pan with nonstick spray.
  2. In a medium bowl, whisk together the flour, baking powder and salt.
  3. In a large bowl, beat the butter and powdered sugar with an electric mixer until light and fluffy.
  4. Mix in the flour mixture on low speed or by hand, just until combined.
  5. Press generous tablespoon size (5/8 oz or 20g each) portions of dough into the bottoms of the muffin pan cups with a pastry tamper dipped in flour. You can also use the bottom of a flat shot glass.
  6. Top with the peaches, then the crumble topping mixture. Bake until the cookies are set and the topping is golden brown, about 15-17 minutes.
  7. Cool the cookies completely in the pan. Once cool, remove the cookies from the pan by running a small offset spatula or paring knife around the inside perimeter of the muffin cups to loosen them. Drizzle with caramel sauce.

Blueberry Ripple Scones

Blueberry Ripple Scones

Once there was a blueberry scone. She was good and reliable. One day she felt bored and tired of her soggy blueberries. She thought about her friend, the other blueberry scone. The one with the dried blueberries. The shriveled up blueberries reminded her of raisin bran. “It’s time for a change,” she thought. So she grabbed her friend, and they headed over to Brownie Mischief for a makeover.

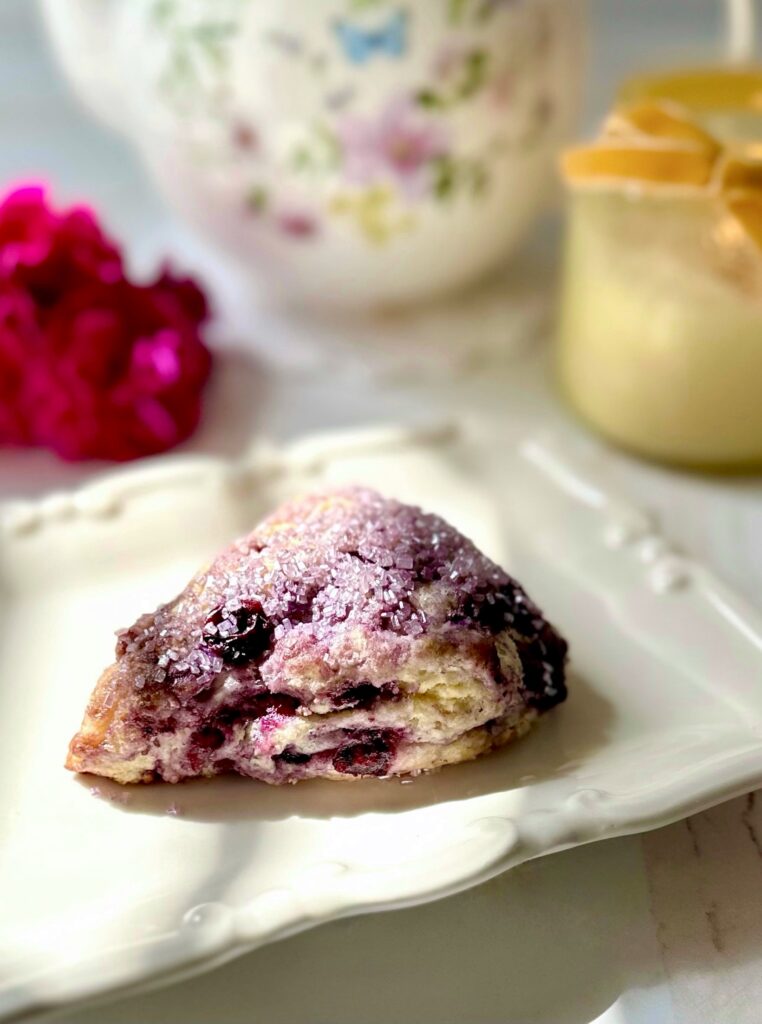
That’s how Blueberry Ripple Scones were born, at least in my imagination. These scones are the new and improved, elevated version of blueberry scones. They have a ribbon of sweet blueberry compote swirling through the tender vanilla dough, making them look beautiful and taste delicious. Although the blueberry compote is quick to make, it requires a little more effort than simply folding blueberries into the dough. But it’s definitely worth it. I like to make my compote the night before, then it’s ready to go when I make my scones in the morning.

Print Recipe
Blueberry Ripple Scones
Vanilla scones with ribbons of sweet blueberry compote and crunchy sugar topping
Course Breakfast, Brunch
Keyword blueberry, scones
Servings
scones
Ingredients
Scones
Blueberry Compote
Course Breakfast, Brunch
Keyword blueberry, scones
Servings
scones
Ingredients
Scones
Blueberry Compote
Instructions
Scones
  1. Line a large baking sheet with parchment paper.
  2. In a large bowl, whisk together the flour, sugar, baking powder and salt.
  3. Work the butter into the flour with your fingertips or with a pastry blender, until pea size pieces form.
  4. In a small bowl whisk together the heavy cream, sour cream and vanilla.
  5. Stir the cream mixture into flour mixture until a shaggy dough is formed.
  6. Turn the dough out onto a lightly floured surface. Pat the dough into an oval. Spoon dollops of blueberry compote onto the dough. Fold the dough over onto itself 3 times.
  7. Form the dough into a 1-inch thick round, about 6 1/2-inches in diameter. Cut the dough into 8 wedges.
  8. Place the scones 2 inches apart on the prepared baking sheet. Chill the scones in refrigerator for 20 minutes.
  9. Heat your oven to 375ºF. Brush the tops of scones with heavy cream. Sprinkle with coarse sugar.
  10. Bake until the edges look golden brown, about 18-22 minutes.
Blueberry Compote
  1. In a small saucepan over medium heat, cook the blueberries, sugar, cornstarch and lemon juice, stirring until the sugar is dissolved and the blueberries start to release their juices.
  2. Turn the heat down to low and simmer, stirring occasionally, until thick and jammy, about 3-4 minutes. Remove from heat and let cool completely. Cover and store in refrigerator until ready to use.
Recipe Notes

*To find coarse sugar, click here.

To find purple coarse sugar, click here.

Pink Velvet Cookies

Pink Velvet Cookies

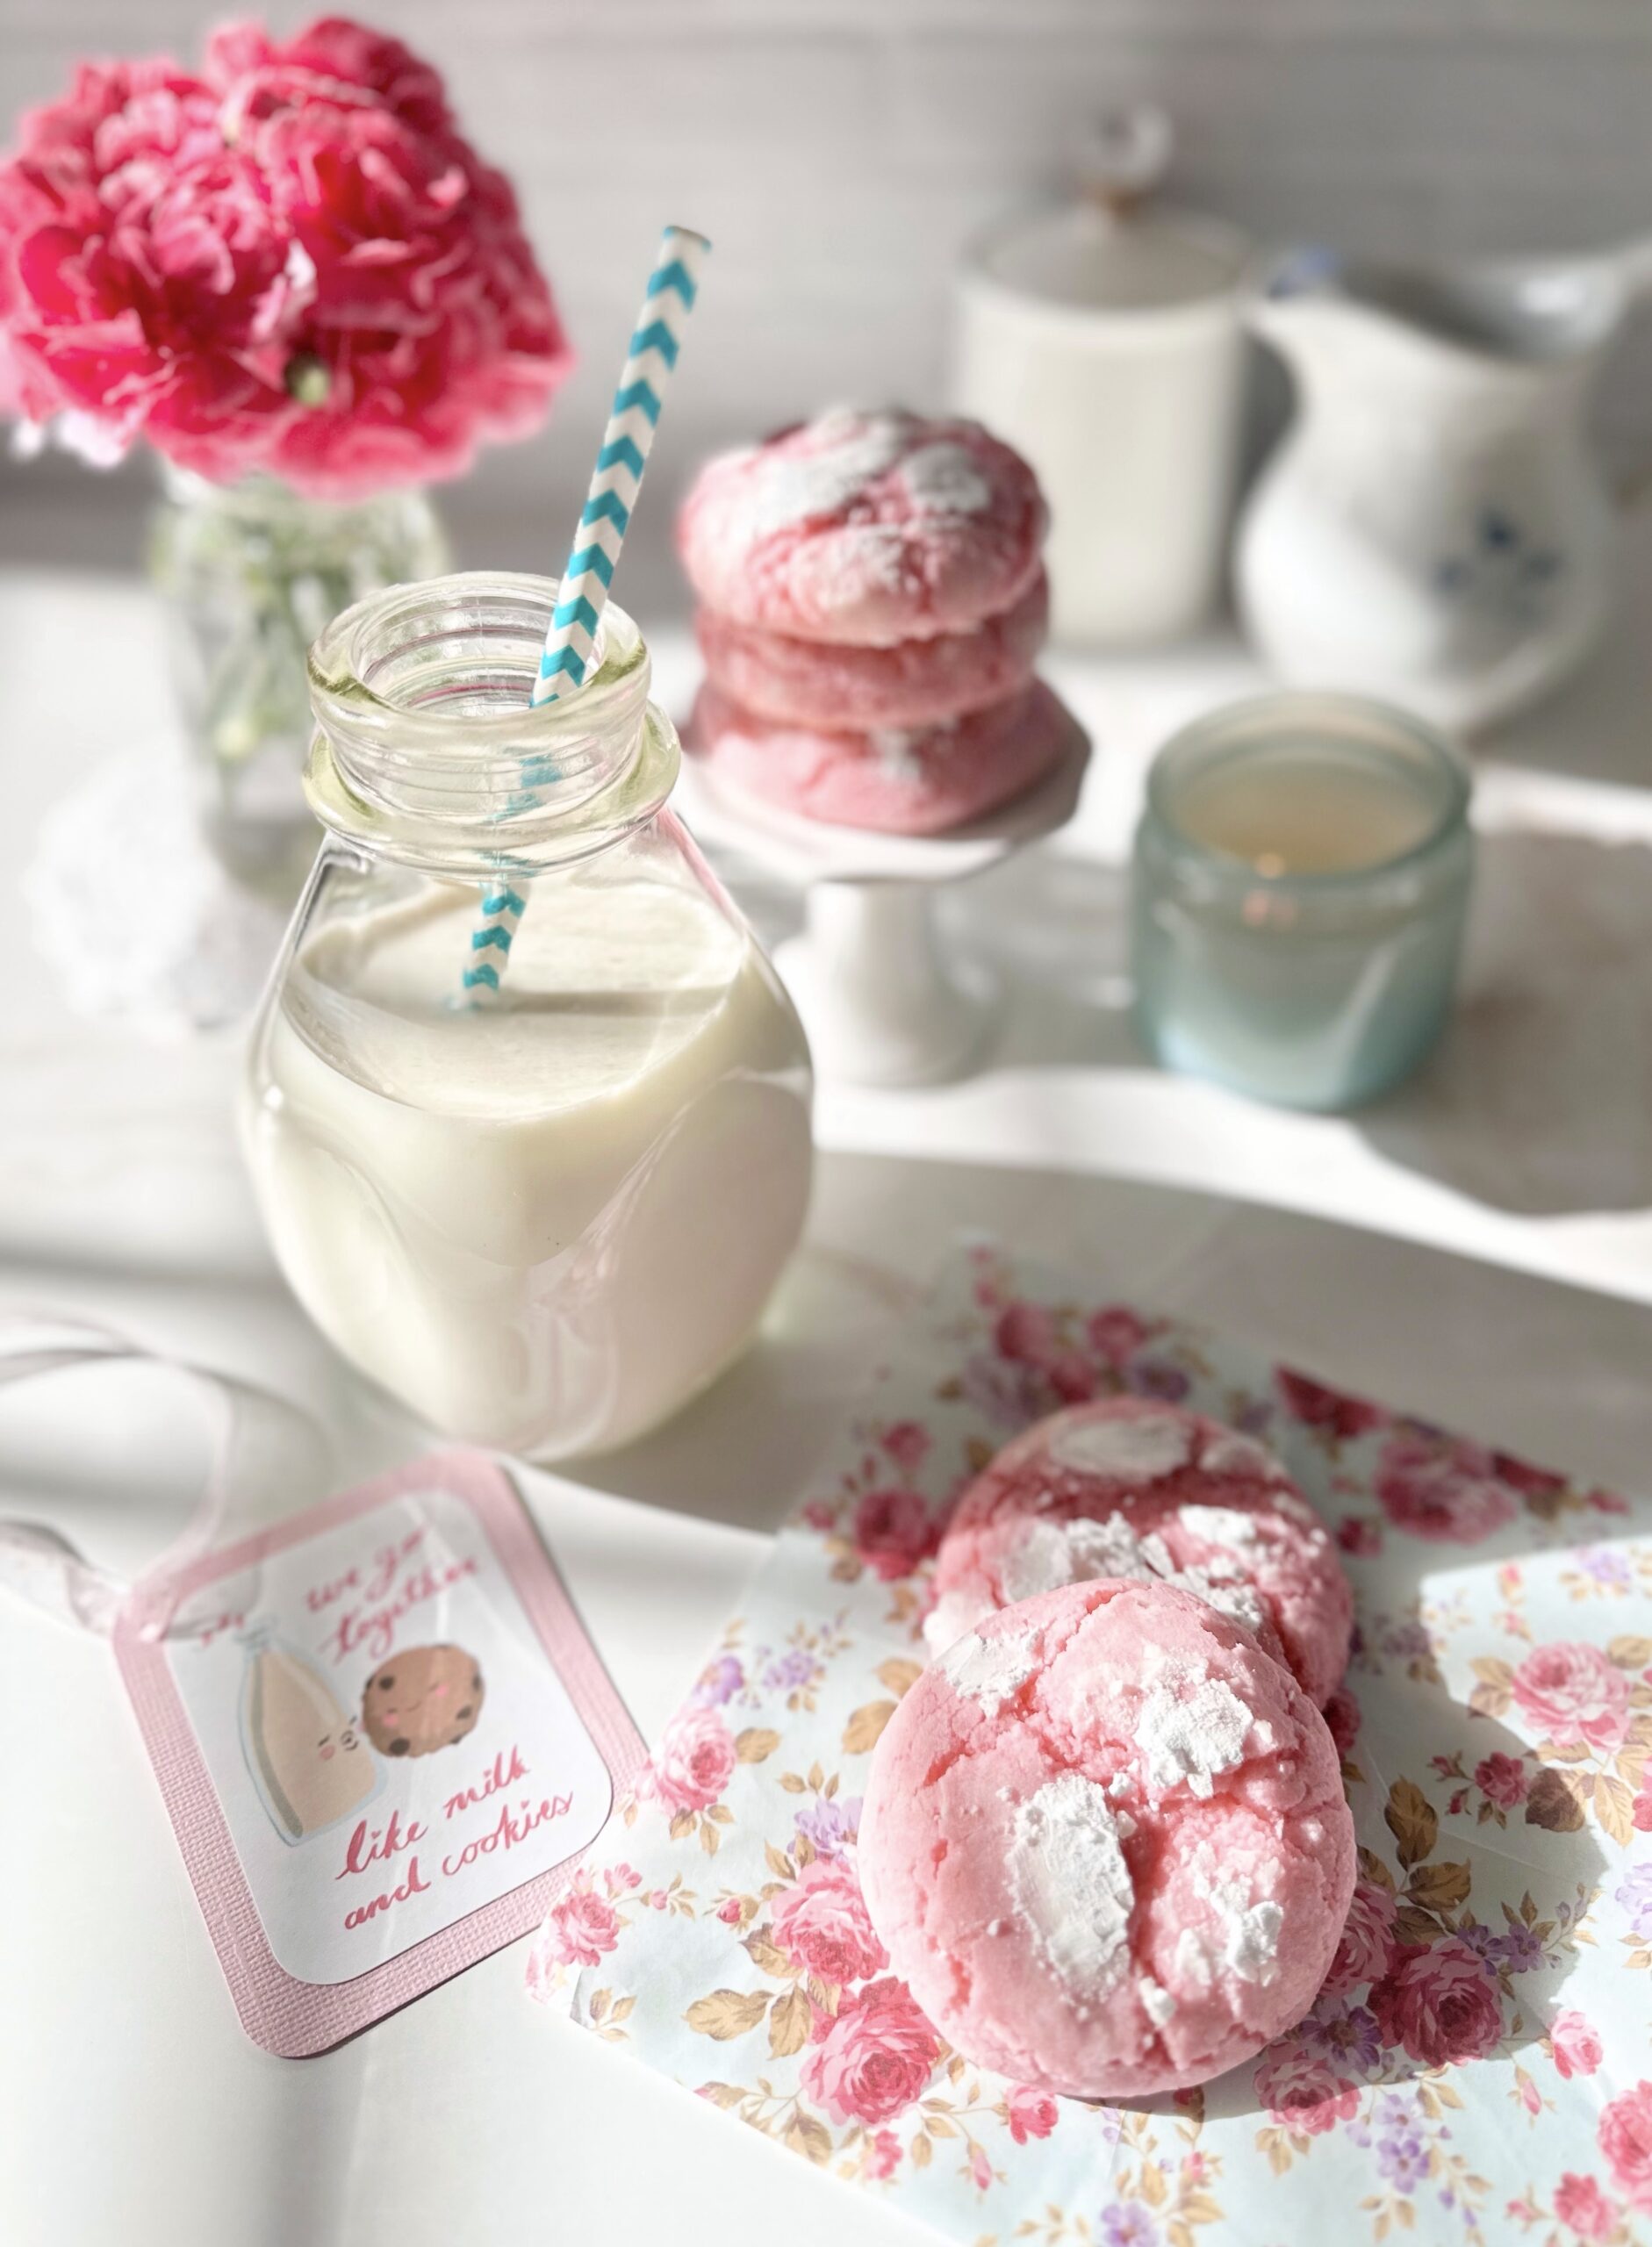
Whenever I walk into a bakery, my eyes are always drawn to anything pink. Pink cupcakes, cookies, donuts or anything with pink icing will inevitably come home with me. This probably started in childhood. Most bakeries back then, including the bakery my aunt always took me to, had pink boxes, so I associate it with delicious, freshly baked treats. Maybe pink desserts do taste better or maybe our minds just tell us that. Either way, if you love pink treats, you’ll love these cookies.

Pink velvet is similar to red velvet, but without the cocoa powder and red food color. The texture should be somewhat velvety, like red velvet cake. I have yet to taste a velvety red velvet cookie, but I think the texture of these cookies is pretty velvety as long as they’re not over baked. Pink velvet desserts are typically vanilla flavored. I upgraded the flavor by adding a touch of cherry flavoring. It’s not enough to give you cherry flavored cookies, but it will add depth to vanilla flavored treats. It’s an old bakery trick that I learned years ago that adds a fruity note in the background.

For best baking results, I recommend using a scale to weigh your ingredients, especially your dry ingredients. If you love baking, you should invest in a food scale if you don’t already have one.

To watch the Pink Velvet Cookies TikTok video, click here. To watch the Pink Velvet Cookies Instagram video, click here.

Print Recipe
Pink Velvet Cookies
Pink vanilla flavored crinkle cookies with chewy exteriors and soft, velvety centers
Course Dessert
Keyword cookies, pink velvet
Servings
cookies
Ingredients
Optional
Course Dessert
Keyword cookies, pink velvet
Servings
cookies
Ingredients
Optional
Instructions
  1. Preheat oven to 350ºF. Line two large cookie sheets with parchment paper.
  2. In a medium bowl, whisk together flour, cornstarch, baking powder, and salt.
  3. In a large bowl, cream butter, sugar and oil until light and fluffy.
  4. Beat egg whites into butter mixture in two addition, until well combined.
  5. Beat in extracts until well combined.
  6. Add gel food color, a little at a time with a toothpick, until desired shade of pink is reached. (Adding remaining ingredients will lighten the color slightly.) Beat until evenly distributed.
  7. Add flour mixture to batter and beat just until combined. Mix in white chocolate chips if using.
  8. Roll dough into balls, about 2 tablespoons each. I used a #30 portion scoop.*** Roll dough very generously in powdered sugar. Place two inches apart onto prepared cookie sheets.
  9. Bake until cookies are puffed and tops are set, about 11-13 minutes. Transfer cookies to a cooling rack.
Recipe Notes

*The cherry flavoring in this recipe is not intended to make a cherry flavored cookie. The addition of cherry flavoring adds a subtle fruity note. You can also use pure cherry extract. Use a bit less (scant 1/2 teaspoon)  because extracts tend to be stronger than flavorings. DO NOT use imitation cherry extract. It has a medicinal flavor that will disappoint you. If you want your cookies to be cherry or strawberry flavor, reduce vanilla extract to 1/2 teaspoon and  use 1- 1 1/2 teaspoons of natural cherry or strawberry flavoring.

**To find the pink gel food color I used, click here.

***To find the portion scoop I used, click here.

This recipe was updated on 2/14/23.

Flourless Chocolate Cake with Raspberry Sauce

Flourless Chocolate Cake with Raspberry Sauce

This cake story has a happy ending. Once, many years ago, someone gave my grandparents’ neighbor a flourless chocolate cake. The neighbor had a slice and couldn’t finish it because it was too rich. She brought the cake over to my grandparents and they each had a slice and couldn’t finish them, because they were too rich. I had a slice and I couldn’t finish mine either and, well…you can guess why. So my grandparents, not wanting to be wasteful, put the cake in the freezer and forgot about it for a very long time. Whenever I opened the freezer and saw it, I wondered why none of us could eat more than a few bites of that rich cake. Although I don’t know for sure, it was probably because the ratio of chocolate to butter was off. But I do know that serving it with something acidic, like berries or raspberry sauce, would have helped immensely.

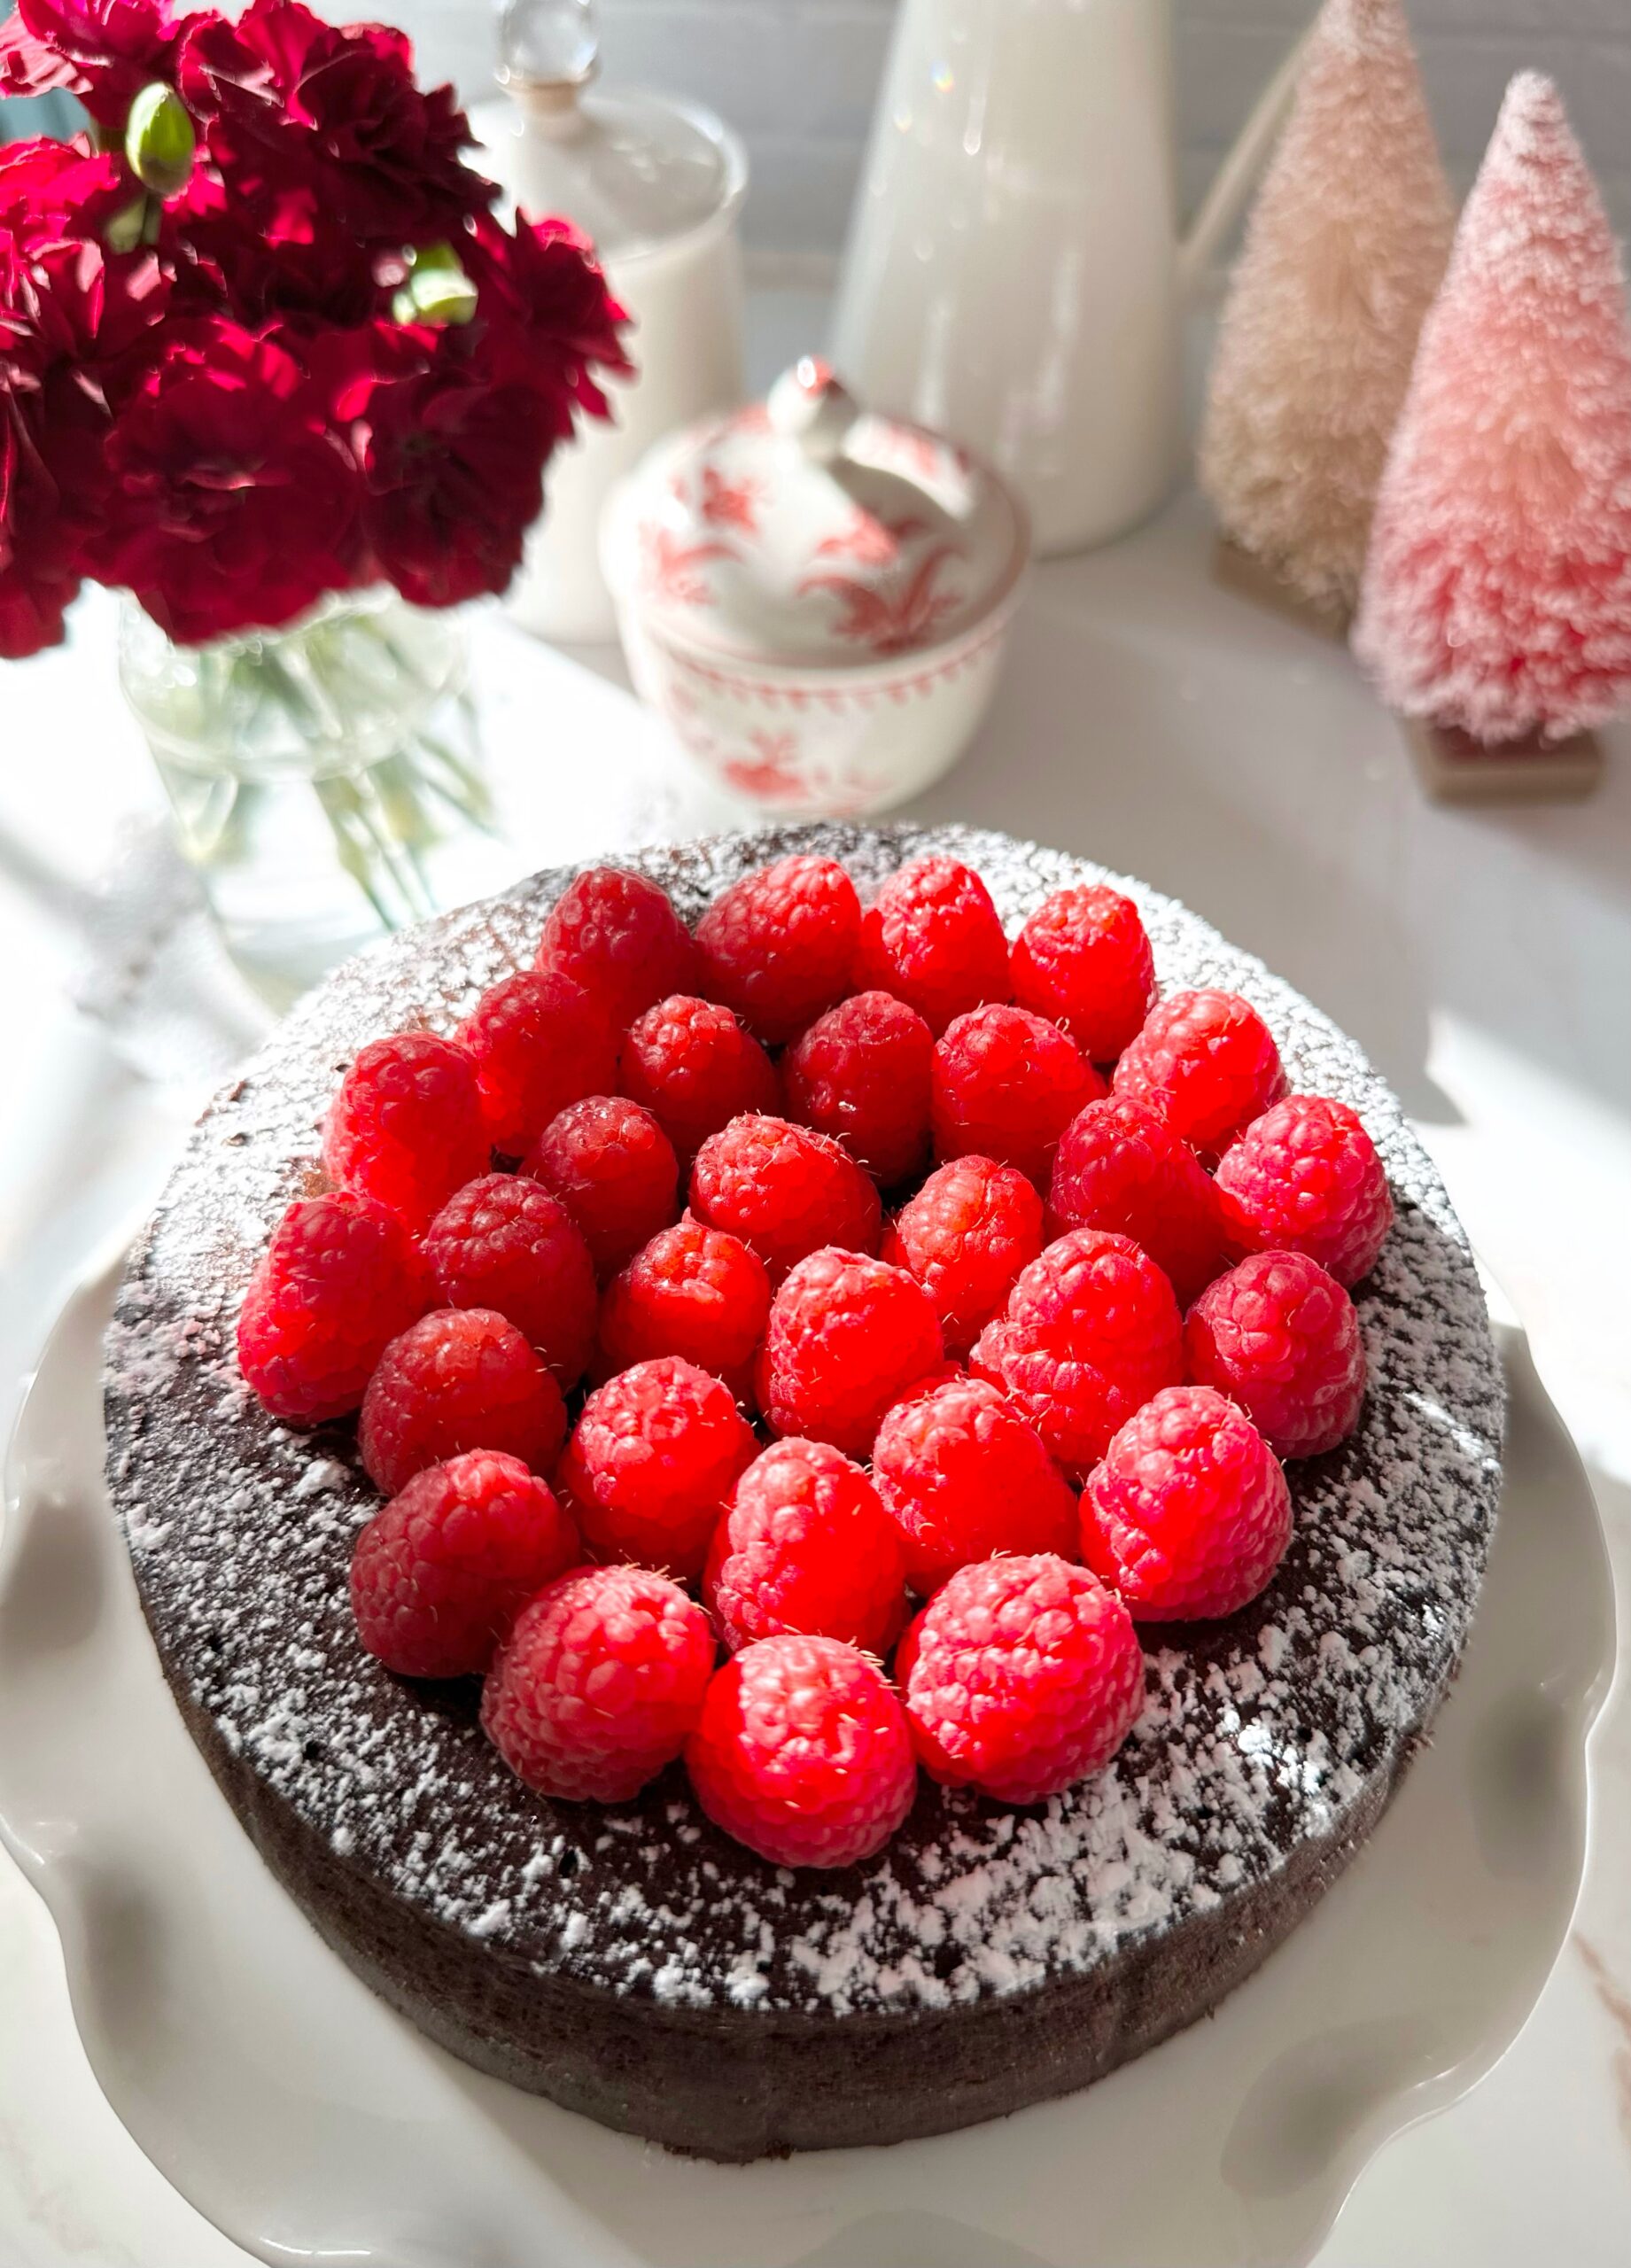
The happy ending to this story is that this flourless chocolate cake was created to be enjoyed to the last bite. It’s decadent, but not overly rich. It has a good balance, not too sweet or too bitter. The raspberry sauce and fresh raspberries compliment it perfectly. This luscious cake is also delicious with strawberries or any combination of berries you like. It’s also delicious served with salted caramel sauce. I wish my grandparents were still around to give my version of a flourless chocolate cake a try. I think they would have loved this cake and finished every last bite!

Print Recipe
Flourless Chocolate Cake with Raspberry Sauce
Keyword cake, chocolate
Servings
Ingredients
Raspberry Sauce
Keyword cake, chocolate
Servings
Ingredients
Raspberry Sauce
Instructions
Flourless Chocolate Cake
  1. Preheat oven to 325ºF. Line a 6-inch springform pan** with parchment paper. Spray the parchment paper with nonstick spray. Wrap the bottom two inches of the pan tightly with aluminum foil. Set pan in a baking pan.
  2. Combine chocolate and butter in a large stainless steel bowl set over a pot of barely simmering water. Stir until melted and smooth. Remove bowl from heat.
  3. In a large bowl, beat eggs with an electric mixer until doubled in size, about 5 minutes. Beat in vanilla extract and salt.
  4. With a large spatula, gently fold beaten eggs into chocolate mixture in three additions until no streaks of egg remain. Transfer batter to prepared pan. Smooth top of batter with a small offset spatula.
  5. Pour 1 1/2 inches of boiling water into baking pan. Bake until top is set and internal temperature*** reaches 140ºF, about 28-37 minutes.
  6. Remove cake pan from water bath. Cool to room temperature then cover and refrigerate for at least 4 hours (or up to overnight, but cake is best served the day it's made).
  7. Remove cake from pan when chilled and set. Top with powdered sugar and fresh raspberries.
  8. To serve, remove cake from refrigerator at least 30 minutes before serving and serve at room temperature for best texture. Serve with raspberry sauce.
Raspberry Sauce
  1. Purée raspberries in blender or food processor. Pass purée through a fine mesh sieve**** to remove seeds.
  2. In a small bowl, whisk together water and cornstarch.*****
  3. In a small saucepan, heat raspberry purée with sugar and cornstarch slurry to a boil over medium heat. Turn heat down to low and simmer until slightly thickened, about 2-3 minutes.
Recipe Notes

*Chalazae are the opaque chords of egg white. Removing them is optional, but they do show up as white spots in the cake after baking.

**To find the 6-inch springform pan I used, click here.

***To find an instant read thermometer, click here.

****To find a fine mesh sieve, click here.

*****To find a mini whisk for whisking small amounts, click here.

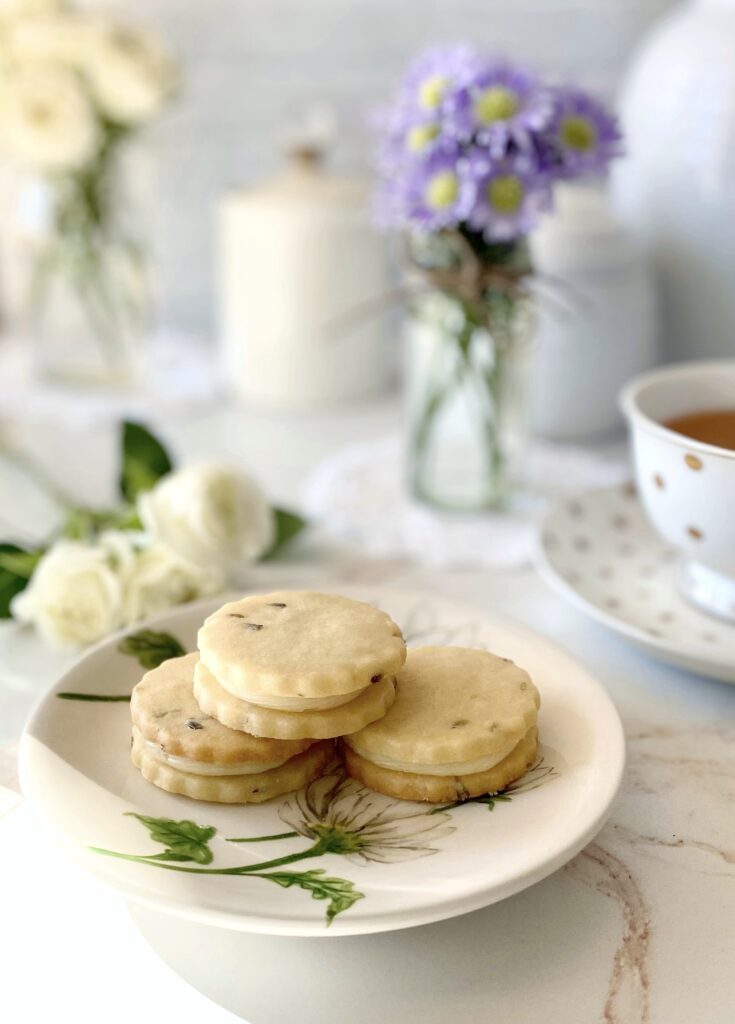
Lavender Shortbread Sandwich Cookies with Honey Buttercream

Lavender Shortbread Sandwich Cookies with Honey Buttercream

Lavender and honey go so well together. Bees know it, fairies know it, princesses know it. The flavor combination is so delightful in these cookies, that I decided to share them with you. In addition to delicious, compatible flavors, these cookies have a divine texture combination. The shortbread cookies have a tender, melt-in-your-mouth texture. Together with the silky, smooth honey buttercream, they’ll make you feel fancy and regal. You’ll hold your head up higher, ring for your tea and declare that you do indeed deserve fine things!

Some people are nervous about baking with lavender because they don’t want their baked goods to taste like soap or perfume. That can be a concern if the lavender flavor is too pronounced. However, if you don’t use enough you won’t be able to taste it at all. There’s a fine balance. If you use the right amount, it will taste pleasant and have sweet undertones. I used two teaspoons of culinary lavender in these cookies, but you can adjust the amount to your tastes. You can start out with one teaspoon, bake a small sample of dough and taste it, to customize the flavor.

Speaking of tasting, my grandmother always said, “taste as you go.” This is also helpful when making the honey buttercream. Typically, when making other flavors of buttercream, you add more powdered sugar if your buttercream is too thin. In this case, adding more powdered sugar can make the buttercream too sweet. Once you have added the amount of honey that tastes good to you, you can add a little cornstarch if you need to stiffen it up a bit.

Print Recipe
Lavender Shortbread Sandwich Cookies with Honey Buttercream
Tender lavender scented cookies with silky honey buttercream filling
Keyword cookies
Servings
Ingredients
Lavender Shortbread Cookies
Honey Buttercream
Keyword cookies
Servings
Ingredients
Lavender Shortbread Cookies
Honey Buttercream
Instructions
Honey Buttercream
  1. In a medium bowl, beat butter and sugar together until smooth. Add honey, one tablespoon at a time until desired sweetness and consistency is reached.
  2. Mix in a pinch of salt to taste.
  3. Mix in cornstarch, if necessary, to firm up buttercream. *See notes below.
Recipe Notes

*The addition of cornstarch helps to firm up buttercream without adding additional sweetness.

To find culinary lavender, click here.

Lemon Crinkle Cookies

Lemon Crinkle Cookies by Brownie Mischief
Click here to watch the video

Crinkle cookies, also known as crackle cookies, have been around for a very long time. The pretty, crispy, cracked exterior and the soft, moist interior are what we love about them! There’s definitely no shortage of recipes for crinkles out there, everything from chocolate to red velvet. I even saw an audacious cookie company selling lemon crinkles for twelve dollars each, more money than it will cost for this entire batch! So many of the recipes I tried were disappointing, especially the ones made with cake mix. So I created my own version and I’m sharing it with you. Here’s to making sure delicious lemon crinkle cookies are available for all to enjoy, not just a select few.

This recipe requires a bit of chilling, which I know many people don’t like because they’re impatient. I happen to be one of those people. Old fashioned crinkle cookies require about 3 hours of chilling. My recipe has the addition of cornstarch, which helps prevent spreading and allows for a shorter chilling time. As an added bonus, cornstarch makes the cookies more tender. Win win!

Fresh lemon zest and lemon juice in these cookies is crucial to the best lemon flavor. A bit of pure lemon extract is added to enhance that flavor. Don’t be tempted to use imitation extracts. The flavor will disappoint you. I added two drops of lemon yellow food color, which made them so pretty they look like pure sunshine!

Print Recipe
Lemon Crinkle Cookies
Lemon cookies with a crackled, crispy exterior and a soft, tender interior
Course Dessert
Servings
cookies
Ingredients
Course Dessert
Servings
cookies
Ingredients
Instructions
  1. In a medium bowl, whisk together the flour, cornstarch, baking powder, salt and baking soda.
  2. In a large bowl, cream the butter, sugar and lemon zest together until light and fluffy.
  3. Beat in the egg until well combined.
  4. Mix in the lemon juice, extracts and food coloring until well combined.
  5. Add the flour mixture and mix just until combined.
  6. Refrigerate the cookie dough for 30 minutes to one hour.
  7. Preheat the oven to 350ºF (180ºC). Line two large cookie sheets with parchment paper.
  8. Roll the dough into balls, about 2 tablespoons each. **I used a #30 portion scoop.
  9. Roll the dough balls generously in powdered sugar.
  10. Place two inches apart onto the prepared baking sheets.
  11. Bake for 10-12 minutes. Let cool on the cookie sheet for one minute then transfer to a cooling rack.
Recipe Notes

*To find Americolor lemon yellow gel food color, click here.

**To find a #30 cookie scoop, click here.

To find the striped wax paper pictured above, click here.


Strawberries and Cream Profiteroles

Strawberries & Cream Profiteroles

Imagine you’re in a beautiful room, reclining on a plush velvet chaise lounge. There’s a dainty table nearby. On the table is a cake pedestal with a little pyramid of small, perfectly plump, pink pastries. They’re filled with sweet, luscious strawberry cream. And they’re all yours. This Strawberries & Cream Profiteroles recipe can make that dream come true. Maybe not the velvet chaise lounge, but really any comfortable chair will do while you indulge in these delicious little gems. Profiteroles have a way of making you feel regal and majestic. I think princesses and princes snack on them. Most of us don’t have a personal pastry chef or the budget to order from a French bakery every day, but we can certainly follow a recipe and make one of the easiest pastry doughs there is. Choux pastry or pate à choux is used to make profiteroles, cream puffs, eclairs, churros and other pastries. Once you get the hang of it, the possibilities are endless.

This recipe features fresh strawberries, but frozen strawberries will work too. You can also substitute raspberries or peaches. To find the recipe for Peaches & Cream Profiteroles, click here. The strawberry purée can be made a day or two ahead and stored in the refrigerator. To make it easy on myself, I like to make the strawberry purée on day one, the pastry cream on day two, then make the profiteroles and strawberry icing and assemble on day three. It’s also helpful to practice the French culinary style of prep, mise en place, which means to have all of your ingredients and equipment in place before you begin. Everything will go much smoother and prevent you from feeling overwhelmed.

Print Recipe
Strawberries and Cream Profiteroles
Bite sized choux pastry puffs filled with fresh strawberries and cream filling and topped with fresh strawberry icing
Course Dessert
Cuisine French
Servings
profiteroles
Ingredients
Strawberry Pureé
Strawberries and Cream Filling
Profiteroles
Strawberry Icing
Course Dessert
Cuisine French
Servings
profiteroles
Ingredients
Strawberry Pureé
Strawberries and Cream Filling
Profiteroles
Strawberry Icing
Instructions
Strawberry Purée
  1. Purée strawberries in a blender or food processor. Strain puréed strawberries through a sieve.
  2. Transfer strawberry purée to a small saucepan. Stir in lemon juice.
  3. Bring to a boil over medium heat. Reduce heat and simmer until strawberry purée is reduced by half.
  4. Remove from heat. Stir in strawberry extract. Set aside to cool completey.
Strawberries and Cream Filling
  1. Bring milk to a boil in a small saucepan over medium heat.
  2. Meanwhile, whisk sugar, cornstarch and salt together in a medium bowl. Add the egg and whisk until smooth.
  3. When milk starts to boil, remove from heat and pour 1/3 of the hot milk into the egg mixture and whisk to combine.
  4. Pour the egg mixture back into the remaining hot milk and cook over medium heat, whisking continuously, until the mixture comes to a boil and thickens.
  5. Remove from heat. Stir in butter and vanilla extract.
  6. Pour mixture through a sieve placed over a bowl. Cover the surface with plastic wrap and let cool completely.
  7. Set aside 2 tablespoons of strawberry purée. Add remaining strawberry purée to cooled pastry cream and stir to combine. Cover strawberry pastry cream and chill in refrigerator.
  8. In a medium bowl, whip heavy cream to stiff peaks with an electric mixer at high speed. Fold whipped cream into cooled strawberry pastry cream. Set aside in refrigerator.
Profiteroles
  1. Preheat oven to 400ºF. Line 2 large baking sheets with parchment paper,
  2. Combine water, butter and salt in a medium saucepan. Bring to a boil over medium heat.
  3. Reduce heat. Add flour and stir vigorously with a wooden spoon until mixture pulls away from sides of pan and forms a ball.
  4. Transfer mixture to the bowl of a stand mixer. Mix on low speed until steam dissipates and mixture cools to lukewarm.
  5. Add eggs one at a time and beat on medium speed until smooth, stopping to scrape down bowl.
  6. Transfer mixture to a piping bag fitted with a large round tip. (I used *Ateco tip 808)
  7. Pipe 1 1/4-inch mounds, about 2 inches apart, on prepared baking sheets. Smooth tops with a wet finger.
  8. Bake 15 minutes, then turn down the oven heat to 350ºF and continue baking until golden brown, about 8-10 more minutes. Using a toothpick or skewer, prick a small hole in each profiterole to allow steam to escape. Place on a wire rack to cool completely.
  9. Use the tip of a paring knife to make a pilot hole in the bottom of each profiterole.
  10. Place strawberries and cream filling into a piping bag fitted with a medium round piping tip. (I used **Wilton tip 12)
  11. Place tip into the pilot holes and fill each profiterole with filling.
Strawberry Icing
  1. In a medium bowl, whisk all icing ingredients together until smooth. Spoon over filled profiteroles. Refrigerate profiteroles until ready to serve.
Recipe Notes

*To find Ateco tip 808 click here.

**To find Wilton tip 12 click here.

Raspberry Sauce


Print Recipe


Raspberry Sauce

Course Dessert
Keyword raspberry, sauce

Servings
cup


Ingredients

Course Dessert
Keyword raspberry, sauce

Servings
cup


Ingredients


Instructions
  1. Purée raspberries with lemon juice in a blender or food processor. Pass purée through a fine mesh sieve* to remove seeds.

  2. In a small bowl, whisk together water and cornstarch.**

  3. In a small saucepan, heat raspberry purée with sugar and cornstarch slurry to a boil over medium heat. Turn heat down to low and simmer until slightly thickened, about 2-3 minutes.


Recipe Notes

*To find a fine mesh sieve, click here.

**To find a mini whisk for whisking small amounts, click here.

Peaches & Cream Profiteroles

Peaches & Cream Profiteroles by Brownie Mischief

Summer is nearly over, and after the recent heatwave here in Southern California, I’m more than ready to welcome fall weather. But before I put on my fluffy sweater and dive into pumpkin spice everything, I want to enjoy the tail end of peach season, don’t you? Farmer’s markets and stores near my home are still brimming over with fresh peaches, so I picked up some peaches and decided to give them a proper goodbye and send them off in style.

Peaches & Cream Profiteroles by Brownie Mischief

I created some luscious peaches and cream filled, bite-size puffs of choux pastry, called profiteroles. They’re like cream puffs, only smaller. The filling is creamy, but so light and airy that I’m convinced that these profiteroles have no calories! The recipe I’m sharing with you uses fresh peaches, but feel free to substitute frozen peaches if fresh peaches aren’t available. There are a lot of steps to this recipe, but the steps are done in stages and are very easy to do.

Peaches & Cream Profiteroles by Brownie Mischief

I decorated my profiteroles with fresh, pesticide-free miniature rosebuds, also known as spray roses. If you can’t find miniature rosebuds, pesticide-free rose petals would be a good substitute. You may not get a chance to embellish these little beauties. They have a way of popping into people’s mouths even before you can decorate them!

Print Recipe
Peaches & Cream Profiteroles
Bite-sized puffs of choux pastry filled with a creamy, fresh peach filling and topped with fresh peach icing.
Course Dessert
Cuisine French
Servings
Ingredients
Peach Purée
Peaches & Cream Filling
Profiteroles
Peach Icing
Course Dessert
Cuisine French
Servings
Ingredients
Peach Purée
Peaches & Cream Filling
Profiteroles
Peach Icing
Instructions
Peach Purée
  1. Purée peaches in a blender or food processor. Strain puréed peaches through a sieve. Stir in lemon juice.
  2. Place puréed peaches in a small saucepan. Bring to a boil over medium heat.
  3. Reduce heat and simmer until peach purée is reduced by half.
  4. Remove from heat. Stir in peach flavoring and set aside to cool completely.
Peaches and Cream Filling
  1. Bring milk to a boil in a small saucepan over medium heat.
  2. Meanwhile, whisk sugar, cornstarch and salt together in a medium bowl. Add the egg and whisk until smooth.
  3. When milk starts to boil, remove from heat and pour 1/3 of the hot milk into the egg mixture and whisk to combine.
  4. Pour the egg mixture into the remaining hot milk and cook over medium heat, stirring continuously, until the mixture comes to a boil and thickens.
  5. Remove from heat. Stir in butter and extracts.
  6. Pour mixture through a sieve placed over a bowl. Cover the surface of pastry cream with plastic wrap. Let cool.
  7. Set aside 2 tablespoons of cooled peach purée. Add remaining peach purée to cooled pastry cream and stir to combine. Chill in refrigerator.
  8. In a medium bowl, whip heavy cream to stiff peaks with an electric mixer at high speed. Fold whipped cream into peach pastry cream mixture. Set aside in refrigerator.
Profiteroles
  1. Preheat oven to 400ºF. Line two large baking sheets with parchment paper.
  2. Combine water, butter and salt in a medium saucepan and bring to a boil over medium heat.
  3. Reduce heat. Add flour and stir vigorously with a wooden spoon until mixture pulls away from sides of the pan and forms a ball.
  4. Transfer mixture to the bowl of a stand mixer. Mix on low speed until steam dissipates and mixture cools to lukewarm.
  5. Add eggs one at a time and beat with an electric mixer at medium speed, until smooth, stopping to scrape down bowl.
  6. Transfer mixture to a piping bag, fitted with a large round tip. (**I used Ateco tip 808.)
  7. Pipe 1 1/4 inch mounds, about 2 inches apart onto prepared baking sheets. Smooth tops with a wet finger.
  8. Bake for 15 minutes, then turn oven temperature down to 350ºF and continue baking until golden brown, about 8-10 more minutes. Using a toothpick or skewer poke a small hole in each profiterole to let steam escape. Place on a wire rack to cool completely.
  9. Using the tip of a paring knife, poke a pilot hole in the bottom of each profiterole.
  10. Place peaches and cream filling into a piping bag fitted with a medium round piping tip. (***I used Wilton tip 12.)
  11. Place piping tip into the pilot holes and fill each profiterole with filling.
Peach Icing
  1. In a small bowl, whisk all icing ingredients together and spoon over filled profiteroles. Refrigerate until ready to serve.
Recipe Notes

*To make peaches easy to peel, blanch them  in boiling water for about 30 seconds, then dunk  in ice water.

**To find Ateco tip 808, click here. ***To find Wilton tip 12, click here.