Caramel Latte Brownies

These rich, fudgy, coffee scented brownies, with caramel and whipped cream topping are inspired by one of my favorite coffee shop drinks, a caramel latte. I was thinking about how to get the caramel inside the brownies. With some methods, the caramel ends up over baked and chewy. Then I remembered poke cakes from my childhood. You poke holes all over a baked cake and pour whatever you like on top to soak into the holes. It worked beautifully with these brownies. To finish them off, I topped them with fluffy cream cheese whipped cream and a drizzle of caramel.

Print Recipe
Caramel Latte Brownies
Rich, moist coffee scented brownies soaked with caramel, topped with fluffy cream cheese whipped cream and drizzled with more caramel.
Servings
Ingredients
Servings
Ingredients
Instructions
  1. Preheat your oven to 325ºF. Line an 8-inch square baking pan with parchment paper, leaving a couple of inches of overhang.
  2. In a large heat safe bowl, melt the butter together with the chocolate, in the microwave or on the stovetop over a pan of barely simmering water. Stir until smooth.
  3. In a small bowl, whisk together the cocoa powder, hot water and espresso powder until smooth.
  4. Whisk the cocoa powder mixture, sugar and salt into the warm melted chocolate mixture until well combined.
  5. Add the eggs, egg yolk and 1 teaspoon of vanilla to the chocolate mixture and whisk until smooth.
  6. Stir in the flour just until combined, scraping the bottom of the bowl as needed.
  7. Transfer the batter to the prepared baking pan. Bake until a toothpick inserted into the center of the brownies comes out with moist crumbs on it, about 25-28 minutes. Do not over bake. Let cool completely.
  8. Once cool, remove the brownies from the pan and place on a serving platter. Using a chopstick, poke holes in the brownies, about 1 inch apart, to within 1 inch from the edges.
  9. Spread caramel sauce over the surface of the brownies with a small offset spatula.
  10. In a large bowl, beat the cream cheese, powdered sugar and 1/2 teaspoon of vanilla, with an electric mixer, until smooth. Gradually add the heavy cream and beat to stiff peaks.
  11. Spread or pipe the whipped cream onto the brownies. Drizzle with additional caramel sauce.
Flourless Chocolate Cake with Raspberry Sauce

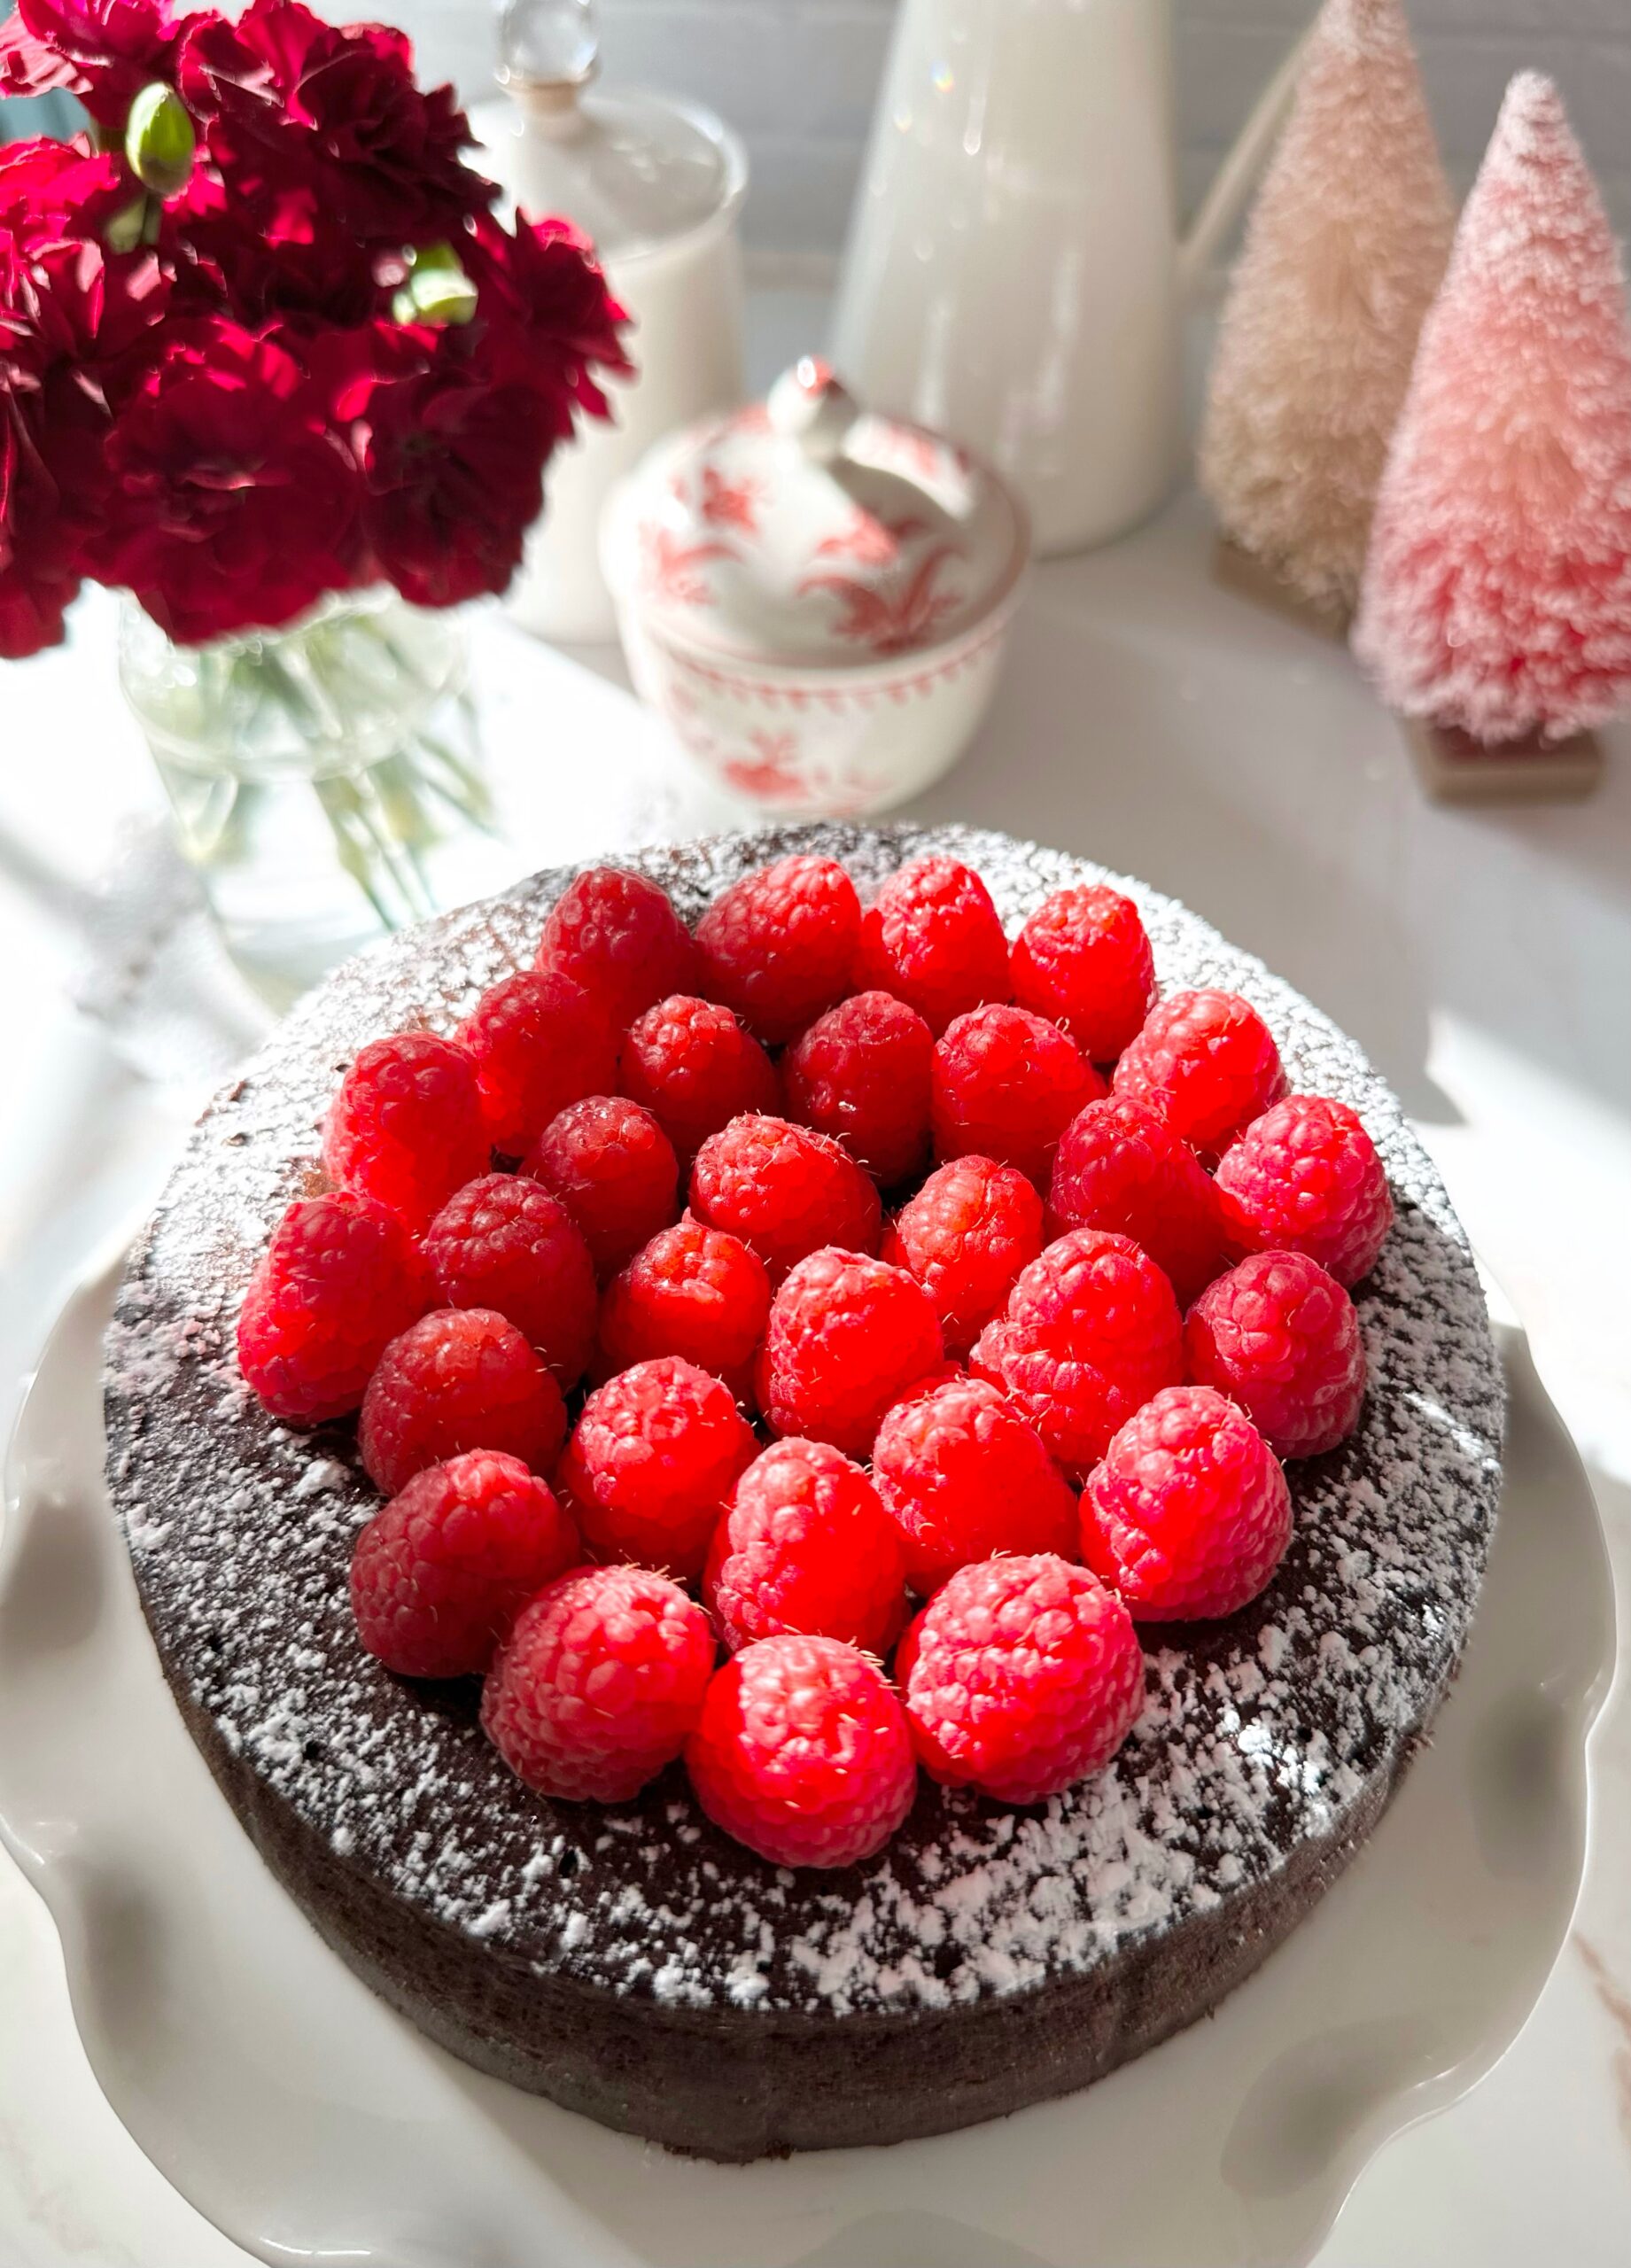
Flourless Chocolate Cake with Raspberry Sauce

This cake story has a happy ending. Once, many years ago, someone gave my grandparents’ neighbor a flourless chocolate cake. The neighbor had a slice and couldn’t finish it because it was too rich. She brought the cake over to my grandparents and they each had a slice and couldn’t finish them, because they were too rich. I had a slice and I couldn’t finish mine either and, well…you can guess why. So my grandparents, not wanting to be wasteful, put the cake in the freezer and forgot about it for a very long time. Whenever I opened the freezer and saw it, I wondered why none of us could eat more than a few bites of that rich cake. Although I don’t know for sure, it was probably because the ratio of chocolate to butter was off. But I do know that serving it with something acidic, like berries or raspberry sauce, would have helped immensely.

The happy ending to this story is that this flourless chocolate cake was created to be enjoyed to the last bite. It’s decadent, but not overly rich. It has a good balance, not too sweet or too bitter. The raspberry sauce and fresh raspberries compliment it perfectly. This luscious cake is also delicious with strawberries or any combination of berries you like. It’s also delicious served with salted caramel sauce. I wish my grandparents were still around to give my version of a flourless chocolate cake a try. I think they would have loved this cake and finished every last bite!

Print Recipe
Flourless Chocolate Cake with Raspberry Sauce
Keyword cake, chocolate
Servings
Ingredients
Raspberry Sauce
Keyword cake, chocolate
Servings
Ingredients
Raspberry Sauce
Instructions
Flourless Chocolate Cake
  1. Preheat oven to 325ºF. Line a 6-inch springform pan** with parchment paper. Spray the parchment paper with nonstick spray. Wrap the bottom two inches of the pan tightly with aluminum foil. Set pan in a baking pan.
  2. Combine chocolate and butter in a large stainless steel bowl set over a pot of barely simmering water. Stir until melted and smooth. Remove bowl from heat.
  3. In a large bowl, beat eggs with an electric mixer until doubled in size, about 5 minutes. Beat in vanilla extract and salt.
  4. With a large spatula, gently fold beaten eggs into chocolate mixture in three additions until no streaks of egg remain. Transfer batter to prepared pan. Smooth top of batter with a small offset spatula.
  5. Pour 1 1/2 inches of boiling water into baking pan. Bake until top is set and internal temperature*** reaches 140ºF, about 28-37 minutes.
  6. Remove cake pan from water bath. Cool to room temperature then cover and refrigerate for at least 4 hours (or up to overnight, but cake is best served the day it's made).
  7. Remove cake from pan when chilled and set. Top with powdered sugar and fresh raspberries.
  8. To serve, remove cake from refrigerator at least 30 minutes before serving and serve at room temperature for best texture. Serve with raspberry sauce.
Raspberry Sauce
  1. Purée raspberries in blender or food processor. Pass purée through a fine mesh sieve**** to remove seeds.
  2. In a small bowl, whisk together water and cornstarch.*****
  3. In a small saucepan, heat raspberry purée with sugar and cornstarch slurry to a boil over medium heat. Turn heat down to low and simmer until slightly thickened, about 2-3 minutes.
Recipe Notes

*Chalazae are the opaque chords of egg white. Removing them is optional, but they do show up as white spots in the cake after baking.

**To find the 6-inch springform pan I used, click here.

***To find an instant read thermometer, click here.

****To find a fine mesh sieve, click here.

*****To find a mini whisk for whisking small amounts, click here.

Vintage Chocolate Cake

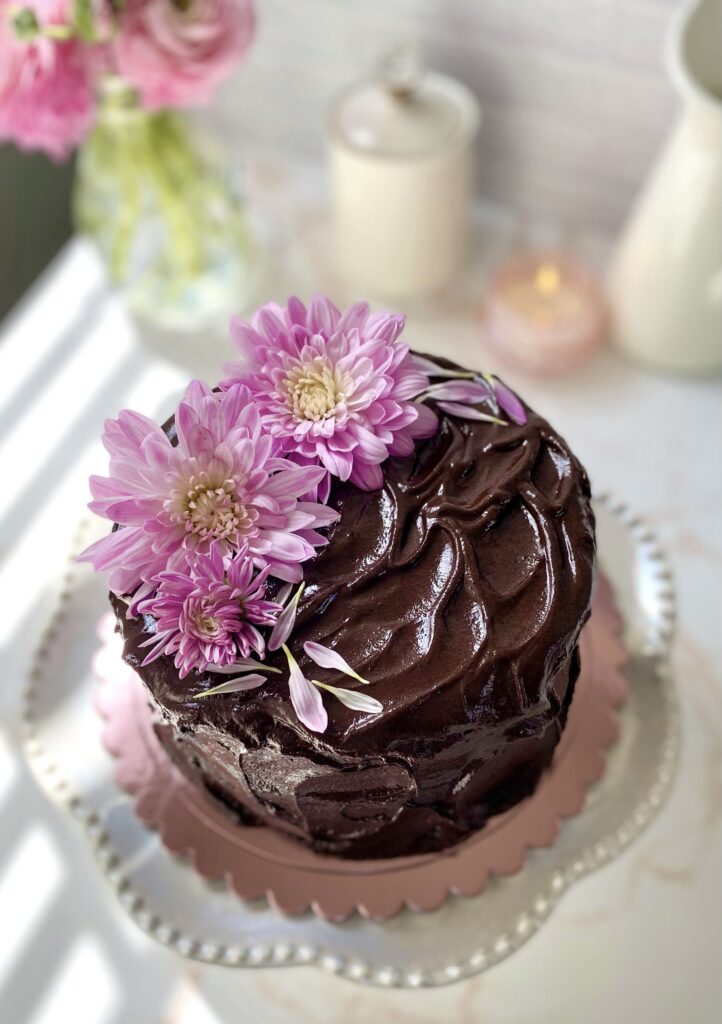
Dark Chocolate Cake with the Best Chocolate Frosting

If you love chocolate cake, this is the post for you! Chocolate cake is one of the best comfort foods there is. I’ve tasted many over the years, but my all time favorite was one I had growing up. I’ve spent years trying to duplicate the moist, nostalgic cake from my childhood. I noticed that nearly every chocolate cake recipe on the internet is a variation of the century-old recipe from the Hershey’s Cocoa tin. I think many people have passed it down as a family recipe, each grandmother adding her own personal touch. Even some celebrity chefs have claimed it as their own. It’s an easy, delicious, moist recipe and its popularity is well deserved. You can tweak the flavor additions a bit to make it your own too. It’s a recipe that’s hard to mess up.

This cake is topped with the ultimate silky, smooth, deeply chocolate frosting. I developed this recipe mostly because I couldn’t find a chocolate frosting recipe that didn’t taste gritty and/or look speckled from the cocoa powder. Swiss meringue buttercream with melted chocolate added is one alternative. But, while it is smooth, silky and perfect for piping, it’s missing that deep chocolate richness. Another option is chocolate ganache. It looks rich and creamy in those viral videos, but it’s a little too rich and overpowering to use as frosting in my opinion.

I think this frosting is the one! It has the best of both worlds, velvety but not too rich. You’ll notice that this frosting contains maple syrup. The syrup gives it a very subtle maple flavor in the background, but mostly, it helps to make the frosting silky and gives it shine. You can adjust the sweetness level of the frosting by choosing the chocolate you prefer. I used bittersweet chocolate, which I think is just right. This recipe makes enough frosting to frost a 2-layer 6-inch cake. You can easily double the recipe for larger cakes.

Print Recipe
Vintage Chocolate Cake
Course Dessert
Keyword cake, chocolate
Servings
2 layer 6-inch cake
Ingredients
Chocolate Cake
Chocolate Buttercream Frosting
Course Dessert
Keyword cake, chocolate
Servings
2 layer 6-inch cake
Ingredients
Chocolate Cake
Chocolate Buttercream Frosting
Instructions
Chocolate Cake
  1. Preheat the oven to 350ºF (180ºC). Line the bottoms of two 6-inch cake pans with parchment paper. Grease the insides and dust with a mixture of equal parts flour and cocoa powder. Wrap the cake pans with damp cake strips if you have them.
  2. Sift the flour, cocoa powder, baking powder, baking soda and salt together in a medium bowl. Add the sugar and stir util well combined.
  3. Combine the the egg, egg yolk, buttermilk, vegetable oil and vanilla extract in a small bowl. Whisk lightly to combine.
  4. Add the egg mixture to the dry ingredients and mix on low speed with an electric mixer, until combined. Stop the mixer. Scrape the sides and the bottom of the bowl with a spatula. Turn the mixer up to medium speed and beat for 30 seconds.
  5. Add the hot coffee and stir until well combined.
  6. Pour the batter into the prepared cake pans, dividing batter evenly between the pans. Bake until a toothpick inserted into the center of the cakes comes out clean, about 25-28 minutes without cake strips or about 28-32 minutes with cake strips.
  7. Let the cakes cool in the pans for 10 minutes then remove the cakes from the pans and transfer to a cooling rack.
  8. Trim the cake layers to your desired thickness, from 1-inch to 1 1/2-inches thick. Fill and frost with chocolate buttercream frosting.
Chocolate Buttercream Frosting
  1. In a small saucepan over low heat, whisk together the maple syrup, water, cocoa powder and espresso powder until smooth. Set aside to cool to room temperature.
  2. Melt the chocolate in a medium bowl set over a pan of gently simmering water, making sure the water doesn't touch the bottom of the bowl. Remove from heat and set aside to cool to lukewarm.
  3. In a large bowl, beat the butter with an electric mixer at medium speed, until smooth and light in color. Add the powdered sugar and salt and continue beating until smooth and well combined.
  4. Gradually add the the cooled maple syrup mixture and beat on low speed until combined.
  5. Stir in the melted chocolate until well combined. Smooth out any air bubbles by stirring gently with a rubber spatula.
Recipe Notes

*For smoothest results, use chopped bar chocolate and make sure chocolate is completely melted.  Do not use chocolate chips. Chocolate chips do not melt completely and can make your frosting lumpy.


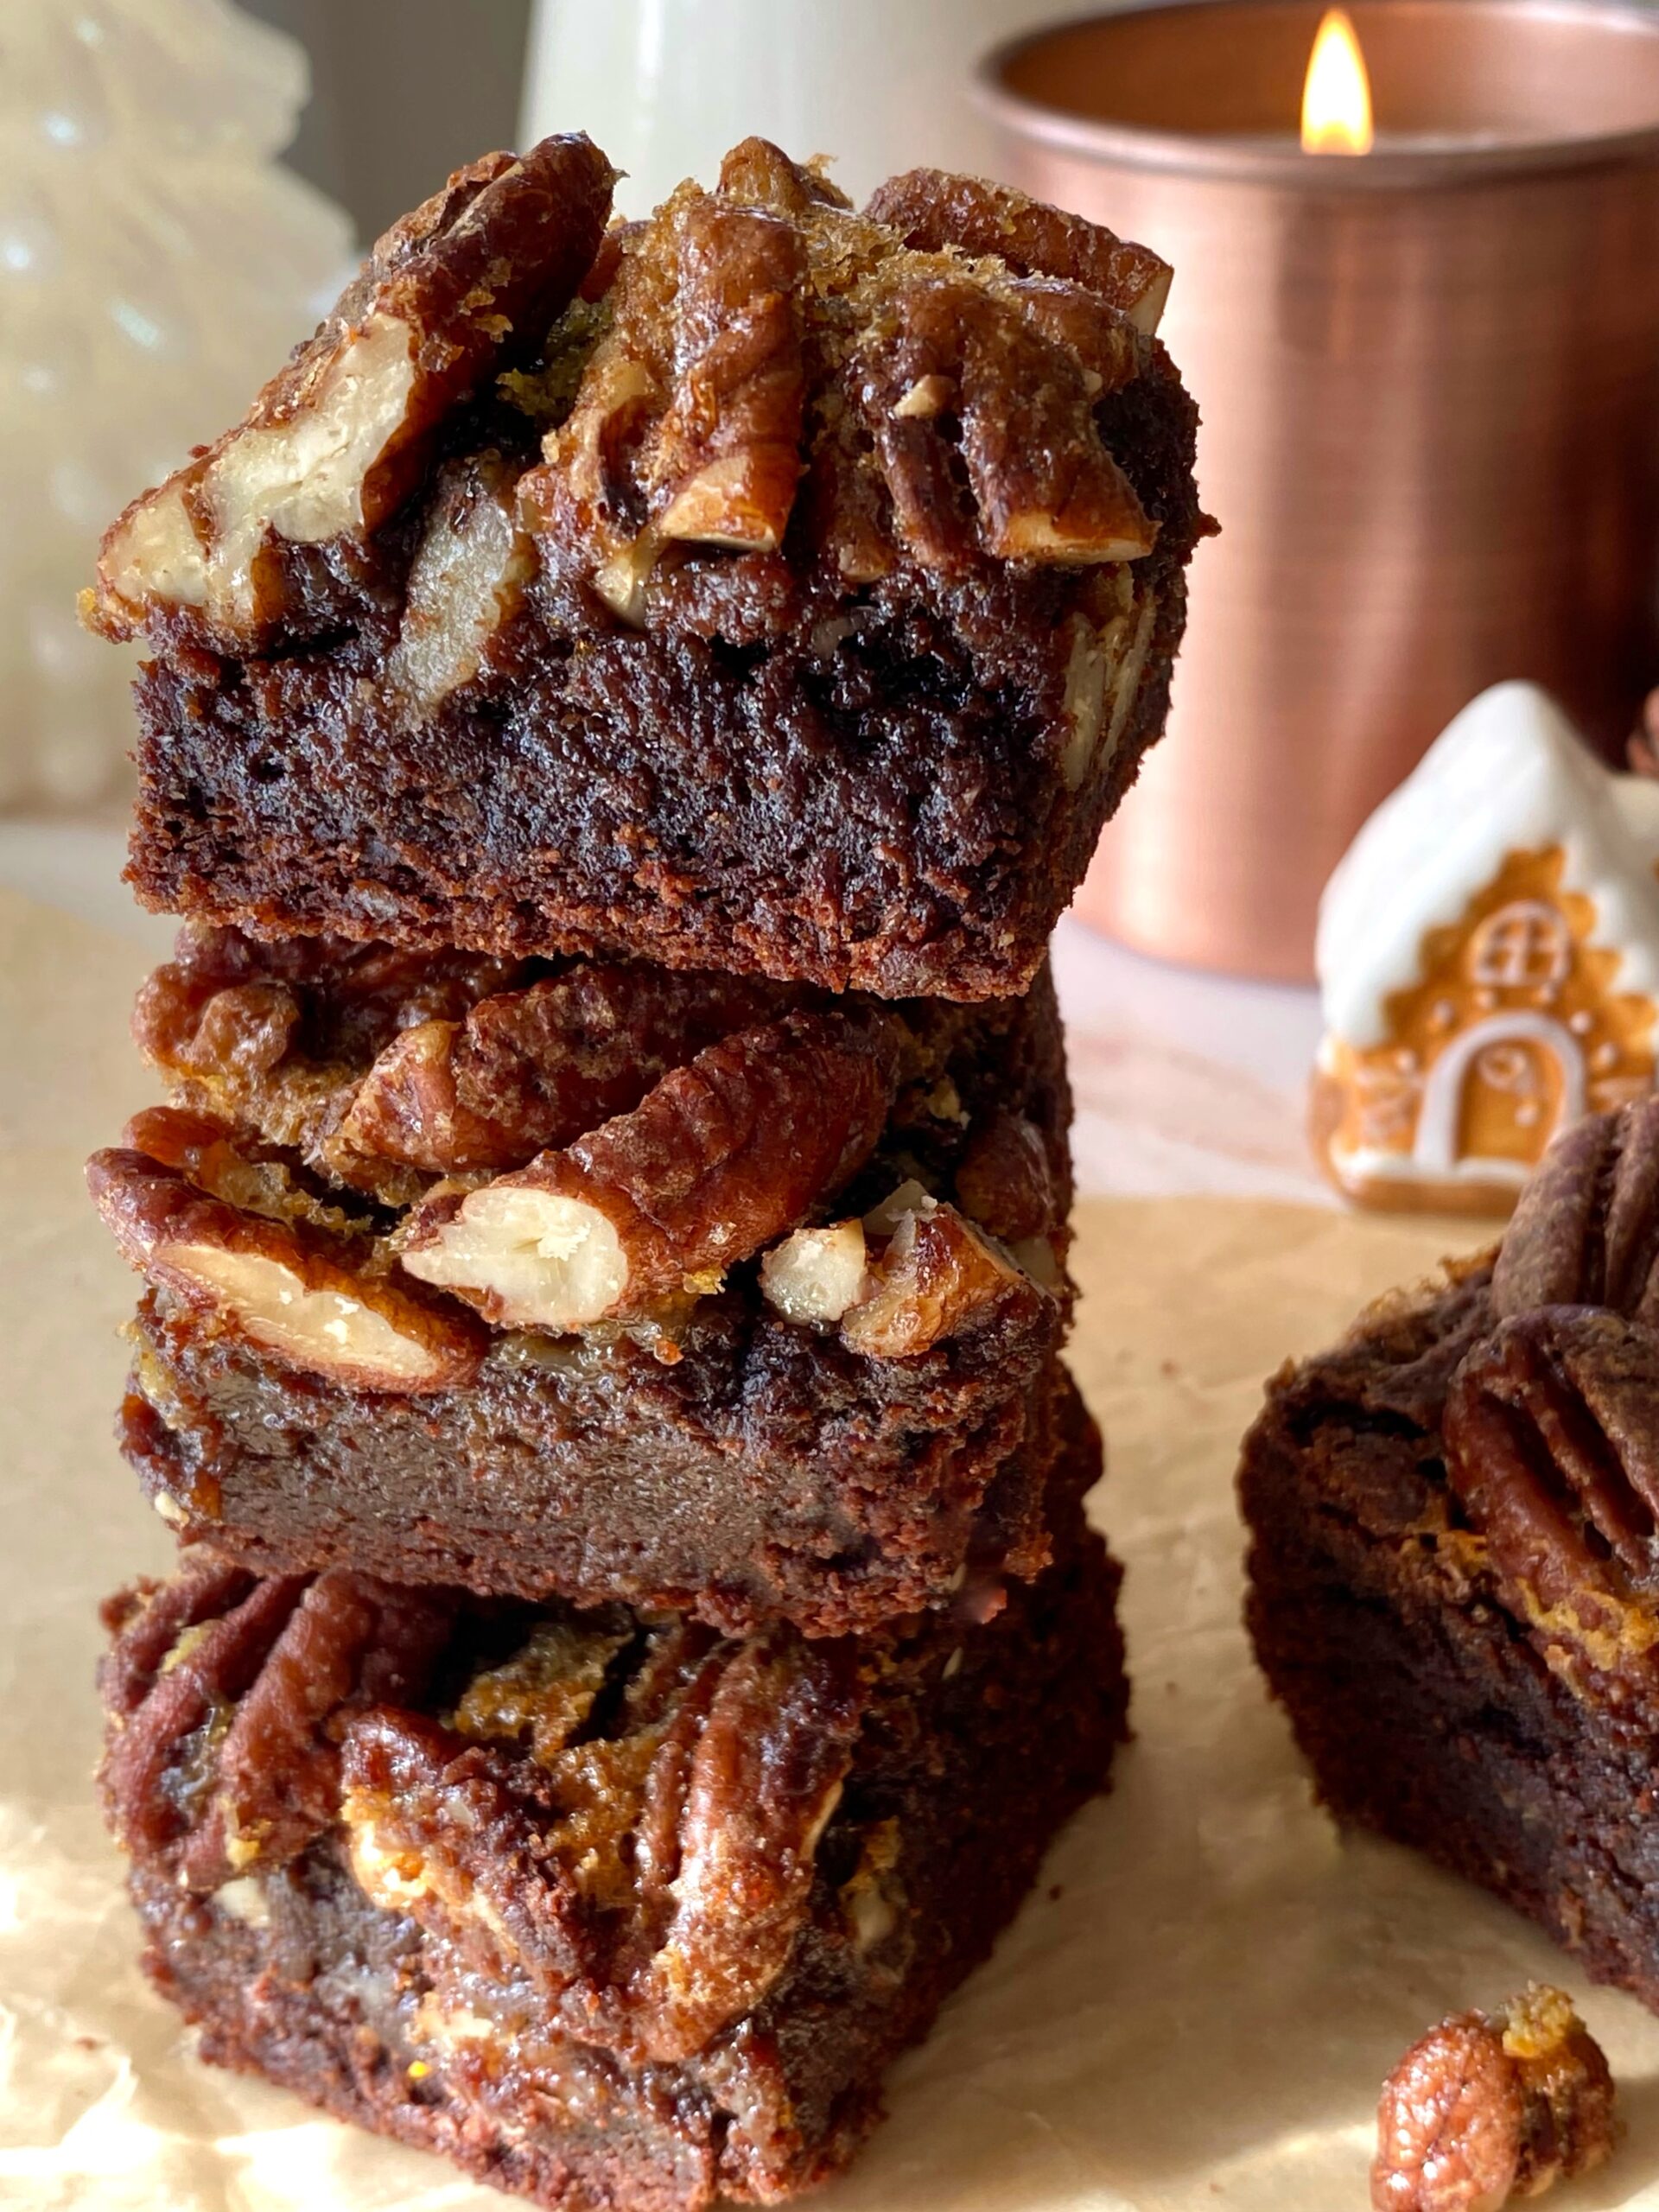
Maple Pecan Brownies

maple pecan brownies

Pecan pie was my mom’s favorite, but she didn’t bake pies, so I always used to bake her one for Thanksgiving. One year, I made a chocolate version. It was delicious, but let’s just say it wasn’t user friendly. It was gooey and hard to serve. Over the years, it eventually morphed into these Maple Pecan Brownies. The brownie version is still delicious, rich and gooey with toasty pecans, but much more user friendly.

Enjoying Maple Pecan Brownies with a glass of milk or a cup of coffee is a must. Thinking of it brings back memories. I can practically smell my dad brewing the coffee to go with these brownies.

Print Recipe
Maple Pecan Brownies
Rich, gooey brownies topped with pecan pie filling
Servings
brownies
Ingredients
Brownies
Pecan Topping
Servings
brownies
Ingredients
Brownies
Pecan Topping
Instructions
Brownies
  1. Preheat oven to 350ºF. Line a 9-inch square baking pan with parchment paper, overlapping the sides an inch or two. Spray parchment paper with nonstick cooking spray.
  2. In a large bowl, stir together melted butter, granulated sugar and brown sugar until well combined.
  3. Mix in eggs and vanilla, one at a time, until well combined.
  4. Mix in cocoa powder, baking soda and salt until well combined.
  5. Stir in flour just until combined.
  6. Spread batter into prepared baking pan. Bake just until top is set, about 25 minutes.
  7. Meanwhile, prepare pecan topping.
  8. When brownie top is set, remove from oven. Gently pour pecan topping around the outer perimeter of brownies, to avoid making brownies sink in the middle. Evenly distribute the pecan topping over the top gently with a spoon.
  9. Return the brownies to the oven and continue baking until the topping is set, about 20-25 minutes. Brownies will stop jiggling and topping will look deep golden brown. Toothpick inserted inside will have a few moist crumbs on it. (If your topping starts to brown too much on the edges before the inside is done, apply aluminum foil around the edges as you would with a pie.)
  10. Remove from oven and cool completely before cutting, about 2- 2 1/2 hours.
  11. Cut into squares, wiping knife between cuts.
Pecan Topping
  1. In a medium bowl, stir together maple syrup, butter, brown sugar, egg, maple extract and salt until well combined.
  2. Stir in pecans until well coated with maple syrup mixture.
  3. Set aside until brownies are partially baked.