Cinnamon Crumble Scones

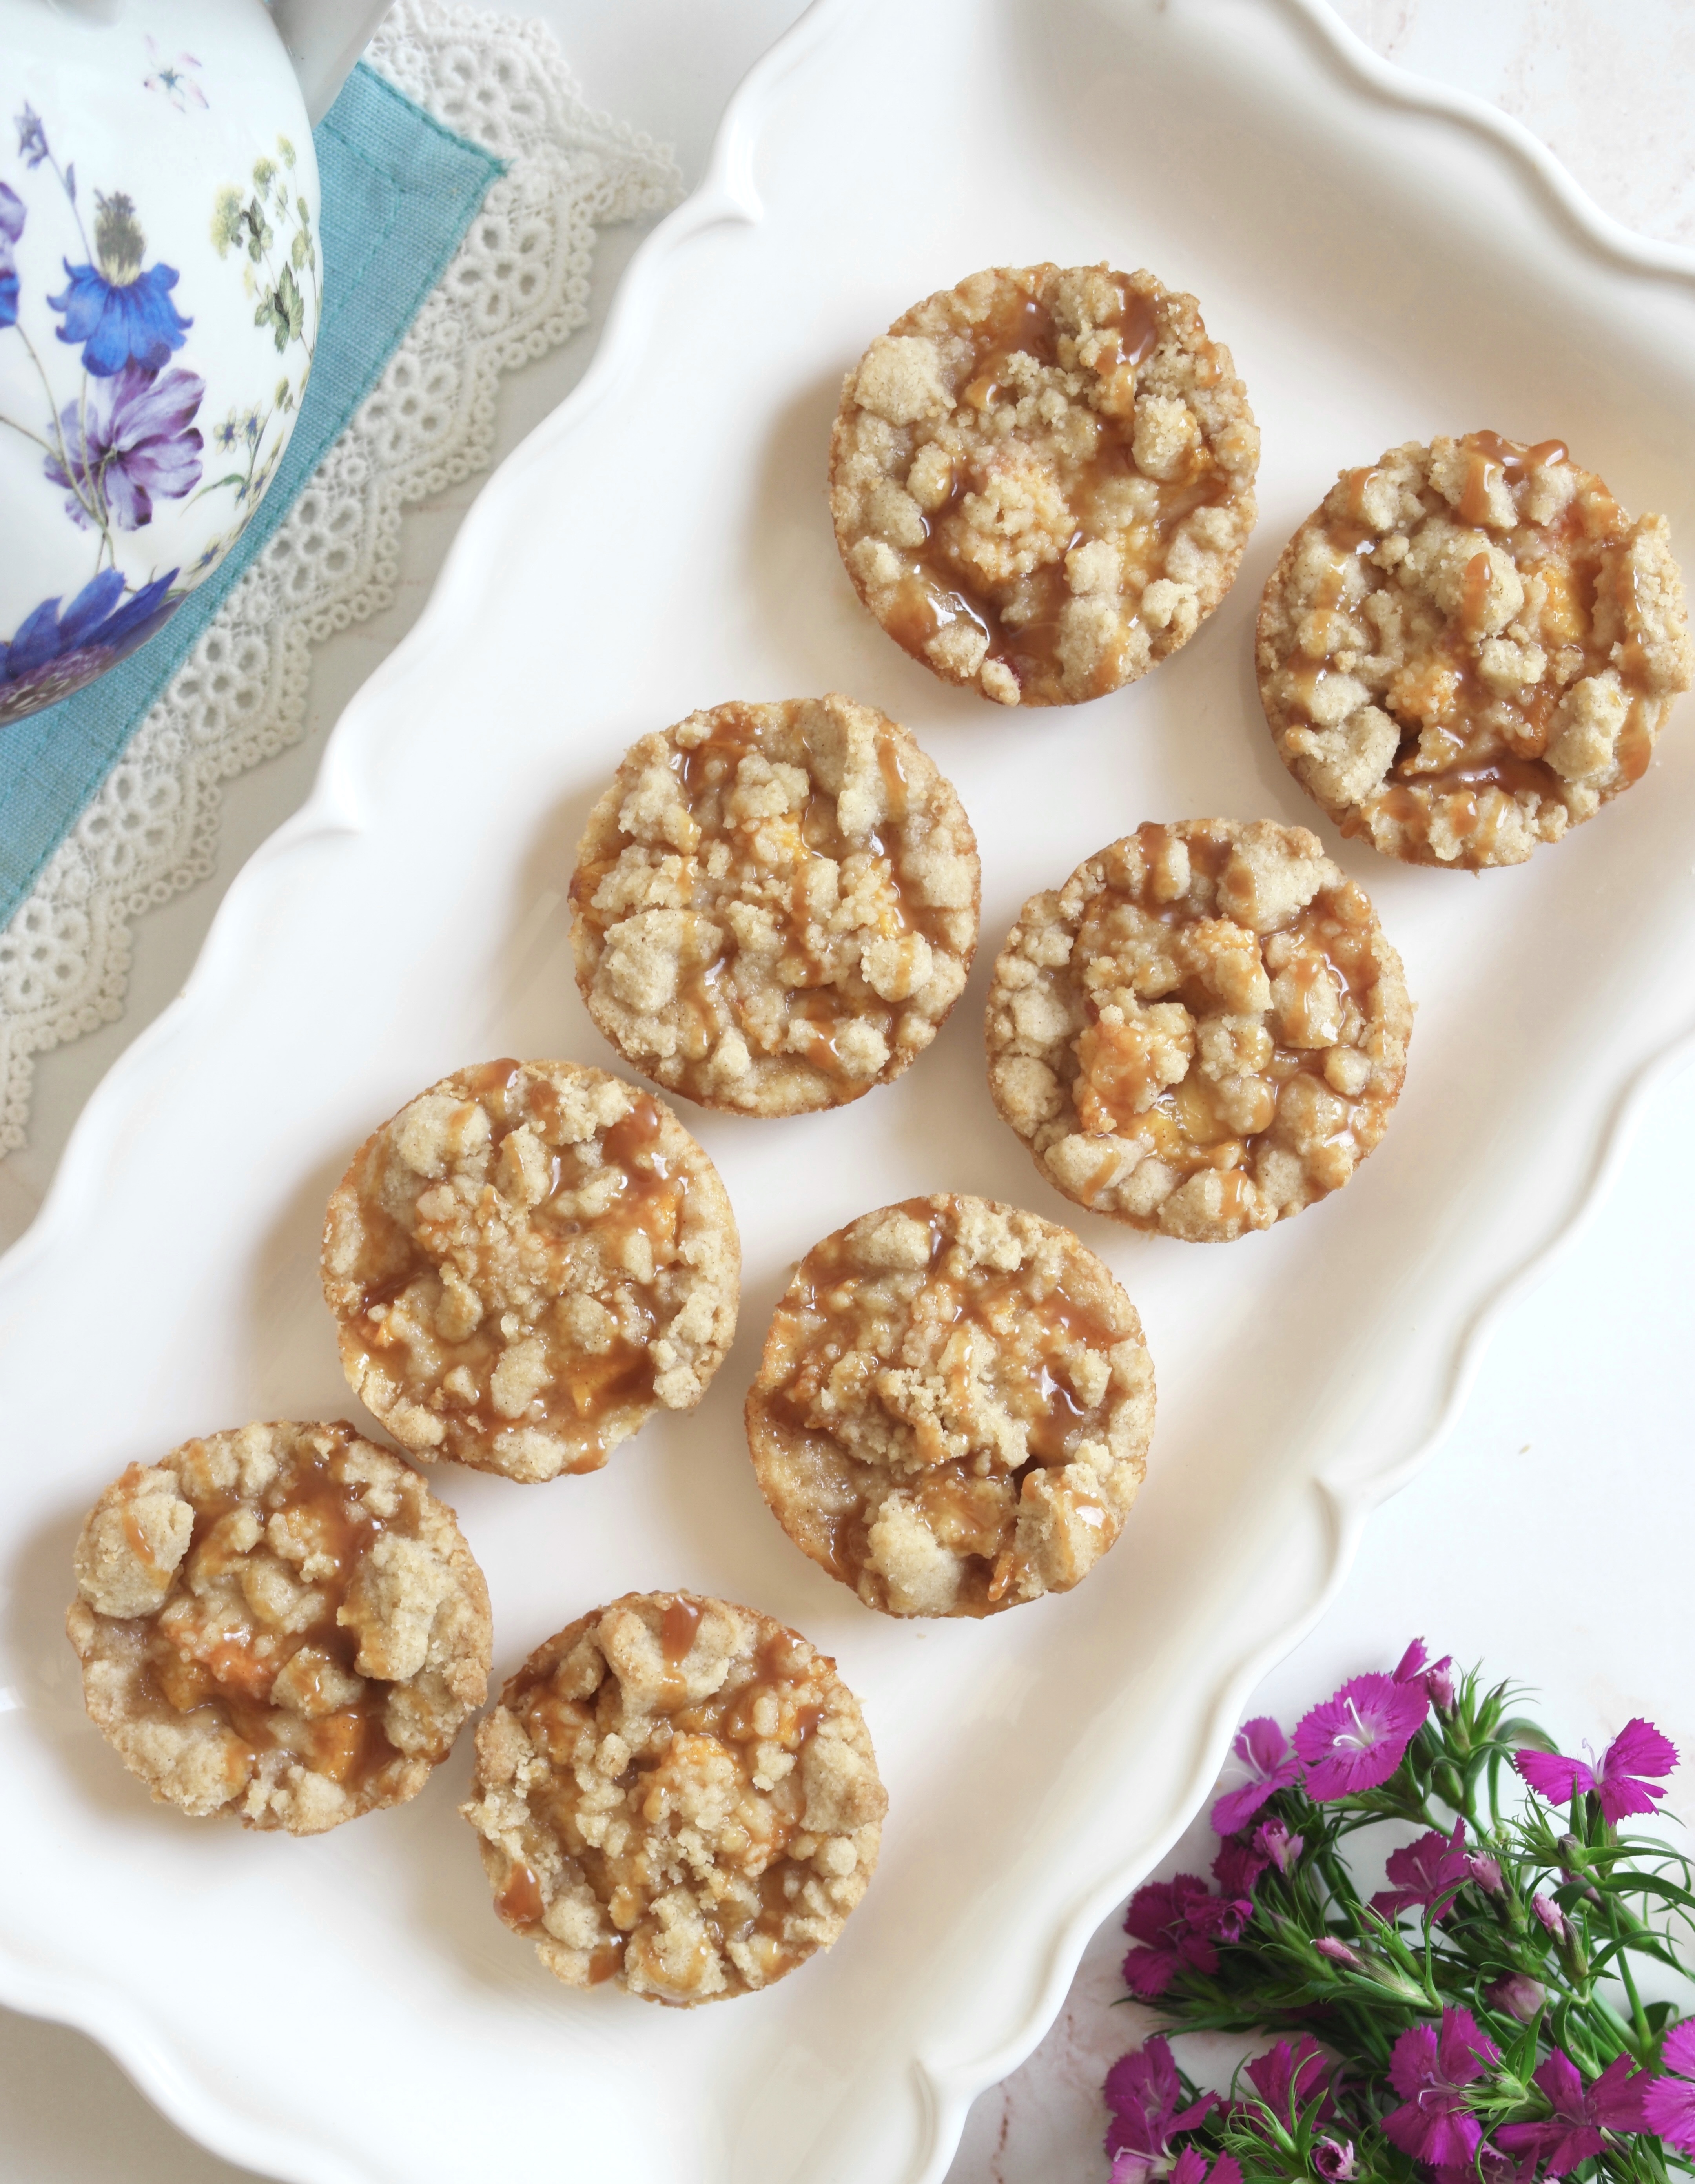
The weeks following the winter holidays always feel peaceful to me. The rush is over and it’s time to catch my breath and rest. When it’s chilly and raining outside, I love spending time at home curled up in my coziest fluffy pajama bottoms and fuzzy socks. Give me a blanket, 75 pillows, a warm cup of tea and these Cinnamon Crumble Scones for ultimate coziness!

The crumb topping on these scones will remind you of a cinnamon crumb cake, which makes them extra nostalgic and comforting. The technique of folding the dough over itself gives them a flaky layered texture. For the tenderest scones, make sure not to over work your dough.

To watch Instagram reel, click here. To watch extended TikTok video showing baking process, click here.

Print Recipe
Cinnamon Crumble Scones
Course Breakfast, Brunch
Keyword cinnamon, scones
Servings
scones
Ingredients
Crumb Topping
Cinnamon Filling
Scones
Icing
Course Breakfast, Brunch
Keyword cinnamon, scones
Servings
scones
Ingredients
Crumb Topping
Cinnamon Filling
Scones
Icing
Instructions
Crumb Topping
  1. In a medium bowl, combine flour, brown sugar, sugar cinnamon and salt.
  2. Work in butter with your fingertips until it looks like wet sand. Press together to make dime size chunks.
  3. Set aside in refrigerator until ready to use.
Cinnamon Filling
  1. In a small bowl, mix filling ingredients together until well combined.
Scones
  1. Preheat oven to 375ºF. Line a large baking sheet with parchment paper.
  2. In a large bowl, whisk together flour, baking powder and salt.
  3. Work butter into flour mixture with your fingertips or with a pastry blender until pea sized pieces are formed.
  4. In a small bowl, whisk together heavy cream, sour cream and vanilla extract.
  5. Stir cream mixture into flour mixture a little at a time until dough comes together. If your dough is too dry add 1-2 more teaspoons of heavy cream.
  6. Turn dough out onto a lightly floured surface. Fold dough over onto itself a couple of times.
  7. Pat dough into an approximately 9 x 5-inch oval. Spread cinnamon filling on half of the dough to within 1/2-inch from the edges. Fold dough in half bringing short ends together. Press edges to seal.
  8. Shape dough into a 7-inch round, about 3/4-inch thickness. Cut into 8 wedges. (Or 6 wedges if you prefer larger scones.)
  9. Pinch the pointed tip of the wedges and tuck under to seal. This helps to prevent the top layer from sliding off while baking. Place wedges about 2-inches apart onto prepared baking sheet.
  10. Brush tops of scones with heavy cream. Top with crumb topping. Bake until light golden brown, about 18-22 minutes.
  11. Transfer scones to a cooling rack to cool. Drizzle with icing.
Icing
  1. In a small bowl, whisk together powdered sugar, butter, 1 tablespoon of milk and vanilla. Add additional milk until desired consistency is reached.

Chocolate Gingerbread

Chocolate Gingerbread

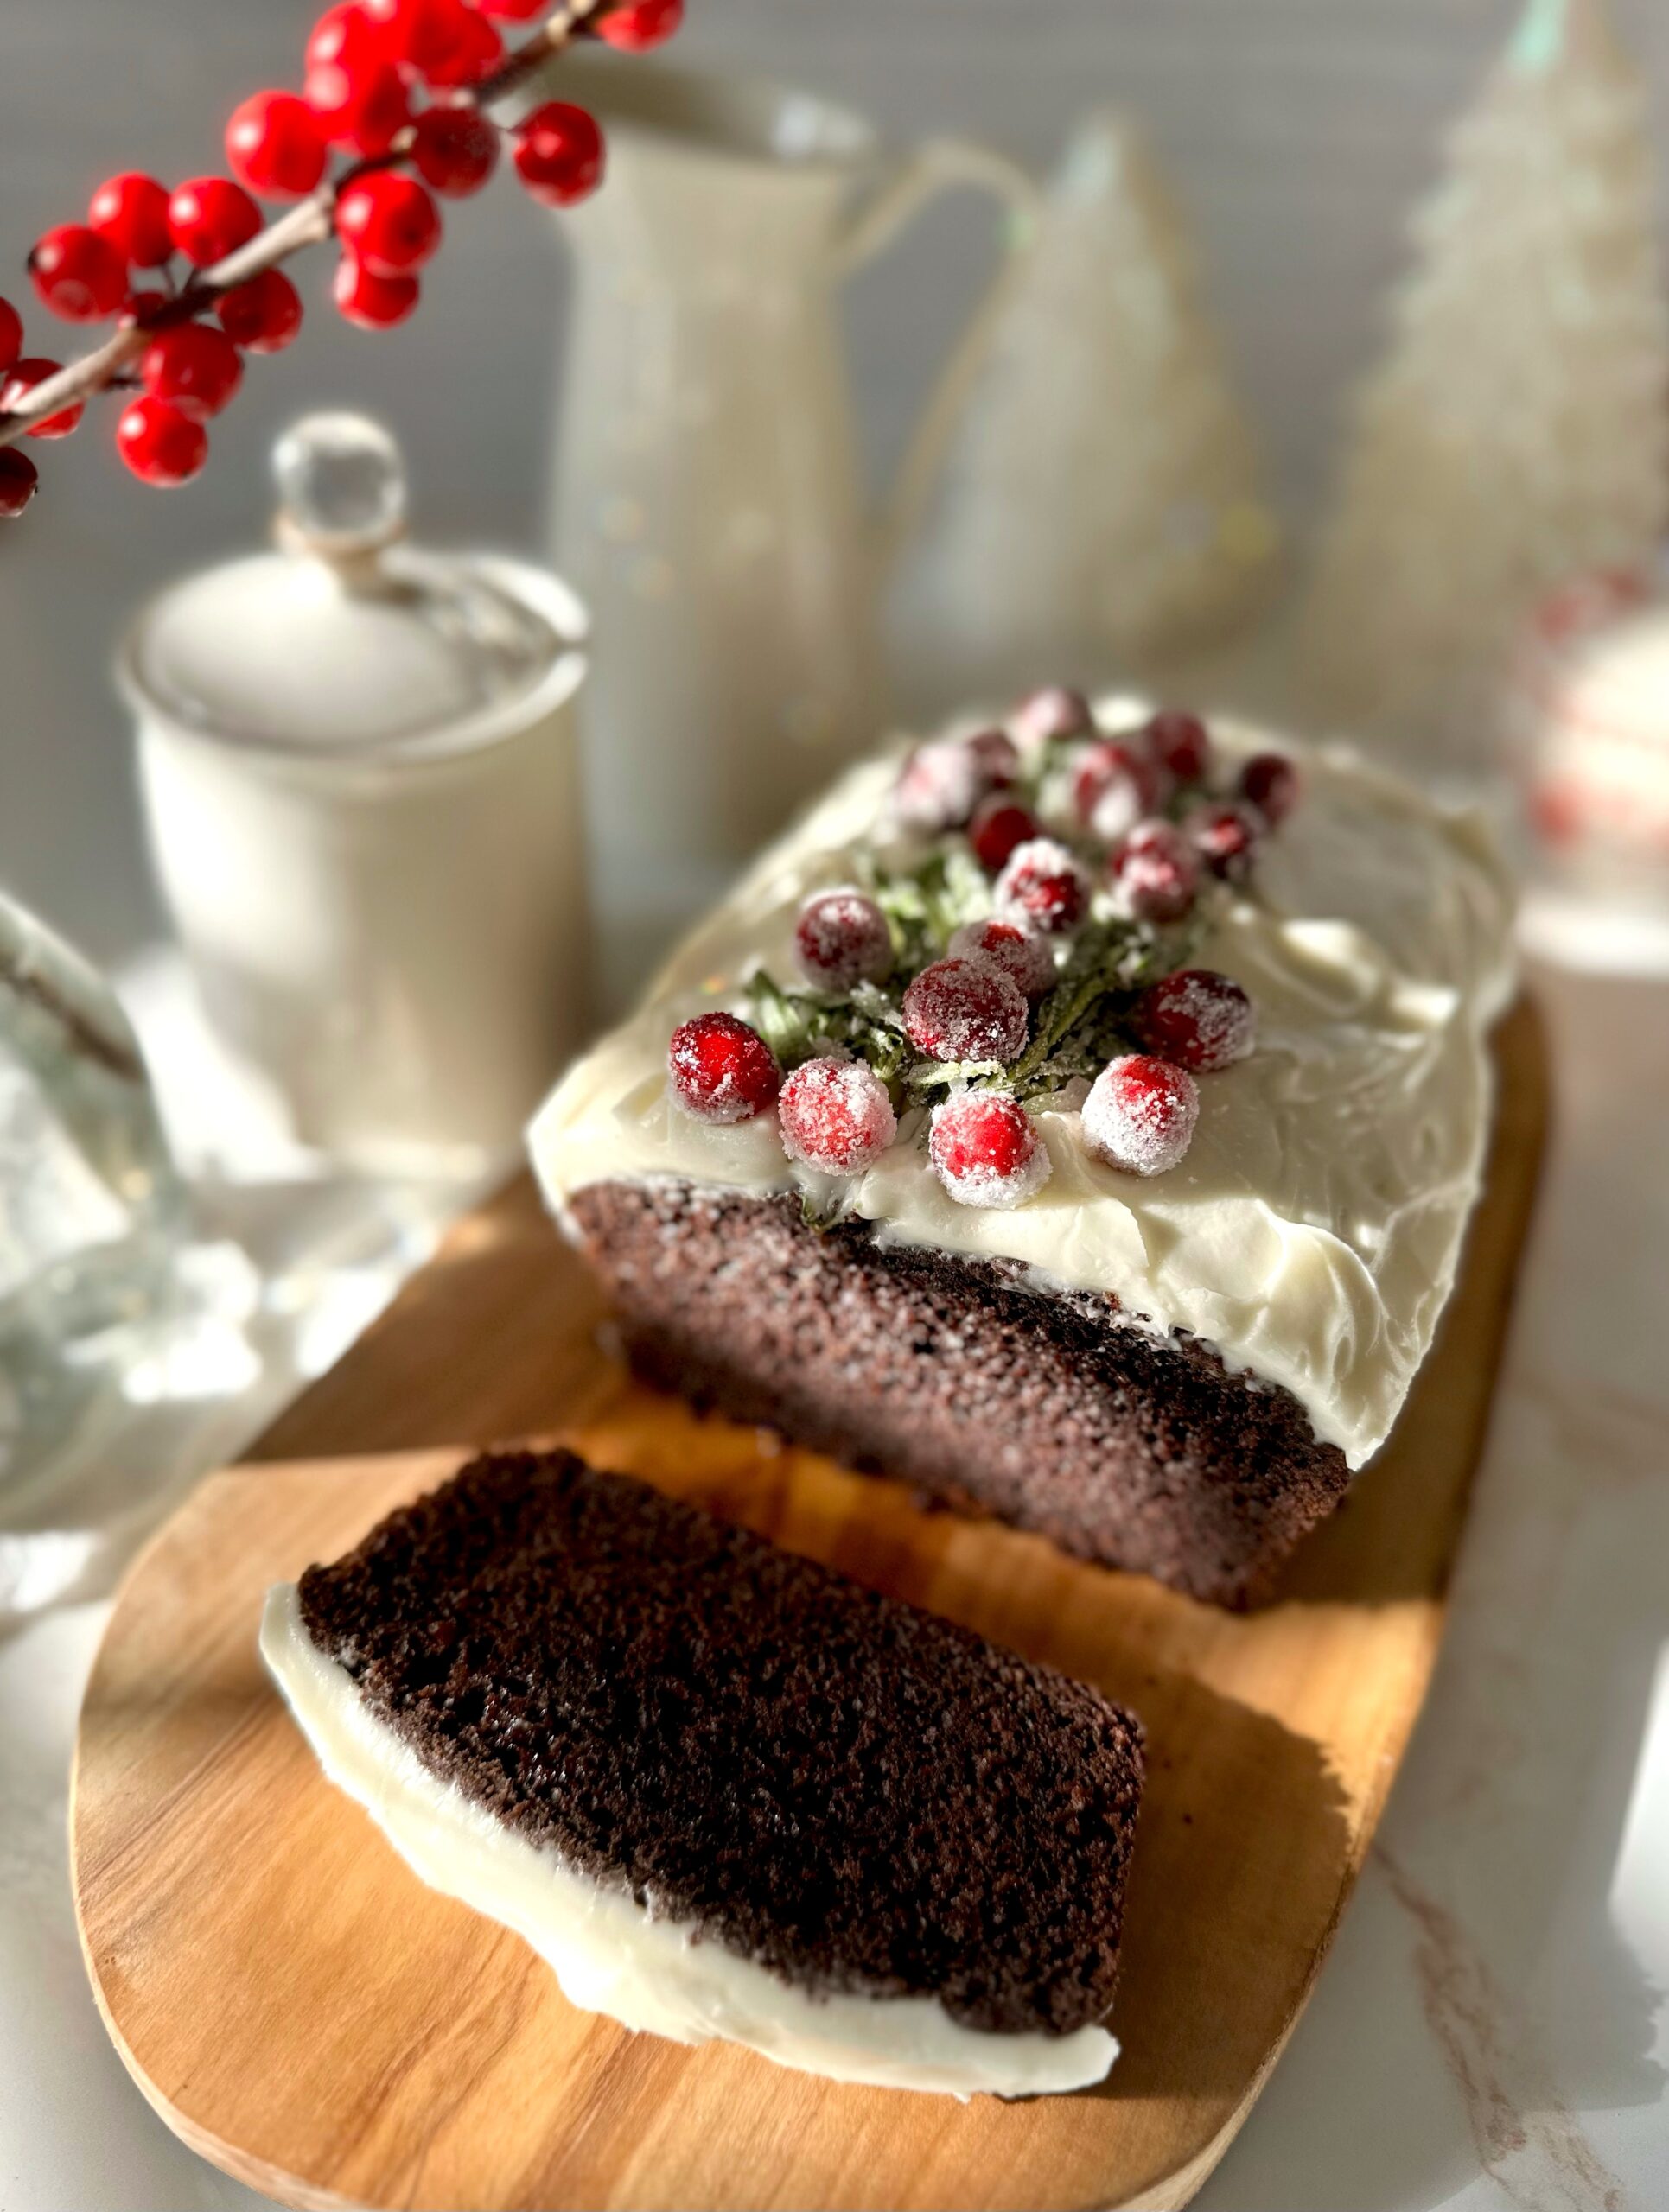
Chocolate gingerbread is gingerbread’s elegant sister. It has the warm spices we love in gingerbread combined with the earthy depth of chocolate. Topping this rich, tender loaf with silky cream cheese frosting is the best possible choice to take it over the top. It’s a lovely loaf to enjoy during the holiday season and beyond. Enjoy it with a hot drink for a cozy, comforting winter treat.

Print Recipe
Chocolate Gingerbread
Servings
loaf
Ingredients
Chocolate Gingerbread
Cream Cheese Frosting
Servings
loaf
Ingredients
Chocolate Gingerbread
Cream Cheese Frosting
Instructions
Chocolate Gingerbread
  1. Preheat oven go 350ºF. Line the bottom of a 9 x 5-inch loaf pan with parchment paper. Grease the insides and dust with cocoa powder.
  2. In a medium bowl, whisk together, flour, cocoa powder, cinnamon, ginger, baking powder, baking soda, salt, allspice, nutmeg, and cloves.
  3. In a large bowl, beat brown sugar, oil, eggs and vanilla until smooth.
  4. In a small bowl, whisk together sour cream and milk.
  5. Add flour mixture to egg mixture in two additions, alternating with milk mixture, beating just until combined.
  6. Transfer batter to prepared pan. Bake until toothpick inserted in center comes out clean, about 38-45 minutes.
  7. Cool in pan 10 minutes, then turn loaf out onto a cooling rack to cool completely. Frost with cream cheese frosting.
Cream Cheese Frosting
  1. In a medium bowl, beat butter and cream cheese together until smooth.
  2. Add powdered sugar, 2 tablespoons of milk, vanilla and salt. Beat until smooth. Add additional milk, if needed, until desired consistency is reached.

Grandma’s Apple Crumb Cake

Grandma's Apple Crumb Cake

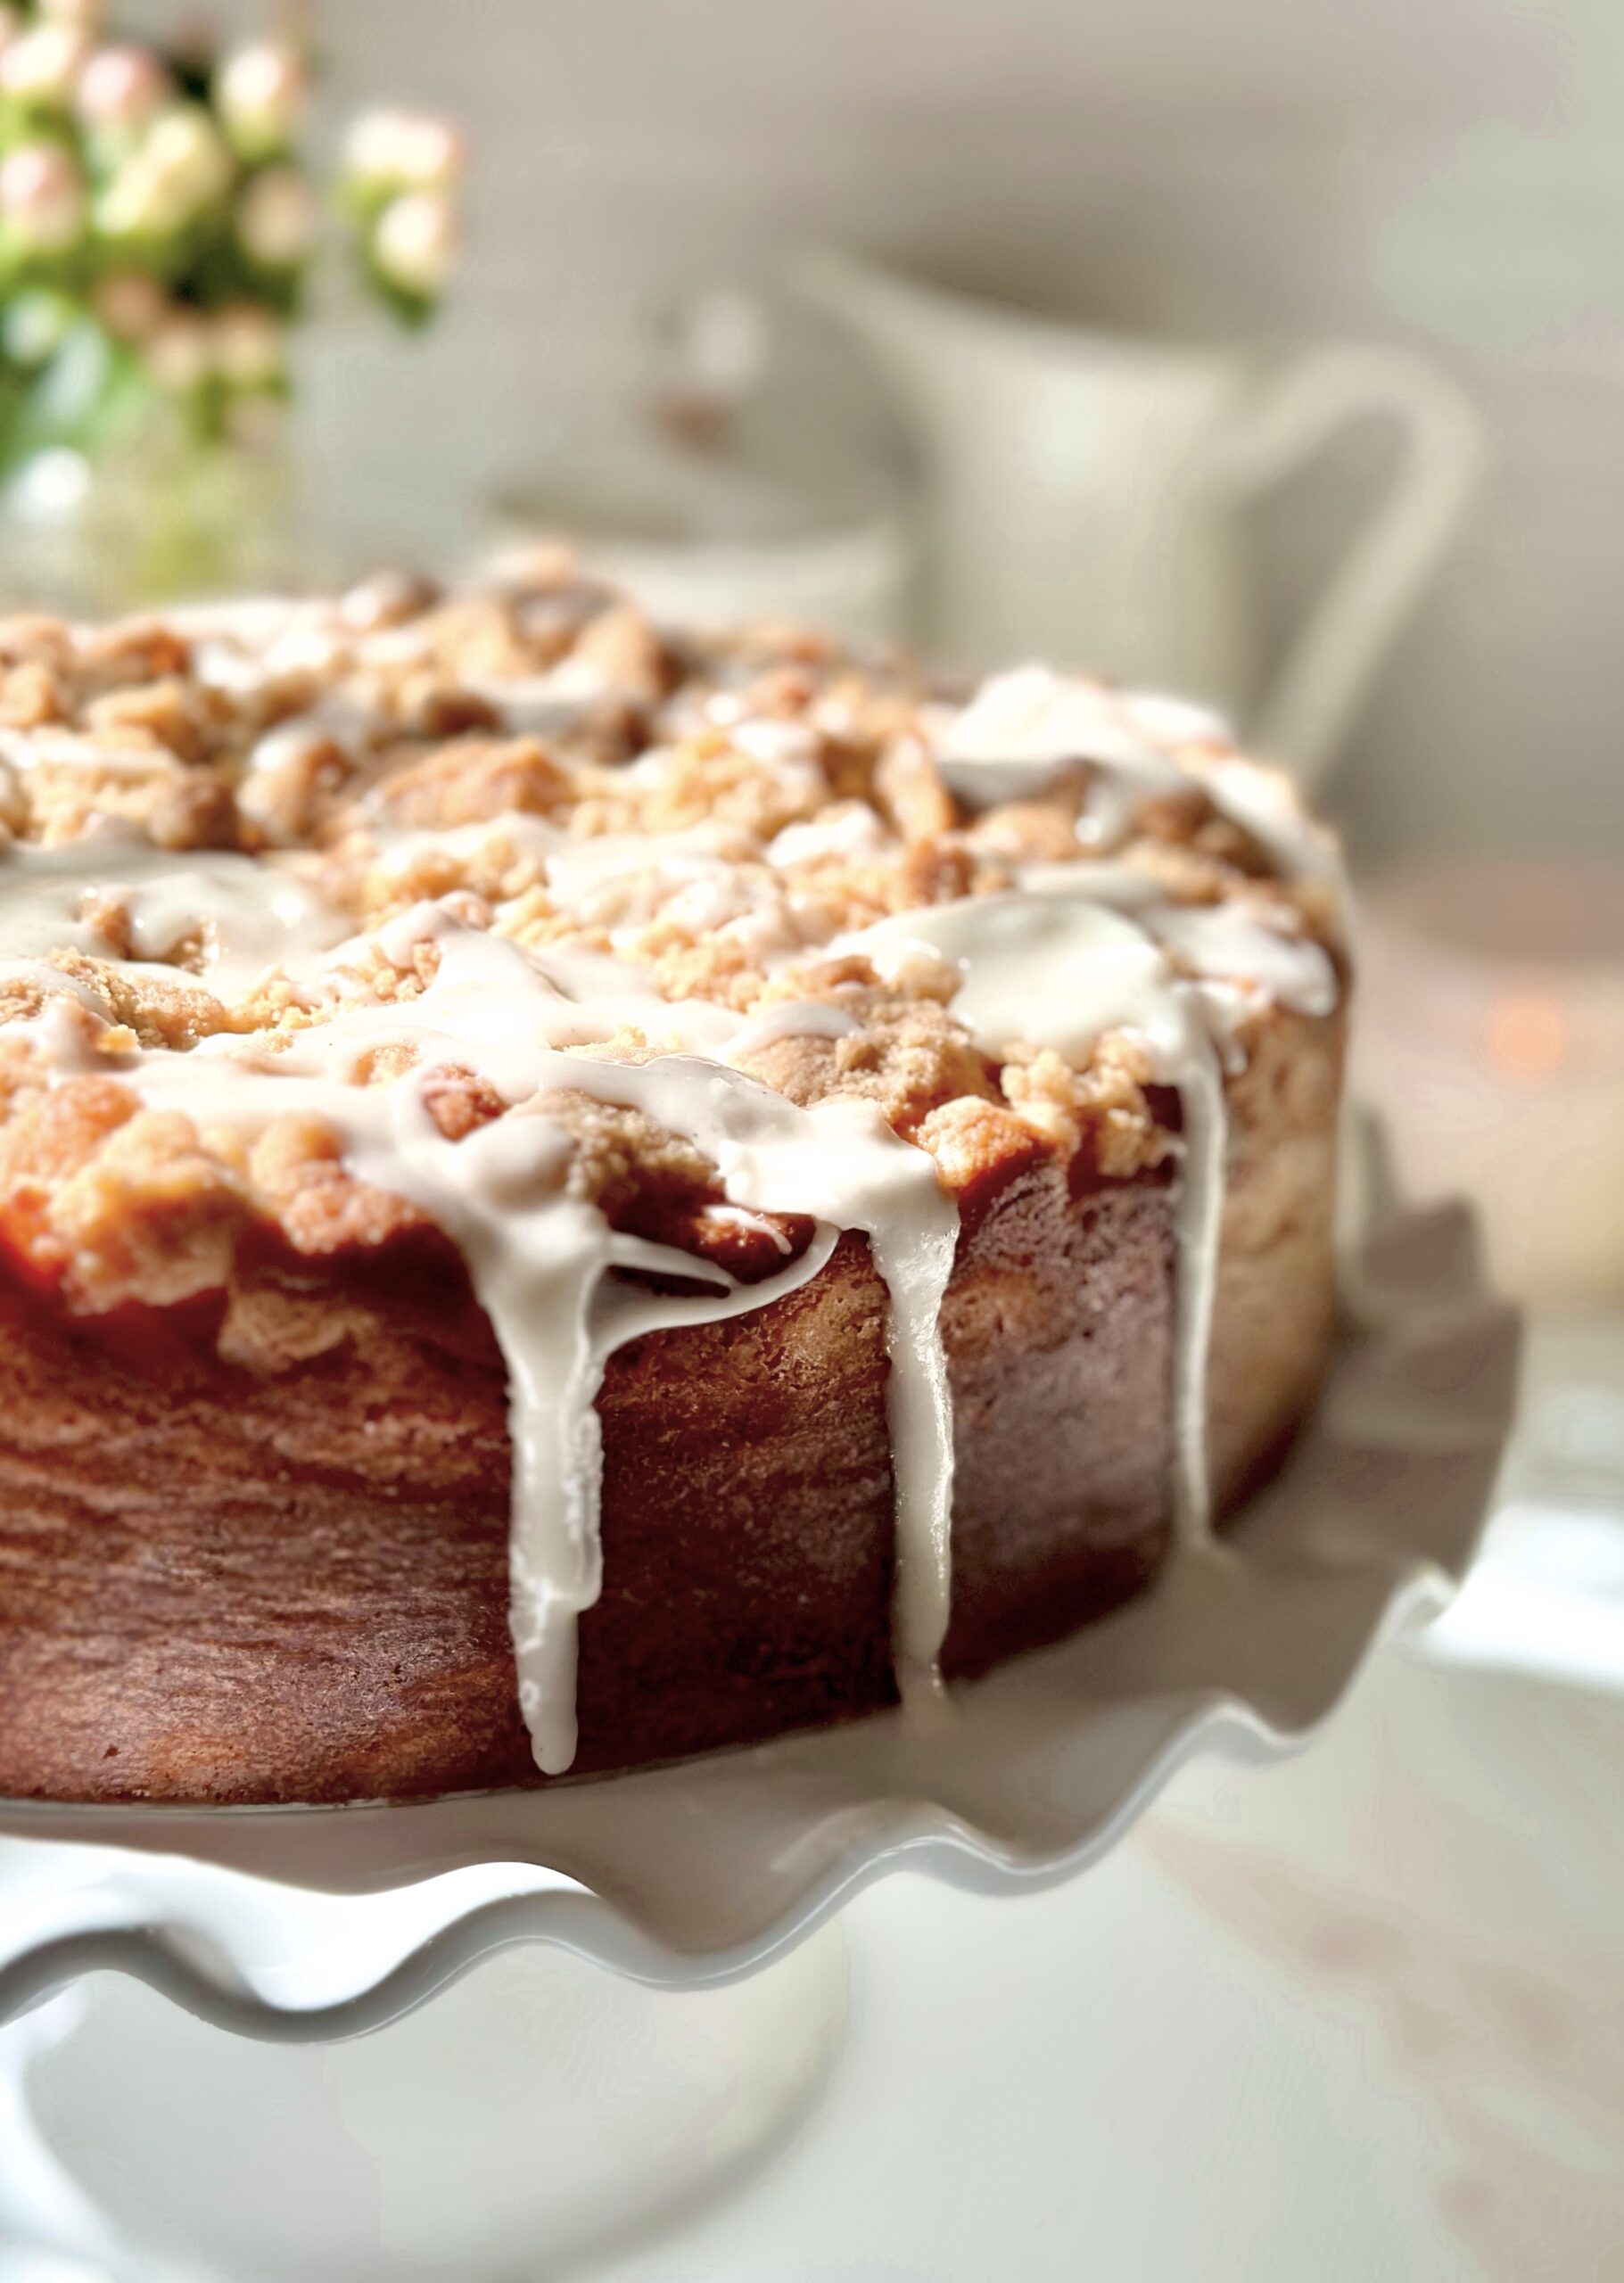
I remember my grandma making coffee cakes and sweet muffins for breakfast, along with eggs, sausages, hot coffee and a big pitcher of milk on the table. The older generation really loved their coffee cakes. I’ve noticed that many Millennials and Gen Z’s think coffee cake contains coffee. Maybe some coffee cake does contain coffee, but in general, coffee cake is called that because it’s typically eaten with coffee. A classic coffee cake is usually a subtly sweet cake with cinnamon, crumb topping and maybe some icing. The Apple Crumb Cake recipe I’m sharing with you has the elements of a classic coffee cake, but so much better! The cake is fluffy and soft, the crumb topping is chunky and plentiful, and the apples are perfectly tender. And don’t get me started about the icing!

Why do most of our grandmothers cook and bake so well? Because they’ve had decades of trial and error to perfect their recipes, tweaking them here and there until they’re approved and loved by their families, neighbors and friends. This cake has had its share of trial and error. She has earned her place as a well-loved, delicious, beautiful queen of coffee cakes.

Print Recipe
Grandma's Apple Crumb Cake
Keyword apple, cake
Servings
servings
Ingredients
Apples
Crumb Topping
Cake
Keyword apple, cake
Servings
servings
Ingredients
Apples
Crumb Topping
Cake
Instructions
Apples
  1. In a large skillet, melt butter over medium heat. Add apples, sugar and cinnamon.
  2. Cook, stirring occasionally, until apples are tender, about 10 minutes. Transfer apples to a bowl and let cool to room temperature.
Crumb Topping
  1. In a medium bowl, mix flour, brown sugar, sugar, cinnamon and salt.
  2. Work in butter with your fingertips until mixture looks like wet sand. Press together to make 1/2-inch chunks.
Cake
  1. Preheat oven to 325ºF. Line a 9-inch cake pan with a removable bottom*, or a 9-inch springform pan, with parchment paper. Wrap the bottom of cake pan with aluminum foil and place pan on a baking sheet.
  2. In a medium bowl, whisk together flour, baking powder and salt.
  3. In a large bowl, cream butter and sugar, with an electric mixer on medium speed, until light and fluffy.
  4. Beat eggs and vanilla into butter mixture in three separate addition, making sure each addition is incorporated before adding the next.
  5. In a small bowl, whisk milk and sour cream together.
  6. On low speed, mix flour mixture into batter in three separate additions, alternating with milk mixture. Beat just until combined.
  7. Transfer batter to prepared baking pan. Smooth top with a spatula.
  8. Drain any excess liquid from apples. Top cake batter evenly with apples, then topping mixture.
  9. Bake until toothpick inserted into center of cake comes out clean, about 50-60 minutes. Cool cake in pan for 10 minutes. Remove cake from pan and continue cooling.
Icing
  1. In a medium bowl, whisk together powdered sugar, melted butter, vanilla, salt and 2 tablespoons of cream. Add additional cream until desired consistency is reached. Drizzle over cooled cake.
Recipe Notes

*To find the cake pan I used, click here.

Chocolate Trail Mix Cookies

Chocolate Trail Mix Cookies

Many people think of trail mix as a dry, chewy form of nourishment nibbled on during hiking or camping. Let me say that I think of trail mix as a highly customizable luxurious snack. That’s because I love to make my own delicious, personalized trail mixes by choosing my favorite additions. No hate to raisins and peanuts, but gorp is not allowed here. Chocolate covered nuts and fruit, step forward. Almonds, pecans, macadamias, pistachios, and cashews, please enter. Dried cherries and blueberries, welcome friends. White chocolate chips and caramel chips, you made it. Chocolate espresso beans, we’ve been waiting for you.

I took my love of personalized trail mixes to the next level by creating these Chocolate Trail Mix Cookies. Everything I love about those wonderful add-ins is combined in cookie form, then dunked in melted chocolate. They become beautiful when you decorate the tops with the add-ins. I used freeze-dried raspberries for my cookie tops because of the tartness and vibrant red color. Feel free to choose your favorite combination of add-ins and get creative when decorating the tops. Your additions combined, minus the oats, should be about two cups.

Print Recipe
Chocolate Trail Mix Cookies
Instructions
  1. Preheat oven to 350ºF. Line two large baking sheets with parchment paper.
  2. In a medium bowl, whisk together flour, cocoa powder, baking soda, salt and cinnamon.
  3. In a large bowl, cream butter, brown sugar, and sugar together with an electric mixer until light and fluffy.
  4. Beat in eggs and vanilla in three separate additions until well combined.
  5. On low speed, beat in flour mixture just until combined.
  6. Fold in oats, almonds, coconut, cranberries, pistachios and pumpkin seeds.
  7. Place 1 1/4 ounce round portions (about 2 tablespoons) three inches apart on prepared baking sheets.
  8. Bake until tops are set and no longer shiny, about 10-12 minutes.
  9. Transfer cookies to a cooling rack to cool completely.
  10. Combine melted chocolate and coconut oil in a small deep container, wide enough to fit the width of your widest cookie. Dunk cookies about halfway into chocolate. Top with nuts and seeds.

Caramel Apple Blossoms

Caramel Apple Blossoms by Brownie Mischief

Whether you call them apple blossoms, apple dumplings or apple fussbudgets, (which are named after your great grandfather’s second wife’s cousin), these are cute little apple pastries. I made them because I was craving apple pie, but I didn’t have enough apples to bake one. I didn’t invent them, and I don’t know who did, but I’ve had frozen ones and I’ve seen them on restaurant menus. I thought it would be fun to make them, and it was! I could’ve just put some pie dough in muffin cups and made quick little pies, but flower shaped things automatically get extra points for cuteness. And if you know me, you know I love my cute bakes!

Print Recipe
Caramel Apple Blossoms
Course Dessert
Keyword pastry
Servings
blossoms
Ingredients
Topping
Course Dessert
Keyword pastry
Servings
blossoms
Ingredients
Topping
Instructions
  1. In a large bowl, toss apples with lemon juice until combined.
  2. Add brown sugar, sugar, melted butter, flour, cinnamon and salt to apples. Stir until combined.
  3. In a medium bowl, mix together all topping ingredients. Set aside.
  4. Line a large baking sheet with parchment paper.
  5. On a lightly floured surface, roll pie dough to 1/8-inch thickness.
  6. Cut out 12 5-inch blossom shapes, re-rolling dough as necessary.*
  7. Lightly mark a 2-inch circle in the center of each blossom. Make cuts between the petals to separate them, just up to the edge of the center circle.
  8. Top each blossom with about 2 generous tablespoons of apples.
  9. Brush dough petals with egg wash. Form blossoms by lifting and overlapping each petal 1/2-inch in a spiral pattern similar to a rose. Tuck the last petal under. Press petals together to seal so filling won't leak out.
  10. Top each with a spoonful of topping. Place in refrigerator to chill for 30 minutes. Don't skip this step. This will help blossoms keep their shape.
  11. Preheat oven to 375ºF. Brush blossom dough all over with egg wash. Wipe any drips off of parchment paper. Bake until crust is golden brown and filling is starting to bubble, about 23-28 minutes.
  12. Drizzle blossoms with caramel sauce.
Recipe Notes

*When re-rolling pie dough, cover and let rest for several minutes to help avoid shrinkage.

Pumpkin Cake

Pumpkin Cake

This perfect pumpkin cake brings back so many memories. The tender, moist texture reminds me of the pumpkin cake bars I used to make in junior high. I got the treasured bar recipe from an old children’s cookbook. I lent the cookbook to a neighbor and never saw the book or the recipe again. Through trial and error, I came up with this cake, which I think is even better! It’s so delicious it doesn’t need frosting, but the classic pairing with cream cheese frosting takes it over the top.

Print Recipe
Pumpkin Cake
Course Dessert
Keyword cake, pumpkin
Servings
Ingredients
Pumpkin Cake
Cream Cheese Frosting
Course Dessert
Keyword cake, pumpkin
Servings
Ingredients
Pumpkin Cake
Cream Cheese Frosting
Instructions
Pumpkin Cake
  1. Preheat oven to 325ºF. Line the bottom of an *8-inch round cake pan with **parchment paper. Grease and flour the sides.
  2. In a medium bowl, whisk together flour, baking powder, baking soda, salt, cinnamon, ginger and nutmeg.
  3. In a large bowl, beat sugar, oil, eggs, vanilla and pumpkin purée with an electric mixer, until smooth, about 1 minute.
  4. Slowly add flour mixture. Stir just until combined.
  5. Transfer batter to prepared cake pan. Bake until toothpick inserted in center comes out clean, about 40-45 minutes.
  6. Cool cake in pan for 10 minutes. Remove cake from pan and transfer to a wire rack to cool.
Cream Cheese Frosting
  1. In a large bowl, beat cream cheese and butter together with an electric mixer, until creamy.
  2. Beat in vanilla extract and salt until well combined.
  3. On low speed, beat in powdered sugar.
  4. Beat in heavy cream a little at a time until desired consistency is reached. Stir with a spatula to smooth out any bubbles.
Recipe Notes

*To find the cake pan I used, click here. **To find the parchment rounds I used, click here.

Pumpkin Pasties

Pumpkin Pasties

Even though there’s a heatwave where I live at the moment, I’m dreaming about all the delicious fall treats I’ll be baking this year. Let’s look forward to cool, crisp weather, the smell of pumpkin or apples baking, and sipping a warm mug of something spicy while we wait for our bakes to come out of the oven.

Inevitably, every fall, the Harry Potter movies come on at my house and it’s nice to have some popcorn and sweet treats to enjoy while watching the movies. And these Harry Potter Inspired Pumpkin Pasties are perfect for that! If you’ve read the Harry Potter books, you may remember the Pumpkin Pasties being mentioned. There are many interpretations out there, but I imagined them to be crispy and flaky on the outside with a sweet pumpkin filling. I included a delicious flaky pie crust recipe here, but feel free to use store bought pie dough if you want to streamline the process. I sprinkled mine with raw turbinado sugar before baking which provides a sweet delicious crunch. You can also use maple sugar or sparkling sugar. To find the sugar I used, click here.

Print Recipe
Pumpkin Pasties
Harry Potter inspired sweet pumpkin filled hand pies
Course Dessert
Keyword pastry
Servings
hand pies
Ingredients
Pie Crust
Pumpkin Filling
Assembly
Course Dessert
Keyword pastry
Servings
hand pies
Ingredients
Pie Crust
Pumpkin Filling
Assembly
Instructions
Pie Crust
  1. In a large bowl, whisk together flour, sugar and salt. Work shortening into the flour mixture with your fingertips until evenly dispersed throughout.
  2. Work butter into the flour mixture with your fingertips, creating flat dime size pieces.
  3. Mix ice water and vinegar together. Sprinkle over flour mixture a little at a time, stirring until dough comes together. You may not need all of the water depending on your climate.
  4. Turn dough out onto a lightly floured surface. Knead dough briefly by folding dough over onto itself a few times. Do not overwork dough! Form dough into two discs. Cover with plastic wrap and refrigerate at least one hour or up to overnight.
Pumpkin Filling
  1. In a medium bowl, mix together pumpkin purée, sugar, egg, heavy cream, cinnamon, ginger and nutmeg until well combined.
Assembly
  1. Preheat oven to 400ºF. Line two baking sheets with parchment paper.
  2. On a lightly floured surface, roll dough to 1/8-inch thickness. Cut dough into 12 5-inch rounds, re-rolling scraps as needed. Place dough rounds on prepared baking sheets.
  3. Place 2 tablespoons of filling on each round, leaving a half-inch border. Apply egg wash to edges of rounds.
  4. Fold dough over and press edges together. Crimp edges with a fork. If any filling oozes out, wipe it up with a paper towel or it will burn.
  5. Brush pasties with egg wash. Cut a half-inch slit into the top of each pastie. Sprinkle with coarse sugar.
  6. Bake until golden brown, about 18-20 minutes. Transfer to a cooling rack.

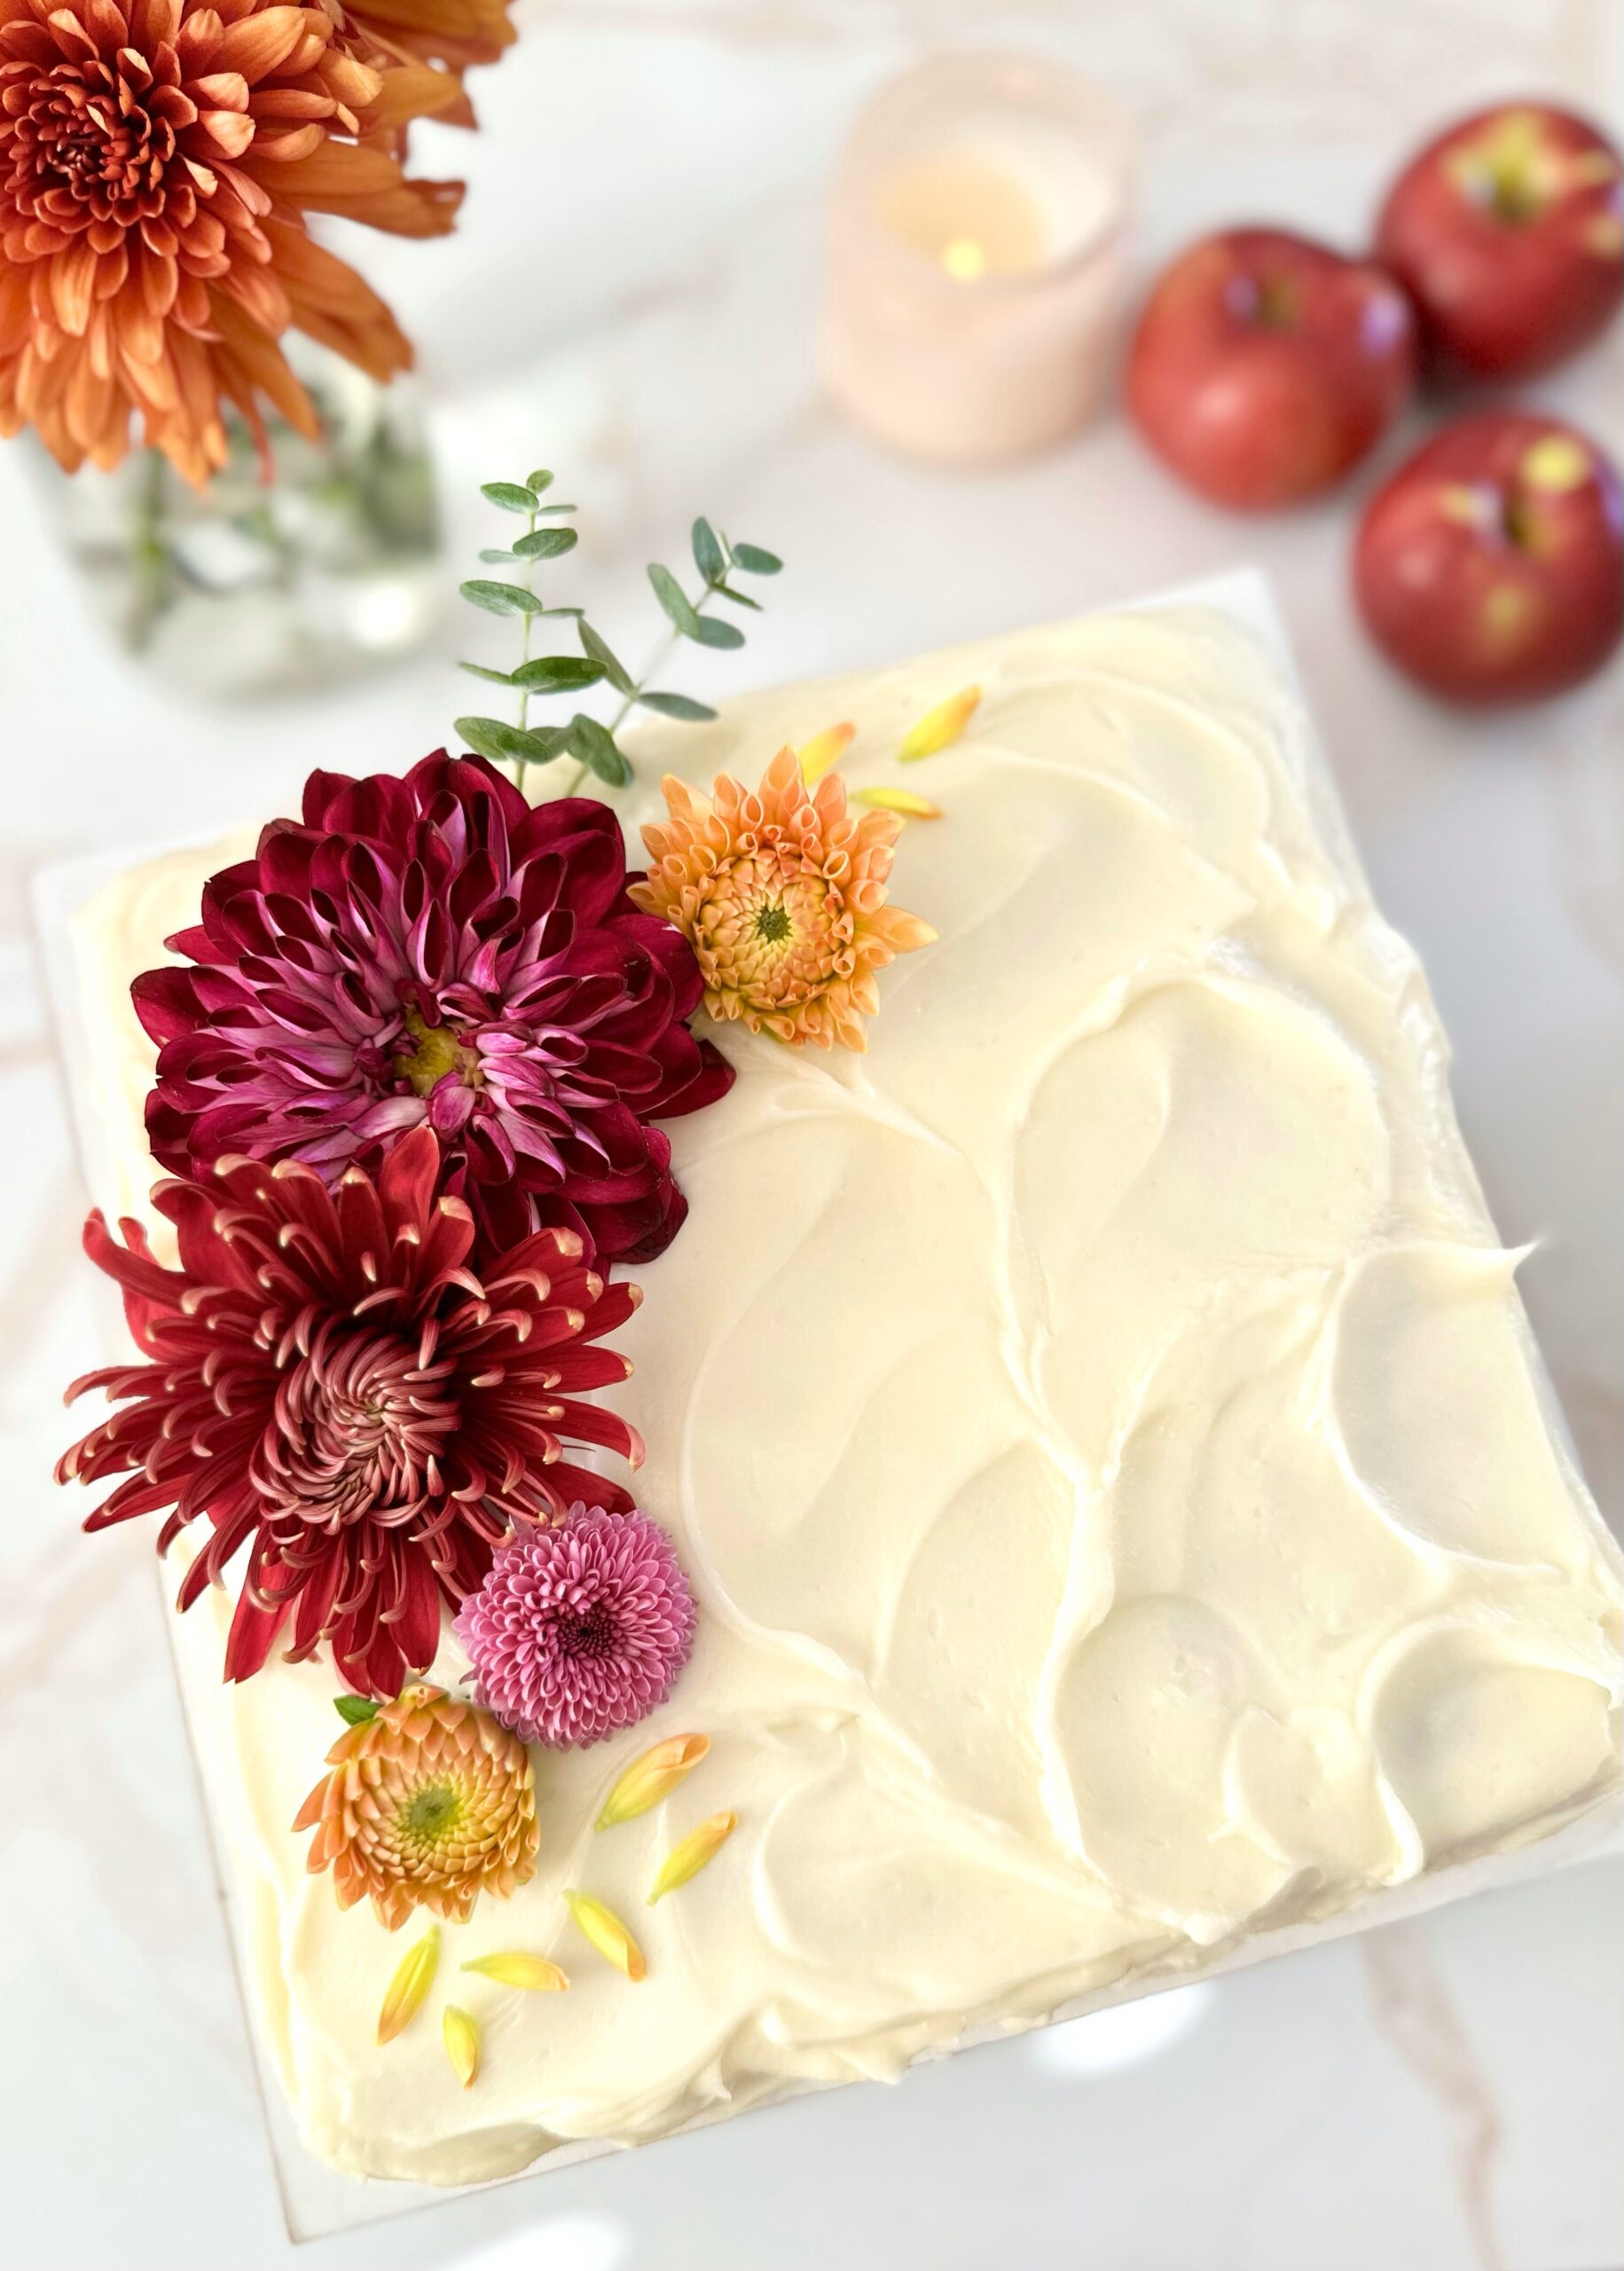
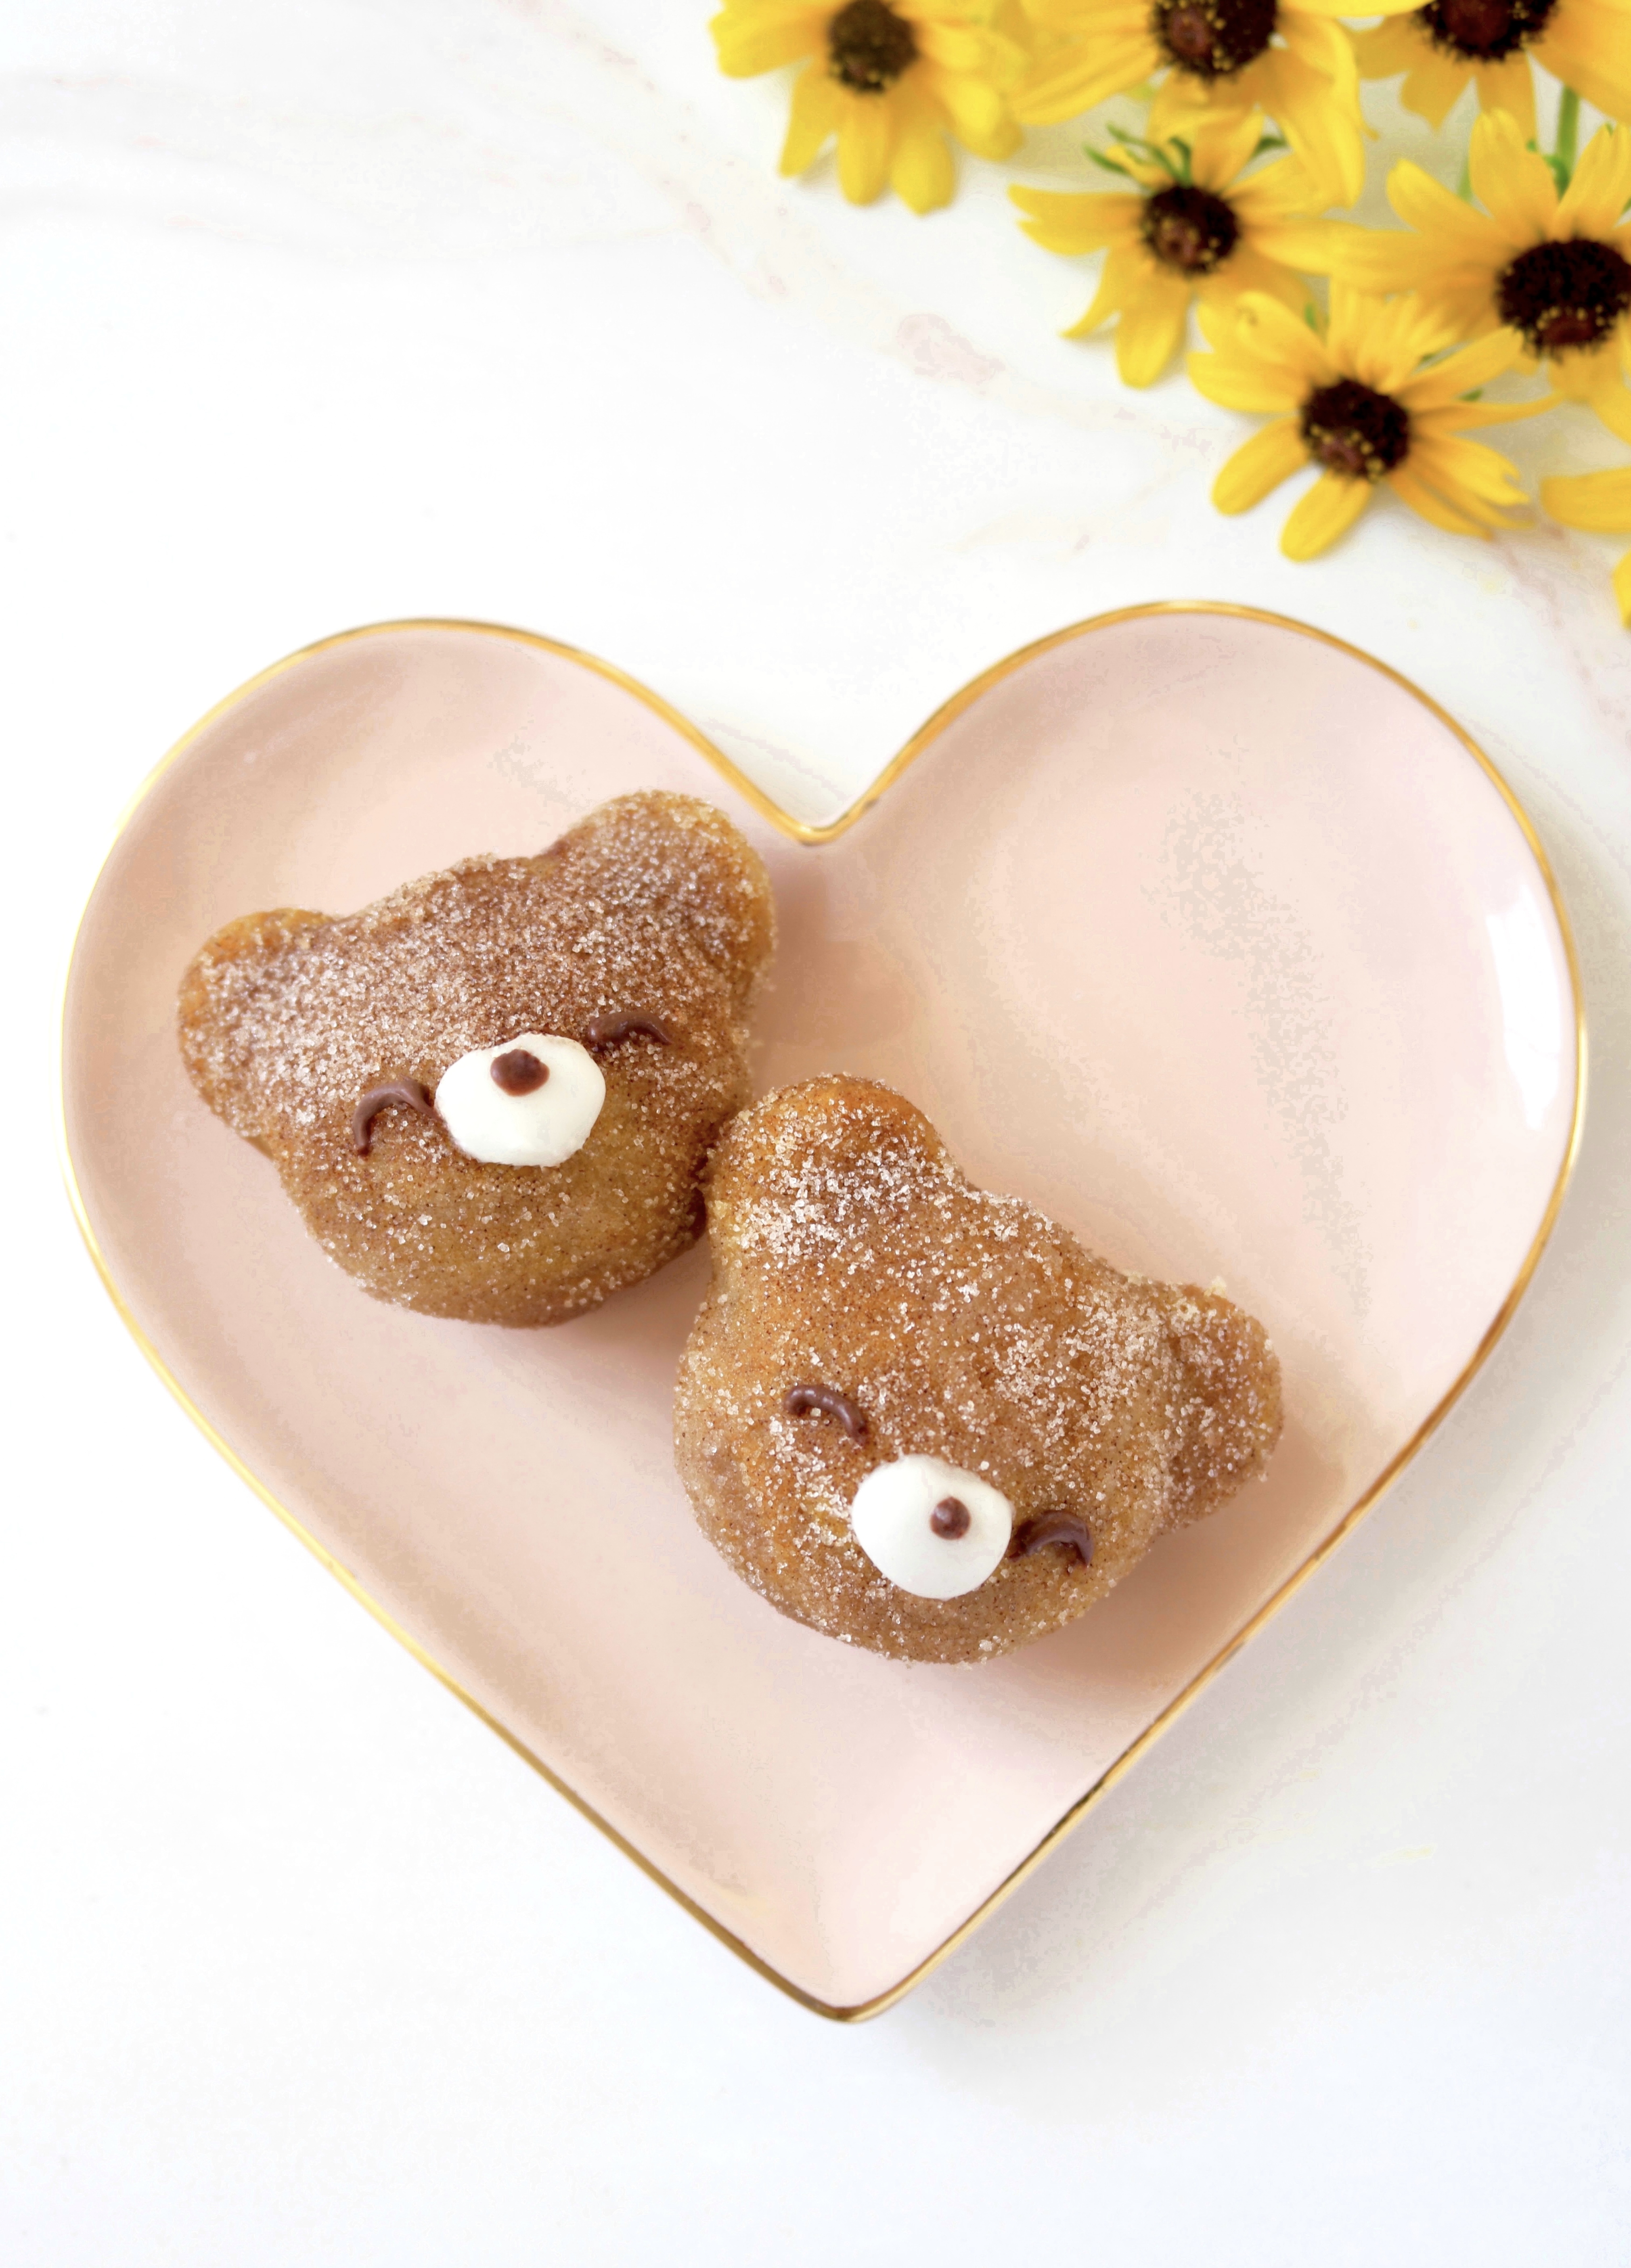
Pumpkin Cinnamon Mini Muffins

My mom had a cupboard in the kitchen containing a few old cookbooks that she rarely used. As a child, I used to enjoy perusing them and looking at the baked treats. Some of the cookbooks were so old, they had black and white photos or even just drawings of the food. The ones with drawings interested me because they depicted smiling children enjoying the treats.

When I started learning to bake, I found a recipe for French Breakfast Puffs in one of those old books. The title sounded so fancy, but they were really just simple muffins dunked in butter and rolled in cinnamon sugar. I have no idea what the name of the cookbook was or what happened to it, but the delicious muffin recipe stuck around for a while. I’ve tweaked the recipe so many times over the years, and most recently, I added pumpkin to it. These Pumpkin Cinnamon Mini Muffins are one of the best versions I’ve created. The inside texture of the muffins is soft and moist and it contrasts nicely with the slight crunch you get from the cinnamon sugar on the outside. They look so cute too, like little pumpkins, and they definitely make children smile!

To watch the TikTok video of these mini muffins being made, click here.

Print Recipe
Pumpkin Cinnamon Mini Muffins
Servings
mini muffins
Ingredients
Muffins
Topping
Servings
mini muffins
Ingredients
Muffins
Topping
Instructions
Muffins
  1. Grease and flour a 24-serving *mini muffin pan.
  2. In a medium bowl, whisk together flour, baking powder, salt, cinnamon, ginger and nutmeg.
  3. In a large bowl, beat sugar, oil, egg and pumpkin purée until smooth.
  4. Stir in flour mixture just until combined. A few lumps are okay.
  5. Transfer batter to prepared pan, about a scant 2 tablespoons of batter in each muffin cup.
  6. Bake until toothpick inserted into muffins comes out clean, about 11-13 minutes. Do not over bake! Be diligent, since over baking can happen very quickly with mini muffins.
  7. Let muffins cool in pan for 5 minutes. Turn muffins out onto a cooling rack.
Topping
  1. Combine sugar and cinnamon in a shallow bowl.
  2. Dunk warm muffins in melted butter, then roll in cinnamon sugar.
Recipe Notes

To find the mini muffin pan I used, click here.

Peaches and Cream Loaf Cake

Every peach season, I get excited by the abundance of peaches at my local farmers market and I end up buying way too many. So if you’re like me and you have ripe peaches sitting on your counter, turn them into peach purée. I love adding peach purée to my iced tea or adding it to desserts like this moist, tender cake. This is one of my most popular cake recipes on social media, and for good reason. It does not disappoint! To watch the TikTok video, click here.

Print Recipe
Peaches and Cream Loaf Cake
Moist, tender peach cake with peach cream cheese icing
Keyword cake, peach
Servings
loaf
Ingredients
Cake
Icing
Keyword cake, peach
Servings
loaf
Ingredients
Cake
Icing
Instructions
Cake
  1. Preheat oven to 350ºF. Line the bottom of an 8 x 4-inch loaf pan with parchment paper. Grease and flour the sides.
  2. In a medium bowl, whisk together flour, baking powder, baking soda, salt, cinnamon and nutmeg.
  3. Set aside 2 tablespoons peach purée for icing.
  4. In a large bowl, beat sugar, oil, eggs, remaining peach purée and extracts until smooth.
  5. Add flour mixture and beat just until combined.
  6. Transfer batter to prepared baking pan. Bake until toothpick inserted into center comes out clean, about 38-45 minutes.
  7. Let cake cool in pan for 10 minutes, then turn out onto a cooling rack to cool completely. Spread icing on cooled cake.
Icing
  1. In a medium bowl, beat cream cheese and butter together until smooth.
  2. Add powdered sugar, salt, vanilla extract and 1 tablespoon of peach purée. Beat until smooth. Add additional peach purée, if needed, until desired consistency is reached. Fold in diced peaches.

Blackberry Oatmeal Cookies

Blackberry Oatmeal Cookies by Brownie Mischief

We’ve all heard our parents telling their childhood stories of walking miles to school and suffering worse hardships than we ever had to. My mom used to tell me stories like that, but she had a sense of humor, so her stories were always fun to listen to. She used to tell me about her friend’s mother, who would make big, delicious oatmeal cookies. My mom would trade her baloney sandwich nearly every day to get one of those cookies from her friend. She reminisced about those cookies so much, that I set out to make her some when I learned to bake. She and my grandmother would taste test batch after batch of my cookies over the years. I have probably baked enough oatmeal cookies to circle the earth. Okay that’s an exaggeration, but seriously I have baked quite a few. Of all the oatmeal cookies I’ve baked, these are one of my favorites!

Most of the time when you see fruit added to an oatmeal cookie, it’s dried fruit, like raisins or cranberries. That’s mostly because if you just dump fruit into your cookie dough, the fruit releases water, leaving soggy spots in your cookies. To solve that issue, for this recipe, I macerate the blackberries before baking. The purple blackberry juice that’s released from the berries is used to make a beautiful lilac icing to drizzle over the cookies.

Print Recipe
Blackberry Oatmeal Cookies
Course Dessert
Keyword cookies
Servings
cookies
Ingredients
Brown Butter
Macerated Berries
Oatmeal Cookies
Icing
Course Dessert
Keyword cookies
Servings
cookies
Ingredients
Brown Butter
Macerated Berries
Oatmeal Cookies
Icing
Instructions
  1. In a small, light colored saucepan, melt 1/2 cup butter over medium heat, stirring occasionally, until dark golden and fragrant. You will see brown particles sink to the bottom. Keep a close eye on it. It can go from toasted to burned very quickly.
  2. Remove from heat and immediately transfer brown butter, including the brown particles, to a small bowl. Refrigerate until solid, about one hour.
  3. Place blackberries in a medium bowl. Sprinkle with granulated sugar and toss to coat. Let sit for 30 minutes until berries release their juices.
  4. Drain blackberries and reserve the juice.
  5. Preheat oven to 350ºF. Line two large cookie sheets with parchment paper.
  6. In a large bowl, whisk together flour, baking soda, salt and cinnamon. Set aside.
  7. In a large bowl, beat brown butter, softened butter and brown sugar until light and fluffy.
  8. Add eggs and vanilla extract in three separate additions and beat until well combined.
  9. Stir in flour mixture just until combined.
  10. Stir in oats until combined.
  11. Gently fold in blackberries.
  12. Scoop 1/4 cup sized portions of dough, about 2 inches apart, onto prepared cookie sheets. *I used a #16 2 ounce scoop.
  13. Bake until cookie tops are set and edges are golden brown, about 13-15 minutes.
  14. Transfer to a cooling rack to cool completely.
  15. Pass reserved blackberry juice through a sieve to remove seeds.
  16. In a small bowl, whisk together powdered sugar, heavy cream and one tablespoon reserved blackberry juice until smooth. Add more blackberry juice, a little at a time, until desired consistency is reached.
  17. Drizzle icing over cooled cookies.
Recipe Notes

*To find the portion scoop I used, click here.

The Nutcracker Land of Sweets Cupcakes

Nutcracker Land of Sweets Cupcakes

The tradition of enjoying the Nutcracker Ballet at Christmastime has been in my family for over 20 years. The Nutcracker Land of Sweets is a magical theme that has me mesmerized. Gingerbread, candy canes, gumdrops and billowy clouds of pink frosting are what dreams are made of. And that’s exactly what these dreamy cupcakes are made of. The cupcake flavor is a subtle spice cake. The recipe is adapted from a Martha Stewart cake recipe I made last summer. The original cake was paired with blackberry jam, but I knew plum jam would be perfect for these cupcakes. I topped them with a mildly sweet, fluffy Swiss meringue buttercream.

Part of the fun of making these cupcakes began at the store as I collected the sweets to decorate the cupcakes. Another perk of the job is taste testing the candy. I discovered that purple spice drops are licorice flavored and red spice drops are cinnamon. Who knew?

You might also like my Nutcracker Land of Sweets inspired candy bark. It’s a delightful holiday bark I designed that is often imitated. To view it, click here.

Print Recipe
The Nutcracker Land of Sweets Cupcakes
Spice cupcakes filled with plum jam, topped with fluffy pink frosting, gingerbread men and Christmas candy, and dusted with sugar snow
Course Dessert
Keyword cupcakes
Servings
cupcakes
Ingredients
Spice cupcakes
Pink Vanilla Swiss Meringue Buttercream
Course Dessert
Keyword cupcakes
Servings
cupcakes
Ingredients
Spice cupcakes
Pink Vanilla Swiss Meringue Buttercream
Instructions
Spice Cupcakes
  1. Preheat oven to 350ºF. Line a 12 serving muffin pan with disposable baking cups. (I used silver foil liners.)
  2. In a medium bowl, whisk together flours, baking powder, spices and salt. Set aside.
  3. In a large bowl, cream butter and sugar together with an electric mixer until light and fluffy.
  4. Add egg, egg white, and vanilla, one at a time, mixing until well combined.
  5. Add flour mixture in two additions, alternating with milk. Mix until combined.
  6. Divide batter evenly into wells of prepared muffin pan, filling about 2/3 full.
  7. Bake until light golden and toothpick inserted comes out clean, about 16-18 minutes.
  8. Let cool in muffin pan for 5 minutes. Gently transfer cupcakes to cooling rack to cool completely.
  9. Core the center of each cupcake, removing a 3/4-inch deep circle. Fill with jam and replace the circle top.
  10. Frost cupcakes with pink Swiss meringue buttercream. Decorate with cookies and candies. Lightly sprinkle with powdered sugar.
Pink Vanilla Swiss Meringue Buttercreamgue Buttercream
  1. Combine egg whites and sugar in a heatproof bowl. Set over a pan of gently simmering water.
  2. Whisk constantly until sugar is dissolved and temperature of 160ºF is reached.
  3. Transfer mixture to the bowl of a stand mixture with a whisk attachment. Whisk on low speed, gradually increasing to medium-high speed. Whisk until glossy, stiff peaks form and mixture reaches room temperature.
  4. Turn mixer to medium-low speed. Add butter, a few pieces at a time, allowing the butter to fully incorporate each time before adding more.
  5. Switch to paddle attachment. On low speed, mix in vanilla, salt and food color. Continue mixing on low speed for a few minutes until smooth.
Recipe Notes

Recipe adapted from Martha Stewart Spice Cake

Apple Spice Cookies with Brown Butter Icing

Apple Spice Cookies with Brown Butter Icing

These Apple Spice Cookies were one of my most popular cookies last fall so I decided to bring them back a little early this year. I’m definitely not the type of person who drinks pumpkin spice lattes in 90º weather in the middle of August, but these are my favorite fall cookies ever so I wanted to give them a proper head start. The combination of cinnamon, nutmeg and vanilla in this cookie dough will remind you of cinnamon rolls and apple pie and inspire you look forward to fall.

The apples in this recipe are cooked briefly on the stovetop to bring out the flavor and create the perfect texture. Dropping raw apple chunks into cookie dough or cake batter is usually not a good idea. If you’ve ever baked an apple pie, you know that apples release liquid as they cook and that liquid will end up in your baked cookies, creating soggy spots. So definitely don’t skip this step!

These gorgeous, golden brown cookies are perfectly delicious on their own, but extra credit goes to the Brown Butter Icing for taking them over the top!

apple spice cookies with brown butter icing

Make sure to head over to TikTok to watch the video of these Apple Spice Cookies being created.

Print Recipe
Apple Spice Cookies with Brown Butter Icing
Course Dessert
Servings
cookies
Ingredients
Cooked Apples
Brown Butter Icing
Course Dessert
Servings
cookies
Ingredients
Cooked Apples
Brown Butter Icing
Instructions
Cooked Apples
  1. Melt butter in a small skillet over medium heat. Add apples, sugar and cinnamon to skillet.
  2. Cook, stirring occasionally, until apples are tender, about 4-5 minutes.
  3. Remove from heat and let cool completely. Drain any excess liquid from cooled apples.
Apple Spice Cookies
  1. Preheat oven to 375ºF. Line two large baking sheets with parchment paper.
  2. In a medium bowl, whisk together flour, baking soda, salt, cinnamon and nutmeg. Set aside.
  3. In a large bowl, beat butter and brown sugar with an electric mixer at medium speed until light and fluffy.
  4. Beat in egg, egg yolk and vanilla extract, one at a time, until well combined
  5. Stir in flour mixture, just until combined.
  6. Fold cooled apples into cookie dough.
  7. Divide dough into 12 equal golf ball size portions and place three inches apart on prepared baking sheets.
  8. Bake until golden brown, about 12-13 minutes. Let cool 1 minute on baking sheet, then transfer to cooling rack to cool completely.
Brown Butter Icing
  1. In a small saucepan, cook butter over medium heat until golden brown and fragrant. When brown specks start to form in the bottom of the pan, remove from heat.
  2. Immediately transfer browned butter to a small bowl. Whisk in powdered sugar, vanilla extract, salt and 1 tablespoon milk. Add more milk as needed to reach desired consistency.
  3. Drizzle icing over cooled cookies.
Recipe Notes

NOTE:  If your cookies spread too much when baking, refrigerate dough for 30 minutes, then bake as directed.