Apple Fritter Cake with Brown Butter Icing

If you love apple fritters, you’ll adore this moist, tender cake that’s loaded with fresh apples and topped with rich brown butter icing. This is the best Apple Fritter Cake recipe I’ve ever tasted! A couple of simple steps give it the most flavor and the best texture. The apples are cooked briefly on the stovetop before being added to the batter. This gives the apples a better flavor and texture and prevents soggy spots in your cake. The juices that the apples release during this step are saved to add to the icing. The browned butter in the icing adds a rich, nutty flavor that takes this cake over the top.

Print Recipe
Apple Fritter Cake with Brown Butter Icing
A moist, tender, subtly spiced cake loaded with fresh apples and topped with rich brown butter icing
Course Brunch, Dessert
Keyword apple, cake
Servings
servings
Ingredients
Apples
Cake
Icing
Course Brunch, Dessert
Keyword apple, cake
Servings
servings
Ingredients
Apples
Cake
Icing
Instructions
Apples
  1. Melt the butter in a large skillet over medium heat. When the butter starts to bubble, add the apples. Sprinkle the sugar and cinnamon over the apples and cook, stirring occasionally until the apples release their juices and start to become tender, about 5-7 minutes. Remove from heat and set aside to cool to room temperature.
  2. Drain the cooled apples, reserving the juice for the icing.
Cake
  1. Preheat the oven to 350ºF (180ºC). Grease an 8-inch square baking dish. (I used a ceramic baking dish.*)
  2. In a medium-size bowl, whisk together the flour, cinnamon, baking soda, salt and nutmeg until well combined.
  3. In large bowl, beat the butter, granulated sugar and brown sugar together until light and fluffy. Beat in the egg until incorporated, then beat in the vanilla extract.
  4. Stir in the flour mixture in 2 additions, followed by half of the sour cream after each addition. Mix just until combined. Do not over mix. Fold in the cooled, drained apples.
  5. Transfer the batter to the baking dish. Smooth the top with a spatula. Bake until the cake is golden brown and springs back when lightly touched. A toothpick inserted into the center of the cake will be clean or have a few moist crumbs attached, about 23-28 minutes. Do not over bake.
Icing
  1. In a small light-colored saucepan over medium heat, melt the butter and cook until it's deep golden and fragrant. When brown specks start to appear, remove it from the heat and immediately transfer it to a small bowl. Set aside to cool to room temperature.
  2. In a medium bowl, mix the cooled brown butter with the powdered sugar, reserved apple juice, 1 tablespoon (15ml) of milk and the salt until well combined. Add additional milk as needed to achieve the desired consistency. Whisk until smooth. Spread the icing over the cooled cake.
Recipe Notes

*To find an 8-inch ceramic baking dish, click here.

Caramel Apple Crumble Bars

Although we have access to apples year around, apple season is my favorite time to bake with apples. I love the opportunity to go apple picking or choosing fresh apples from the abundance of apples available at farmers markets. Baking with apples makes your home smell cozy and delightful, especially when paired with cinnamon. These Caramel Apple Crumble Bars have the autumn flavors you’re craving. They’re the apple version of my popular Blueberry Crumble Bars and they’re equally delicious.

This recipe requires multiple steps, but the steps are all very easy. The apples are cooked briefly on the stovetop to achieve the perfect texture. The crust is blind baked to keep it crisp. The caramel is drizzled over the apples which helps keep them juicy and we all know what a perfect match apples and caramel are! Adding the caramel to the apples, rather than drizzling it over the top of the crumble topping also keeps the topping crisp.

I like using green apples for this recipe, such as Granny Smith or Golden Delicious, or a combination of green and red apples, but you can use any baking apples that you prefer. The caramel sauce recipe is one that I would consider a shortcut. I used caramel candies melted together with heavy cream.

Print Recipe
Caramel Apple Crumble Bars
Fresh apple cinnamon filling on a crisp, buttery shortbread base with a generous crumble topping
Course Dessert
Keyword bars, caramel apple
Servings
2-inch bars
Ingredients
Apples
Crumble Topping
Caramel Sauce
Crust
Course Dessert
Keyword bars, caramel apple
Servings
2-inch bars
Ingredients
Apples
Crumble Topping
Caramel Sauce
Crust
Instructions
Apples
  1. In a large bowl, toss the apples with the lemon juice.
  2. In a large skillet, melt the butter over medium heat. Add the apples, sugar, cinnamon and salt. Cook, stirring occasionally until the apples are tender, about 10-12 minutes. Set aside to cool.
Crumble Topping
  1. In a medium bowl, whisk together the flour, brown sugar, sugar, cinnamon and salt. Work the cold butter into the flour mixture with a pastry blender or with your fingertips until it looks like wet sand. Press together to form 1/2-inch chunks. Set aside in the refrigerator until ready to use.
Caramel Sauce
  1. In a small saucepan over medium heat, melt the caramel candies and heavy cream together, stirring until smooth.
Crust
  1. Preheat the oven to 350ºF. (180ºC). Line an 8-inch square baking pan* with parchment paper.
  2. In a medium bowl, whisk together the flour, powdered sugar, baking powder and salt.
  3. In a large bowl, beat the butter, with an electric mixer at medium speed, until smooth. Add the flour mixture and beat just until the dough comes together.
  4. Press the dough into the prepared baking pan. Bake until the surface looks evenly light golden brown, about 20-22 minutes. Remove from the oven. Top with the cooked apples. Drizzle with caramel sauce. Top with the crumble topping. Return the pan to the oven and continue baking until the topping looks golden brown and the filling starts to bubble, about 25-28 minutes.
  5. Let cool completely in the pan. Sprinkle with powdered sugar.
Recipe Notes

To find the baking pan I used, click here.
Roasted Tomato Mac & Cheese


Print Recipe


Roasted Tomato Mac & Cheese

Cheesy, comforting mac and cheese with roasted tomatoes, bacon and fresh herbs. Serves 2 as a main dish or 3-4 as a side dish.

Course Dinner, Main Dish
Keyword mac & cheese, pasta

Servings
Servings


Ingredients

Course Dinner, Main Dish
Keyword mac & cheese, pasta

Servings
Servings


Ingredients


Instructions
  1. Preheat the oven to 400ºF (200ºC). Place the tomatoes on a baking sheet. Gently toss with a drizzle of olive oil. Season with salt and pepper.

  2. Roast until the tomatoes are blistered, about 15-25 minutes, depending on the size of your tomatoes.

  3. Turn the oven down to 350ºF (180ºC). Cook and drain the pasta according to the package directions.

  4. Set aside 1/4 cup (28g) of each of the cheeses for the top. In a small bowl, whisk the milk and heavy cream together.

  5. In a 2-quart oven safe pot,* melt the butter over medium heat. Stir in the flour and cook for 1 minute.

  6. Slowly whisk in the milk and cream. Heat until thickened, whisking out any lumps. Season with salt and pepper to taste. (I used 1/2 teaspoon salt and 1/4 teaspoon pepper.)

  7. Remove from heat. Gradually stir in 3/4 cup (85g) each cheddar and Gruyere cheeses. Taste the sauce and season with more salt or pepper if necessary.

  8. Fold in the cooked pasta, roasted tomatoes, bacon, 1 teaspoon of parsley and 1 1/2 teaspoons of chives. Top with remaining cheese.

  9. Bake in top third of the oven, just until cheese is melted, about 7-10 minutes. Sprinkle with the remaining parsley and chives.


Recipe Notes

If you watched the video on Instagram or TikTok, you may have noticed I  baked my mac & cheese in a heart-shaped Dutch oven. To find a similar pink heart  Dutch oven, click here. To find a  blue heart Dutch oven , click here,

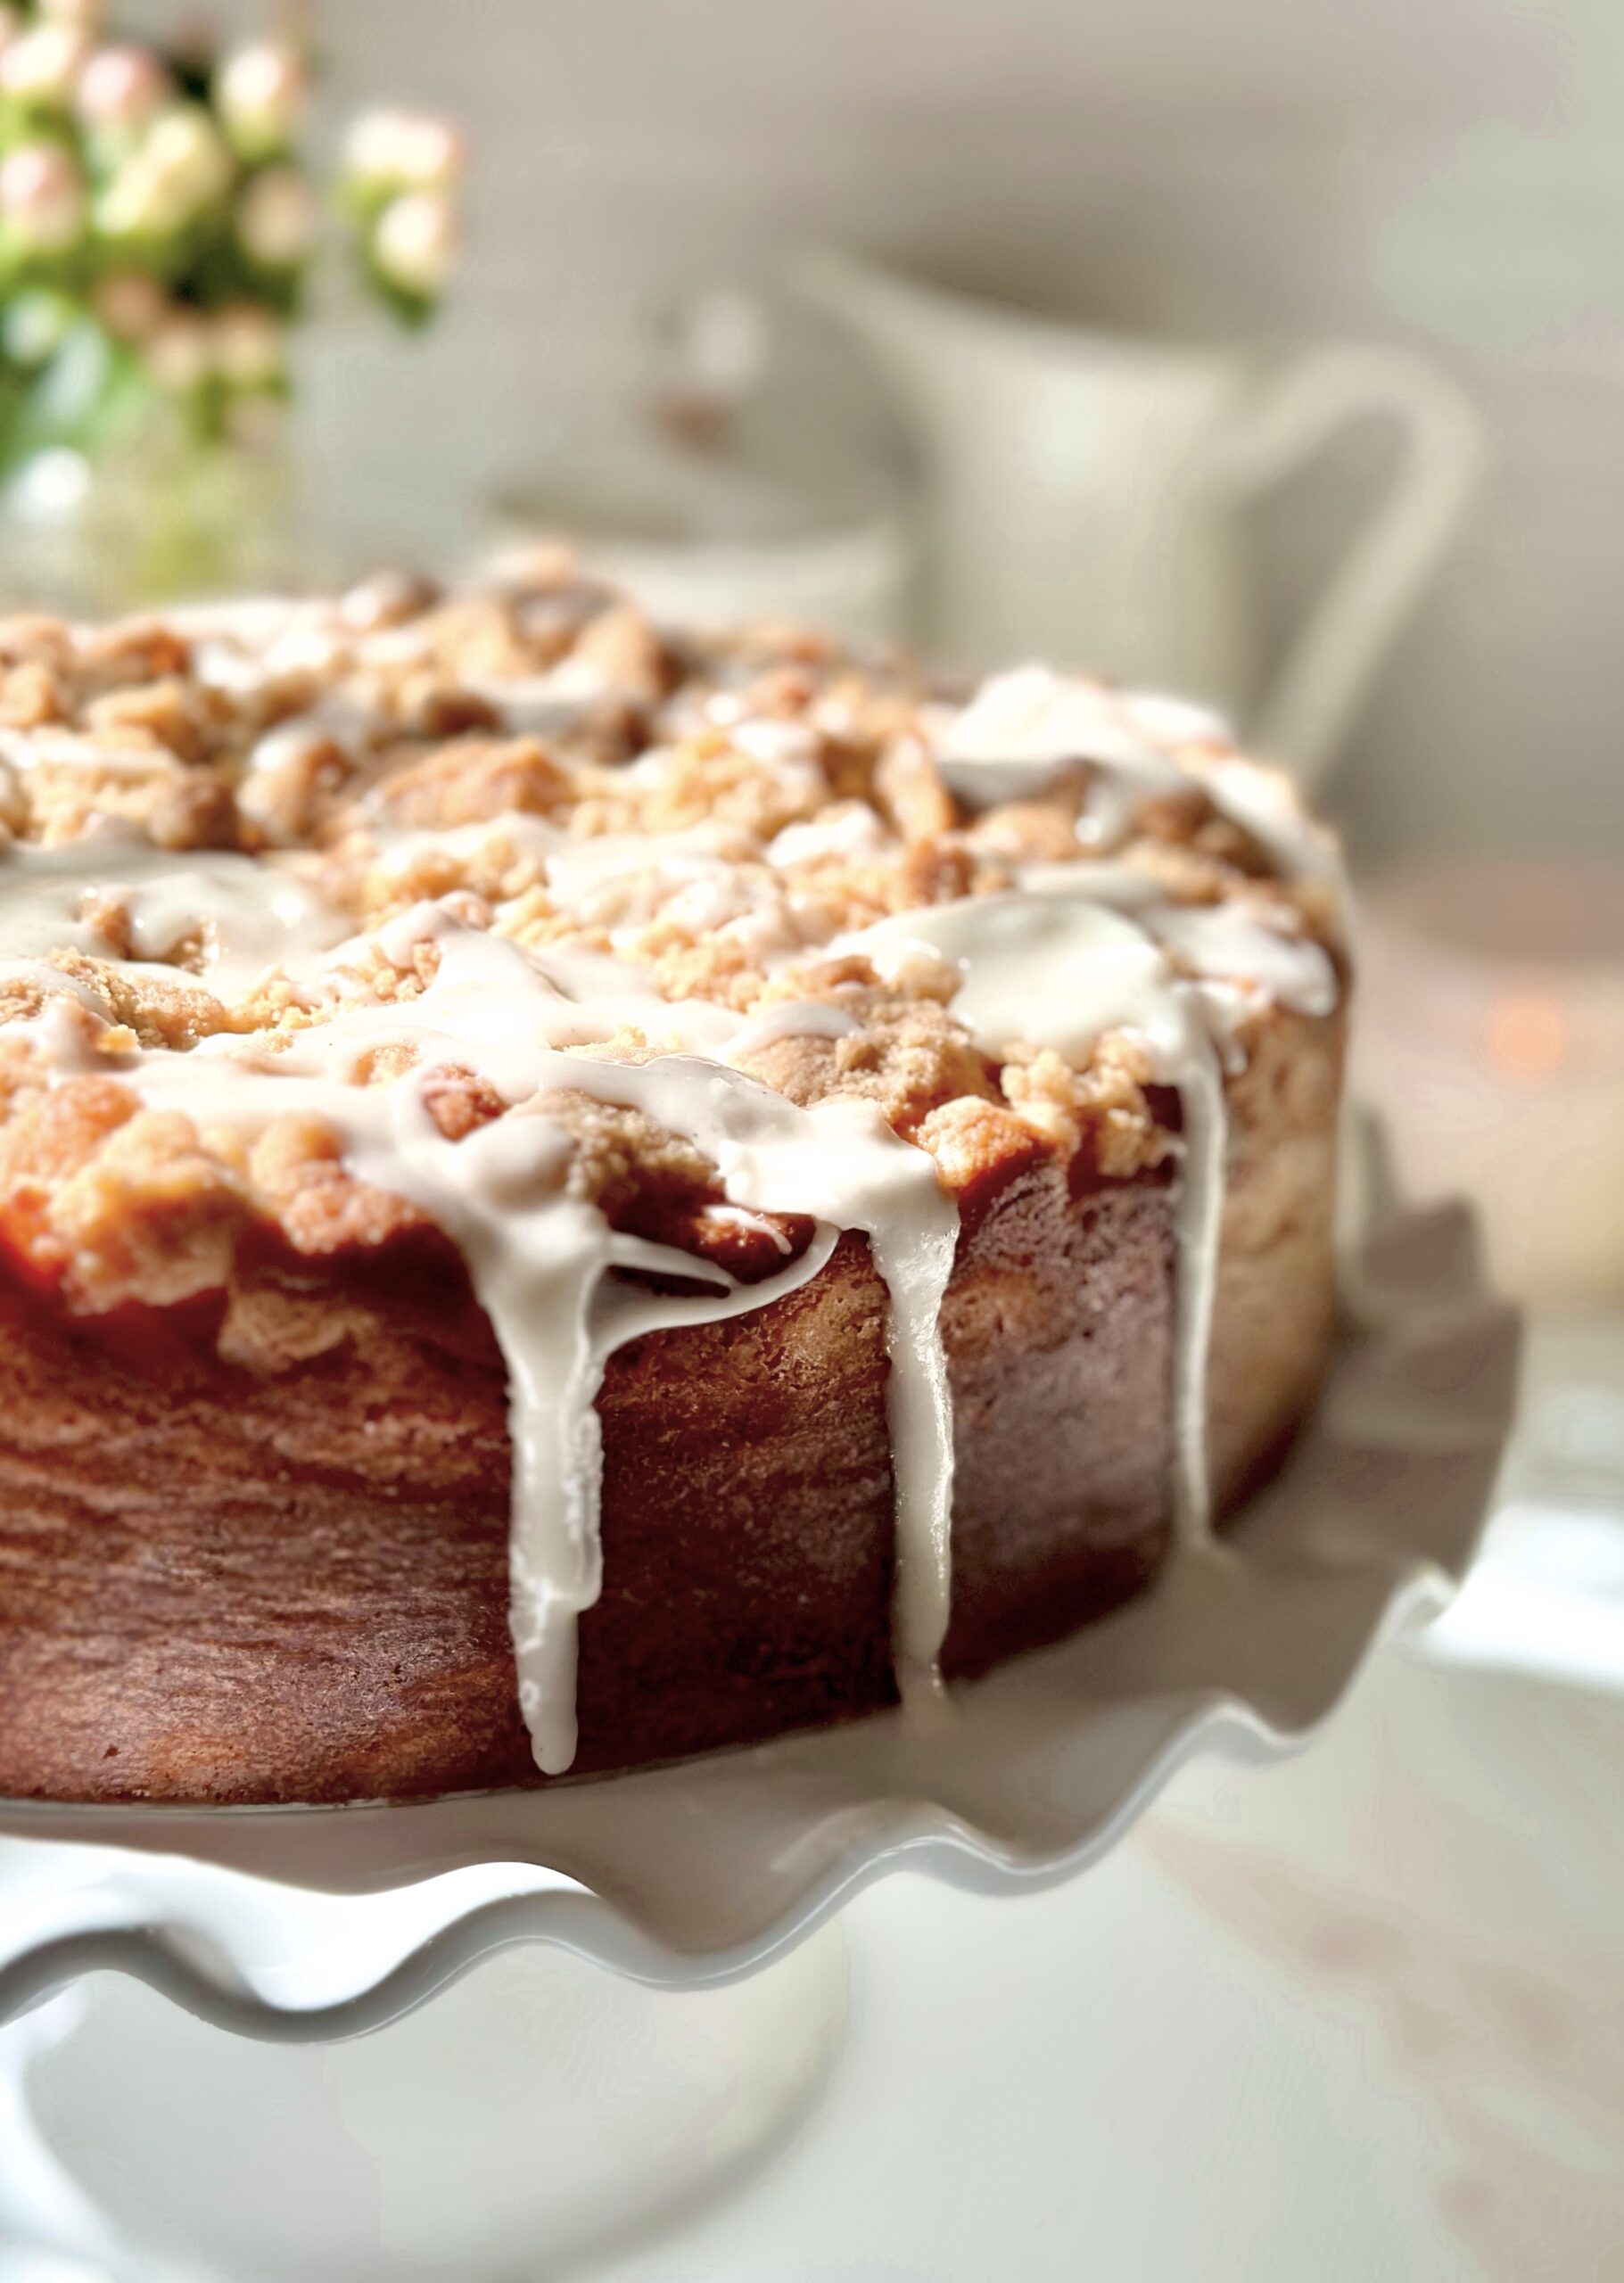
Grandma’s Apple Crumb Cake

Grandma's Apple Crumb Cake

I remember my grandma making coffee cakes and sweet muffins for breakfast, along with eggs, sausages, hot coffee and a big pitcher of milk on the table. Why do most of our grandmothers cook and bake so well? Because they’ve had decades of trial and error to perfect their recipes, tweaking them here and there until they’re approved and loved by their families, neighbors and friends. This cake has had its share of trial and error. She has earned her place as a well-loved, delicious, beautiful queen of coffee cakes.

A classic coffee cake is usually a subtly sweet cake with cinnamon, crumb topping and maybe some icing. They’re called coffee cakes because they go so well with a cup of coffee, not necessarily because they contain coffee. This Apple Crumb Cake has the elements of a classic coffee cake, but so much better! The cake is fluffy and soft, the crumb topping is chunky and plentiful, and the apples are perfectly tender. And don’t get me started about the icing!

Print Recipe
Grandma's Apple Crumb Cake
Tender vanilla cake with generous crumb topping and vanilla icing
Keyword apple, cake
Servings
servings
Ingredients
Apples
Crumb Topping
Cake
Keyword apple, cake
Servings
servings
Ingredients
Apples
Crumb Topping
Cake
Instructions
Apples
  1. In a large skillet, melt the butter over medium heat. Add the apples, sugar and cinnamon.
  2. Cook, stirring occasionally, until the apples are tender, about 7-10 minutes. Transfer the apples to a bowl and let cool to room temperature.
Crumb Topping
  1. In a medium bowl, mix the flour, brown sugar, sugar, cinnamon and salt.
  2. Work in the butter with your fingertips until the mixture looks like wet sand with no large pieces of butter remaining. Press together to make 1/2-inch chunks.
Cake
  1. Preheat the oven to 325ºF (165ºC). Line a 9-inch cake pan with a removable bottom*, or a 9-inch springform pan, with parchment paper. Wrap the bottom of the cake pan with aluminum foil and place pan on a baking sheet.
  2. In a medium bowl, whisk together the flour, baking powder and salt until well blended.
  3. In a large bowl, cream the butter and sugar, with an electric mixer on medium speed, until light and fluffy. Beat the eggs and vanilla into the butter mixture in three separate addition, making sure each addition is incorporated before adding the next.
  4. In a small bowl, whisk the milk and sour cream together. On low speed, beat the flour mixture into batter in three additions, alternating with milk mixture. Mix just until combined.
  5. Transfer the batter to the prepared cake pan. Smooth the top with a spatula. Drain any excess liquid from the apples. Top the cake batter evenly with apples, then the topping mixture.
  6. Bake until a toothpick inserted into the center of the cake comes out clean, about 50-60 minutes. Cool the cake in pan for 10 minutes. Remove the cake from pan and transfer it to a cooling rack to cool completely.
Icing
  1. In a medium bowl, whisk together the powdered sugar, melted butter, vanilla, salt and 2 tablespoons (30ml) of half & half. Add additional half & half until the desired consistency is reached. Drizzle over the cooled cake.
Recipe Notes

*To find the cake pan I used, click here.

Spinach Bacon Soufflés

If you’ve ever gotten up early enough to grab one of those delicious breakfast soufflés at that popular bakery cafe, then you might just love this recipe. There are plenty of copycat versions online, mostly using refrigerated crescent rolls. I love crescent rolls and you can make a pretty close copy of the originals with them, but why not take them up a notch? In my humble opinion, using puff pastry makes them so much better! These pretty little soufflés will puff up and get golden brown and crispy. You can also personalize each one. Try swapping out the spinach and bacon for your favorite omelet ingredients, such as chopped ham, chives, jalapeños or whatever you like.

Print Recipe
Spinach Bacon Soufflés
Course Breakfast, Brunch
Servings
soufflés
Ingredients
Course Breakfast, Brunch
Servings
soufflés
Ingredients
Instructions
  1. Preheat oven to 425ºF (220ºC). Grease four 8-ounce (227g) mini pie dishes* or ramekins.
  2. On a lightly floured surface, roll the puff pastry sheet to a 10-inch (24.4cm) square. Cut into four 5-inch (12.7cm) squares. Place one square in each prepared dish. Dock the bottom of each one by poking holes with a fork.
  3. In a small saucepan, melt butter over medium heat. Add the onions and red peppers and cook until softened, about 1 minute. Sprinkle with the flour and cook 1-2 minutes more.
  4. Slowly stir in the milk. Use a whisk if the sauce seems lumpy. Cook until the edges start to bubble and the sauce thickens. Stir in the salt. Remove from heat.
  5. In a medium-size bowl, beat the eggs. Set aside 1 tablespoon (15ml) of beaten eggs in a small bowl for the tops of the soufflés. Add about a third of the sauce mixture into the medium bowl of eggs and whisk until combined. Add the egg mixture back into the saucepan and whisk until smooth. Stir in the Colby-Jack cheese, half of the parmesan cheese and spinach.
  6. Ladle the egg mixture evenly into the prepared dishes. Top with the bacon and the remaining parmesan cheese. Fold the pointed ends toward the center. Brush the folded pastry edges gently with the reserved beaten egg. Bake until golden brown and puffy, about 25-30 minutes.
  7. You can serve the soufflés warm in the pie dishes or remove them from the dishes and transfer to a cooling rack.
Recipe Notes

To find the mini pie dishes I used click here.

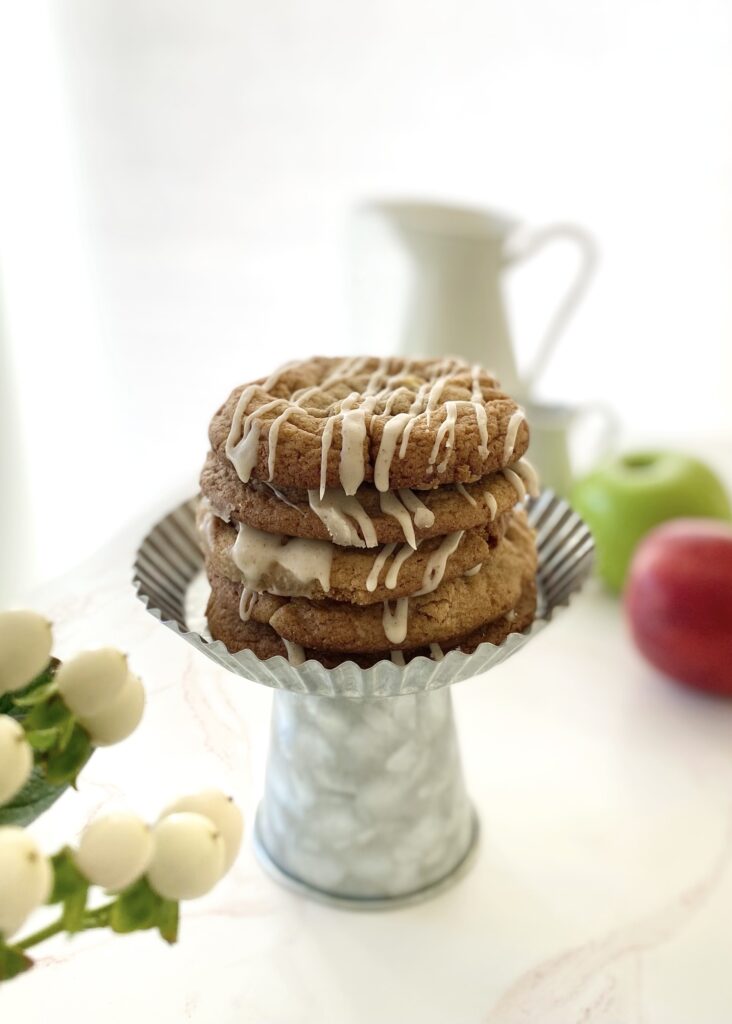
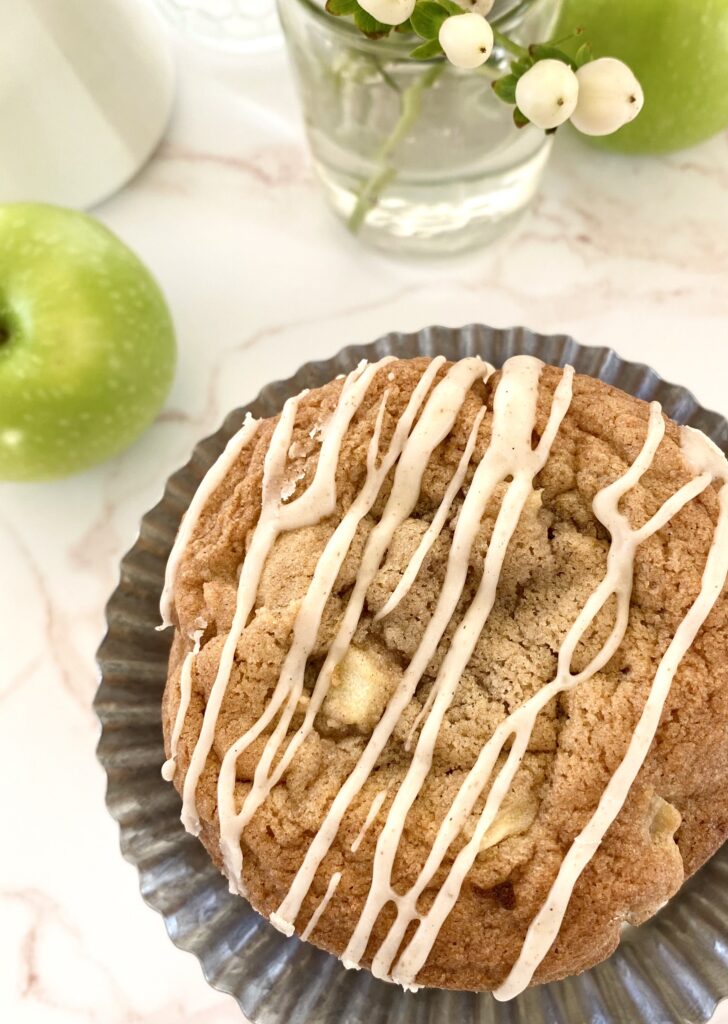
Apple Spice Cookies with Brown Butter Icing

Apple Spice Cookies with Brown Butter Icing

These Apple Spice Cookies were one of my most popular cookies last fall so I decided to bring them back a little early this year. The combination of cinnamon, nutmeg and vanilla in this cookie dough will remind you of cinnamon rolls and apple pie and inspire you look forward to fall.

The apples in this recipe are cooked briefly on the stovetop to bring out the flavor and create the perfect texture. Dropping raw apple chunks into cookie dough or cake batter is usually not a good idea. If you’ve ever baked an apple pie, you know that apples release liquid as they cook and that liquid will end up in your baked cookies, creating soggy spots. So definitely don’t skip this step!

These gorgeous, golden brown cookies are perfectly delicious on their own, but extra credit goes to the Brown Butter Icing for taking them over the top!

apple spice cookies with brown butter icing

Make sure to head over to Instagram to watch the video of these Apple Spice Cookies being created: Click here

Print Recipe
Apple Spice Cookies with Brown Butter Icing
Spice cookies with fresh apples and brown butter icing
Course Dessert
Servings
cookies
Ingredients
Cooked Apples
Brown Butter Icing
Course Dessert
Servings
cookies
Ingredients
Cooked Apples
Brown Butter Icing
Instructions
Cooked Apples
  1. Melt the butter in a small skillet over medium heat. Add apples, sugar and cinnamon to the skillet.
  2. Cook, stirring occasionally, until the apples are tender, about 4-5 minutes.
  3. Remove from heat and let cool completely. Drain any excess liquid from the cooled apples.
Apple Spice Cookies
  1. Preheat the oven to 375ºF (190ºC). Line two large baking sheets with parchment paper.
  2. In a medium bowl, whisk together the flour, baking soda, salt, cinnamon and nutmeg. Set aside.
  3. In a large bowl, beat the butter and brown sugar with an electric mixer at medium speed until light and fluffy.
  4. Beat in the egg, egg yolk and vanilla extract, one at a time, until well combined
  5. Stir in the flour mixture, just until combined.
  6. Fold the the cooled apples into the cookie dough.
  7. Divide the dough into 12 equal golf ball size portions and place them 3 inches apart on the prepared baking sheets.
  8. Bake until golden brown, about 11-13 minutes. Let cool 1 minute on the baking sheet, then transfer to a cooling rack to cool completely.
Brown Butter Icing
  1. In a small saucepan, cook the butter over medium heat until golden brown and fragrant. When brown specks start to form in the bottom of the pan, remove from heat.
  2. Immediately transfer the browned butter to a small bowl. Whisk in the the powdered sugar, vanilla extract, salt and 1 tablespoon milk. Add more milk as needed to reach desired consistency.
  3. Drizzle the icing over the cooled cookies.
Recipe Notes

NOTE:  If your cookies spread too much when baking, refrigerate dough for 30 minutes, then bake as directed.