Spinach Bacon Soufflés

If you’ve ever gotten up early enough to grab one of those delicious breakfast soufflés at that bakery that starts with a P, then you might just love this recipe. There are plenty of copycat versions online, mostly using refrigerated crescent rolls. I love crescent rolls and you can make a pretty close copy of the originals with them, but why not take them up a notch? In my humble opinion, using puff pastry makes them so much better! These pretty little soufflés will puff up and get golden brown and crispy. You can also personalize each one. Try swapping out the spinach and bacon for your favorite omelet ingredients, such as chopped ham, chives, jalapeños or whatever you like.

Print Recipe
Spinach Bacon Soufflés
Course Breakfast, Brunch
Servings
Ingredients
Course Breakfast, Brunch
Servings
Ingredients
Instructions
  1. Preheat oven to 425ºF. Grease four 8-ounce mini pie dishes* or ramekins.
  2. On a lightly floured surface, roll puff pastry sheet to a 10-inch square. Cut into four 5-inch squares. Place one square in each prepared dish. Dock the bottom of each one by poking holes with a fork.
  3. In a small saucepan, melt butter over medium heat. Add onions and red peppers and cook until softened, about 1 minute. Sprinkle with flour and cook 1-2 minutes more.
  4. Slowly stir in milk. Use a whisk if sauce seems lumpy. Cook until edges start to bubble and sauce thickens. Stir in salt. Remove from heat.
  5. In a medium bowl, beat eggs. Set aside 1 tablespoon of beaten eggs in a small bowl. Add about a third of the sauce mixture into the medium bowl of eggs and whisk until combined. Add the egg mixture back into the saucepan and whisk until smooth.
  6. Stir in Colby-Jack cheese, half of the parmesan cheese and spinach.
  7. Ladle egg mixture evenly into the prepared dishes. Top with bacon and remaining parmesan cheese.
  8. Fold pointed ends toward the center. Brush folded pastry edges gently with reserved beaten egg.
  9. Bake until golden brown and puffy, about 25-30 minutes.
  10. You can serve the soufflés warm in the pie dishes or remove them from the dishes and transfer to a cooling rack.
Recipe Notes

To find the mini pie dishes I used click here.

Happy Jam Tarts

Happy Jam Tarts

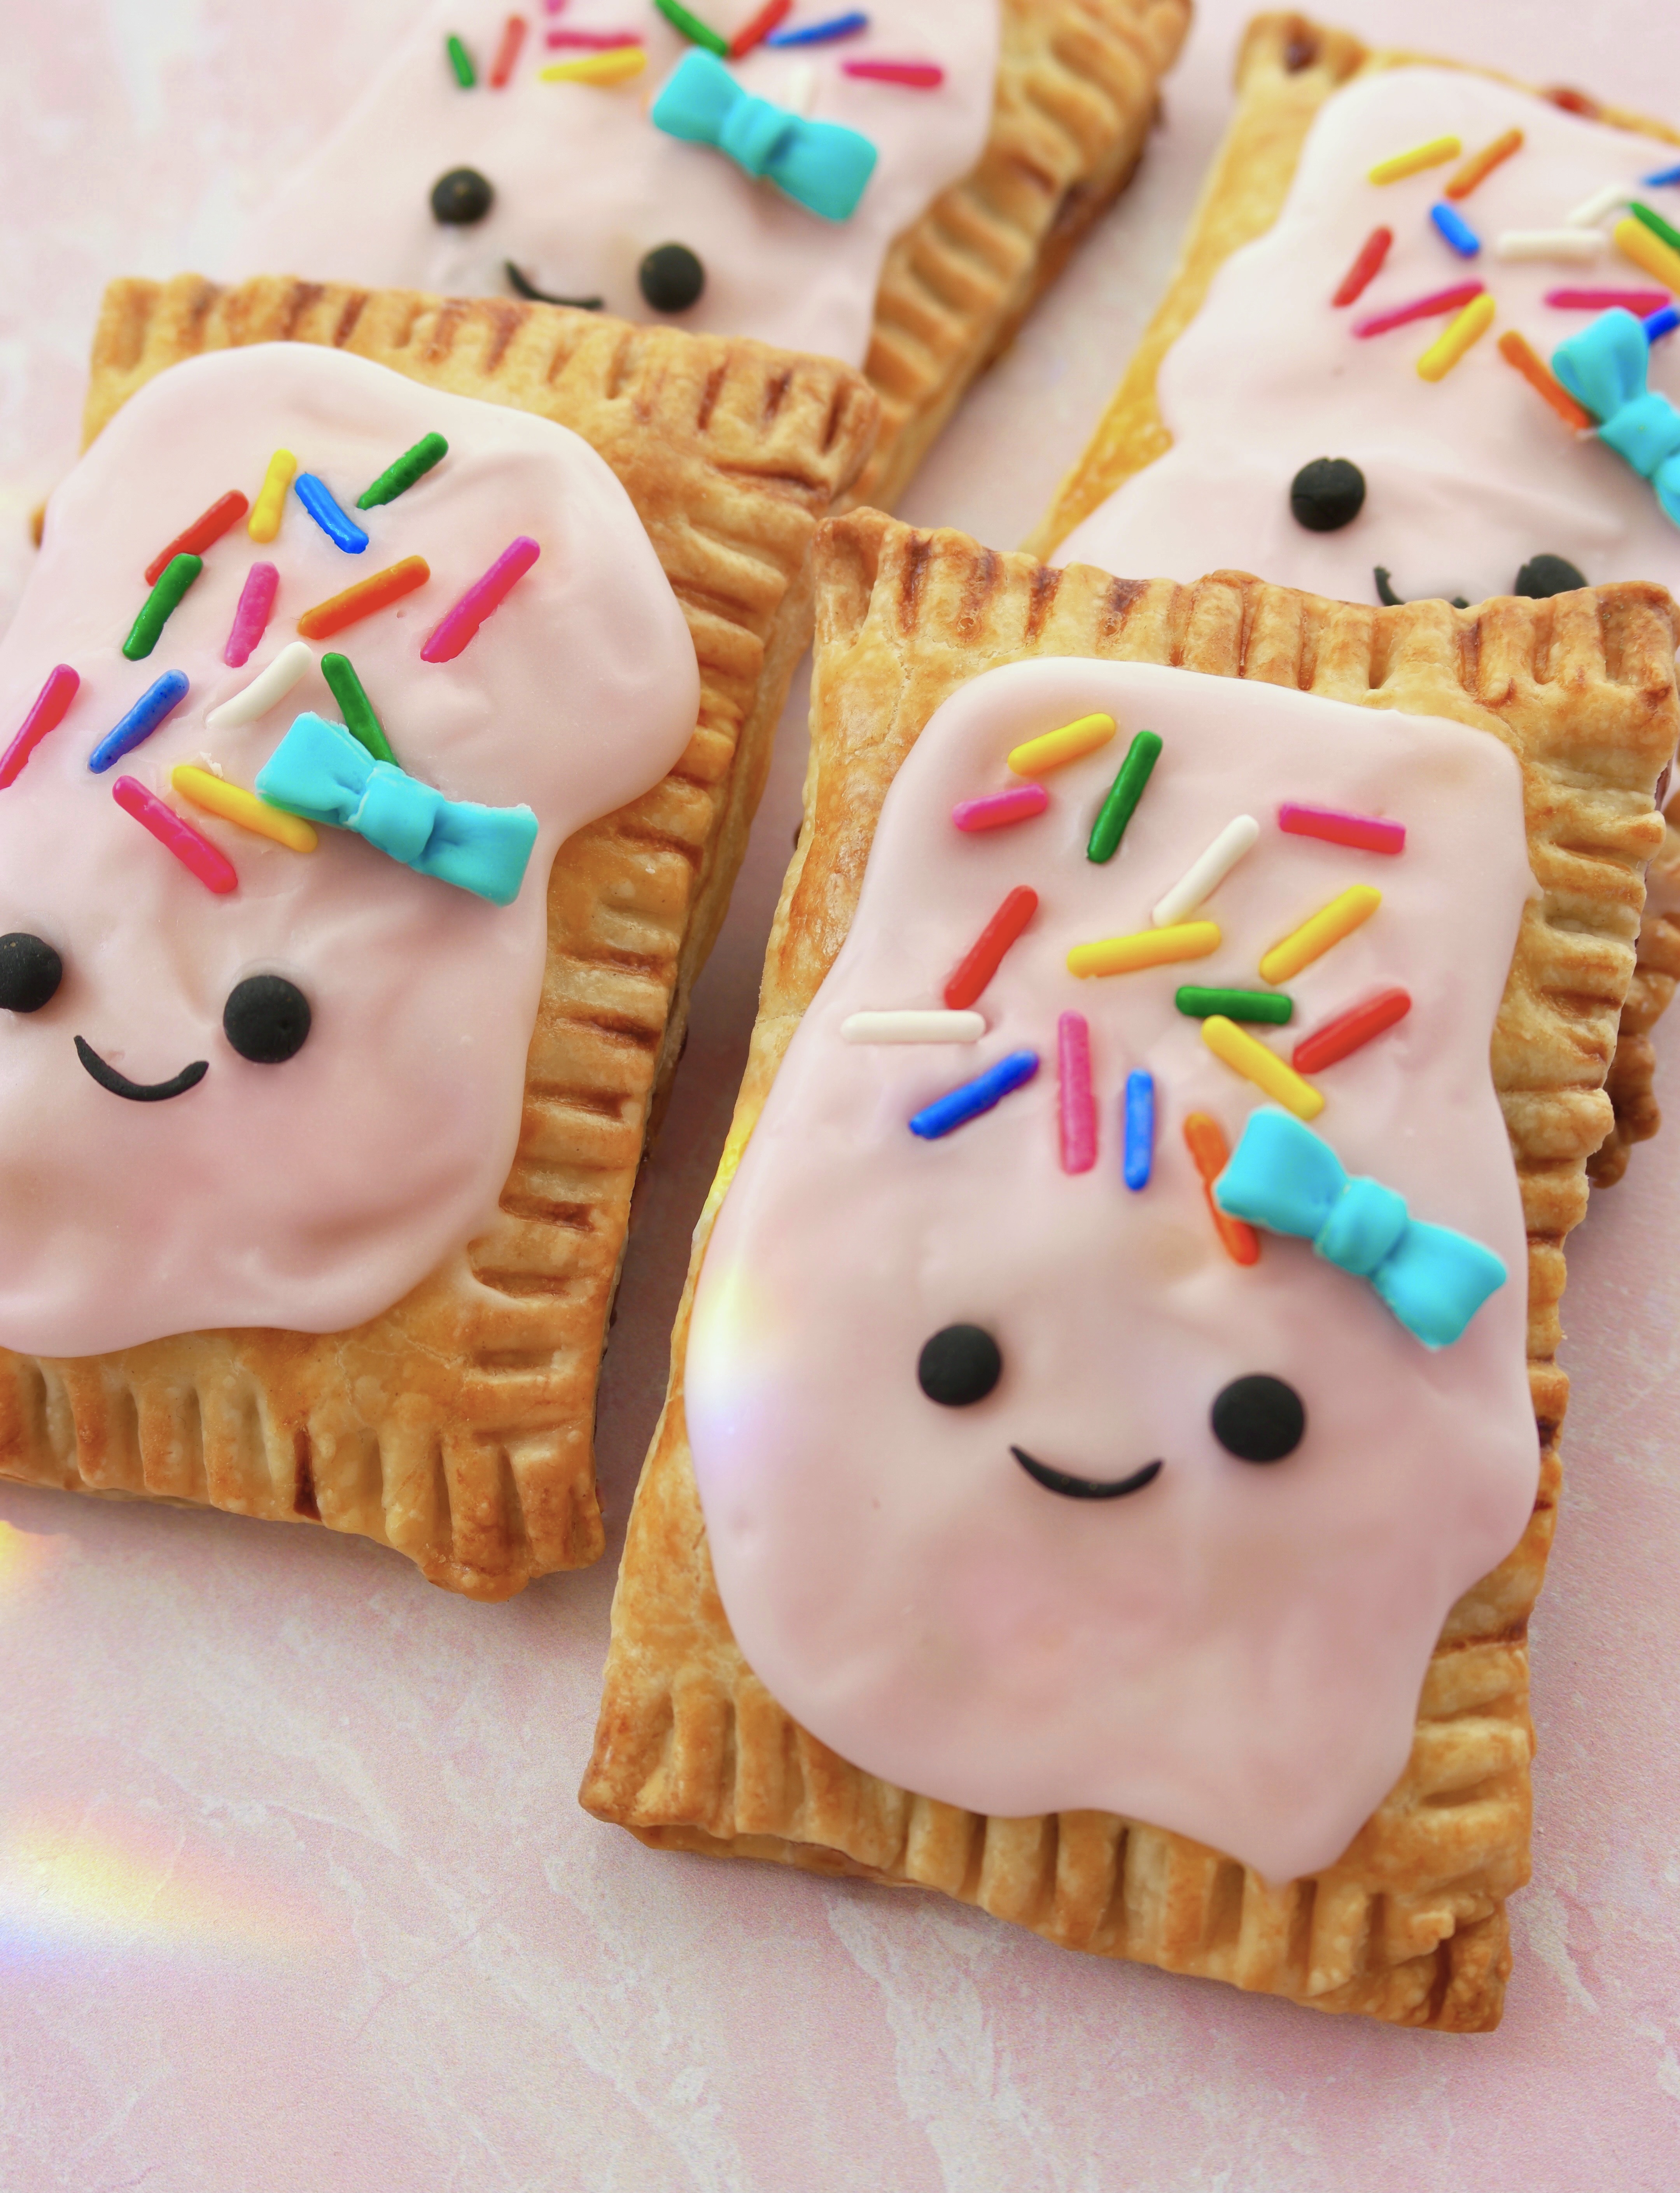
We’ve all needed a little cheering up at times, especially this past past year. These cute, happy tarts won’t take your problems away, but they can certainly make you smile, especially if you make them for someone else. They’re super easy to make and they taste better than the ones in the box we ate as kids. You can use store bought pie dough if you want to streamline the process. Any flavor of jam or preserves you have on hand works too!

Feel free to have fun decorating these little cuties. The possibilities are endless. You can use edible glitter, purchased candy eyes or even add mustaches. Happy baking!

Print Recipe
Happy Jam Tarts
Jam-filled tarts with icing
Servings
tarts
Ingredients
Jam Tarts
Icing
Servings
tarts
Ingredients
Jam Tarts
Icing
Instructions
Jam Tarts
  1. Preheat oven to 375º.
  2. Line a large baking sheet with parchment paper.
  3. Roll pie dough onto lightly floured surface. Cut into 8 6-inch by 4-inch rectangles, re-rolling dough as necessary.
  4. Make egg wash by beating egg together with milk in a small bowl.
  5. Spread 2 tablespoons of jam onto right half of each rectangle to within 1/2-inch of edges. Brush edges with egg wash.
  6. Fold dough in half, left side over right. Seal edges by pressing with a fork
  7. Poke several holes in the top of each tart with a toothpick.
  8. Bake until golden, about 15-20 minutes.
  9. Transfer to a cooling rack and let cool completely.
Icing
  1. In a medium bowl, whisk powdered sugar, milk, vanilla extract and salt together until smooth.
  2. Using a toothpick, add food color a little at a time until desired shade is achieved.
  3. Stir in meringue powder, if using.
  4. Spoon icing onto tarts.
  5. Add sprinkles while icing is wet. When icing has set, add eyes, mouths and bows if desired.
Decorations
  1. For the eyes, make 16 1/8-inch balls of black fondant. Flatten slightly. Adhere with a bit of water.
  2. For the mouths, make 8 1/2-inch long, very thin strips of black fondant. Adhere with a tiny bit of water, using tweezers if necessary.
  3. For the bows, roll out blue fondant to 1/16th-inch thickness. Cut out bows using ***bow cutter. Adhere with a bit of water.
Recipe Notes

*To find Wilton Rose gel food color, click here

**To find meringue powder, click here

***To find bow cutter, click here

Lemon Buttermilk Donuts with Honey Cream Cheese Icing

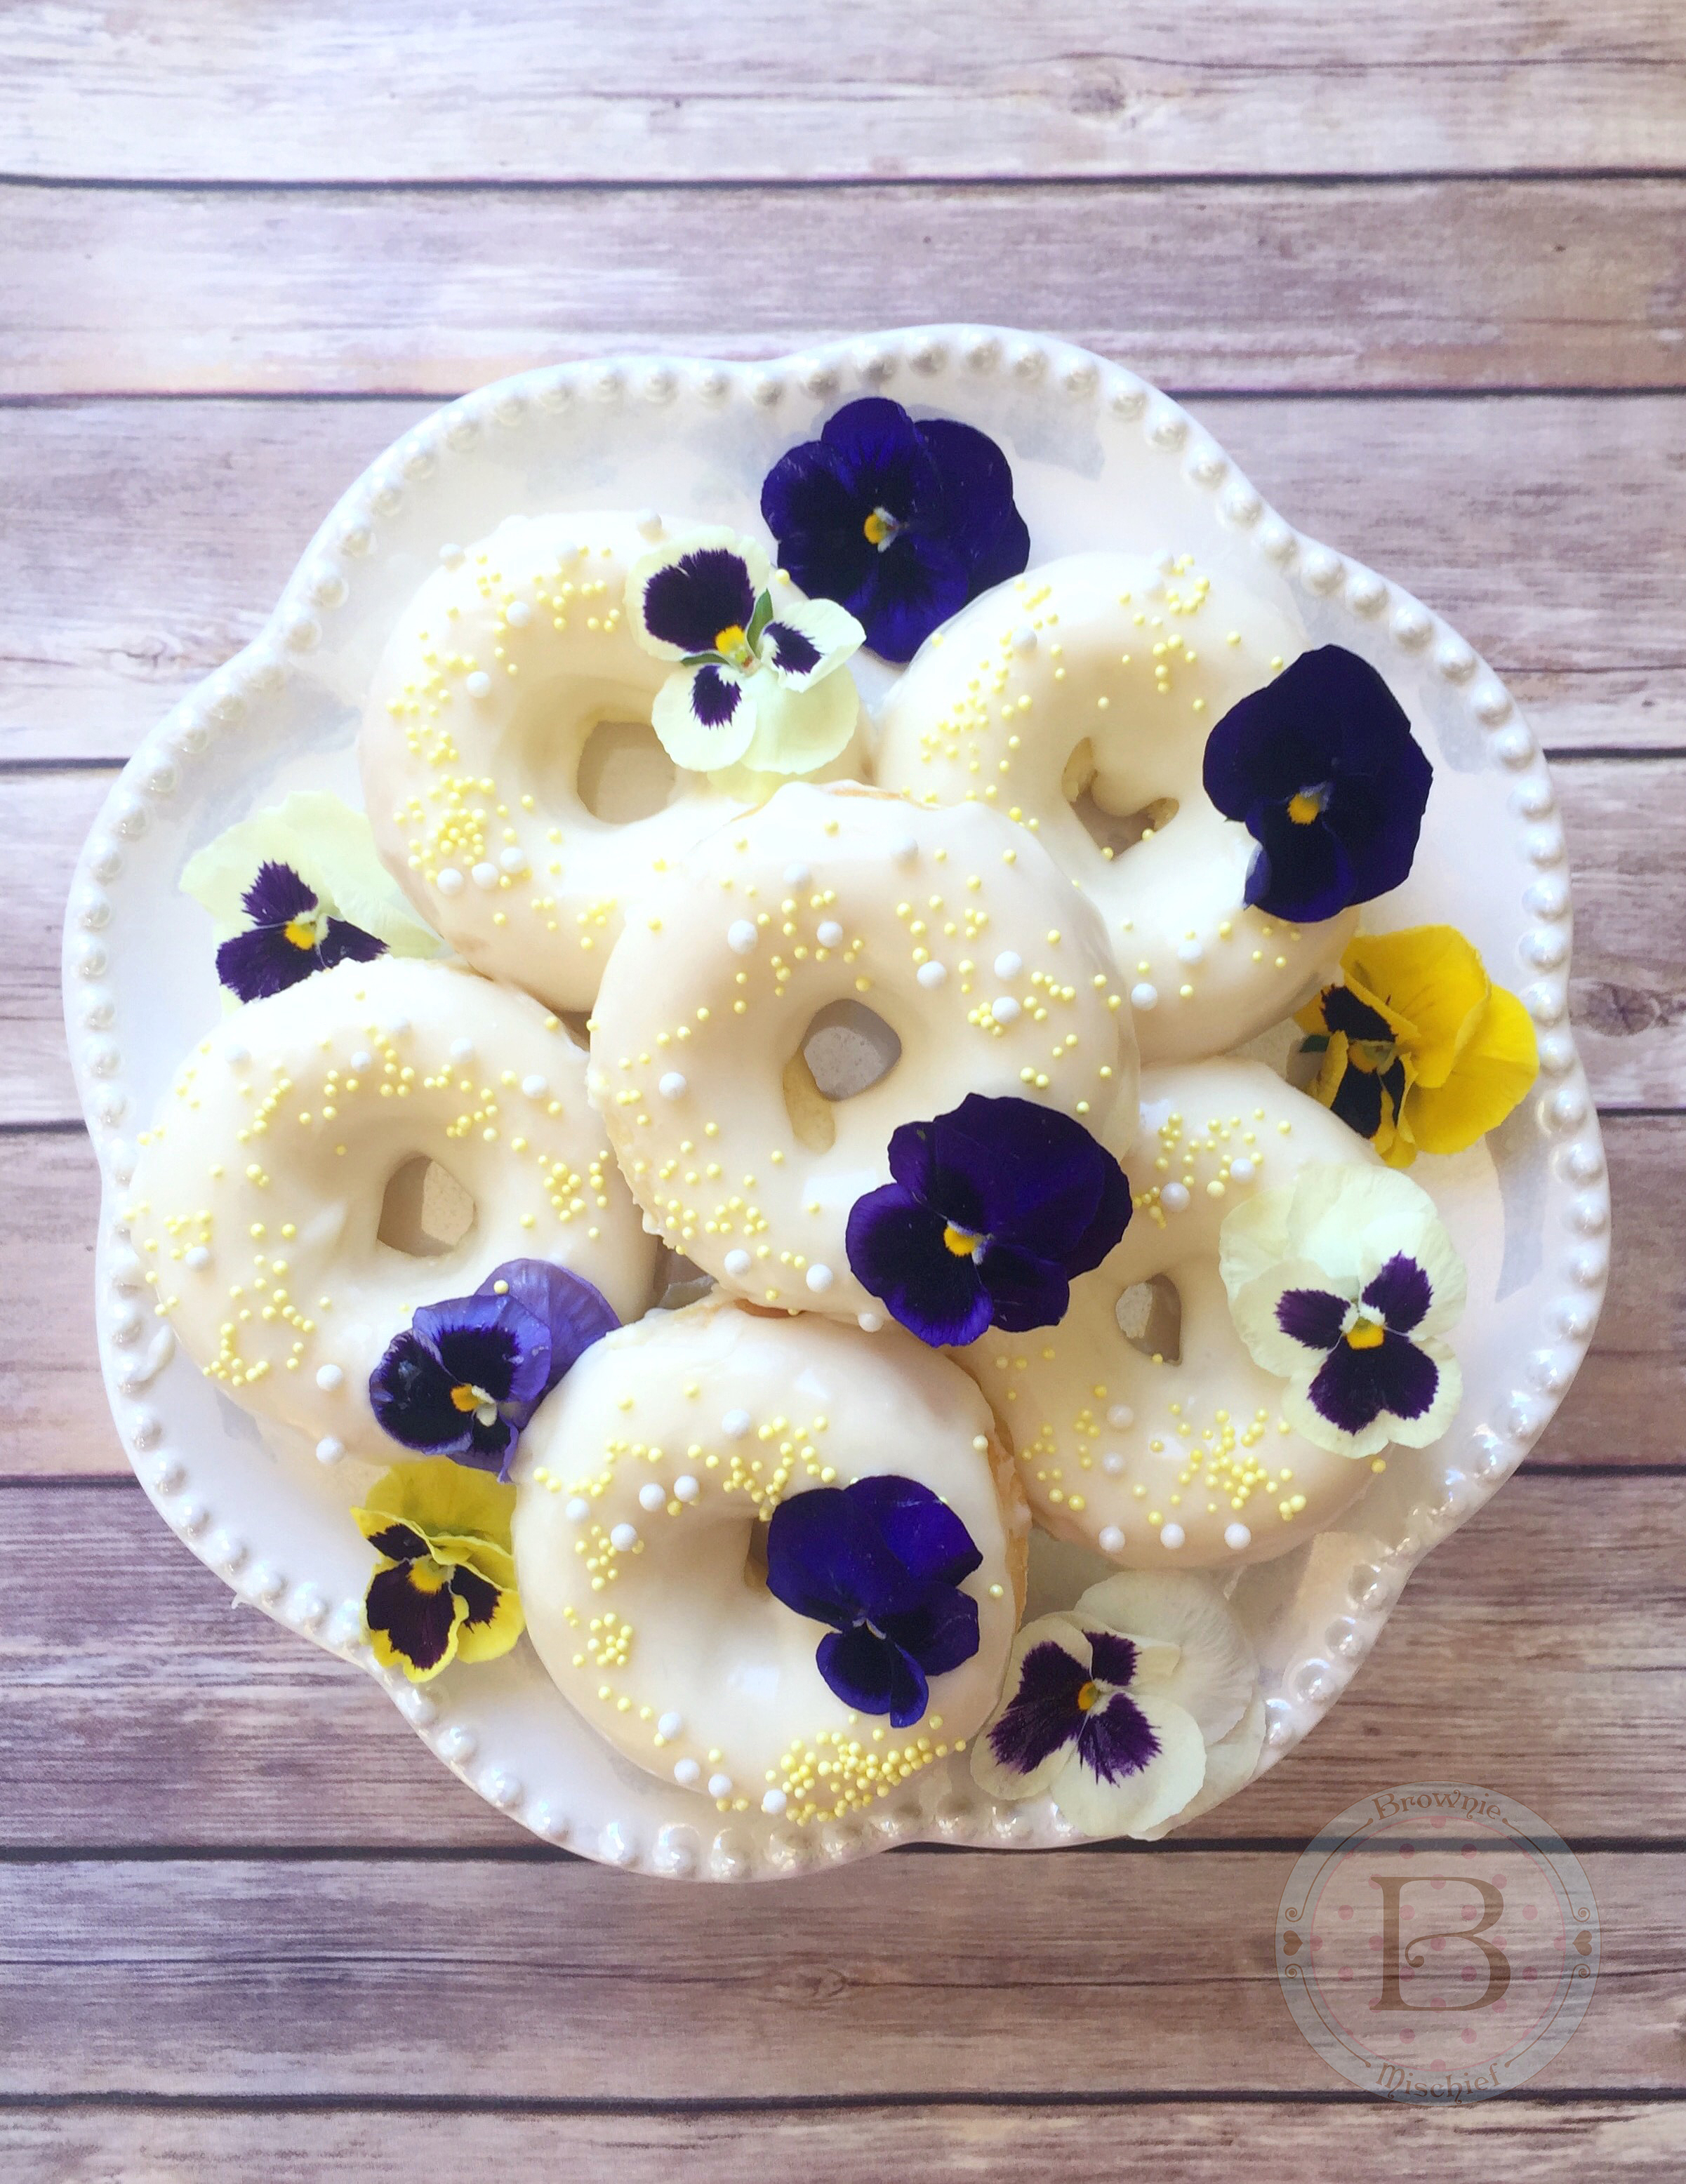
Lemon Buttermilk Donuts with Honey Cream Cheese Icing by Brownie Mischief

I was seriously happy when I started seeing donuts appearing at weddings, bridal showers and occasions other than work meetings. I’ve always felt those sweet, fluffy rings of dough had a higher calling. They had such potential! And honestly who doesn’t love donuts? They’re delicious, but they can also be beautiful. These Lemon Buttermilk Donuts could certainly win a beauty contest. They would make a gorgeous edition to any breakfast, brunch or dessert table. The fresh lemon zest and the earthy flavor of honey will bring springtime right into your kitchen.

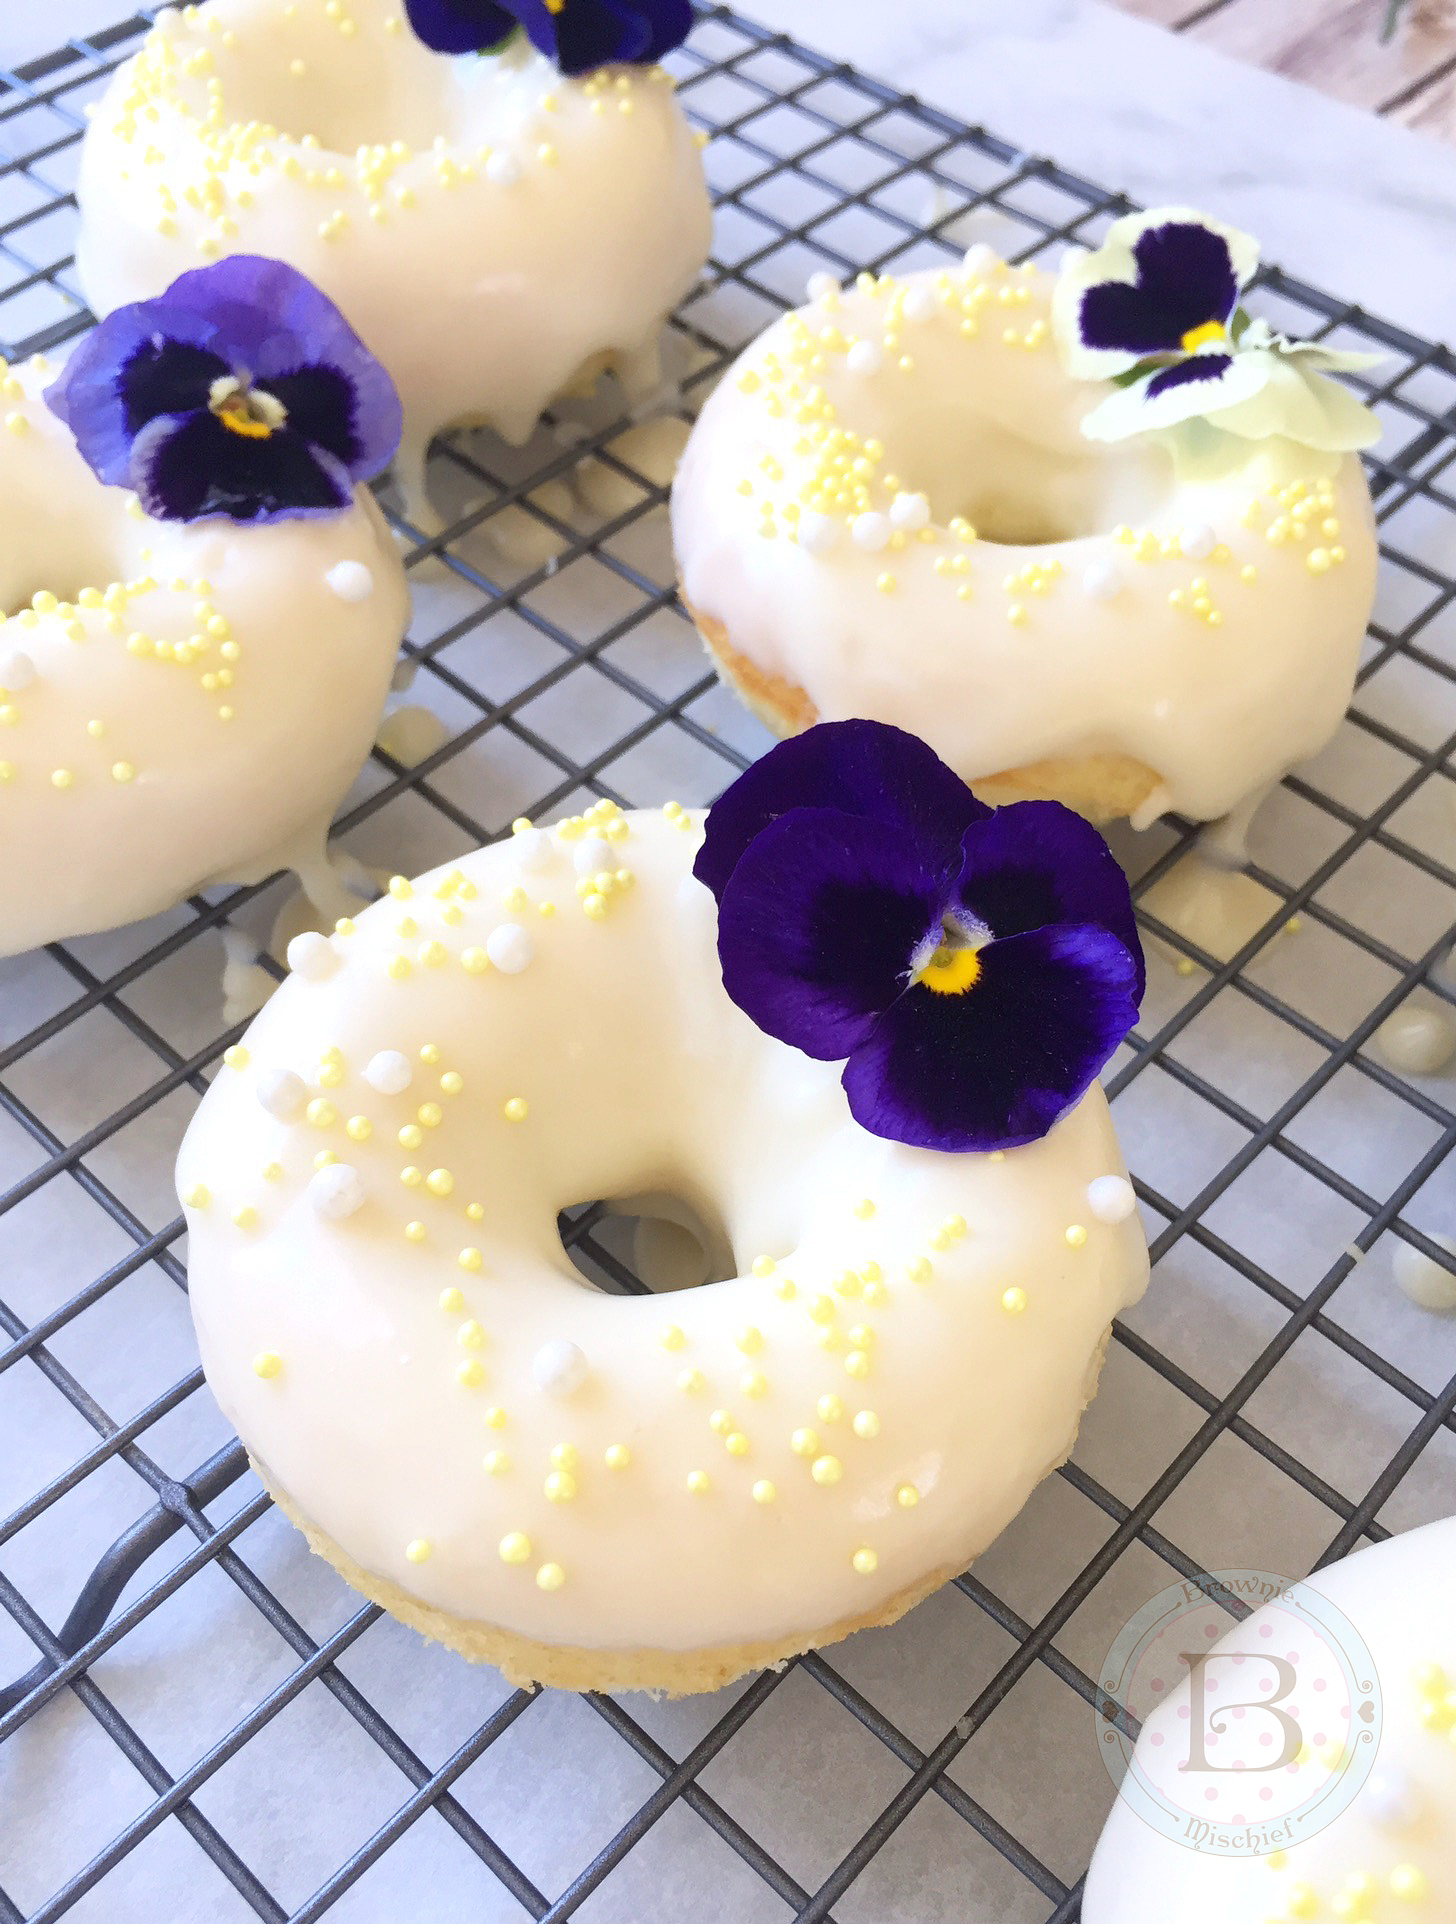
Lemon Buttermilk Donuts with Honey Cream Cheese Frosting by Brownie Mischief

If you’re on the lookout for a Mother’s Day recipe, any mom will love these pretty, fragrant treats. This is a very easy recipe and the donuts bake up quickly, so you’ll have time to fix mom a cup of her favorite tea. If you don’t have a donut pan, and you’ve been reluctant to buy one, I can honestly say I love mine. It was very affordable and I’m pleased with the performance and ease of clean up with the pan I purchased. To find the donut pan click here.

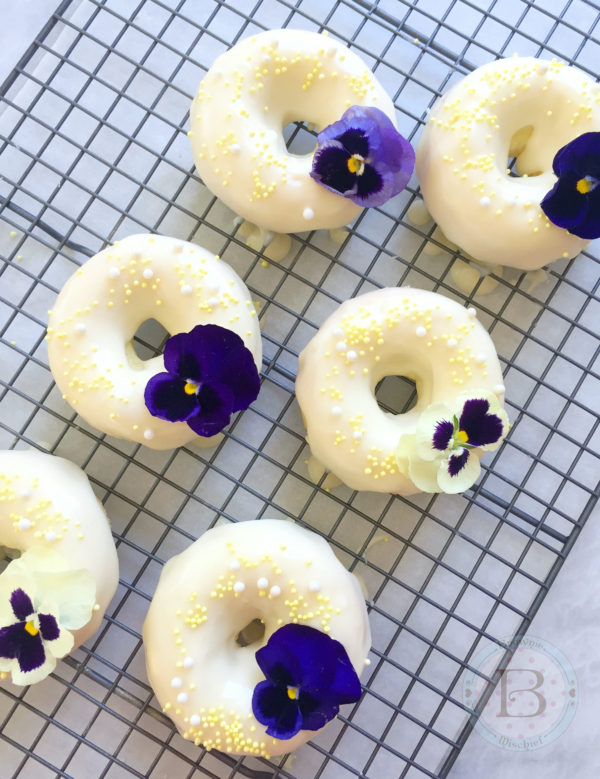
In keeping with the springtime feel, I decorated my donuts with pesticide-free edible flowers. I used pansies, but if you’re unable to find them, you can substitute pesticide-free rose petals. I found these edible pansies at my local food market in the produce department, near the fresh herbs. You can also find edible flowers at farmers’ markets and online. For a list of edible flowers, click here.  Note:  The above pictured orange ranunculus flowers on the table are not edible.  

Lemon Buttermilk Donuts with Honey Cream Cheese Icing by Brownie Mischief


Print Recipe


Lemon Buttermilk Donuts with Honey Cream Cheese Icing

Prep Time 20 minutes
Cook Time 7 minutes

Servings


Ingredients
Lemon Buttermilk Donuts

Honey Cream Cheese Icing

Prep Time 20 minutes
Cook Time 7 minutes

Servings


Ingredients
Lemon Buttermilk Donuts

Honey Cream Cheese Icing


Instructions
Lemon Buttermilk Donuts
  1. Preheat oven to 375ºF. Spray the wells of a ***donut pan with non-stick cooking spray.

  2. In a medium bowl, whisk together cake flour, sugar, baking powder and salt.

  3. In a small bowl, whisk buttermilk, egg, melted butter, and lemon zest together. Add to flour mixture and stir until combined.

  4. Transfer batter to a piping bag or plastic zip bag. Snip off the tip of the bag and pipe batter into prepared donut pan, filling the wells 2/3 full.

  5. Bake for 7-8 minutes or until toothpick inserted into donuts comes out clean. Let cool in pan for 5 minutes, then remove donuts to a rack to cool completely.

  6. Prepare Honey Cream Cheese Icing while donuts are cooling.

  7. Dip tops of donuts into icing and decorate as desired. Serve immediately.

Honey Cream Cheese Icing
  1. In a medium bowl, beat cream cheese and butter with an electric mixer at medium speed until smooth.

  2. Add vanilla extract and salt. Mix until combined.

  3. Add powdered sugar and mix on low speed until moistened. Turn mixer up to medium speed and mix until combined.

  4. Add honey and beat on medium speed until smooth. Add milk, a little at a time until desired consistency is reached. Beat until smooth.
    Lemon Buttermilk Donuts with Honey Cream Cheese Frosting by Brownie Mischief