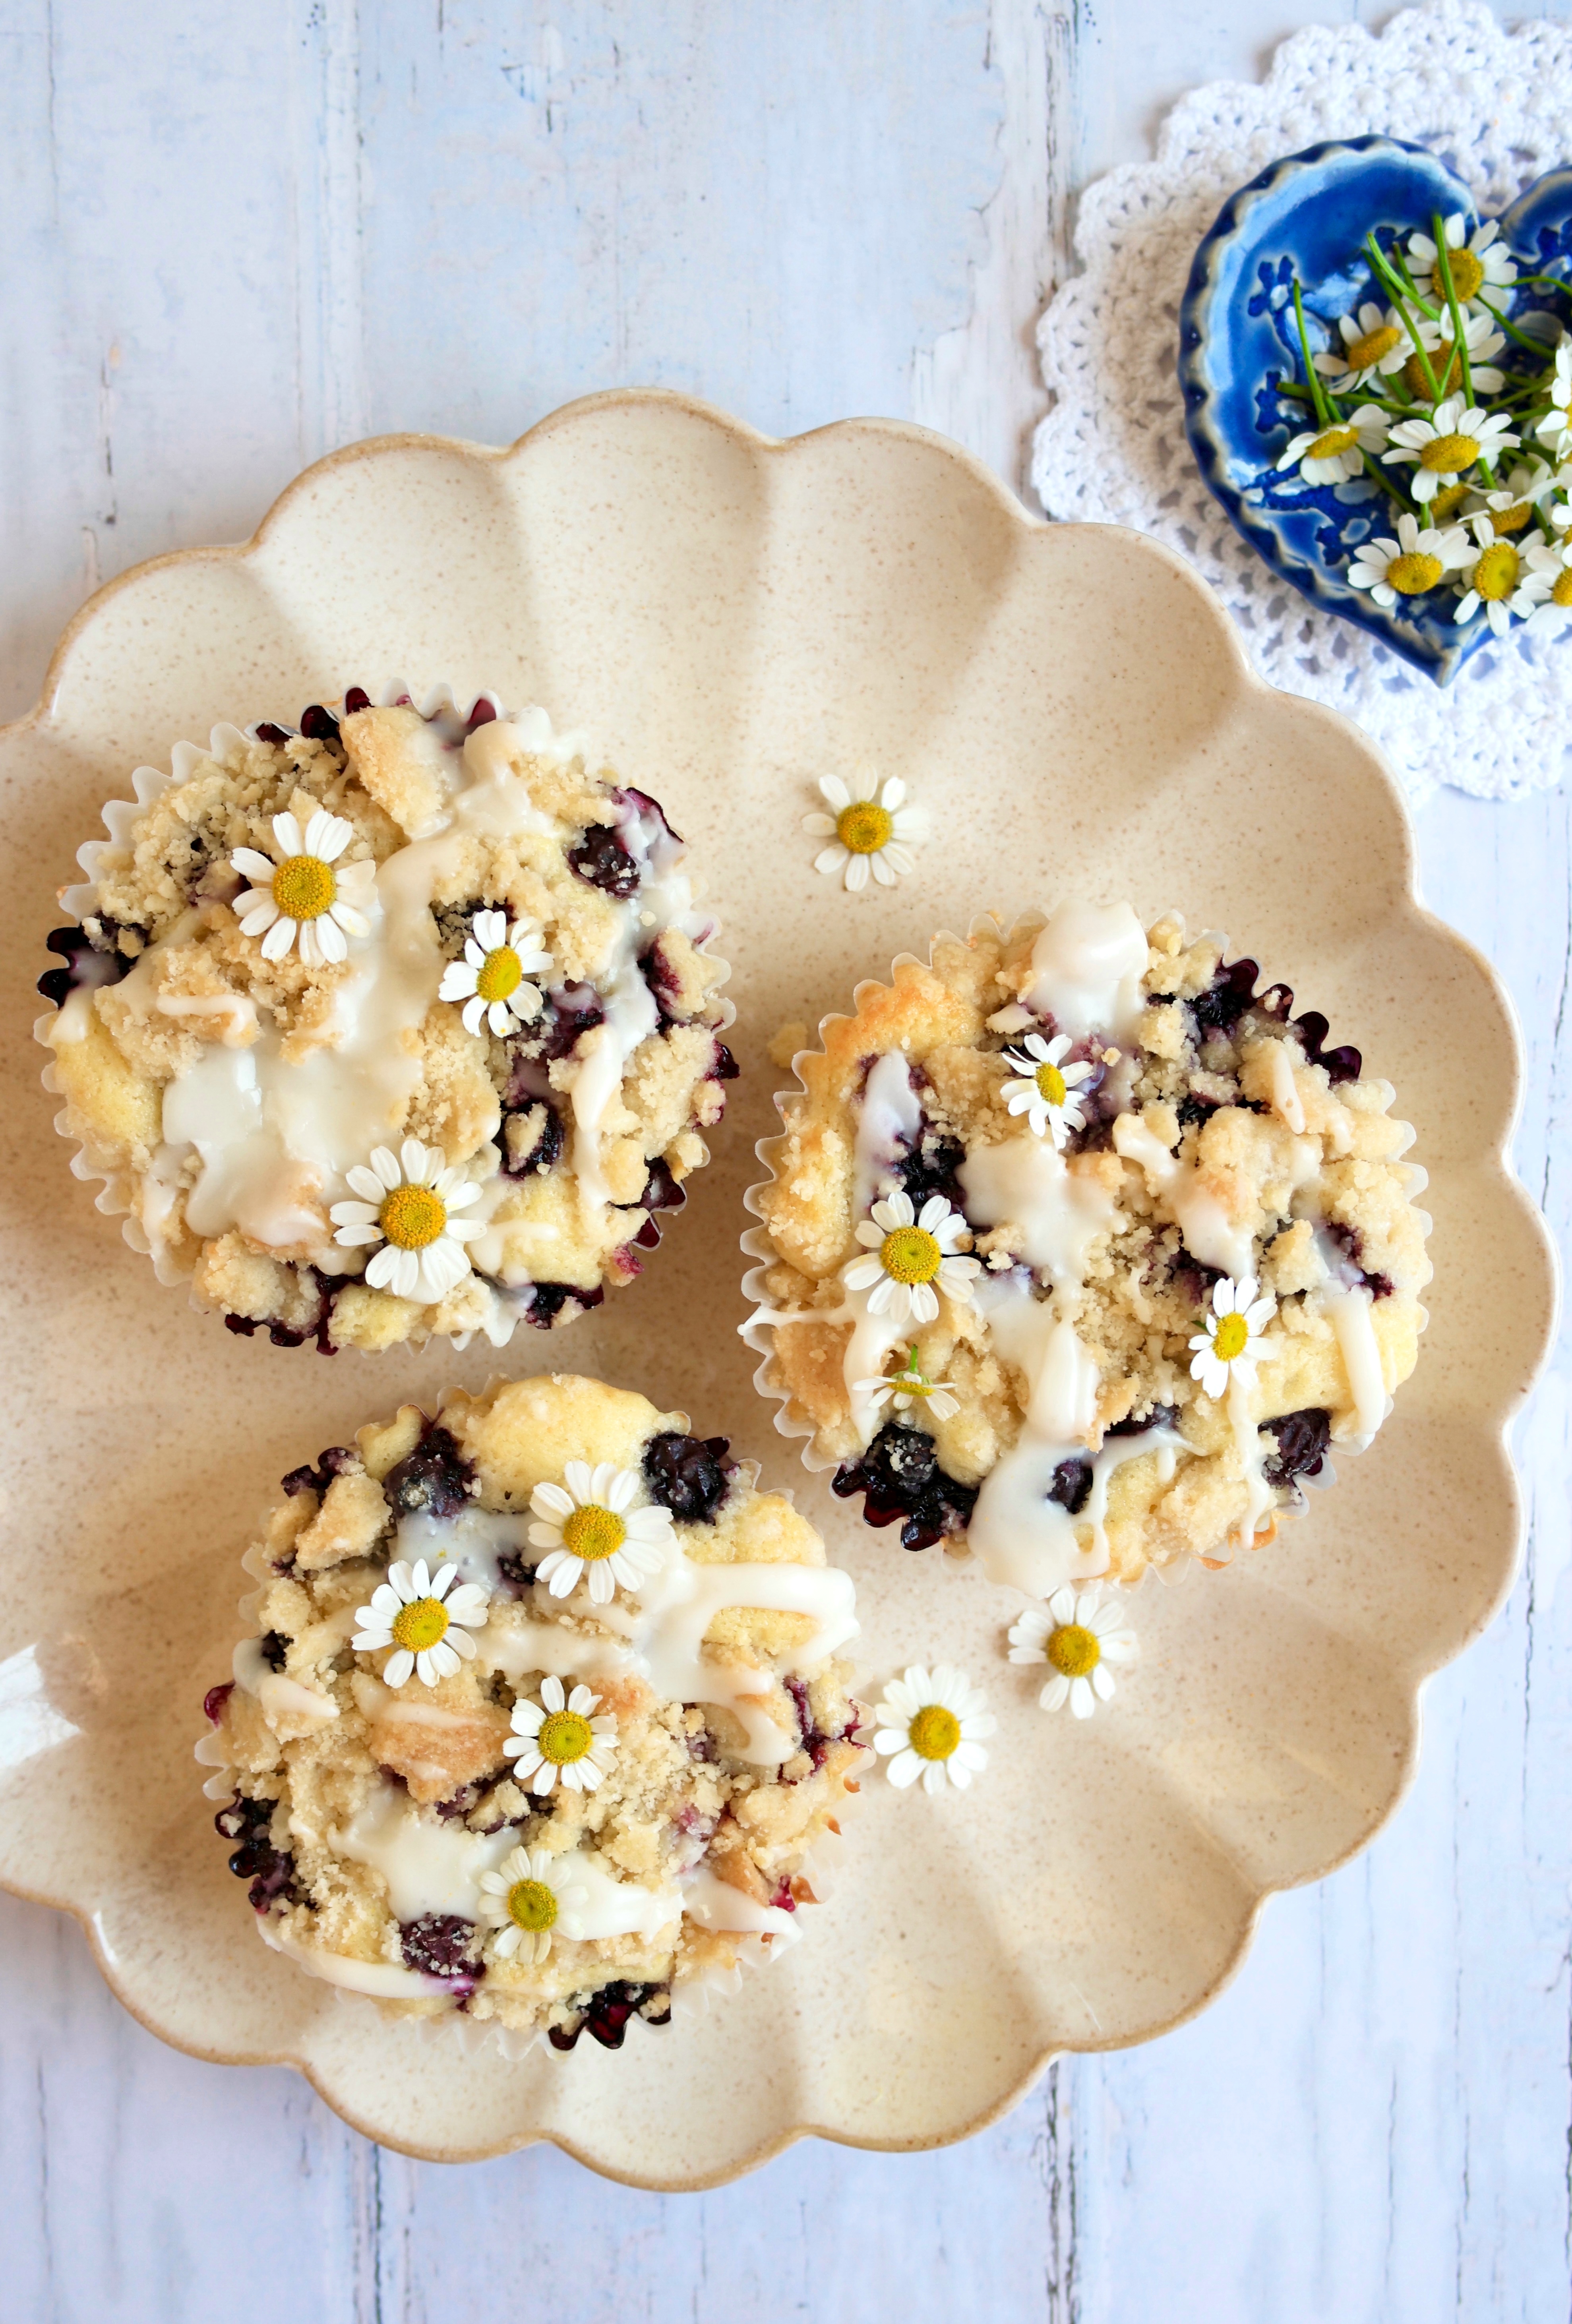
Blueberry and lemon are a classic muffin flavor combination, but have you tried cherry and lemon? They complement each other beautifully in lemonade, so why not muffins? Cherries are plentiful at the moment so I came up with these pretty and delicious Cherry Lemon Muffins that are perfect for summer breakfast, brunch or picnics. They have a lovely soft, moist crumb that’s the quintessential muffin texture. Although I’ve been baking muffins since childhood, I learned to refine my muffins in culinary school. Here are a few helpful tips:
~ Muffins with big hole or tunneling may have too much leavening or it wasn’t mixed in evenly. Whisk the leavening agent into the flour thoroughly. Tunnels can also be caused by mixing the batter too aggressively.
~ Dry muffins were likely over baked or have too much flour.
~ Rubbery muffins were likely over mixed.
~ Soggy or gummy muffins were either underbaked or too much wet fruit was added. Try macerating the fruit first to release excess juices. This helps to prevent soggy spots in your muffins.
~ If you want tall, domed muffins, keep in mind that, although they look nice, domed muffins tend to be chewier and less tender. To get domes, try letting the batter rest a few minutes before baking if the muffins contain baking powder. You can also try giving the muffins a boost of high heat by starting them out with a higher temperature 400ºF (200ºC) then drop the temperature to 350ºF (180ºC) after a few minutes.
~ To keep crumble topping from sinking, make sure to work the cold butter into the flour mixture thoroughly, until it looks like wet sand and no large pieces of butter remain. Press the mixture together to form chunks, then chill it in the refrigerator before topping the muffins.
~ To keep fruit from sinking, lightly coat it with flour. Thick, voluminous batter is best for adding fruit.
| Servings |
muffins
|
- 3/4 cup (96g) all purpose flour
- 6 tablespoons (75g) granulated sugar
- 1 pinch fine sea salt
- 1/4 cup (57g) cold, unsalted butter, cubed
- 1 cup (200g) plus 1 tablespoons (13g) sugar, divided
- 1 1/2 cups (255g) pitted and chopped fresh cherries 1/4-inch to 3/8-inch pieces
- 2 1/4 cups (288g) all purpose flour, sifted plus extra to coat the cherries
- 2 teaspoons baking powder
- 1/2 teaspoon baking soda
- 1/2 teaspoon fine sea salt
- 3/4 cup (170g) unsalted butter, room temperature
- Zest of 2 medium lemons
- 2 large eggs, room temperature
- 1 teaspoon pure lemon extract
- 1/2 teaspoon pure vanila extract
- 1 cup (227g) sour cream, room temperature
- 12 cherries with stems for garnish optional
- 3/4 cup (90g) powdered sugar, sifted
- 1 tablespoon reserved cherry juice
- 1 tablespoons heavy cream
- 1-2 tablespoons fresh lemon juice
Ingredients
Crumb Topping
Cherry Lemon Muffins
Icing
|
|
- In a medium bowl, whisk the flour, sugar, and salt together. Work in the butter with your fingertips until the mixture looks like the consistency of wet sand with no large pieces of butter. Press the mixture together to make chunks. Set aside in the refrigerator until ready to use.
- In a medium bowl, combine the cherries and 1 tablespoon (13g) of sugar. Let stand 30 minutes, then drain the cherries, reserving the juice.
- Preheat the oven to 375ºF (190ºC). Line a 12-serving muffin pan with tulip muffin liners.* (You can also use standard muffin liners. They hold less batter so you'll end up with a couple of extra muffins.)
- In a medium bowl, whisk the flour, baking powder, baking soda and salt together until well combined.
- In a large bowl, beat the butter, 1 cup (200g) of sugar and lemon zest with an electric mixer at medium speed, until light and fluffy. Beat in the eggs, one at a time, until incorporated. Beat in the extracts. On low speed, mix in the flour mixture in two additions, followed by half of the sour cream after each addition. Beat just until combined. Do not over mix. Reserve a couple of tablespoons of the chopped cherries. Coat the remaining cherries with 2 teaspoons of flour, then gently fold them into the batter.
- Divide the batter evenly into muffin liners. (If using standard muffin liners, fill 3/4 full.) Top with the reserved cherries and the crumb topping. Bake at 375ºF (190ºC) for 5 minutes. Turn the oven heat down to 350ºF (180ºC) and continue baking the muffins until a toothpick inserted into the centers comes out clean, about 12-17 more minutes. Do not over bake.
- Transfer the muffins to a cooling rack to cool completely. Drizzle with icing and top with cherries if desired.
- In a small bowl, whisk the powdered sugar, cherry juice, heavy cream, and 1 tablespoon of lemon juice together until smooth. Add additional lemon juice, if needed, until your desired consistency is reached.
*To find tulip muffin liners, click here. To find floral tulip muffin liners, click here.
