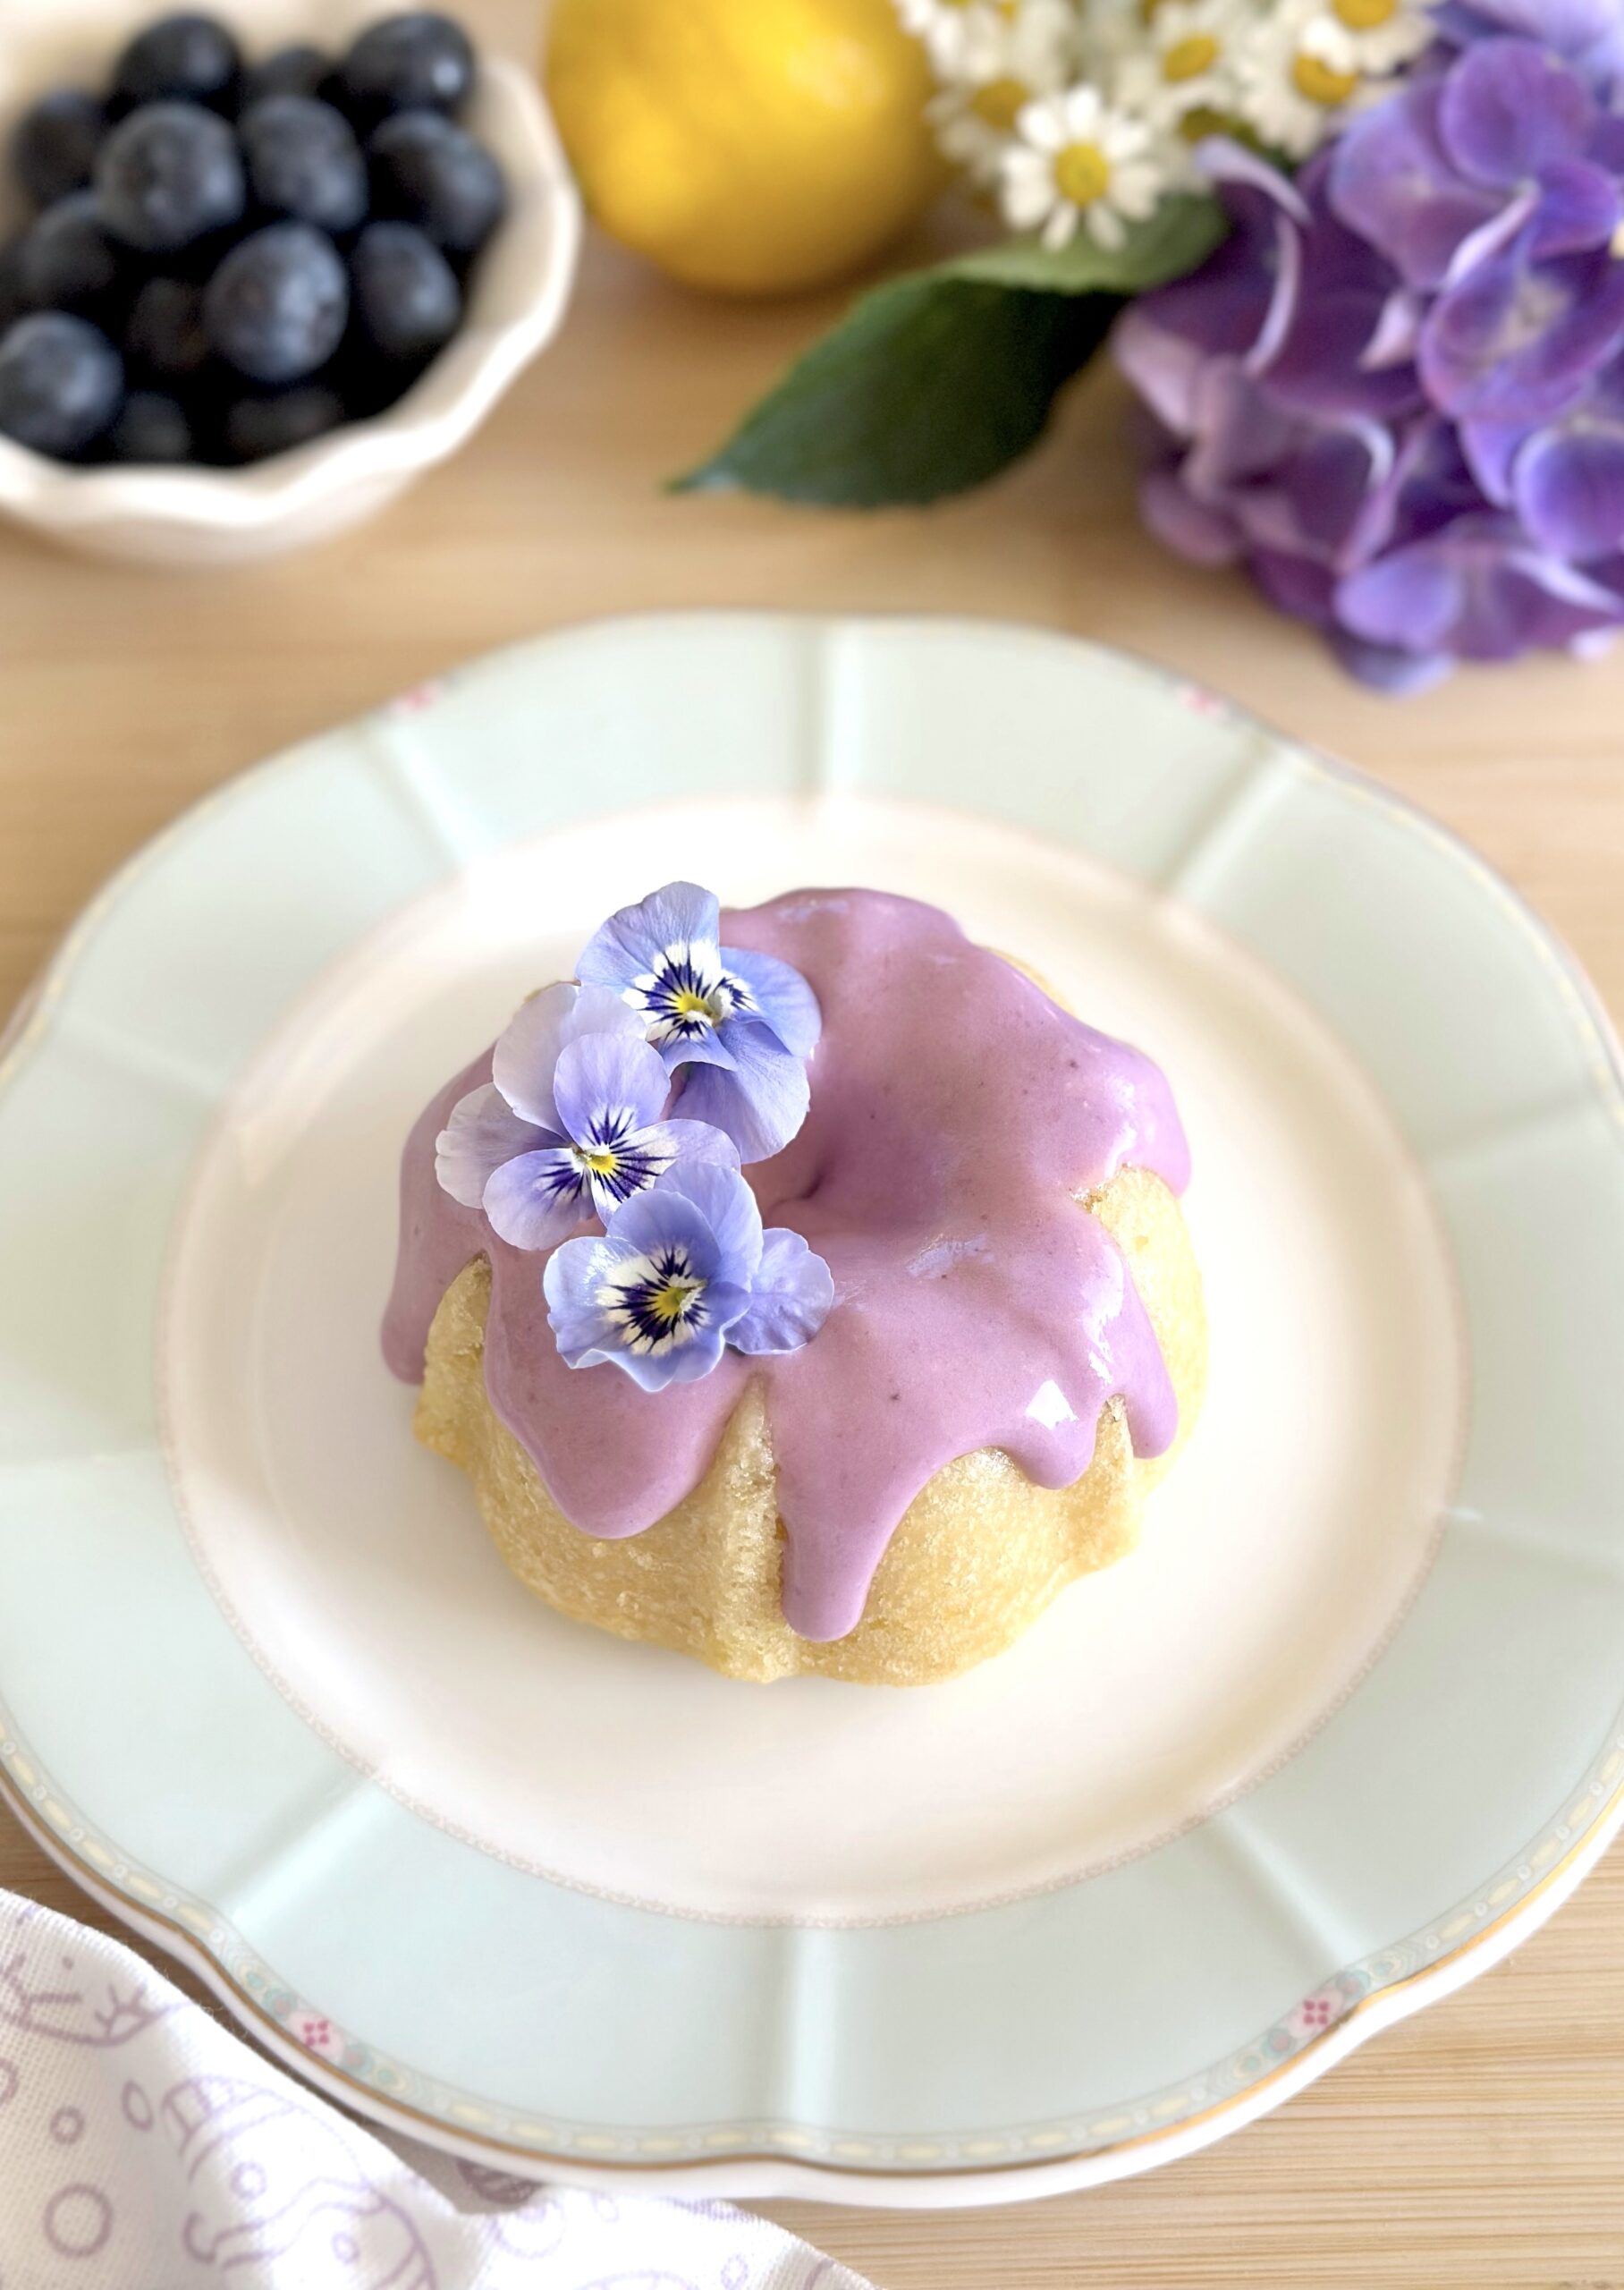
Lemon Bundt Cakes with Blueberry Cream Cheese Icing

Lemon Bundt Cakes with Blueberry Cream Cheese Icing

Say hello to springtime in cake form. These soft, fluffy, little lemon bundt cakes are bursting with lemon flavor and topped with a beautiful, delicious blueberry cream cheese icing. The icing gets it’s natural beauty from fresh blueberries. The colors and flavors of these cakes remind me of sunshine and spring blooms. I decorated my cakes with tiny blue violas from my garden. They would also look pretty topped with fresh chamomile flowers.

I used a bundtlette pan with six 1-cup servings. To find the pan I used, click here. This recipe also works as cupcakes using a standard muffin pan. The baking time will be a bit shorter. If you’re not a fan of blueberry icing, you can glaze the cakes with lemon icing instead. To find my lemon icing recipe, click here.

Print Recipe
Lemon Bundt Cakes with Blueberry Cream Cheese Icing
Soft, fluffy lemon bundtlette cakes topped with blueberry cream cheese icing
Course Dessert
Keyword cake, lemon bundts
Servings
Bundtlette cakes
Ingredients
Lemon Bundt Cakes
Blueberry Cream Cheese Frosting
Course Dessert
Keyword cake, lemon bundts
Servings
Bundtlette cakes
Ingredients
Lemon Bundt Cakes
Blueberry Cream Cheese Frosting
Instructions
Lemon Simple Syrup
  1. In a small saucepan, combine the sugar, lemon juice, and water over medium-low heat. Cook and stir gently just until the sugar is dissolved. Set aside to cool.
Lemon Bundt Cakes
  1. Preheat the oven to 350ºF (180ºC). Grease and flour a bundtlette pan with six 1-cup servings. Make sure to thoroughly grease and flour all of the crevices. (To find the pan I used, see note below.*)
  2. In a medium bowl, whisk together the flour, baking powder, baking soda and salt.
  3. In a large bowl whisk together the sugar and lemon zest until well combined. Add the oil, eggs, and vanilla extract and whisk until smooth and well combined.
  4. In a small bowl, whisk together the milk and sour cream. Stir the flour mixture into the batter in 2 additions, followed by half of the milk mixture after each addition. Stir just until combined.
  5. Fill the cake pan wells half full with the batter. (If using a standard muffin pan, fill the wells 2/3 full.) Bake until the tops are springy and a toothpick inserted in the centers of the cakes comes out clean or with a few crumbs attached, about 14-16 minutes. Check for doneness a couple of minutes early to avoid over baking. (Baking time is shorter for a standard muffin pan.) Cool the cakes in the pan for 8 minutes, then turn the cakes out onto a cooling rack. Brush the warm cakes generously with lemon simple syrup.
Blueberry Cream Cheese Icing
  1. In a small saucepan, combine the blueberries, sugar and lemon juice. Stir occasionally over medium heat, until the blueberries start to soften and the mixture starts to bubble. Smash the blueberries with a potato masher or the back of a spoon. Let the mixture simmer gently until thickened to a jam consistency, about 2-3 minutes. Strain the cooked blueberries through a mesh sieve for a smooth consistency. You can skip this step if you prefer a chunky consistency. Set aside to cool to room temperature.
  2. In a medium bowl, beat the cream cheese and butter together until smooth. Don't over beat. Cream cheese tends to curdle if beaten too much.
  3. Add the powdered sugar, vanilla and 2 tablespoons of milk and beat until smooth and well combined. Stir in the cooled blueberries until combined. Stir in more milk as needed to achieve your desired consistency. Spoon or drizzle the icing onto the cooled lemon cakes.
Recipe Notes

To find the bundt cake pan I used, click here.

Blueberry Cornmeal Tea Cakes with Honey Butter Icing

Blueberry Cornmeal Tea Cakes with Honey Butter Icing

If you’re looking forward to spring as much as I am, you’ll love these tender, fluffy Blueberry Cornmeal Tea Cakes. They taste like soft, sweet cornbread with the added freshness of juicy blueberries. The Honey Butter Icing adds the perfect, sweet finish. Who doesn’t love cornbread slathered with honey and butter? It’s a match made in heaven and it works so well on these delightful tea cakes.

I placed them upside down because they look more pretty and elegant that way. I added some fresh, pesticide free violas to the tops. They would also be cute decorated with fresh blueberries or chamomile flowers.

This versatile recipe can also be made into muffins by filling the muffin pan cups 2/3 full instead of 1/2 full. The baking time may be a little longer. Place the muffins right side up on the cooling rack.

To see the inside of the tea cakes, watch the TikTok video. Click here.

Print Recipe
Blueberry Cornmeal Tea Cakes with Honey Butter Icing
Sweet, soft cornbread cakes with blueberries, topped with honey butter icing
Servings
Ingredients
Blueberry Cornmeal Tea Cakes
Honey Butter Icing
Servings
Ingredients
Blueberry Cornmeal Tea Cakes
Honey Butter Icing
Instructions
Blueberry Cornmeal Tea Cakes
  1. Preheat the oven to 350ºF (180ºC). Grease and flour a 12-serving muffin pan*.
  2. In a large bowl, whisk together the flour, sugar, cornmeal, baking powder and salt.
  3. In a medium bowl, whisk together the eggs, sour cream, oil, butter, vanilla and lemon zest until smooth.
  4. Stir the wet ingredients into the dry ingredients until combined. Don't over mix. A few lumps are okay. Fold in the blueberries.
  5. Fill the muffin cups half full. Bake until the tops of the cakes are light golden, the tops are springy and a toothpick inserted into the center of the cakes comes out clean, about 14-16 minutes.
  6. Cool the cakes in the pan for 5 minutes, then remove them from the pan and place them upside down on a cooling rack. Top the cooled cakes with Honey Butter Icing.
Honey Butter Icing
  1. In a medium bowl, whisk together the powdered sugar, butter, honey, salt and 1 tablespoon of milk. Add additional milk as needed to achieve your desired consistency. Whisk until smooth.
Recipe Notes

To find the muffin pan I used, click here.

Blueberry Pecan Banana Bread

This banana bread was a happy accident. One morning, I started to make banana bread. My recipe called for three over-ripe bananas, but I realized that I only had two. So I changed my recipe, and then I added blueberries, toasted pecans, a pecan crumb topping and a brown sugar cinnamon glaze. The results were so tender, moist and delicious that I can confidently say this is the best banana bread I’ve ever tasted. And I’ve tasted a lot of banana bread. I’ve tried many different recipes and tasted loaves baked by other people. I also like picking up a slice of banana bread at bakeries and coffee shops sometimes, alongside my coffee or tea.

The three biggest problems I typically see with banana bread are rubbery texture, dry texture or bland flavor. Over mixing can cause a rubbery loaf, so when you add your dry ingredients to the batter, mix it just until the flour is incorporated, to avoid excess gluten formation. To avoid a dry loaf, make sure not to over bake it. Test it before you think it might be done. When measuring your dry ingredients, weigh them for the best results. Sometimes people inadvertently add too much or too little flour when using measuring cups.

For the best flavor and sweetness, make sure to use very ripe bananas when making banana bread. I like to use bananas that are soft and covered with brown spots. I avoid the black, oozing bananas, even though you may see people on social media recommending them for use. These are technically rotten bananas and can give your banana bread an unpleasant fermented flavor. The toasted pecans in this recipe add texture and a rustic nutty flavor. Even people who don’t like nuts tend to appreciate them in this banana bread. But if you have a nut allergy you can certainly leave them out. The addition of cinnamon, nutmeg and vanilla also add lovely flavor to this loaf. This banana bread is quite delicious on its own, but the crumb topping and brown sugar glaze take it over the top!

To watch the Blueberry Pecan Banana Bread Instagram video, click here.

Print Recipe
Blueberry Pecan Banana Bread
Moist tender banana bread with blueberries and toasted pecans, topped with pecan crumb topping and brown sugar cinnamon glaze.
Servings
loaf
Ingredients
Crumb Topping
Blueberry Pecan Banana Bread
Brown Sugar Cinnamon Glaze
Servings
loaf
Ingredients
Crumb Topping
Blueberry Pecan Banana Bread
Brown Sugar Cinnamon Glaze
Instructions
Crumble Topping
  1. In a medium bowl, combine the flour, brown sugar, cinnamon and salt. Work in the butter with your fingertips until the mixture looks like wet sand. Mix in the pecans. Press the mixture to together to form chunks. Set aside in the refrigerator until ready to use.
Blueberry Pecan Banana Bread
  1. Preheat the oven to 325ºF (165ºC). Line the bottom a 9 x 5-inch loaf pan* with parchment paper. Grease and flour the insides.
  2. In a medium bowl, whisk together the flour, baking powder, baking soda, salt, cinnamon and nutmeg.
  3. In a large bowl, whisk together the brown sugar, oil, eggs, sour cream and vanilla until smooth and well combined. Stir in the bananas until incorporated. Mix in the flour mixture just until combined. Do not over mix. Stir in the pecans.
  4. In a small bowl, gently toss the blueberries with the lemon juice, then toss them with 2 teaspoons of flour. Fold 3/4 of the blueberries into the batter. Transfer the batter to the prepared loaf pan. Top with the remaining blueberries, then the crumb topping.
  5. Bake until a toothpick inserted into the center of the loaf comes out clean, about 55-60 minutes. Cool in the pan for 10 minutes, then remove the loaf from the pan and transfer to a cooling rack to cool completely.
Brown Sugar Cinnamon Glaze
  1. In a small saucepan, whisk the brown sugar, butter, cinnamon and salt together over medium heat until the sugar dissolves and the edges start to bubble. Remove from heat and whisk in the heavy cream, vanilla and powdered sugar until smooth. Set aside to cool slightly. Drizzle over the cooled banana bread.
Recipe Notes

*To find the loaf pan I used, click here.

Blueberry Lemon Crumb Cakes

Blueberry Lemon Crumb Cakes

Do you ever feel like a three year old child who doesn’t want to share? That’s how I feel about this crumb cake. I didn’t want to share so I made six 4-inch personal crumb cakes. You’ll understand once you taste the soft, fluffy lemon scented cake with juicy blueberries, a ton of sweet crumb topping and a lemony cream cheese icing. You’ll want every bite for yourself! I was also hesitant to share the recipe. But I was taught to share recipes by my two grandmothers who were amazing cooks and bakers. They shared their knowledge and recipes with anyone who asked. Recipes are a legacy that should be passed on to family and friends. If you’re reading this, I consider you a friend. So enjoy this recipe that’s especially dear to me because it’s based on my Grandma’s Apple Crumb Cake recipe.

I used a six serving shallow jumbo muffin pan to bake the cakes. The muffin cups are 4 inches across by 1 inch deep. To find the pan, click here. A hamburger bun pan for 4-inch buns will work too. If you happen to have six 4-inch cake pans, those work nicely. I used jumbo muffin liners to line the muffin cups, which fit perfectly by pressing them in around the inside bottom edges.

Print Recipe
Blueberry Lemon Crumb Cakes
Fluffy, soft lemon cakes with blueberries, crumb topping and lemon cream cheese icing
Servings
4-inch crumb cakes
Ingredients
Crumb Topping
Crumb Cakes
Cream Cheese Icing
Servings
4-inch crumb cakes
Ingredients
Crumb Topping
Crumb Cakes
Cream Cheese Icing
Instructions
Crumb Topping
  1. In a medium bowl, whisk flour, sugar, brown sugar and salt together.
  2. Work in butter with your fingertips until the mixture looks like the consistency of wet sand. Press together to make chunks. Set aside in the refrigerator until ready to use.
Crumb Cakes
  1. Preheat oven to 350ºF (180ºC). Line a 6-serving shallow jumbo muffin pan* with jumbo muffin liners.** Jumbo muffin liners will fit by pressing them around the inside bottom edges.
  2. In a medium bowl, whisk together the flour, baking powder and salt.
  3. In a large bowl, cream the butter, sugar and lemon zest with an electric mixer on medium speed, until light and fluffy.
  4. Beat the egg, egg yolk and extracts into the butter mixture in 3 separate additions, making sure each addition is incorporated before adding the next.
  5. In a small bowl, whisk the milk and sour cream together.
  6. On low speed, mix the flour mixture into the batter in two additions alternating with half of the milk mixture after each addition. Beat just until combined.
  7. Transfer batter to the prepared baking pan, evenly distributing the batter and filling the cups about half full.
  8. In a medium bowl, toss the blueberries with 1 teaspoon of flour and place them into the cups on top of the batter, about 1 ounce (28g) in each. Top each one with crumb topping.
  9. Bake until a toothpick inserted into the center of the cakes comes out clean, about 25-30 minutes. Let cakes cool in the pan for 5 minutes, then transfer to a cooling rack to cool completely.
Cream Cheese Icing
  1. In a medium bowl, whisk together the cream cheese, melted butter, powdered sugar, salt and 1 tablespoon of lemon juice. Add additional lemon juice, a little at a time until the desired consistency is reached. Drizzle over the cooled cakes.
Recipe Notes

*To find the muffin pan I used, click here.

**To find jumbo muffin liners, click here. To find 4-inch cake pans, click here.

Blueberry Ripple Scones

Blueberry Ripple Scones

Once there was a blueberry scone. She was good and reliable. One day she felt bored and tired of her soggy blueberries. She thought about her friend, the other blueberry scone. The one with the dried blueberries. The shriveled up blueberries reminded her of raisin bran. “It’s time for a change,” she thought. So she grabbed her friend, and they headed over to Brownie Mischief for a makeover.

That’s how Blueberry Ripple Scones were born, at least in my imagination. These scones are the new and improved, elevated version of blueberry scones. They have a ribbon of sweet blueberry compote swirling through the tender vanilla dough, making them look beautiful and taste delicious. Although the blueberry compote is quick to make, it requires a little more effort than simply folding blueberries into the dough. But it’s definitely worth it. I like to make my compote the night before, then it’s ready to go when I make my scones in the morning.

Print Recipe
Blueberry Ripple Scones
Vanilla scones with ribbons of sweet blueberry compote and crunchy sugar topping
Course Breakfast, Brunch
Keyword blueberry, scones
Servings
scones
Ingredients
Scones
Blueberry Compote
Course Breakfast, Brunch
Keyword blueberry, scones
Servings
scones
Ingredients
Scones
Blueberry Compote
Instructions
Scones
  1. Line a large baking sheet with parchment paper.
  2. In a large bowl, whisk together the flour, sugar, baking powder and salt.
  3. Work the butter into the flour with your fingertips or with a pastry blender, until pea size pieces form.
  4. In a small bowl whisk together the heavy cream, sour cream and vanilla.
  5. Stir the cream mixture into flour mixture until a shaggy dough is formed.
  6. Turn the dough out onto a lightly floured surface. Pat the dough into an oval. Spoon dollops of blueberry compote onto the dough. Fold the dough over onto itself 3 times.
  7. Form the dough into a 1-inch thick round, about 6 1/2-inches in diameter. Cut the dough into 8 wedges.
  8. Place the scones 2 inches apart on the prepared baking sheet. Chill the scones in refrigerator for 20 minutes.
  9. Heat your oven to 375ºF. Brush the tops of scones with heavy cream. Sprinkle with coarse sugar.
  10. Bake until the edges look golden brown, about 18-22 minutes.
Blueberry Compote
  1. In a small saucepan over medium heat, cook the blueberries, sugar, cornstarch and lemon juice, stirring until the sugar is dissolved and the blueberries start to release their juices.
  2. Turn the heat down to low and simmer, stirring occasionally, until thick and jammy, about 3-4 minutes. Remove from heat and let cool completely. Cover and store in refrigerator until ready to use.
Recipe Notes

*To find coarse sugar, click here.

To find purple coarse sugar, click here.

Blueberry Nectarine Cobbler


Print Recipe


Blueberry Nectarine Cobbler

Servings


Ingredients

Servings


Ingredients


Instructions
  1. Preheat oven to 400ºF (200ºC). Grease a 2 quart baking dish.

  2. In a large bowl, toss the nectarines with the lemon juice. Add the vanilla, brown sugar, cornstarch and cinnamon and stir gently to combine. Fold in the blueberries.

  3. Transfer fruit mixture to the prepared baking dish. Bake for 10 minutes.

  4. In a medium bowl, whisk together the flour, baking powder and salt. Work the butter into the flour mixture with your fingertips or with a pastry blender until pea size pieces from.

  5. Stir in the sour cream and milk just until a shaggy dough forms.

  6. Remove the baking dish from the oven. Top the fruit with 2-tablespoon size portions of dough. Sprinkle the dough with coarse sugar.

  7. Return the baking dish to the oven and continue baking until the topping is deep golden brown, about 25 minutes. Let cool at least 15 minutes before serving, to allow the sauce to thicken.

Blueberry Earl Grey Tarts

Blueberry Earl Grey Tarts

These Blueberry Earl Grey Tarts have three individual components, which, when combined together, are absolutely delicious. I experimented with each separate component of this recipe until I perfected them individually. The tart crust is flaky and tender, yet sturdy enough to hold the filling. The filling is just sweet enough for my sweet tooth and the whipped cream has just enough Earl Grey flavor.

This recipe makes enough whipped cream to cover the entire tops of the tarts or you can be like me and try to be artistic and avant-garde with your whipped cream. To make the Earl Grey infused whipped cream, use your favorite Earl Grey tea, whether it’s loose leaf tea or a teabag. We don’t discriminate here. All forms of tea are welcome! I do have a favorite Earl Grey tea. If you want to check it out, click here. The tea will make your whipped cream a dull pale yellow. This issue is purely aesthetic. I added a tiny bit of violet gel food color which brightens the whipped cream. You can add more if you want a lavender shade.

Print Recipe
Blueberry Earl Grey Tarts
Course Dessert
Keyword blueberries, tarts
Servings
4-inch tarts
Ingredients
Tart Crust
Blueberry Filling
Earl Grey Whipped Cream
Course Dessert
Keyword blueberries, tarts
Servings
4-inch tarts
Ingredients
Tart Crust
Blueberry Filling
Earl Grey Whipped Cream
Instructions
Tart Crust
  1. In a large bowl, whisk together flour, powdered sugar and salt.
  2. Work in butter and egg yolk, with a pastry blender or with your fingers, until pea sized pieces are formed.
  3. Add ice water one tablespoon at a time until dough comes together.
  4. Form dough into a disk. Wrap in plastic wrap and chill in refrigerate for at least one hour or up to overnight.
  5. On a lightly floured surface, roll dough to scant 1/4-inch thickness.
  6. Cut dough into six 5-inch rounds. Press rounds into six 4-inch or 4 1/4-inch tart pans
  7. Dock the bottoms of tart crusts with a fork. Freeze for 30 minutes.
  8. Heat oven to 375ºF. Place tart pans on a large baking sheet.
  9. Line tart shells with 6-inch parchment rounds. Fill with pie weights. (You can use dried beans or rice if you don't have pie weights)
  10. Bake tart shells for 12 minutes. Remove parchment paper and pie weights. Continue baking until tart shells are light golden brown, about 4-6 more minutes.
Blueberry Filling
  1. Set aside 1 cup blueberries. Combine the remaining 3 cups blueberries, sugar, corn starch and lemon juice in a medium saucepan.
  2. Simmer over low heat, stirring occasionally, until blueberries are softened and sauce is thickened, about 5 minutes.
  3. Stir in the reserved 1 cup of blueberries during the last minute of cooking.
  4. Remove from heat and let cool completely.
Earl Grey Whipped Cream
  1. Combine heavy cream and tea leaves or tea bag in a small saucepan.
  2. Heat just until bubbles form around the edges.
  3. Transfer to a small bowl, cover with plastic wrap and let cool.
  4. Pass through a sieve to strain out tea leaves or remove tea bag.
  5. Cover surface with plastic wrap and place in refrigerator to chill.
  6. Transfer chilled cream to a large bowl. Whip with an electric mixer until thickened.
  7. Add powdered sugar and food color in separate additions and continue whipping at high speed just until stiff peaks form.