Creamy Lemon Tarts

Creamy Lemon Tarts

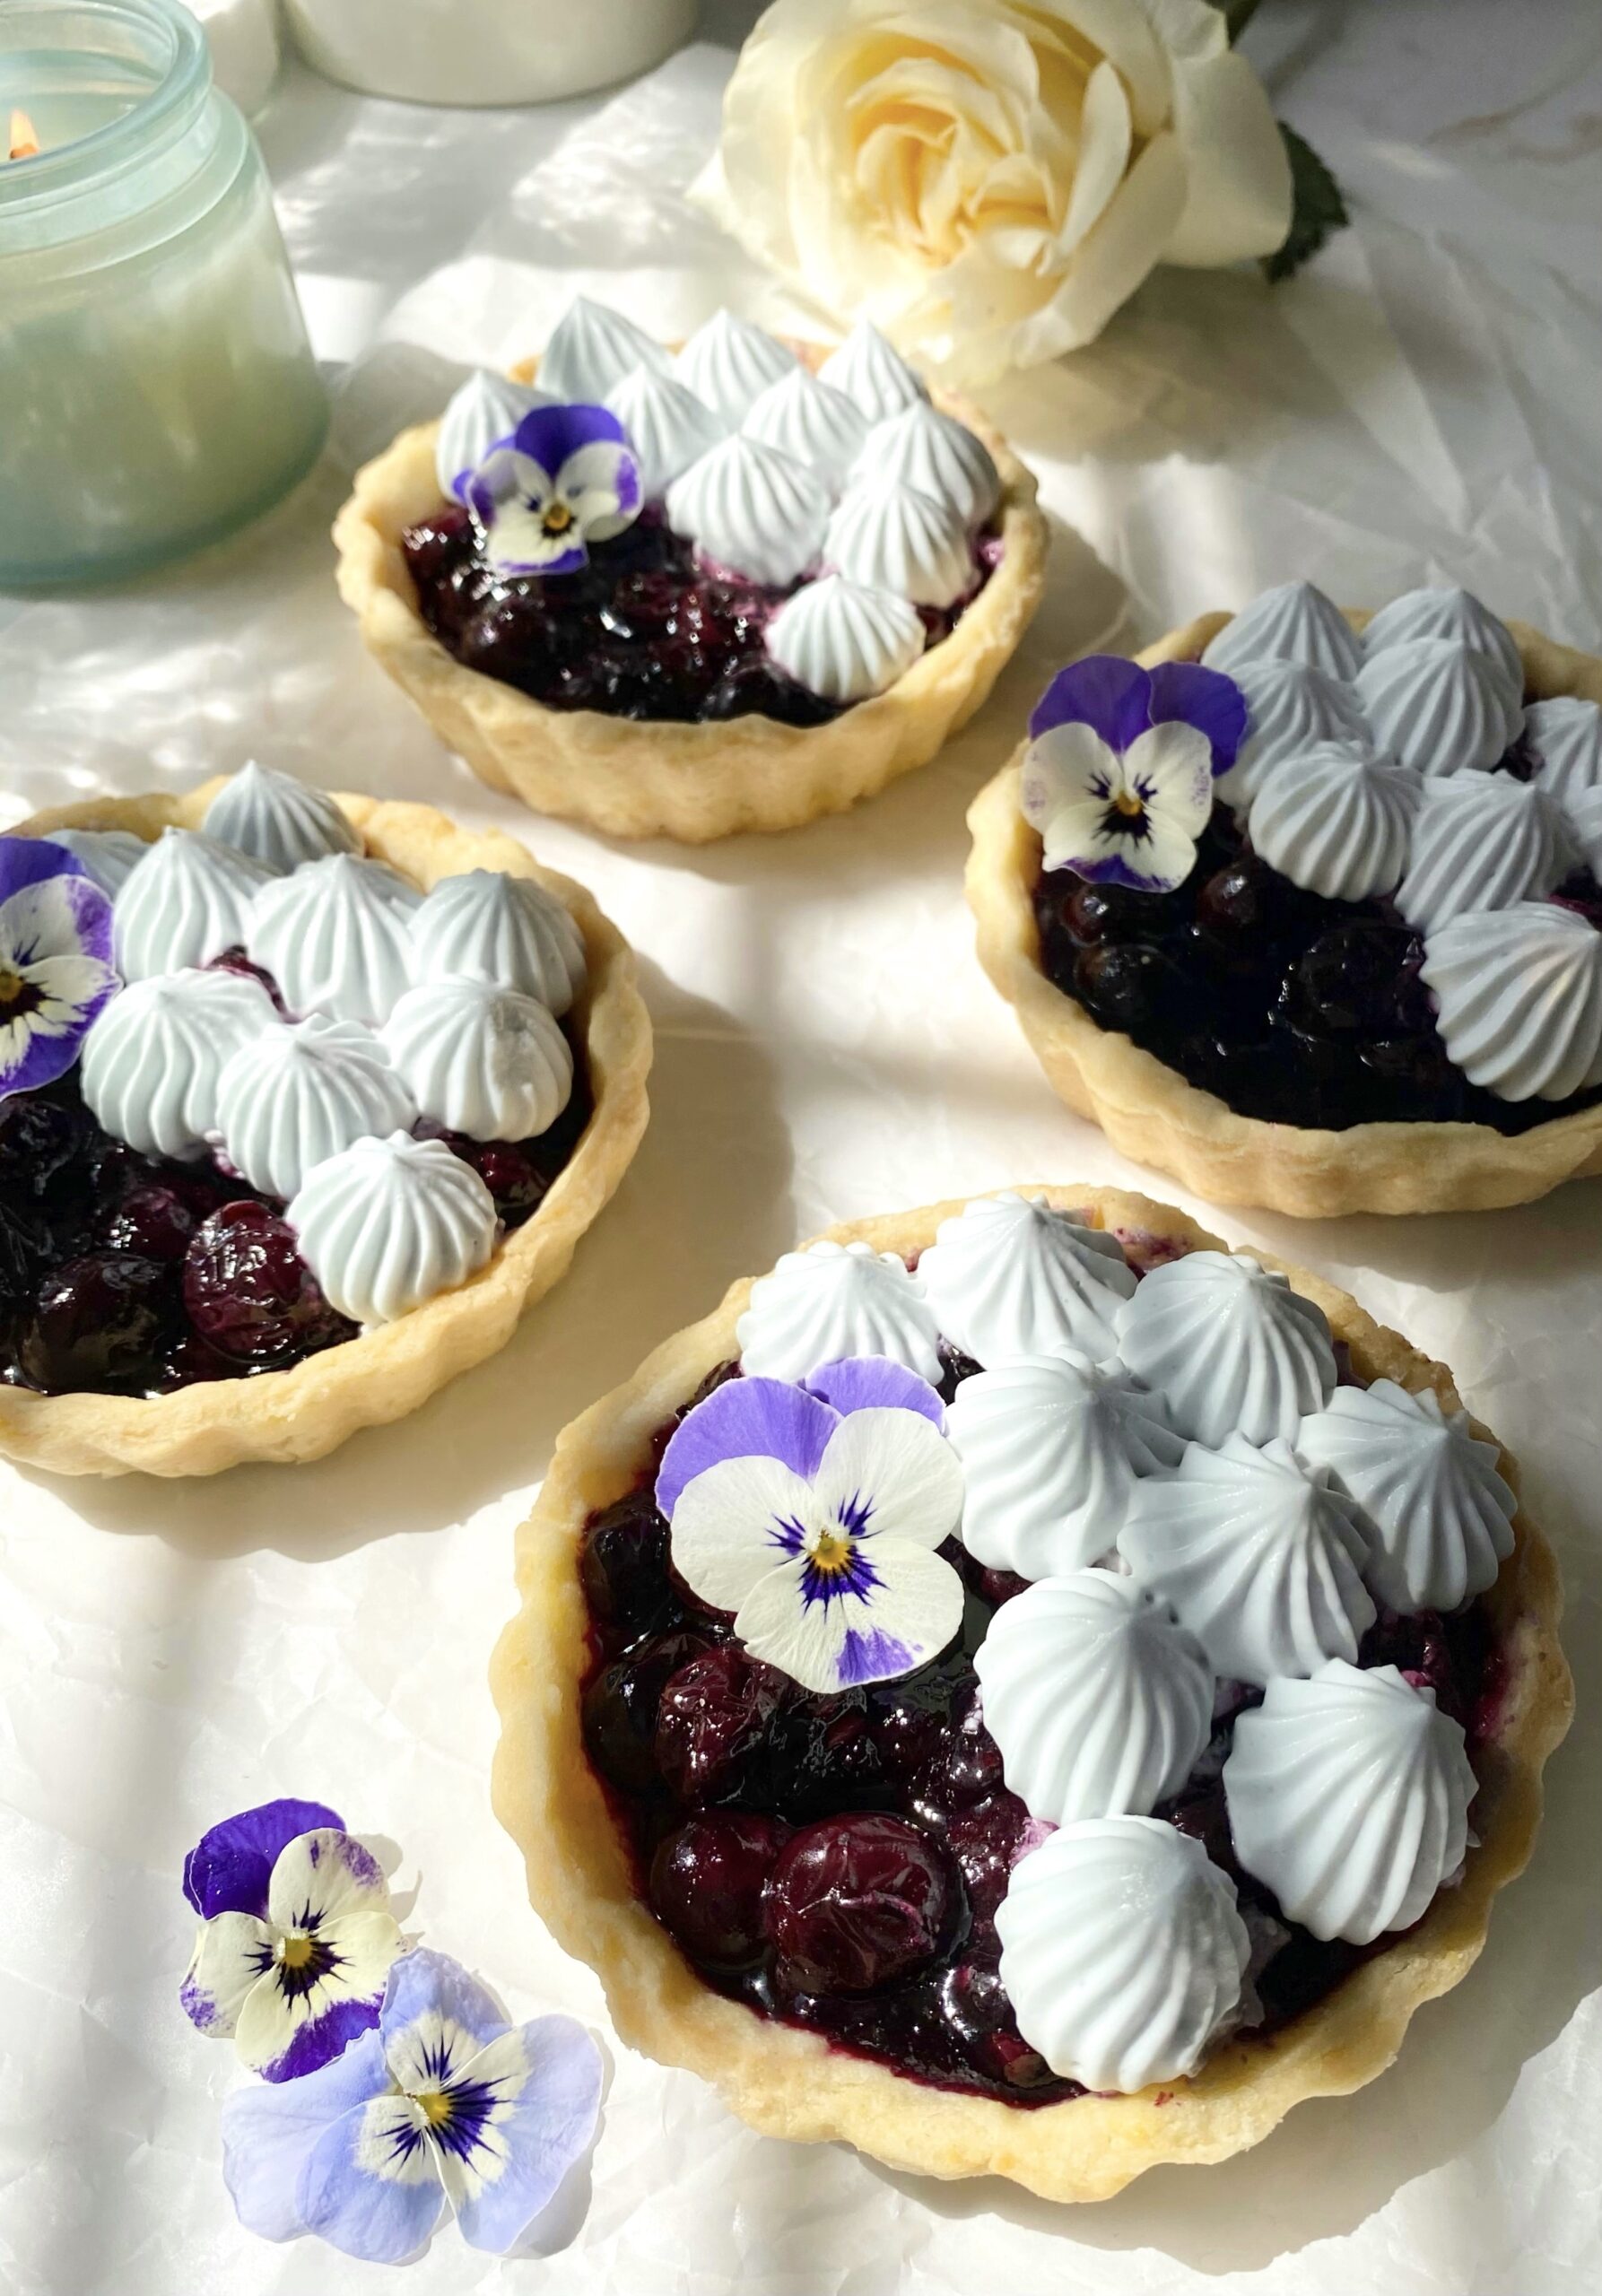
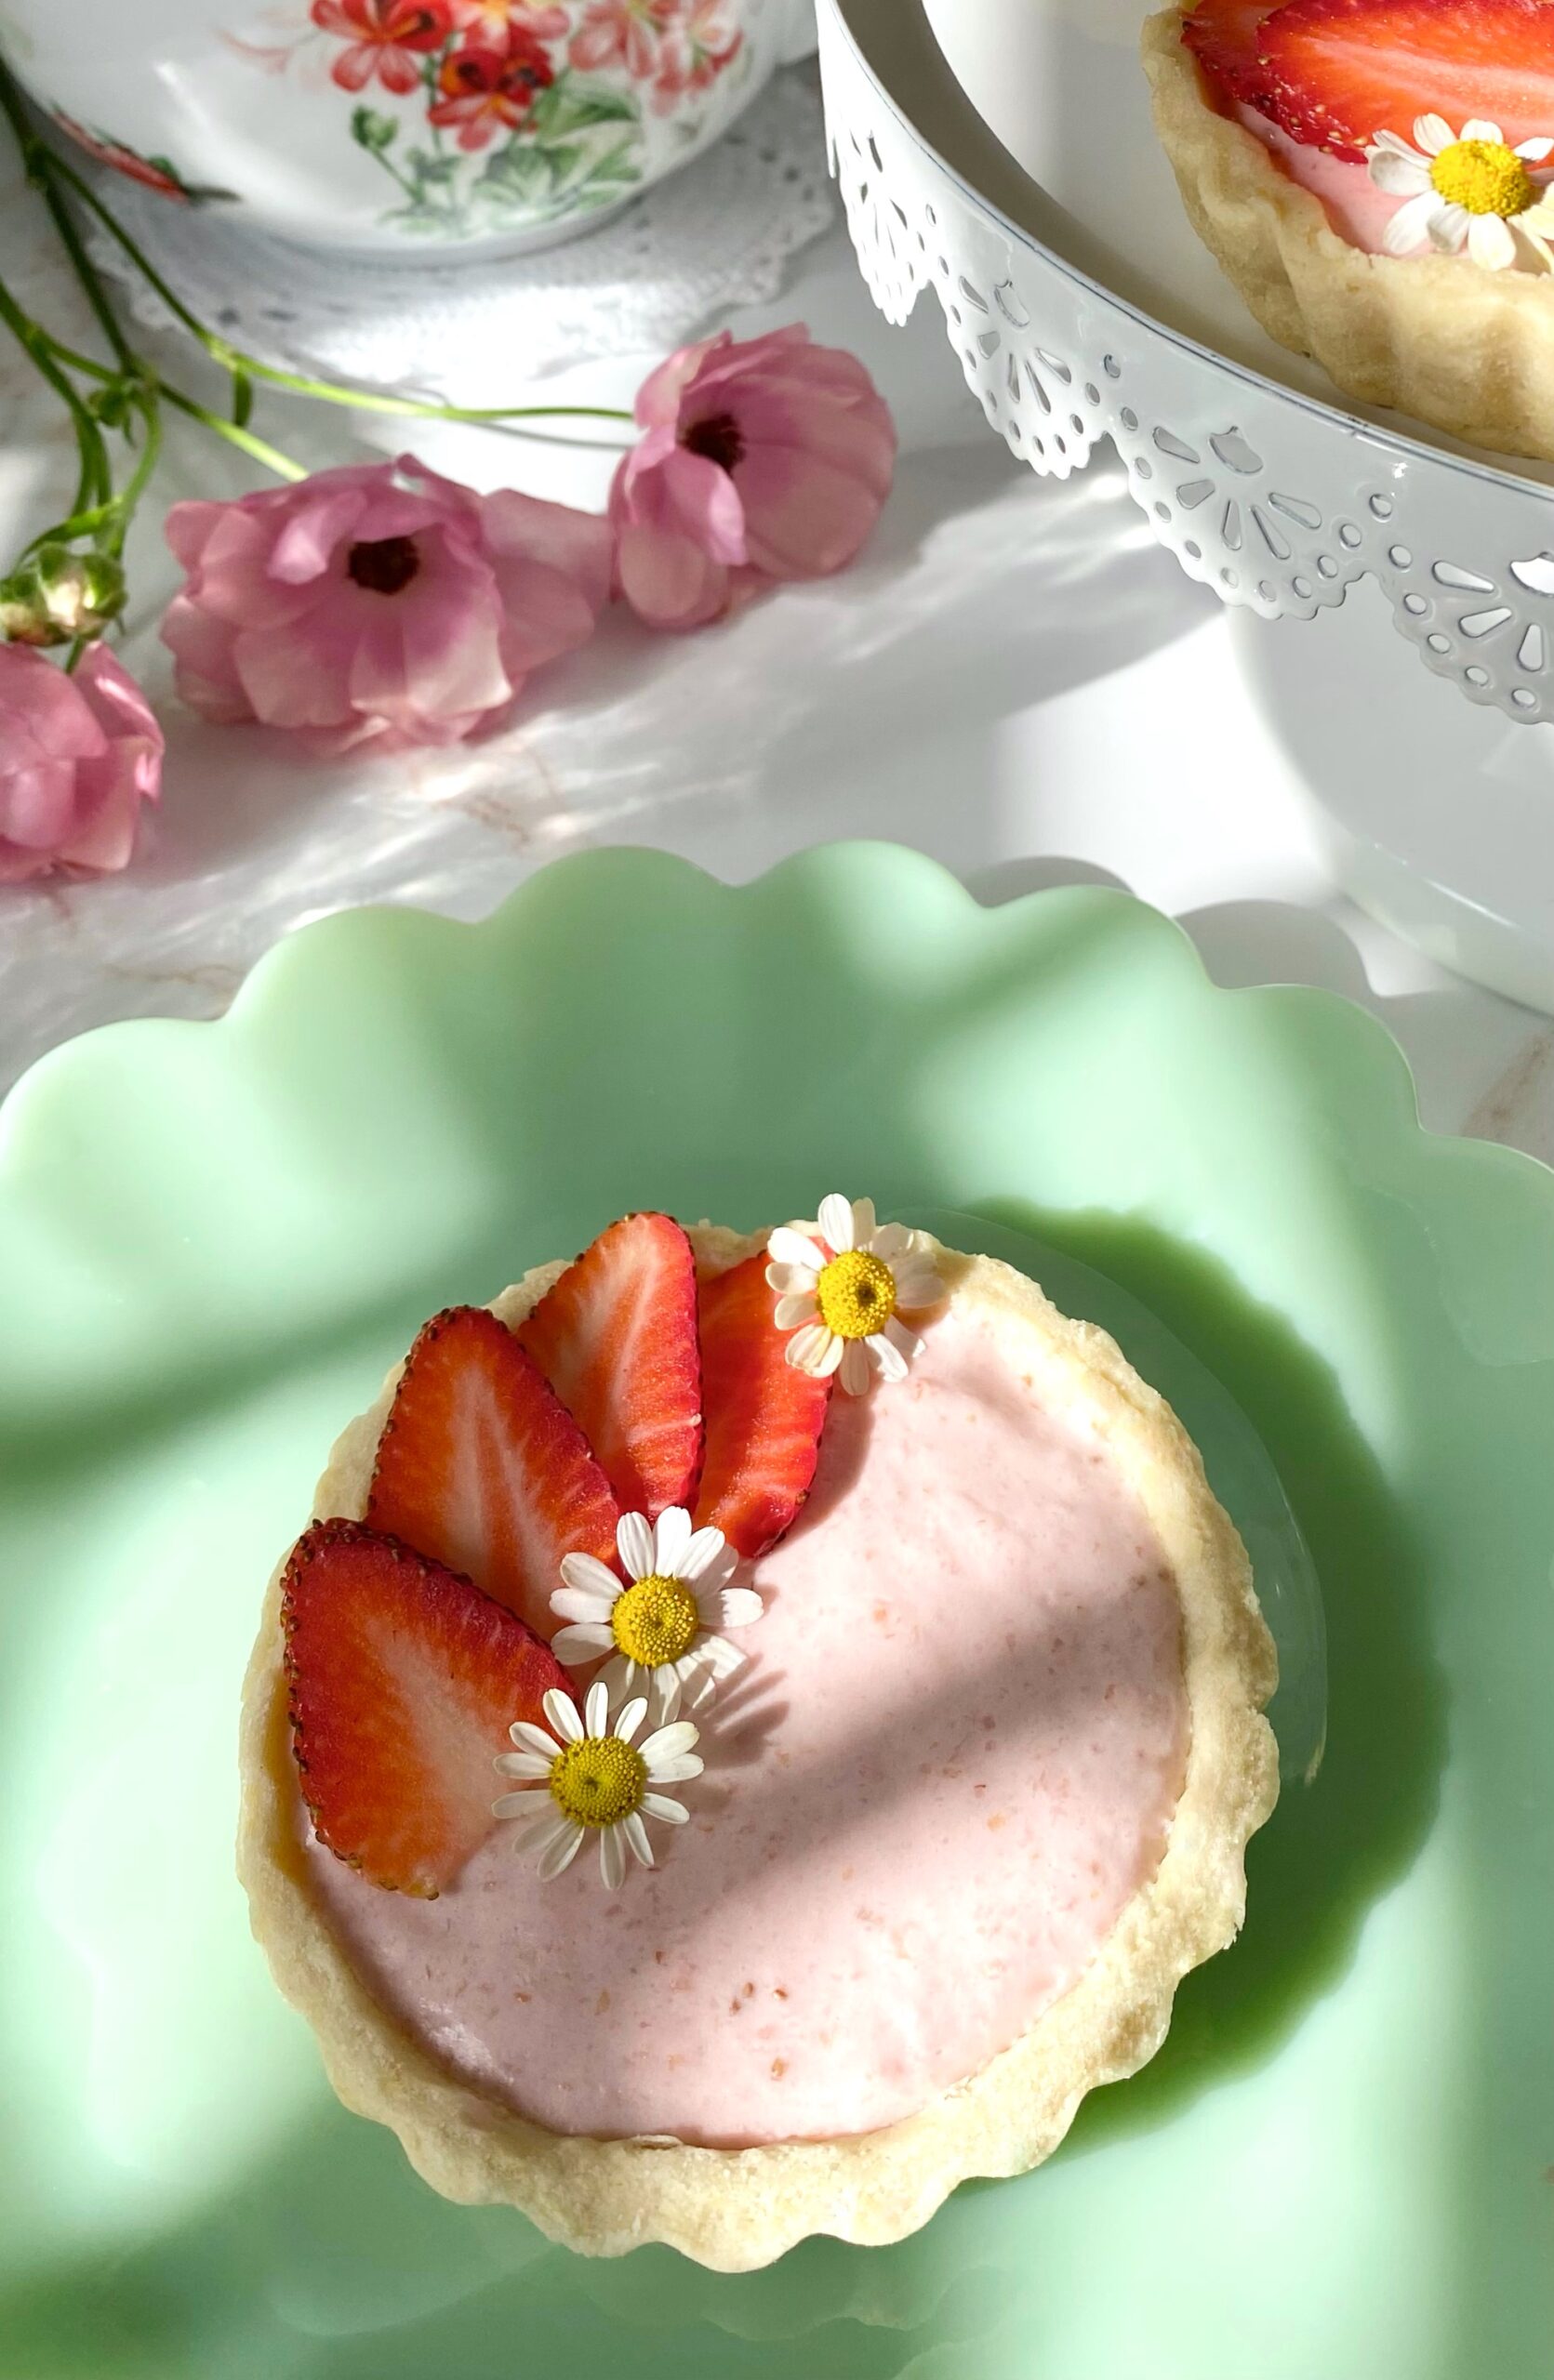
One of the reasons I love baking is because of the joy it brings. In this case it’s joy and sunshine. These vibrant, lemon tarts are pure sunshine. With only four ingredients, they’re so easy to make that you’ll be surprised at how silky and delicious they are.

Print Recipe
Creamy Lemon Tarts
Course Dessert
Keyword lemon, tarts
Servings
tarts
Ingredients
Course Dessert
Keyword lemon, tarts
Servings
tarts
Ingredients
Instructions
  1. Preheat oven to 350ºF. Place six 4-inch tart pans with removable bottoms* on a baking sheet.
  2. In a medium bowl, mix crushed cookies with melted butter until well combined.
  3. Press crumb mixture firmly into tart pans with the back of a spoon or the bottom of a small cup. It's important to press firmly, especially on the sides.
  4. Bake tart shells for 8 minutes. Let cool completely.
  5. In a medium bowl, stir mascarpone cheese with a spatula until smooth. Fold in lemon curd until well combined.
  6. Fill cooled tart shells with mascarpone mixture. Refrigerate tarts until set, about 2 hours.
  7. Carefully remove tarts from tart pans. Serve with a dollop of whipped cream if desired.
Recipe Notes

To find 4-inch tart pans, click here.

Blueberry Earl Grey Tarts

Blueberry Earl Grey Tarts

These Blueberry Earl Grey Tarts have three individual components, which, when combined together, are absolutely delicious. I experimented with each separate component of this recipe until I perfected them individually. The tart crust is flaky and tender, yet sturdy enough to hold the filling. The filling is just sweet enough for my sweet tooth and the whipped cream has just enough Earl Grey flavor.

This recipe makes enough whipped cream to cover the entire tops of the tarts or you can be like me and try to be artistic and avant-garde with your whipped cream. To make the Earl Grey infused whipped cream, use your favorite Earl Grey tea, whether it’s loose leaf tea or a teabag. We don’t discriminate here. All forms of tea are welcome! I do have a favorite Earl Grey tea. If you want to check it out, click here. The tea will make your whipped cream a dull pale yellow. This issue is purely aesthetic. I added a tiny bit of violet gel food color which brightens the whipped cream. You can add more if you want a lavender shade.

Print Recipe
Blueberry Earl Grey Tarts
Course Dessert
Keyword blueberries, tarts
Servings
4-inch tarts
Ingredients
Tart Crust
Blueberry Filling
Earl Grey Whipped Cream
Course Dessert
Keyword blueberries, tarts
Servings
4-inch tarts
Ingredients
Tart Crust
Blueberry Filling
Earl Grey Whipped Cream
Instructions
Tart Crust
  1. In a large bowl, whisk together flour, powdered sugar and salt.
  2. Work in butter and egg yolk, with a pastry blender or with your fingers, until pea sized pieces are formed.
  3. Add ice water one tablespoon at a time until dough comes together.
  4. Form dough into a disk. Wrap in plastic wrap and chill in refrigerate for at least one hour or up to overnight.
  5. On a lightly floured surface, roll dough to scant 1/4-inch thickness.
  6. Cut dough into six 5-inch rounds. Press rounds into six 4-inch or 4 1/4-inch tart pans
  7. Dock the bottoms of tart crusts with a fork. Freeze for 30 minutes.
  8. Heat oven to 375ºF. Place tart pans on a large baking sheet.
  9. Line tart shells with 6-inch parchment rounds. Fill with pie weights. (You can use dried beans or rice if you don't have pie weights)
  10. Bake tart shells for 12 minutes. Remove parchment paper and pie weights. Continue baking until tart shells are light golden brown, about 4-6 more minutes.
Blueberry Filling
  1. Set aside 1 cup blueberries. Combine the remaining 3 cups blueberries, sugar, corn starch and lemon juice in a medium saucepan.
  2. Simmer over low heat, stirring occasionally, until blueberries are softened and sauce is thickened, about 5 minutes.
  3. Stir in the reserved 1 cup of blueberries during the last minute of cooking.
  4. Remove from heat and let cool completely.
Earl Grey Whipped Cream
  1. Combine heavy cream and tea leaves or tea bag in a small saucepan.
  2. Heat just until bubbles form around the edges.
  3. Transfer to a small bowl, cover with plastic wrap and let cool.
  4. Pass through a sieve to strain out tea leaves or remove tea bag.
  5. Cover surface with plastic wrap and place in refrigerator to chill.
  6. Transfer chilled cream to a large bowl. Whip with an electric mixer until thickened.
  7. Add powdered sugar and food color in separate additions and continue whipping at high speed just until stiff peaks form.

Chocolate Peanut Butter Tarts

Does anyone else remember those old peanut butter cup commercials where two people on the street would collide and a chocolate bar would miraculously end up inside of a jar of peanut butter? Then the person carrying the open jar of peanut butter would say, “Hey you got chocolate in my peanut butter!” and they would suddenly discover it’s a delicious combination. The real question is, why was anyone walking around outside with an open jar of peanut butter? I miss those silly commercials.

If you love chocolate and peanut butter together, you’ll absolutely love these tarts. The creamy peanut butter filling and the silky chocolate ganache topping are perfect together. The chocolate cookie crust adds a nice crunch. I used heart shaped tart pans to make the tarts a little more special for Valentine’s Day. To find the tart pans I used, click here. You can also use round tart pans if you prefer.

To watch the Instagram video, click here.

Print Recipe
Chocolate Peanut Butter Tarts
Instructions
Crust
  1. Preheat oven to 350ºF. Place four 4-inch tart pans with removable bottoms* on a baking sheet.
  2. in a medium bowl, mix crushed sandwich cookies with melted butter until well combined. Press crumb mixture into tart pans.
  3. Bake for 8 minutes. Let cool completely.
Filling
  1. In a medium bowl, beat peanut butter and softened butter until smooth.
  2. Add remaining filling ingredients and beat until smooth and well combined.
  3. Fill cooled tart shells with filling. Refrigerate tarts until set, at least 2 hours.
Topping
  1. Place chopped chocolate in a small bowl.
  2. In a small saucepan, heat heavy cream over medium-low heat just until bubble form around the edges. Do not boil.
  3. Pour hot cream over chocolate. Let sit two minutes then stir until smooth.
  4. Spoon over peanut butter filling. Add toppings if desired. Refrigerate until chocolate is set. Carefully remove tarts from pans.
Recipe Notes

To find the tart pans I used, click here.

Strawberries & Cream Tarts

Strawberries & Cream Tarts

May is when I get to pull out all of my summery recipes. These pretty little Strawberries & Cream Tarts remind me of a summer day. The kind of day when you’re outside enjoying the sunshine and you’re craving a cool, refreshing dessert. This strawberry cream filling alone is so delicious that I could just eat the entire bowl with a spoon. But since I’m extra, I had to create an aesthetic dessert with it.

I used my favorite tart shells for this recipe, but this would also be delicious with those little pre-made graham cracker pie crusts if you want to take a shortcut. The reason I love this tart crust recipe so much though, is that it actually tastes delicious. Once, a few years ago, I purchased a beautiful, small fruit tart from a famous bakery. The fruit was vibrant and glistening and the pastry cream filling was sweet and silky. Now we need the sound of a mic drop, because the tart crust was hard and flavorless, like cardboard! Ever since then, I knew I would settle for nothing less than a delicious tart crust.

Print Recipe
Strawberries & Cream Tarts
Course Dessert
Keyword strawberry, tarts
Servings
4-inch tarts
Ingredients
Tart Crust
Strawberry Cream Filling
Course Dessert
Keyword strawberry, tarts
Servings
4-inch tarts
Ingredients
Tart Crust
Strawberry Cream Filling
Instructions
Tart Crust
  1. In a bowl, whisk together flour, powdered sugar and salt. Set aside.
  2. Work in butter and egg yolk with a pastry blender or with your fingers, until pea size pieces are formed.
  3. Add ice water, one tablespoon at a time, until dough comes together.
  4. Form dough into a disc. Wrap in plastic and refrigerate for one hour.
  5. On a lightly floured surface, roll dough to a scant 1/4-inch thickness
  6. Cut dough into six 5-inch rounds. Press rounds into six 4-inch or 4 1/4-inch tart pans.*
  7. Dock the bottoms of pie crusts with a fork. Freeze for 30 minutes.
  8. Heat oven to 375ºF. Place tart pans on a large baking sheet.
  9. Line tart shells with six 6-inch parchment rounds. Fill with pie weights. (You can use dried beans or rice if you don't have pie weights.)
  10. Bake tart shells for 12 minutes. Remove parchment paper and pie weights. Continue baking until tart shells are light golden brown, about 4-6 more minutes.
  11. Transfer to cooling rack to cool completely.
Strawberry Cream Filling
  1. Pass the strawberry purée through a mesh sieve to remove large seeds.
  2. In a medium saucepan, simmer the strawberry purée until it's reduced by half. Stir in the sugar and continue cooking over medium heat, until the sugar is dissolved. Transfer to a medium bowl.
  3. Meanwhile, place 3 tablespoons of water into a small bowl. Sprinkle gelatin powder over the top of water. Let sit until water is absorbed, about 5 minutes.
  4. Pour the gelatin mixture into the warm strawberry reduction mixture and stir until fully incorporated.
  5. In a large bowl, beat cream cheese on low speed with an electric mixer until smooth.
  6. Add extracts and beat until combined.
  7. Add the strawberry reduction mixture to the cream cheese a little at time. Beat until well combined.
  8. In a medium bowl, beat heavy whipping cream with an electric mixer at high speed until stiff peaks form.
  9. Fold whipped cream into strawberry mixture.
  10. Spoon into cooled tart shells. Smooth tops with a small offset spatula. Refrigerate for two hours. Garnish with sliced, fresh strawberries.
Recipe Notes

*To find the tart pans I used, click here.