Roasted Tomato Mac & Cheese

Print Recipe
Roasted Tomato Mac & Cheese
Cheesy, comforting mac and cheese with roasted tomatoes, bacon and fresh herbs. Serves two as a main dish or three as a side dish.
Course Dinner, Main Dish
Keyword mac & cheese, pasta
Servings
Servings
Ingredients
Course Dinner, Main Dish
Keyword mac & cheese, pasta
Servings
Servings
Ingredients
Instructions
  1. Preheat oven to 400ºF. Place tomatoes on a baking sheet. Gently toss with a drizzle of olive oil. Season with salt and pepper.
  2. Roast until tomatoes are blistered, about 15-25 minutes, depending on the size of your tomatoes.
  3. Turn oven down to 350ºF. Cook and drain pasta according to package directions.
  4. Set aside 1/4 cup of each of the cheeses for the top.
  5. In a small bowl, whisk milk and heavy cream together.
  6. In a 2-quart oven safe pot, melt butter over medium heat. Stir in flour and cook for 1 minute.
  7. Slowly whisk in milk and cream. Heat until thickened, whisking out any lumps. Season with salt and pepper to taste. (I used 1/2 teaspoon salt and 1/4 teaspoon pepper.)
  8. Remove from heat. Gradually stir in 3/4 cup each cheddar and Gruyere cheeses. Taste sauce and season with more salt or pepper if necessary.
  9. Fold in cooked pasta, roasted tomatoes, bacon, 1 teaspoon parsley and 1 teaspoon chives. Top with remaining cheese.
  10. Bake in top third of the oven, just until cheese is melted, about 7-10 minutes. Sprinkle with remaining parsley and chives.

Chocolate Peanut Butter Tarts

Does anyone else remember those old peanut butter cup commercials where two people on the street would collide and a chocolate bar would miraculously end up inside of a jar of peanut butter? Then the person carrying the open jar of peanut butter would say, “Hey you got chocolate in my peanut butter!” and they would suddenly discover it’s a delicious combination. The real question is, why was anyone walking around outside with an open jar of peanut butter? I miss those silly commercials.

If you love chocolate and peanut butter together, you’ll absolutely love these tarts. The creamy peanut butter filling and the silky chocolate ganache topping are perfect together. The chocolate cookie crust adds a nice crunch. I used heart shaped tart pans to make the tarts a little more special for Valentine’s Day. To find the tart pans I used, click here. You can also use round tart pans if you prefer.

To watch the Instagram video, click here.

Print Recipe
Chocolate Peanut Butter Tarts
Instructions
Crust
  1. Preheat oven to 350ºF. Place four 4-inch tart pans with removable bottoms* on a baking sheet.
  2. in a medium bowl, mix crushed sandwich cookies with melted butter until well combined. Press crumb mixture into tart pans.
  3. Bake for 8 minutes. Let cool completely.
Filling
  1. In a medium bowl, beat peanut butter and softened butter until smooth.
  2. Add remaining filling ingredients and beat until smooth and well combined.
  3. Fill cooled tart shells with filling. Refrigerate tarts until set, at least 2 hours.
Topping
  1. Place chopped chocolate in a small bowl.
  2. In a small saucepan, heat heavy cream over medium-low heat just until bubble form around the edges. Do not boil.
  3. Pour hot cream over chocolate. Let sit two minutes then stir until smooth.
  4. Spoon over peanut butter filling. Add toppings if desired. Refrigerate until chocolate is set. Carefully remove tarts from pans.
Recipe Notes

To find the tart pans I used, click here.

Pumpkin Spice Mini Loaves with Caramel Filling

pumpkin spices mini loaves with caramel filling

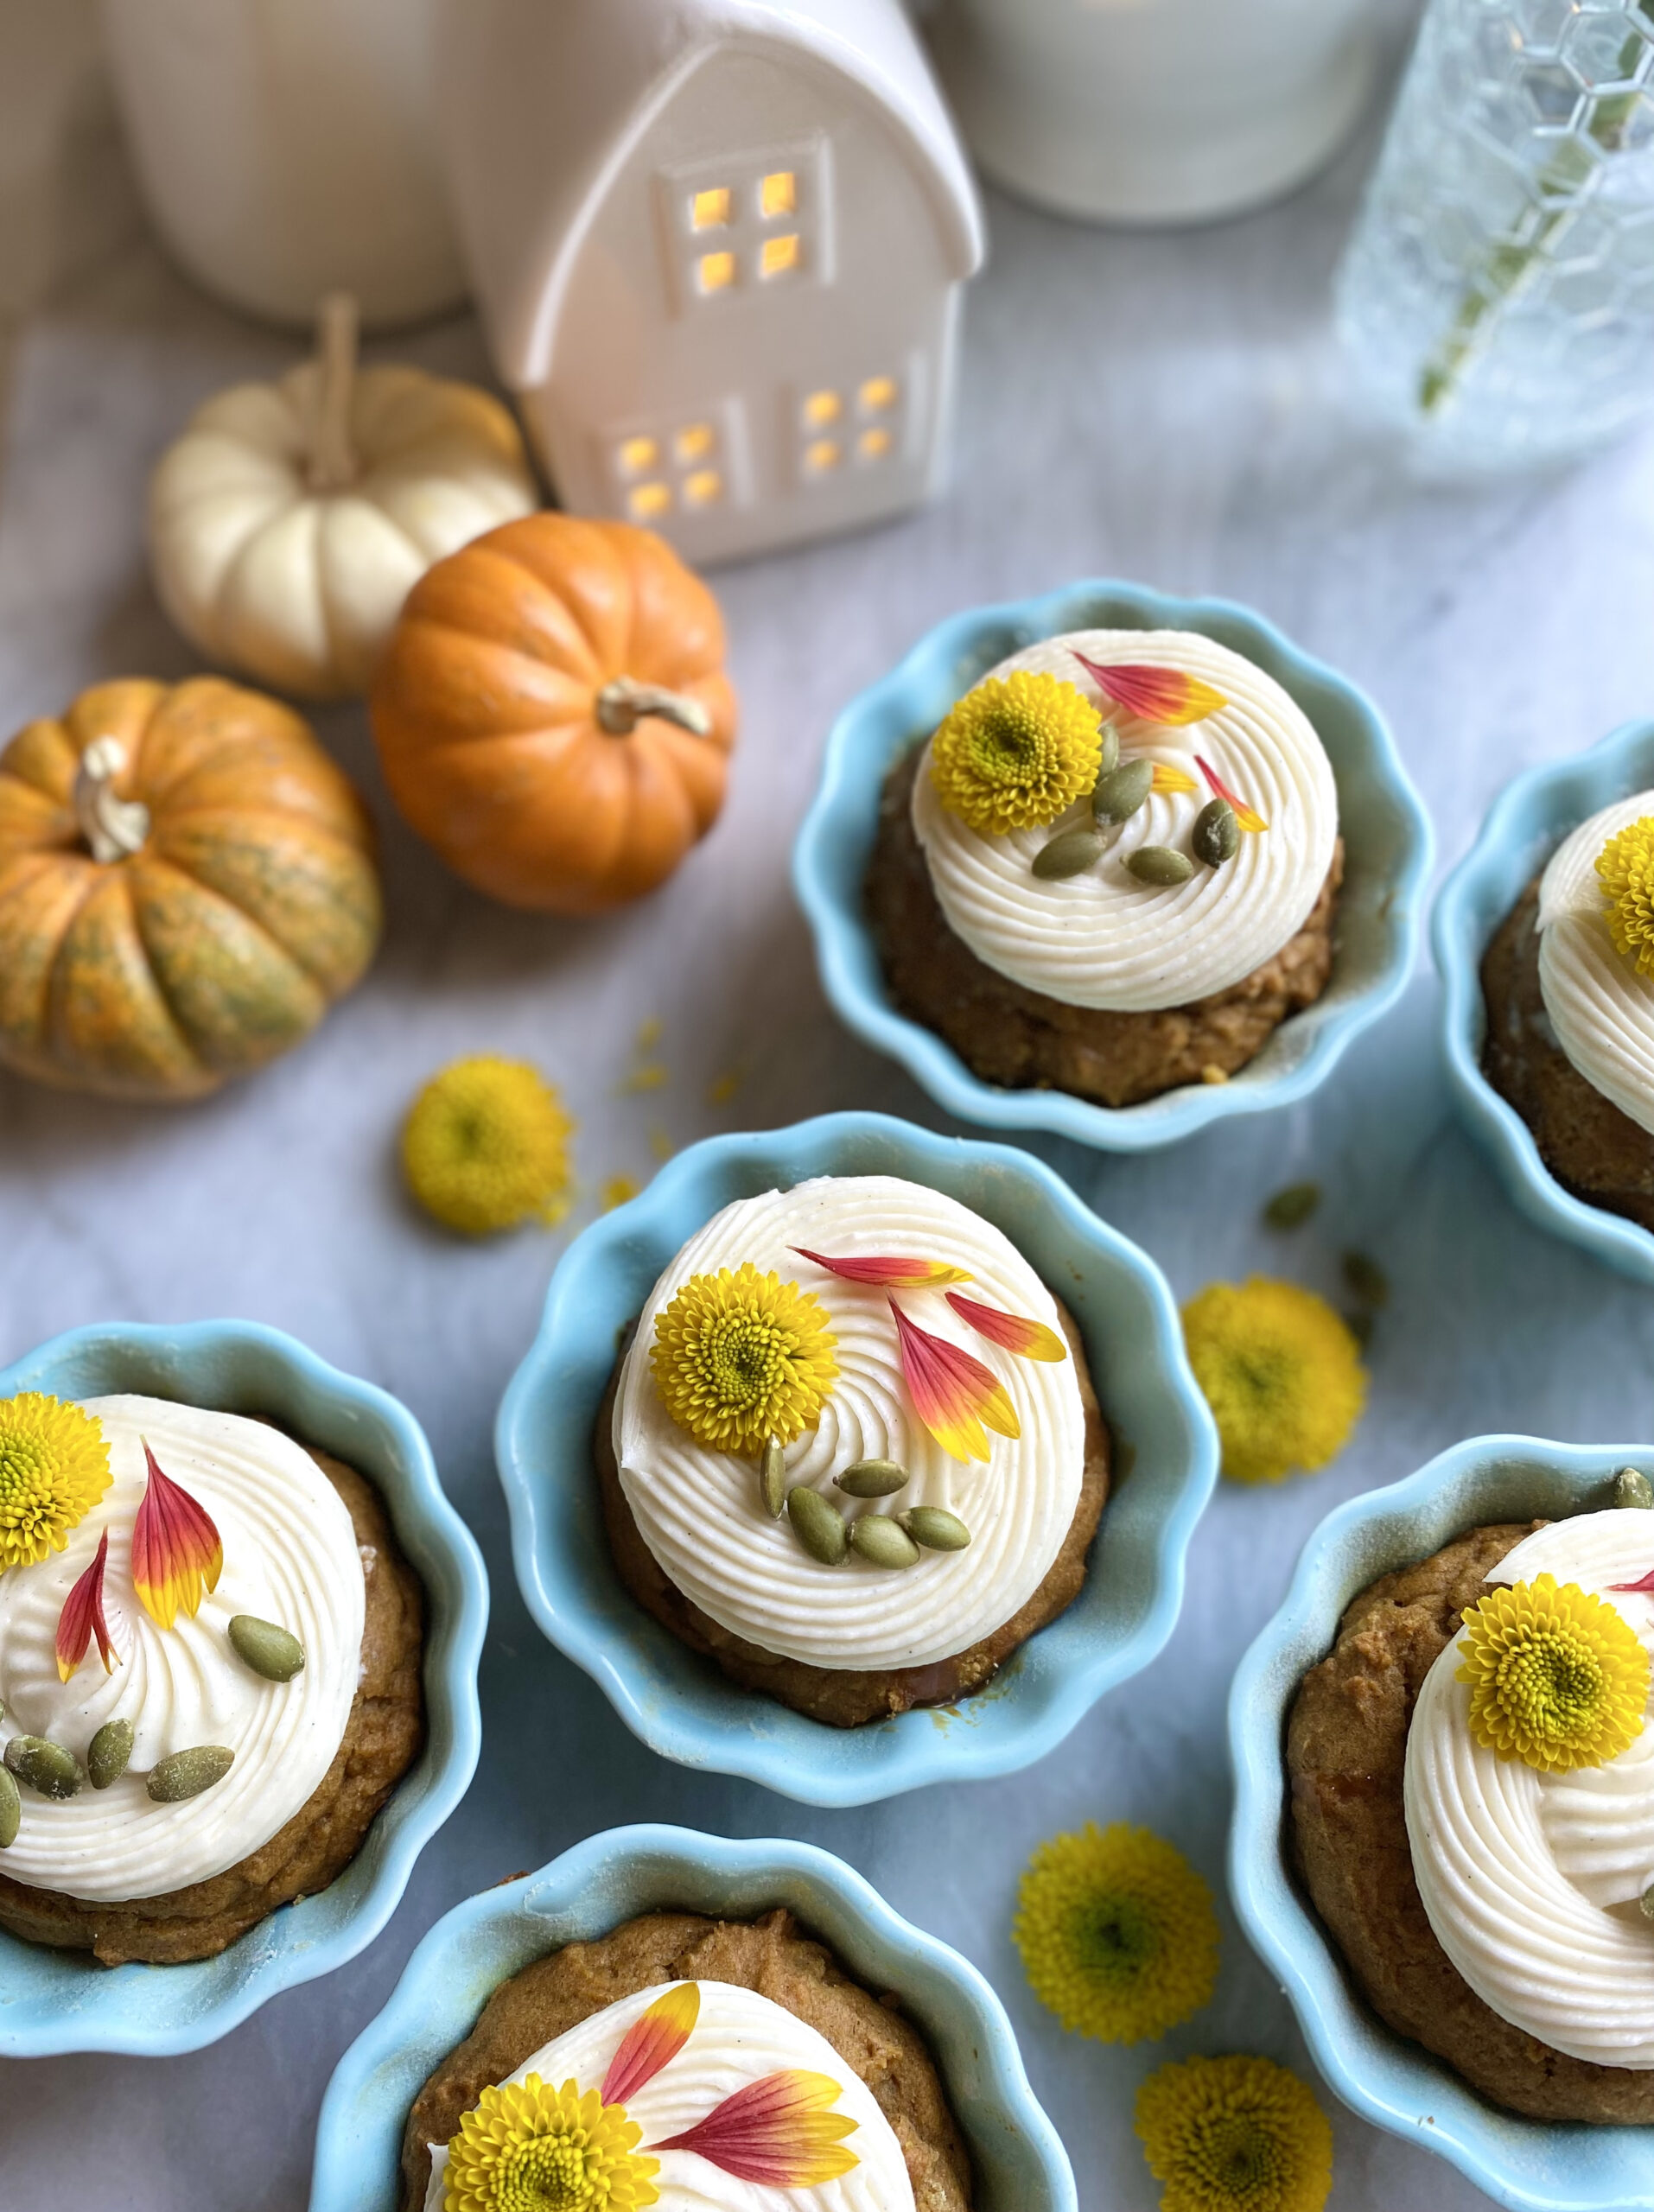
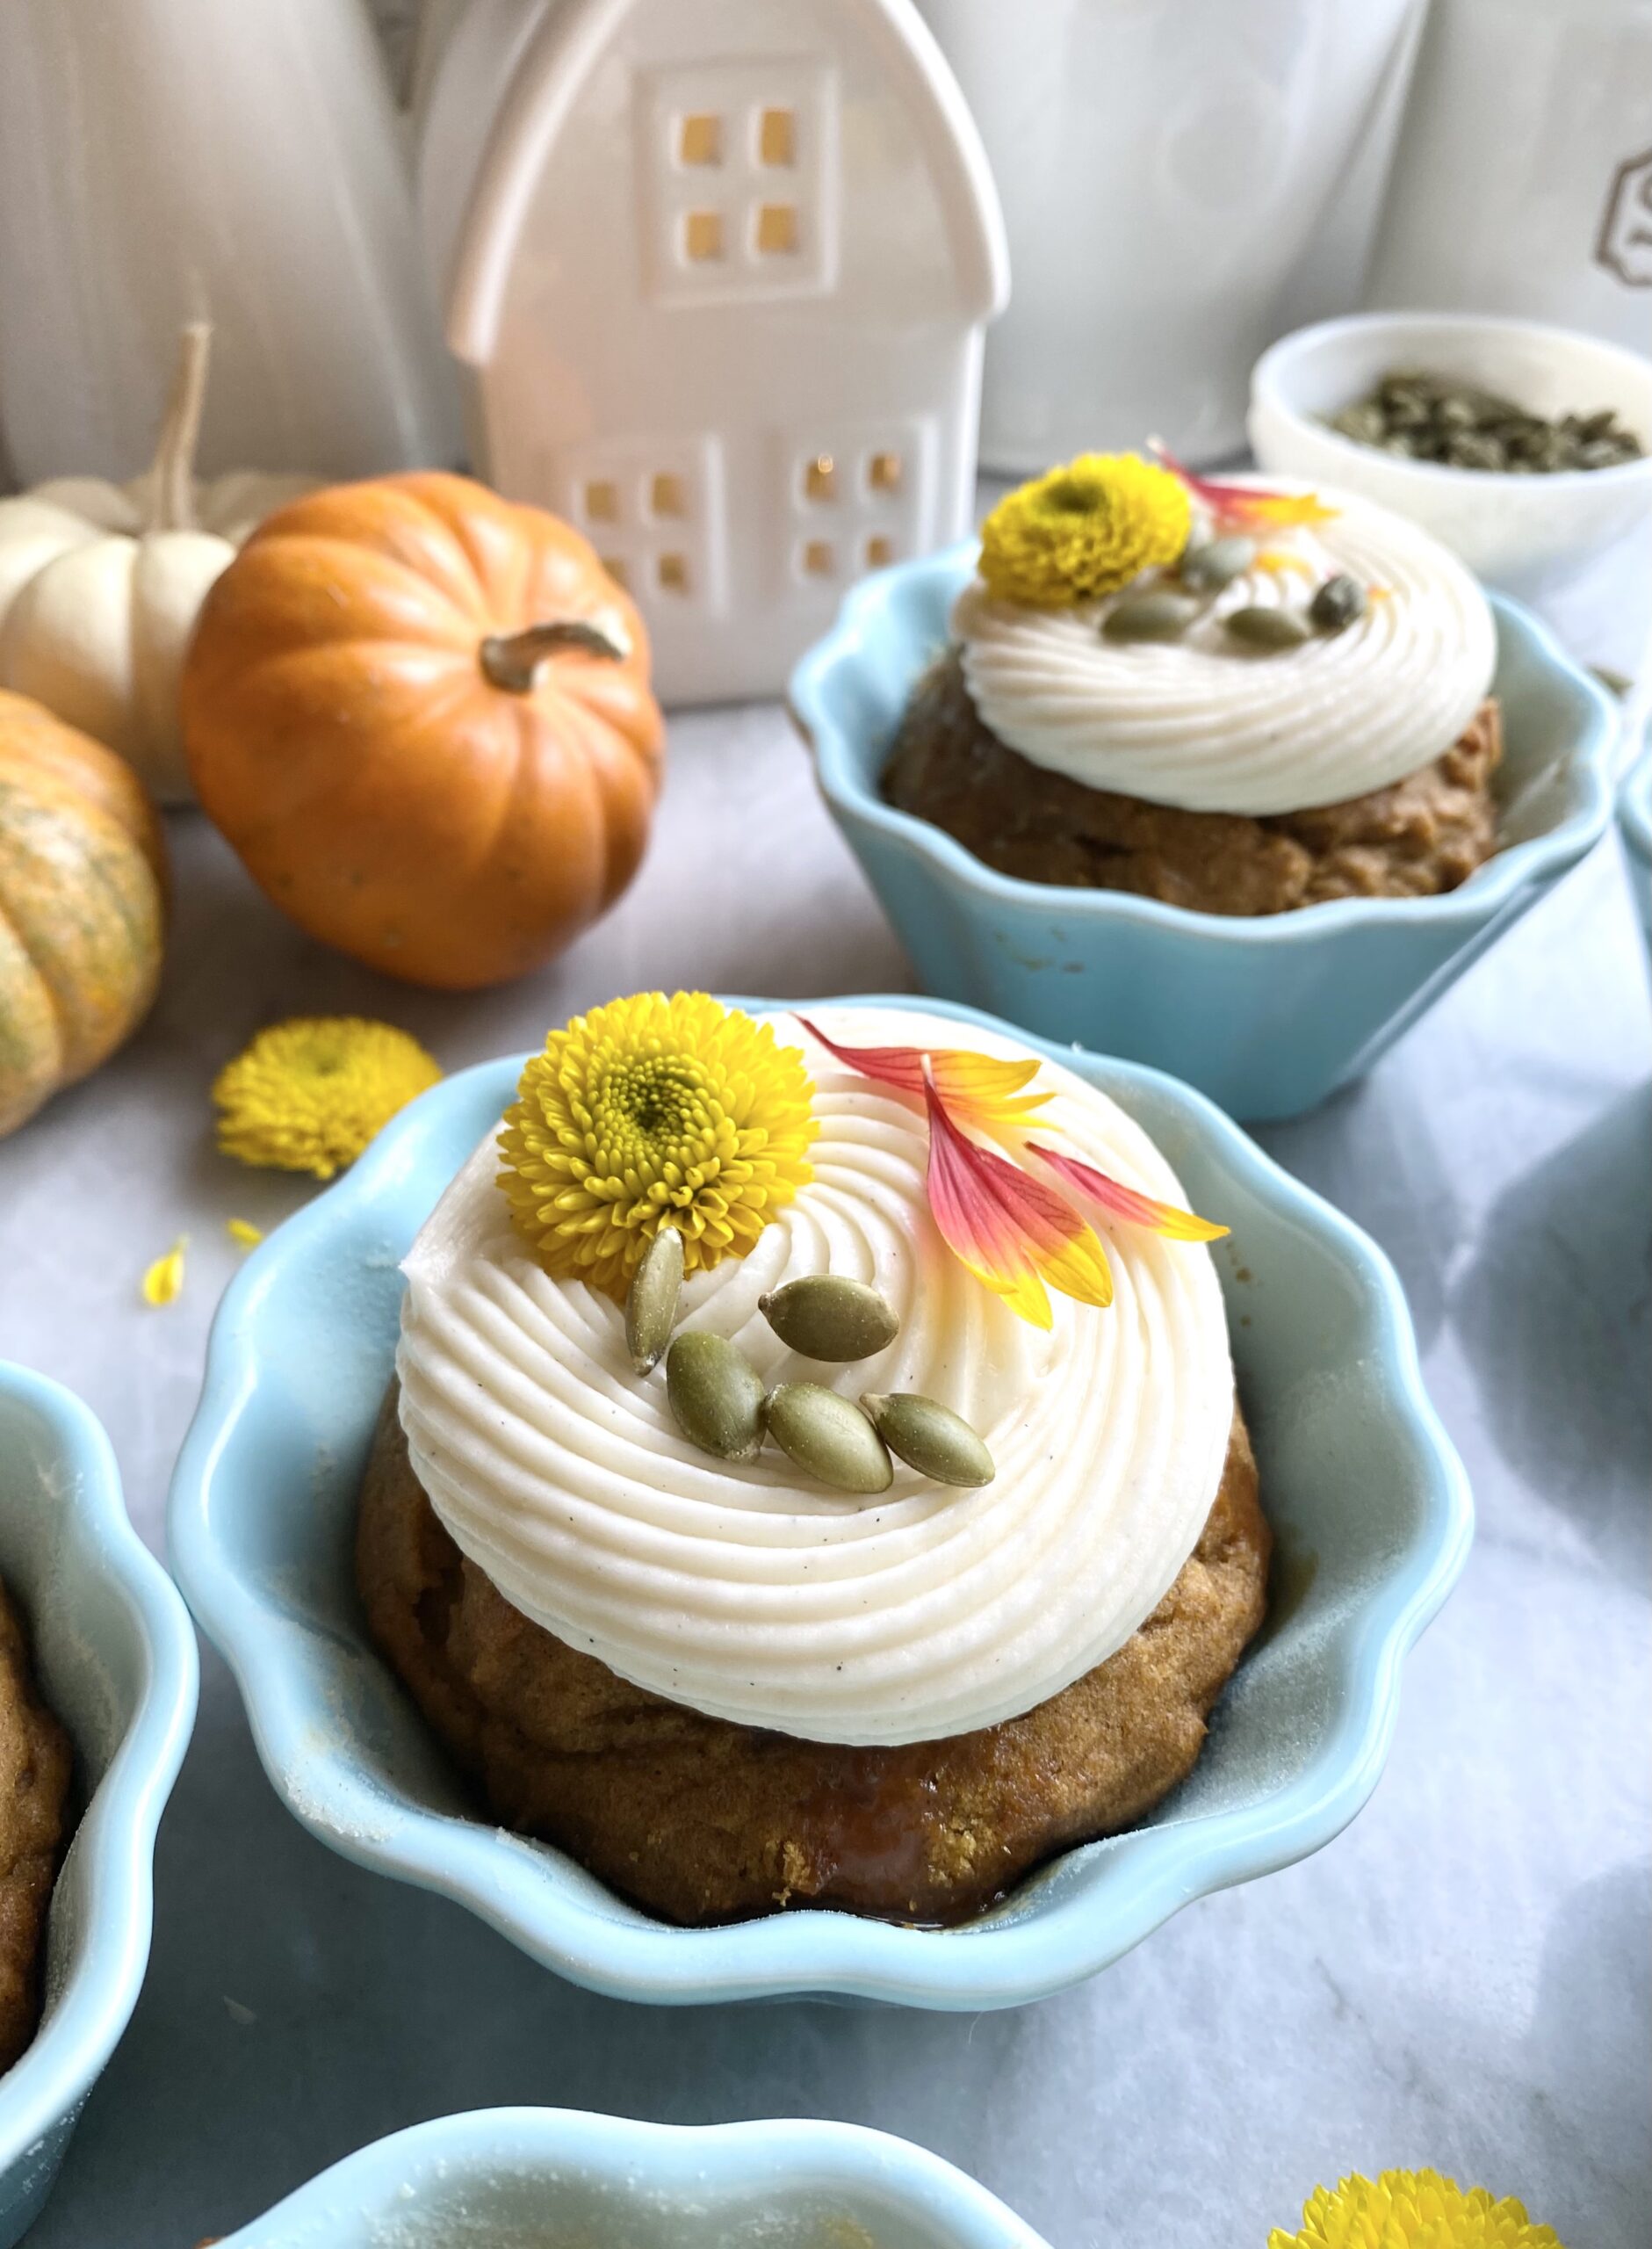
In early September, I saw someone announce the fall season on social media. In addition to people pointing out that it was too early for the announcement, the word police corrected the person with the word autumn. Since both terms are correct, we can call the season whatever we prefer. I think autumn is a pretty sounding word, so I’ll use it for the rest of this post. Whatever you call it, these Pumpkin Spice Mini Loaves are a perfect little celebration of the season. They have just the right amount of pumpkin spices, making them so fragrant that your kitchen will smell like cozy autumn heaven.

pumpkin spices mini loaves with caramel filling

I call them loaves because I originally made them in mini loaf pans. They’re so cute and delicious that I often give them as holiday gifts. This year I decided to try them in ramekins and I loved the results! I used 6-ounce ramekins, but you can use 8-ounce ramekins, any size mini loaf pans, a muffin pan or even an 8 or 9-inch loaf pan. Keep in mind that baking times will differ. To find the ramekins I used, click here.

Print Recipe
Pumpkin Spice Mini Loaves with Caramel Filling
Mini loaves of tender pumpkin bread with caramel filling and luscious cream cheese frosting
Servings
mini loaves
Ingredients
Pumpkin Spice Mini Loaves
Cream Cheese Frosting
Servings
mini loaves
Ingredients
Pumpkin Spice Mini Loaves
Cream Cheese Frosting
Instructions
Pumpkin Spice Mini Loaves
  1. Preheat oven to 350ºF. Grease and flour seven 6-ounce ramekins or six 8-ounce ramekins or any loaf pans of your choice.
  2. In a large bowl, sift together flour, cinnamon, baking powder, baking soda, salt, ginger, nutmeg and cloves. Set aside.
  3. In a separate large bowl, cream butter and brown sugar together with an electric mixer until light and fluffy.
  4. Beat in eggs, one at a time, until well combined.
  5. Beat in pumpkin and vanilla until combined.
  6. Stir in flour mixture just until combined.
  7. Divide batter evenly into prepared ramekins. Bake for 20-25 minutes or until golden brown and toothpick inserted in center comes out clean. Do not overbake. (Mini loaves or muffins bake for 15-25 minutes, depending on size. 8 or 9-inch loaf bakes for 40-50 minutes)
  8. Cool completely if serving in ramekins or remove from pans after cooling for 10 minutes. Continue to cool on wire rack.
  9. Make 3/4-inch well in the center of each loaf. Fill with caramel sauce. (For an 8 or 9-inch loaf, poke multiple holes with a skewer. Fill with caramel sauce.)
  10. Top with cream cheese frosting and pumpkin seeds
Cream Cheese Frosting
  1. In a large bowl, beat cream cheese and butter together with an electric mixer until smooth.
  2. Add vanilla extract and salt and beat until combined.
  3. Gradually add powdered sugar and beat at medium speed until combined.
  4. Add heavy cream and beat at low speed until combined.

Purple Berry Cake with Silky Cream Cheese Frosting

Purple Berry Cake with Silky Cream Cheese Frosting by Brownie Mischief

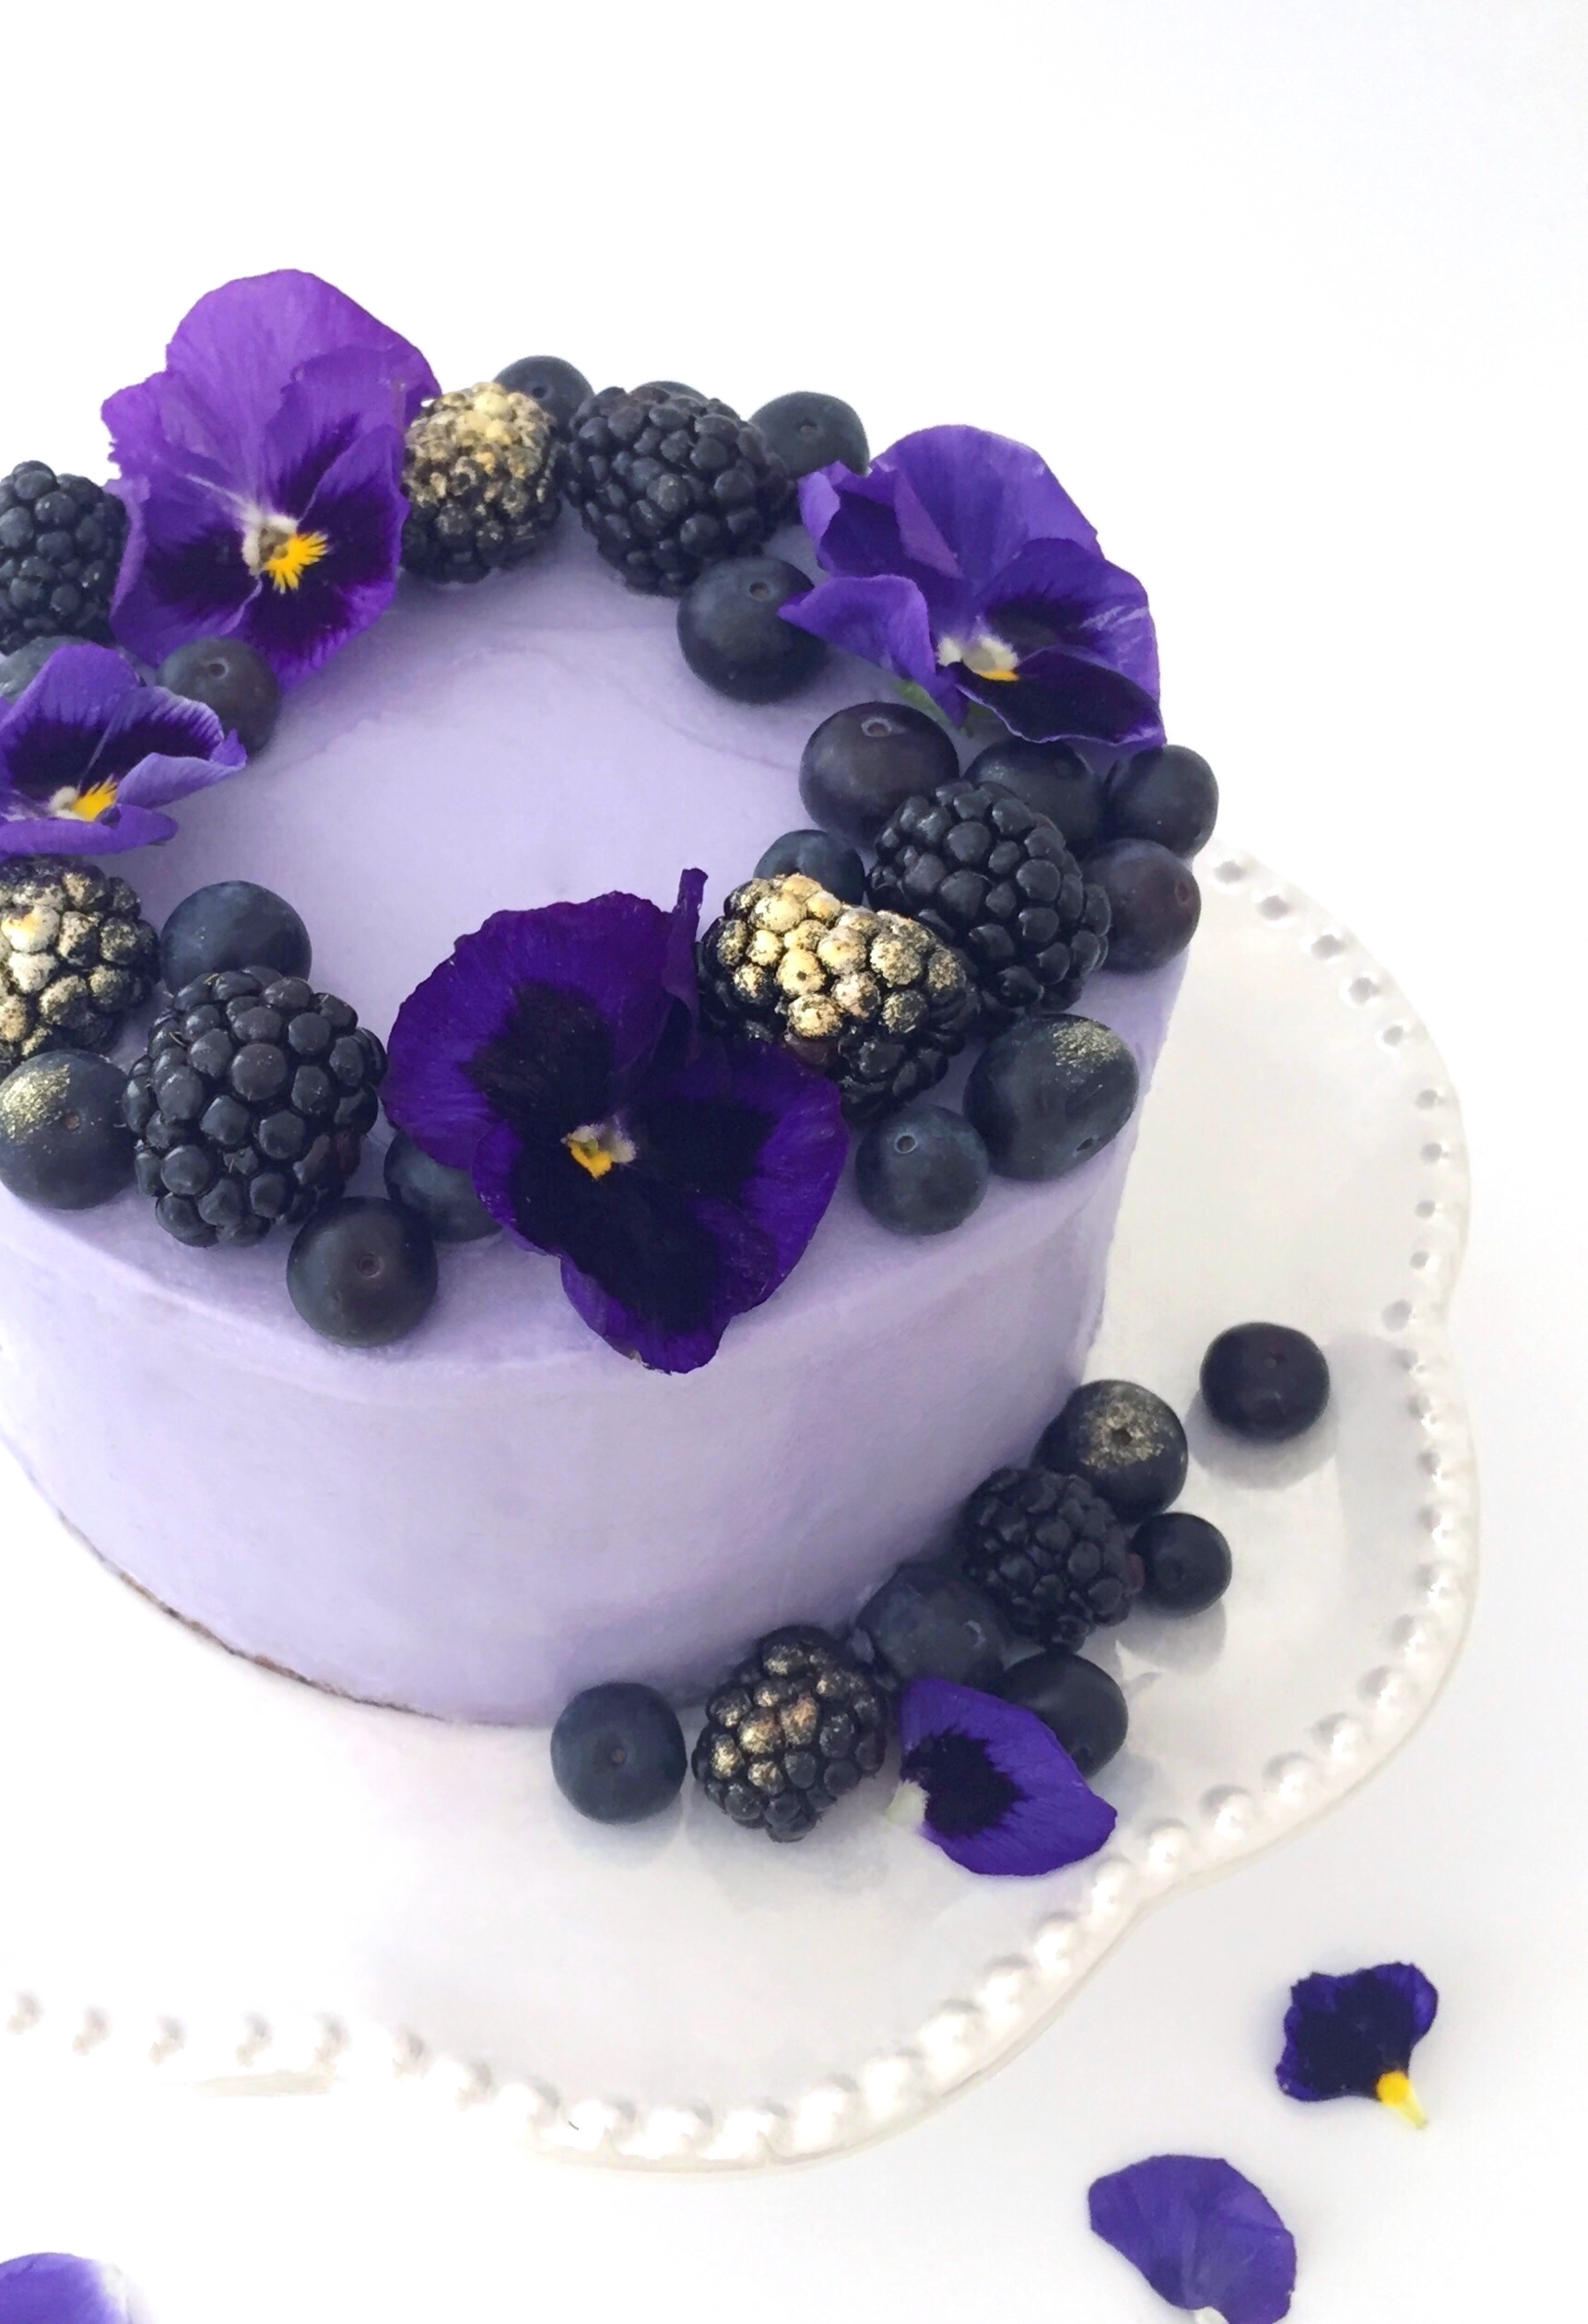
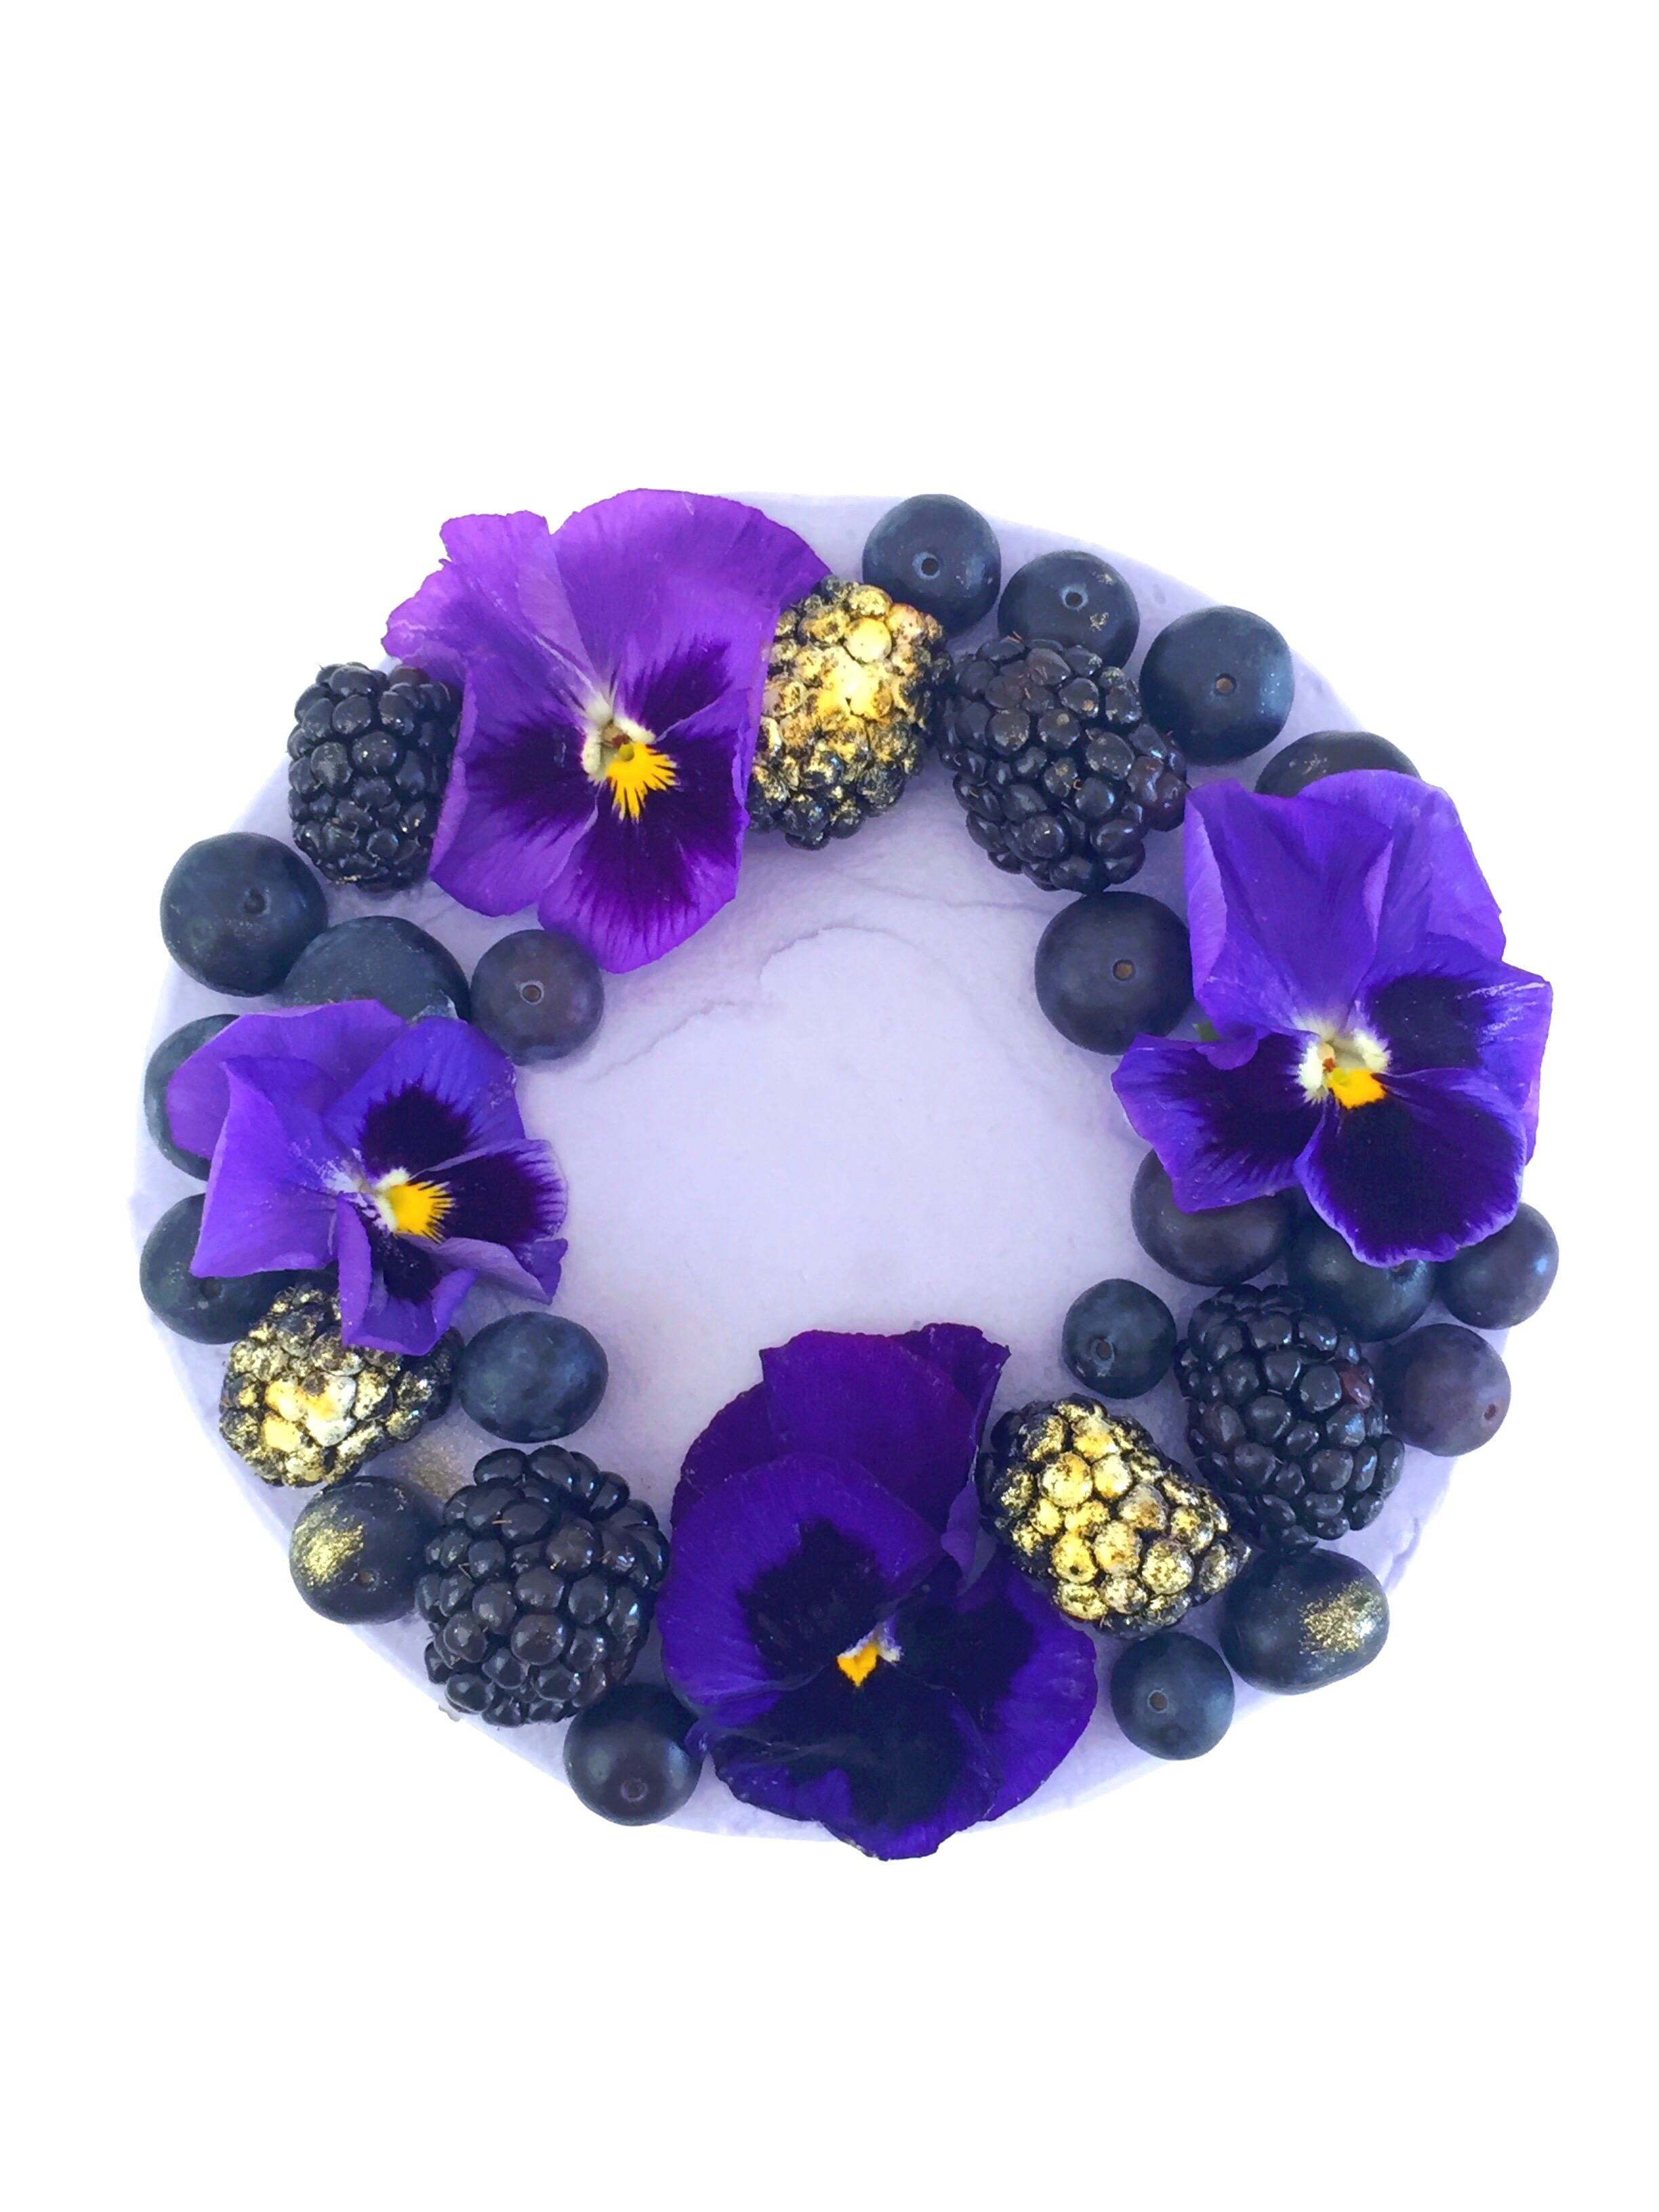
Purple is passionate. It’s mystical. It’s regal. Don’t we all know someone whose favorite color is purple? It’s painfully obvious. They can’t hide it. They don’t want to hide it. They can’t just be friends with purple. They’re in a relationship with purple. The first time I made this Purple Berry Cake, a purple lover I know said that when she saw it, it spoke to her soul. This cake is, what I like to call, a double-take cake. People stare. They can’t resist it’s charismatic charm. Once they stop staring and taste it, they fall hopelessly in love.

Purple Berry Cake with Silky Cream Cheese Frosting by Brownie Mischief

Fresh berry purée is added to the batter, creating a soft, moist cake. The layers are brushed with berry syrup, which helps keeps the cake moist and gives it a nice punch of berry flavor.  I used blackberries and blueberries, but you can use any combination of purple berries that you like. After baking, the color of the cake layers will be a brownish gray with a hint of purple, depending on your berries. I think I need to come up with name for this color. How about Silverberry? You can see tiny flecks of the berries in the cake and I think the color is lovely, especially with the lavender frosting. If you want a more purple cake, feel free to add some gel food color to the batter. I used Wilton Violet gel food color to achieve the pretty lavender cream cheese frosting. The extra butter and the addition of heavy cream makes this frosting silky and spreadable.

Purple Berry Cake with Silky Cream Cheese Icing by Brownie Mishchief

I’m obsessed with edible flowers lately, so I garnish my baked goods with them whenever I can get my hands on some. I found these pansies in the produce department of my local food market. If you can’t find pansies, pesticide free violets or rose petals would also be pretty. Make sure to apply them to your cake right before serving, since they are delicate and will wilt over time. Brush some of your berries with a little dab of edible gold luster dust for an extra regal touch.


Print Recipe


Purple Berry Cake with Silky Cream Cheese Frosting

Course Dessert

Servings
6-inch cake (serves 6)


Ingredients
Purple Berry Cake

Silky Cream Cheese Frosting

Finishing Touches

Course Dessert

Servings
6-inch cake (serves 6)


Ingredients
Purple Berry Cake

Silky Cream Cheese Frosting

Finishing Touches


Instructions
Purple Berry Cake
  1. Preheat oven to 350º F. Spray two 6-inch cake pans with non-stick cooking spray and line with parchment paper circles.

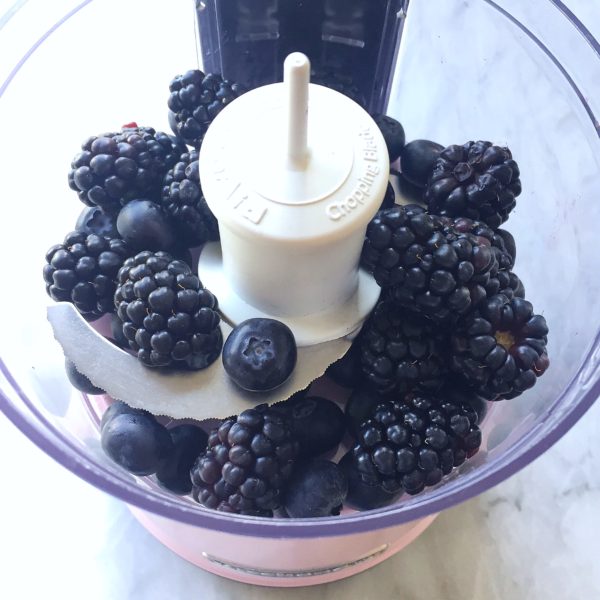
  2. Purée the berries in a blender or small food processor.
    Puree fresh berries.

  3. Strain puréed berries through a sieve. Reserve 2/3 cup berry puree. Set aside remaining puree for syrup.

  4. In a medium bowl, sift together flour, baking powder, baking soda, and salt. Set aside.

  5. In a large bowl, beat 1 1/4 cups (8.75 ounces) sugar, oil, eggs and vanilla extract with an electric mixer on medium speed, until light and fluffy, about 1 minute.

  6. Add flour in two additions, alternating with buttermilk, beating at medium speed just until combined.

  7. Stir in the reserved 2/3 cup berry purée.

  8. Pour batter evenly into the prepared cake pans. Bake until a toothpick inserted into center of cakes comes out clean, about 30-35 minutes.

  9. Cool cakes in pans for 10 minutes. Remove cakes from pans and continue cooling on wire racks.

  10. Meanwhile, make berry syrup. In a small saucepan, heat the remaining berry purée, remaining 1/4 cup sugar (1.75 ounces) and 1/4 cup water over medium-low heat. Stir together and bring to a boil. Cook until sugar is dissolved. Set aside to cool.

  11. Split each cake layer into two and brush with berry syrup. Fill and frost cake with Silky Cream Cheese Frosting.

Silky Cream Cheese Frosting
  1. In a large bowl, beat butter and cream cheese with an electric mixer at medium speed, until smooth.

  2. Add vanilla extract and salt and beat until combined.

  3. Gradually add powdered sugar and beat at medium speed until combined.

  4. Add heavy cream and beat at low speed until smooth and creamy.

  5. Add gel food color with a toothpick, a little at a time, until desired shade is reached. Beat at low speed until well blended.

Finishing Touches
  1. Garnish top of cake with fresh berries. Brush a few of the berries with edible gold luster dust. Garnish with fresh flowers immediately before serving.