We’ve all heard our parents telling their childhood stories of walking miles to school and suffering worse hardships than we ever had to. My mom used to tell me stories like that, but she had a sense of humor, so her stories were always fun to listen to. She used to tell me about her friend’s mother, who would make big, delicious oatmeal cookies. My mom would trade her baloney sandwich nearly every day to get one of those cookies from her friend. She reminisced about those cookies so much, that I set out to make her some when I learned to bake. She and my grandmother would taste test batch after batch of my cookies over the years. I have probably baked enough oatmeal cookies to circle the earth. Okay that’s an exaggeration, but seriously I have baked quite a few. Of all the oatmeal cookies I’ve baked, these are one of my favorites!
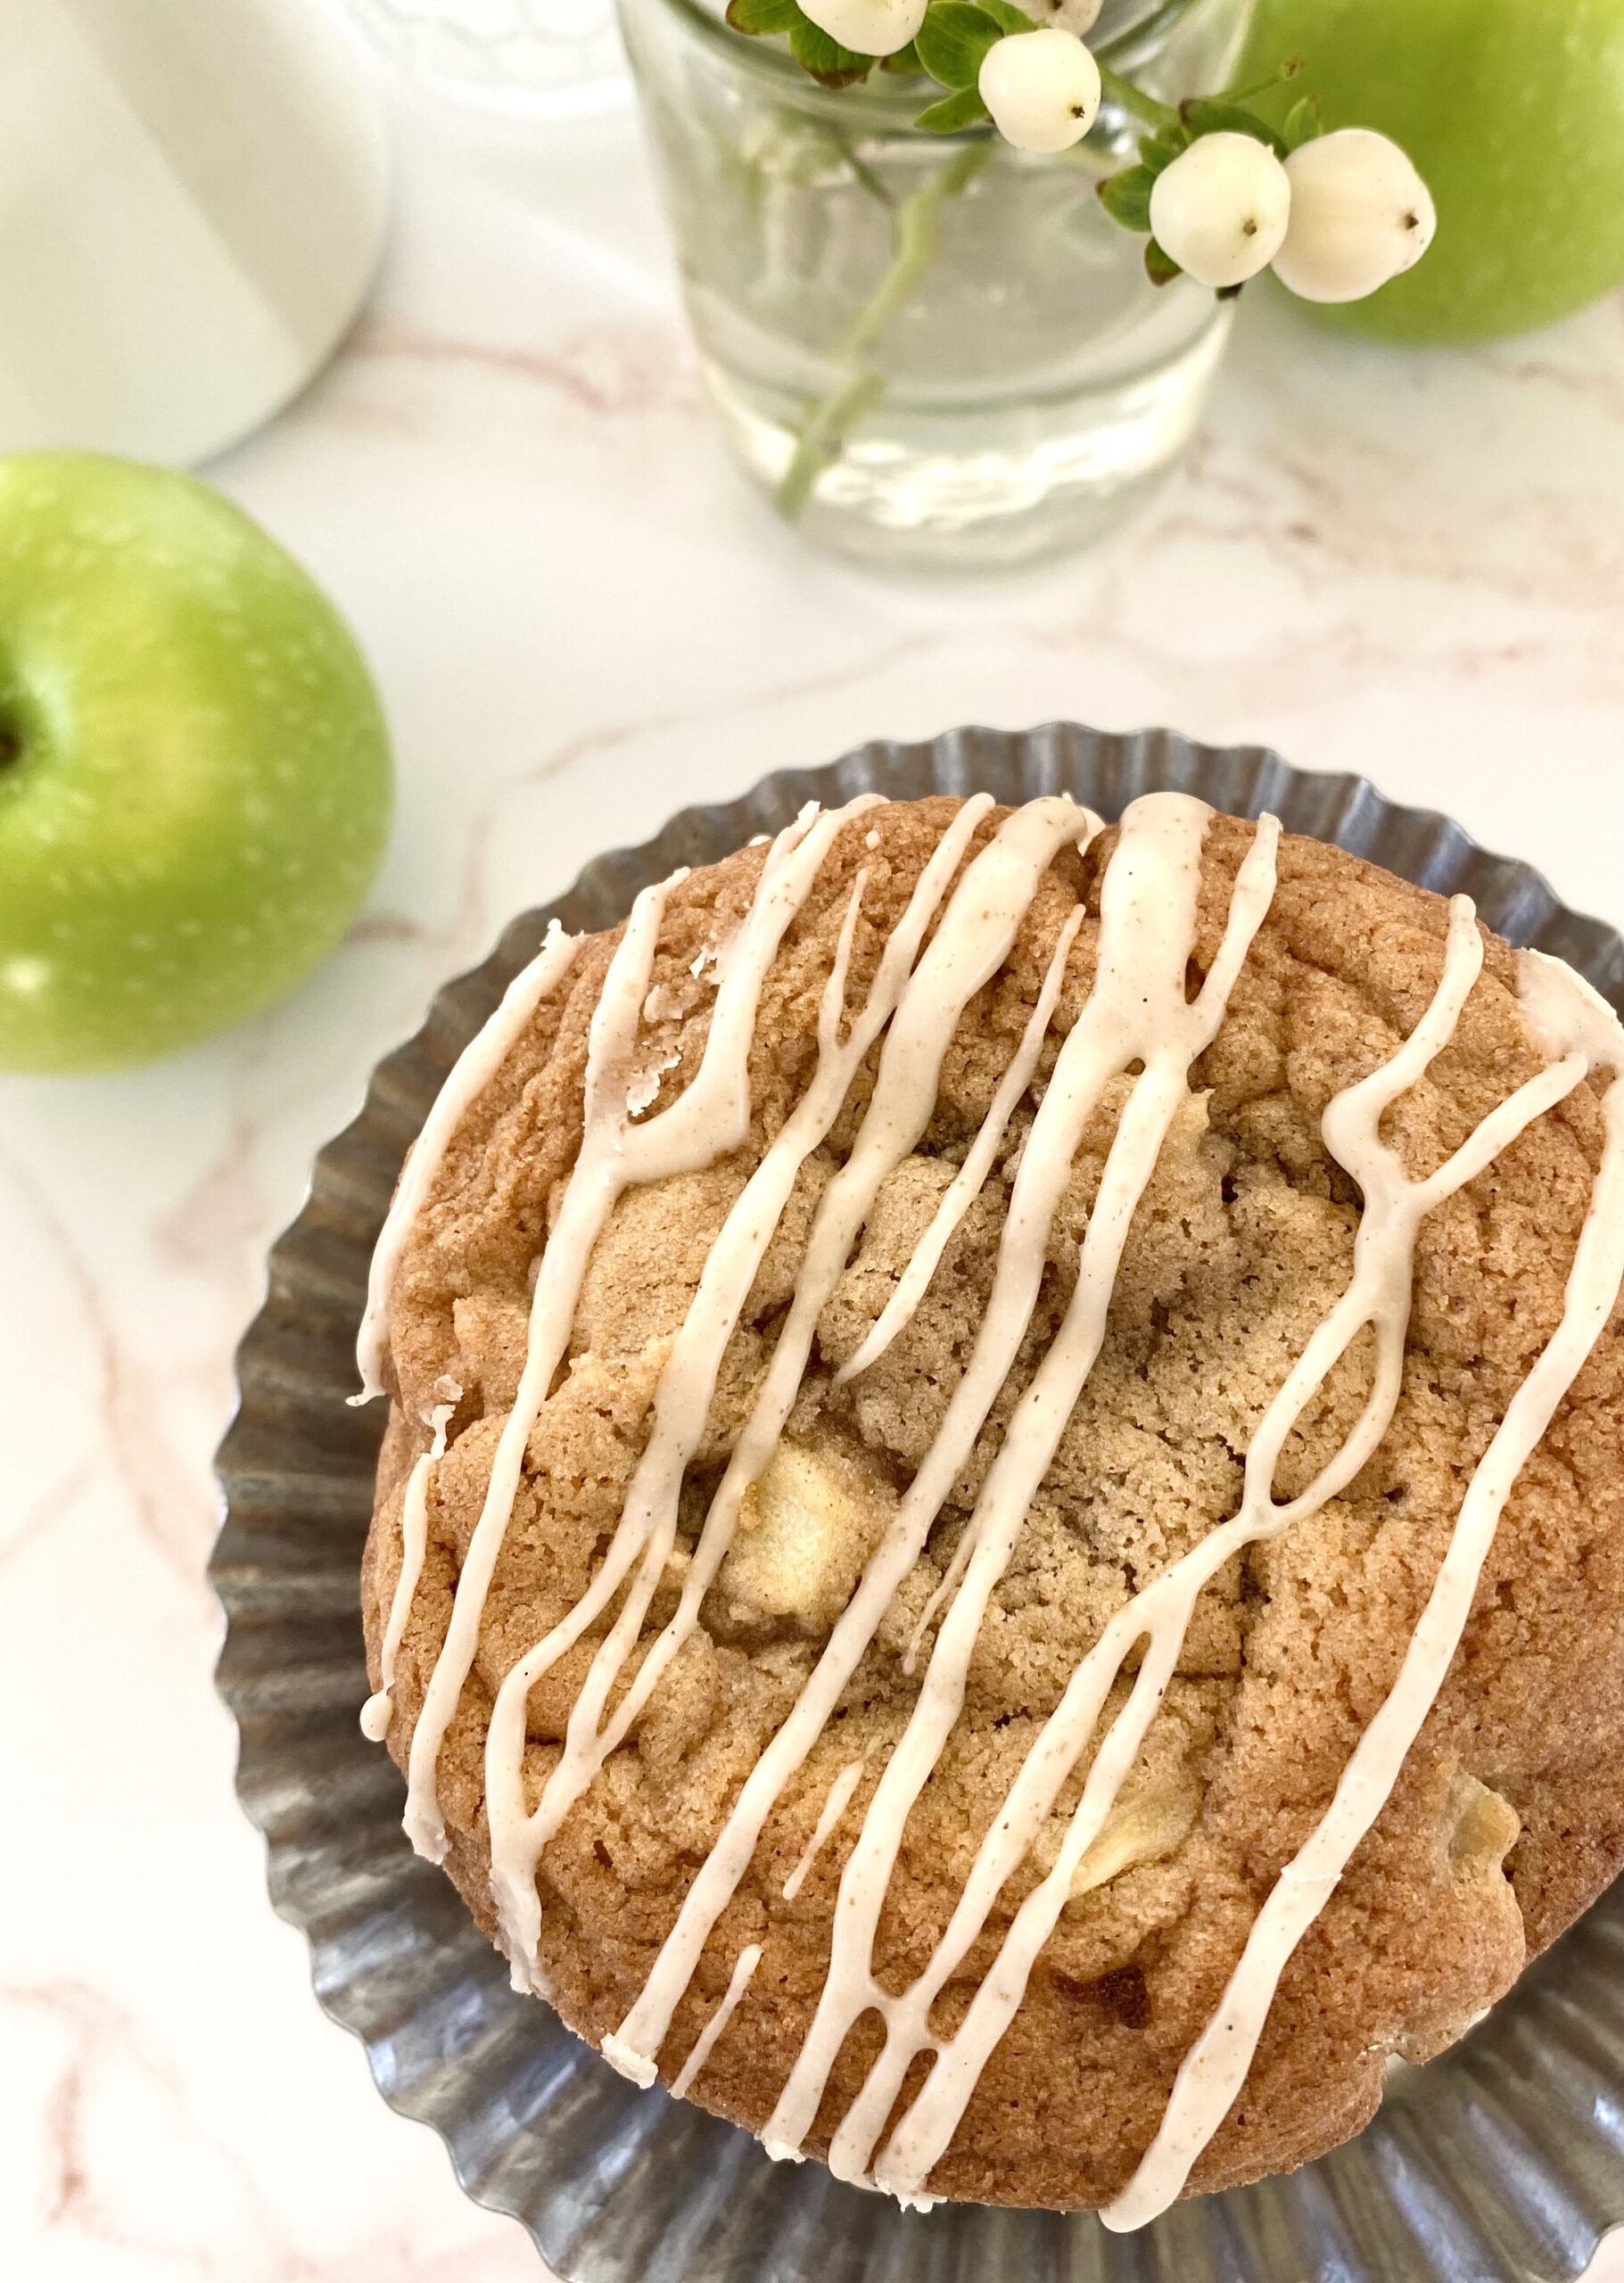
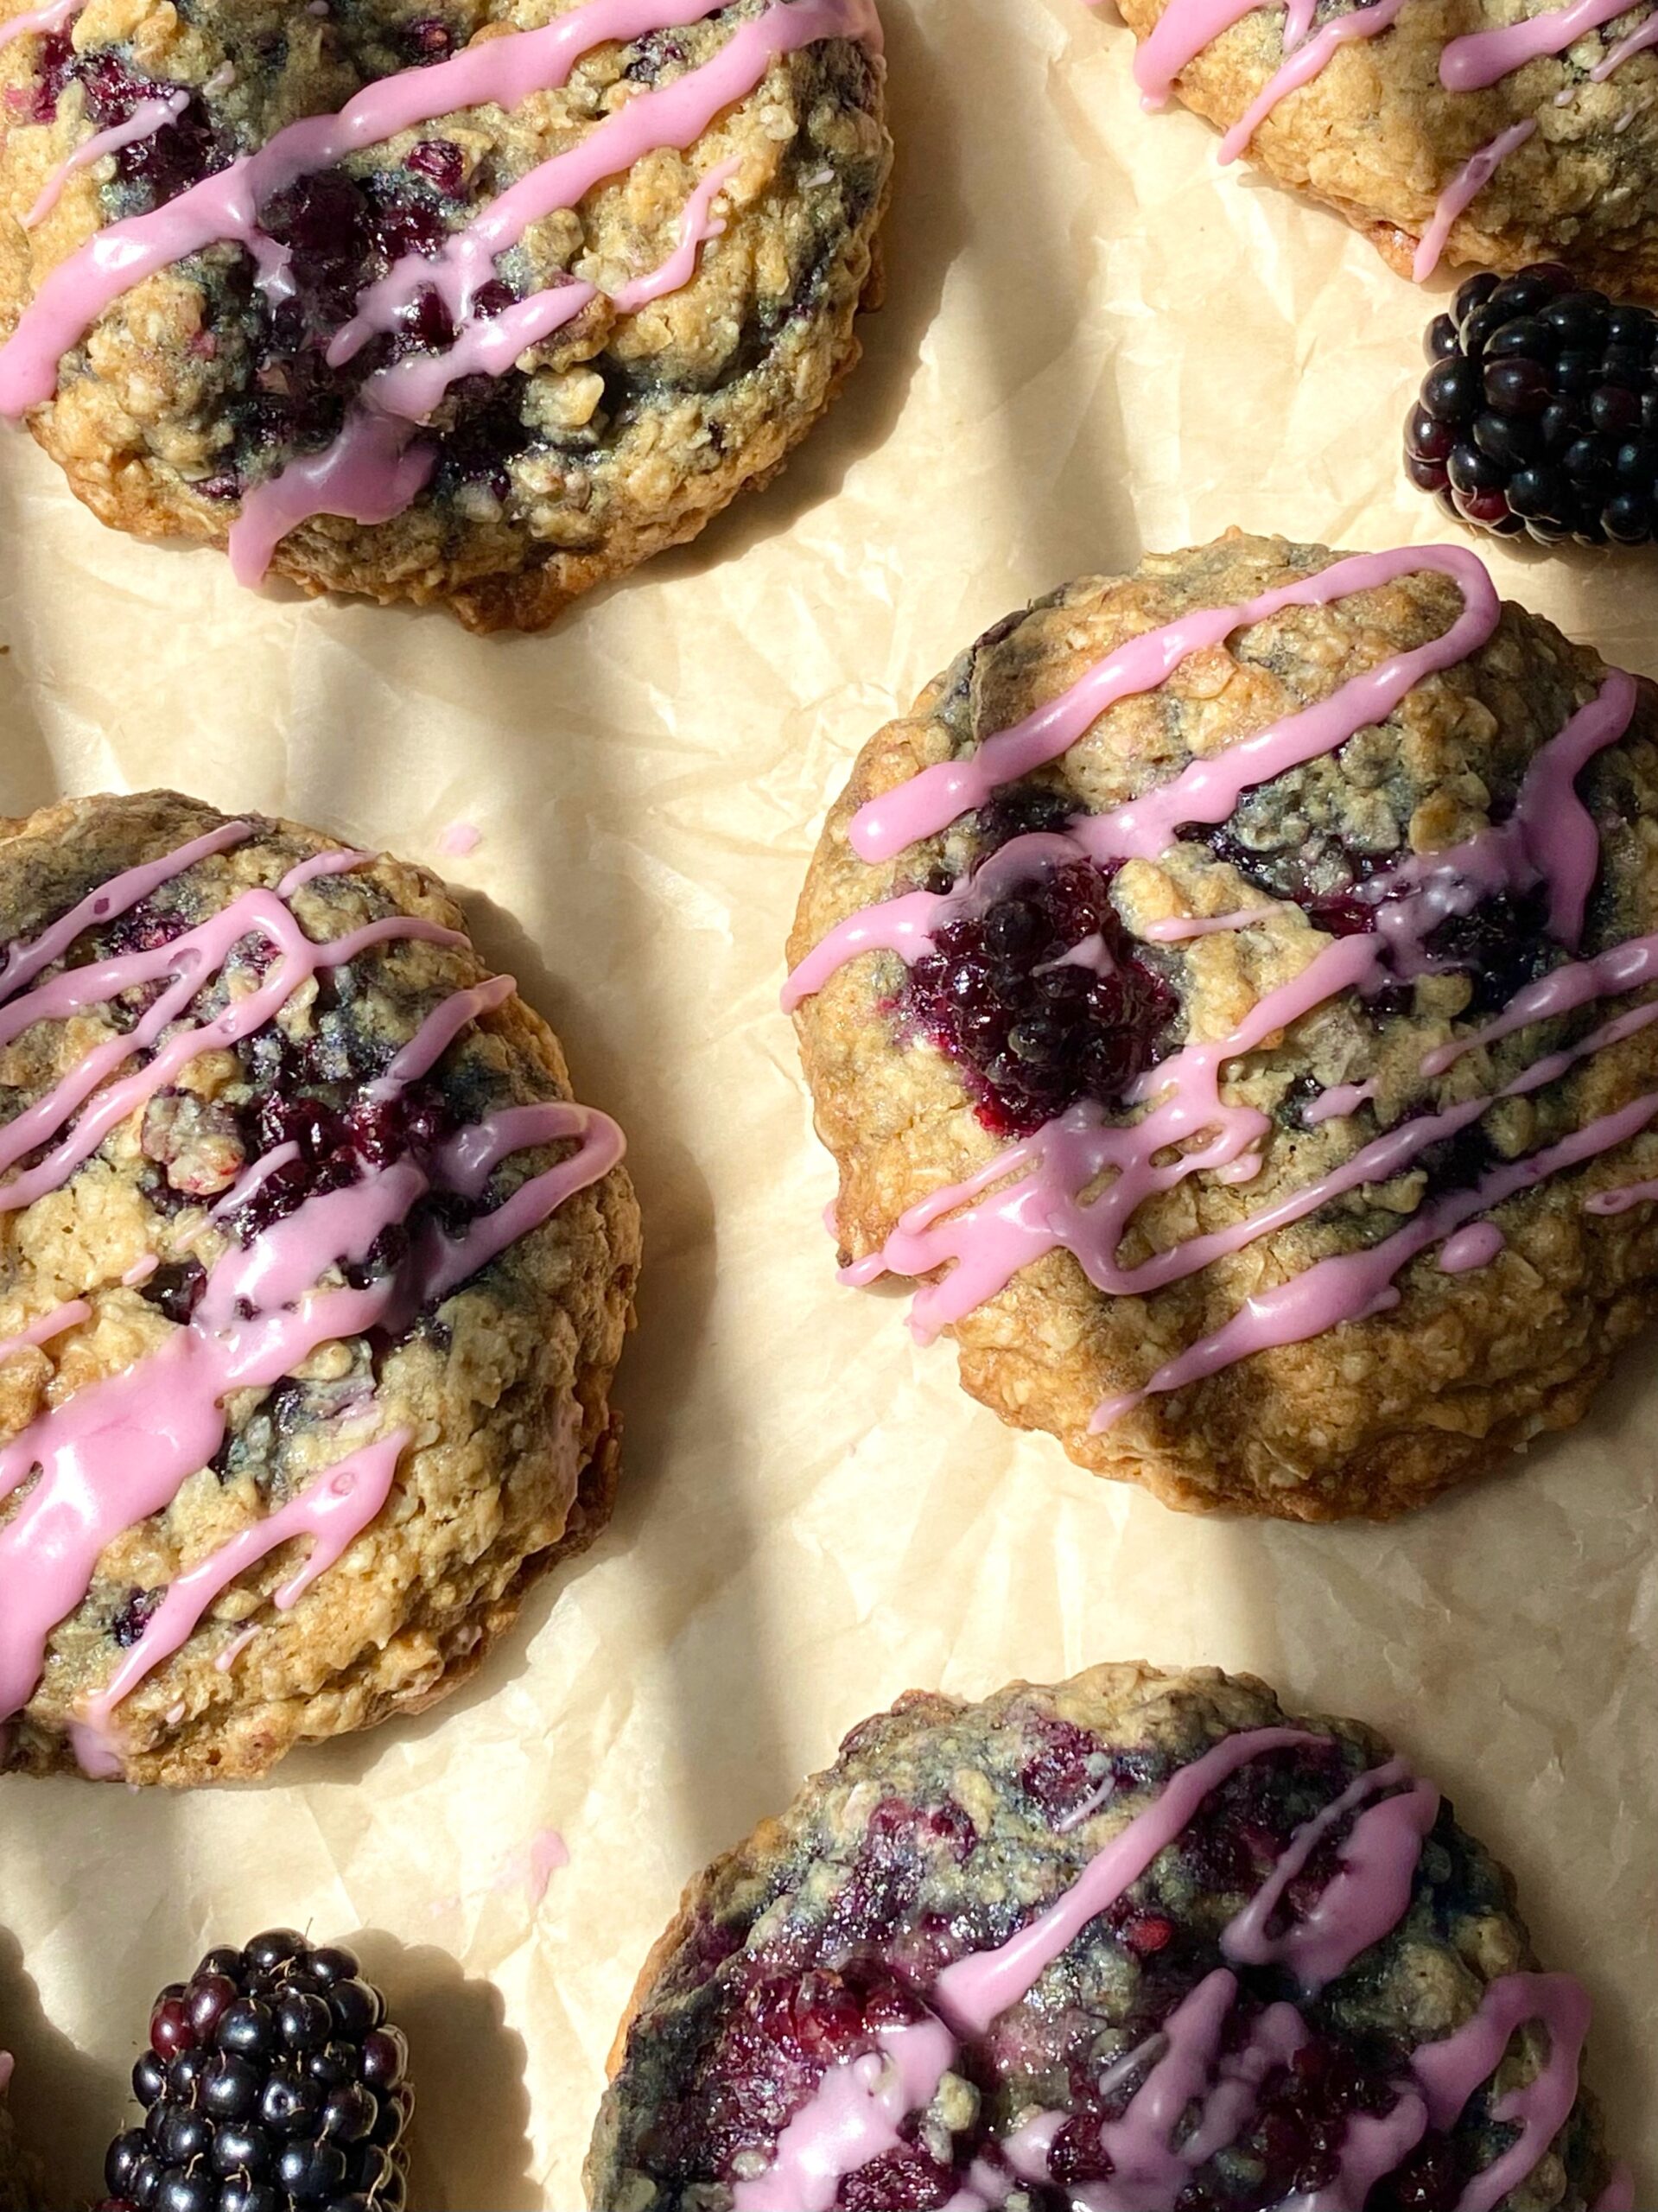
Most of the time when you see fruit added to an oatmeal cookie, it’s dried fruit, like raisins or cranberries. That’s mostly because if you just dump fruit into your cookie dough, the fruit releases water, leaving soggy spots in your cookies. To solve that issue, for this recipe, I macerate the blackberries before baking. The purple blackberry juice that’s released from the berries is used to make a beautiful lilac icing to drizzle over the cookies.
| Servings |
cookies
|
- 1/2 cup (4oz or 113g) unsalted butter
- 2 cups (about 8-10 oz or 227-283g) fresh blackberries Cut large berries in half
- 2 tablespoons (25g) granulated sugar
- 3/4 cup (3 oz or 85g) powdered sugar, sifted
- 1 tablespoon heavy cream
- 2-3 tablespoons reserved juice from blackberries
Ingredients
Brown Butter
Macerated Berries
Icing
|
|
- In a small, light colored saucepan, melt 1/2 cup (4 oz or 113g) of butter over medium heat, stirring occasionally, until deep golden and fragrant. Keep a close eye on it. It can go from toasted to burned very quickly. When you see brown particles form, remove from heat and immediately transfer the butter, including the particles, to a small bowl. Refrigerate until solid, about one hour.
- Place the blackberries in a medium-size bowl. Sprinkle with granulated sugar and toss to coat. Let sit for 30 minutes until the berries release their juices.
- Drain the blackberries and reserve the juices.
- Preheat oven to 350ºF (180ºC). Line two large cookie sheets with parchment paper.
- In a separate medium-size bowl, whisk together the flour, baking soda, salt and cinnamon. Set aside.
- In a large bowl, beat the brown butter, softened butter and brown sugar until light and fluffy.
- Add the eggs and vanilla extract in three separate additions and beat until well combined.
- Stir in the flour mixture just until combined. Stir in the oats just until combined. Gently fold in the blackberries.
- Scoop 1/4 cup sized portions of dough, about 2 inches apart, onto the prepared cookie sheets. *I used a #16 2-ounce scoop.
- Bake until the cookie tops are set and the edges are golden brown, about 13-15 minutes. Transfer the cookies to a cooling rack to cool completely.
- Pass reserved blackberry juice through a sieve to remove the seeds.
- In a small bowl, whisk together the powdered sugar, heavy cream and one tablespoon of the reserved blackberry juice until smooth. Add more blackberry juice, a little at a time, until the desired consistency is reached. Drizzle the icing over the cooled cookies.
*To find the portion scoop I used, click here.