If you haven’t noticed already, I love little cakes. Mini cakes are not only cute and charming, they’re likely to make you very popular. This recipe makes two darling Mini Hummingbird Cakes, one to keep and one to share. Hummingbird Cake is a delightful way to use your ripe bananas. The version I’m sharing here also contains pineapple, pecans and coconut. This fruity, nutty combination reminds me of spring and would be perfect for Easter or a spring picnic.
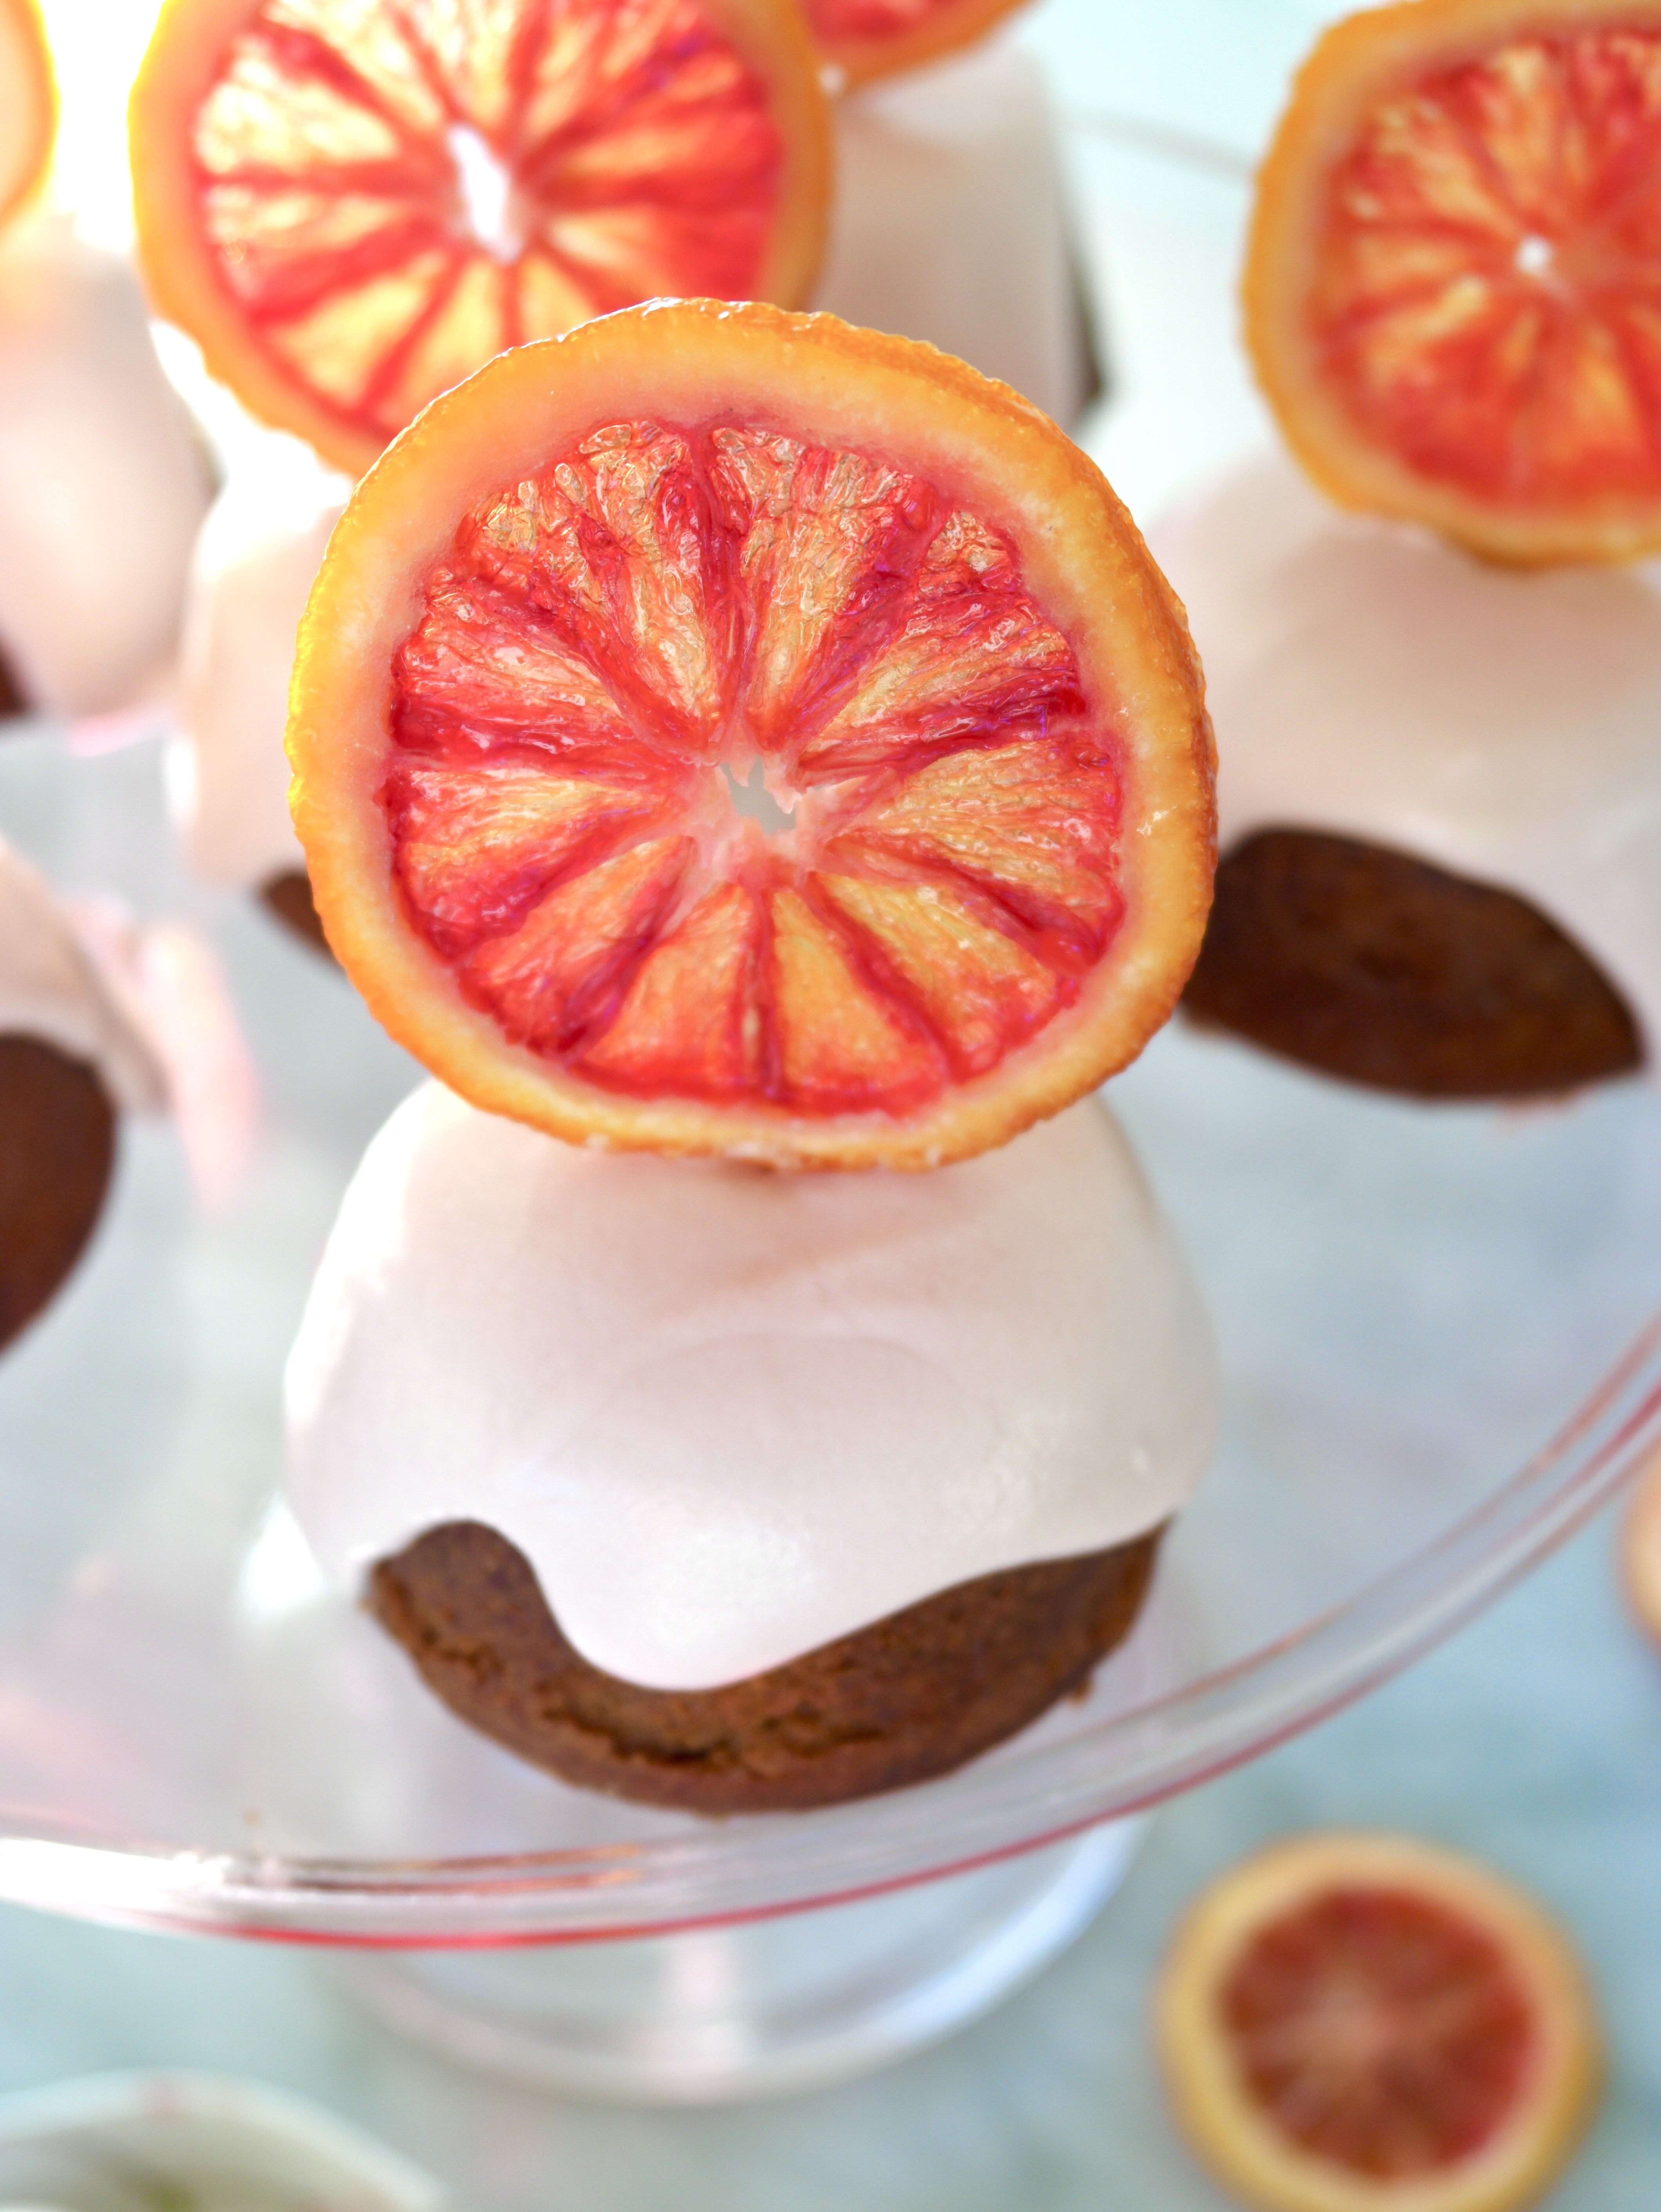
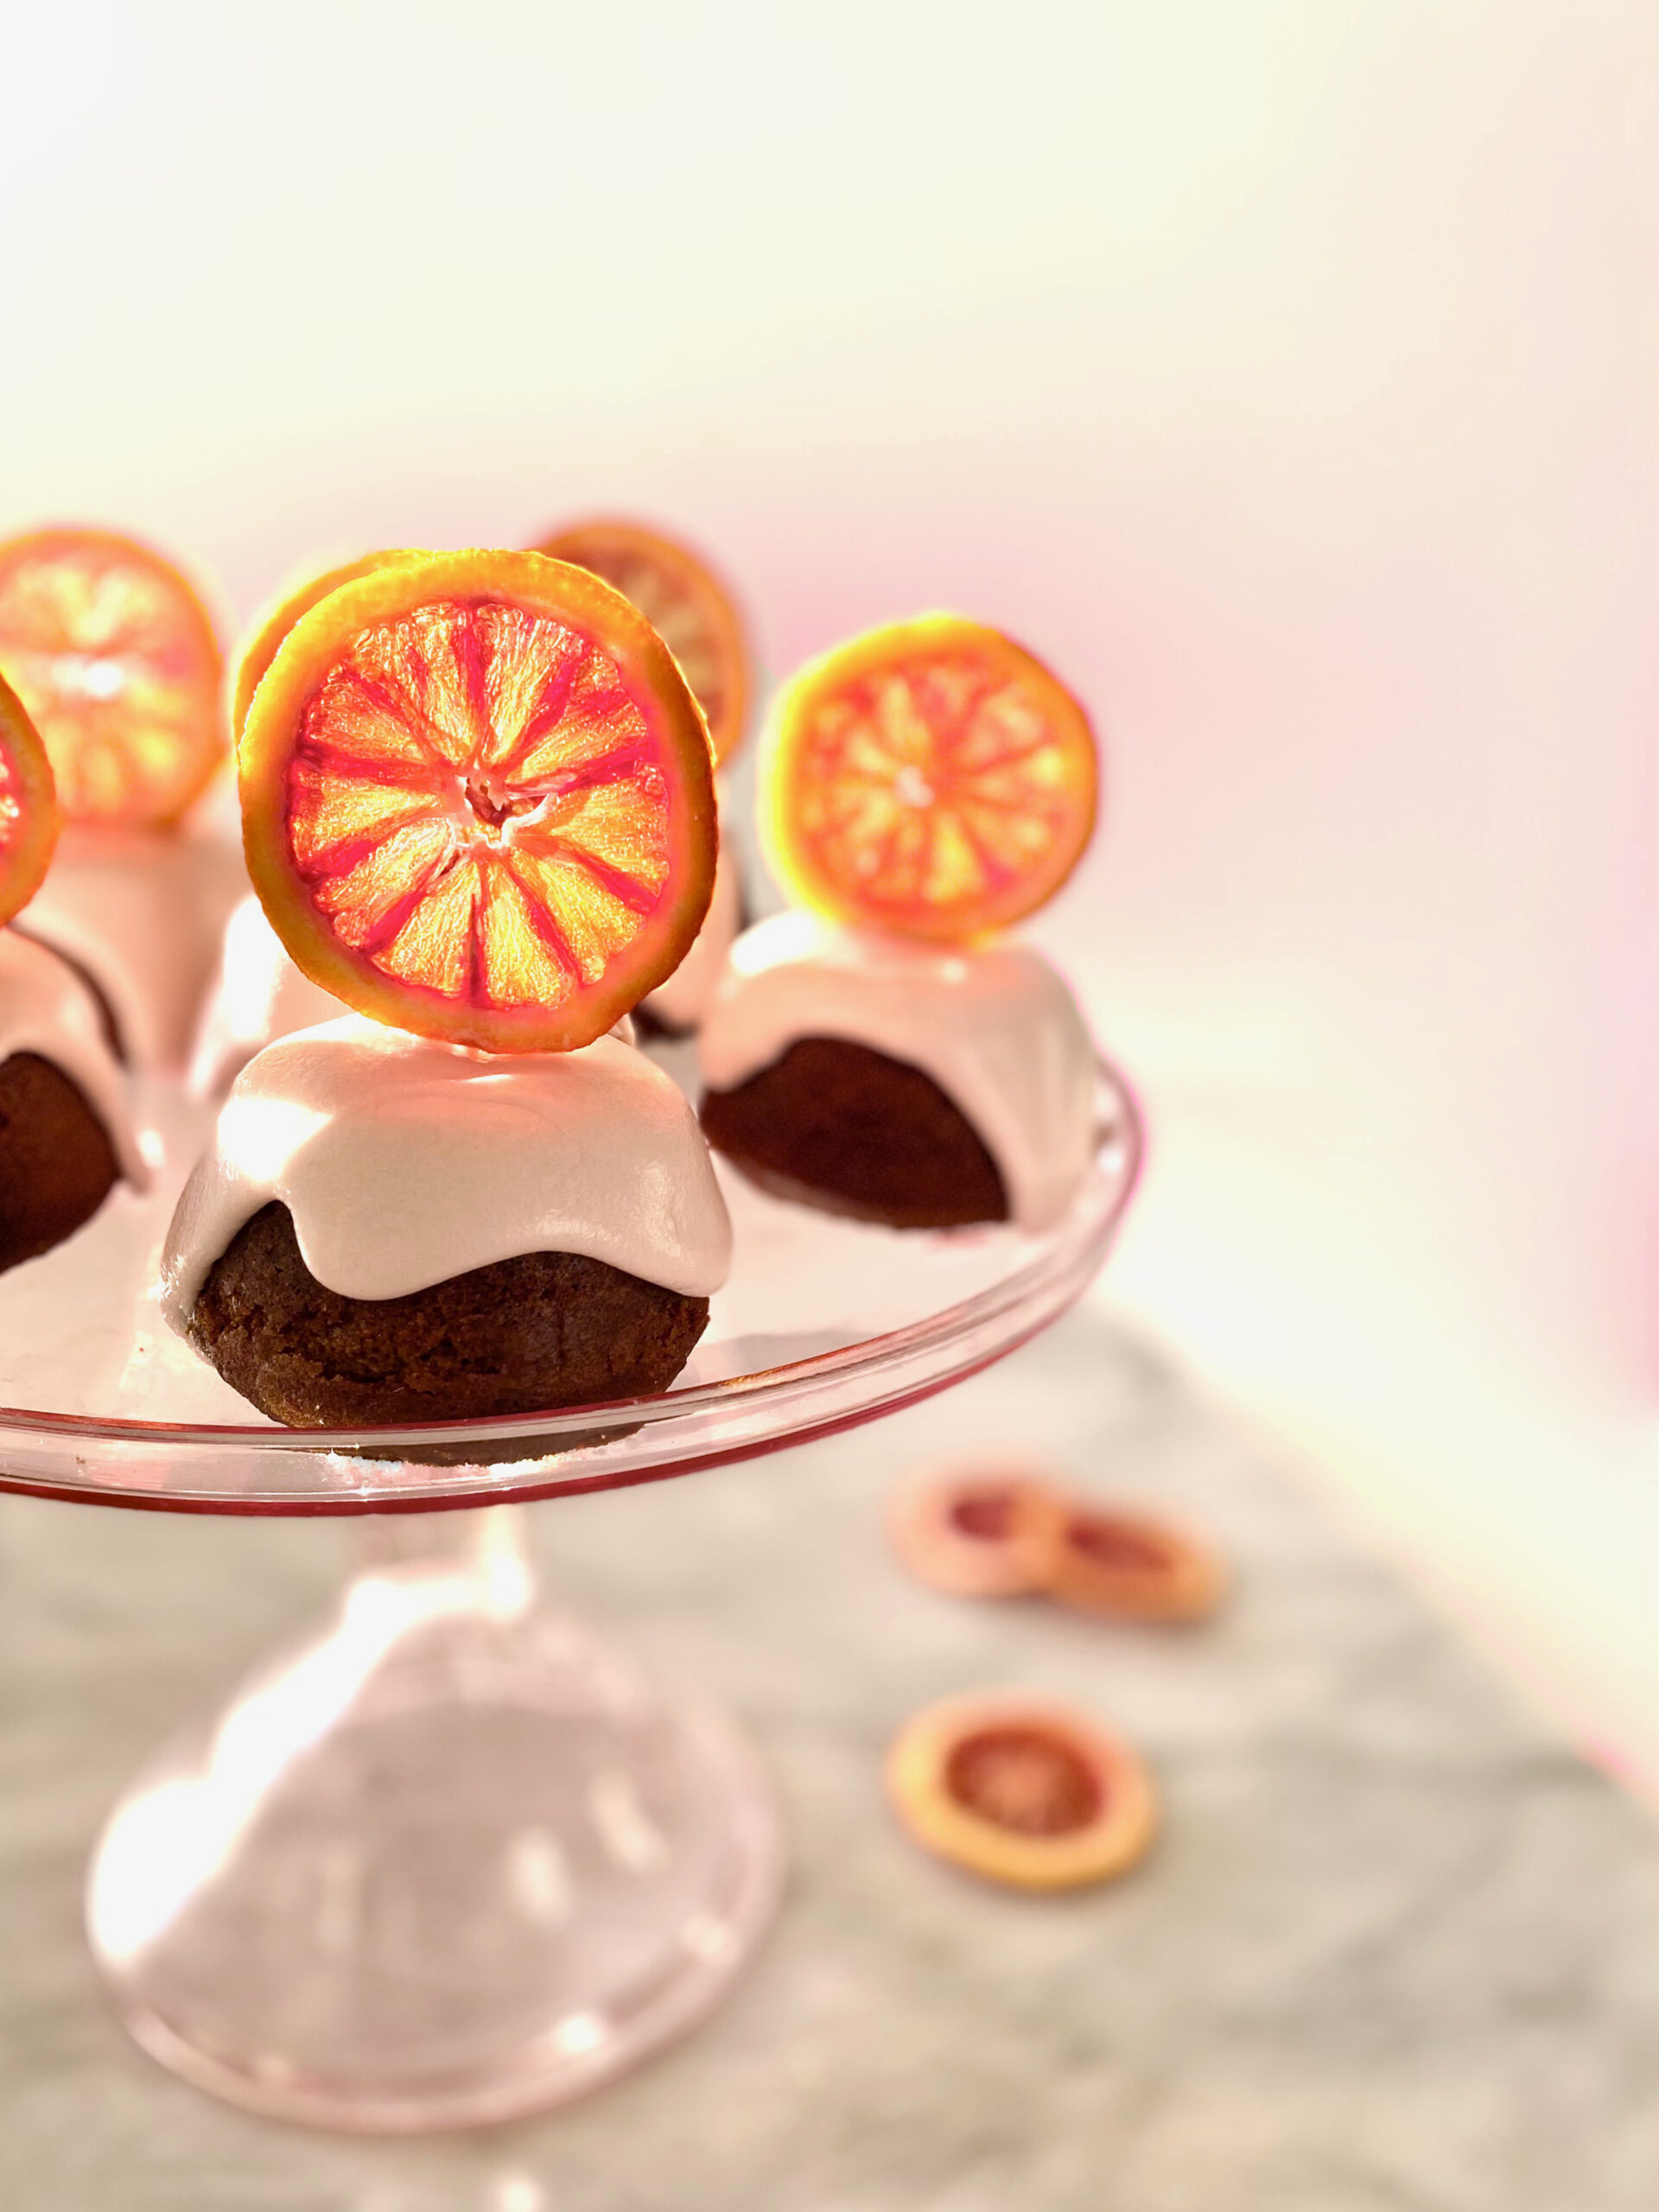
Mini Hummingbird Cake
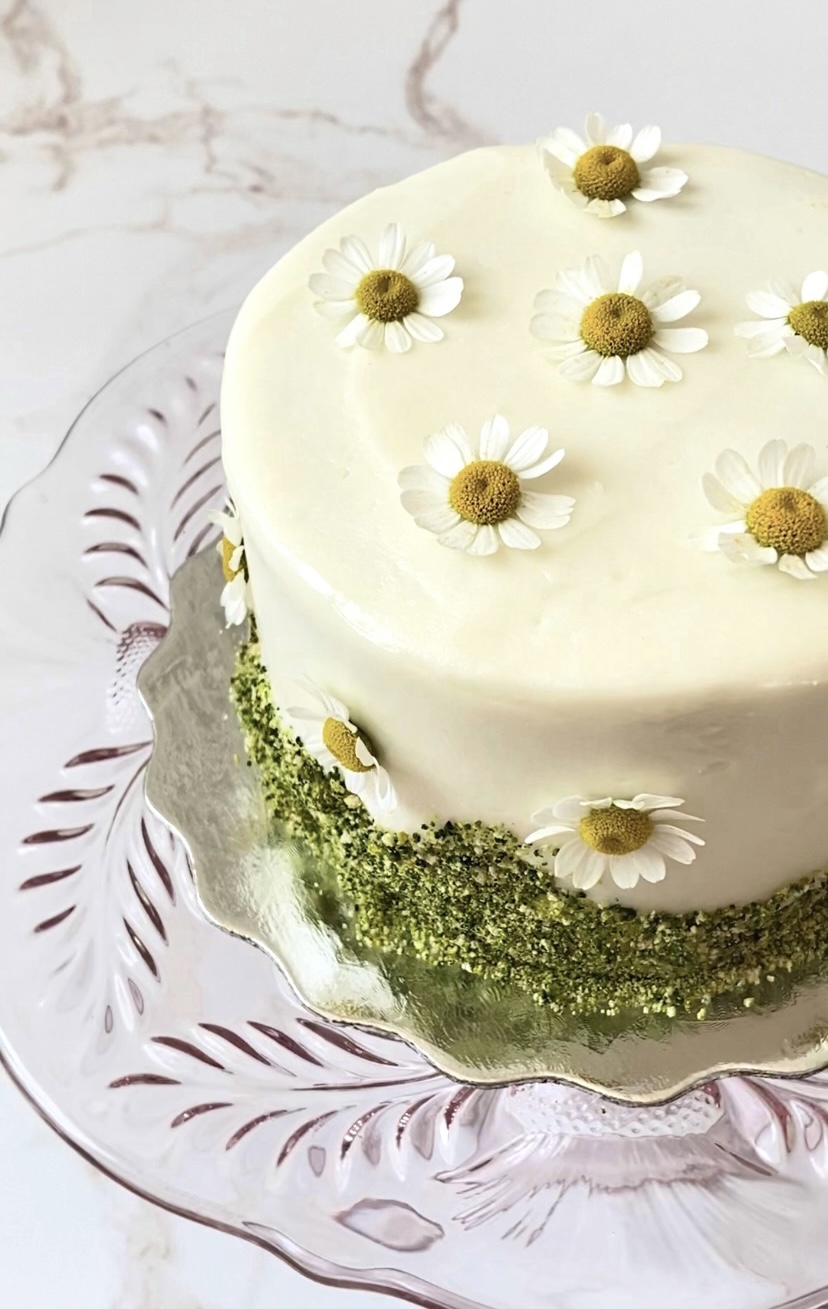
Hummingbird Cakes filled with bananas, pineapple, pecans and coconut, topped with cream cheese frosting and decorated with graham cracker crumb moss and fresh chamomile flowers.
Ingredients
Hummingbird Cakes
- 1 ½ cups (191g) all purpose flour, sifted
- ½ teaspoon baking soda
- ½ teaspoon fine sea salt
- ½ teaspoon cinnamon
- ½ cup (113g) unsalted butter, softened
- ½ cup (100g) granulated sugar
- ½ cup packed (100g) packed brown sugar
- 1 tablespoon (15ml) vegetable oil or neutral oil of your choice
- 1 large egg
- 1 large egg yolk
- 1 teaspoon pure vanilla extract
- 1 cup (227g) mashed ripe bananas (about 2 large bananas)
- 1 8 oz (227g) can crushed pineapple, drained
- ½ cup (60g) chopped pecans, toasted
- ¼ cup (28g) sweetened dried coconut flakes, chopped* See note below
Cream Cheese Frosting
- 1 cup (227g) unsalted butter, softened
- 2 tablespoons (30ml) heavy whipping cream, room temperature, divided
- 1 ½ teaspoons pure vanilla extract
- ¼ teaspoon fine sea salt
- 4 cups (482g) powdered sugar, sifted
- 1 8 oz (227g) package cream cheese, softened
Optional Decor
- Green gel food color I used Americolor avocado green**
- Yellow gel food cool I used Americolor lemon yellow***
- Vodka
- 6 graham crackers (two squares each), crushed
- Fresh pesticide free chamomile flowers
Instructions
Hummingbird Cakes
- Preheat oven to 350ºF (180ºC). Line the bottoms of four 4-inch cake pans**** with parchment paper. Grease and flour the insides.
- In a medium-sized bowl, whisk together the flour, baking soda, salt and cinnamon until well blended.
- In a large bowl, beat the butter, sugar, brown sugar and oil with an electric mixer, until pale and fluffy. Beat in the egg, egg yolk, and vanilla extract in three separate additions, making sure each one is incorporated before adding the next. Stir in the bananas, pineapple, pecans and coconut until combined.
- Transfer the batter to prepared cake pans, about 1 cup of batter in each pan. Place the filled cake pans on a baking sheet.
- Bake until toothpick inserted in centers comes out clean, about 25-28 minutes. Cool the cakes in pans 10 minutes then turn the cakes out onto a cooling rack.
- Trim the cakes to 1-inch thickness. Fill, stack and frost the cakes with cream cheese frosting.
Cream Cheese Frosting
- In a large bowl, beat the butter with an electric mixer until smooth and pale. Beat 1 tablespoon (15ml)of heavy cream, the vanilla extract and salt into the butter until well combined. On low speed, beat in the powdered sugar a half cup at a time, until well combined.
- In a medium-sized bowl, mix cream the cheese with remaining 1 tablespoon (15ml) heavy cream, with a spatula until smooth. On low speed, beat the cream cheese mixture into the butter mixture until smooth and well blended. Smooth out any bubbles by stirring by hand with a spatula.
Decor
- To make the graham cracker crumb moss: In two small bowls, dilute 1/8 teaspoon of each gel food color with a few drops of vodka. (Vodka will dissipate as the crumbs dry.) Place the graham cracker crumbs in a plastic food bag. Add diluted food colors a little at a time and seal the bag. Shake the bag and gently massage it to distribute the color. Add more diluted food color as needed until desired your shade of green is reached. Spread the crumbs out onto a parchment lined baking sheet to dry. Apply the crumbs to bottom edges of the frosted cakes.
Notes
*Chop the coconut flakes to achieve a finer texture. This step is optional.
**To find the avocado green food color gel I used, click here.
***To find the lemon yellow food color gel I used, click here.
****To find the 4-inch cake pans I used, click here.