Maple Brown Sugar Madeleines

Maple Brown Sugar Madeleines

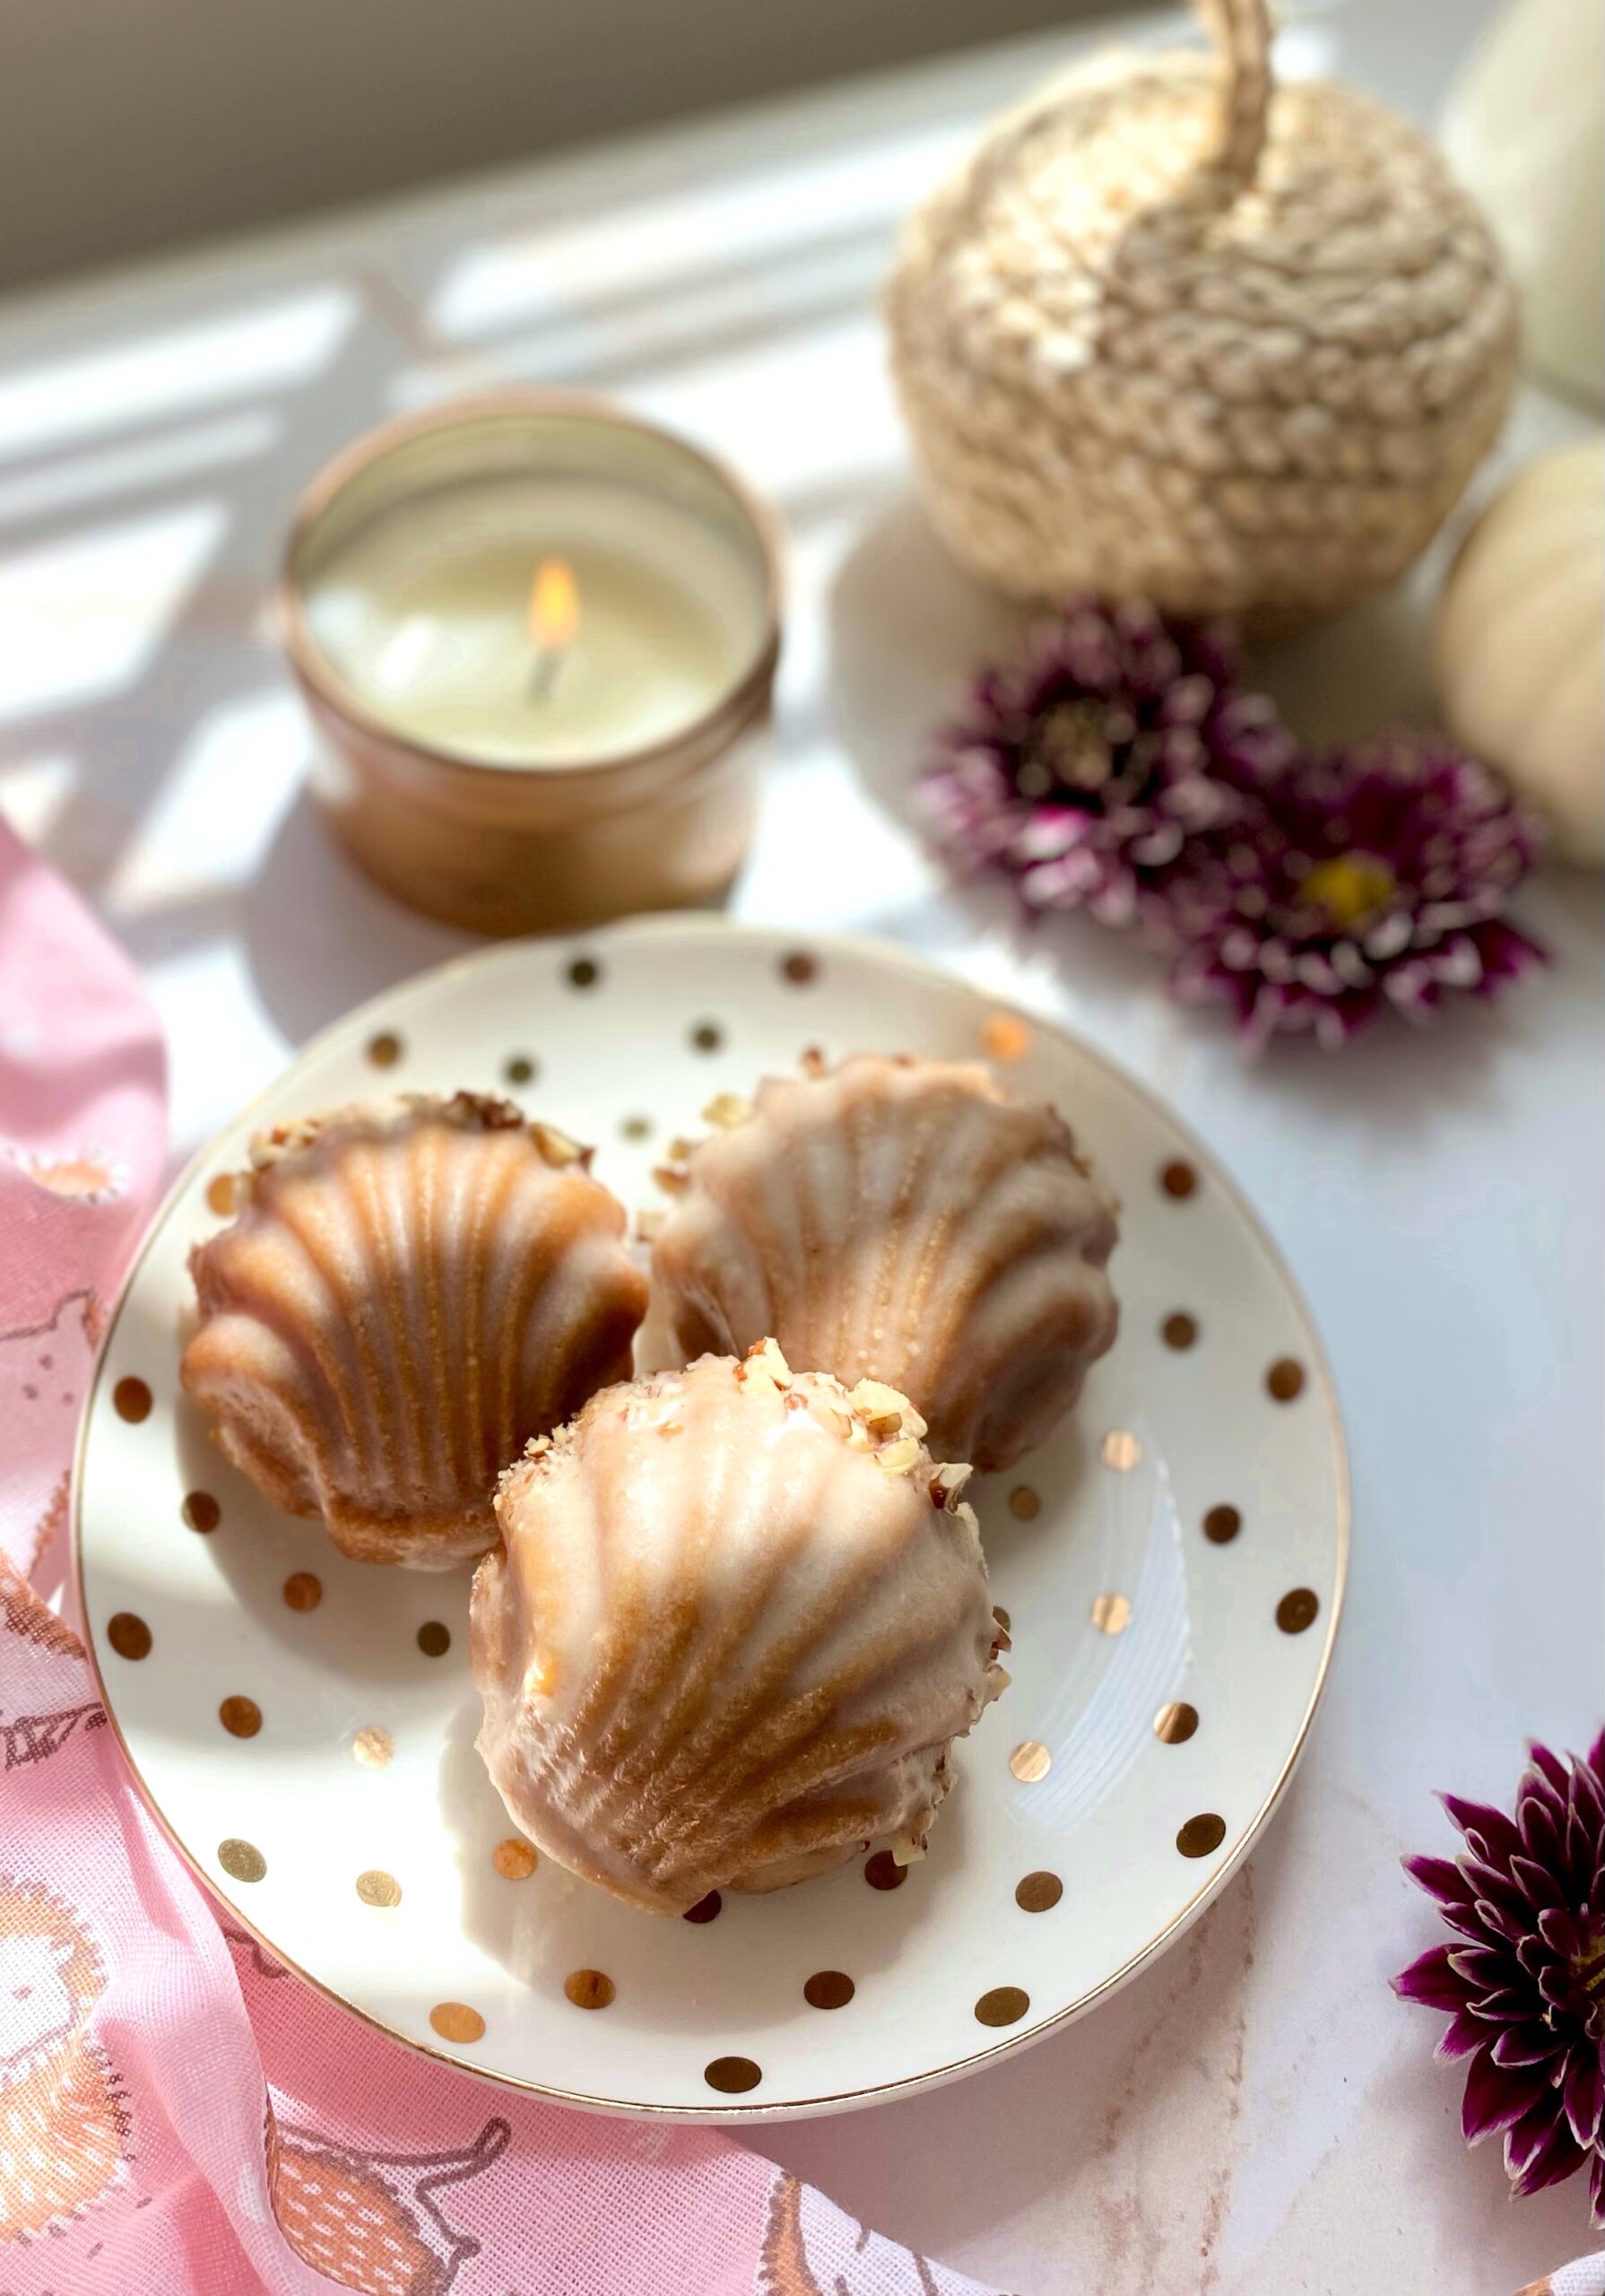
I had tea with with a well mannered hedgehog once on a crisp fall day. He brought me a tiny bouquet of flowers, which I placed in a small jam jar filled with water. He said the delightful maple scent of these Madeleines reminded him of his time in the woods, as a young hoglet. When he had his fill of the delicate little cakes, I wrapped some in a tea towel for his journey home.

As cooler weather approaches, I’m always looking for a little something to enjoy with a warm drink and a good book. Although traditional Madeleines typically remind me of spring, these Maple Brown Sugar Madeleines have a cozy fall feeling. They go well with coffee, tea or hot cocoa. If you want to make them for a friend, make the batter and keep it in the refrigerator. Bake the Madeleines right before your friend arrives.

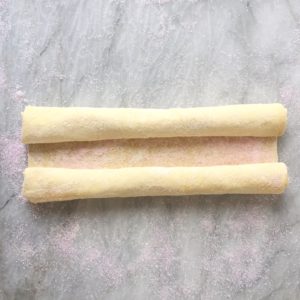
I used a spherical Madeleine pan to make these maple scented little cakes. The Madeleines made in this pan are a little thicker and fluffier than those made in a traditional oval pan. To find the Madeleine pan I used, click here. You can certainly use a traditional pan if you prefer. Keep in mind that the baking time will be shorter and you will end up with about twice as many.

Print Recipe
Maple Brown Sugar Madeleines
Course Dessert
Cuisine French
Keyword madeleines, maple
Servings
Ingredients
Maple Brown Sugar Madeleines
Maple Icing
Course Dessert
Cuisine French
Keyword madeleines, maple
Servings
Ingredients
Maple Brown Sugar Madeleines
Maple Icing
Instructions
Maple Brown Sugar Madeleines
  1. In a medium bowl, sift together the flour, baking powder and salt.
  2. In a large bowl, beat the eggs, brown sugar and maple extract, on medium-high speed with an electric mixer, until the batter is voluminous, light in color and holds its shape when you lift the beater, about 8-10 minutes.
  3. Combine the melted butter and maple syrup.
  4. Gently fold the the flour mixture into the egg mixture in three additions, alternating with the melted butter. Fold just until combined, being careful not to deflate the batter. Make sure to scrape the bottom of the bowl to ensure that all of the flour is combined.
  5. Cover and refrigerate for 30-45 minutes.
  6. Preheat the oven to 350ºF (177ºC). Grease a spherical Madeleine pan* with nonstick spray or melted butter. Dust the pan with a light coating of flour. Tap out the excess flour.
  7. Fill the wells of the Madeleine pan with batter 3/4 full, about 2 tablespoons each, using a scoop**or a spoon. (If you're using a traditional oval Madeleine pan, fill 3/4 full, about a generous tablespoon of batter in each.)
  8. Bake until golden brown around the edges and puffed in the center, about 10-12 minutes. (Baking time for oval Madeleine pan will be about 7-8 minutes.) Do not over bake.
  9. Cool in the pan for one minute then turn Madeleines out onto a cooling rack to cool completely.
Maple Icing
  1. In a small bowl, whisk together the powdered sugar, melted butter, maple extract and one tablespoon of milk. Add additional milk as needed until your desired consistency is reached, Stir in a pinch of salt to taste.
  2. Brush icing onto the Madeleines with a pastry brush. Apply nuts to the edges of Madeleines. Serve immediately. Madeleines are best served the day they're baked.
Recipe Notes

*To find the Madeleine pan I used, click here.

**To find the scoop I used, click here.

Lavender Shortbread Sandwich Cookies with Honey Buttercream

Lavender Shortbread Sandwich Cookies with Honey Buttercream

Lavender and honey go so well together. Bees know it, fairies know it, princesses know it. The flavor combination is so delightful in these cookies, that I decided to share them with you. In addition to delicious, compatible flavors, these cookies have a divine texture combination. The shortbread cookies have a tender, melt-in-your-mouth texture. Together with the silky, smooth honey buttercream, they’ll make you feel fancy and regal. You’ll hold your head up higher, ring for your tea and declare that you do indeed deserve fine things!

Some people are nervous about baking with lavender because they don’t want their baked goods to taste like soap or perfume. That can be a concern if the lavender flavor is too pronounced. However, if you don’t use enough you won’t be able to taste it at all. There’s a fine balance. If you use the right amount, it will taste pleasant and have sweet undertones. I used two teaspoons of culinary lavender in these cookies, but you can adjust the amount to your tastes. You can start out with one teaspoon, bake a small sample of dough and taste it, to customize the flavor.

Speaking of tasting, my grandmother always said, “taste as you go.” This is also helpful when making the honey buttercream. Typically, when making other flavors of buttercream, you add more powdered sugar if your buttercream is too thin. In this case, adding more powdered sugar can make the buttercream too sweet. Once you have added the amount of honey that tastes good to you, you can add a little cornstarch if you need to stiffen it up a bit.

Print Recipe
Lavender Shortbread Sandwich Cookies with Honey Buttercream
Tender lavender scented cookies with silky honey buttercream filling
Keyword cookies
Servings
Ingredients
Lavender Shortbread Cookies
Honey Buttercream
Keyword cookies
Servings
Ingredients
Lavender Shortbread Cookies
Honey Buttercream
Instructions
Honey Buttercream
  1. In a medium bowl, beat butter and sugar together until smooth. Add honey, one tablespoon at a time until desired sweetness and consistency is reached.
  2. Mix in a pinch of salt to taste.
  3. Mix in cornstarch, if necessary, to firm up buttercream. *See notes below.
Recipe Notes

*The addition of cornstarch helps to firm up buttercream without adding additional sweetness.

To find culinary lavender, click here.

Blackberry Oatmeal Cookies

Blackberry Oatmeal Cookies by Brownie Mischief

We’ve all heard our parents telling their childhood stories of walking miles to school and suffering worse hardships than we ever had to. My mom used to tell me stories like that, but she had a sense of humor, so her stories were always fun to listen to. She used to tell me about her friend’s mother, who would make big, delicious oatmeal cookies. My mom would trade her baloney sandwich nearly every day to get one of those cookies from her friend. She reminisced about those cookies so much, that I set out to make her some when I learned to bake. She and my grandmother would taste test batch after batch of my cookies over the years. I have probably baked enough oatmeal cookies to circle the earth. Okay that’s an exaggeration, but seriously I have baked quite a few. Of all the oatmeal cookies I’ve baked, these are one of my favorites!

Most of the time when you see fruit added to an oatmeal cookie, it’s dried fruit, like raisins or cranberries. That’s mostly because if you just dump fruit into your cookie dough, the fruit releases water, leaving soggy spots in your cookies. To solve that issue, for this recipe, I macerate the blackberries before baking. The purple blackberry juice that’s released from the berries is used to make a beautiful lilac icing to drizzle over the cookies.

Print Recipe
Blackberry Oatmeal Cookies
Course Dessert
Keyword cookies
Servings
cookies
Ingredients
Brown Butter
Macerated Berries
Oatmeal Cookies
Icing
Course Dessert
Keyword cookies
Servings
cookies
Ingredients
Brown Butter
Macerated Berries
Oatmeal Cookies
Icing
Instructions
  1. In a small, light colored saucepan, melt 1/2 cup (4 oz or 113g) of butter over medium heat, stirring occasionally, until dark golden and fragrant. You will see brown particles sink to the bottom. Keep a close eye on it. It can go from toasted to burned very quickly.
  2. Remove from heat and immediately transfer the brown butter, including the brown particles, to a small bowl. Refrigerate until solid, about one hour.
  3. Place the blackberries in a medium bowl. Sprinkle with granulated sugar and toss to coat. Let sit for 30 minutes until the berries release their juices.
  4. Drain the blackberries and reserve the juice.
  5. Preheat oven to 350ºF (180ºC). Line two large cookie sheets with parchment paper.
  6. In a large bowl, whisk together the flour, baking soda, salt and cinnamon. Set aside.
  7. In a large bowl, beat brown butter, softened butter and brown sugar until light and fluffy.
  8. Add eggs and vanilla extract in three separate additions and beat until well combined.
  9. Stir in the flour mixture just until combined.
  10. Stir in the oats just until combined. Gently fold in the blackberries.
  11. Scoop 1/4 cup sized portions of dough, about 2 inches apart, onto the prepared cookie sheets. *I used a #16 2 ounce scoop.
  12. Bake until the cookie tops are set and the edges are golden brown, about 13-15 minutes. Transfer the cookies to a cooling rack to cool completely.
  13. Pass reserved blackberry juice through a sieve to remove the seeds.
  14. In a small bowl, whisk together the powdered sugar, heavy cream and one tablespoon of the reserved blackberry juice until smooth. Add more blackberry juice, a little at a time, until desired consistency is reached.
  15. Drizzle the icing over the cooled cookies.
Recipe Notes

*To find the portion scoop I used, click here.

Marshmallow Mudslide Cookies

marshmallow mudslide cookies

Have you ever had mudslide cake? It’s a deliciously messy chocolate cake with chocolate frosting and marshmallows, also known as Mississippi mud cake. I saw one covered in a layer of marshmallow fluff and it made its way into my dreams. I woke up with the inspiration to make a cookie version of the gooey mudslide cake.

I saw a few mudslide cookie recipes out there that used standard size marshmallows and chocolate chips mixed into the cookie dough. If you’ve ever baked with marshmallows, you know that they nearly disappear during the baking process. Chocolate chips melt beautifully into little pools of chocolate, but then harden once cooled to room temperature. I happily volunteered to address these challenges! After some trial and error, I created a satisfying cookie with plenty of gooey marshmallow goodness and a rich fudge filling that stays soft at room temperature. Dreams do come true!

marshmallow mudslide cookies

Print Recipe
Marshmallow Mudslide Cookies
Chocolate fudge-filled cookies topped with toasted marshmallows
Course Dessert
Keyword chocolate, cookies
Servings
cookies
Ingredients
Fudge filling
Cookies
Course Dessert
Keyword chocolate, cookies
Servings
cookies
Ingredients
Fudge filling
Cookies
Instructions
Fudge filling
  1. Melt chocolate chips and sweetened condensed milk together in a double boiler or in the **microwave in a medium microwave safe bowl.
  2. Stir in chopped nuts. Set aside to cool to room temperature.
Cookies
  1. Heat oven to 350º.
  2. In a medium bowl, sift together flour, cocoa powder, baking powder, baking soda, and salt. Set aside.
  3. In a large bowl, cream butter with an electric mixer.
  4. Add granulated sugar and brown sugar and mix on medium speed until light and fluffy.
  5. Add eggs one at a time and mix until well combined.
  6. Add vanilla and mix until combined.
  7. Add dry ingredients in two increments, mixing just until combined.
  8. Roll fudge filling into tablespoon sized balls
  9. Roll cookie dough into 1/8 cup balls then flatten into a disc with your fingers and place a ball of fudge filling in the middle of each disc. Wrap the cookie dough around the ball of filling, sealing it completely.
  10. Place cookies about 2 inches apart on large baking sheets.
  11. Bake for 10 minutes. Remove from oven.
  12. Turn on broiler.
  13. Place a marshmallow on top of each cookie.
  14. Broil cookies until marshmallows are toasted. This takes about 1 minute. CAUTION Watch cookies carefully when broiling! They can go from done to burnt in the blink of an eye!
Recipe Notes

*I used Kraft Jet-Puffed S'moreMallows, but if you're unable to find them, use jumbo marshmallows. Cut them in half lengthwise with kitchen shears. Place on cookies cut side down.

**To melt fudge filling in microwave, heat for 30 seconds. Stir, then microwave for 10 second intervals, stirring until melted.

Pastel Snowball Cookies

pastel snowball cookies

This delightful melt-in-your-mouth cookie recipe has been in my family for decades. We call them Snowballs, but they’re also known as Mexican Wedding Cakes or Greek Kourabiedes. I make them every year for Christmas, but they would also be perfect for Easter, Mother’s Day, birthday parties, tea parties, weddings, bridal showers, and baby showers.

Pecans are my favorite nuts to use in this recipe, but you can use almost any nuts you have on hand. The original snowy white version is a classic but you can take them up a notch with pretty pastels and fruit flavors. You can use crushed, freeze-dried fruit for color and subtle flavor. Spirulina is a nutritious, vibrant powder you can use to make beautiful blue cookies. You can also dress up your snowballs with edible glitter or luster dust used for cake decorating. There are endless ways to be creative with these cute cookies!

Print Recipe
Pastel Snowball Cookies
Melt-in-your-mouth powdered sugar covered shortbread cookies
Course Dessert
Keyword cookies
Servings
cookies
Ingredients
Cookies
Pink powdered sugar
Blue powered sugar
Lavender powered sugar
Course Dessert
Keyword cookies
Servings
cookies
Ingredients
Cookies
Pink powdered sugar
Blue powered sugar
Lavender powered sugar
Instructions
Cookies
  1. Preheat the oven to 325ºF (165ºC). Line two baking sheets with parchment paper.
  2. Beat the butter with an electric mixer until smooth and creamy.
  3. Add 1/2 cup (2 1/8 oz or 60g) powdered sugar, vanilla and sea salt. Beat until light and fluffy.
  4. In a separate medium bowl, combine the flour and pecans.
  5. Add flour and pecan mixture to butter mixture gradually. Mix on low speed until well combined.
  6. Shape dough into scant 1-inch balls. Place balls one inch apart onto the prepared baking sheets.
  7. Bake until light golden brown, about 17-20 minutes
  8. Place the remaining 1/2 cup (2 1/8 oz or 60g) of powdered sugar in a plastic bag. With a spatula, transfer three warm cookies into the bag. Shake gently to coat cookies with powdered sugar. Transfer to cooling rack. Repeat with remaining cookies.
  9. Cool cookies completely then proceed to instructions for pastel powdered sugar, depending on which color you have selected.
Pink powdered sugar
  1. Process freeze-dried strawberries or raspberries into a fine powder in a mini food processor.
  2. Whisk freeze-dried berry powder with 1/3 cup (1 3/8 oz or 40g) powered sugar together in a small bowl.
  3. Transfer powered sugar mixture to a plastic bag. Place three cookies in the bag and shake gently until coated with the powdered sugar mixture. Transfer cookies back to the rack and repeat with remaining cookies.
Blue powered sugar
  1. Whisk 1/3 cup powdered sugar and spriulina powder in a small bowl.
  2. Transfer powered sugar mixture to a plastic bag. Place three cookies in the bag and shake gently until coated with the powdered sugar mixture. Transfer cookies back to the rack and repeat with remaining cookies.
Lavender powered sugar
  1. Process freeze-dried blueberries into a fine powder in a mini food processor.
  2. Whisk freeze-dried blueberry powder with 1/3 cup (1 3/8 oz or 40g) powered sugar together in a small bowl. Whisk in petal dust for a more vibrant color, if desired.
  3. Transfer powered sugar mixture to a plastic bag. Place three cookies in the bag and shake gently until coated with the powdered sugar mixture. Transfer cookies back to the rack and repeat with remaining cookies.
Recipe Notes

*The ratios for the pastel powered sugar are approximate. Freeze-dried fruit varies in color. Add more or less to achieve your desired shade.

Not-So-Scary Halloween Monster Cookies

One of the best things about Halloween is all of the adorable costumes worn by the littlest trick-or-treaters. I’ll never forget the year my young daughter was dressed as a flower with chubby cheeks. She enjoyed wearing her costume and eating her Halloween treats, but spooky costumes and trick-or-treating weren’t for her. She was the type of toddler who cried at the sight of a mall Santa. She even screamed in terror once when Ronald McDonald paid a visit to our local McDonald’s.

So in honor of those tender hearted little ones, I created some not-so-scary, pretty-darned-cute Yetis and Green-Eyed Monster cookies. You can use your favorite cutout sugar cookie dough and you don’t need any special skills to decorate them. The icing is fondant instead of frosting or royal icing which makes these cute monsters the ideal mess-free (almost) cookie decorating project for kids!

For these cookies you’ll need:

  • One batch of cutout sugar cookie dough
  • Food coloring- I used Wilton Icing Color in Rose
  • Cookie cutters
  • Parchment paper
  • Scissors
  • X-acto knife or paring knife
  • White, purple, green and pink fondant or any colors of your choice. I made lavender by combining purple and white.
  • Sprinkles- I used a combination of two parts orange sprinkles and one part pink sprinkles
  • Piping gel
  • Small food safe brush
  • Edible marker- I used Americolor Gourmet Writer
  • Candy bananas, sugar pearls or any edible decorations of your choice
  • Piping tip
  • Optional- flower punch cutter, pink petal dust, cotton swab

Divide your cookie dough in half. For the Yeti cookies, color one half of the cookie dough with pink food coloring. Wrap remaining cookie dough in plastic and set aside in refrigerator.

Yeti cookie tutorial

Roll out the pink dough and cut out the Yeti cookies. The Yeti cookies are 2 1/2 inch by 3 1/4 inch rectangles. I used a clean, recycled food can as a cookie cutter. I opened the can with a can opener at both ends, rather than using the little key that comes with the can. If you don’t want to use this method, you can make a pattern out of parchment paper and cut out the cookies with an X-acto knife or a paring knife. 

Yeti cookie tutorial

For the Yeti faces, cut two small 1 1/2 inch x 1 inch rectangles with rounded corners out of parchment paper. The first one will be used to place on the Yeti cookies to keep the sprinkles off of the faces. Place small parchment rectangle on an unbaked cookie. Apply sprinkles, pressing them gently to make sure they adhere to the cookie. Remove the parchment rectangle and repeat with remaining cookies. Bake according to your cookie dough recipe. Let cool.

Yeti cookie tutorial

Roll out white fondant to 1/8 inch thickness. Use the remaining small parchment rectangle as a pattern to cut out a face for each Yeti cookie with an X-acto knife or a paring knife. Brush a bit of piping gel onto each cookie face area. Apply the white fondant face cutouts to the cookies. Let dry for at least 30 minutes, then draw eyes and a mouth with an edible marker. I made rosie cheeks with a small amount of petal dust applied with a cotton swab. Brush dabs of piping gel to apply the banana candy horns. I also added pink fondant flowers and sugar pearls to make my Yeti cookies extra cute. 

Roll out the remaining cookie dough and cut out the Green-Eyed Monster cookies. I used an apple tree cookie cutter, trimming off the trunk part. If you can’t find an apple tree cutter, you can use a blossom or sun cookie cutter. Bake according to your cookie dough recipe. Let cool.

Green-eyed monster cookie tutorial

Roll out the lavender fondant. Cut the fondant using the same cutter you used for the cookie dough. Brush piping gel onto cookies and apply the fondant shapes. Let dry at least 30 minutes. 

Green-eyed monster cookie tutorial

For eyes, roll out white and green fondant. I used the large end of a piping tip to cut out two white circles and two green circles for each cookie. Attach the green circles to the white circles with a dab of piping gel, offsetting them slightly. I used a tiny blossom punch cutter for the pupils and applied with piping gel. Use an edible marker to draw eyelashes and a mouth.

Green-eyed monster Halloween cookies

Fully Loaded Chocolate Snack Attack Cookies

Fully Loaded Chocolate Snack Attack Cookies by Brownie Mischief

I’ve seen some fully-loaded cookies out there, but these extreme cookies just earned the title! They’ve got enough chunky, chocolatey, sweet and salty glory to satisfy the most ravenous cookie craving!!! (Yes, all of those exclamation points are necessary.) But, before we even go one step further, I must mention a few disclaimers. I strongly urge you to make sure your fridge is stocked with milk. Please change into your comfiest pants before attempting this recipe. Canceling all plans for the rest of the day is recommended, as a nap may ensue immediately following consumption of these cookies. OK, now that we got that out of the way, let’s jump in with both feet!

Fully Loaded Chocolate Snack Attack Cookies by Brownie Mischief

Did you notice how serious the mood got? We need a moody photo that looks like it was taken in a rustic cabin to emphasize the seriousness of these chocolate cookies. It’s no coincidence that I’m sharing this recipe with you right before Father’s Day. Every Dad I know is an accomplished snacker. Dad will love these cookies for his personal snack stash! Package them up and deliver them to your Pop with a jug of milk or a thermos of coffee. You can probably skip the straw. We all know that Dad is going to chug his milk, but every respectable blog photo of milk must contain a pretty straw.

Fully Loaded Chocolate Snack Attack Cookie Ice Cream Sandwiches by Brownie Mischief

These cookies make amazing ice cream sandwiches, too. Press a scoop of softened vanilla ice cream between two cookies and pop it in the freezer. If you want to make these cookies picture perfect, use a scoop to portion out your dough. This will make them uniform in size and they’ll bake more evenly. Click here to find the scoop I used. For even more visual appeal, don’t crush the pretzels before adding to the cookie dough. Some of them will break when you are mixing them into the dough and this is fine, because the large pieces help make these cookies chunky. This recipe makes eighteen large cookies. That’s one dozen for Dad plus six for you to snack on, because when these babies come out of the oven with their melted chocolate chunks and little pools of caramel, resisting will be impossible! Now it’s cookie time…you’ve got this!


Print Recipe


Fully Loaded Chocolate Snack Attack Cookies

Large chunky, sweet and salty chocolate cookies loaded with chocolate chunks, pretzels, caramel, rice cereal and nuts.

Course Dessert

Prep Time 15 minutes
Cook Time 15 minutes

Servings
cookies


Ingredients

Course Dessert

Prep Time 15 minutes
Cook Time 15 minutes

Servings
cookies


Ingredients


Instructions
  1. Preheat oven to 350º F. Line 2 large baking sheets with parchment paper.

  2. In a medium bowl, sift together flour, cocoa powder, baking powder, baking soda and salt. Set aside

  3. In a large bowl, cream butter, granulated sugar, and brown sugar together with an electric mixer at medium speed until light and fluffy, about 2-3 minutes.

  4. Add eggs, one at a time, beating at medium speed until smooth. Add vanilla and beat just until combined.

  5. Add flour mixture and beat at low speed, just until combined.

  6. Stir in chocolate chunks, pretzels, caramel bits, chocolate rice cereal and peanuts.

  7. Scoop 1/4 cup portions of cookie dough and place 2 inches apart on prepared baking sheets. Bake for 13-15 minutes, until set. Cool on cookie sheets for 1 minute before transferring to wire rack to cool.

Sparkling Sweetheart Palmier Cookies

Sparkling Sweetheart Palmier Cookies

Crisp, delicate French palmier cookies, also known as elephant ears, are the perfect ladylike pastries to enjoy with hot cocoa, tea or coffee. There’s certainly no shortage of palmier recipes out there, but if you’re in the mood for simplicity, this is the recipe for you! This version is very easy to make and only requires two ingredients. Puff pastry dough and sparkling sugar, that’s it! Pretty stress-free, right? Since Valentine’s Day is coming soon, I formed the palmiers into hearts, rather than the traditional palm shape. I used some pale pink sparkling sugar that I had on hand, but feel free to use any color you like.

Sparkling Sweetheart Palmier Cookies

These palmier cookies are as delicious as they are lovely. Wouldn’t they be the perfect addition to a bridal or baby shower sweets table? I also envision them as a simple, but elegant Valentine’s Day breakfast or a sweet, homemade Valentine’s Day gift wrapped in tissue paper and ribbon. Most people love receiving sweet treats, I know I do! (Hint…hint…Hubby if you’re reading this!) I hope this simple recipe provides you with a bit of inspiration. I’ll be sharing more heart-shaped inspiration in the days ahead, so stop by again soon!

Sparkling Sweetheart Palmier Cookies

Print Recipe
Sparkling Sweetheart Palmier Cookies
Sweet, crisp, flaky puff pastry cookies.
Course Dessert
Prep Time 15 minutes
Cook Time 15 minutes
Passive Time 30 minutes
Servings
palmiers
Ingredients
Course Dessert
Prep Time 15 minutes
Cook Time 15 minutes
Passive Time 30 minutes
Servings
palmiers
Ingredients
Instructions
  1. Sprinkle 2 tablespoons of sparkling sugar on your work surface. Place 1 puff pastry sheet on the sugared surface. Sprinkle evenly with 2 tablespoons of sparkling sugar. Roll gently with a rolling pin, pressing sugar into the dough.
    Sparkling Sweetheart Palmier Tutorial
  2. Roll the short ends of the puff pastry sheet in towards the center, jelly roll style, leaving a 1-inch gap in the center. Repeat steps with the remaining puff pastry sheet.
  3. Transfer puff pastry rolls to a tray. Cover with plastic wrap and chill in the refrigerator for 30 minutes.
  4. Preheat oven to 400°F. Line 2 large baking sheets with parchment paper.
  5. Slice each roll into 1/2-inch slices. Place the slices 2 inches apart onto the prepared baking sheets, cut side down, forming into heart shapes. Sprinkle any remaining sparkling sugar over the hearts.
    Sparkling Sweetheart Palmiers Tutorial
  6. Bake until 15-17 minutes, until golden brown. Remove to wire racks to cool before serving.
Recipe Notes

Palmiers are best served the day they are made. Store in an airtight container for up to a few days.