Pumpkin Cinnamon Roll Cakes

Summer was such a happy season for me as a child that I didn’t want it to end. I still love summer, but now that I’m an adult, I begin to anticipate fall right around the time when I’m tired of harsh, hot temperatures, rumbling air conditioners and flies buzzing around at cookouts. Now is that time for me. It’s so hot where I live right now, that I’m welcoming the cool, crisp fall weather and all it brings.

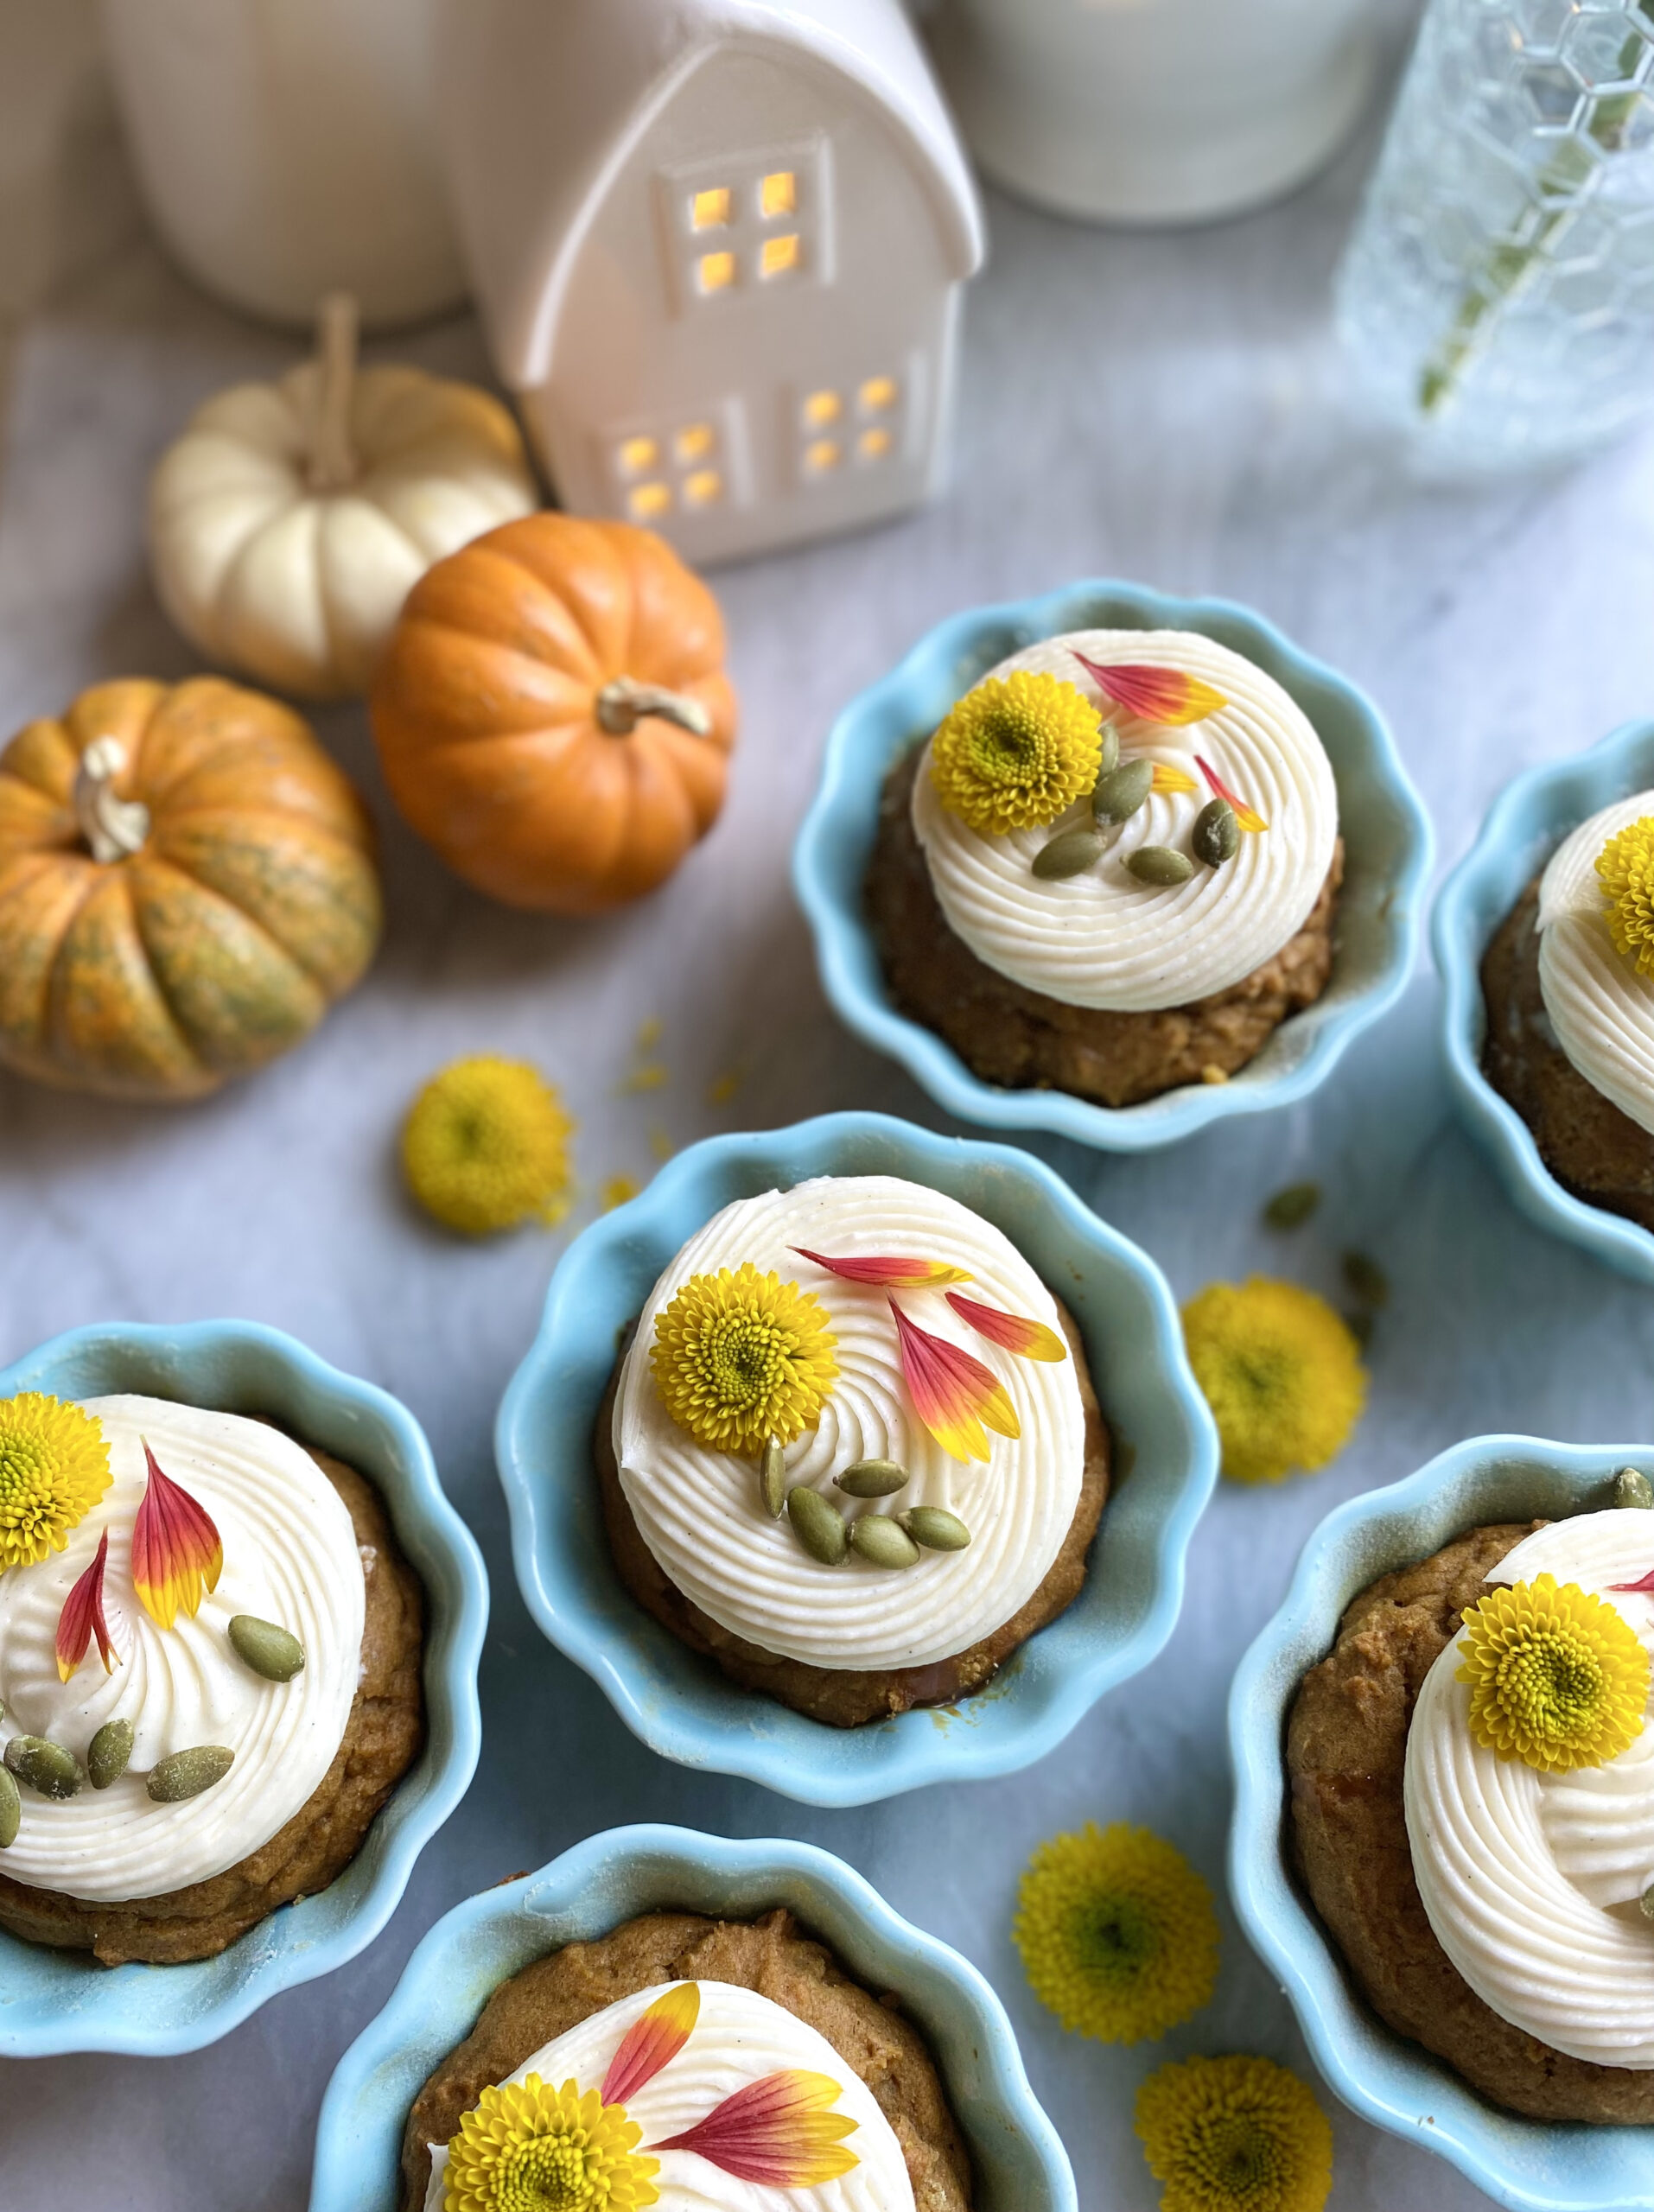
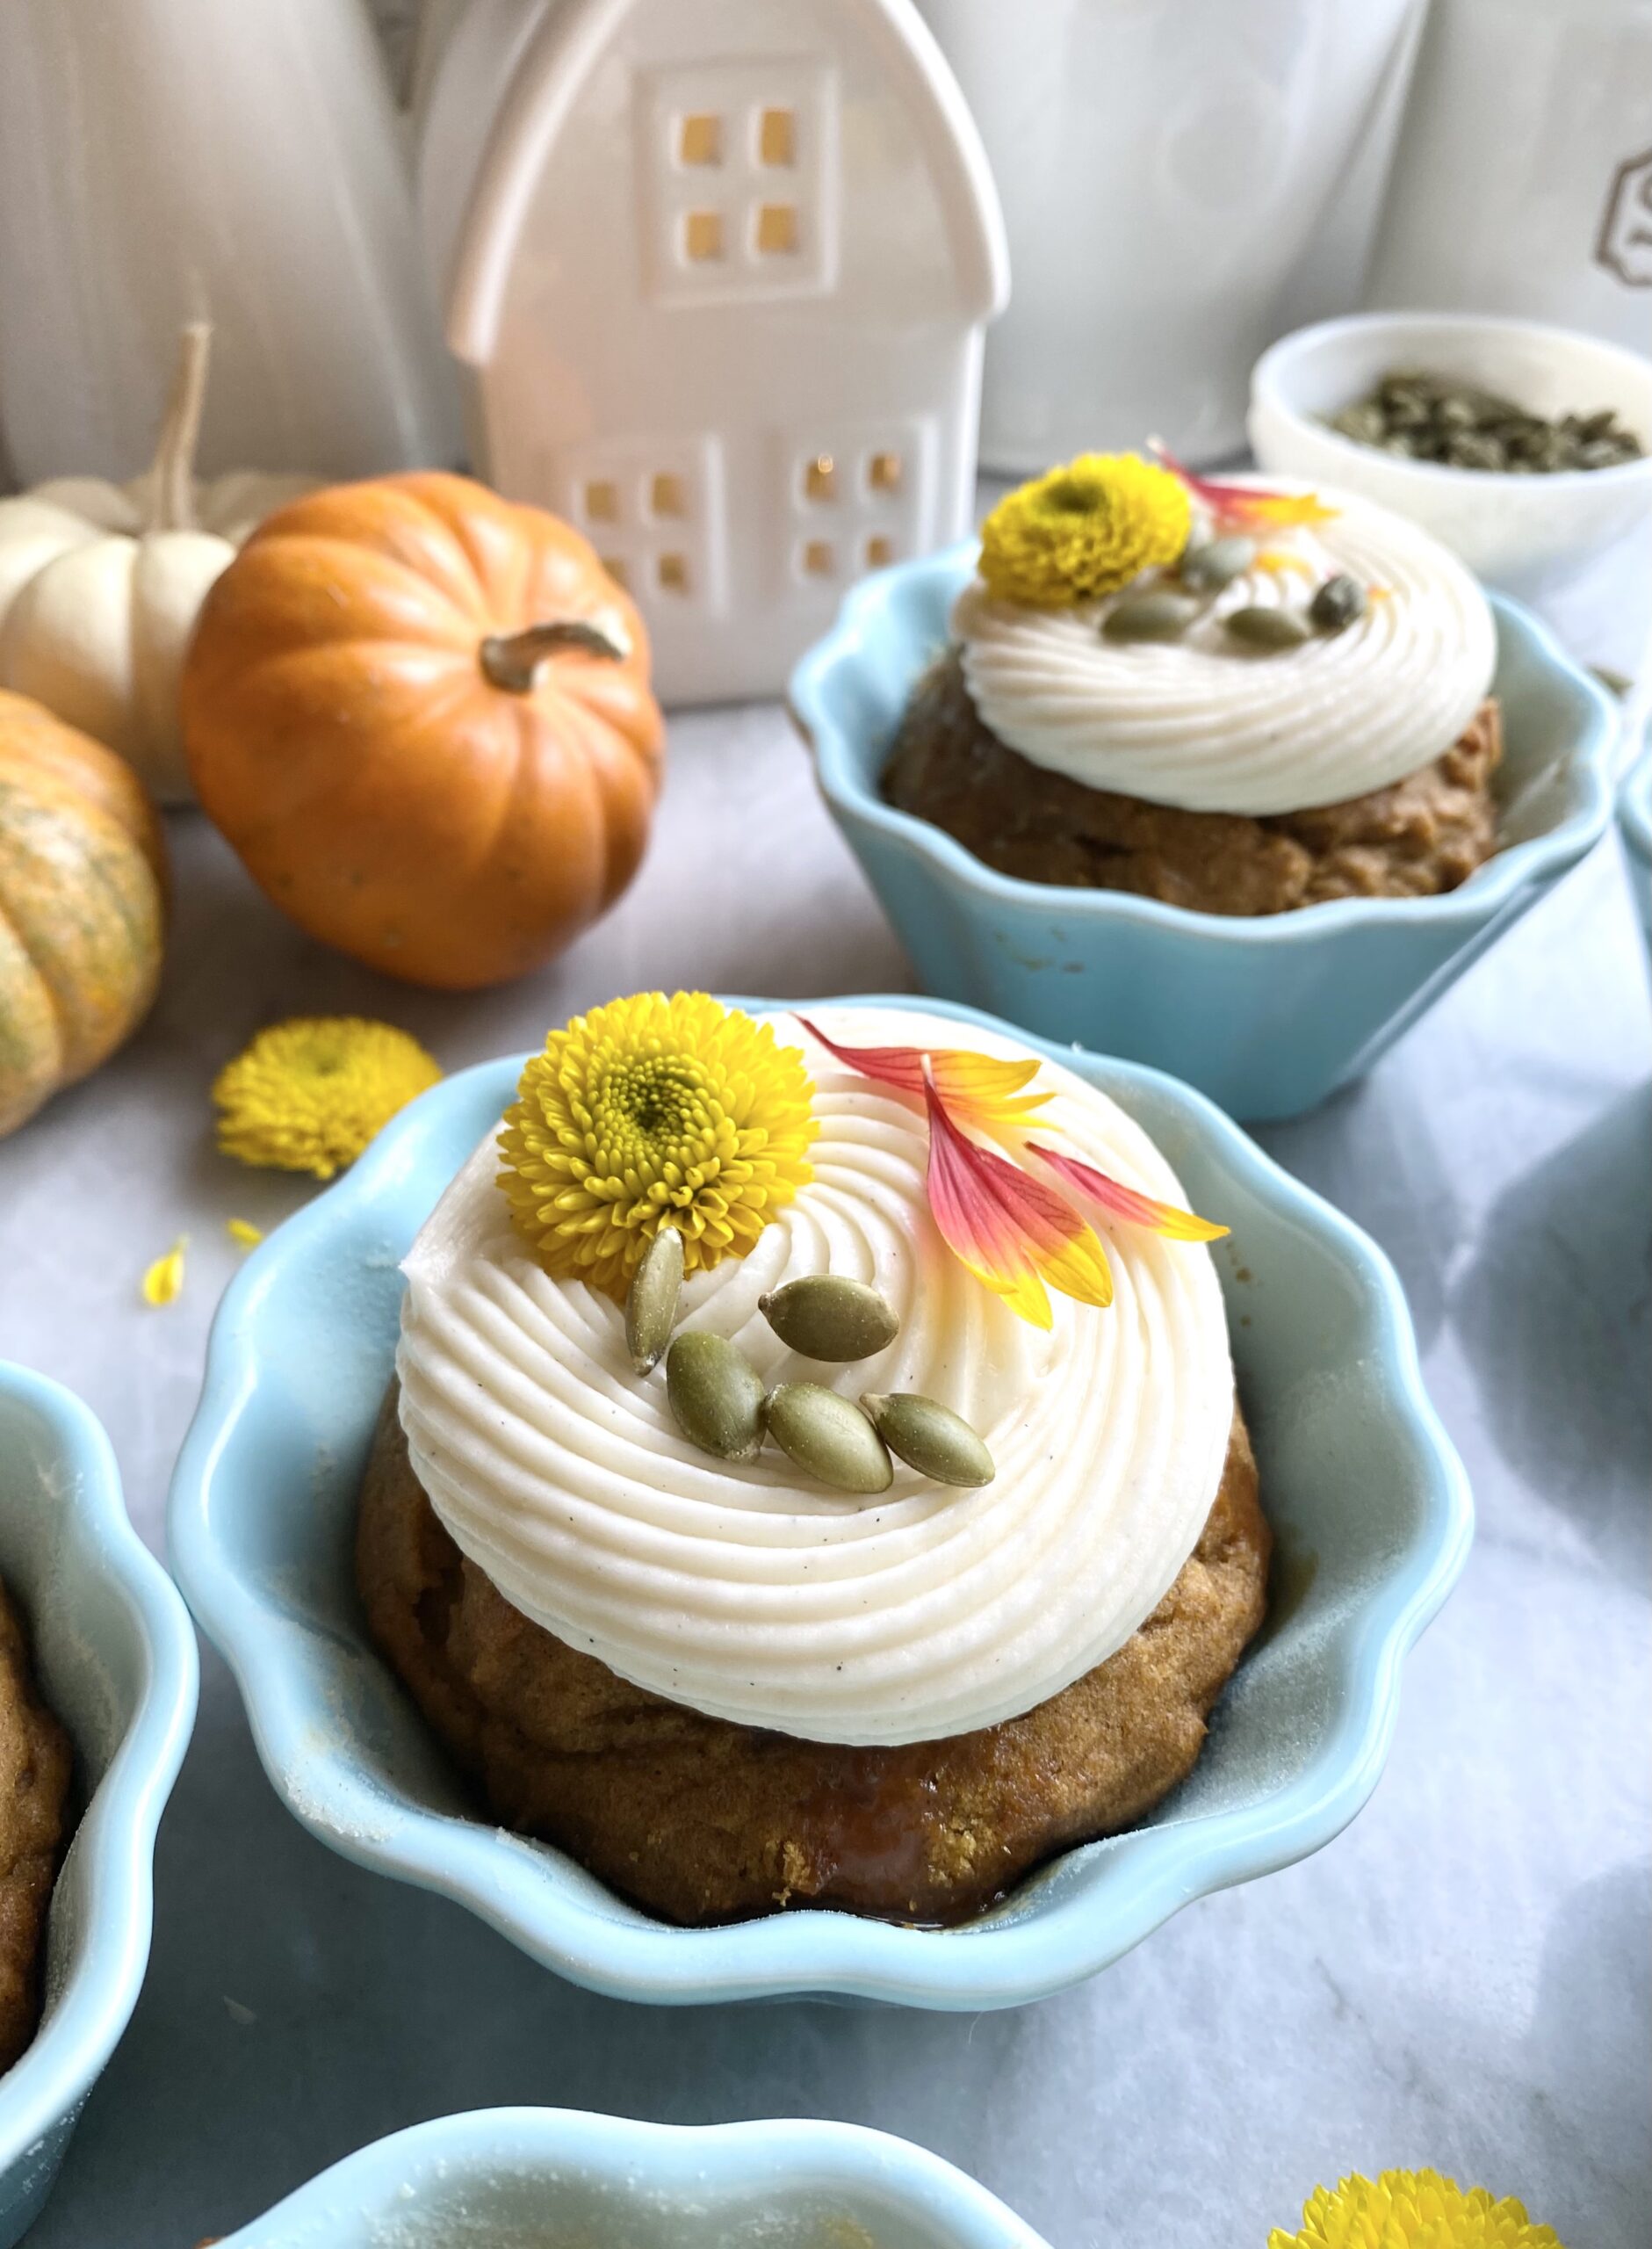
The beautiful warm flavors of fall are perfectly captured in these Pumpkin Cinnamon Roll Cakes. The moist, perfectly spiced cakes are topped with a cinnamon swirl which is basically cinnamon roll filling. I topped them with Vanilla Bean Icing, but you can also make it cream cheese icing by swapping out 1 tablespoon of the melted butter for 1 tablespoon of softened cream cheese, if you prefer. The optional addition of meringue powder helps the icing set up and gives it that crunch we love on glazed donuts. To find meringue powder, click here.

I used a shallow jumbo muffin pan to make these cakes. The muffin cups are 4 inches wide and 1 inch deep. A hamburger bun pan for 4-inch buns or six 4-inch cake pans will also work. To find the pan I used, click here.

To watch the Instagram video of the finished Pumpkin Cinnamon Roll Cakes, click here.

Print Recipe
Pumpkin Cinnamon Roll Cakes
Moist pumpkin cakes with cinnamon swirls and vanilla bean icing
Servings
4-inch cakes
Ingredients
Pumpkin Cakes
Cinnamon Swirl
Vanilla Bean Icing
Servings
4-inch cakes
Ingredients
Pumpkin Cakes
Cinnamon Swirl
Vanilla Bean Icing
Instructions
Pumpkin Cakes
  1. Preheat the oven to 350ºF (180ºC). Line a 6-serving shallow jumbo muffin pan with jumbo muffin liners.* (The jumbo muffin liners will fit by pressing them in around the inside bottom edges.) The muffin pan I used has cups that are 4-inches across by 1-inch deep. A hamburger bun pan for 4-inch buns or six 4-inch cake pans will also work.
  2. In a medium bowl, whisk together the flour, baking powder, baking soda, salt, cinnamon, ginger and nutmeg.
  3. In a large bowl, whisk together the sugar, oil, eggs and vanilla until smooth and well combined. Mix in the pumpkin purée. Stir in the flour in two additions, just until combined.
  4. Transfer the batter to the muffin cups, evenly dividing the batter among the cups. Pipe the cinnamon swirl mixture in a spiral on the top of the batter of each one.
  5. Bake until a toothpick inserted into the center of the cake part comes out clean, about 23-27 minutes. Let the cakes cool in the pan for 5 minutes, then transfer to a cooling rack.
Cinnamon Swirl
  1. In a small bowl, whisk together the brown sugar, flour, cinnamon and salt. Add the melted butter and whisk until well combined.
  2. Transfer the mixture to a piping bag fitted with a 1/4-inch wide round tip.
Vanilla Bean Icing
  1. In a small bowl, whisk together the butter, vanilla bean paste, powdered sugar, meringue powder, salt and 1 tablespoon of milk until well combined. Whisk in more milk as needed to reach your desired consistency.
  2. Brush the icing on the cooled cakes with a small pastry brush or make the icing a little thinner and drizzle the icing on if you prefer.
Recipe Notes

*To find jumbo muffin liners, click here.

To find the baking pan I used, click here.

To find 4-inch cake pans, click here.

To find meringue powder click here.
Pumpkin Cake

Pumpkin Cake

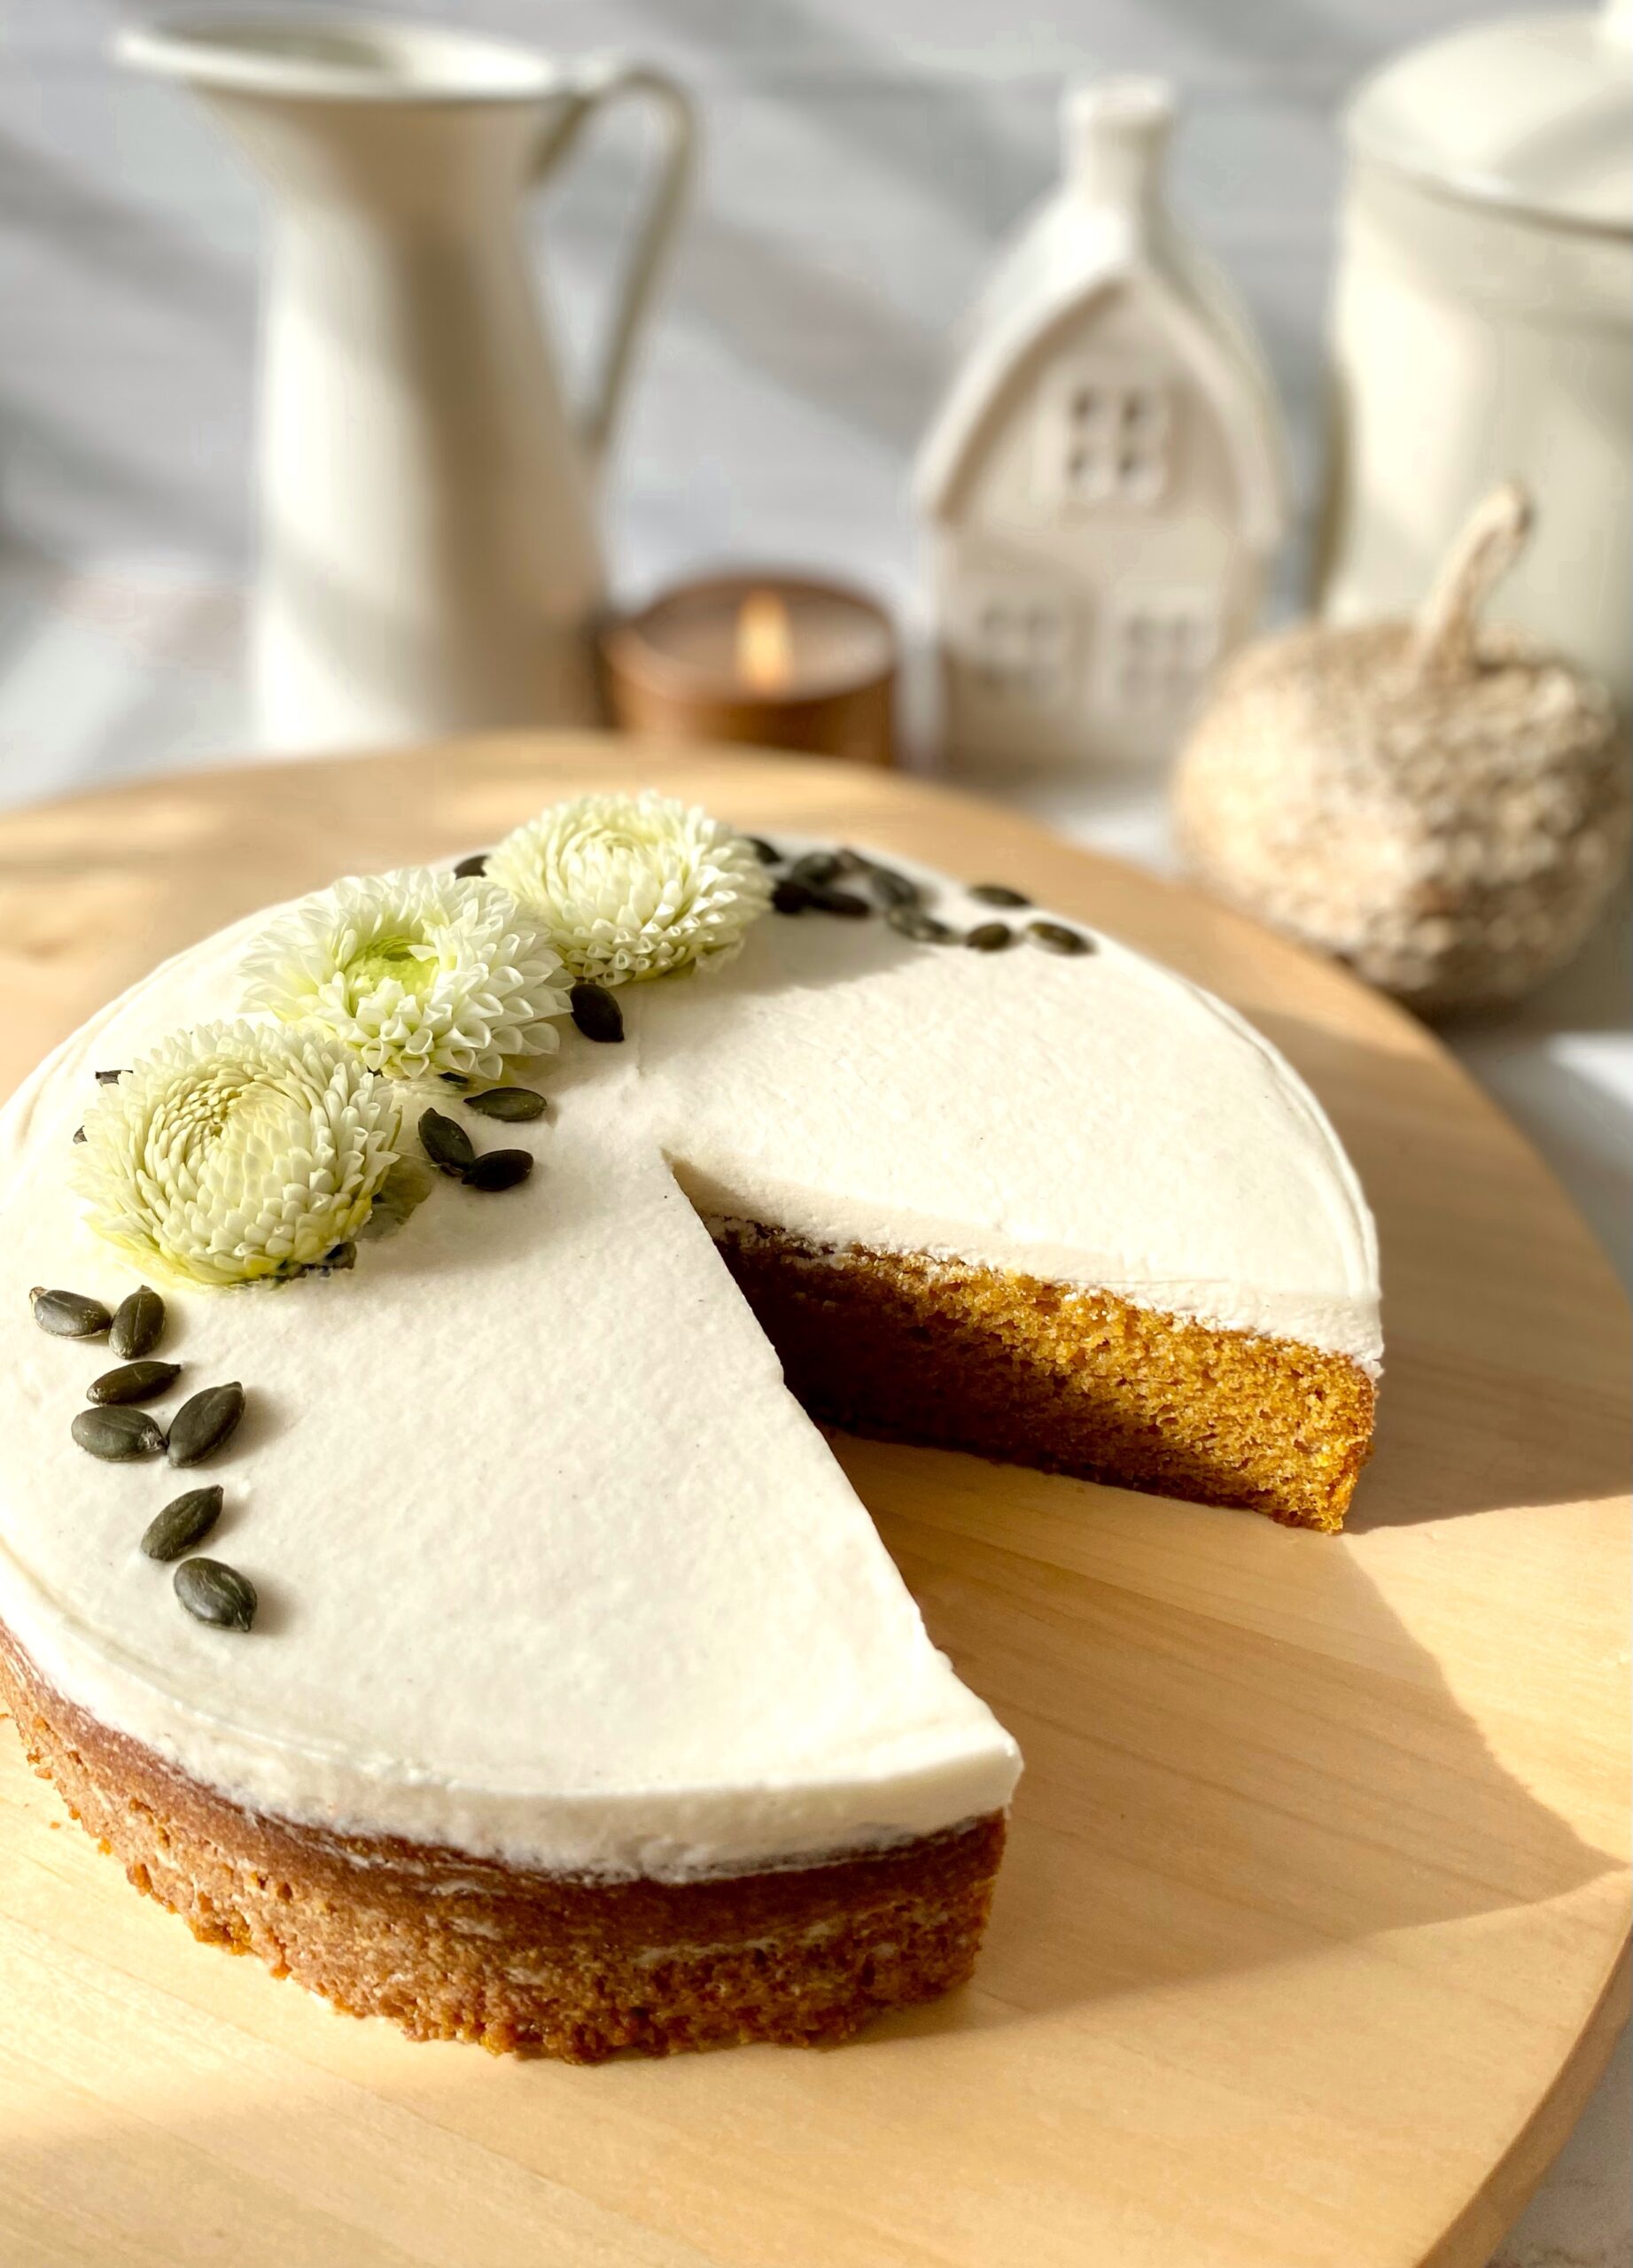
This perfect pumpkin cake brings back memories. The tender, moist texture reminds me of the pumpkin cake bars I used to make in junior high. I got the treasured bar recipe from an old children’s cookbook. I lent the cookbook to a neighbor and never saw the book or the recipe again. Through trial and error, I came up with this cake, which I think is even better! It’s so delicious it doesn’t need frosting, but the classic pairing with cream cheese frosting takes it over the top.

Print Recipe
Pumpkin Cake
Course Dessert
Keyword cake, pumpkin
Servings
Ingredients
Pumpkin Cake
Cream Cheese Frosting
Course Dessert
Keyword cake, pumpkin
Servings
Ingredients
Pumpkin Cake
Cream Cheese Frosting
Instructions
Pumpkin Cake
  1. Preheat the oven to 325ºF (165ºC). Line the bottom of an 8-inch round cake pan* with parchment paper**. Grease and flour the insides.
  2. In a medium bowl, whisk together the flour, baking powder, baking soda, salt, cinnamon, ginger and nutmeg.
  3. In a large bowl, beat the sugar, oil, eggs, vanilla and pumpkin purée with an electric mixer or by hand with a whisk, until well combined
  4. Stir in the flour mixture, just until combined.
  5. Transfer the batter to the prepared cake pan. Bake until a toothpick inserted into the center of the cake comes out clean, about 38-43 minutes.
  6. Cool the cake in pan for 10 minutes. Remove the cake from pan and transfer to a cooling rack.
Cream Cheese Frosting
  1. In a large bowl, beat the cream cheese and butter together with an electric mixer, until creamy.
  2. Beat in the vanilla extract and salt until well combined.
  3. On low speed, beat in the powdered sugar.
  4. On low speed, beat in the heavy cream a little at a time until your desired consistency is reached. Stir with a spatula to smooth out any bubbles.
Recipe Notes

*To find the cake pan I used, click here.

**To find the parchment rounds I used, click here.

Harry Potter Inspired Pumpkin Pasties

Pumpkin Pasties

Even though the weather is warm where I live at the moment, I’m dreaming about all the delicious fall treats I’ll be baking this year. Let’s look forward to cool, crisp weather, the smell of pumpkin or apples baking, and sipping a warm mug of something spicy while we wait for our bakes to come out of the oven.

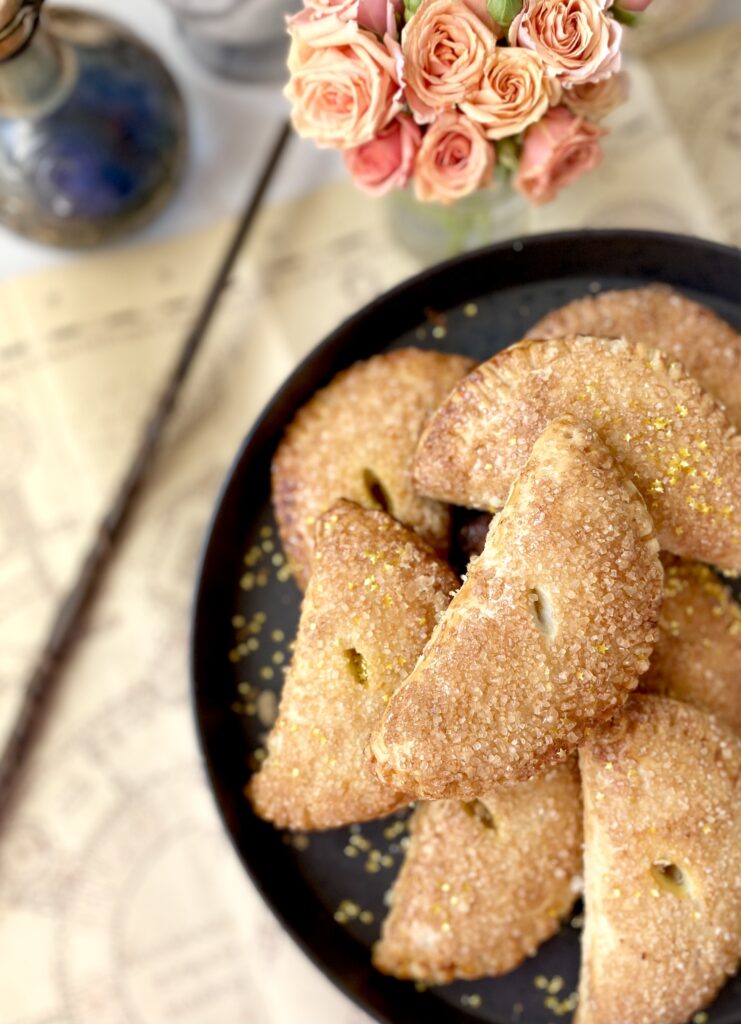
Inevitably, every fall, the Harry Potter movies come on at my house and it’s nice to have some popcorn and sweet treats to enjoy while watching the movies. And these Harry Potter Inspired Pumpkin Pasties are perfect for that! If you’ve read the Harry Potter books, you may remember the Pumpkin Pasties being mentioned. There are many interpretations out there, but I imagined them to be crispy and flaky on the outside with a sweet pumpkin filling. I included a delicious flaky pie crust recipe here, but feel free to use store bought pie dough if you want to streamline the process. I sprinkled mine with raw turbinado sugar before baking which provides a sweet delicious crunch. You can also use maple sugar or sparkling sugar. To find the sugar I used, click here. And as a magical touch, I added some edible gold star glitter. To find the edible gold stars, click here.

Print Recipe
Pumpkin Pasties
Harry Potter inspired sweet pumpkin filled hand pies
Course Dessert
Keyword pastry
Servings
hand pies
Ingredients
Pie Crust
Pumpkin Filling
Assembly
Course Dessert
Keyword pastry
Servings
hand pies
Ingredients
Pie Crust
Pumpkin Filling
Assembly
Instructions
Pie Crust
  1. In a large bowl, whisk together the flour, sugar and salt. Work the shortening into the flour mixture with your fingertips until evenly dispersed throughout.
  2. Work the butter into the flour mixture with your fingertips, creating flat dime size pieces.
  3. Mix the ice water and vinegar together. Sprinkle over the flour mixture a little at a time, stirring until dough comes together. You may not need all of the water depending on your climate.
  4. Turn the dough out onto a lightly floured surface. Fold the dough over onto itself a few times. Do not overwork the dough! Form the dough into two disks. Cover with plastic wrap and refrigerate at least one hour or up to overnight.
Pumpkin Filling
  1. In a medium bowl, mix together the pumpkin purée, sugar, egg, heavy cream, cinnamon, ginger and nutmeg until well combined.
Assembly
  1. Preheat oven to 400ºF. (200ºC). Line two baking sheets with parchment paper.
  2. On a lightly floured surface, roll dough to 1/8-inch thickness. Cut dough into 12 5-inch rounds, re-rolling scraps as needed. Place dough rounds on prepared baking sheets.
  3. Place 2 tablespoons of filling on each round, leaving a half-inch border. Apply egg wash to edges of rounds.
  4. Fold the dough over and press the edges together. Crimp the edges with a fork. If any filling oozes out, wipe it up with a paper towel or it will burn.
  5. Brush the pasties with egg wash. Cut a half-inch slit into the top of each pastie. Sprinkle with coarse sugar.
  6. Bake until golden brown, about 18-20 minutes. Transfer to a cooling rack.

Pumpkin Cinnamon Mini Muffins

My mom had a cupboard in the kitchen containing a few old cookbooks that she rarely used. As a child, I used to enjoy perusing them and looking at the baked treats. Some of the cookbooks were so old, they had black and white photos or even just drawings of the food. The ones with drawings interested me because they depicted smiling children enjoying the treats.

When I started learning to bake, I found a recipe for French Breakfast Puffs in one of those old books. The title sounded so fancy, but they were really just simple muffins dunked in butter and rolled in cinnamon sugar. I have no idea what the name of the cookbook was or what happened to it, but the delicious muffin recipe stuck around for a while. I’ve tweaked the recipe so many times over the years, and most recently, I added pumpkin to it. These Pumpkin Cinnamon Mini Muffins are one of the best versions I’ve created. The inside texture of the muffins is soft and moist and it contrasts nicely with the slight crunch you get from the cinnamon sugar on the outside. They look so cute too, like little pumpkins, and they definitely make children smile!

To watch the TikTok video of these mini muffins being made, click here.

Print Recipe
Pumpkin Cinnamon Mini Muffins
Servings
mini muffins
Ingredients
Muffins
Topping
Servings
mini muffins
Ingredients
Muffins
Topping
Instructions
Muffins
  1. Preheat oven to 350ºF. Grease and flour a 24-serving *mini muffin pan.
  2. In a medium bowl, whisk together flour, baking powder, salt, cinnamon, ginger and nutmeg.
  3. In a large bowl, beat sugar, oil, egg and pumpkin purée until smooth.
  4. Stir in flour mixture just until combined. A few lumps are okay. Batter will be thick.
  5. Transfer batter to prepared pan, about a scant 2 tablespoons of batter in each muffin cup.
  6. Bake until toothpick inserted into muffins comes out clean, about 11-13 minutes. Do not over bake! Be diligent, since over baking can happen very quickly with mini muffins.
  7. Let muffins cool in pan for 5 minutes. Turn muffins out onto a cooling rack.
Topping
  1. Combine sugar and cinnamon in a shallow bowl.
  2. Dunk warm muffins in melted butter, then roll in cinnamon sugar.
Recipe Notes

To find the mini muffin pan I used, click here.

Pumpkin Spice Mini Loaves with Caramel Filling

pumpkin spices mini loaves with caramel filling

In early September, I saw someone announce the fall season on social media. In addition to people pointing out that it was too early for the announcement, the word police corrected the person with the word autumn. Since both terms are correct, we can call the season whatever we prefer. I think autumn is a pretty sounding word, so I’ll use it for the rest of this post. Whatever you call it, these Pumpkin Spice Mini Loaves are a perfect little celebration of the season. They have just the right amount of pumpkin spices, making them so fragrant that your kitchen will smell like cozy autumn heaven.

pumpkin spices mini loaves with caramel filling

I call them loaves because I originally made them in mini loaf pans. They’re so cute and delicious that I often give them as holiday gifts. This year I decided to try them in ramekins and I loved the results! I used 6-ounce ramekins, but you can use 8-ounce ramekins, any size mini loaf pans, a muffin pan or even an 8 or 9-inch loaf pan. Keep in mind that baking times will differ. To find the ramekins I used, click here.

Print Recipe
Pumpkin Spice Mini Loaves with Caramel Filling
Mini loaves of tender pumpkin bread with caramel filling and luscious cream cheese frosting
Servings
mini loaves
Ingredients
Pumpkin Spice Mini Loaves
Cream Cheese Frosting
Servings
mini loaves
Ingredients
Pumpkin Spice Mini Loaves
Cream Cheese Frosting
Instructions
Pumpkin Spice Mini Loaves
  1. Preheat oven to 350ºF. Grease and flour seven 6-ounce ramekins or six 8-ounce ramekins or any loaf pans of your choice.
  2. In a large bowl, sift together flour, cinnamon, baking powder, baking soda, salt, ginger, nutmeg and cloves. Set aside.
  3. In a separate large bowl, cream butter and brown sugar together with an electric mixer until light and fluffy.
  4. Beat in eggs, one at a time, until well combined.
  5. Beat in pumpkin and vanilla until combined.
  6. Stir in flour mixture just until combined.
  7. Divide batter evenly into prepared ramekins. Bake for 20-25 minutes or until golden brown and toothpick inserted in center comes out clean. Do not overbake. (Mini loaves or muffins bake for 15-25 minutes, depending on size. 8 or 9-inch loaf bakes for 40-50 minutes)
  8. Cool completely if serving in ramekins or remove from pans after cooling for 10 minutes. Continue to cool on wire rack.
  9. Make 3/4-inch well in the center of each loaf. Fill with caramel sauce. (For an 8 or 9-inch loaf, poke multiple holes with a skewer. Fill with caramel sauce.)
  10. Top with cream cheese frosting and pumpkin seeds
Cream Cheese Frosting
  1. In a large bowl, beat cream cheese and butter together with an electric mixer until smooth.
  2. Add vanilla extract and salt and beat until combined.
  3. Gradually add powdered sugar and beat at medium speed until combined.
  4. Add heavy cream and beat at low speed until combined.

Pumpkin Cheesecake Crumble Brownies

pumpkin cheesecake crumble brownies

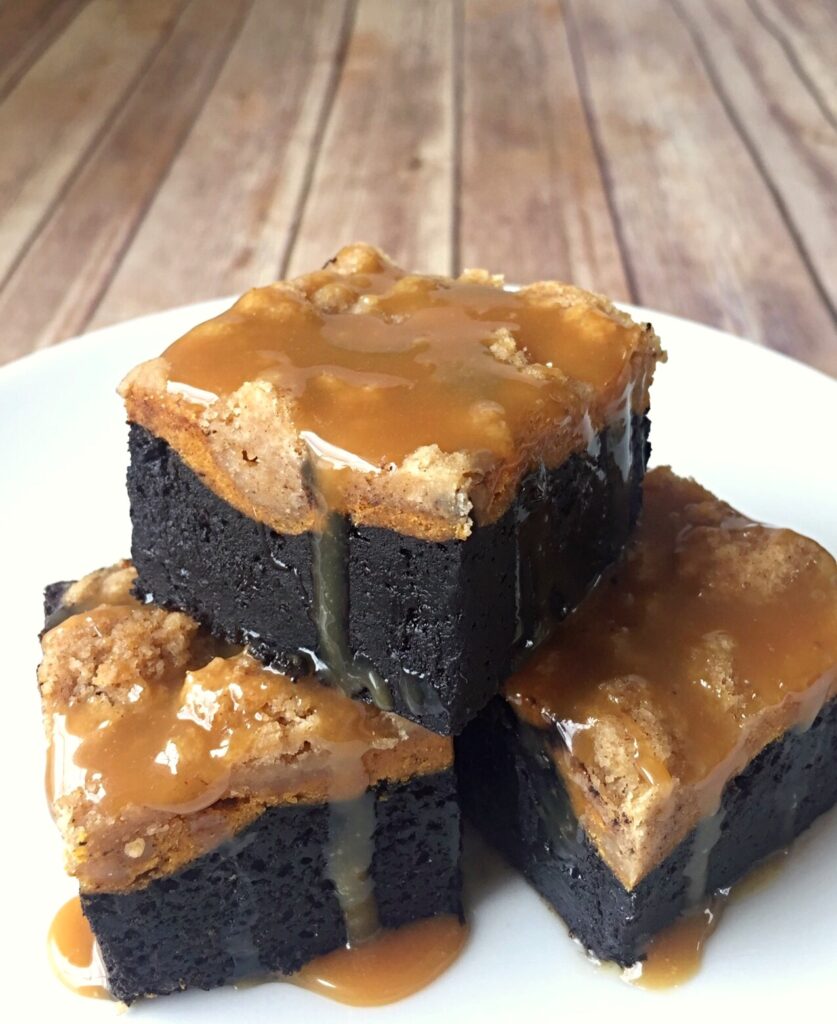
It’s Fall 2020. We need chocolate! We need pumpkin spice! And we need it drenched with caramel! These satisfying brownies check all of the boxes with multiple layers of comfort. A rich chocolate brownie is the base. The next layer is heavenly pumpkin cheesecake. The topping is a buttery crumble that rivals the best crumb cake. Finally, as if that isn’t enough, it’s drizzled with caramel sauce!

If it sounds complicated, don’t worry, it’s not. Each layer is super easy to make. You can use your favorite store bought caramel sauce to top it with. Vanilla ice cream and/or whipped cream are optional, but highly recommended toppings also. Just saying.

The layers go unexpectedly well together and make the perfect dessert for Halloween or Thanksgiving. I’m even going to add these beauties to my Christmas dessert table this year. Enjoy! You deserve it.

Print Recipe
Pumpkin Cheesecake Crumble Brownies
Chocolate brownies with pumpkin cheesecake and crumb topping, topped with caramel sauce.
Course Dessert
Servings
Ingredients
Crumb Topping
Pumpkin Cheesecake Layer
Brownie Layer
Course Dessert
Servings
Ingredients
Crumb Topping
Pumpkin Cheesecake Layer
Brownie Layer
Instructions
Crumb Topping
  1. In a medium bowl, combine flour, brown sugar, cinnamon and salt.
  2. Cut in butter using a pastry blender or your fingers until well-combined and crumbles are pea-sized. Press crumbles together to make large quarter-sized chunks.
  3. Set aside in refrigerator.
Pumpkin Cheesecake Layer
  1. Preheat oven to 350º. Line a 9-inch square baking pan with parchment paper.
  2. In a medium bowl, beat cream cheese with an electric mixer until smooth.
  3. Add pumpkin, eggs, sugar, cinnamon, ginger and nutmeg and beat until well combined. Set aside.
Brownie Layer
  1. Melt 1 stick of butter in a large microwaveable bowl.
  2. Stir in sugar until combined
  3. Stir in cocoa powder, vanilla, baking powder and salt.
  4. Add the eggs and beat until smooth
  5. Add the flour and mix until just combined.
  6. Spread brownie batter into prepared baking pan. Smooth with a spatula.
  7. Spread pumpkin cheesecake batter over the top of brownie batter. Smooth with a spatula.
  8. Sprinkle crumb topping evenly over the top of pumpkin cheesecake layer.
  9. Bake for 40-50 minutes until a toothpick inserted into pumpkin cheesecake layer comes out clean.
  10. Let cool completely. Cut into squares and serve with caramel sauce.

Not-So-Scary Halloween Monster Cookies

One of the best things about Halloween is all of the adorable costumes worn by the littlest trick-or-treaters. I’ll never forget the year my young daughter was dressed as a flower with chubby cheeks. She enjoyed wearing her costume and eating her Halloween treats, but spooky costumes and trick-or-treating weren’t for her. She was the type of toddler who cried at the sight of a mall Santa. She even screamed in terror once when Ronald McDonald paid a visit to our local McDonald’s.

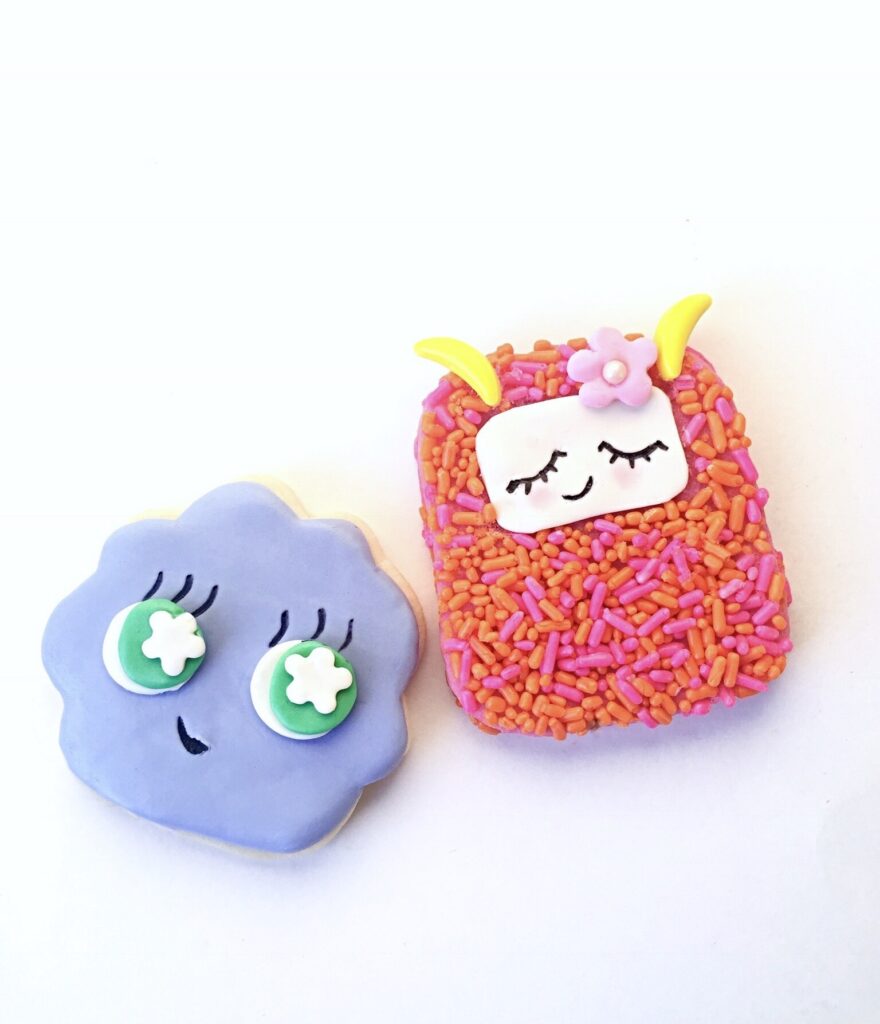
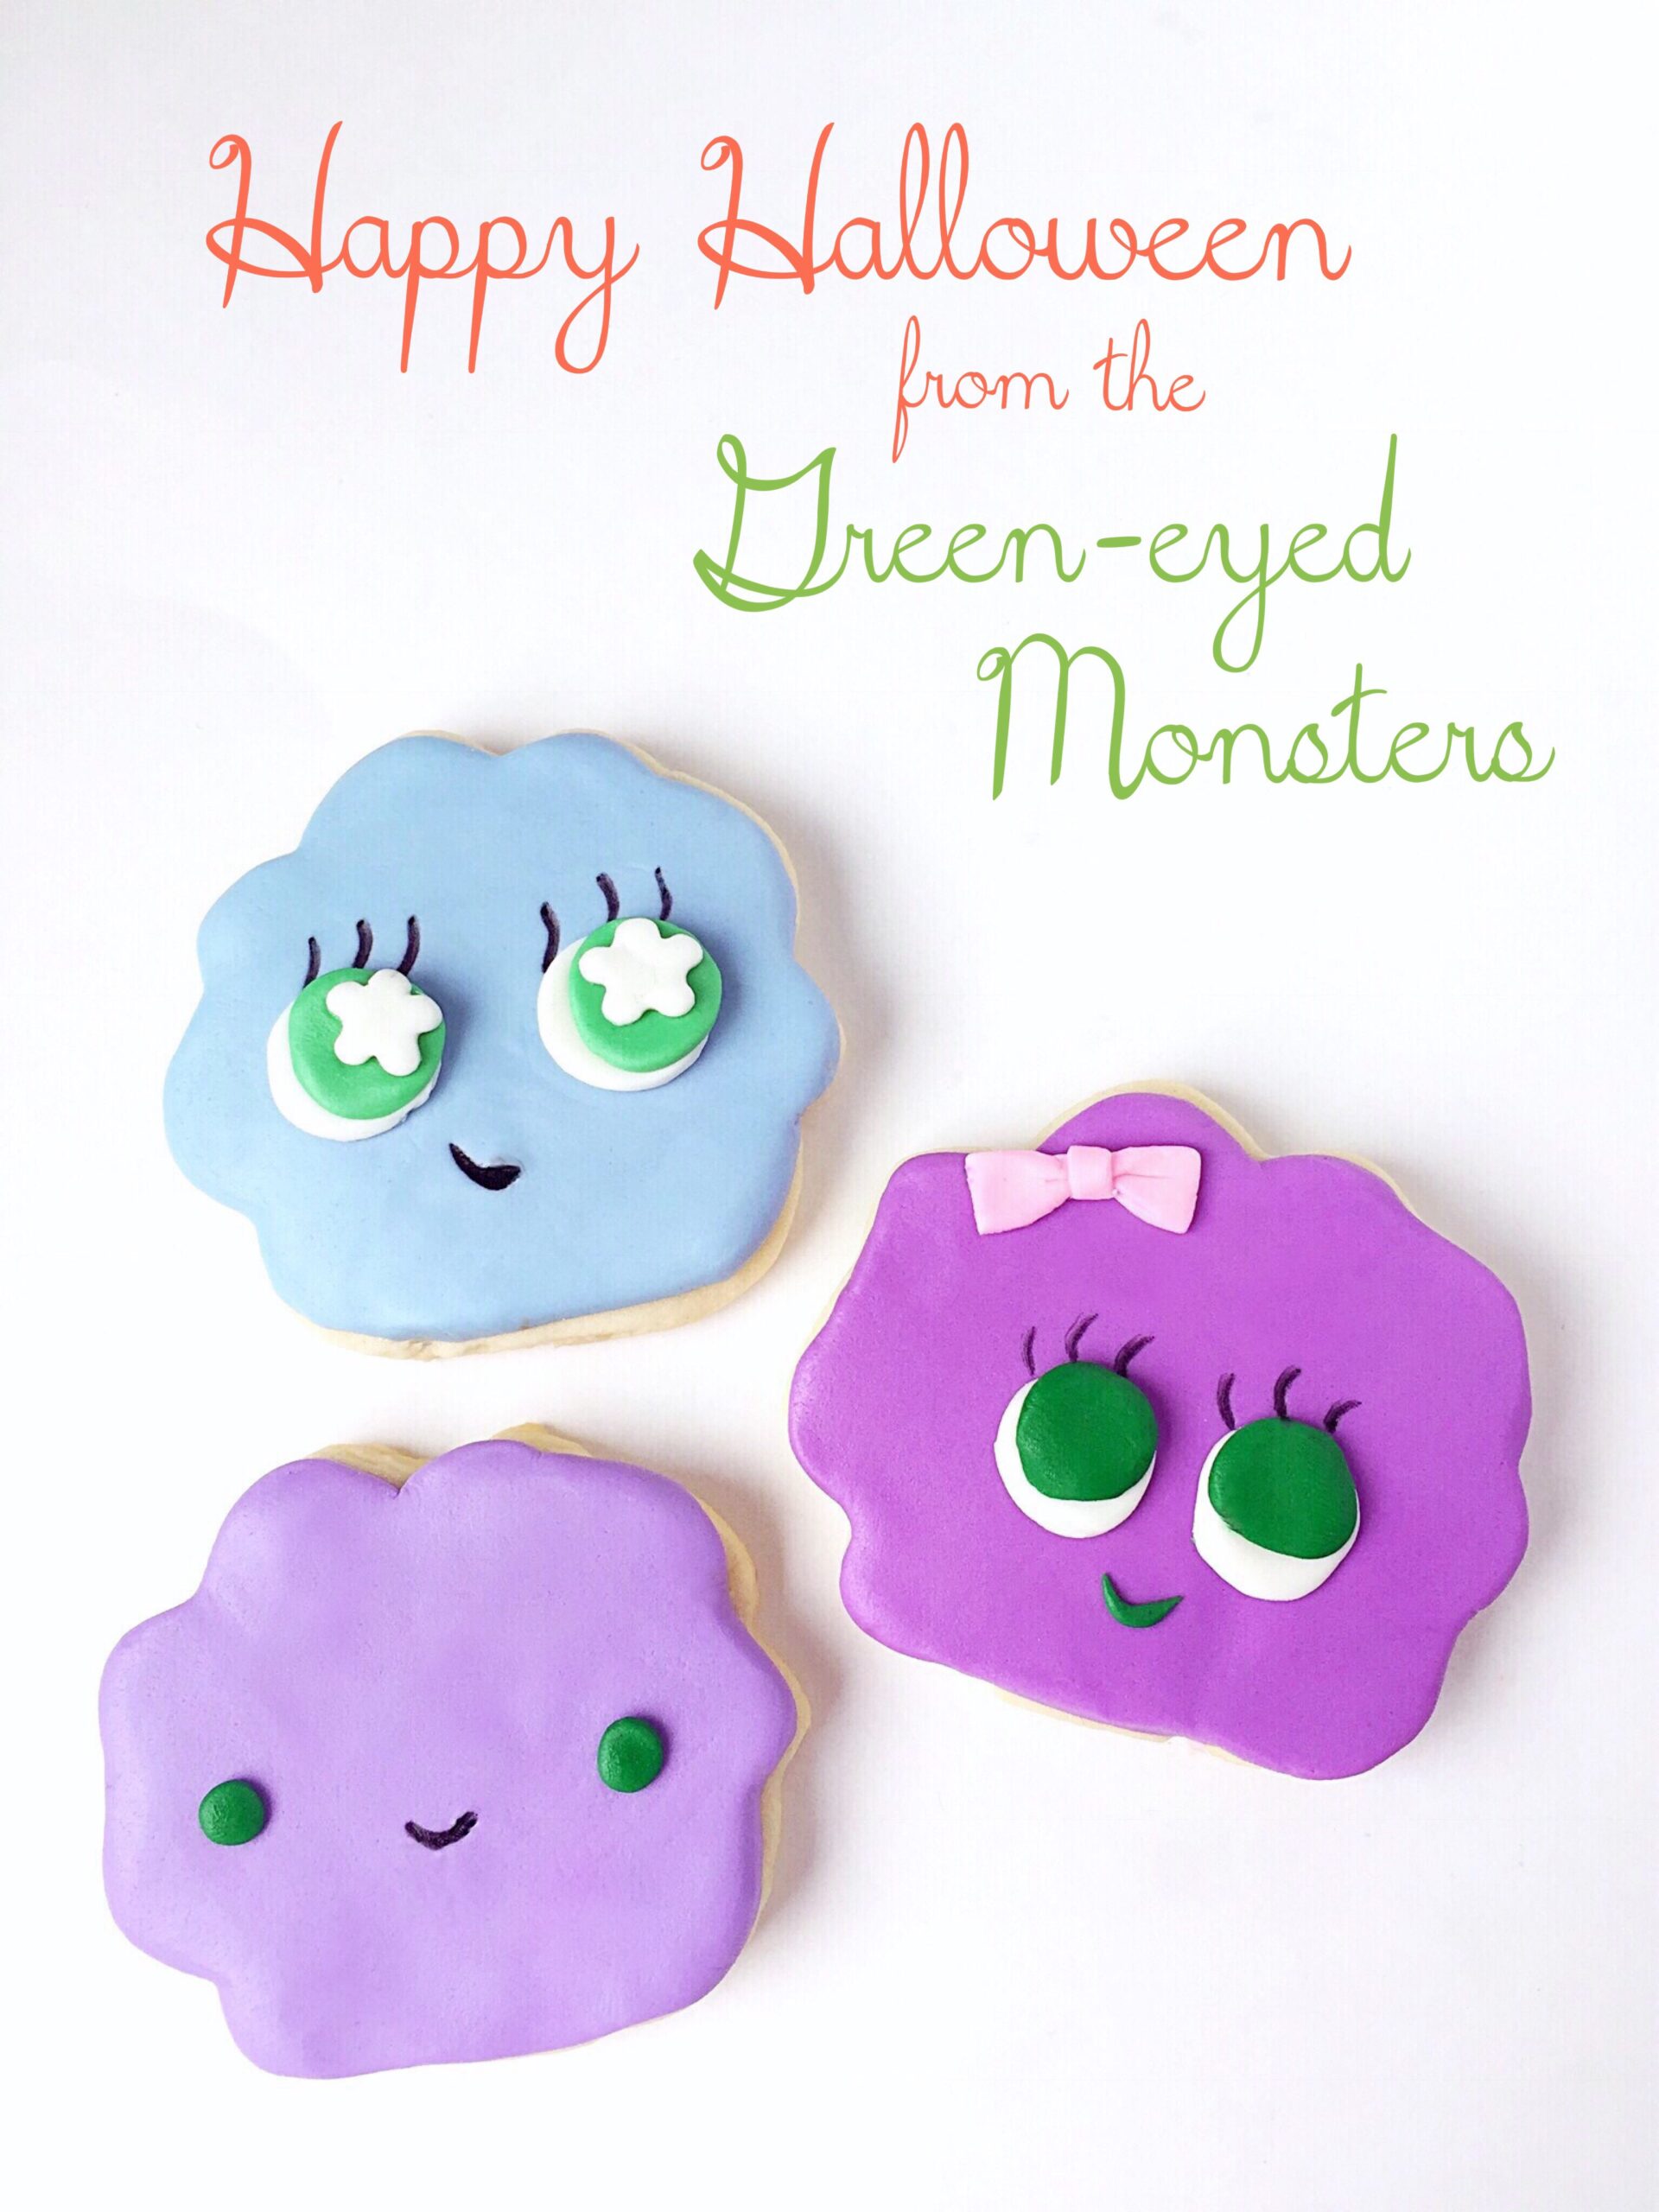
So in honor of those tender hearted little ones, I created some not-so-scary, pretty-darned-cute Yetis and Green-Eyed Monster cookies. You can use your favorite cutout sugar cookie dough and you don’t need any special skills to decorate them. The icing is fondant instead of frosting or royal icing which makes these cute monsters the ideal mess-free (almost) cookie decorating project for kids!

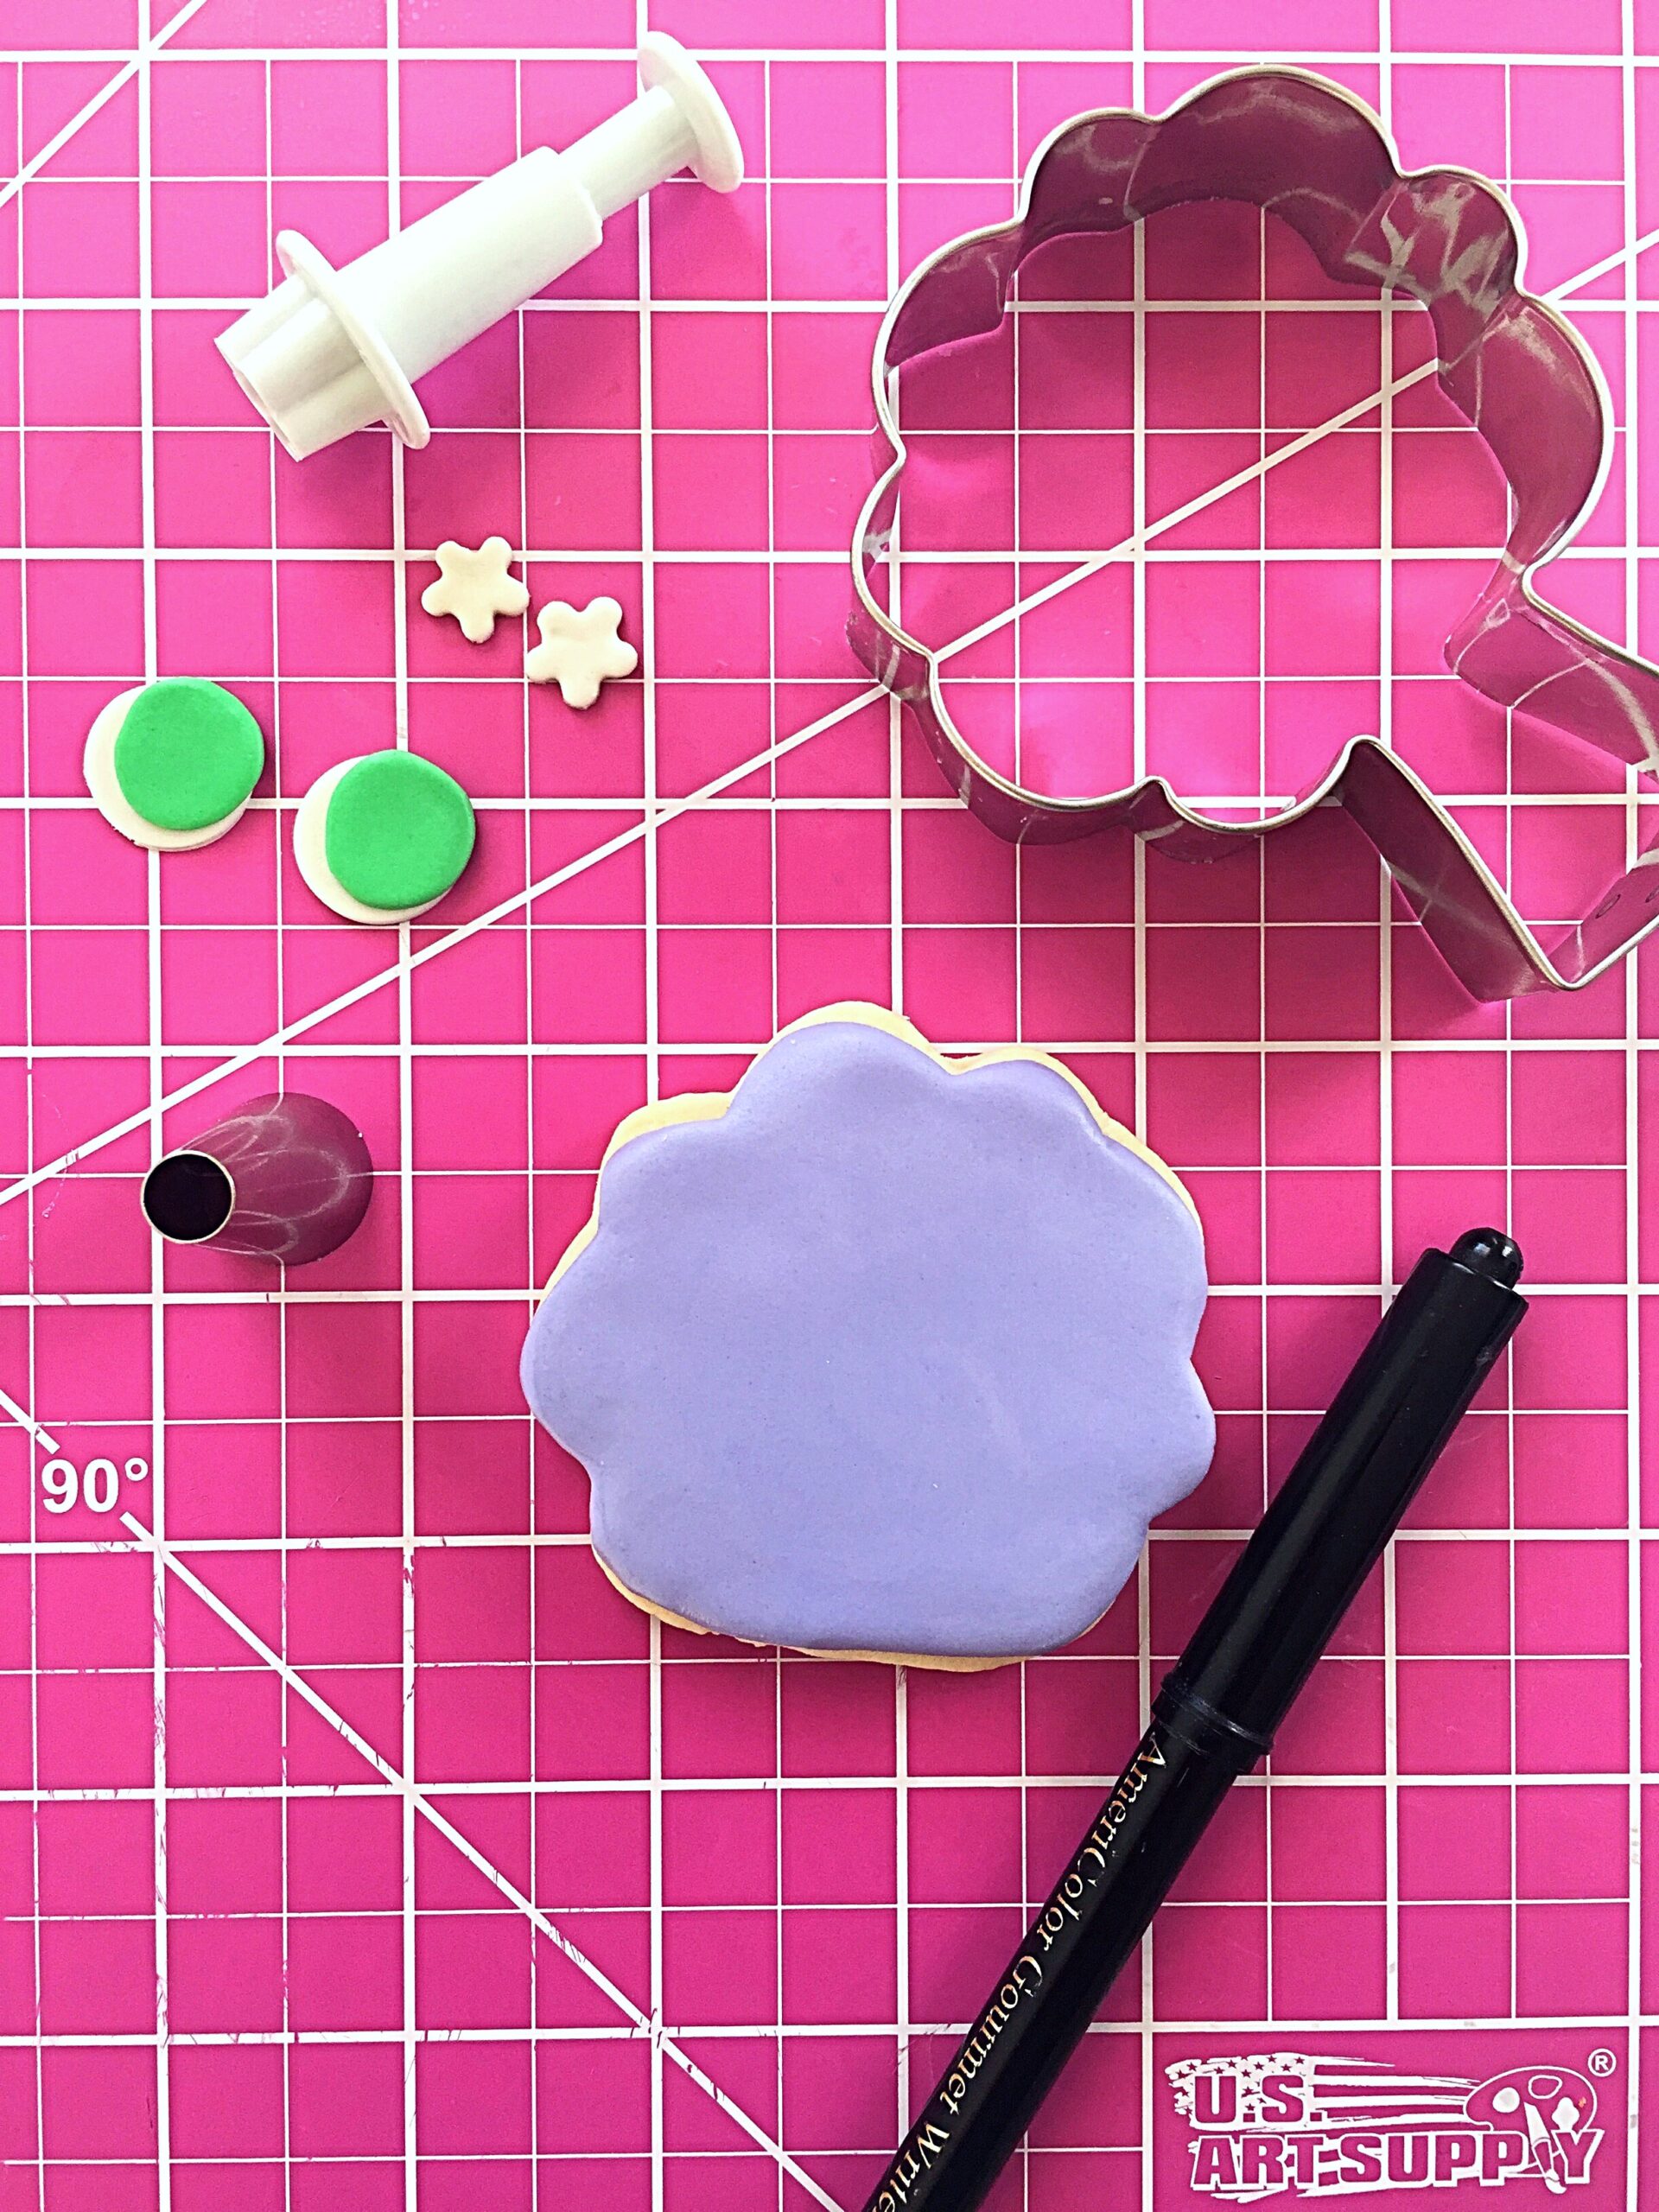
For these cookies you’ll need:

  • One batch of cutout sugar cookie dough
  • Food coloring- I used Wilton Icing Color in Rose
  • Cookie cutters
  • Parchment paper
  • Scissors
  • X-acto knife or paring knife
  • White, purple, green and pink fondant or any colors of your choice. I made lavender by combining purple and white.
  • Sprinkles- I used a combination of two parts orange sprinkles and one part pink sprinkles
  • Piping gel
  • Small food safe brush
  • Edible marker- I used Americolor Gourmet Writer
  • Candy bananas, sugar pearls or any edible decorations of your choice
  • Piping tip
  • Optional- flower punch cutter, pink petal dust, cotton swab

Divide your cookie dough in half. For the Yeti cookies, color one half of the cookie dough with pink food coloring. Wrap remaining cookie dough in plastic and set aside in refrigerator.

Yeti cookie tutorial

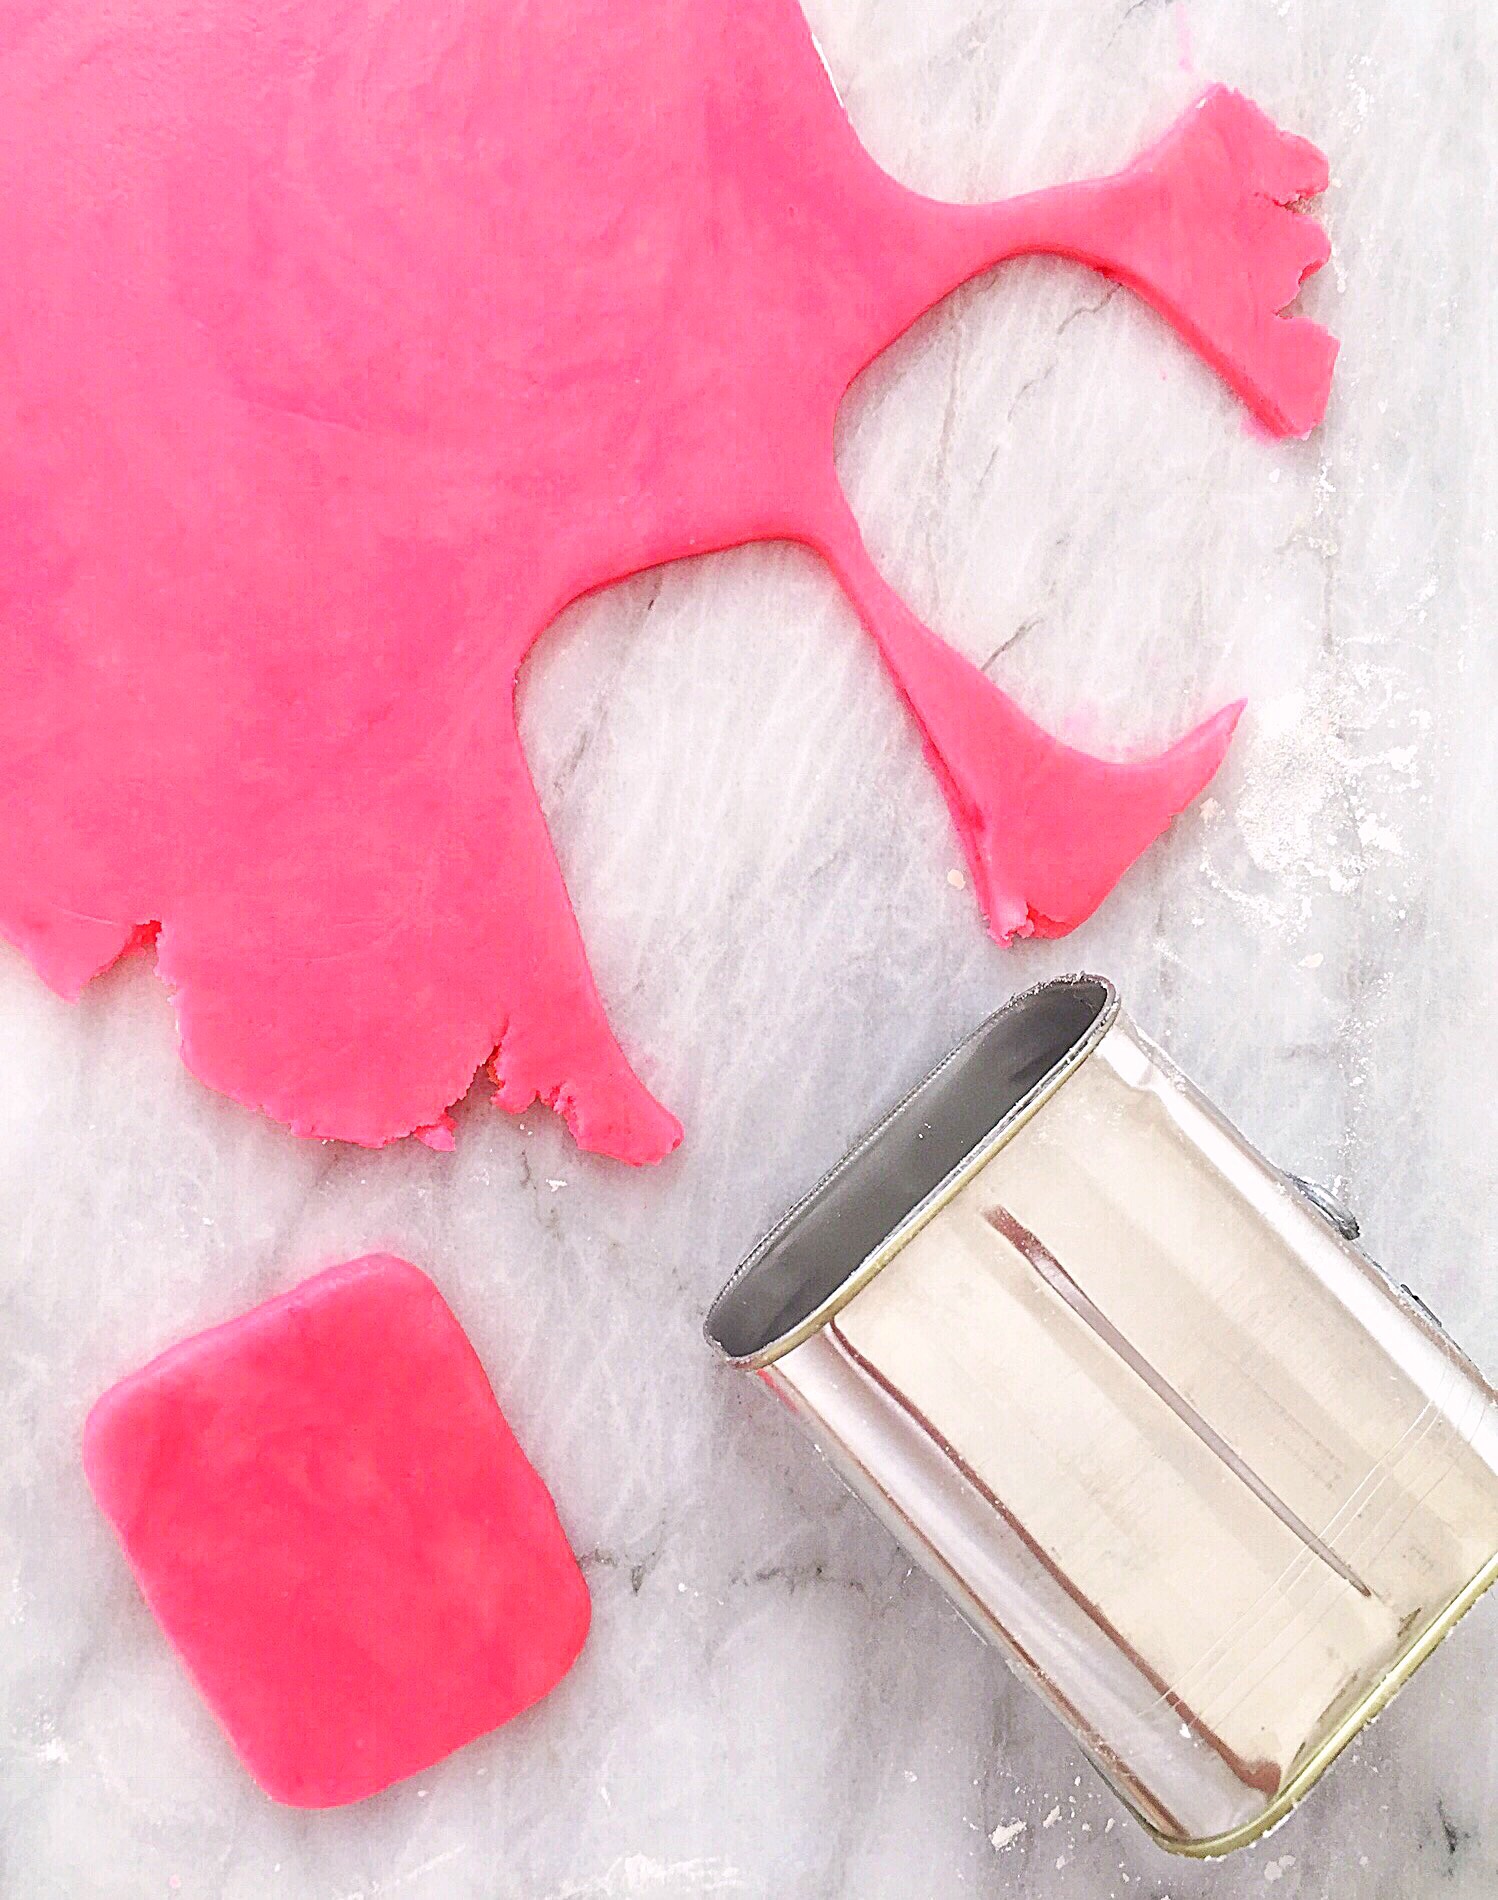
Roll out the pink dough and cut out the Yeti cookies. The Yeti cookies are 2 1/2 inch by 3 1/4 inch rectangles. I used a clean, recycled food can as a cookie cutter. I opened the can with a can opener at both ends, rather than using the little key that comes with the can. If you don’t want to use this method, you can make a pattern out of parchment paper and cut out the cookies with an X-acto knife or a paring knife. 

Yeti cookie tutorial

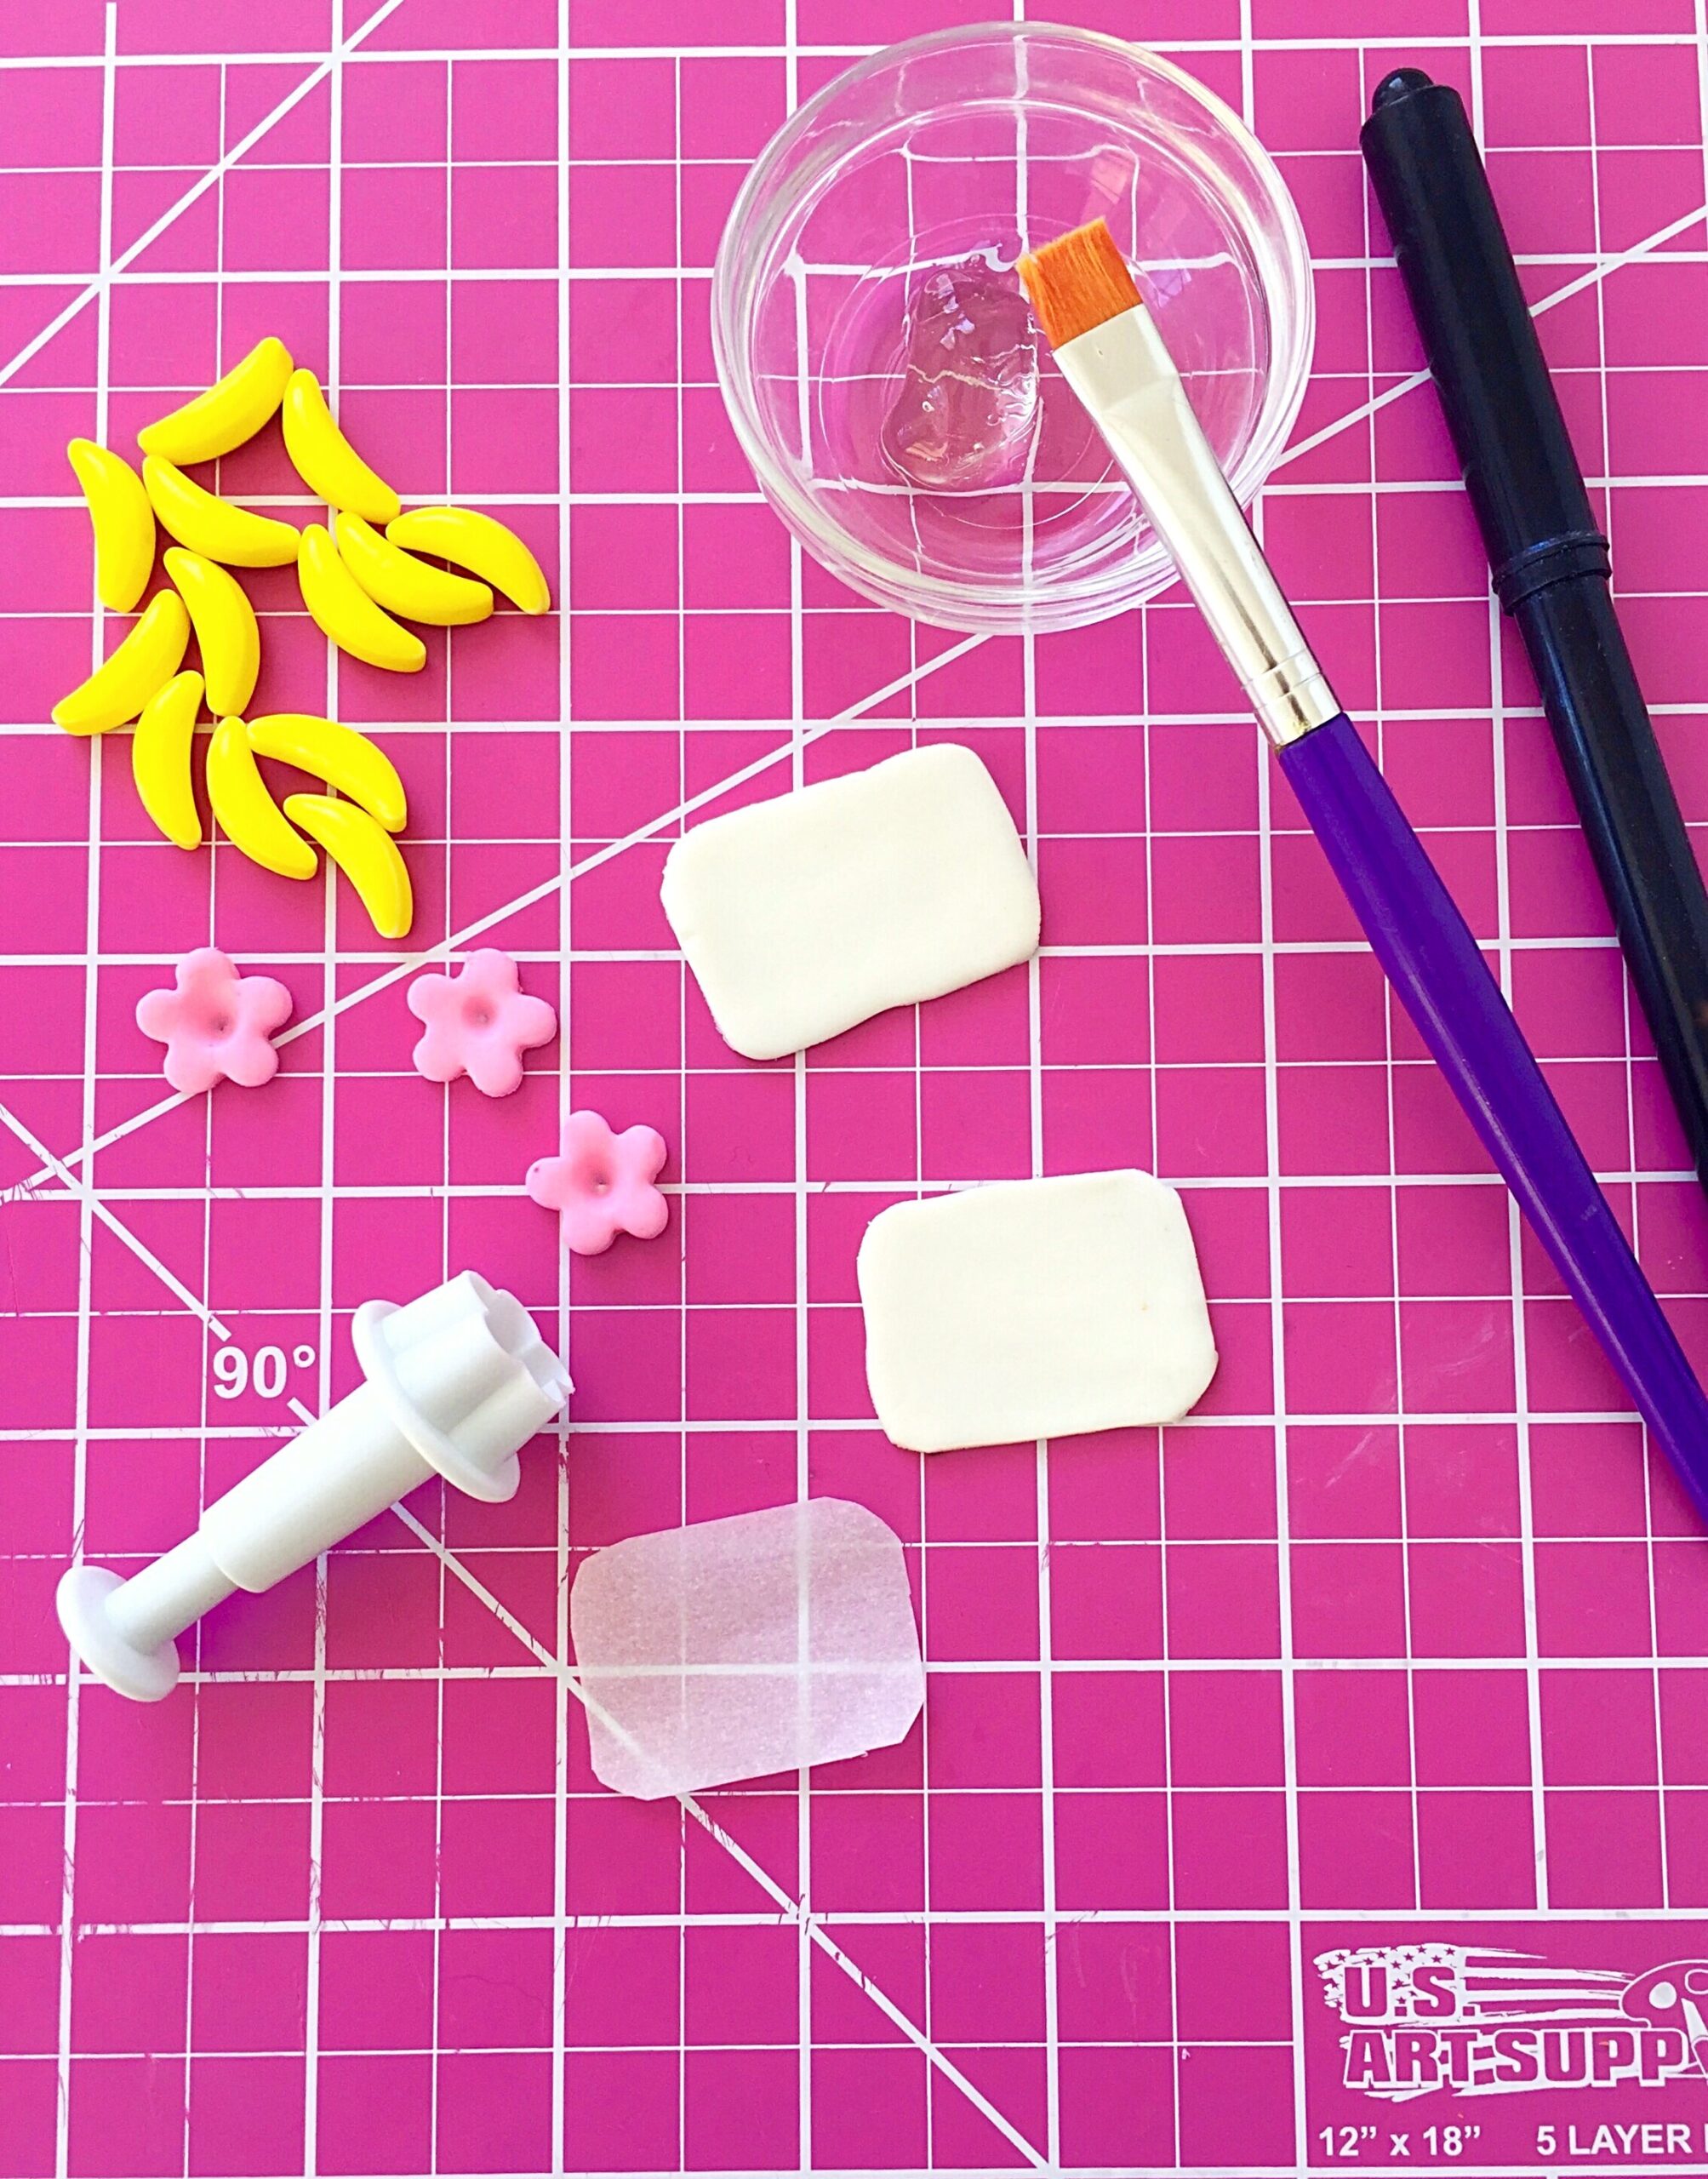
For the Yeti faces, cut two small 1 1/2 inch x 1 inch rectangles with rounded corners out of parchment paper. The first one will be used to place on the Yeti cookies to keep the sprinkles off of the faces. Place small parchment rectangle on an unbaked cookie. Apply sprinkles, pressing them gently to make sure they adhere to the cookie. Remove the parchment rectangle and repeat with remaining cookies. Bake according to your cookie dough recipe. Let cool.

Yeti cookie tutorial

Roll out white fondant to 1/8 inch thickness. Use the remaining small parchment rectangle as a pattern to cut out a face for each Yeti cookie with an X-acto knife or a paring knife. Brush a bit of piping gel onto each cookie face area. Apply the white fondant face cutouts to the cookies. Let dry for at least 30 minutes, then draw eyes and a mouth with an edible marker. I made rosie cheeks with a small amount of petal dust applied with a cotton swab. Brush dabs of piping gel to apply the banana candy horns. I also added pink fondant flowers and sugar pearls to make my Yeti cookies extra cute. 

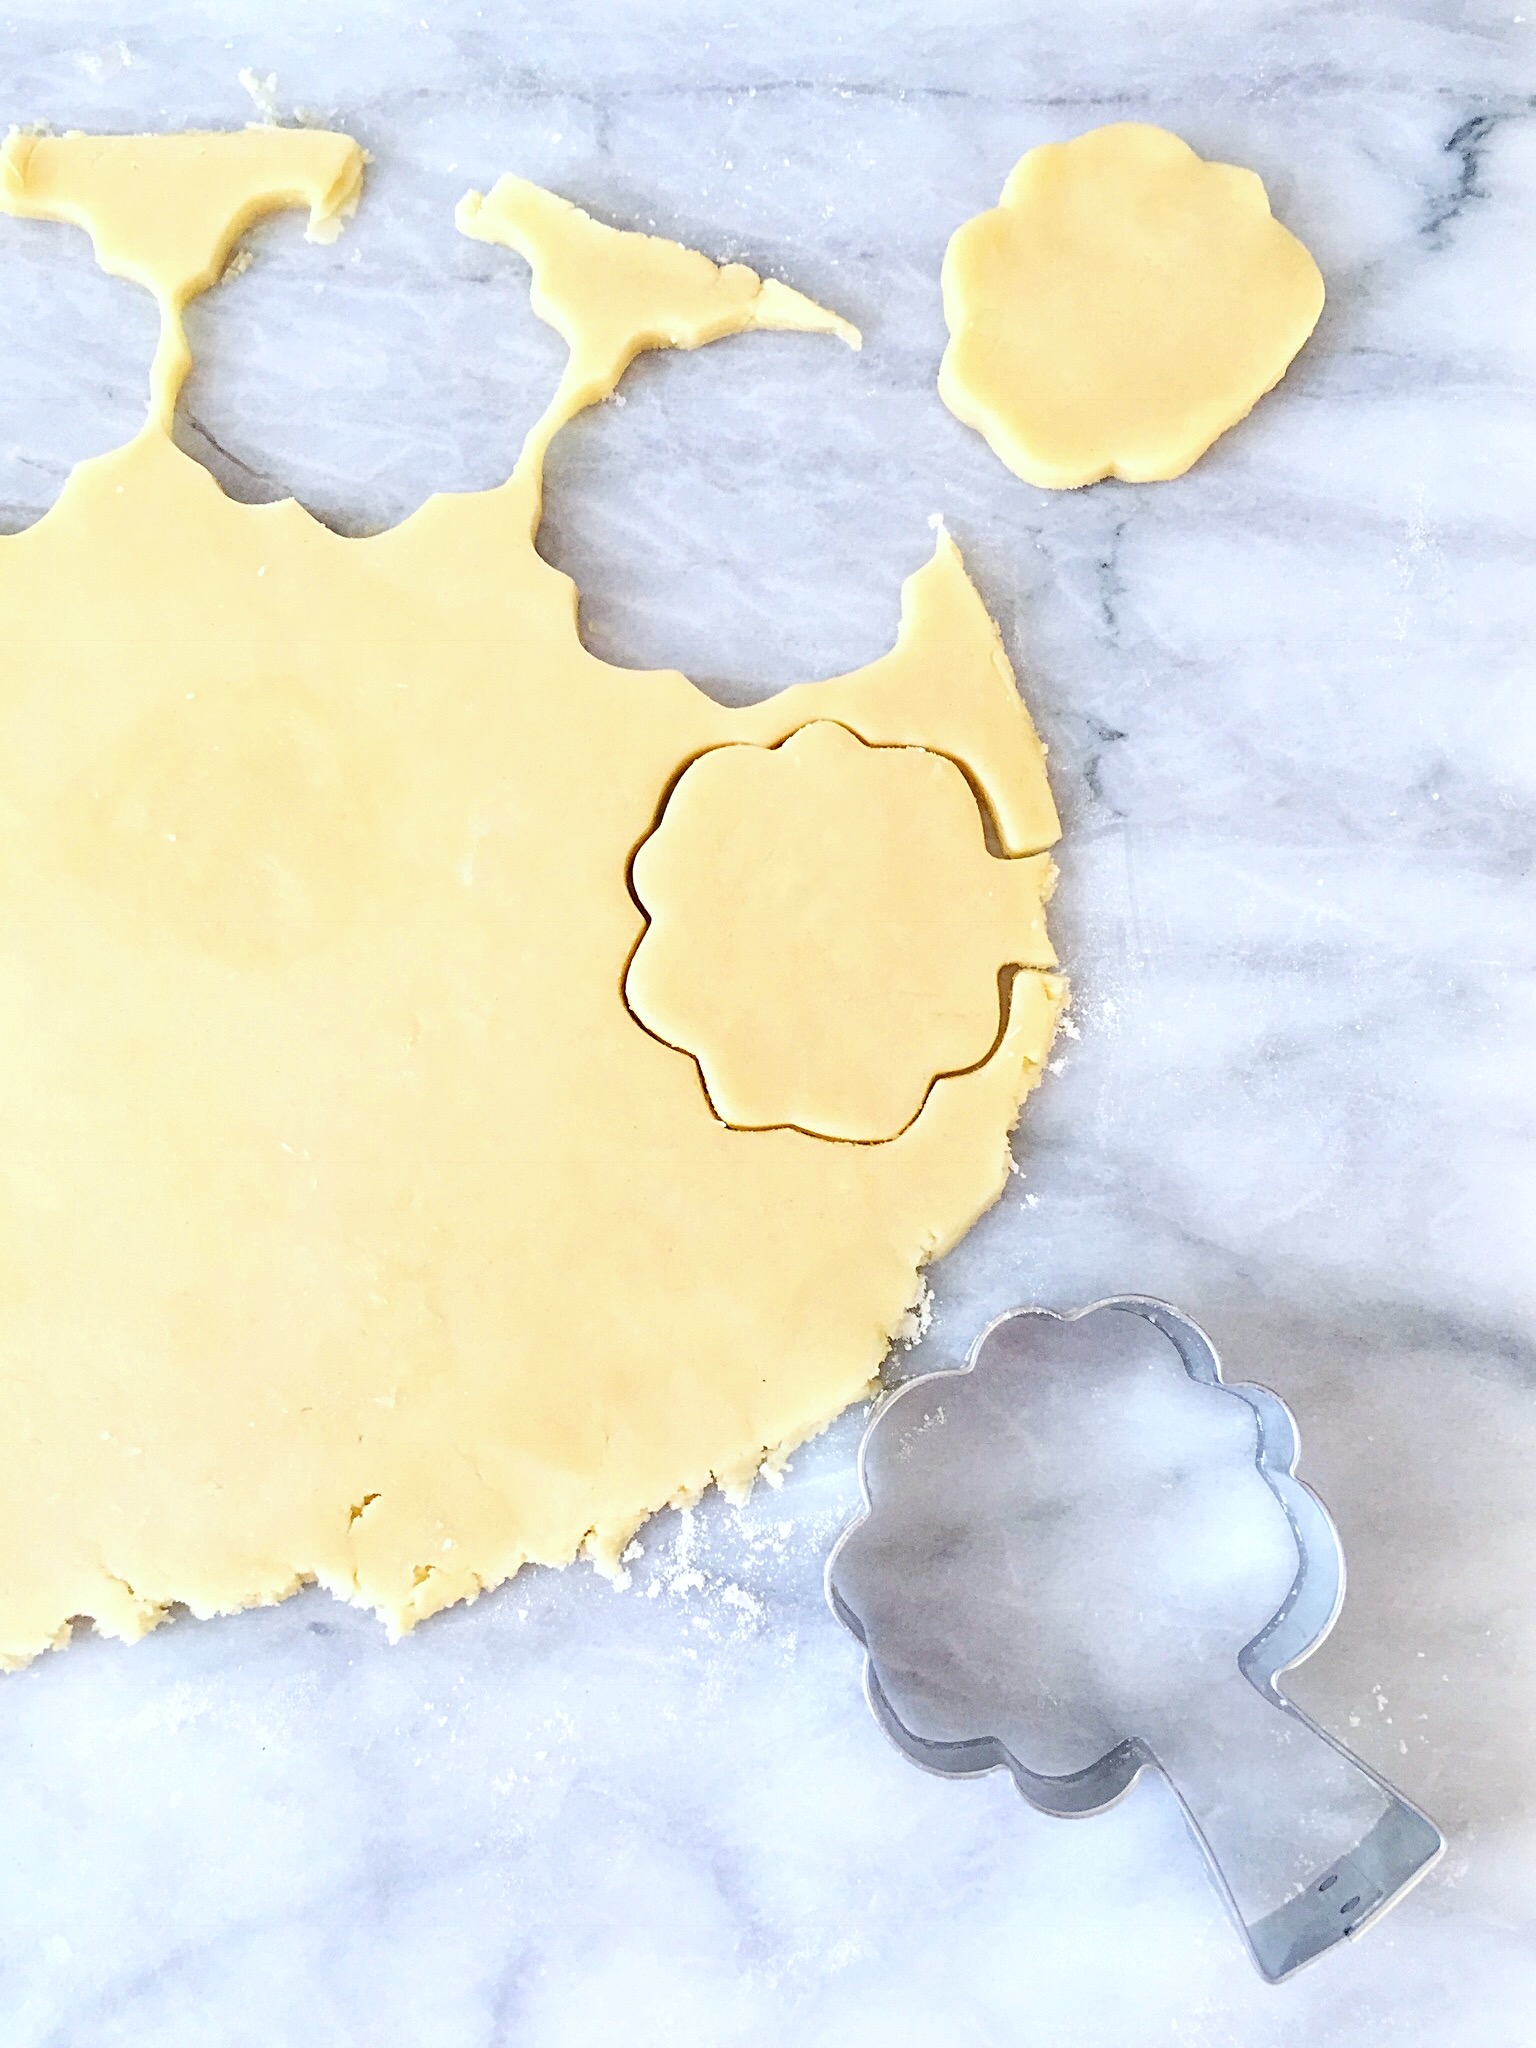
Roll out the remaining cookie dough and cut out the Green-Eyed Monster cookies. I used an apple tree cookie cutter, trimming off the trunk part. If you can’t find an apple tree cutter, you can use a blossom or sun cookie cutter. Bake according to your cookie dough recipe. Let cool.

Green-eyed monster cookie tutorial

Roll out the lavender fondant. Cut the fondant using the same cutter you used for the cookie dough. Brush piping gel onto cookies and apply the fondant shapes. Let dry at least 30 minutes. 

Green-eyed monster cookie tutorial

For eyes, roll out white and green fondant. I used the large end of a piping tip to cut out two white circles and two green circles for each cookie. Attach the green circles to the white circles with a dab of piping gel, offsetting them slightly. I used a tiny blossom punch cutter for the pupils and applied with piping gel. Use an edible marker to draw eyelashes and a mouth.

Green-eyed monster Halloween cookies