Not-So-Scary Halloween Monster Cookies

One of the best things about Halloween is all of the adorable costumes worn by the littlest trick-or-treaters. I’ll never forget the year my young daughter was dressed as a flower with chubby cheeks. She enjoyed wearing her costume and eating her Halloween treats, but spooky costumes and trick-or-treating weren’t for her. She was the type of toddler who cried at the sight of a mall Santa. She even screamed in terror once when Ronald McDonald paid a visit to our local McDonald’s.

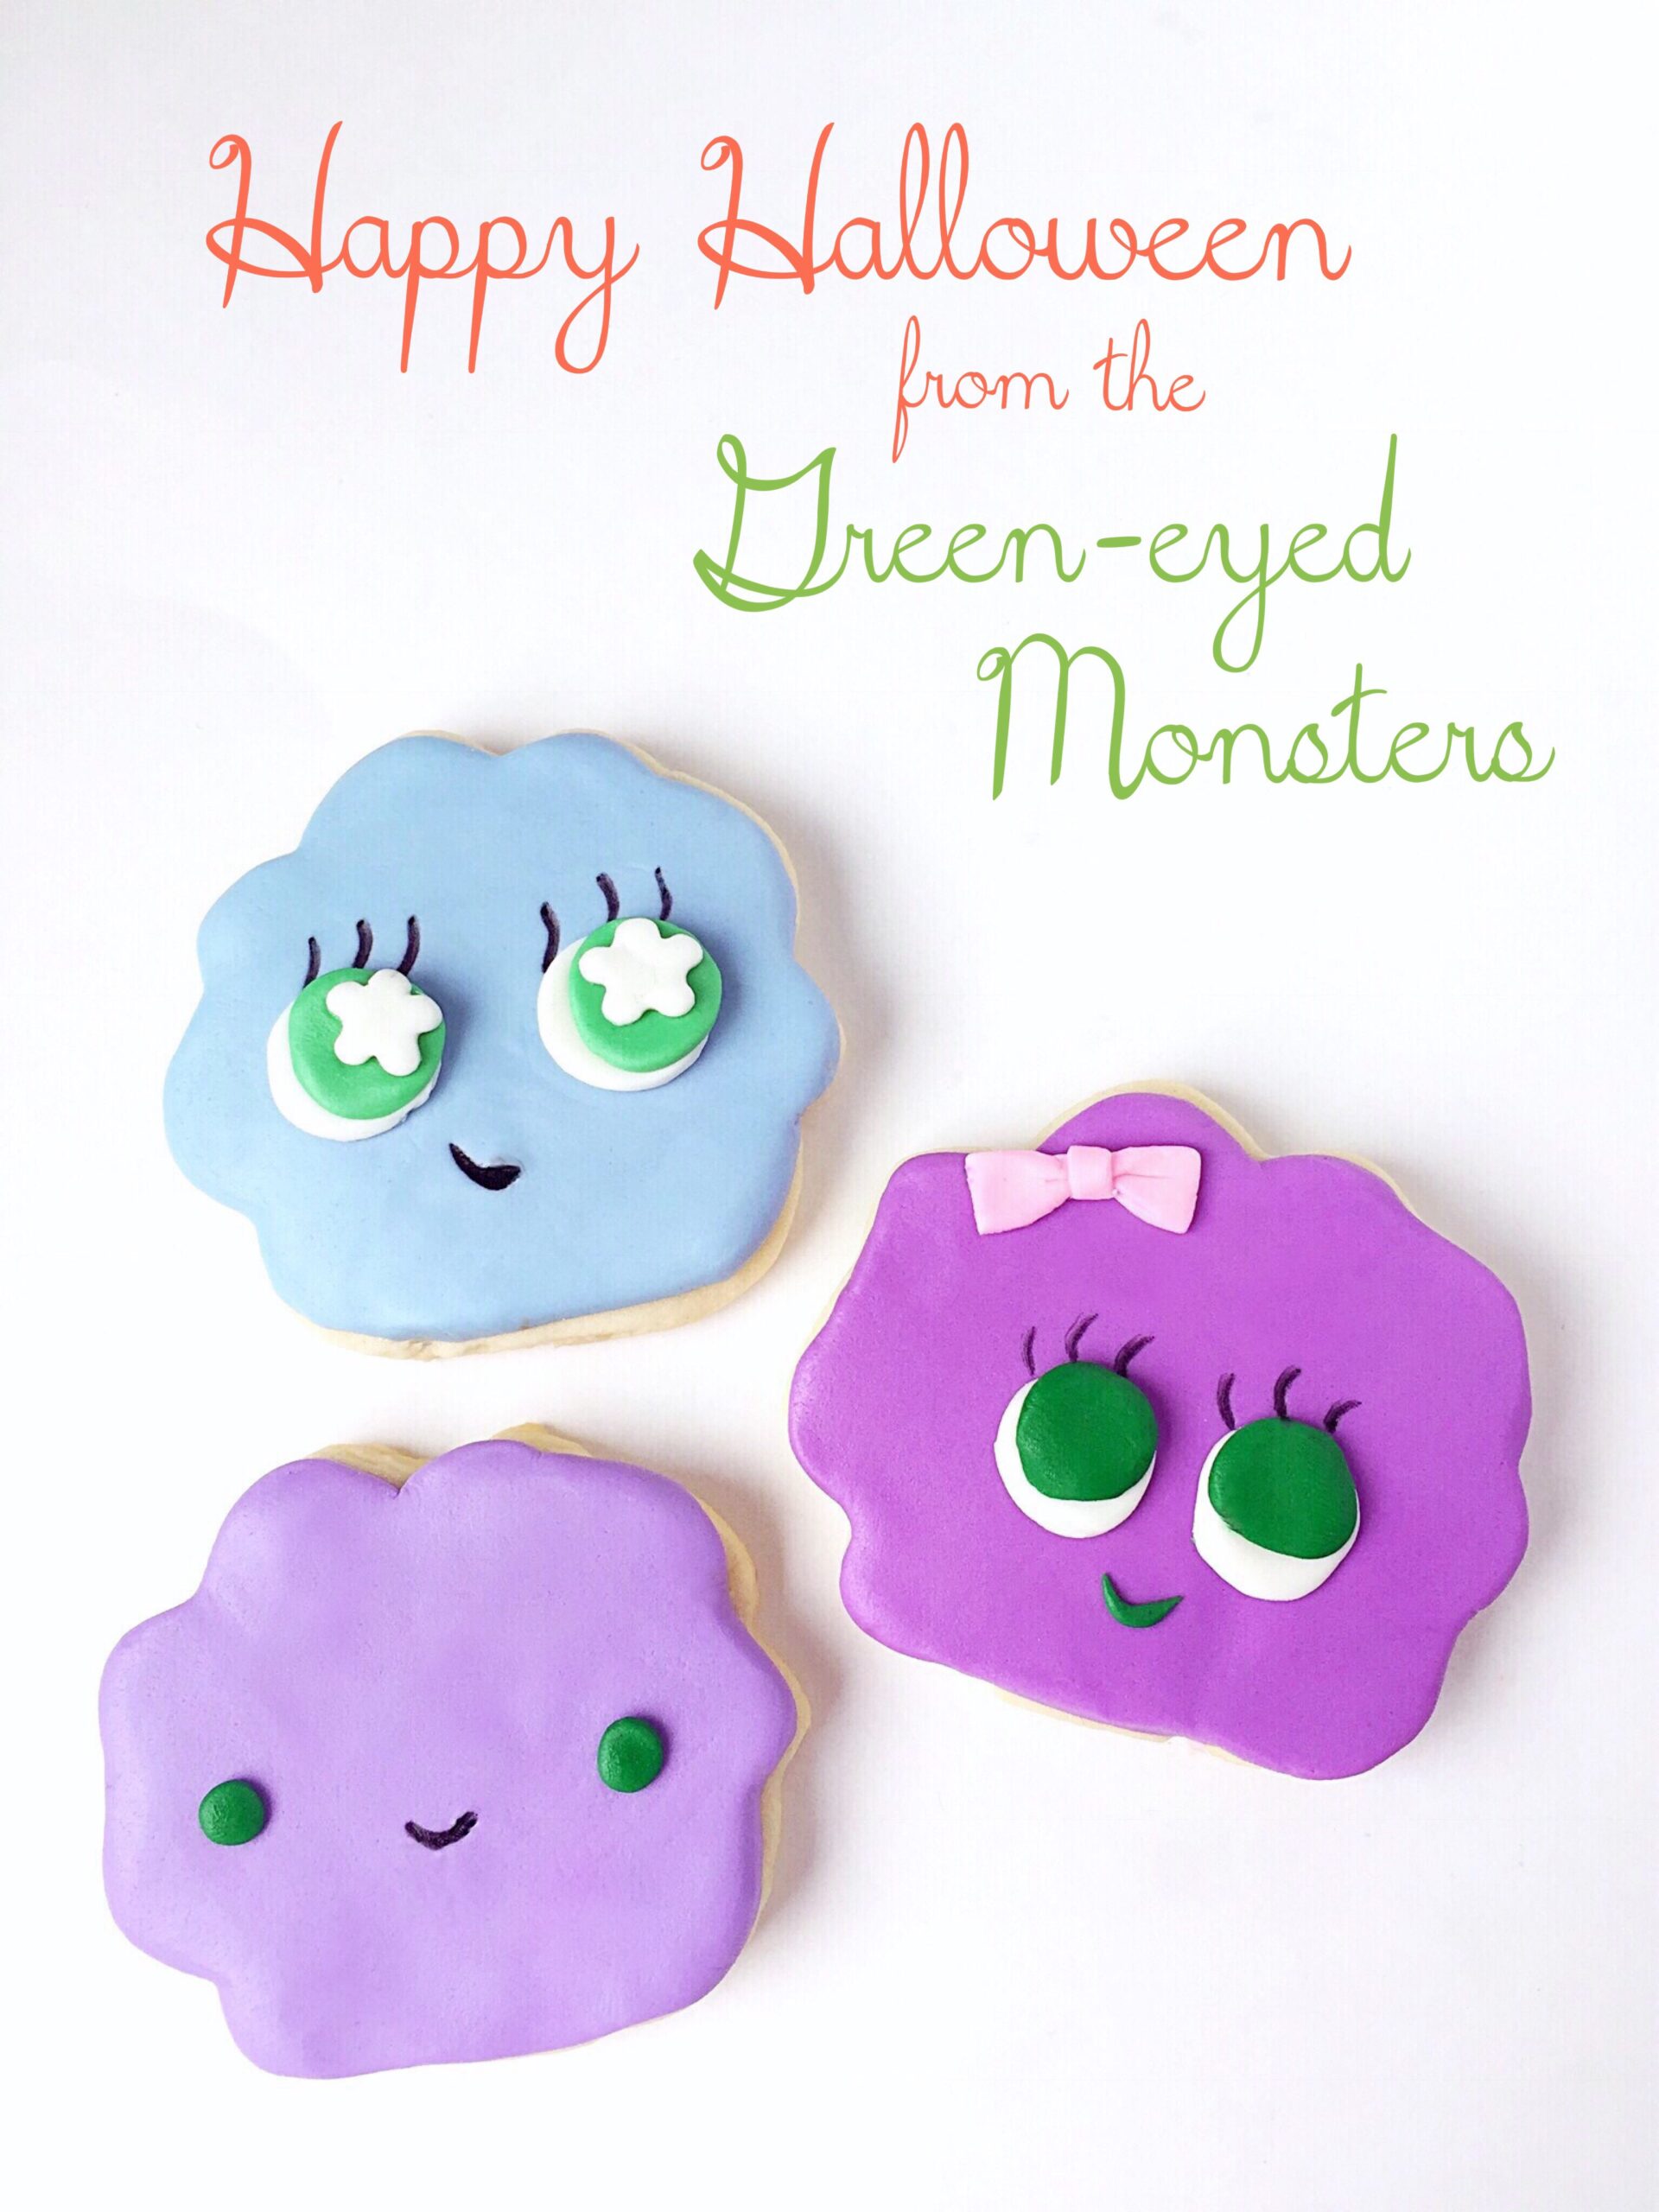
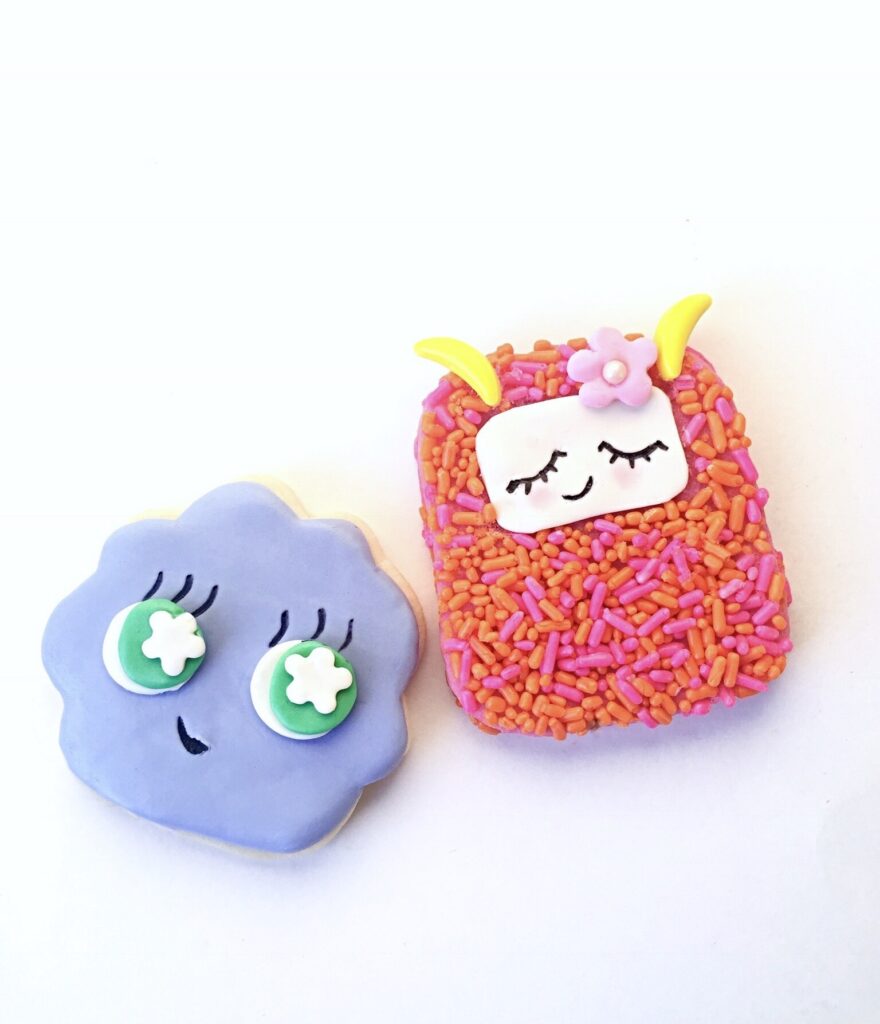
So in honor of those tender hearted little ones, I created some not-so-scary, pretty-darned-cute Yetis and Green-Eyed Monster cookies. You can use your favorite cutout sugar cookie dough and you don’t need any special skills to decorate them. The icing is fondant instead of frosting or royal icing which makes these cute monsters the ideal mess-free (almost) cookie decorating project for kids!

For these cookies you’ll need:

  • One batch of cutout sugar cookie dough
  • Food coloring- I used Wilton Icing Color in Rose
  • Cookie cutters
  • Parchment paper
  • Scissors
  • X-acto knife or paring knife
  • White, purple, green and pink fondant or any colors of your choice. I made lavender by combining purple and white.
  • Sprinkles- I used a combination of two parts orange sprinkles and one part pink sprinkles
  • Piping gel
  • Small food safe brush
  • Edible marker- I used Americolor Gourmet Writer
  • Candy bananas, sugar pearls or any edible decorations of your choice
  • Piping tip
  • Optional- flower punch cutter, pink petal dust, cotton swab

Divide your cookie dough in half. For the Yeti cookies, color one half of the cookie dough with pink food coloring. Wrap remaining cookie dough in plastic and set aside in refrigerator.

Yeti cookie tutorial

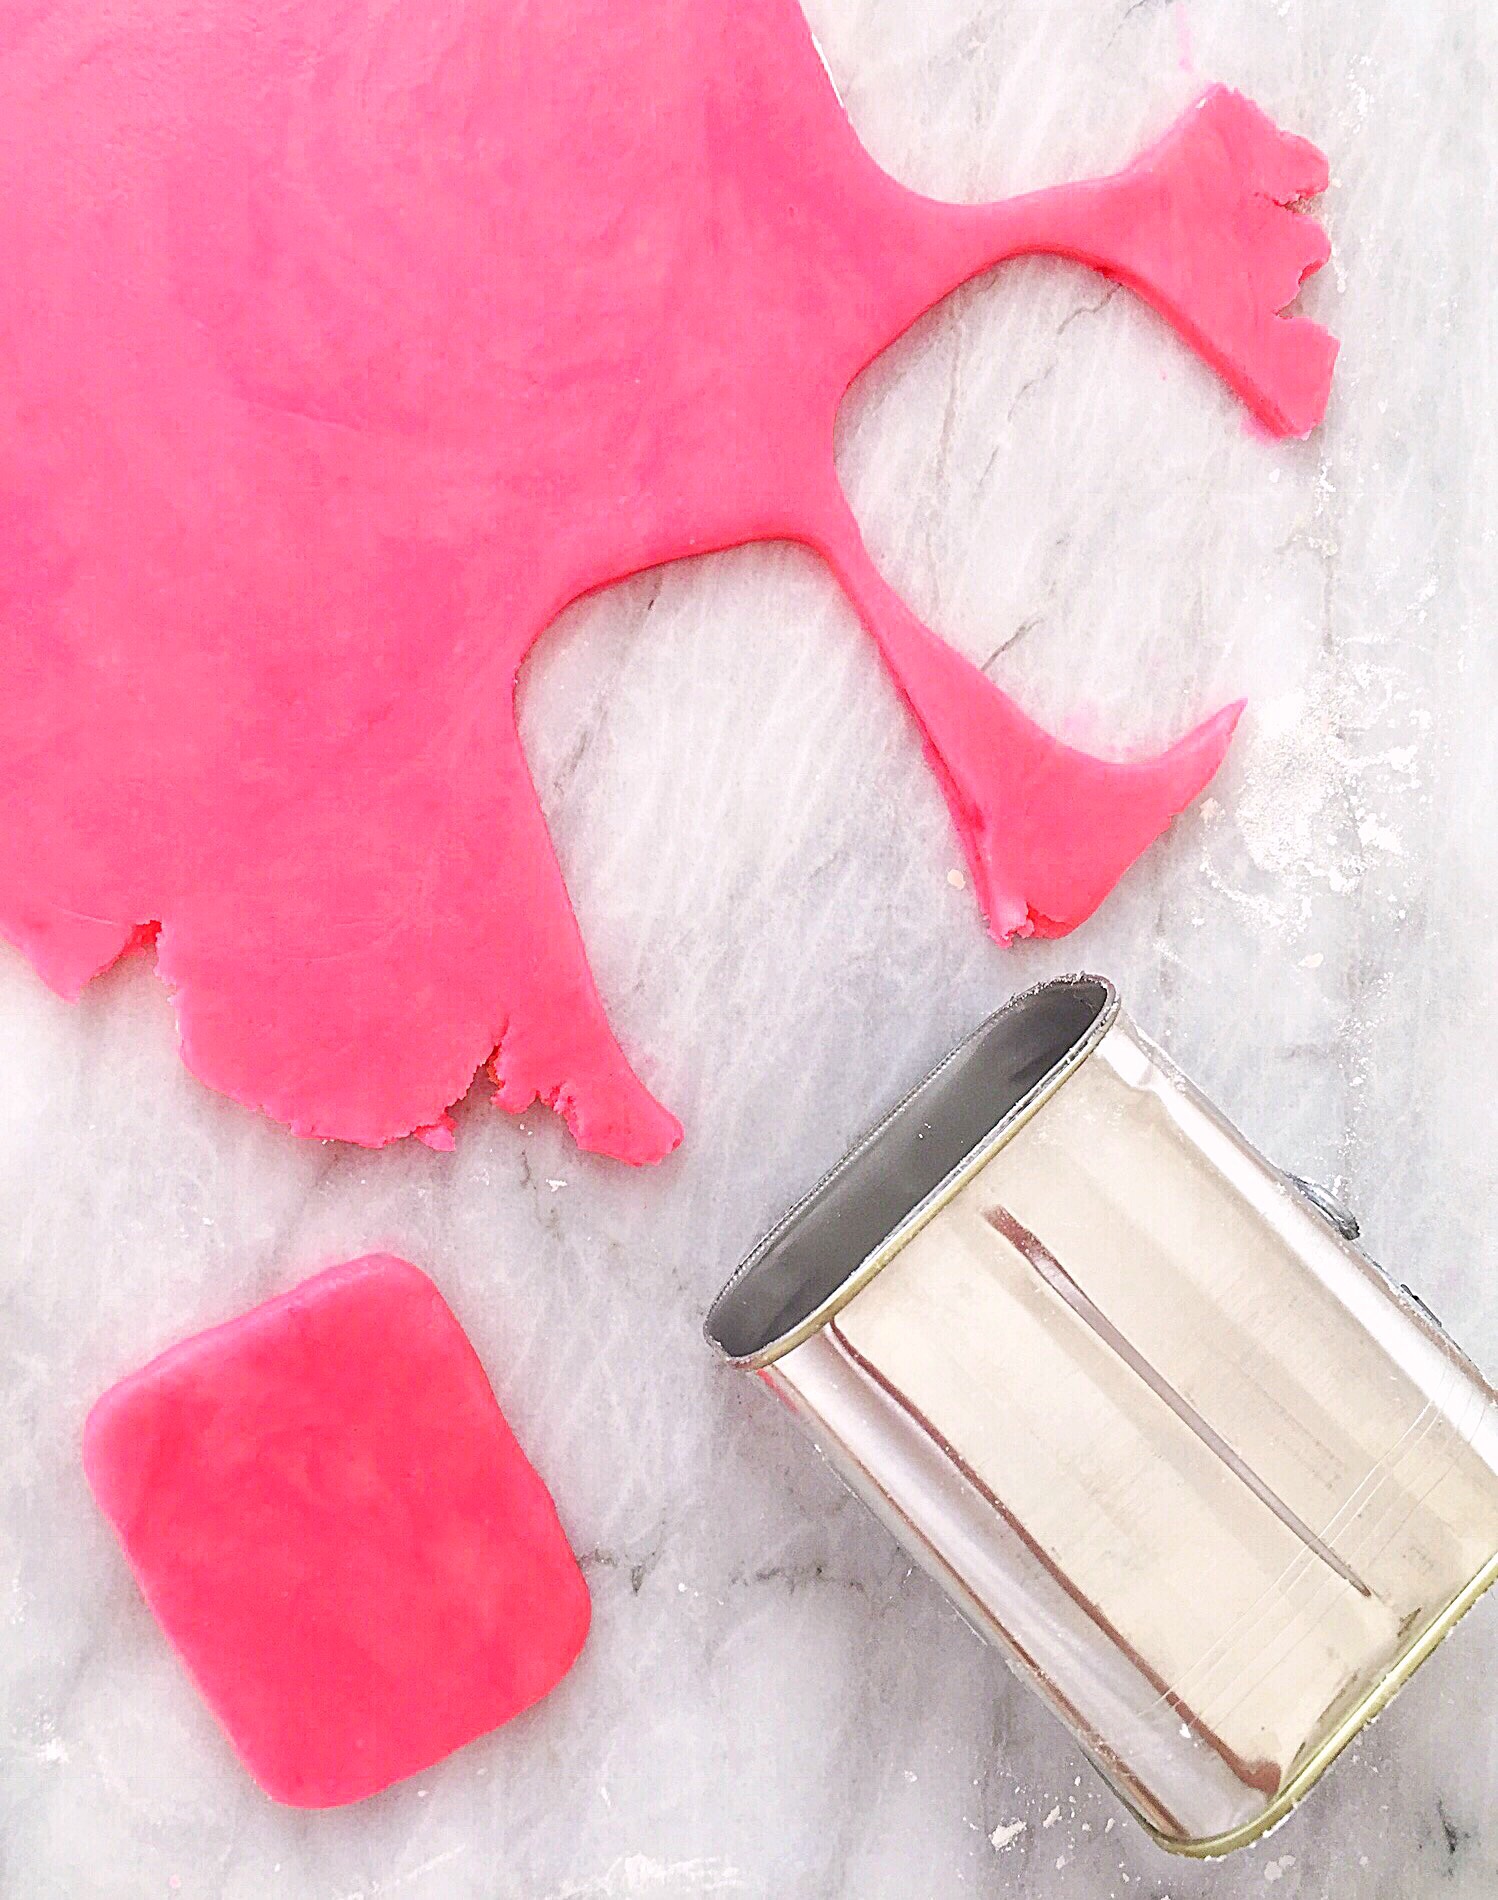
Roll out the pink dough and cut out the Yeti cookies. The Yeti cookies are 2 1/2 inch by 3 1/4 inch rectangles. I used a clean, recycled food can as a cookie cutter. I opened the can with a can opener at both ends, rather than using the little key that comes with the can. If you don’t want to use this method, you can make a pattern out of parchment paper and cut out the cookies with an X-acto knife or a paring knife. 

Yeti cookie tutorial

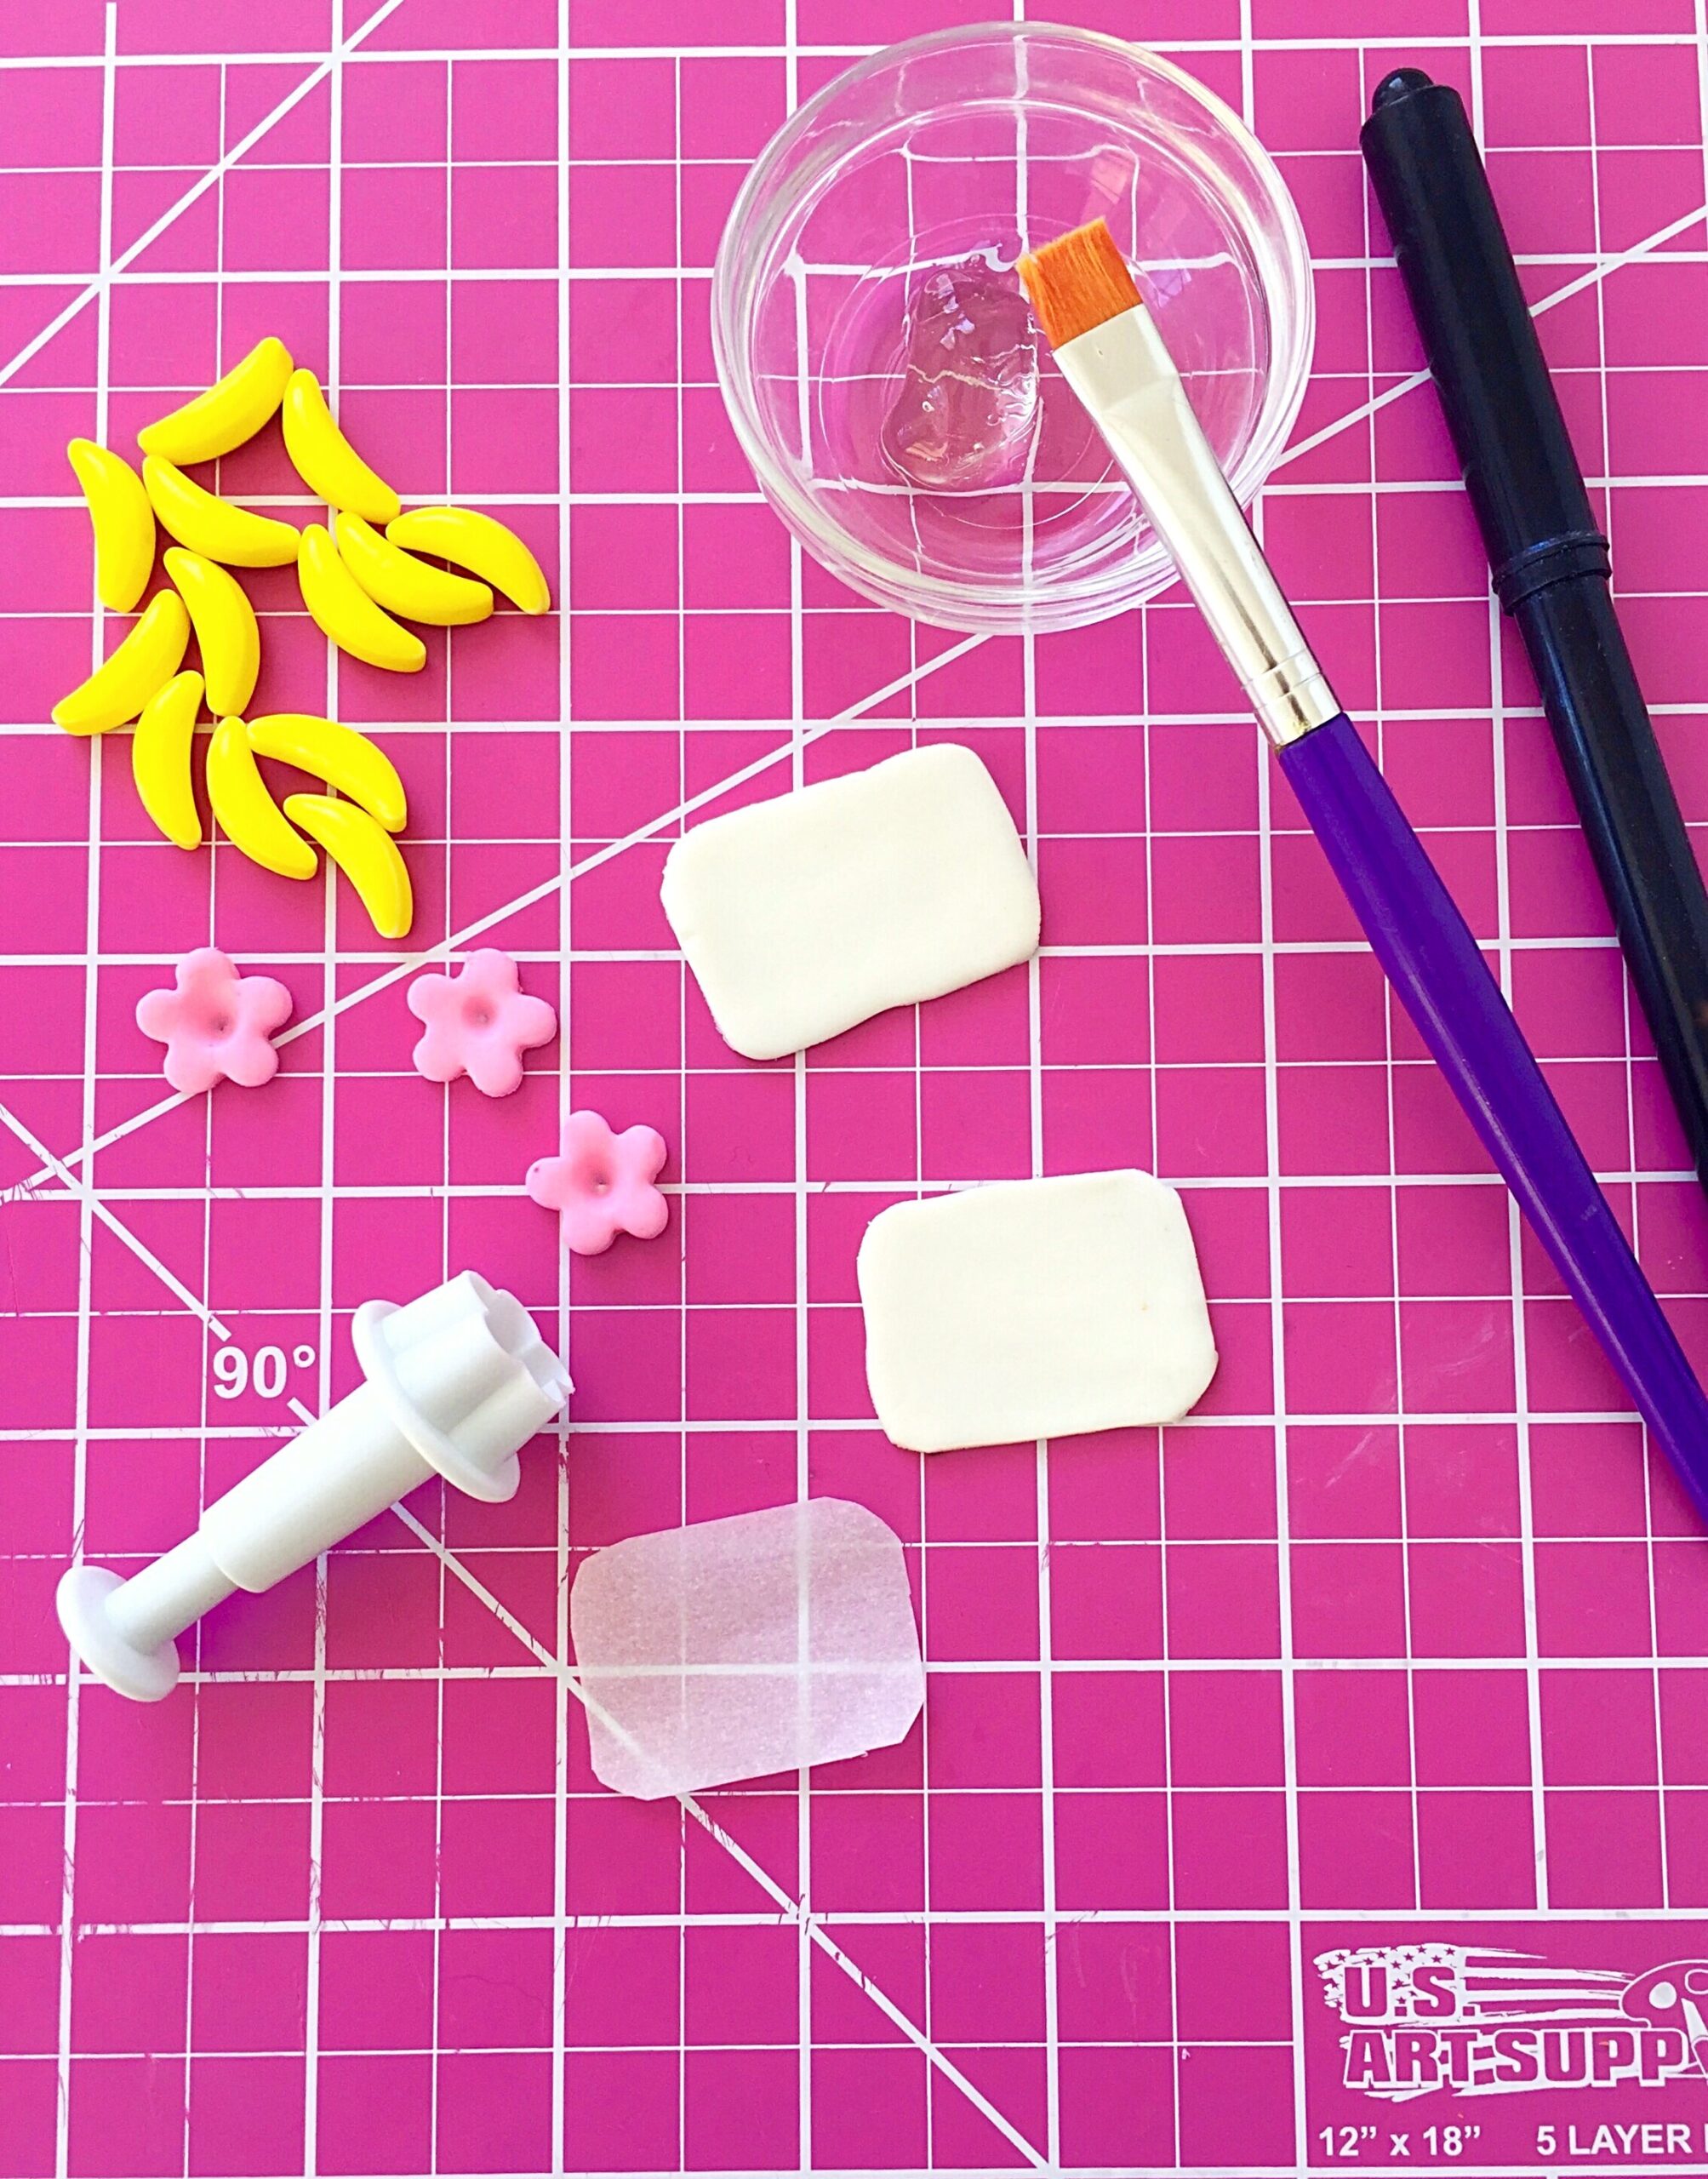
For the Yeti faces, cut two small 1 1/2 inch x 1 inch rectangles with rounded corners out of parchment paper. The first one will be used to place on the Yeti cookies to keep the sprinkles off of the faces. Place small parchment rectangle on an unbaked cookie. Apply sprinkles, pressing them gently to make sure they adhere to the cookie. Remove the parchment rectangle and repeat with remaining cookies. Bake according to your cookie dough recipe. Let cool.

Yeti cookie tutorial

Roll out white fondant to 1/8 inch thickness. Use the remaining small parchment rectangle as a pattern to cut out a face for each Yeti cookie with an X-acto knife or a paring knife. Brush a bit of piping gel onto each cookie face area. Apply the white fondant face cutouts to the cookies. Let dry for at least 30 minutes, then draw eyes and a mouth with an edible marker. I made rosie cheeks with a small amount of petal dust applied with a cotton swab. Brush dabs of piping gel to apply the banana candy horns. I also added pink fondant flowers and sugar pearls to make my Yeti cookies extra cute. 

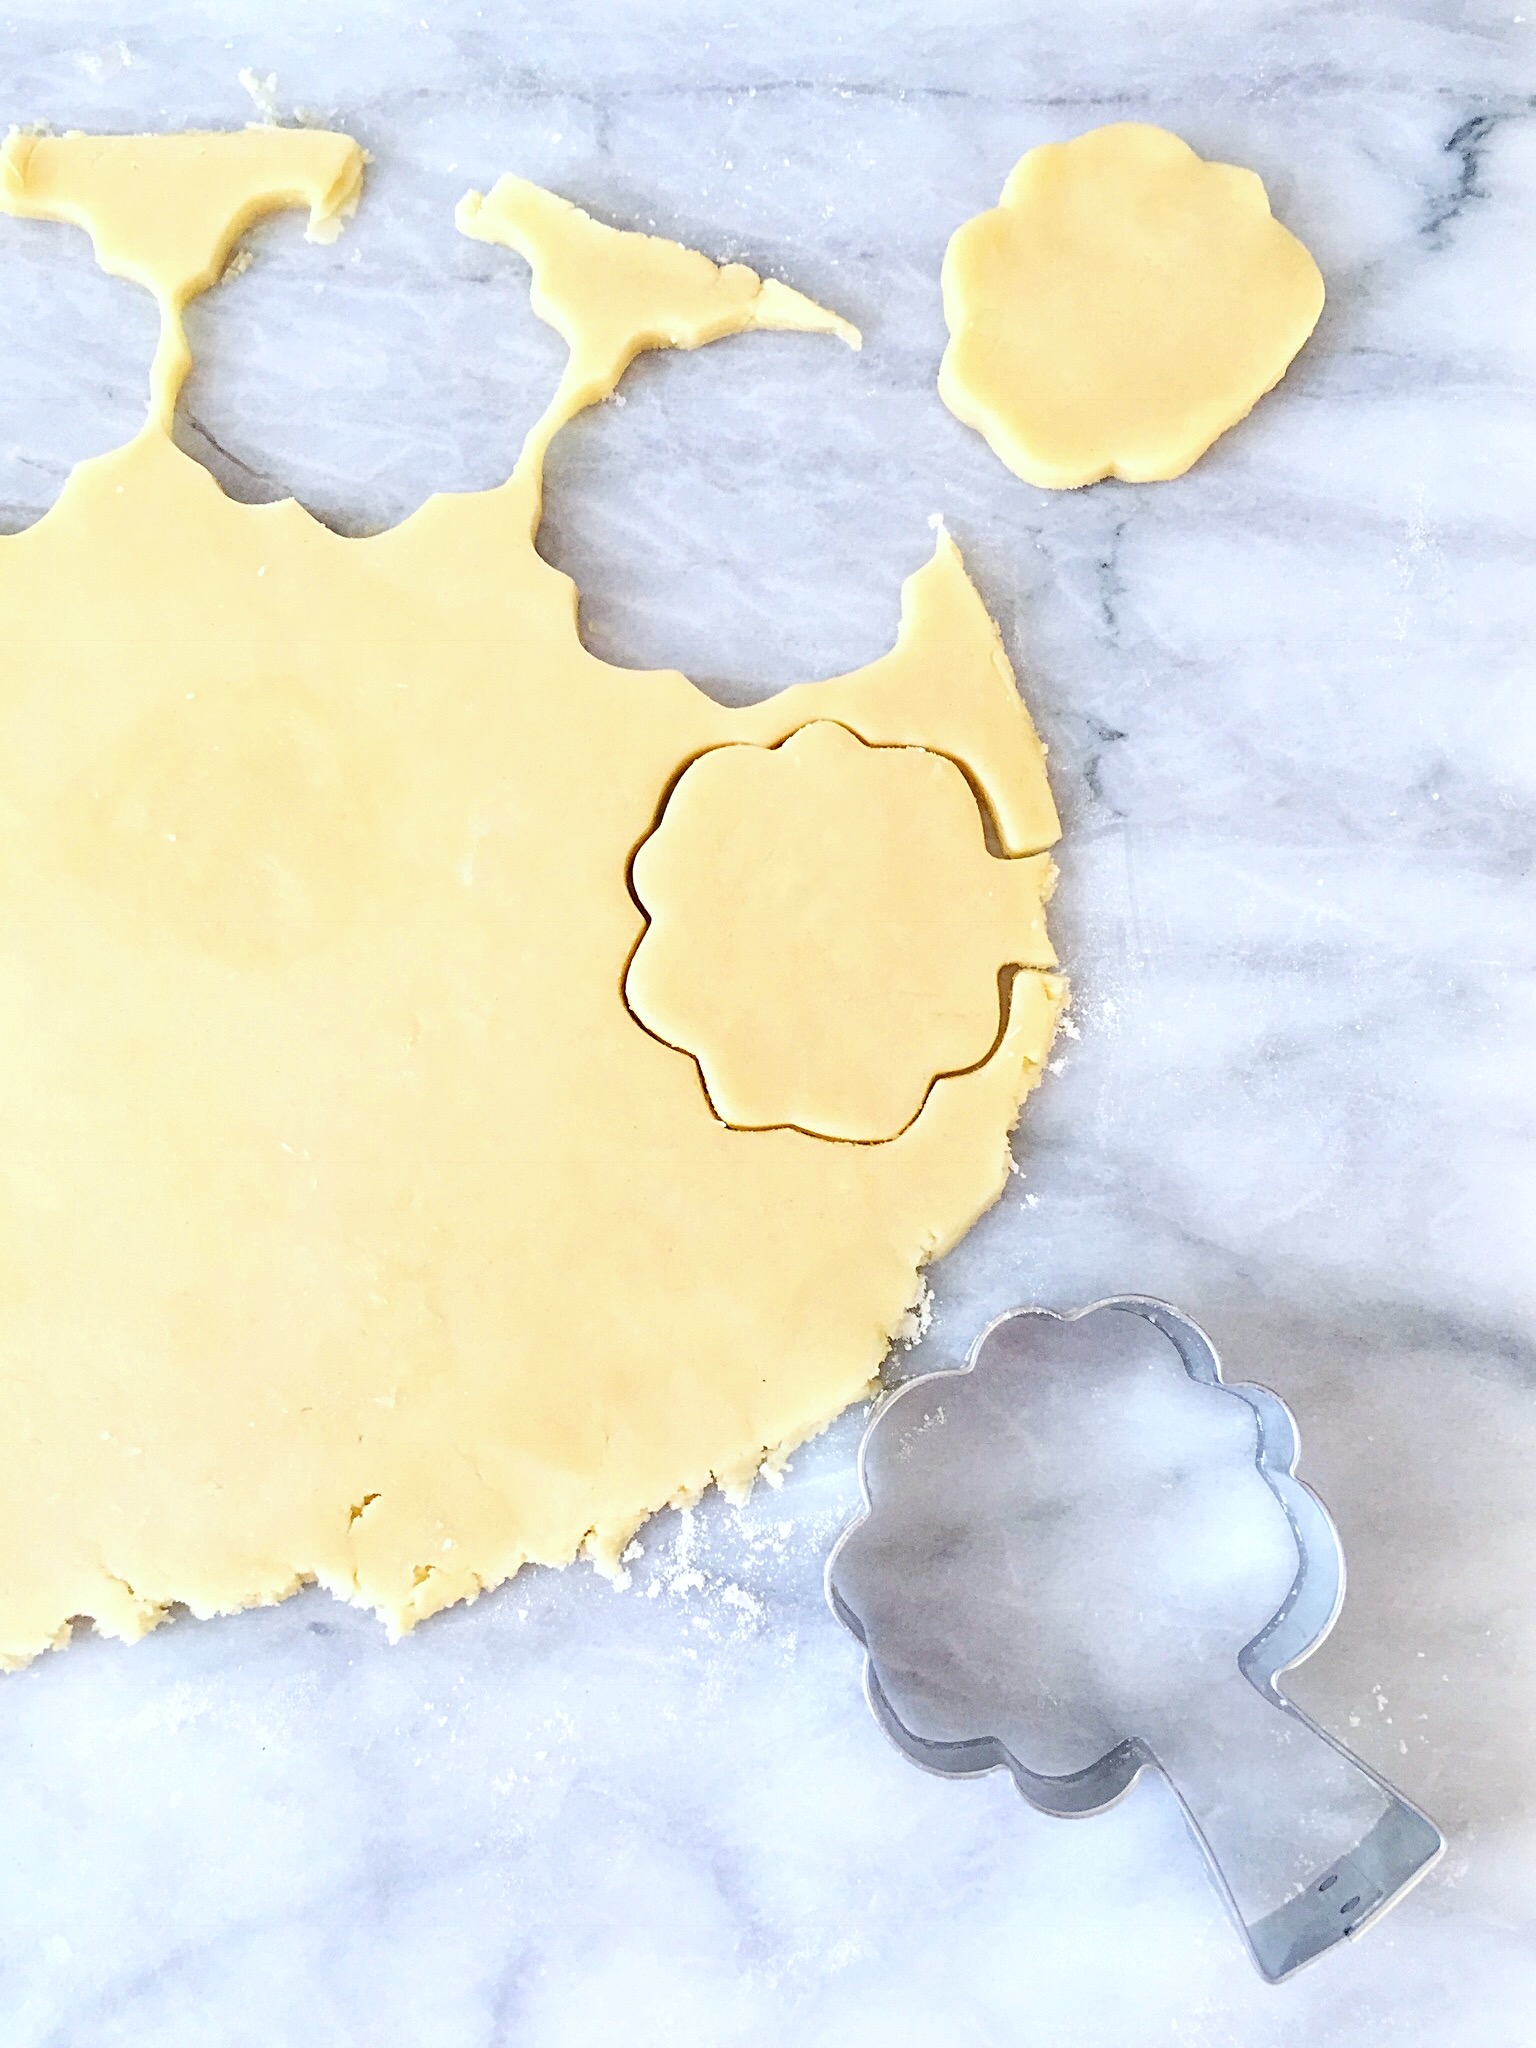
Roll out the remaining cookie dough and cut out the Green-Eyed Monster cookies. I used an apple tree cookie cutter, trimming off the trunk part. If you can’t find an apple tree cutter, you can use a blossom or sun cookie cutter. Bake according to your cookie dough recipe. Let cool.

Green-eyed monster cookie tutorial

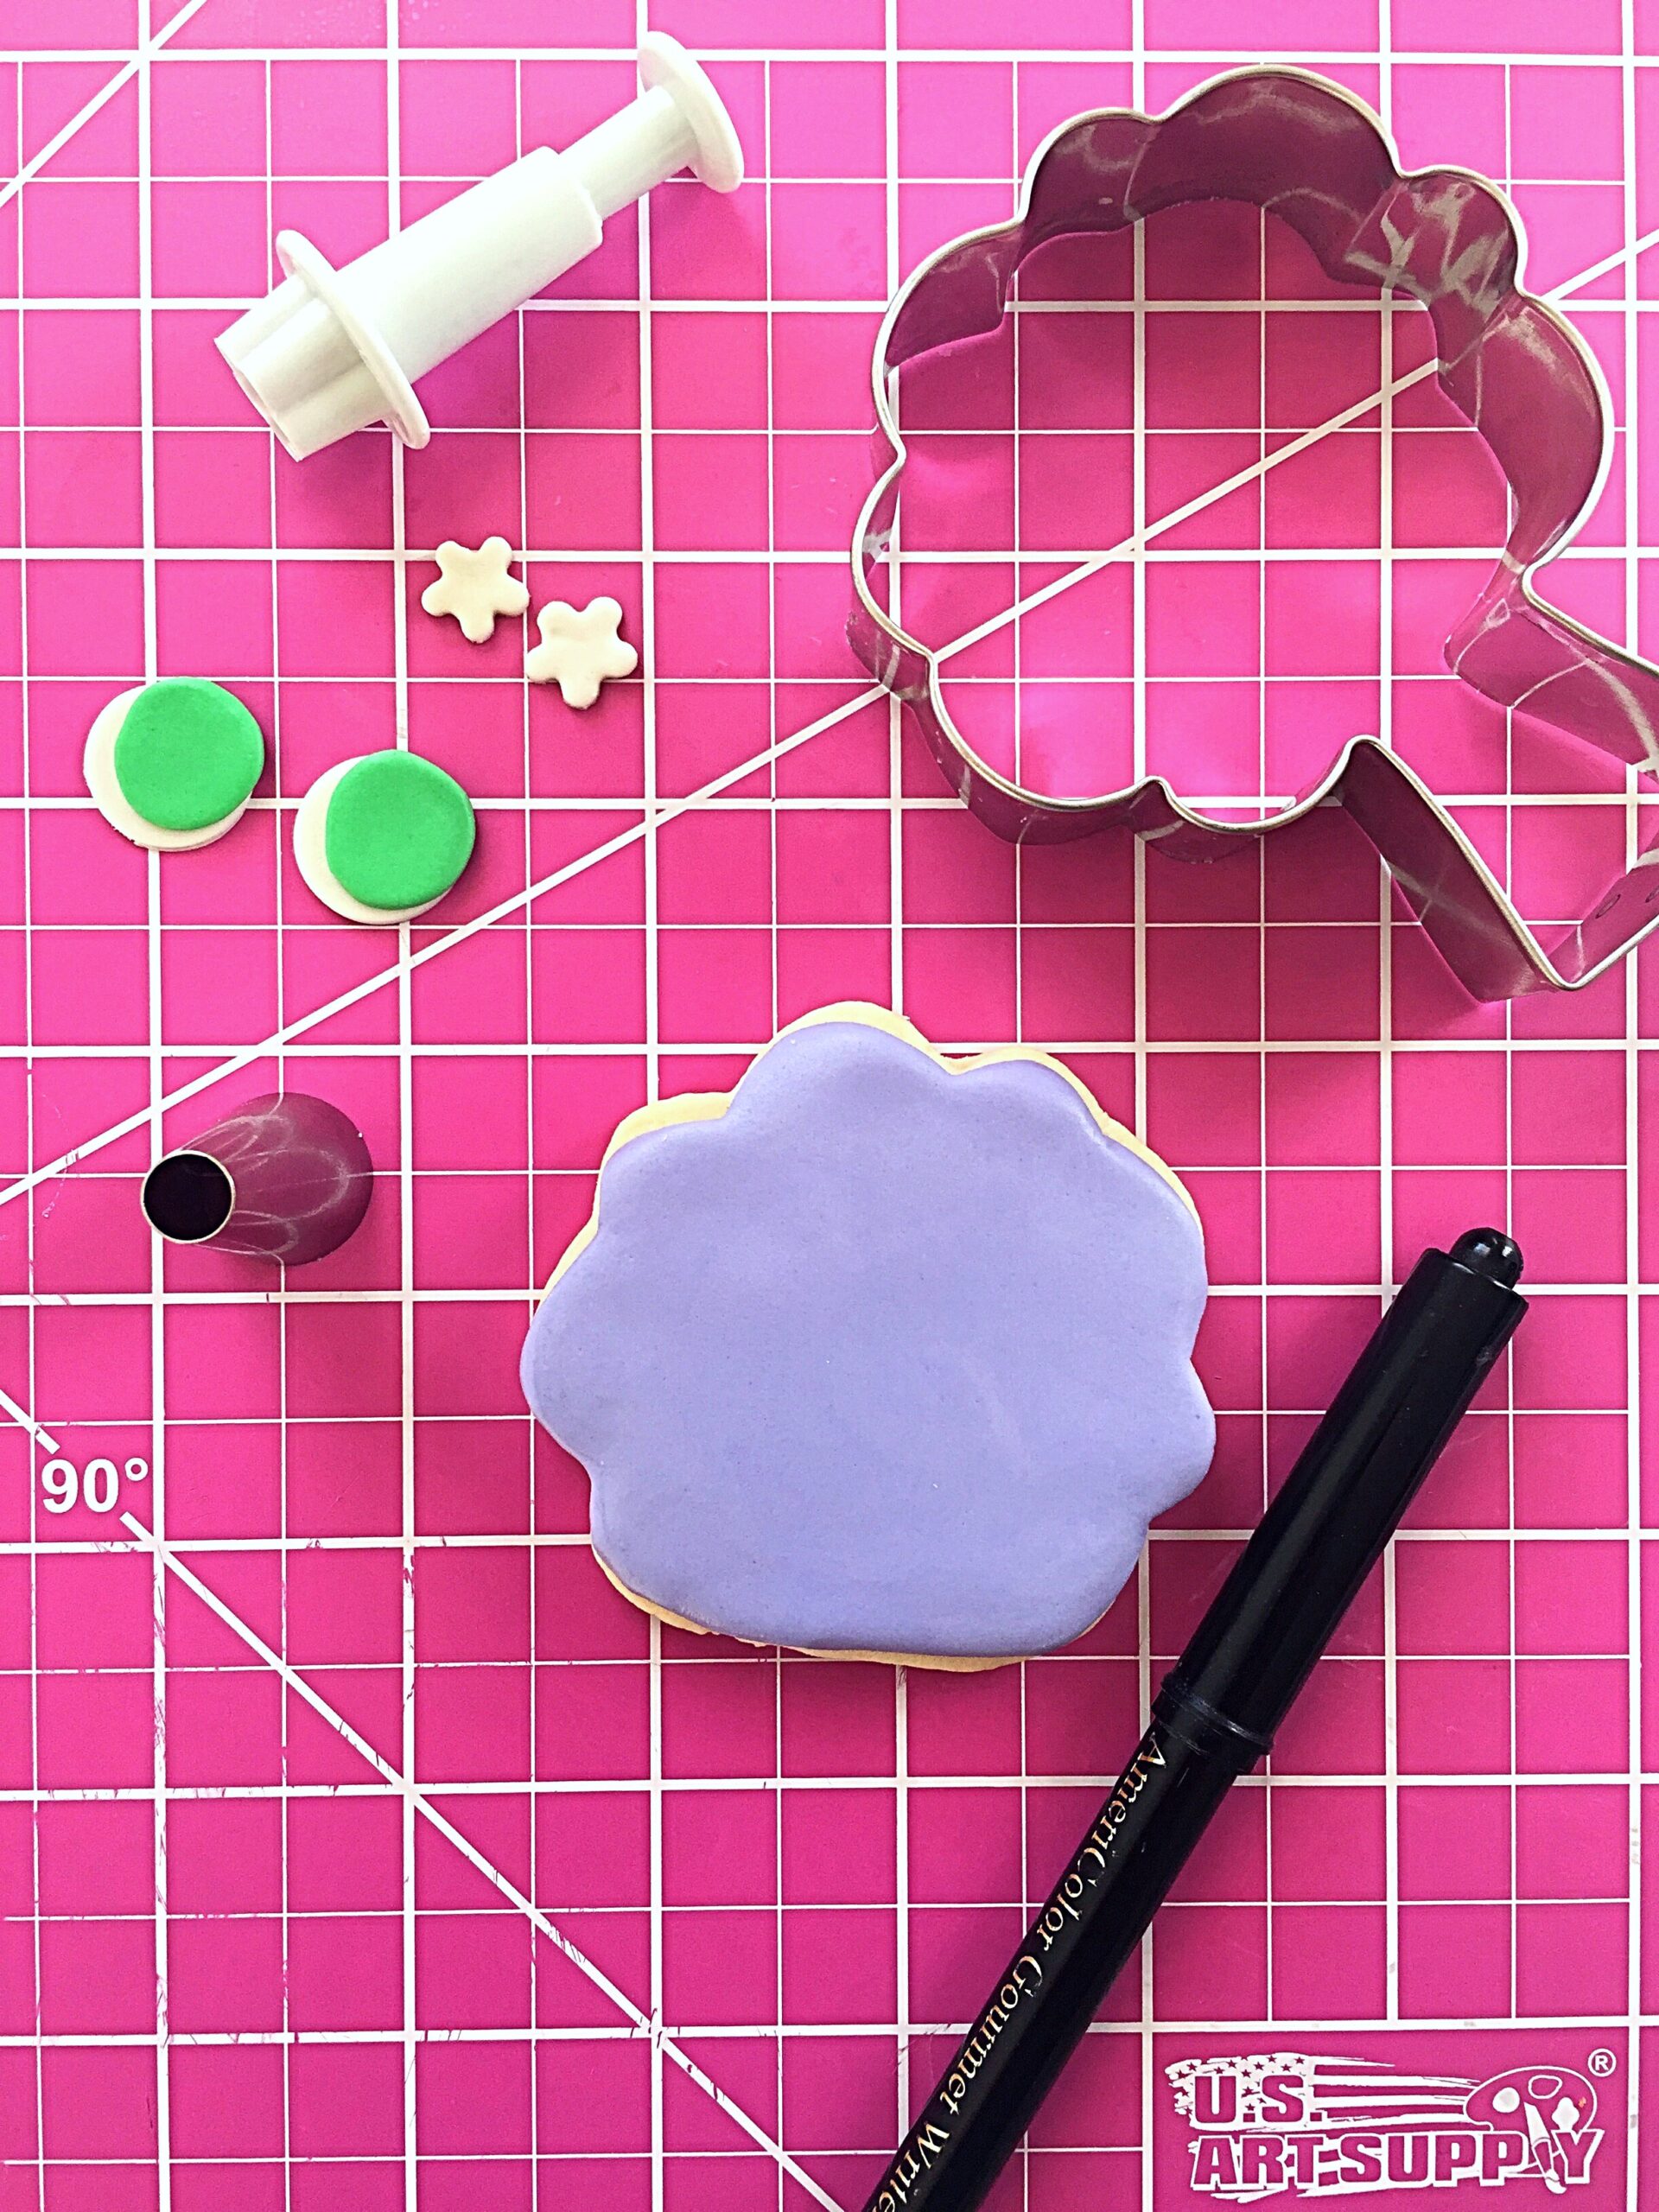
Roll out the lavender fondant. Cut the fondant using the same cutter you used for the cookie dough. Brush piping gel onto cookies and apply the fondant shapes. Let dry at least 30 minutes. 

Green-eyed monster cookie tutorial

For eyes, roll out white and green fondant. I used the large end of a piping tip to cut out two white circles and two green circles for each cookie. Attach the green circles to the white circles with a dab of piping gel, offsetting them slightly. I used a tiny blossom punch cutter for the pupils and applied with piping gel. Use an edible marker to draw eyelashes and a mouth.
Green-eyed monster Halloween cookies

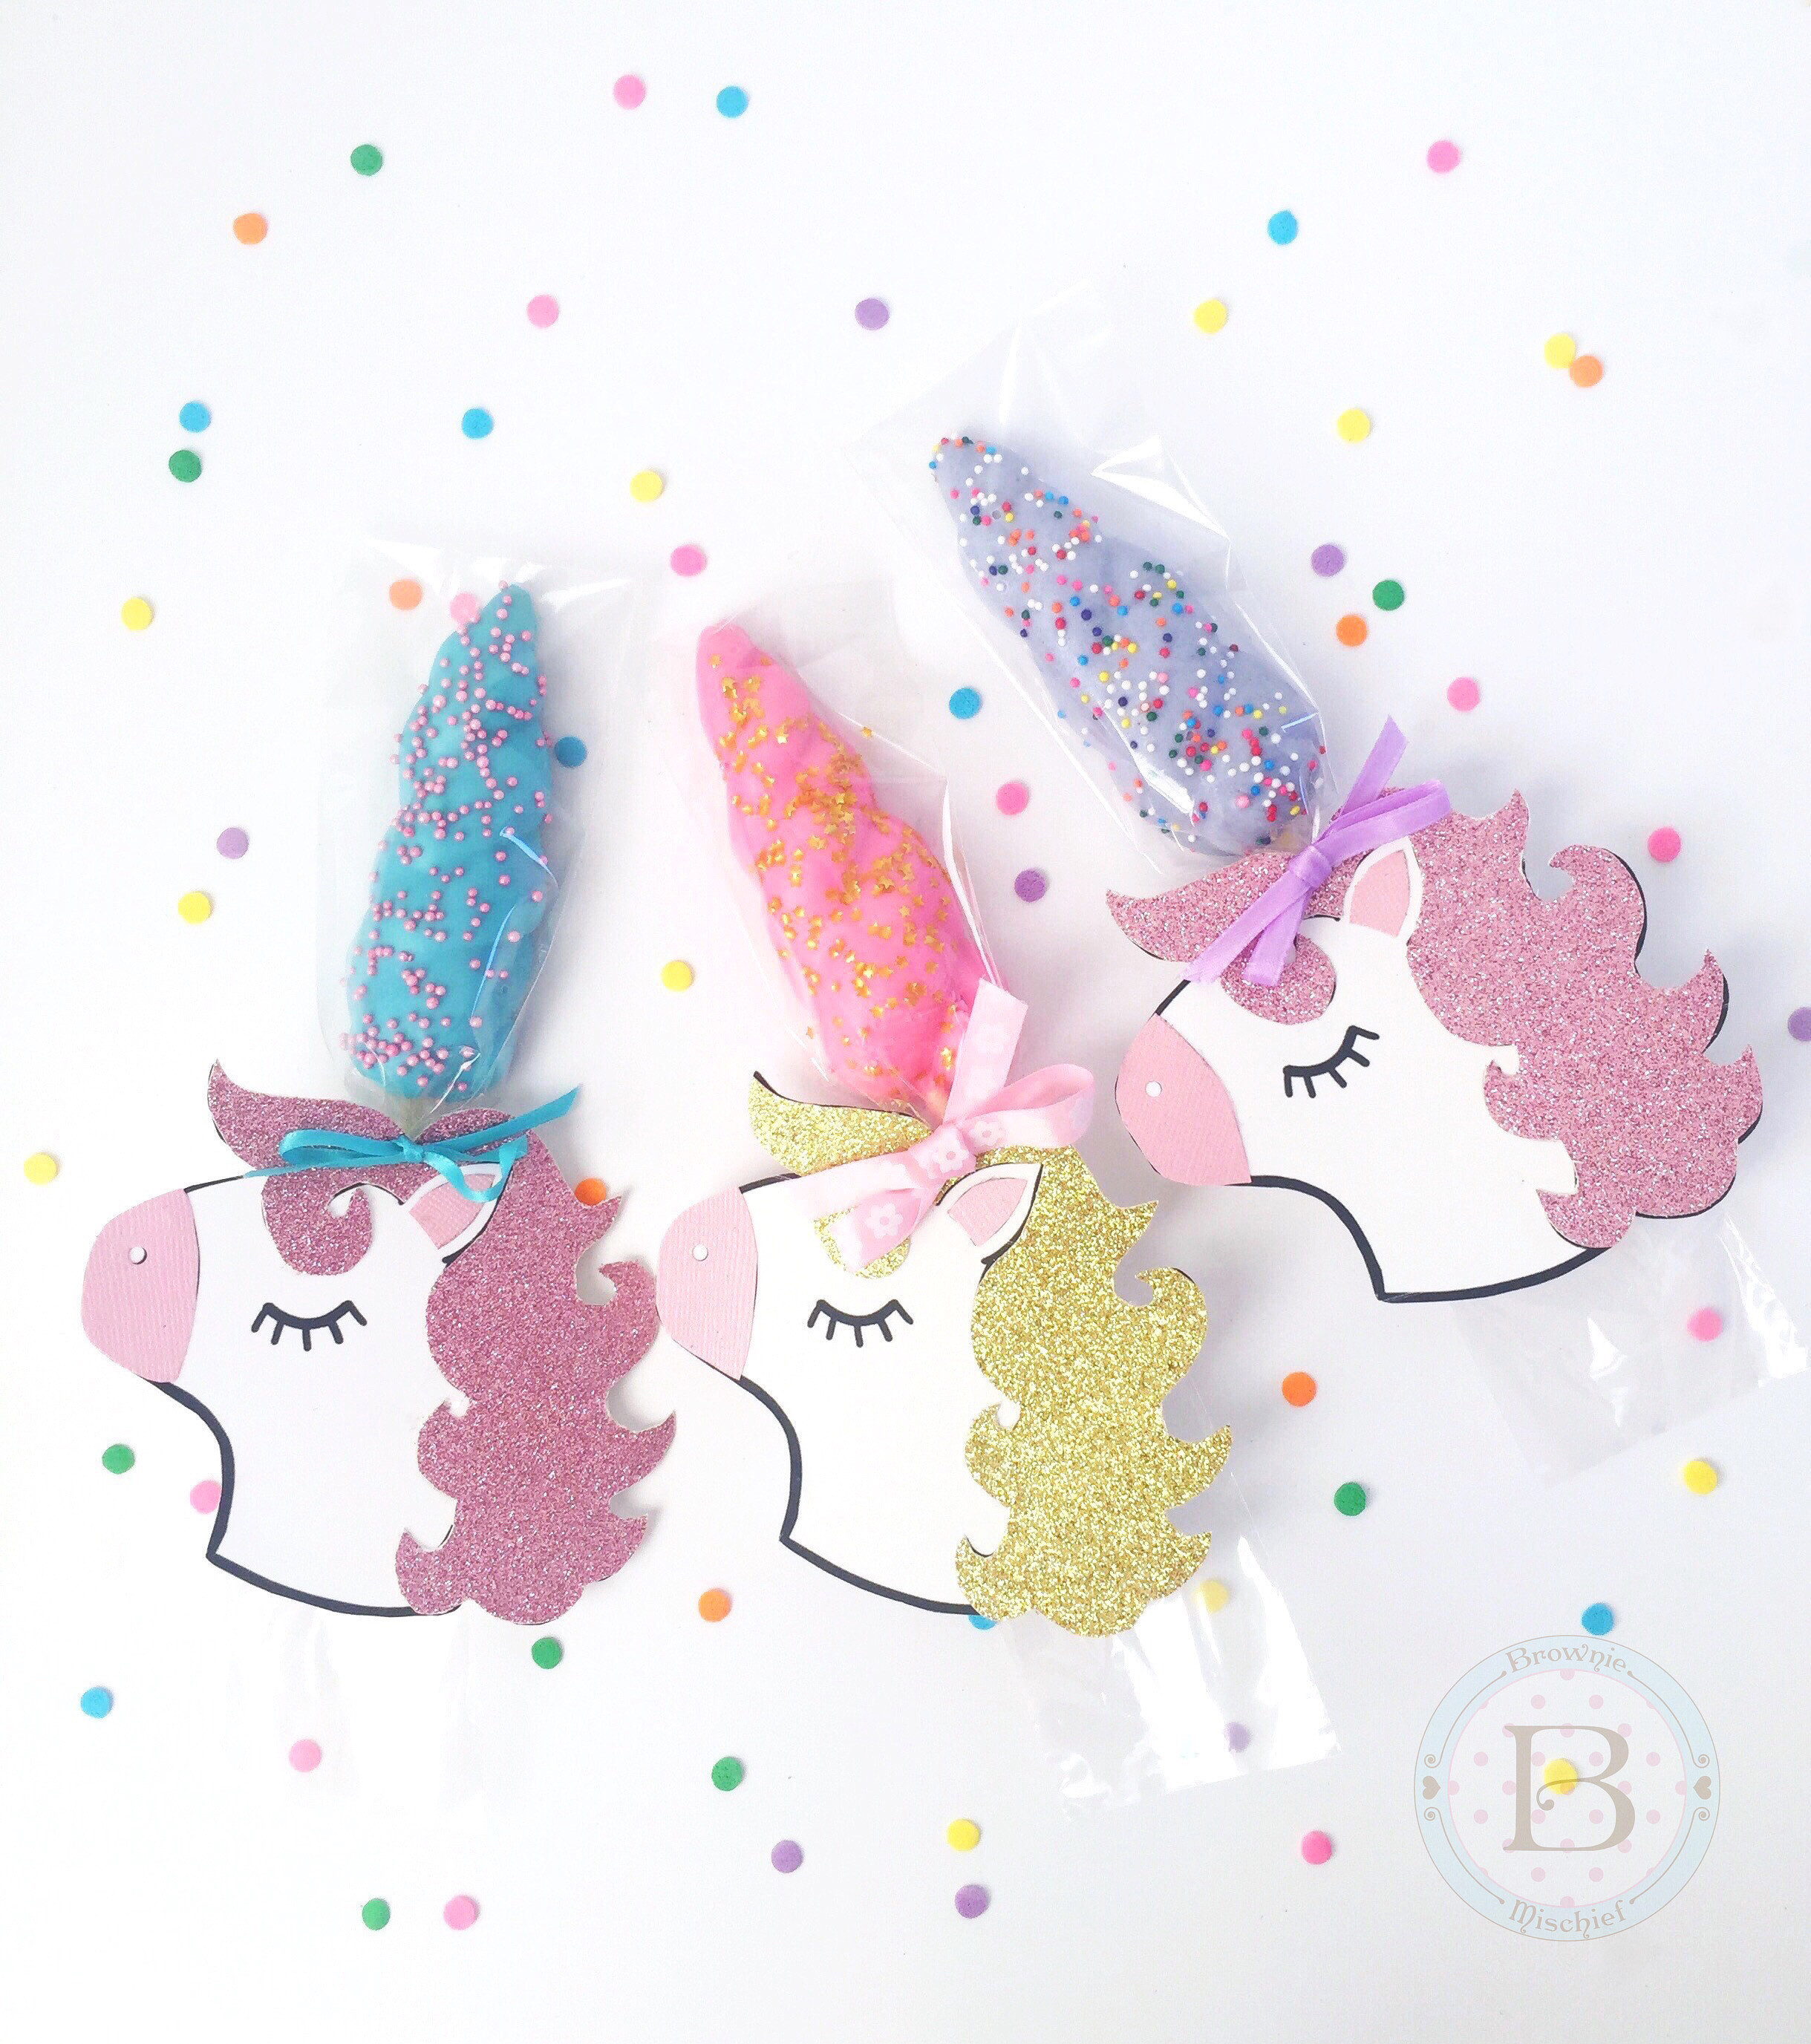
Unicorn Horn Cookie Party Favors

Unicorn Horn Cookie Party Favors by Brownie Mischief

Have you noticed a unicorn or two around lately? The unicorn craze is still going strong and it’s no wonder that unicorns have become so beloved. Unicorns are beautiful, majestic creatures with just the right amount of mystery and elusiveness, and they symbolize the spirit of individuality. So it’s no surprise that so many people, adults and children alike, are clamoring for unicorn-theme parties. If you’re planning a graduation party or a summer birthday party for your unicorn fan, you’ve probably searched the internet for some ideas. Every unicorn party will likely have a unicorn head cake. By the way, does anyone know who the original designer of that cake is? Just wondering. A unicorn party also needs some unicorn treats. Look no further! These Unicorn Horn Cookies make perfect party favors. They’re fun to make and don’t require any special skills. You can also make them ahead which means they’re stress-free!

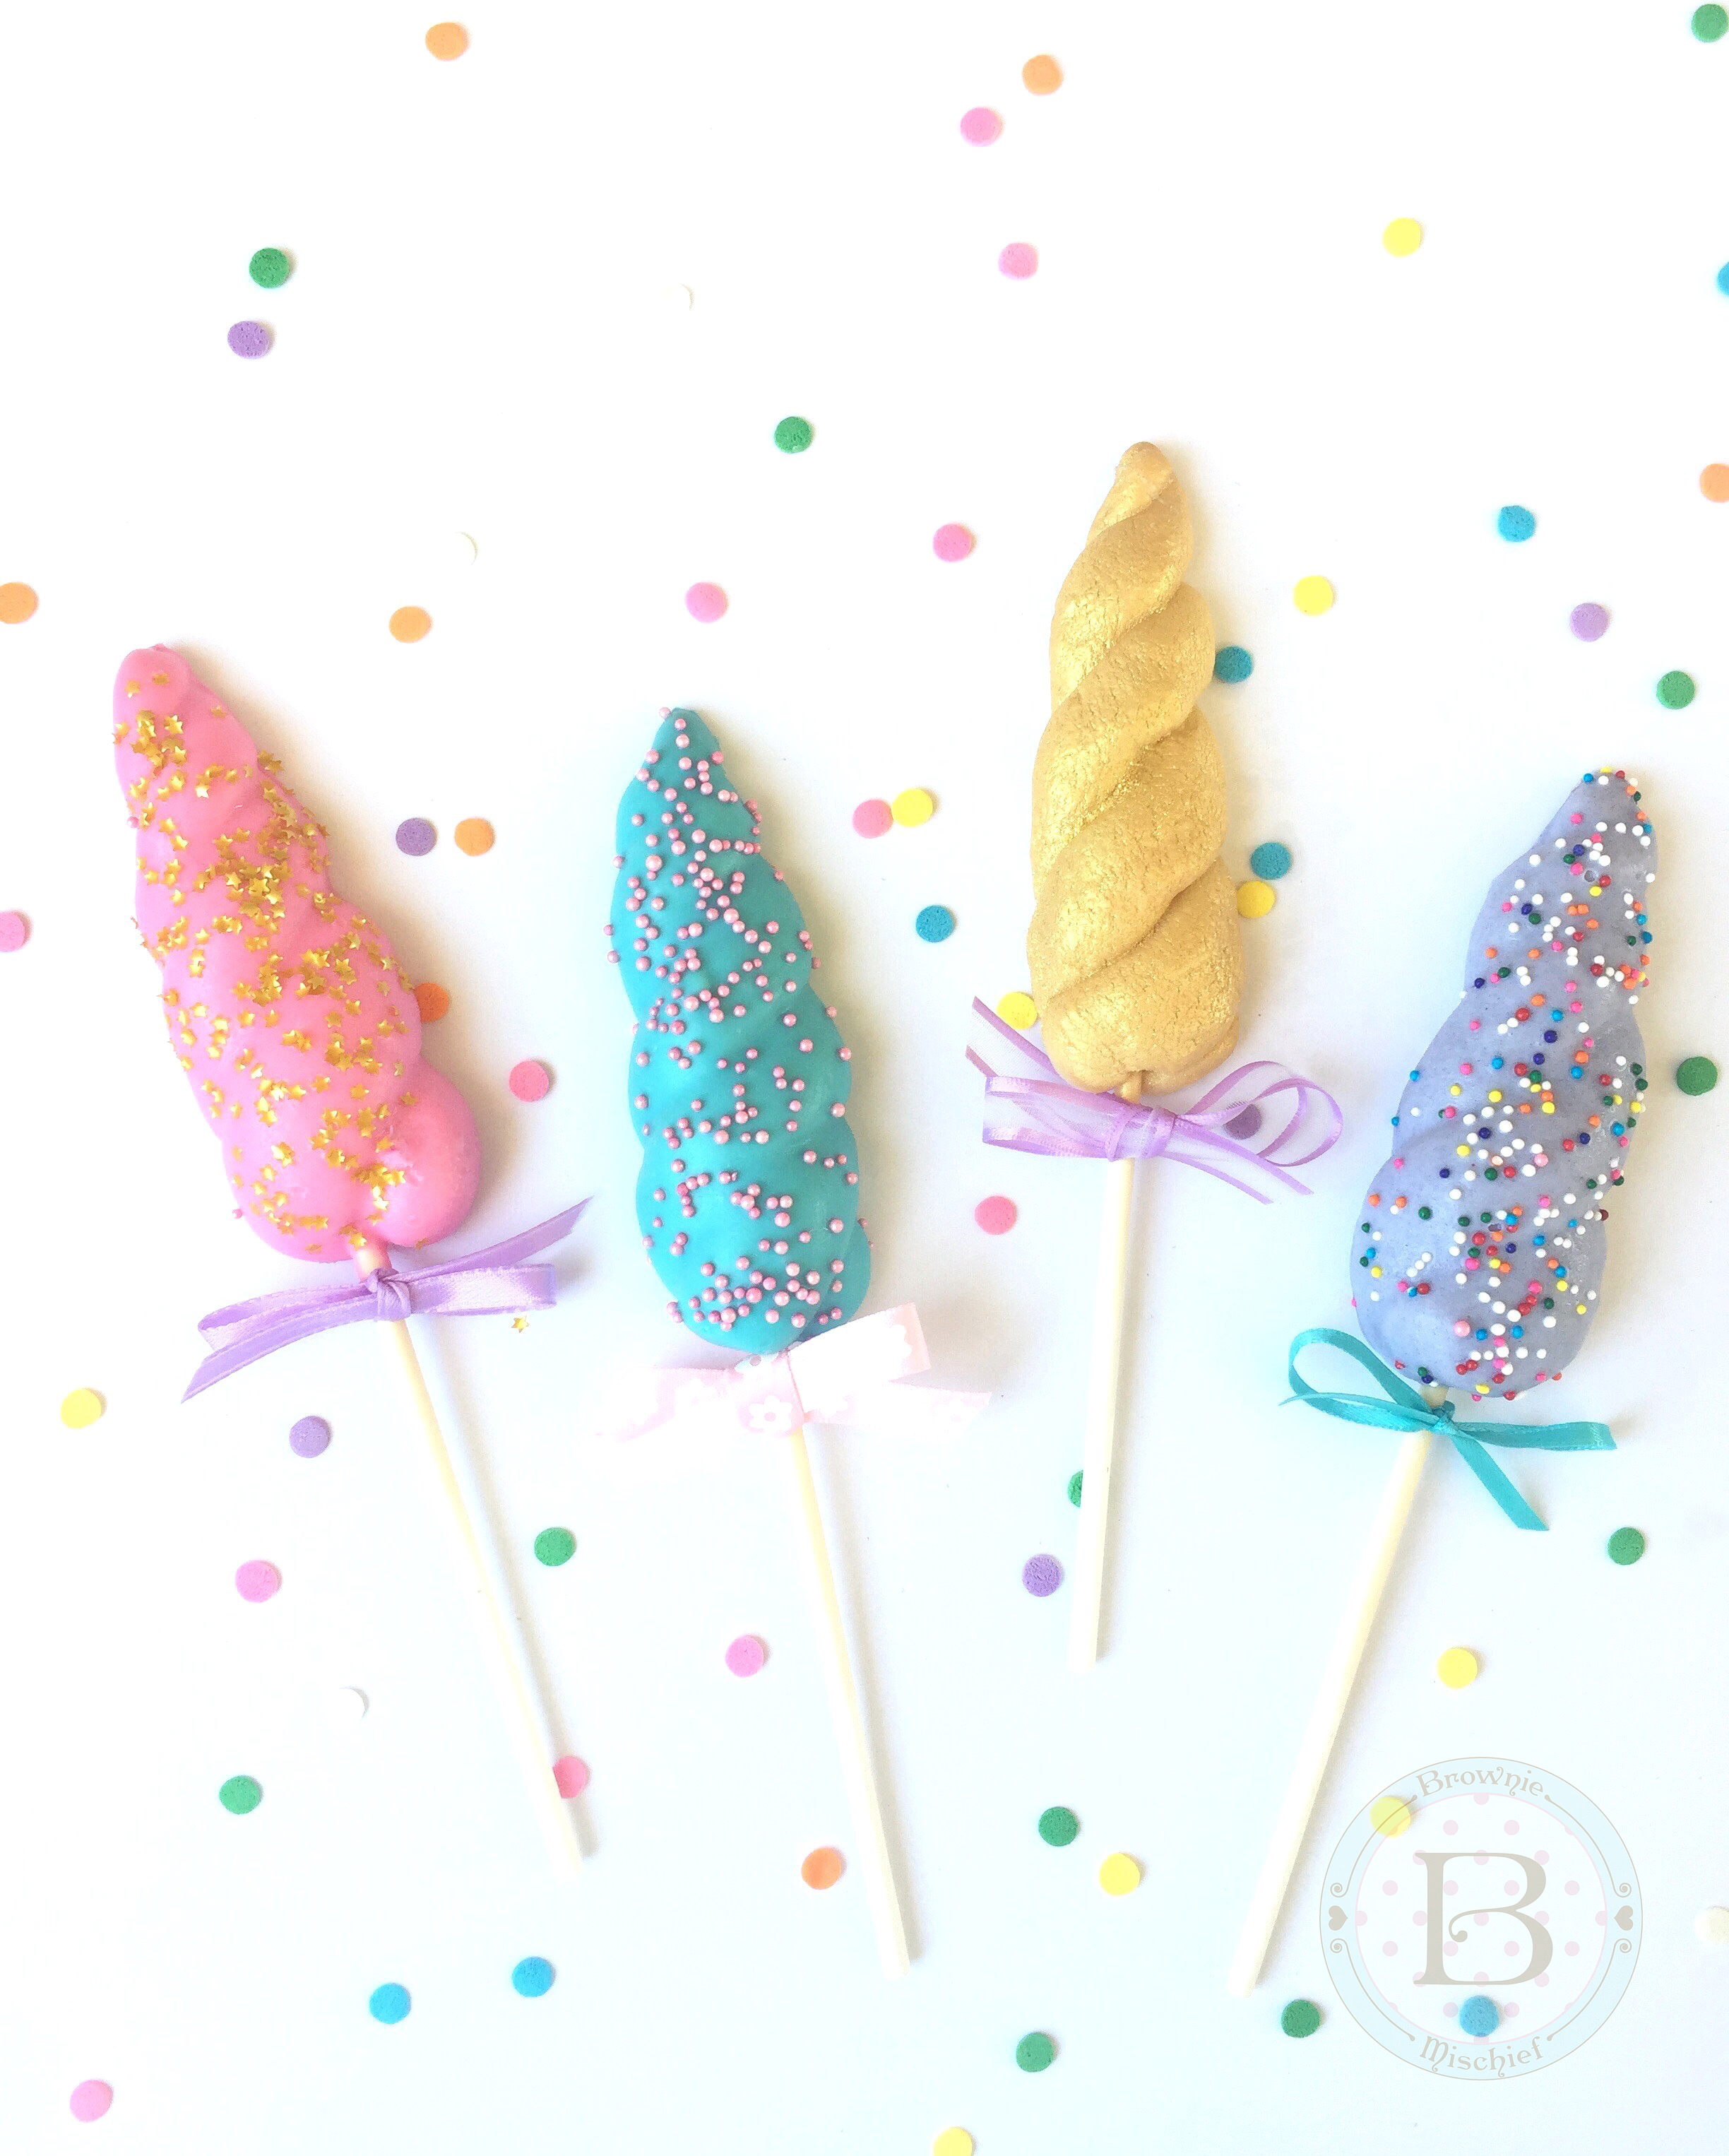
Unicorn Horn Cookies by Brownie Mischief

I came up with Unicorn Horn Cookies when making a Unicorn Rainbow Milkshake. I had extra cookies left, so I decided to take them up a notch by dunking them in candy melts and adding sprinkles. They looked so festive, that they instantly became official party favors. I designed some unicorn gift tags to go with them and I’ve created a free printable to share with you! Click here for free unicorn gift tag printable. You can find the cookie recipe at the bottom of the Unicorn Rainbow Milkshake post. Click here to find the Unicorn Horn Cookies recipe.

To make Unicorn Horn Cookie Party Favors, you’ll need:

Bake unicorn cookies and cool completely. Place candy melts in a microwaveable container and heat in a microwave at 50% power for 1 minute. Stir and heat for 20 second intervals until melted. If the melted candy is too thick, add melted vegetable shortening a half teaspoon at a time until desired consistency is reached. Dip cookies into melted candy and tap off excess. Place cookies on a tray lined with wax paper. Decorate with sprinkles before the candy sets. Place cookies in refrigerator for a few minutes, until set.

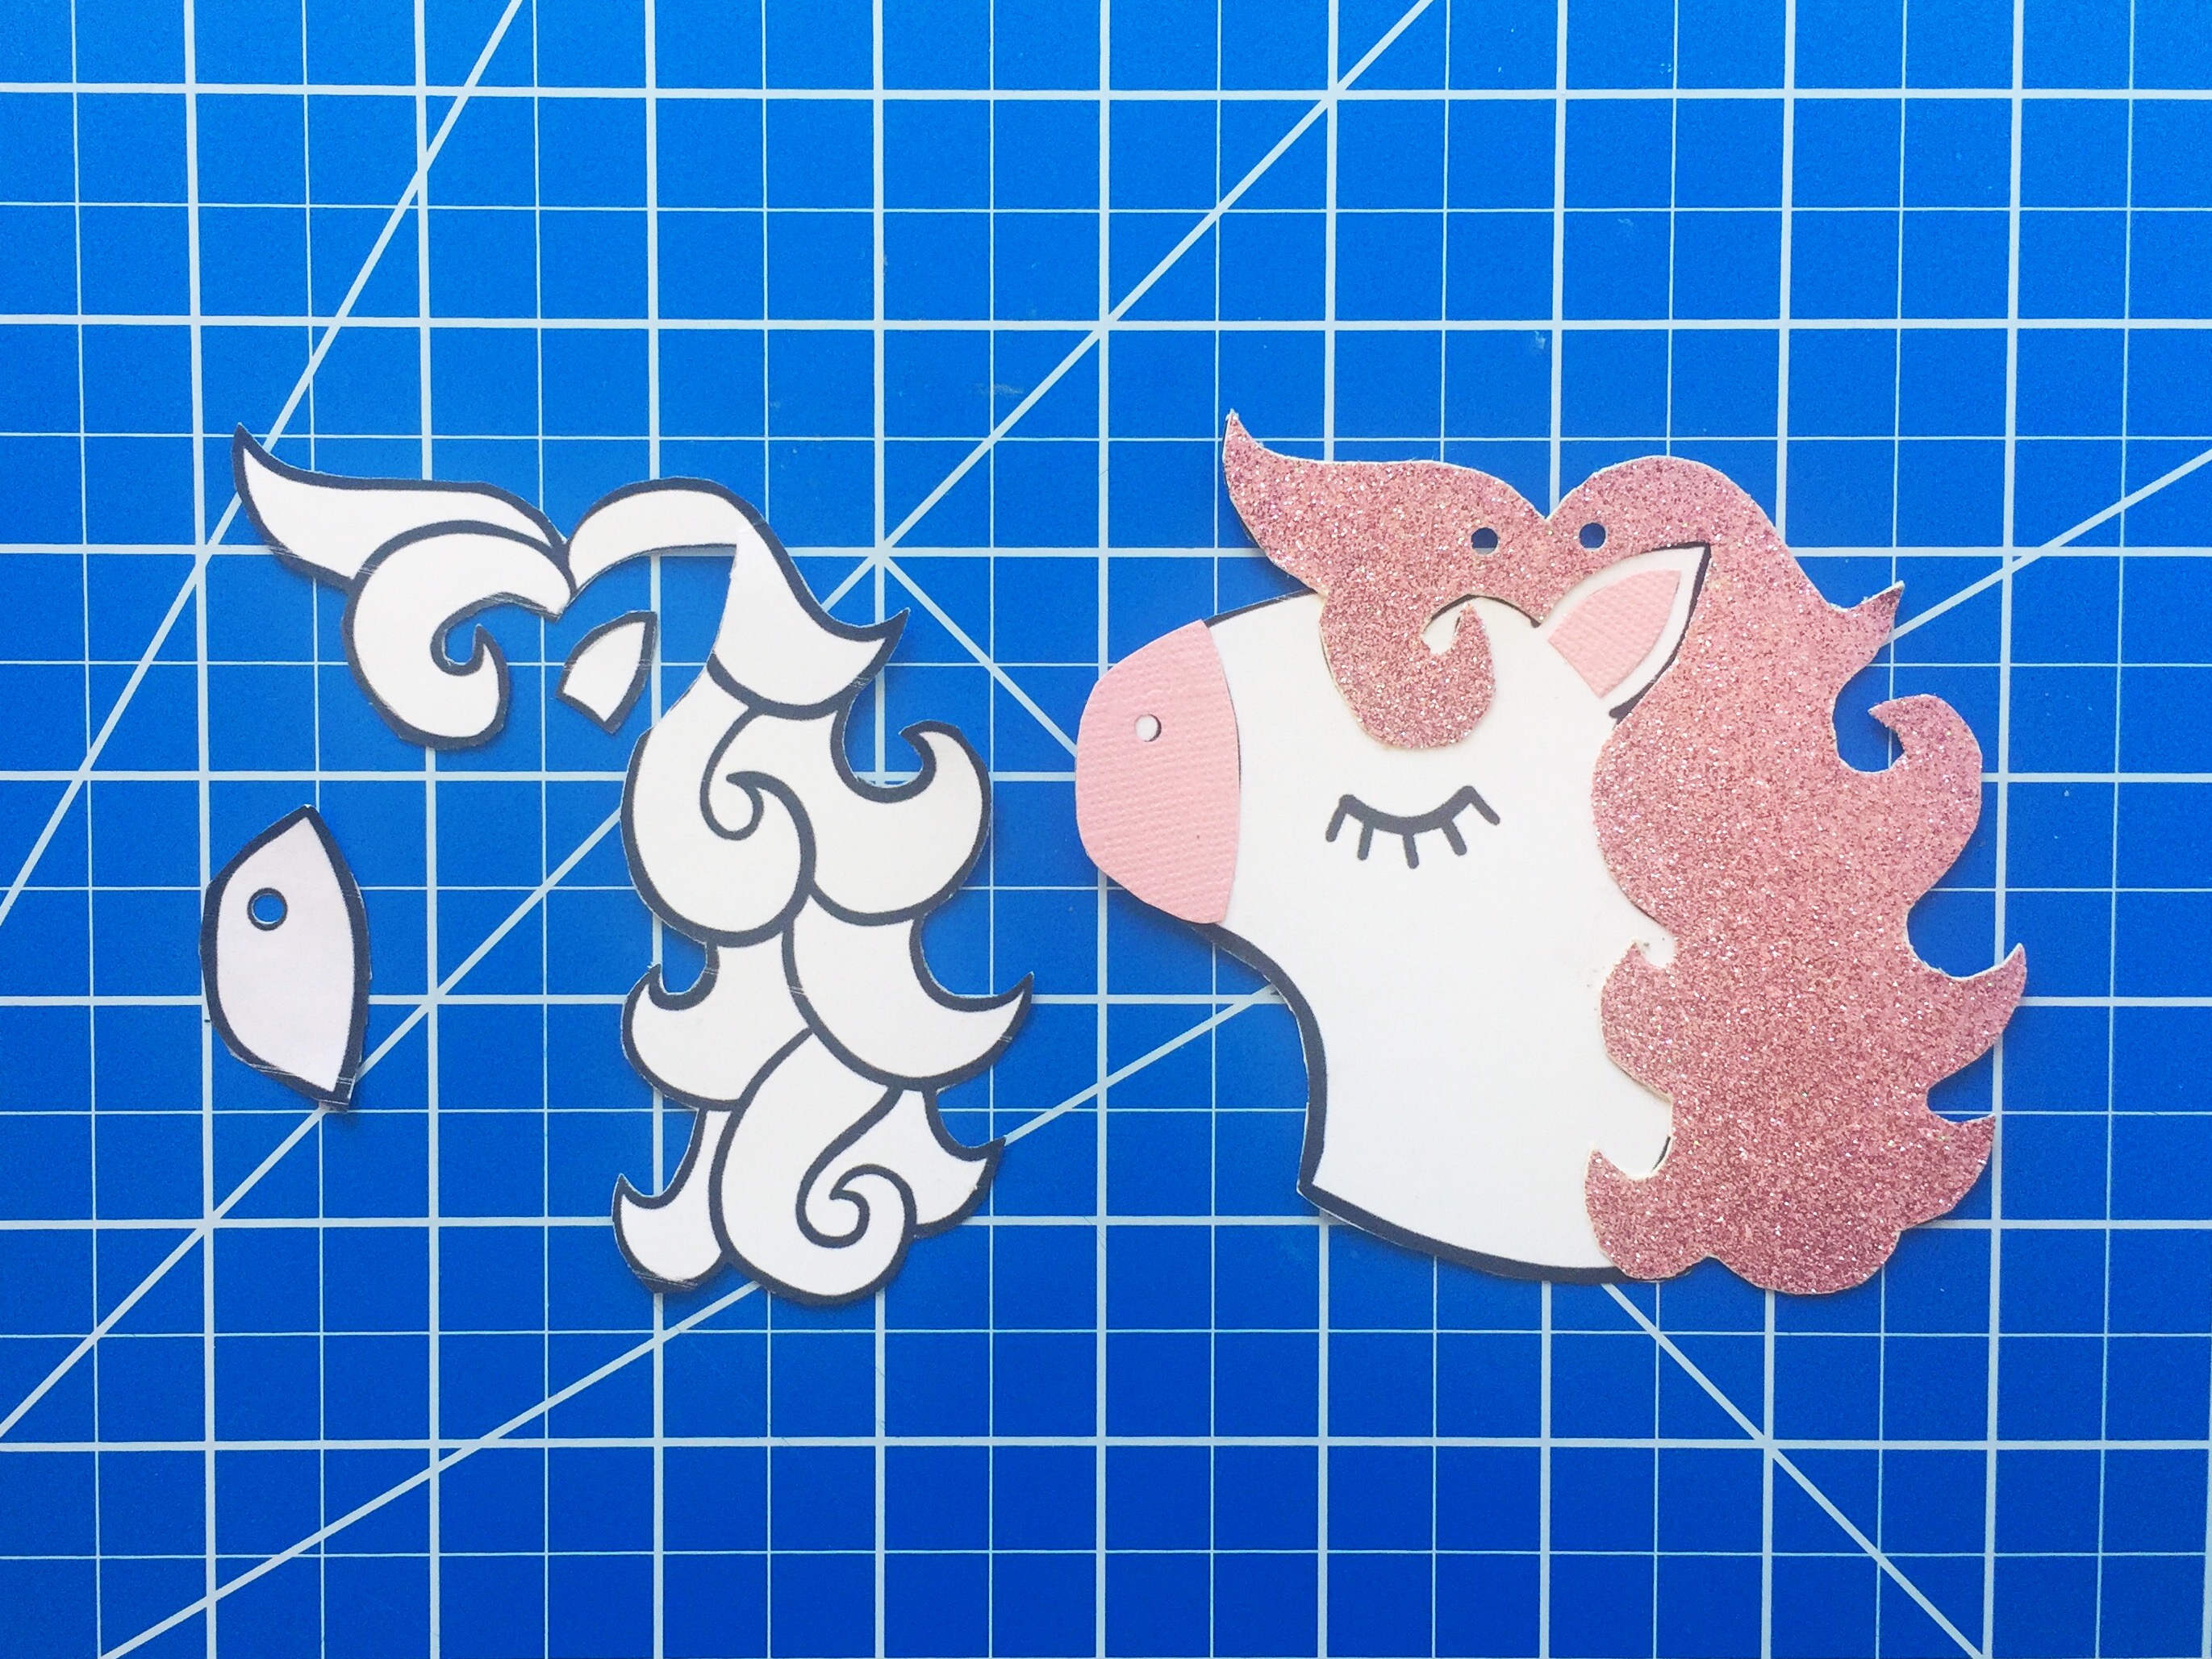
Print unicorn gift tags on card stock. Click here for free unicorn gift tag printable. Cut out desired number of unicorn gift tags. Cut out one extra to use as a pattern. Cut mane, muzzle and ear out of scrapbook paper. Affix with craft glue. (Alternately, you can omit the scrapbook paper step and simply print out the unicorn gift tags and color them with colored pencils or markers.) Punch two holes, about 1/2-inch apart near the top of each gift tag.

Unicorn Gift Tag DIY with Free Printable

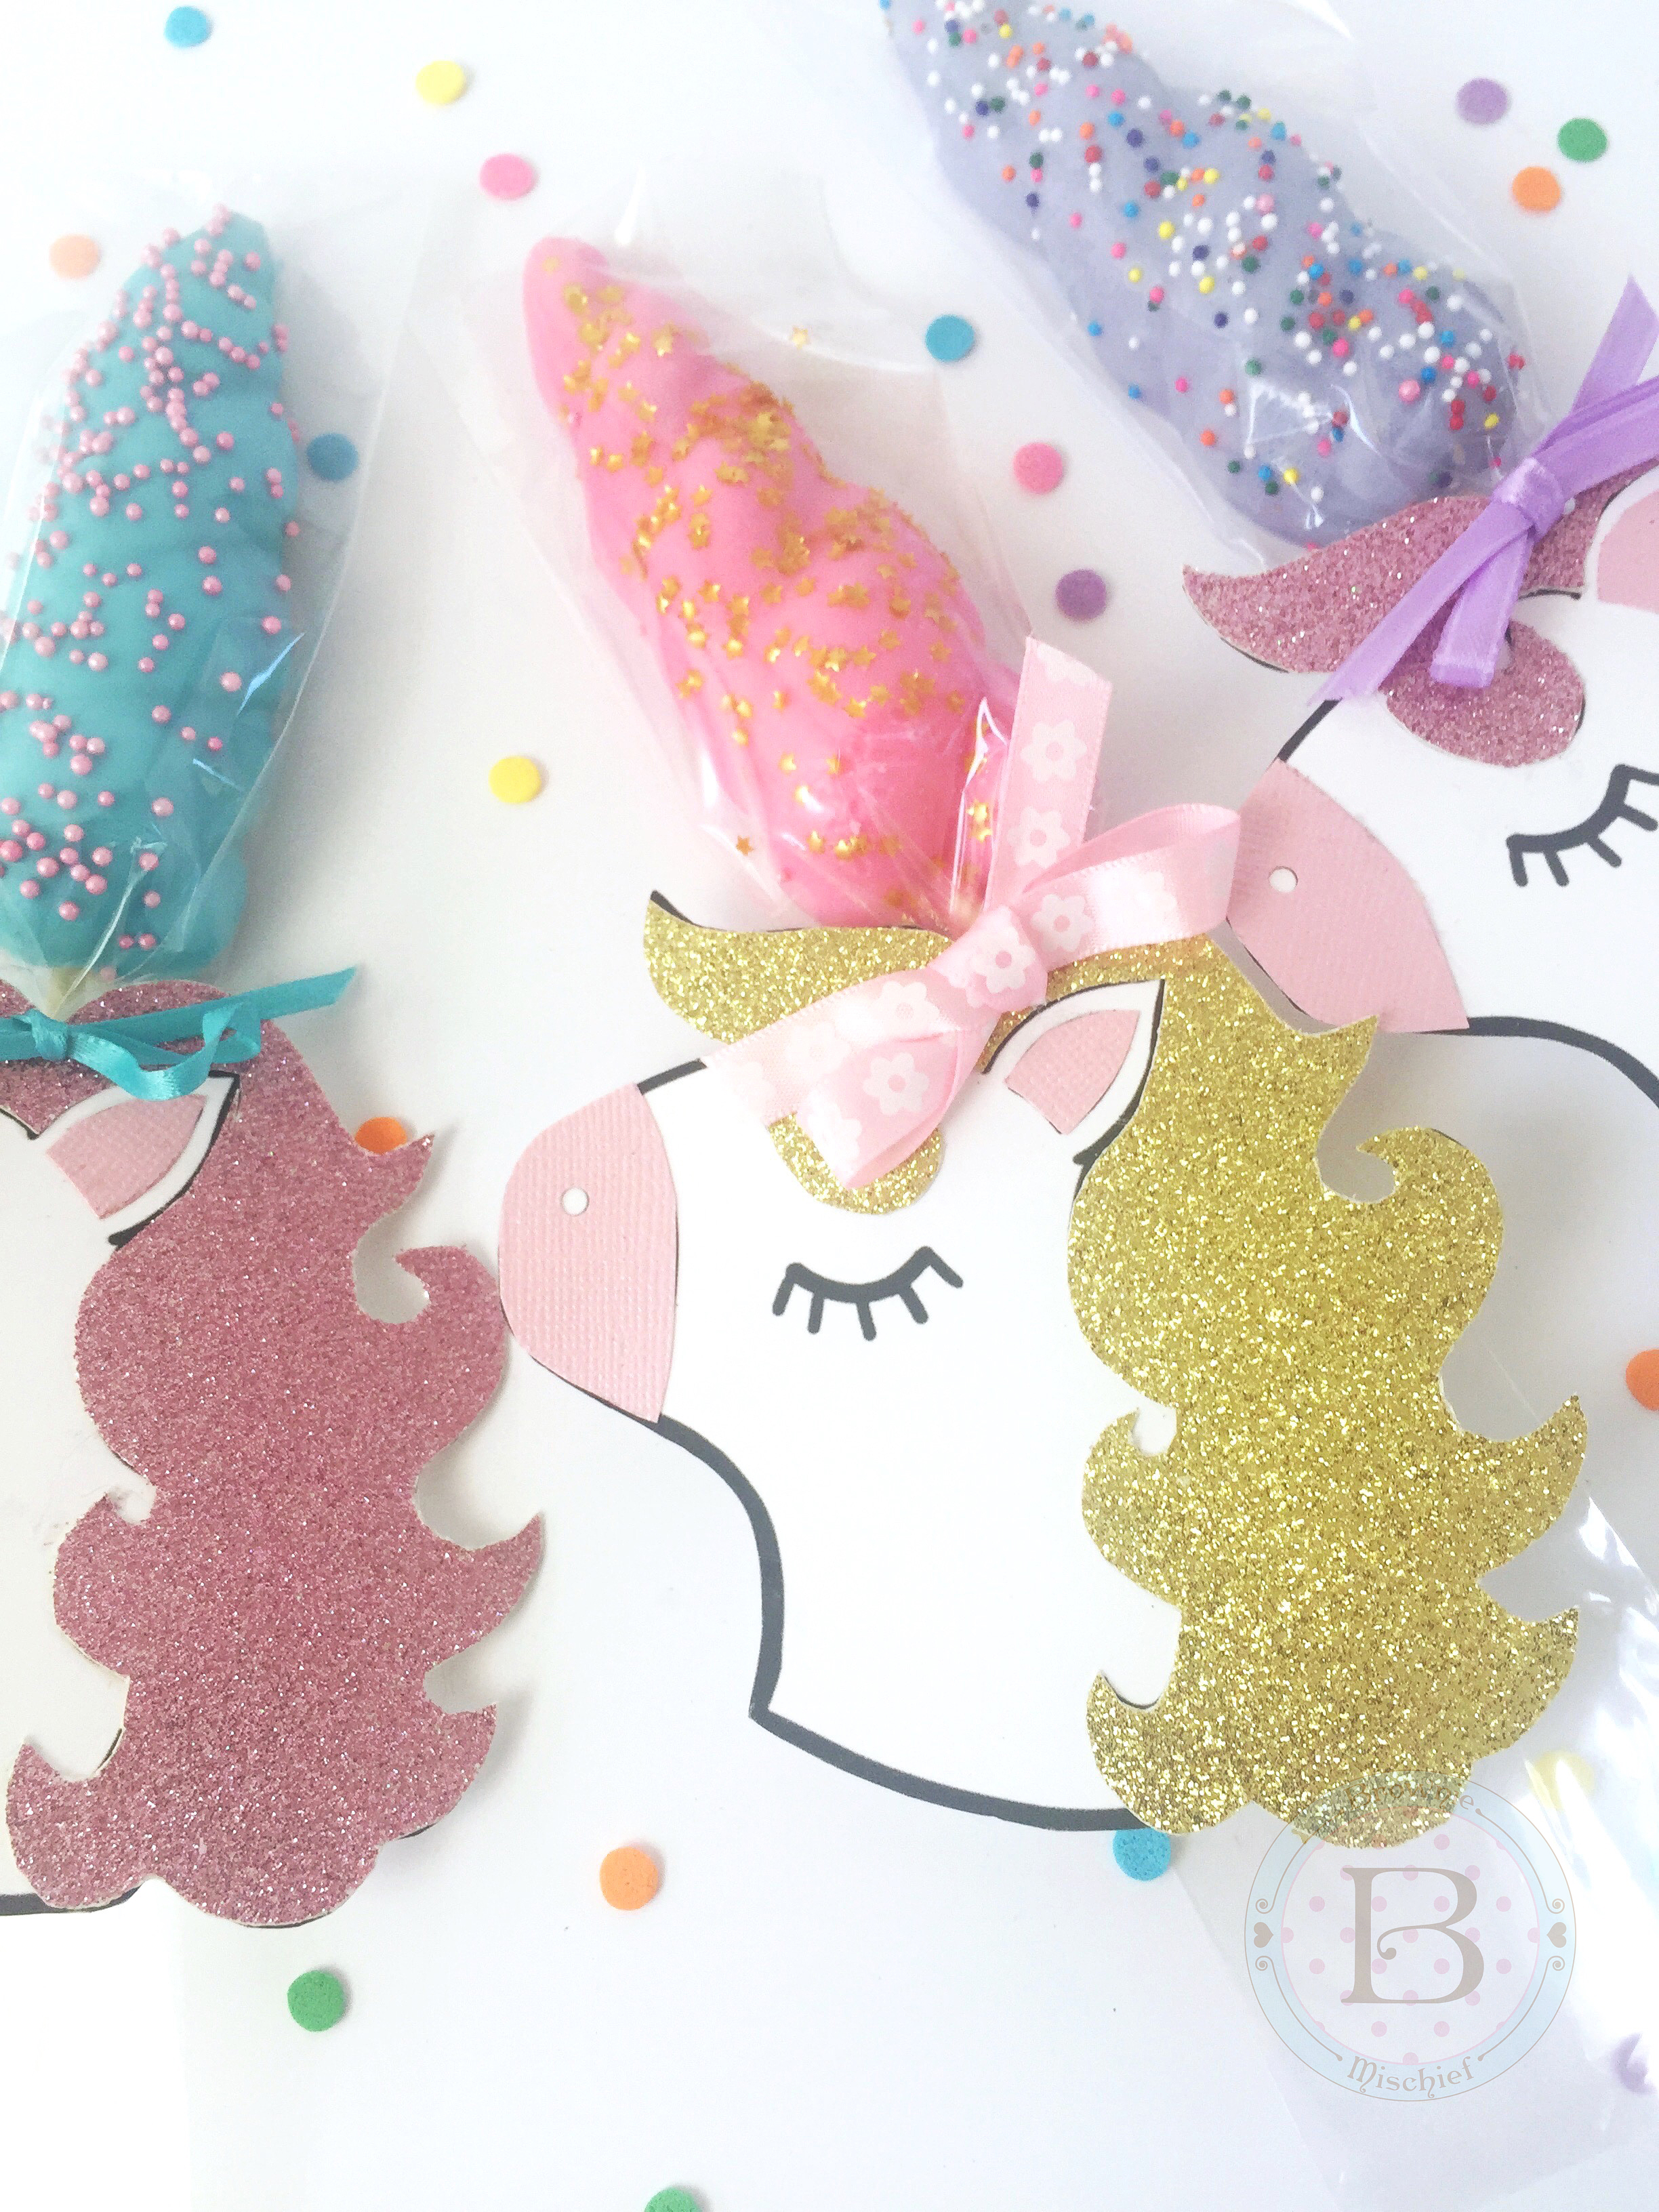
Place cookies in treat bags, if using. Tie ribbon onto the lollipop sticks at the base of the cookies. Thread ribbon through the holes of the gift tags and tie into bows.

Unicorn Horn Cookie Party Favors with Free Printable by Brownie Mischief

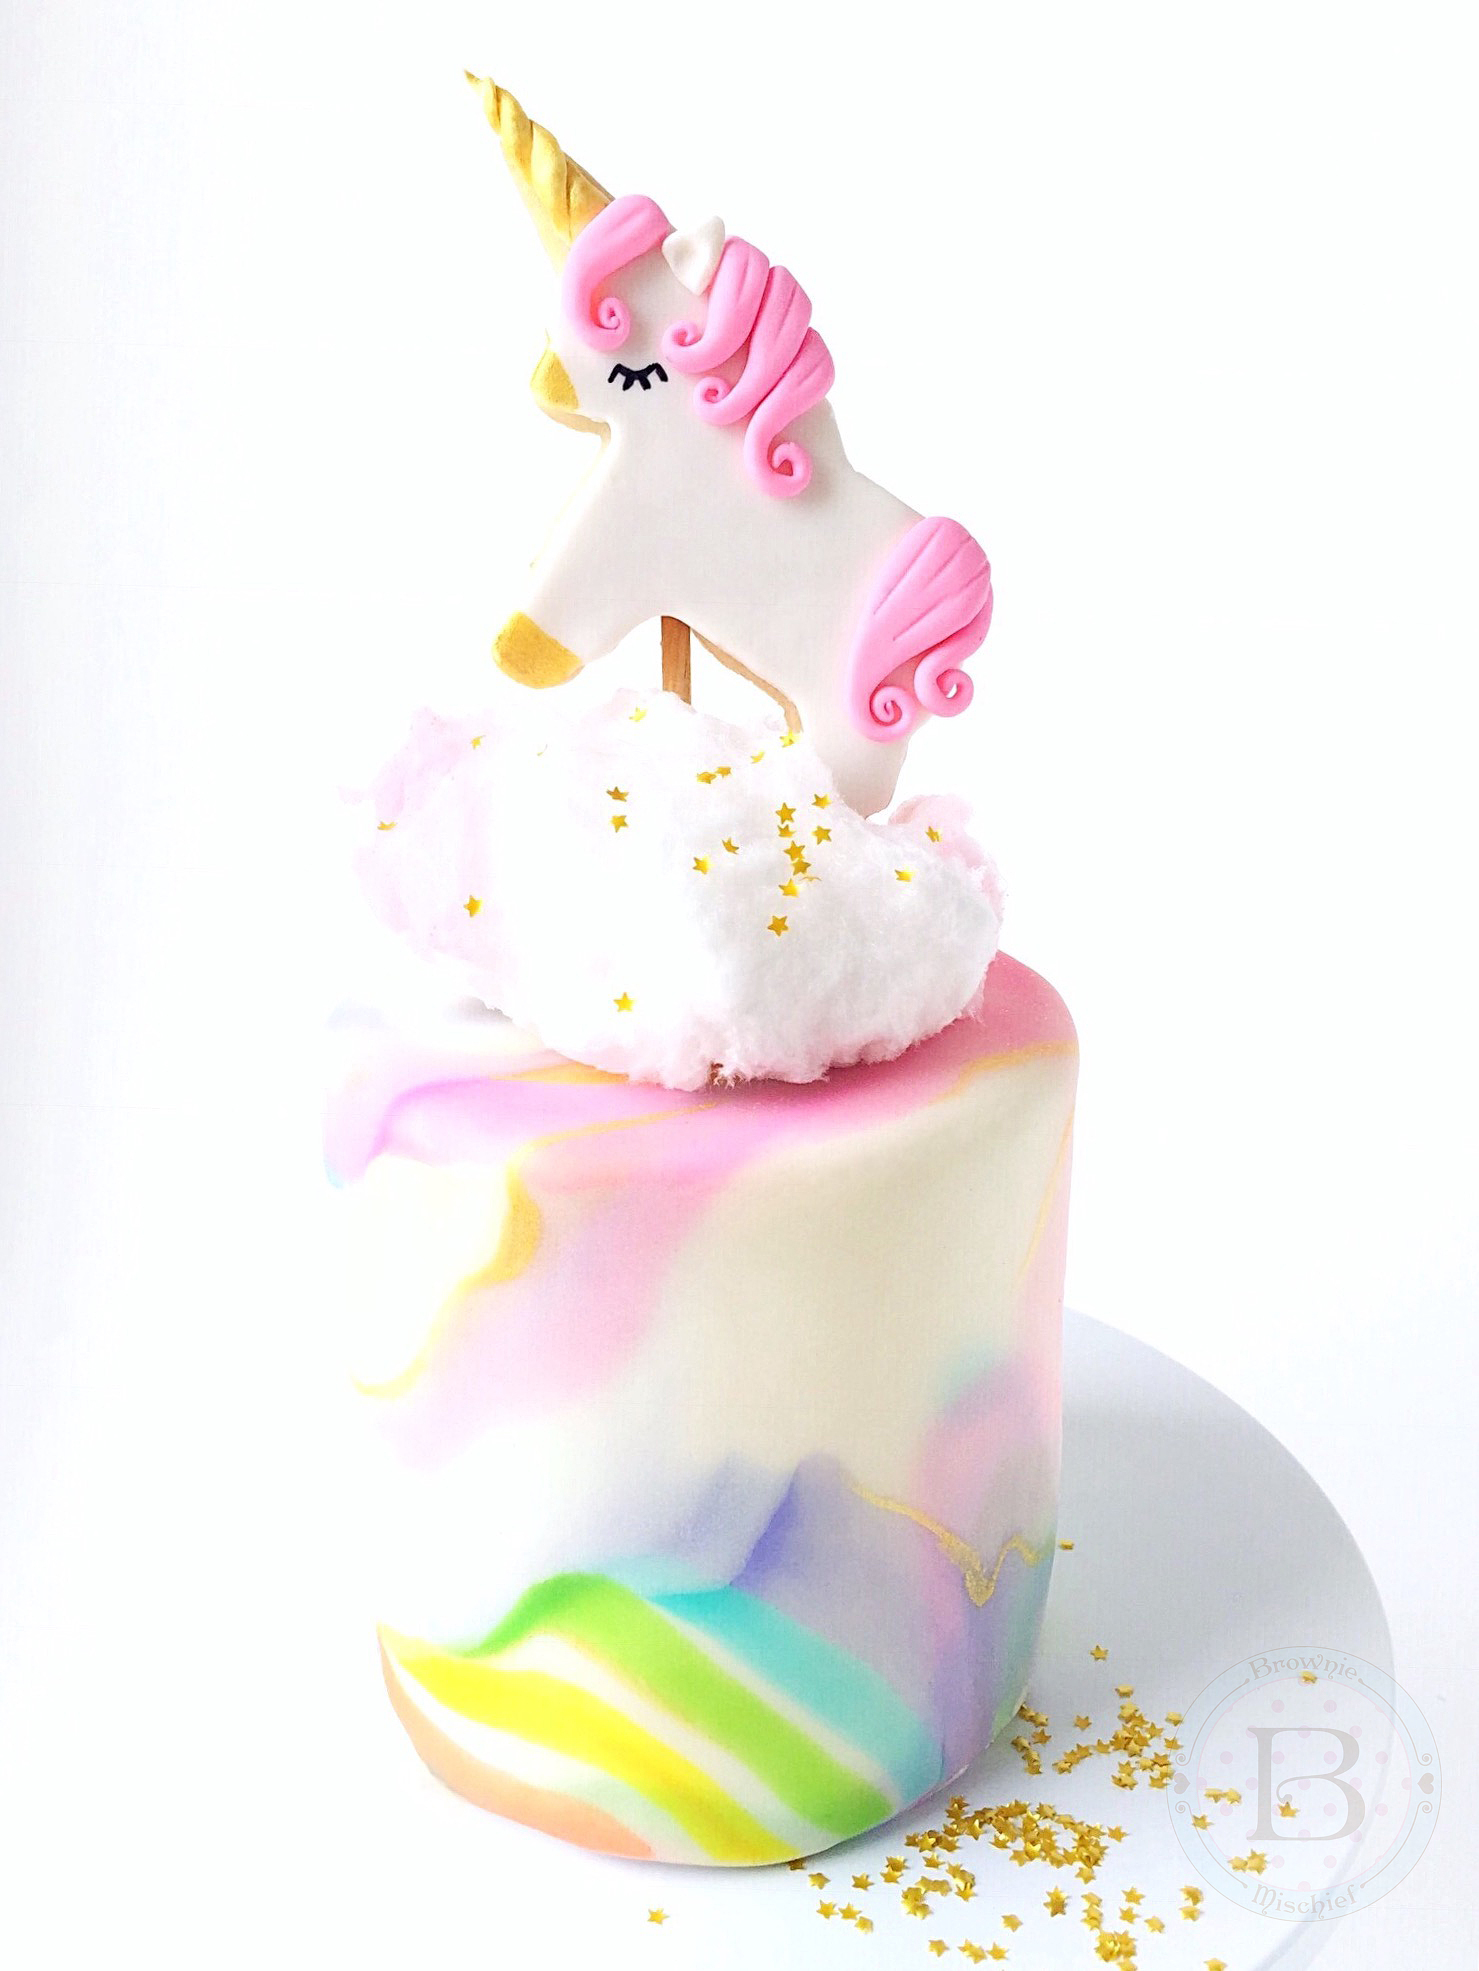
Rainbow Marble Mini Cake with a Unicorn Cookie Topper

Rainbow Marble Mini Cake with Unicorn Cookie Topper by Brownie Mischief

Here we are! We’ve landed safely in 2017. That year that we left behind was a bumpy ride. Glad that’s over! I’m so hopeful about the New Year that I’m sprinkling good wishes around like confetti! Let’s forget all of our problems today and skip around amongst the unicorns and rainbows!

I’ve been experimenting with marbleized fondant lately, so, based on my current mood, I inevitably ended up with rainbow marble fondant. It looked so pretty on my little four inch cake, but it was screaming for a unicorn. By the way, did you know a group of unicorns is called a blessing? I made a batch, I mean a blessing, of Unicorn Cookie Cake Toppers using a small unicorn cookie cutter. They’re decorated with fondant, which is yummier than royal icing and doesn’t require any special skills. There’s no piping involved. (Phew!) These unicorn cookies are so cute and angelic, I imagine they would prance around in the clouds. If only I had some cotton candy for my unicorn to prance around on! Then, magically, I stumbled upon some cotton candy at my local discount store. Thanks Universe!

This colorful little cake will certainly brighten anyone’s day! It would be perfect for a birthday or to give to a special person “just because”. Thanks for spending a few minutes here in my happy place. Wishing you a blessing of unicorns in 2017!


*A note about working with cotton candy:  Apply cotton candy to your cake right before serving. When cotton candy is exposed to air, it will start to shrivel after an hour or so. If you don’t have cotton candy, a fluffy dollop of whipped buttercream would also be pretty!

To view Unicorn Cookie Cake Toppers instructions click here.

To view Rainbow Marble Fondant instructions click here.