Mini Chocolate Hand Pies for Pi Day

Mini Chocolate Hand Pies by Brownie Mischief

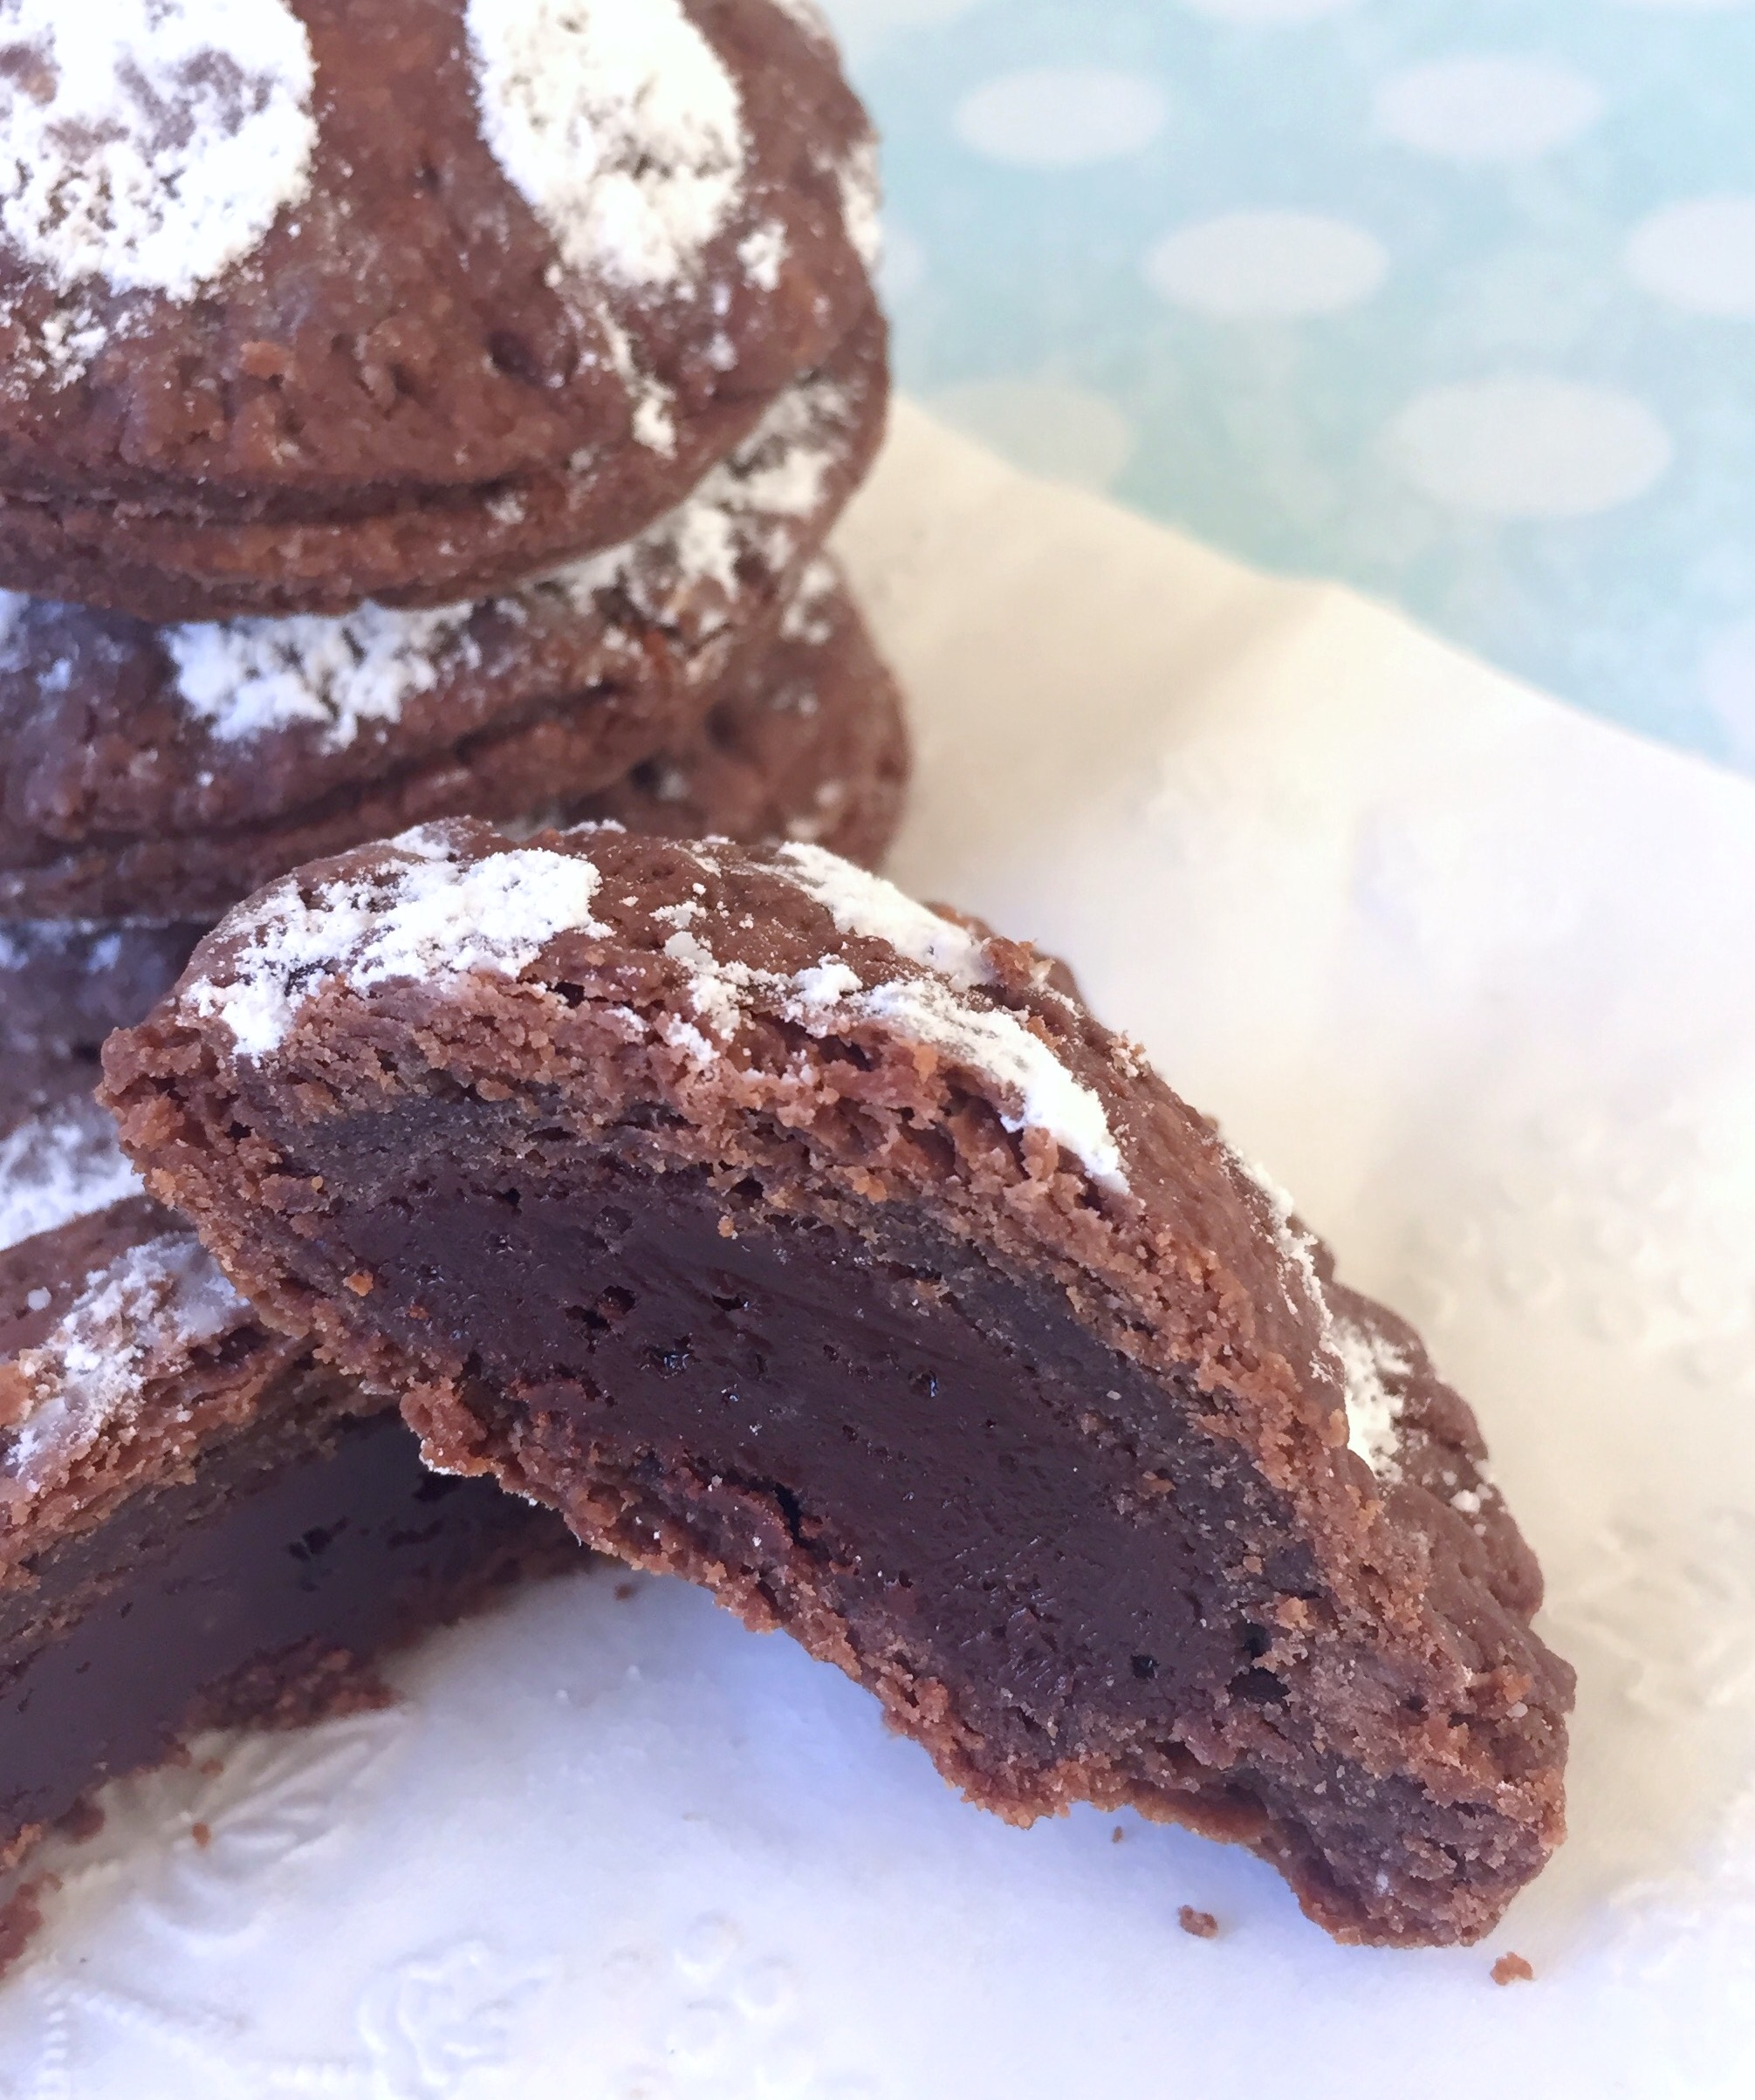
Pi Day is a day to celebrate mathematics, or more specifically, the ratio of a circle’s circumference to it’s diameter. While I do appreciate math for it’s precision, I also feel a bit peeved at math for making my brain hurt! Ok, I’m sorry math. I forgive you. I do need you! How would I bake without you? So today I will celebrate math (and also my love for puns) with these tender, fudgy mini hand pies!

Mini Chocolate Hand Pies by Brownie Mischief

Since pi is all about circles, I used a 2 3/4-inch circle cutter to make round pies, but you can cut them into any shape you like. You could cut larger circles, fold them in half and call them empanadas. Rectangles are very popular with Pop Tart fans and you don’t need a special cutter, but a ruler would be helpful. I think squares would be cute, too! Whatever your shape of choice, my buddy math can hook you up!

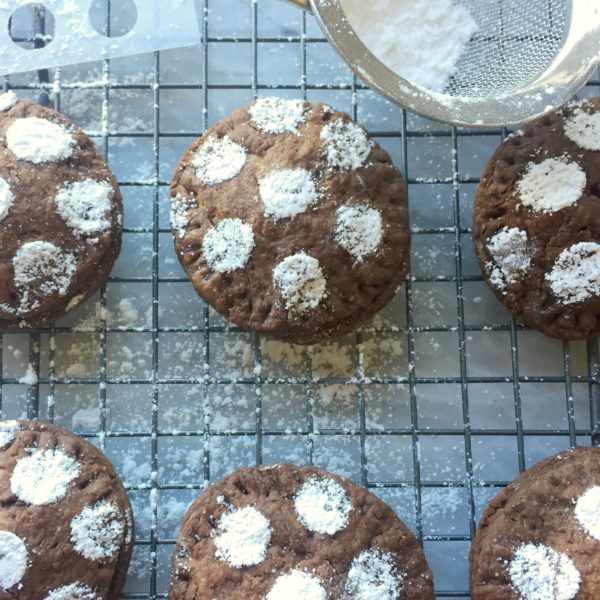
I used a stencil to add some powdered sugar polka dots to my mini pies. I may have gone a little overboard with my circles, but who’s going to stop me? I think they look pretty cute, but If you don’t have a stencil, a sprinkle or two of powdered sugar will do just fine! Alternately, you could drizzle them with some melted white chocolate. I had a bit of white chocolate on hand, so I can confidently say, that version is yummy too!

Print Recipe
Mini Chocolate Hand Pies
Mini chocolate pies with fudgy filling and a tender chocolate crust.
Course Dessert
Prep Time 45 minutes
Cook Time 25 minutes
Passive Time 1 1/2 hours
Servings
Ingredients
Crust
Filling
Finishing Touches
Course Dessert
Prep Time 45 minutes
Cook Time 25 minutes
Passive Time 1 1/2 hours
Servings
Ingredients
Crust
Filling
Finishing Touches
Instructions
Crust
  1. In a large bowl, sift together the flour, cocoa powder, sugar, salt and baking powder.
  2. Use a pastry cutter or your fingers to work the butter and cream cheese into the flour mixture until it resembles pea-sized crumbs.
  3. Add 2 tablespoons of the cold water to the mixture. Stir gently just until the dough comes together.
  4. Turn the dough out onto a lightly floured surface. Fold the dough over onto itself a couple of times. Form the dough into a disk. Cover with plastic wrap and chill for at least 1 hour.
Filling
  1. In a small microwavable bowl, melt the chocolate chips and sweetened condensed milk in the microwave. Heat for 10 second intervals, stirring until smooth.
  2. Set aside to cool to room temperature.
Assembly
  1. Preheat the oven to 375ºF. Line a large baking sheet with parchment paper.
  2. In a small bowl, whisk together the egg and remaining 1 tablespoon water.
  3. On lightly floured surface, roll the dough to 1/8-inch thickness.
  4. Cut out 20 rounds with a 2 3/4-inch circle cutter (or cut into desired shapes of your choice).
  5. Place 10 dough rounds about 1 inch apart onto prepared baking sheet. Top each with 1 tablespoon of filling.
    Mini Chocolate Hand Pies
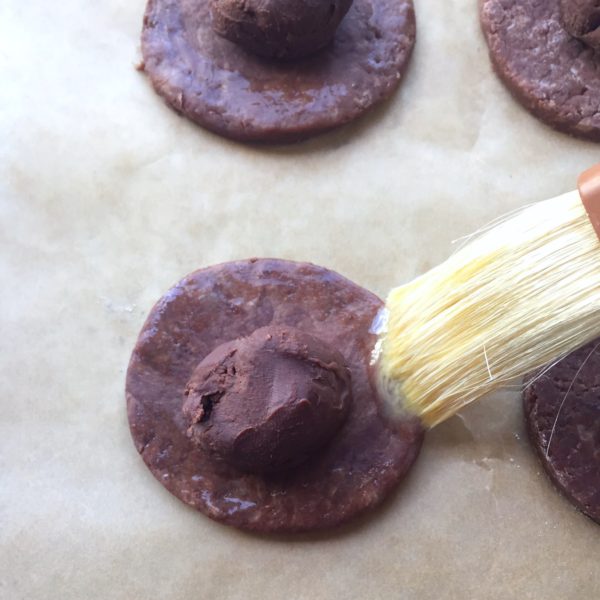
  6. With a small pastry brush or your finger, brush egg mixture around the perimeter of each of the filled dough circles.
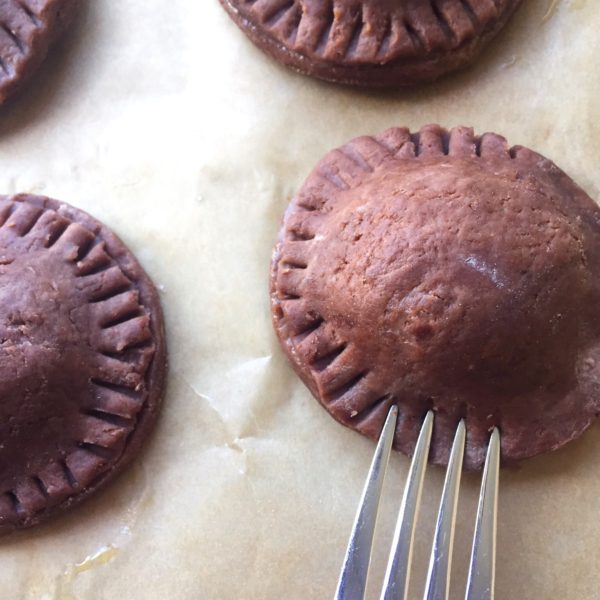
  7. Top each with the 10 remaining dough circles. Crimp the edges together with a fork. Brush the pies with the remaining egg mixture.
    Mini Chocolate Hand Pies
  8. Bake until the crust is crisp and browned, about 15-20 minutes.
  9. Transfer to a cooling rack. Sprinkle the cooled pies with powdered sugar or drizzle with melted white chocolate.
    Mini Chocolate Hand Pies
Recipe Notes

*The chocolate chips you use depends on personal preference. Bittersweet chocolate chips give a more intense chocolate flavor, while semi-sweet chocolate chips yield a slightly sweeter finished product.

To find my favorite circle cutters click here.                                                                                  To find the polka-dot stencil click here.

Rainbow Marble Mini Cake with a Unicorn Cookie Topper

Rainbow Marble Mini Cake with Unicorn Cookie Topper by Brownie Mischief

Here we are! We’ve landed safely in 2017. That year that we left behind was a bumpy ride. Glad that’s over! I’m so hopeful about the New Year that I’m sprinkling good wishes around like confetti! Let’s forget all of our problems today and skip around amongst the unicorns and rainbows!

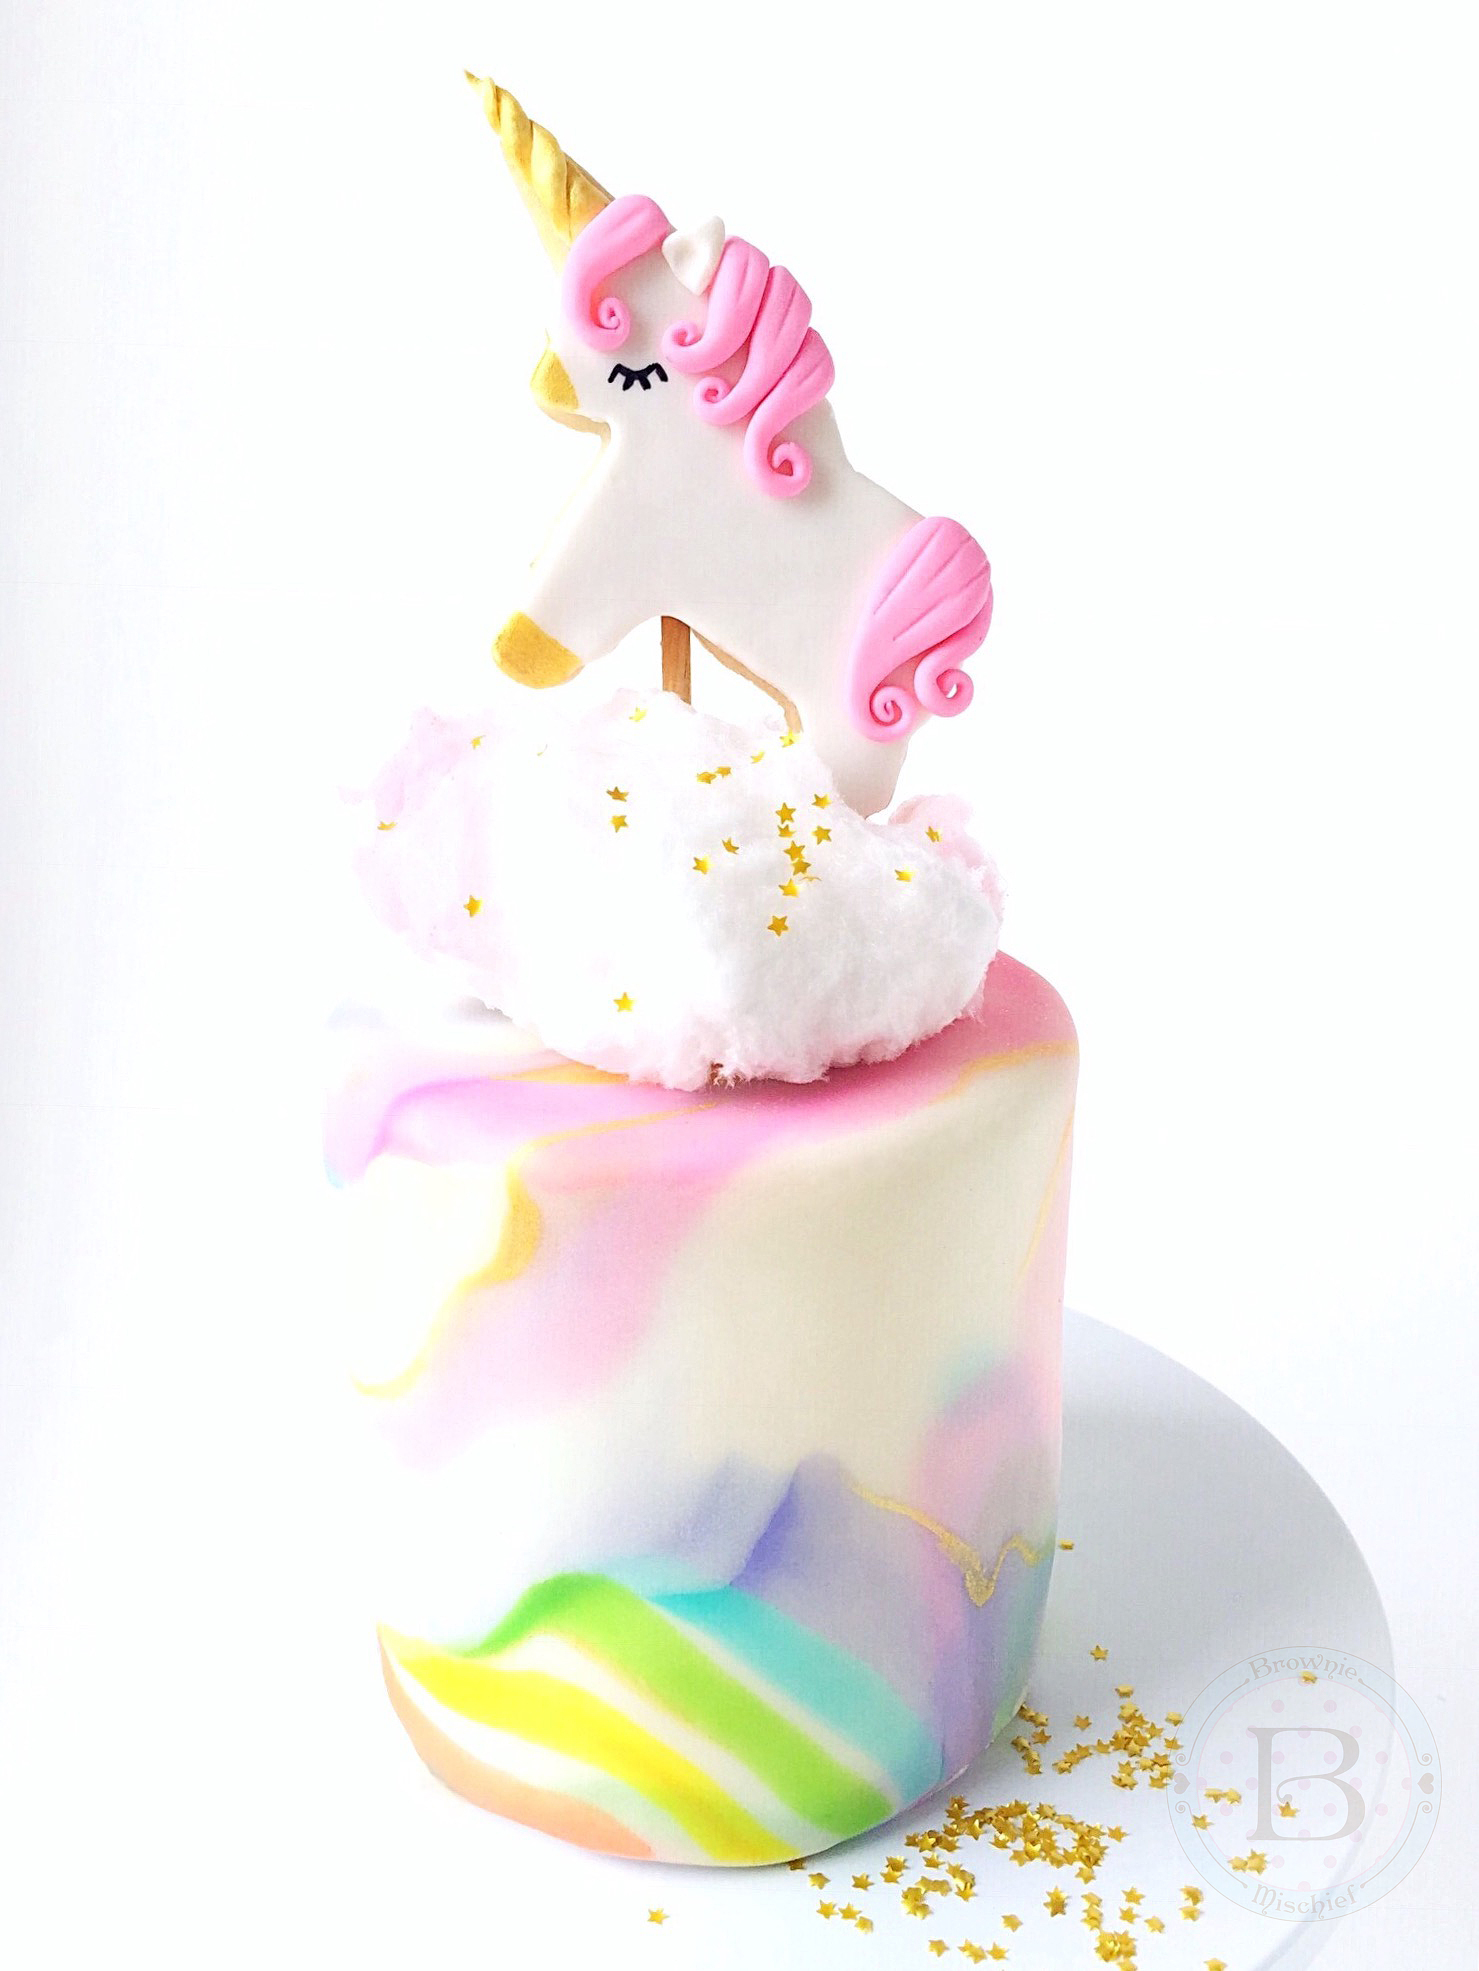
I’ve been experimenting with marbleized fondant lately, so, based on my current mood, I inevitably ended up with rainbow marble fondant. It looked so pretty on my little four inch cake, but it was screaming for a unicorn. By the way, did you know a group of unicorns is called a blessing? I made a batch, I mean a blessing, of Unicorn Cookie Cake Toppers using a small unicorn cookie cutter. They’re decorated with fondant, which is yummier than royal icing and doesn’t require any special skills. There’s no piping involved. (Phew!) These unicorn cookies are so cute and angelic, I imagine they would prance around in the clouds. If only I had some cotton candy for my unicorn to prance around on! Then, magically, I stumbled upon some cotton candy at my local discount store. Thanks Universe!

This colorful little cake will certainly brighten anyone’s day! It would be perfect for a birthday or to give to a special person “just because”. Thanks for spending a few minutes here in my happy place. Wishing you a blessing of unicorns in 2017!


*A note about working with cotton candy:  Apply cotton candy to your cake right before serving. When cotton candy is exposed to air, it will start to shrivel after an hour or so. If you don’t have cotton candy, a fluffy dollop of whipped buttercream would also be pretty!

To view Unicorn Cookie Cake Toppers instructions click here.

To view Rainbow Marble Fondant instructions click here.


Cocoa Meringue Brownies

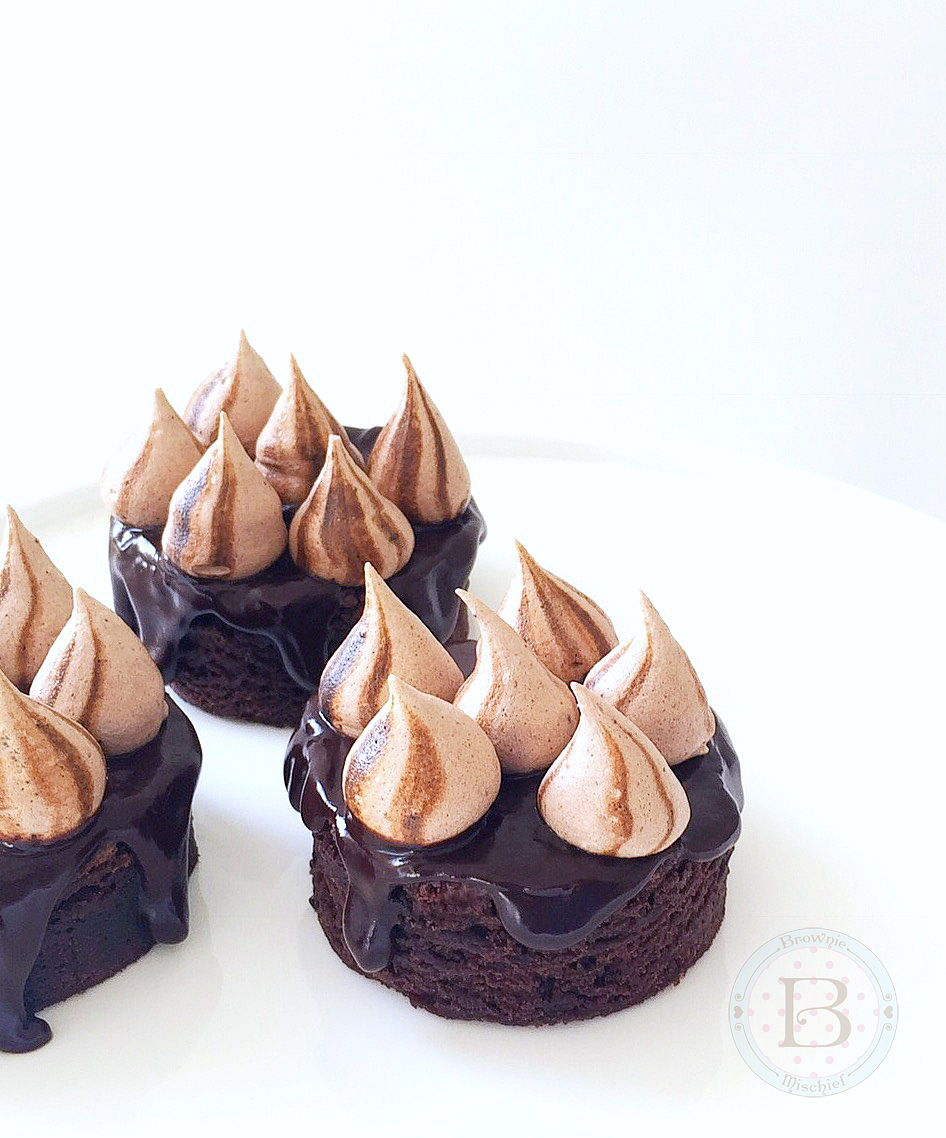
One of my favorite things to top desserts with are meringue cookies. They’re as light as air and they look so pretty and whimsical! The color and flavor combinations are endless, so you can really have some fun getting creative. I decided to whip some up, especially for placing on top of my favorite brownies. They take even the most humble brownies to a new level. You can use your favorite brownie recipe or even a boxed brownie mix. I won’t judge! I like to make the meringues a day or two ahead since they take quite a while to bake in the oven. While they bake, a subtle chocolate scent will waft through your kitchen, reminding you of the smell of hot cocoa. They even taste like hot cocoa! You can make your brownies a few hours ahead or the night before. I cut mine into rounds with a 2 1/2-inch cutter. I cut 12 rounds of this size from a 13 x 9-inch batch of brownies. Right before serving, spoon some thick, glossy chocolate ganache on the brownies, then top them with your pretty meringues! To make these little bits of chocolate heaven, you’ll need:

  • 1 batch Cocoa Meringues (recipe below)
  • 1 batch of your favorite brownies
  • 1 batch chocolate ganache (see notes)
Print Recipe
Cocoa Meringues
Pretty, light and crispy treats that taste like hot cocoa!
Course Dessert
Prep Time 30 minutes
Cook Time 2 hours
Passive Time 2 hours
Servings
batch
Course Dessert
Prep Time 30 minutes
Cook Time 2 hours
Passive Time 2 hours
Servings
batch
Instructions
  1. Preheat oven to 200ºF. Line two baking sheets with parchment paper.
  2. Sift together powdered sugar and cocoa powder in a medium bowl. Set aside.
  3. Place egg whites in a large bowl. Whip egg whites with the whip attachment of an electric mixer, at medium speed, until foamy.
  4. Add cream of tartar and salt to the egg whites. Whip at medium-high speed until soft peaks form.
  5. Gradually add granulated sugar and continue whipping, at medium-high speed until stiff, glossy peaks form.
  6. Stop mixer. Sprinkle powdered sugar and cocoa mixture over egg whites and whip at low speed until until incorporated, about 10 seconds.
  7. *This step is optional. Place a large, disposable pastry bag, fitted with a round piping tip, into a tall drinking glass. (I used a Wilton tip #12.) Fold the top third of the bag over the glass, forming a cuff. Using a small, clean paintbrush, paint thin, vertical stripes of food coloring on the inside of the bag, from the piping tip to the edge of the fold.
  8. Spoon egg white mixture into the pastry bag. Pipe small kisses, 1 inch apart, onto the prepared baking sheets. (I made mine about 3/4-inch to 1-inch in diameter. If you'd like larger kisses, use a larger size piping tip.)
  9. Bake for 1 1/2 hours. Turn off oven and leave meringues in oven to cool and continue drying out for an additional 2 hours. Store tightly covered at room temperature for up to 3 days.
Recipe Notes

To make the chocolate ganache, I used a ratio of two parts semi-sweet chocolate to one part heavy cream. (Weighing the ingredients will give you the most accurate ratio.) Place 8 ounces of chopped semi-sweet chocolate into a medium bowl. Heat 4 ounces (1/2 cup) of heavy cream in a small saucepan over medium heat. Bring the cream just to a boil. Pour the hot cream over the chocolate, making sure to cover it completely. Let sit for 2 minutes, then stir gently until smooth.