Have you seen those cute Teddy bear cookies on social media with the bear holding an almond or a heart? I’m not sure where they originated but they’re sometimes called Pinterest cookies because so many people have found them there. I had an idea to have the Teddy bears hold baby bear cookies instead of nuts and I was going to save them for Mother’s Day. But then I thought they would also be so cute for Valentine’s Day. I made them in three different flavors and I just know that you’ll love them beary much!
Teddy Bear Sugar Cookies
Teddy bear cookies with baby bear cookies in vanilla, cinnamon and chocolate variations
Ingredients
- 1 cup (227g) unsalted butter, softened
- ¼ cup plus 2 tablespoons (85g) cream cheese, softened
- ½ cup (100g) granulated sugar
- ¼ cup (50g) packed brown sugar
- ½ teaspoon fine sea salt
- 1 large egg
- 1 ½ teaspoons pure vanilla extract
- ¼ teaspoon pure almond extract
- 3 cups (383g) all purpose flour, sifted
- ½ teaspoon cinnamon
- 1 tablespoon unsweetened cocoa powder
- Black gel food coloring
- Pink edible luster dust
- Small candy hearts
- Icing or melted chocolate
Instructions
- In a large bowl, beat the butter and cream cheese together, with an electric mixer on low speed, until smooth. Add both sugars and the salt and beat on medium speed until pale and fluffy. Beat in the egg until well incorporated, then beat in the extracts. On low speed, beat in the flour just until combined.
- Divide the dough into 3 equal portions, using a kitchen scale for accuracy. Mix the cinnamon into one portion of dough. Mix the cocoa powder into another portion of dough. Form the dough portions into disks, wrap them with plastic wrap and refrigerate for at least 2 hours or up to overnight.
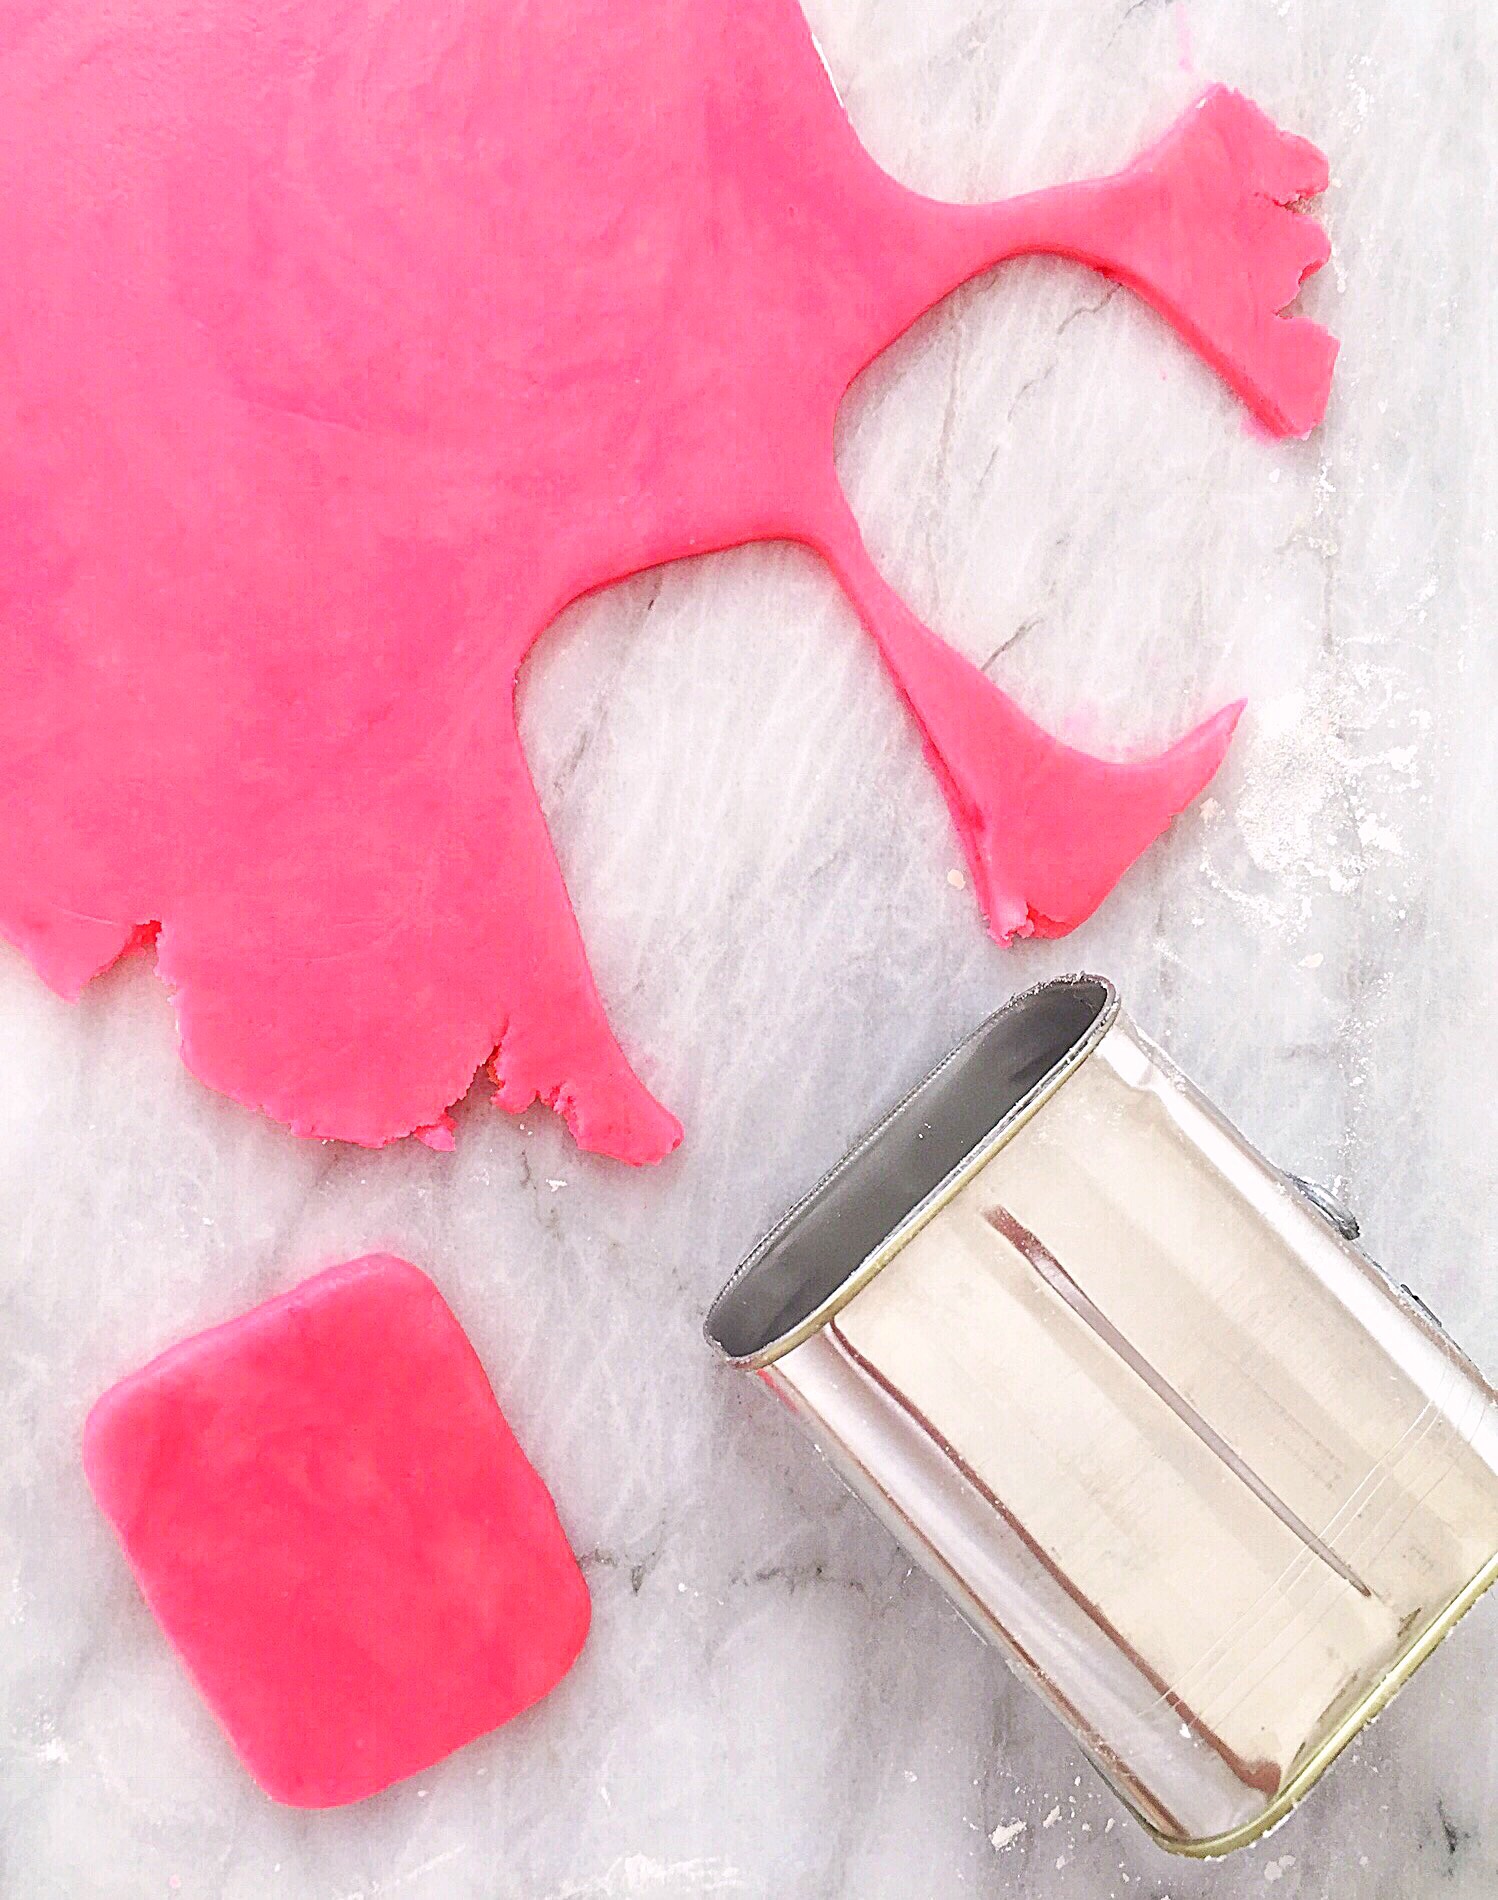
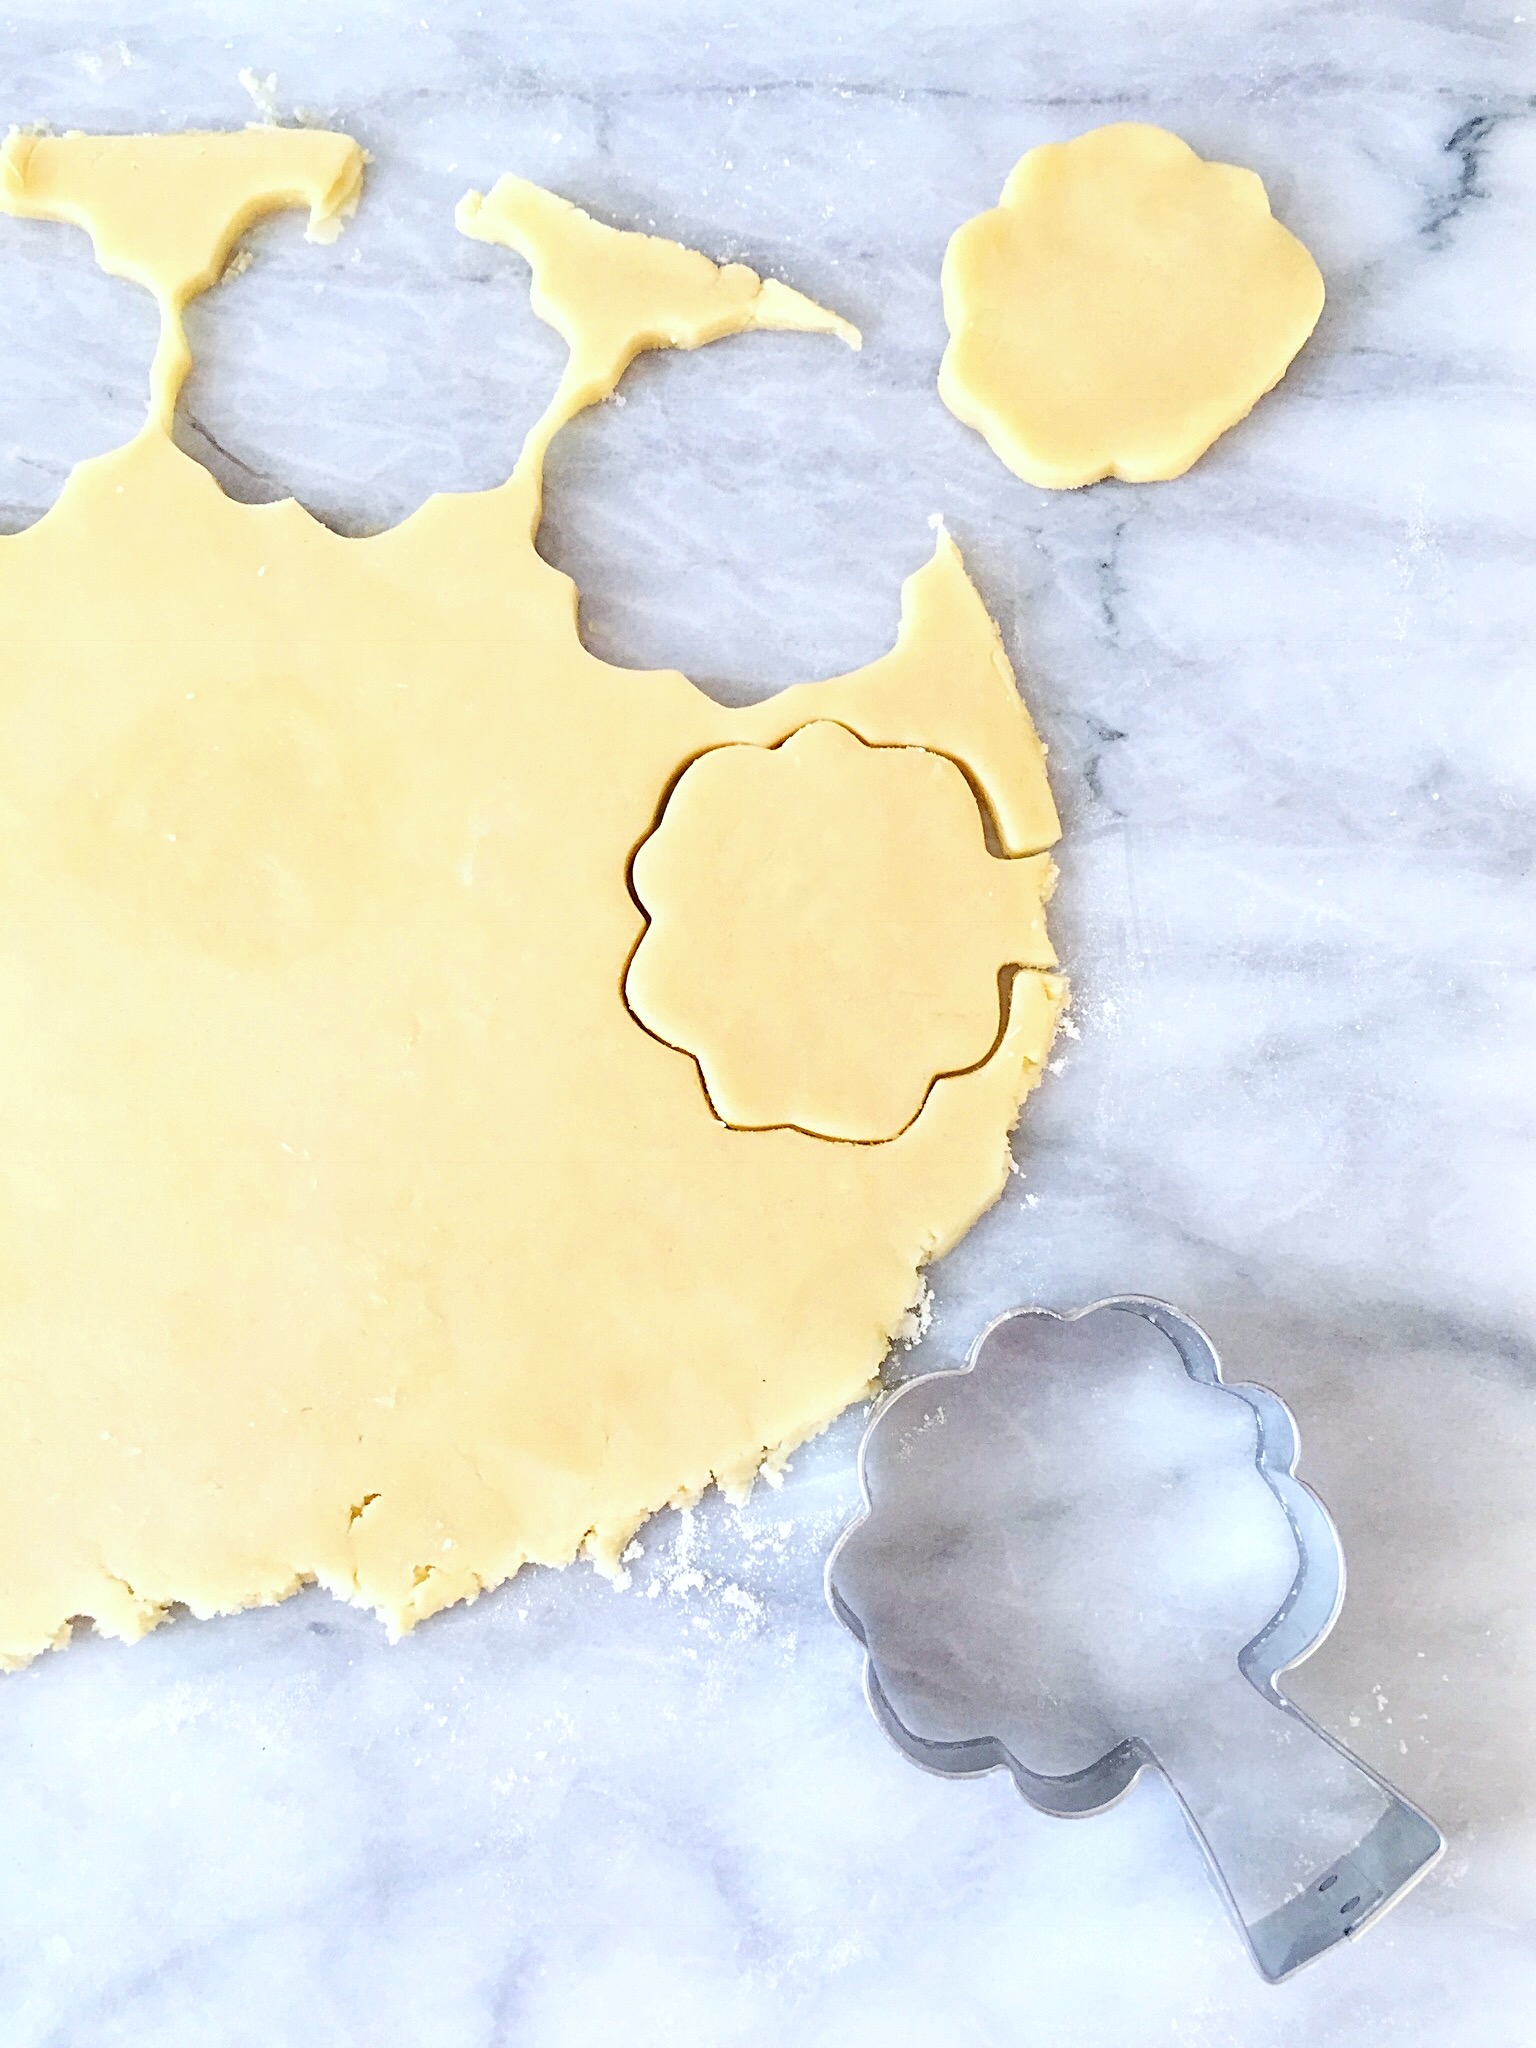
- Line 2 large cookie sheets with parchment paper. Roll the dough to a scant 1/4-inch thickness. Cut out 24 bears using a 3 1/2-inch cookie cutter* and 24 mini bears using a 1 3/4-inch or smaller cookie cutter.** (Re-roll the dough scraps as needed, letting the dough rest in the refrigerator until chilled before cutting again.) Place the bears onto the cookie sheets about 2 inches apart. Top each one with a mini bear. Fold over one or both arms of each bear. Chill in the refrigerator until firm, about 20 minutes.
- Meanwhile, preheat the oven to 350ºF (180ºC). Bake the cookies until set and the edges barely start to brown, about 9-11 minutes. Let the cookies cool on the baking sheet for 2-3 minutes then transfer them to a cooling rack.
- Using food coloring and a toothpick, draw the bears faces. With a small food safe paintbrush apply luster dust to make rosy cheeks. Use a dab of icing or melted chocolate to apply the candy hearts.
Notes
*To find the bear cookie cutter I used, click here.
**To find mini bear cookie cutters click here.