These buttery, lightly spiced apple cookies with candied walnuts remind me of snacking on fresh walnuts from the tree in my grandma’s garden. Walnuts are delicious right out of the shell but even better toasted and simply irresistible when they’re candied. I always wanted to add my favorite candied walnuts into a cookie, and these apple cookies were the perfect choice. The apples are cooked on the stovetop briefly which adds flavor and helps to prevent soggy spots in the cookies while keeping the crisp edges and soft centers They also make your kitchen smell like the flavors of autumn.
Candied Walnut Apple Cookies
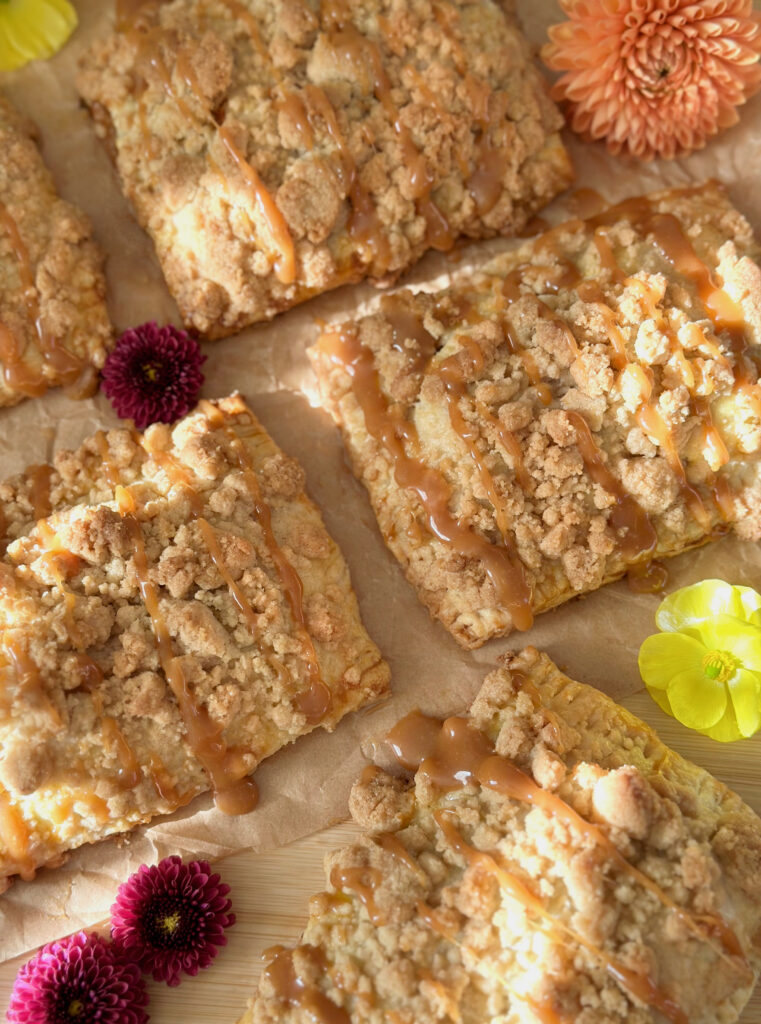
Fresh apple cookies with crisp, buttery edges and soft centers, studded with candied walnuts
Ingredients
Candied Walnuts
- ¼ cup (50g) packed brown sugar
- ¼ teaspoon cinnamon
- 1 pinch fine sea salt
- ½ teaspoon pure vanilla extract
- 1 ½ cups (165g) walnut halves
Cooked Apples
- 1 tablespoon (14g) butter
- 1 cup (113g) chopped apples 1/4-inch pieces
- 1 tablespoon (13g) granulated sugar
- ¼ teaspoon cinnamon
Cookies
- 1 ½ cups (195g) all purpose flour, sifted
- ½ teaspoon baking soda
- ½ teaspoon fine sea salt
- 1 teaspoon cinnamon
- ¼ teaspoon nutmeg preferably freshly ground*
- ½ cup (113g) unsalted butter, softened
- ⅔ cup (133g) packed brown sugar
- ⅓ cup (67g) granulated sugar
- 1 large egg
- 1 large egg yolk
- 1 teaspoon pure vanilla extract
Instructions
Candied Walnuts
- Line a baking sheet with parchment paper. In a medium-size non-stick skillet, cook the sugar, water, cinnamon and salt until melted, about 1 minute. Stir in the vanilla and walnuts. Cook until the liquid is evaporated and the walnuts start to caramelize, about 2-4 minutes.
- Spread the walnuts out in a single layer onto the baking sheet. Allow to cool completely. Coarsely chop enough walnuts to equal 3/4 cup (80g). These will be stirred into the cookie dough. Reserve the remaining walnut halves for the tops of the cookies,
Cooked Apples
- Melt the butter in small skillet over medium heat. When the butter starts to bubble, add the apples, sugar, cinnamon. Cook, stirring occasionally, until the apples are tender, about 3-5 minutes.
- Remove the apples from heat and let cool completely. Drain any excess liquid from the cooled apples.
Cookies
- In a medium-sized bowl, whisk together the flour, baking soda, salt, cinnamon and nutmeg until well blended.
- In a large bowl, beat the butter, brown sugar and granulated sugar, with an electric mixer at medium speed, or by hand, until light and fluffy. Beat in the egg, egg yolk and vanilla extract, one at a time, until well blended. Stir in the flour mixture just until combined. Stir in the cooled apples and 3/4 cup of the candied walnuts.
- If your dough is soft, chill it in the refrigerator until it's easier to work with, about 15-20 minutes. Divide the dough into 14 equal golf ball-size portions, about 1 1/2 oz (43g) each. Roll them into balls and chill in the refrigerator for 1 hour.
- Preheat the oven to 350ºF (180ºC). Line 2 large cookie sheets with parchment paper. Place the dough balls at least 3 inches apart onto the cookies sheets. Top with candied walnut halves.
- Bake until the tops of the cookies are set and the edges are golden brown, about 12-14 minutes. The cookies will spread a bit. Remove the cookies from the oven. Immediately use a large round cookie cutter to shape the hot cookies by sliding it around each one in a circular motion a couple of times. Cool on the cookie sheet for 3 minutes, then transfer to a cooling rack.
Notes
*To find whole nutmeg, click here.