I recently enjoyed a girls’ day out at Universal Studios Hollywood. My daughter is a Harry Potter fan, so of course we beelined straight to the Wizarding World of Harry Potter upon arrival at the theme park. We were spellbound by the ominous looking Hogwart’s Castle and the sparkling snow-topped shops of Hogsmeade. My daughter was in Harry Potter fan heaven, flitting around Hogsmeade, testing out her interactive wand and sipping some refreshing Butter Beer. It’s definitely a must-try
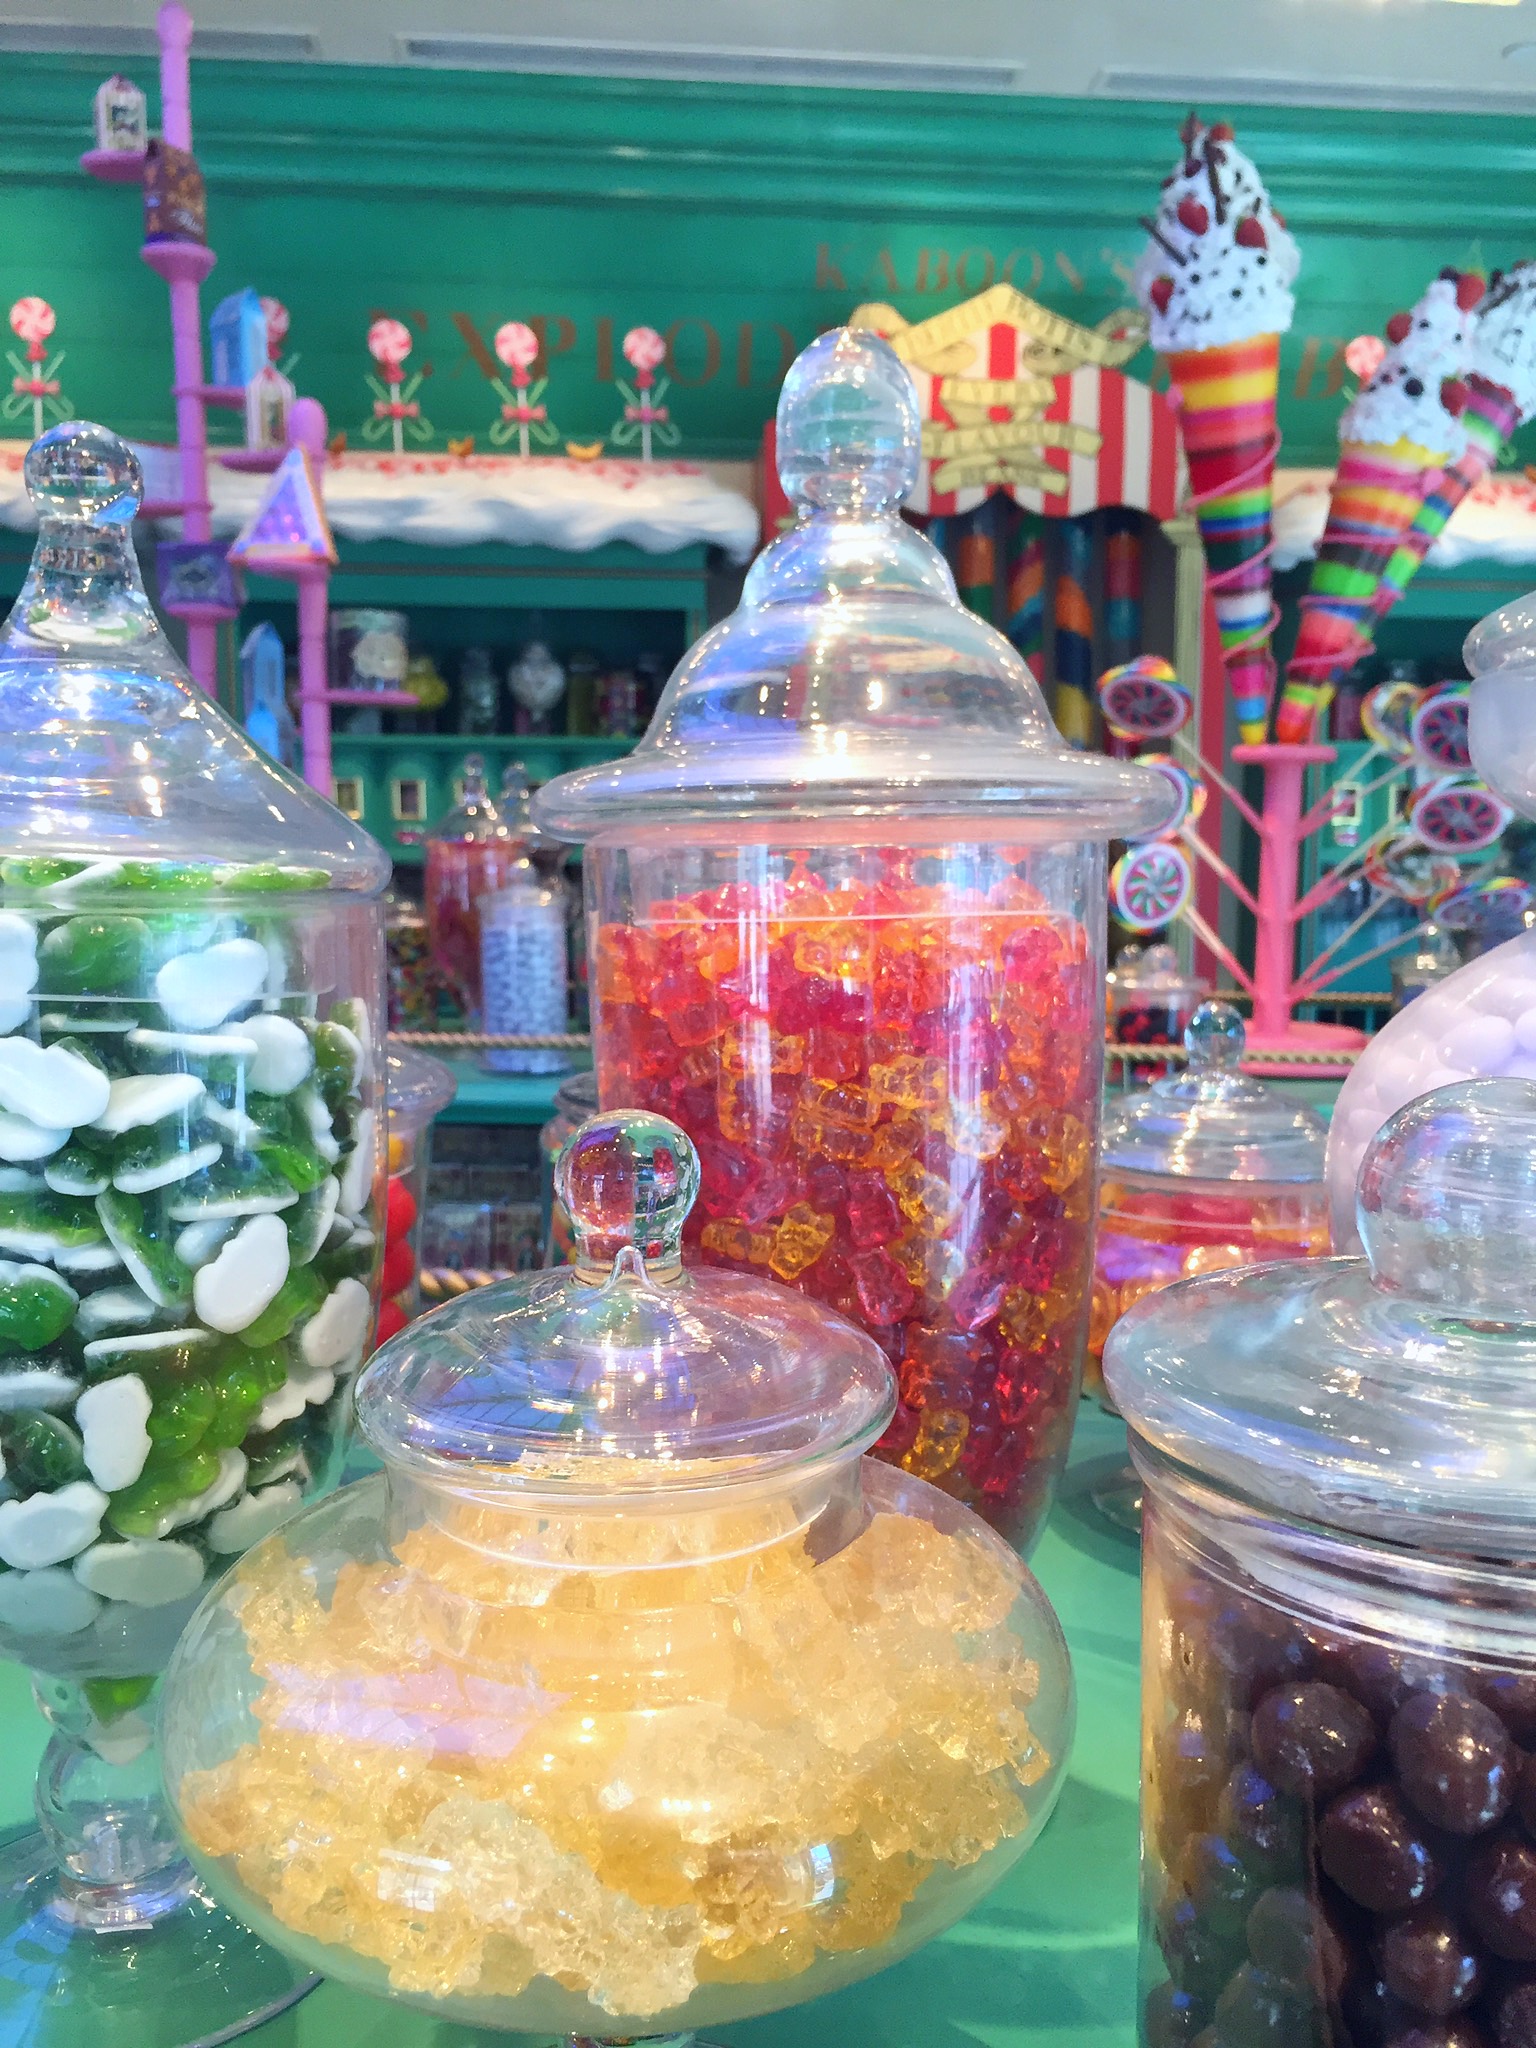
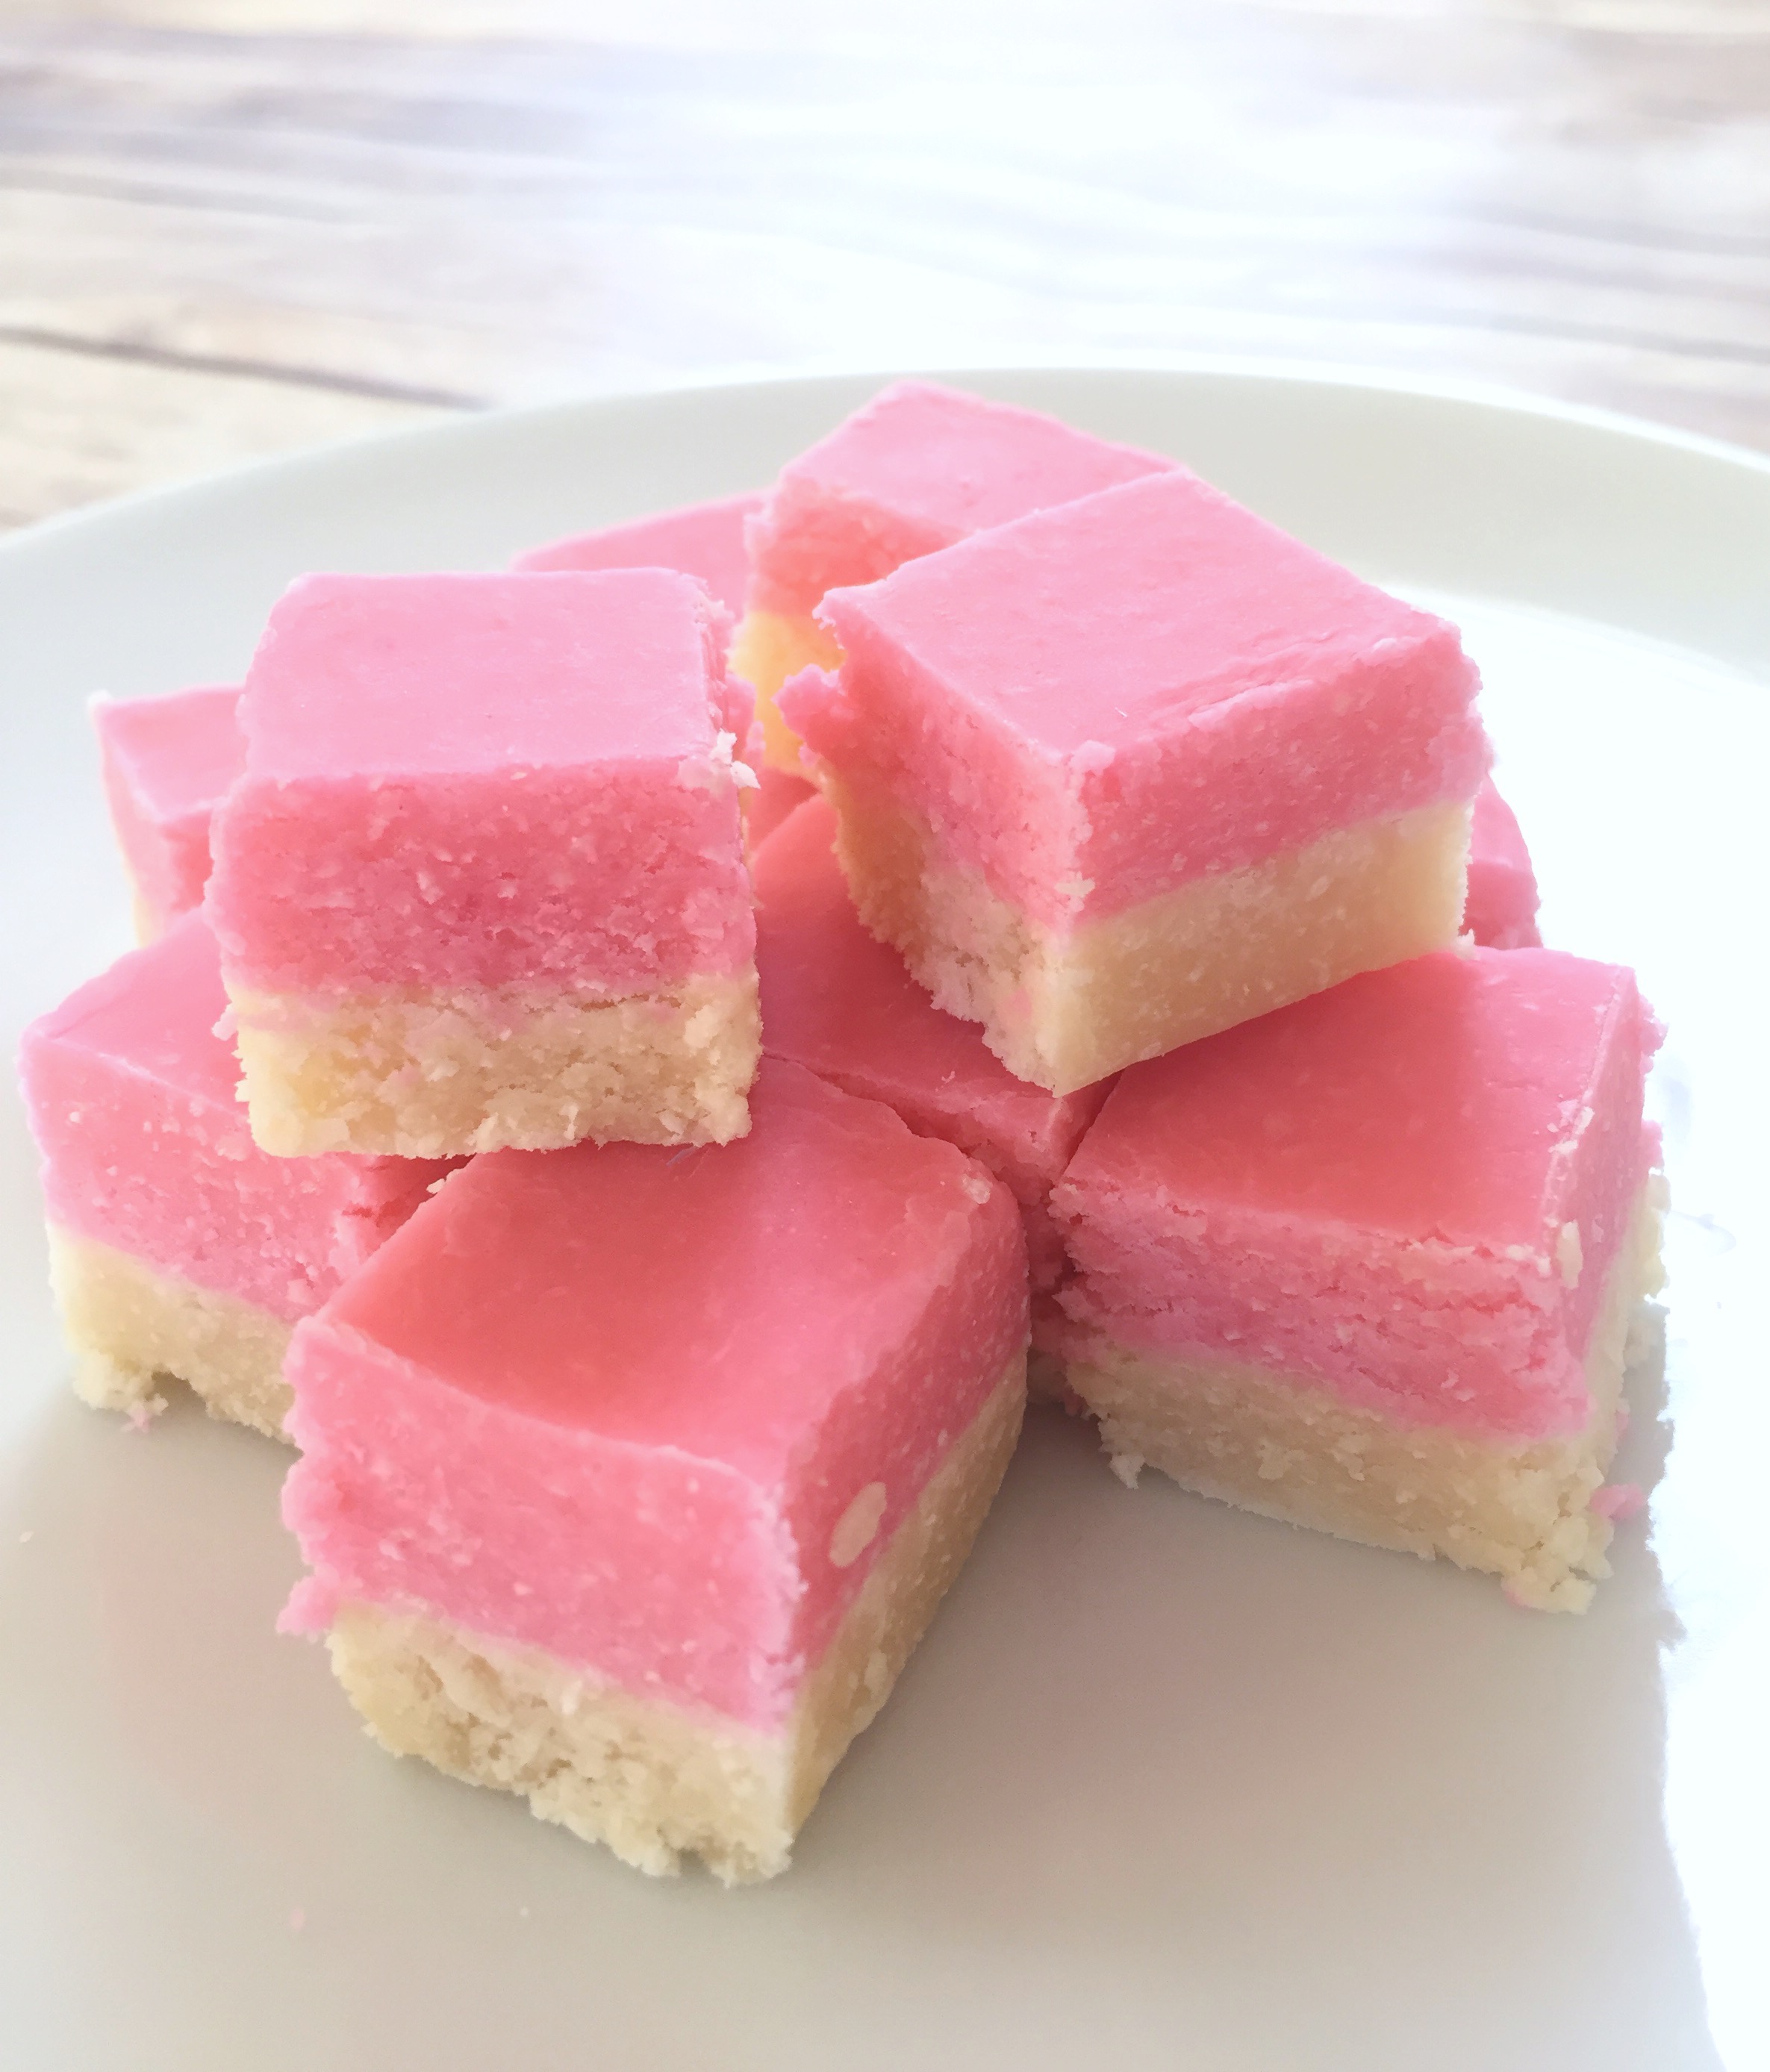
Our favorite shop was Honeydukes sweet shop, where anyone with a sweet tooth can get his or her candy wishes fulfilled. The candy selection was nothing short of magical. We picked up some Chocolate Flies, a Chocolate Frog and some Pink Coconut Ice candy.
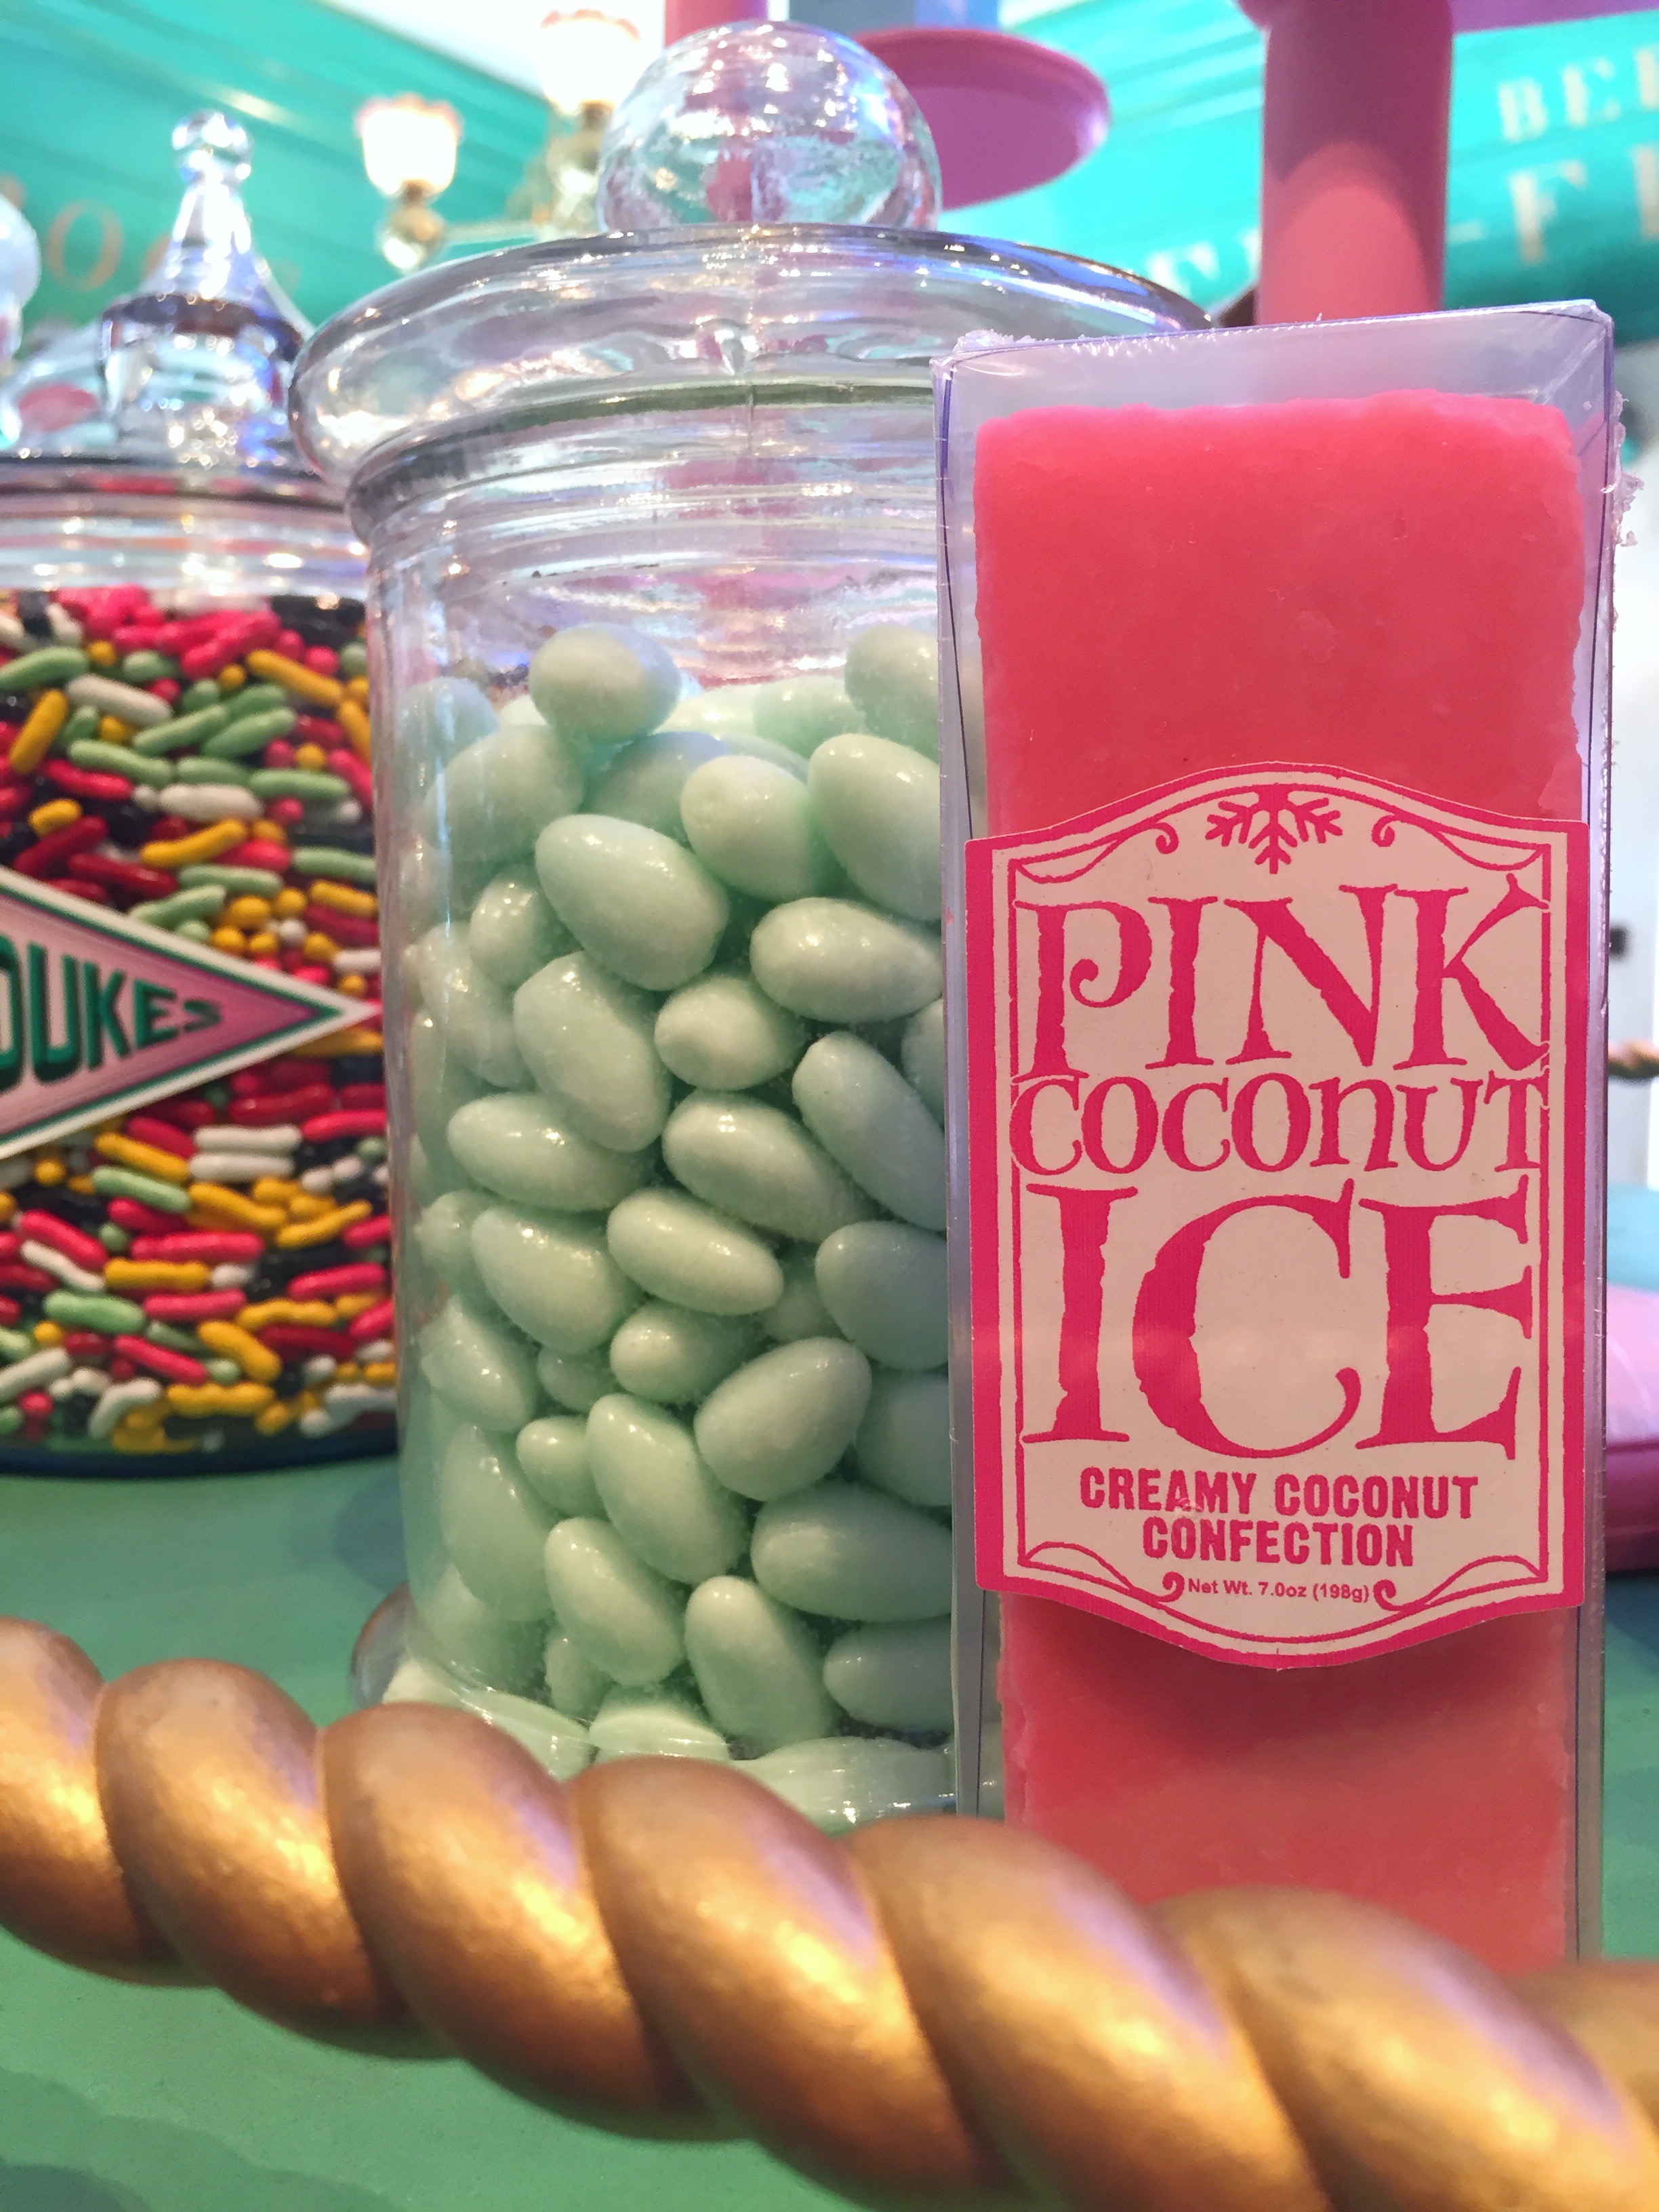
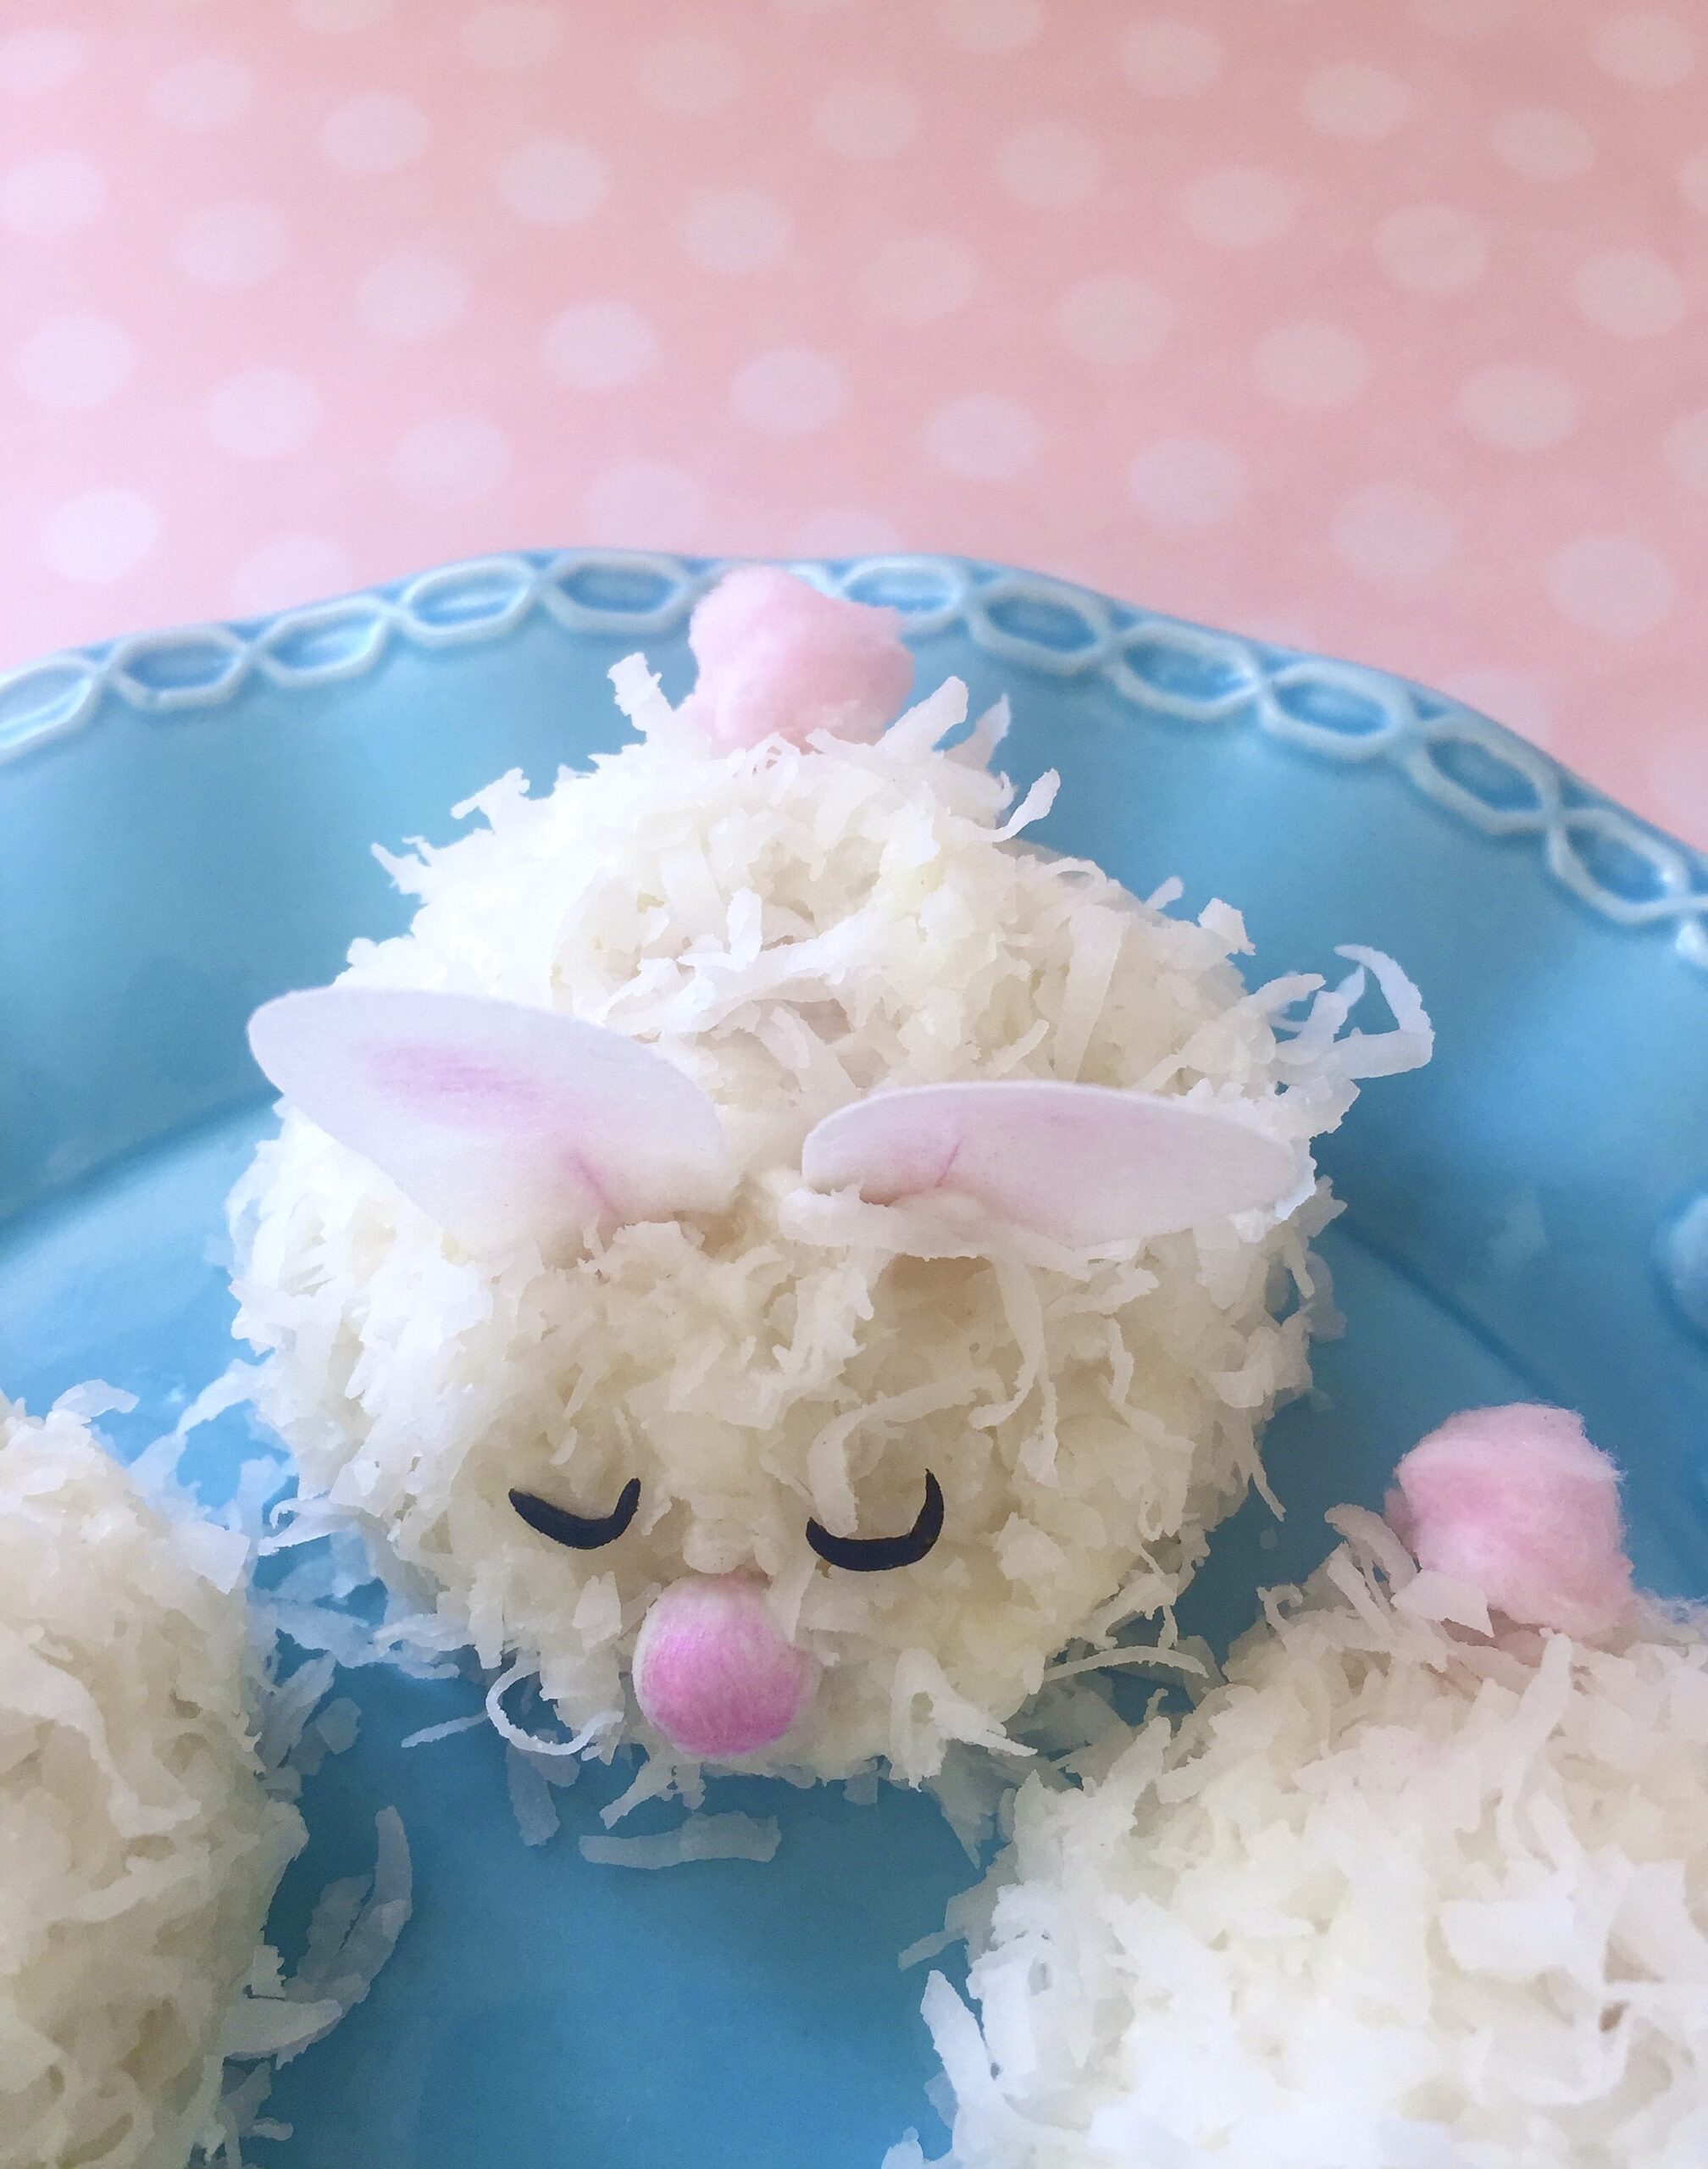
I was most excited to try the Pink Coconut Ice. I’ve been intrigued by the thought of this candy ever since it was mentioned in the book, Harry Potter and the Prisoner of Azkaban by J.K. Rowling. The Pink Coconut Ice candy is similar to a stiff fudge. It’s very sweet, so you can cut it into small squares and have plenty to share with friends.
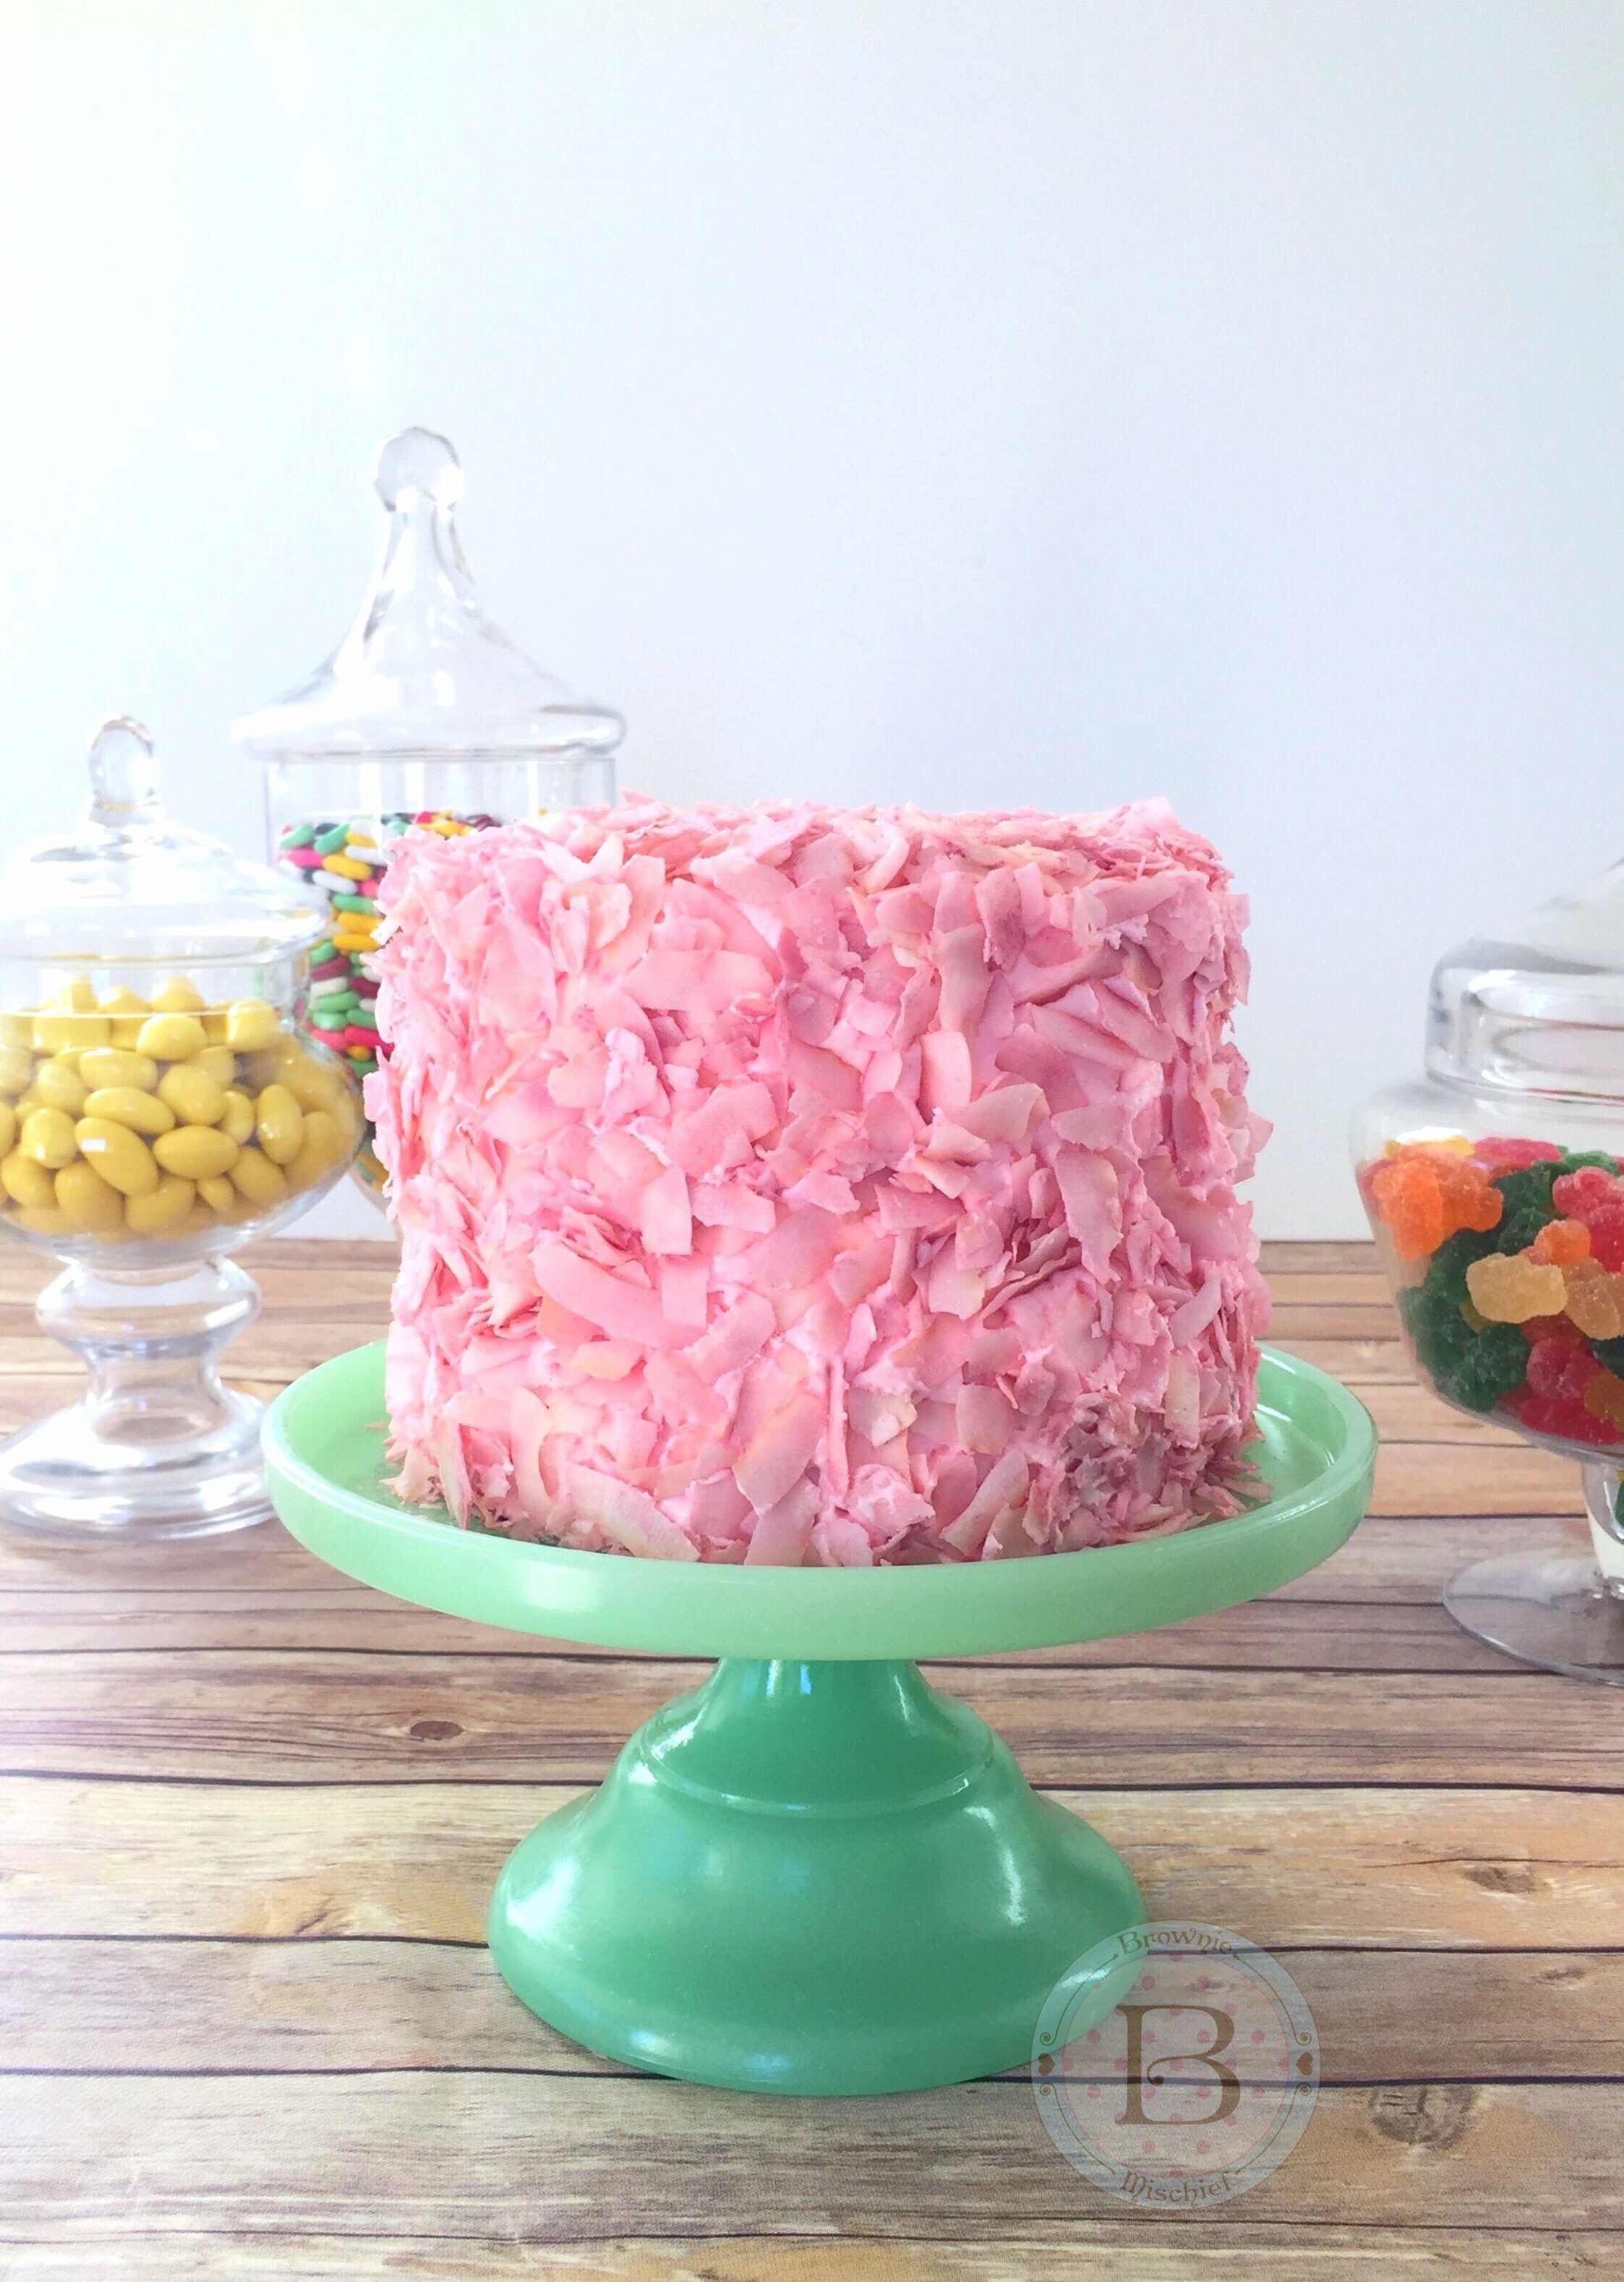
I imagined the “shimmery pink squares” a little differently so, I decided to build on my imagined version of the coconut candy by making a shimmery pink coconut cake. I used my favorite coconut cake recipe and pink coconut buttercream. I tinted my buttercream with Americolor gel food color soft pink. I covered my cake in large flakes of unsweetened coconut. To find unsweetened coconut flakes, click here. I think the large flakes look more whimsical and add texture, but feel free to use whatever kind of coconut you prefer. I colored my coconut a shimmery, soft pink. Click here to see how I colored my coconut flakes.
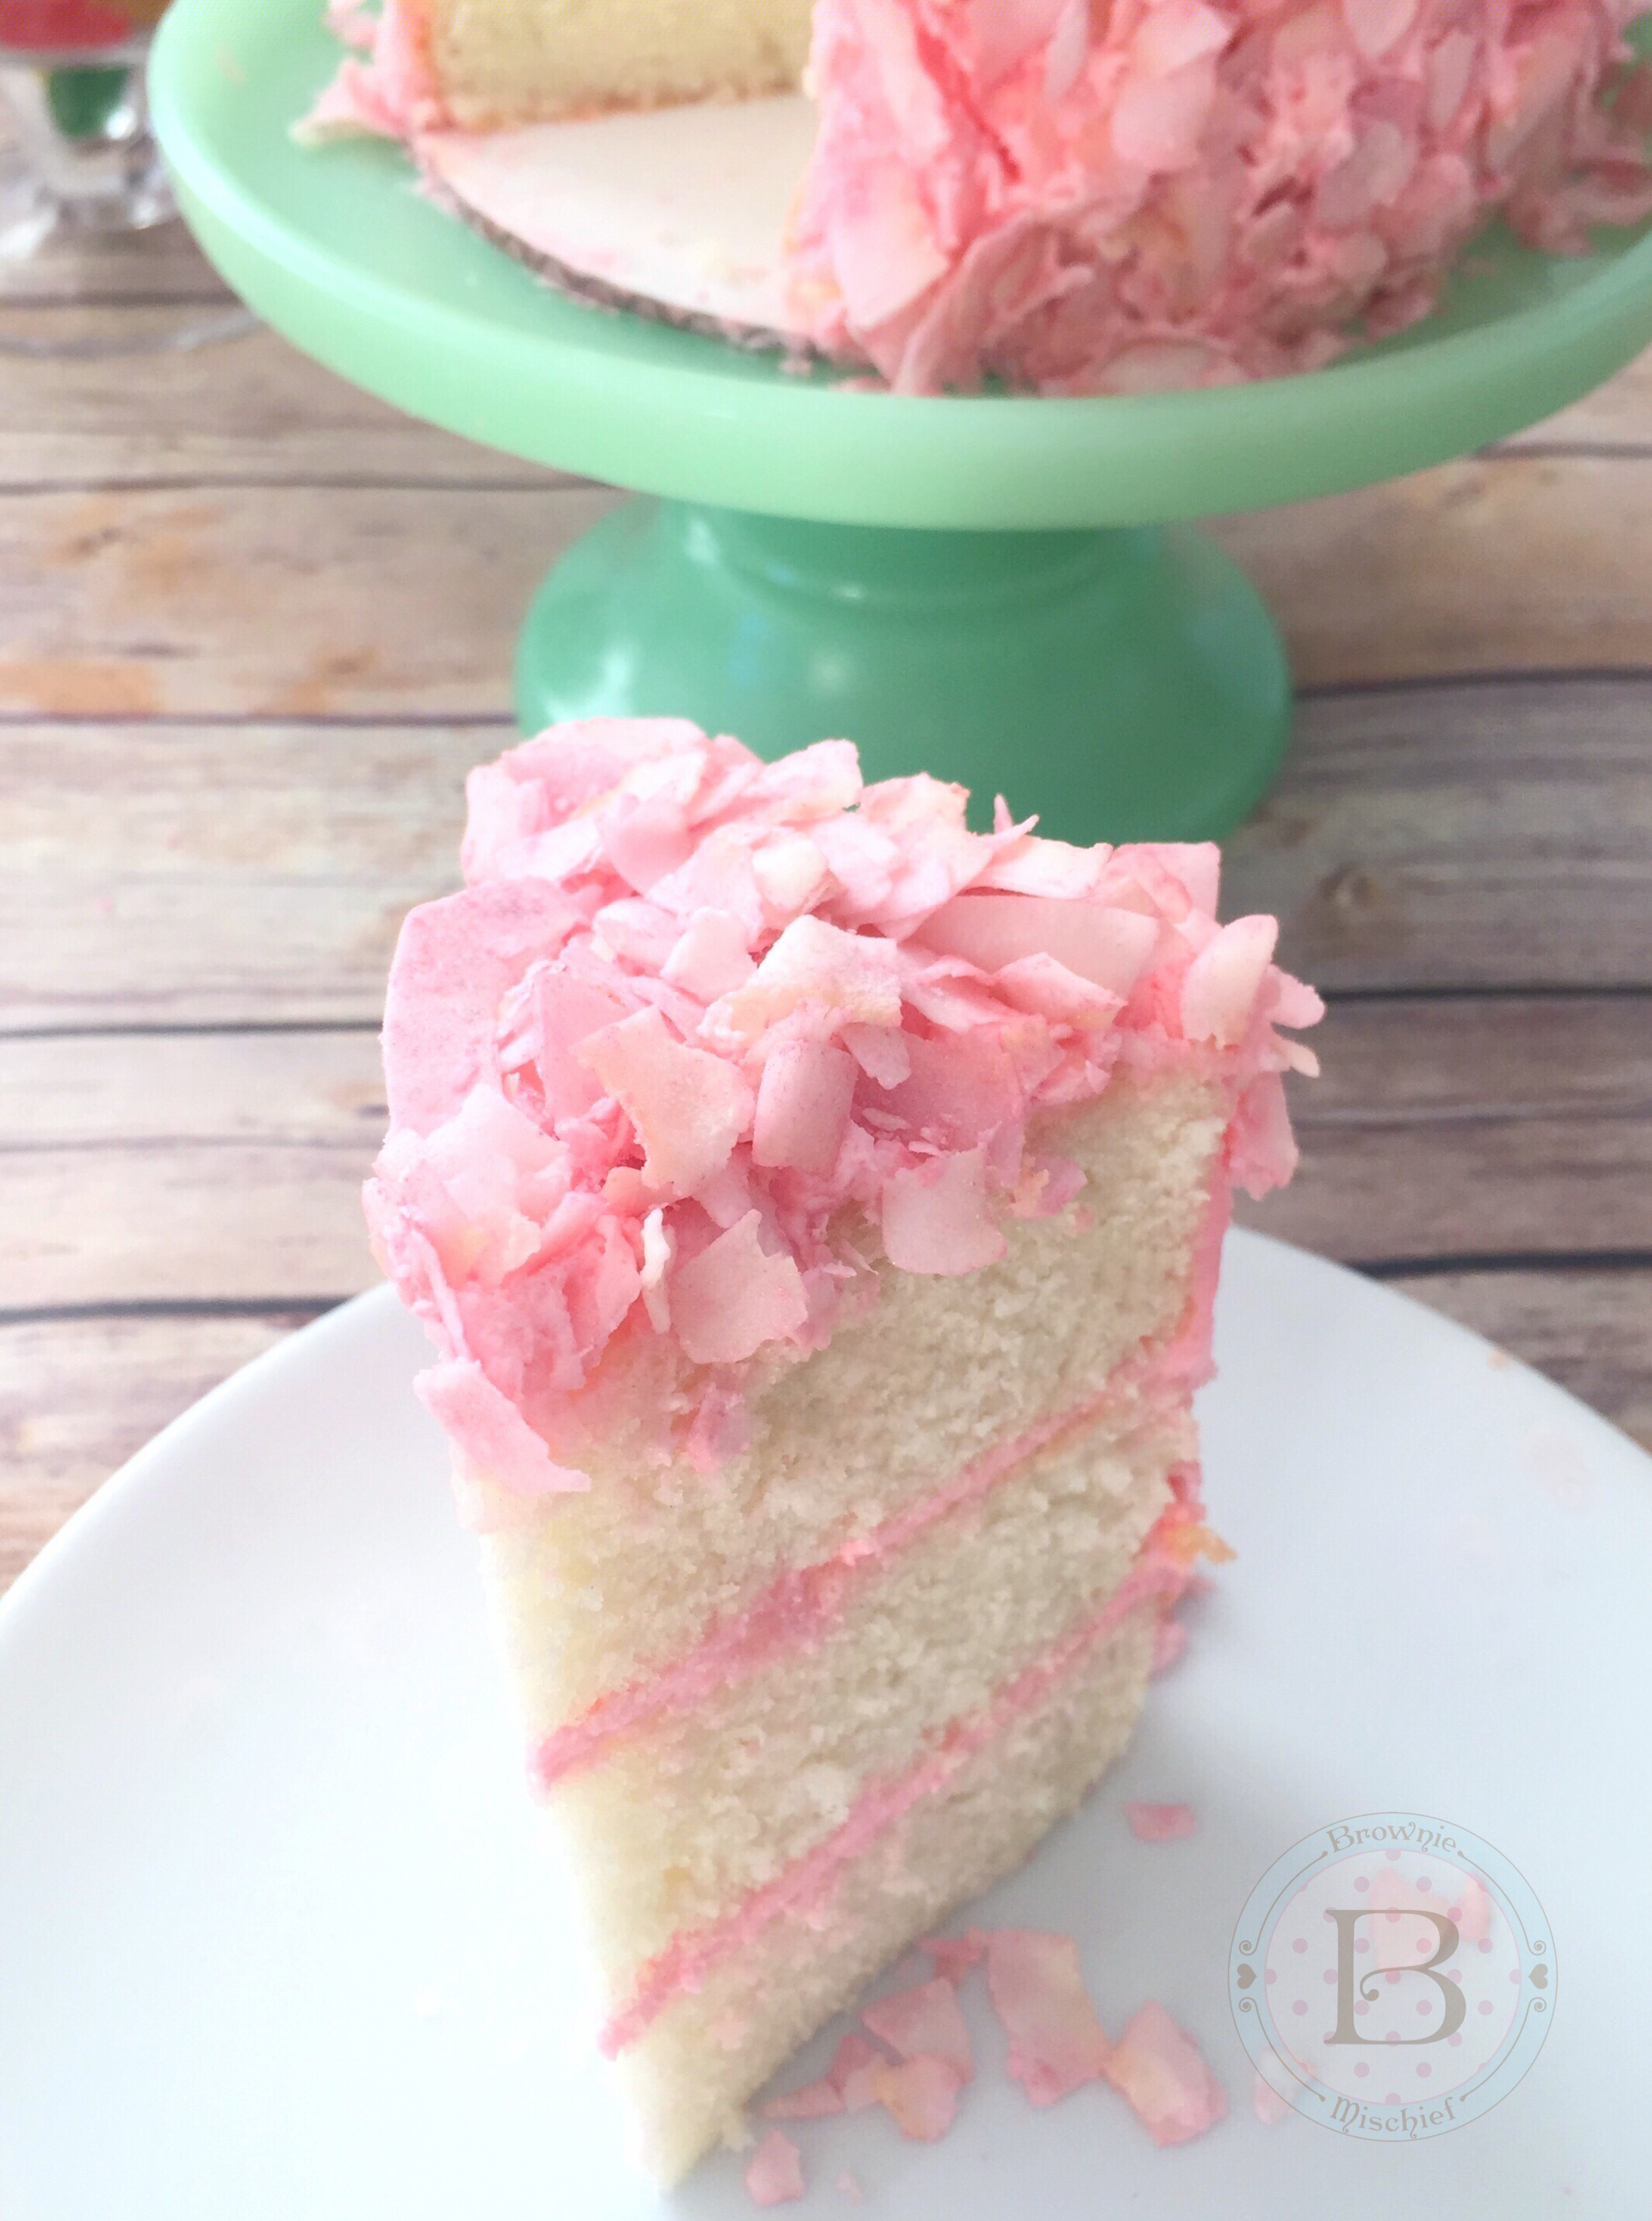
You don’t have to be a Harry Potter fan to appreciate this pink, fluffy, coconut-covered cake. I can imagine this pretty cake at any party or event with a pink theme. I hope you enjoy this perfectly Pink Coconut Ice Cake as much as we did!
| Servings |
6-inch cake (serves 6)
|
- 3 1/2 cups (11 1/2 ounces) cake flour *see note below
- 2 teaspoons baking powder
- 1 teaspoon fine sea salt
- 1 stick (4 ounces) unsalted butter, softened
- 1 3/4 cups (12 1/4 ounces) granulated sugar preferably ultra fine
- 1/4 cup vegetable oil
- 2 teaspoons natural coconut extract **see note below
- 6 large egg whites
- 1 1/2 cups canned light coconut milk ***see note below
- 2 sticks (8 ounces) unsalted butter, softened
- 1/8 teaspoon fine sea salt
- 3 3/4 cups (1 pound) powdered sugar, sifted
- 1/4 cup canned light coconut milk
- 1/2 teaspoon natural coconut extract
- pink gel food color I used Americolor soft pink (link below)
- 3 cups unsweetened coconut flakes (link below)
- 1 tablespoon powdered sugar
- edible pink petal dust I used Rosie Sterling Pearl Dust by GSA (link below)
- food safe gloves
Ingredients
Coconut Cake
Pink Coconut Buttercream
Pink Coconut Flakes
|
|
- Preheat oven to 350º F. Grease three 6-inch cake pans.
- In a large bowl, sift together flour, baking powder and salt. Set aside.
- In a large bowl, beat butter, sugar and oil together with an electric mixer at medium speed, until light and fluffy, about 2-3 minutes.
- Beat in coconut extract. Gradually beat in egg whites until mixture is well combined, stopping to scrape the sides of the bowl.
- Beat in flour mixture in three additions, alternating with coconut milk, stopping to scrape the sides of the bowl.
- Pour batter into prepared pans, evenly distributing batter between the pans. Bake for 28-32 minutes, until a toothpick inserted into the center of pans comes out clean.
- Place pans on wire rack to cool for 10 minutes. Remove cakes from pans and place on rack to cool completely.
- In a large bowl, beat butter with an electric mixer on medium speed, until light and fluffy.
- Add salt. Beat until combined.
- Turn off mixer. Add powdered sugar. Mix on low speed until sugar is moistened, then turn up to medium speed and beat until combined.
- Add coconut milk a little at a time, until desired consistency is reached. Add coconut extract and beat at medium speed until buttercream is smooth.
- Add gel food color with a toothpick, a little at a time, until desired consistency is reached. Beat at low speed until well blended.
- Fill and frost cake with Pink Coconut Buttercream.
- Place powdered sugar in a small bowl. Add a small amount of petal dust. Whisk together with a small whisk. Add additional petal dust until desired color is reached.
- Spread coconut flakes out onto a large shallow dish. Sprinkle powdered sugar mixture over coconut with a small sieve. Toss gently with gloved hands.
- Place cake on a baking sheet to catch excess coconut. Press colored coconut onto sides and top of cake.
*Do not substitute all-purpose flour. For best results weigh your dry ingredients. **For best results, use natural coconut extract. Imitation coconut flavorings may give your baked goods an unpleasant flavor. ***If your coconut milk is separated when you open the can, simply place it in a blender to emulsify before using. To find my favorite 6-inch cake pans, click here. To find the gel food color I used, click here. To find unsweetened coconut flakes, click here. To find the edible pearl dust I used, click here.