Raspberry Rose Shortbread Cookies

I don’t think I’ve ever created a recipe that delighted all of my senses as much as these cookies. If you decide to embark on this journey, you’ll start with your sense of smell. Whether you purchase dried rose petals or make them yourself, they’re pleasantly fragrant. I used dried rosebuds, but you can also use dried rose petals. To find dried rose petals, click here. To find dried rosebuds, click here. I pinched the calyx and stem off of the rosebuds to avoid large crunchy bits in the cookies, then I crushed the roses with a mortar and pestle. You can also place them in a plastic bag and roll over them gently with a rolling pin. Your sense of hearing will be satisfied with the crunching of the delicate, dried rose petals. Next, you’ll use your sense of touch to experience the fun rolling cookie dough into balls and maybe even trigger some childhood memories.

The finished cookies have a rustic, almost shabby chic look with their cracks, rose-speckled dough and beautifully imperfect dried roses. You’ll gaze at your beautiful handiwork. And of course, you’ll sample a warm cookie, before you’re supposed to. The cookies will taste tender and slightly sweet with a hint of rose. I like a more subtle rose flavor in my baked goods. But if you prefer a stronger rose flavor, feel free to add a small amount of rose water to your dough. Start with 1/8 teaspoon or 1/4 teaspoon, because a little goes a long way.

If you’re like me, you’ll taste a spoonful of the raspberry ganache because you can and should. Speaking of the raspberry ganache, please use a good quality white chocolate! In some recipes, it’s fine to use white chocolate chips or candy melts if you prefer, but NOT this one. In my humble, yet educated opinion, you should never use chocolate chips to make ganache. I studied chocolate in culinary school with a master chocolatier. I never use chocolate chips for ganache because they contain stabilizers that keep them from melting completely, which prevents you from having the smoothest ganache possible. They also contain less cocoa butter and tend to have a waxy mouth feel.

For this recipe, when it comes to butter, you should also be a little bit picky for successful baking. Low quality butter tends to contain more water and your cookies may spread too much. So make sure to use good butter. Your butter should be room temperature, but not warm. If the butter is shiny, it’s too warm. Don’t try to speed up the softening of butter with your microwave. That’s not a hack, in spite of what you may hear on the internet. Microwaves heat unevenly and will potentially melt your butter. The best way to speed up the softening of your butter is to simply cut it into cubes. By the time you get the rest of your ingredients ready, the butter should be soft enough to use. My last, but most important success tip, is to weigh your ingredients. U.S. Imperial weights are shown in parenthesis on the recipe.

Print Recipe
Raspberry Rose Shortbread Cookies
Rose petal shortbread cookies filled with white chocolate raspberry ganache
Course Dessert
Servings
cookies
Ingredients
Cookies
Filling
Course Dessert
Servings
cookies
Ingredients
Cookies
Filling
Instructions
Cookies
  1. Preheat oven to 350ºF. Line two large baking sheets with parchment paper
  2. In a large bowl, beat butter until smooth, with an electric mixer.
  3. Add crushed rose petals and beat on low speed until combined.
  4. Add powdered sugar, vanilla extract and salt. Beat until well combined, about 1-2 minutes.
  5. Beat in flour in two additions, on low speed, just until combined.
  6. Roll dough into 1 1/4 inch balls. Place on prepared baking sheets, about 2 inches apart.
  7. Bake for 7 minutes, then remove from oven. Press indentations into each cookie with the flat top of a 1-inch diameter bottle cap, to form wells.
  8. Return cookies to oven and continue baking until edges are light golden brown, about 5-7 more minutes.
  9. If the wells in the cookies lose definition, press again with bottle cap while cookies are still hot on the baking sheet.
  10. Transfer cookies to a cooling rack to cool completely.
Filling
  1. Purée raspberries in a blender or small food processor. Pass through a mesh sieve to strain out the seeds.
  2. Place raspberry purée in a small saucepan. Bring to a boil over medium heat. Turn down heat and simmer until purée is reduced by half, about 5-7 minutes.
  3. Transfer purée to a small bowl and set aside.
  4. Place chopped white chocolate in a medium microwave safe bowl.
  5. In a small saucepan, heat heavy cream over medium heat to a simmer, just until bubbles form around the edges of the pan. Stir in raspberry purée and heat just to a simmer again. Do not boil.
  6. Pour cream mixture over white chocolate. Let sit for 2 minutes, then stir with a spatula until smooth.
  7. Let ganache cool until slightly thickened. Spoon about 1/2 teaspoon into the well of each cookie. Ganache will continue to firm up as it sits.
  8. When ganache in cookies has firmed up, decorate with dried rosebud or rose petals, if desired.
Recipe Notes

*To find dried rose petals, click here.

**To find dried rosebuds, click here.

Raspberry Lemonade Brownies

Raspberry Lemonade Brownies by Brownie Mischief

Here is the lemon brownie enlightenment no one asked for, brought to you by the self proclaimed lemon brownie expert, yours truly! We all know what a lemon bar is. The one we all know and love has a lemon curd filling on a shortbread crust, possibly drizzled with lemon icing or sprinkled with powdered sugar. The lemon brownie is a whole different animal. Don’t mistake lemon brownies for lemon cake either. Lemon brownies contain white chocolate which gives them a rich, fudgy texture like their chocolate cousins. We may be tempted to call them blondies, but blondies have a butterscotch flavor and typically don’t contain chocolate. Now that we got that straightened out, we can sleep peacefully tonight.

I grew up with a big lemon tree in my backyard and I loved experimenting with lemons in cooking and baking. I also experimented my way to the perfect lemonade ratio. Raspberry lemonade was one of my family’s favorites. The raspberry lemonade brownie recipe I’m sharing here has that same sweet-tart flavor we enjoyed back then.

One of my favorite things about this recipe is that there is no electric mixer needed. You can literally execute this recipe with only a wooden spoon to stir it! My other favorite thing is the burst of flavor and color from the fresh raspberries. The icing contains no food coloring. Just three raspberries will give you that luscious shade of pink!

Print Recipe
Raspberry Lemonade Brownies
Course Dessert
Servings
bars
Ingredients
Raspberry Lemonade Bownies
Raspberry Lemonade Icing
Course Dessert
Servings
bars
Ingredients
Raspberry Lemonade Bownies
Raspberry Lemonade Icing
Instructions
Raspberry Lemonade Bownies
  1. Preheat oven to 350ºF.
  2. Line an *8 x 8 inch baking pan with parchment paper.
  3. In a medium microwaveable bowl, heat white chocolate and butter in the microwave for 20 second intervals until melted. Alternately, melt white chocolate and butter on the stove in a double boiler.
  4. In a large bowl, combine melted chocolate and butter mixture, sugar, salt, lemon zest, lemon juice and eggs. Stir until smooth.
  5. Add flour and stir just until combined.
  6. Gently fold in raspberries.
  7. Transfer mixture to prepared baking pan. Bake until top is set and edges are light golden brown, about 25-28 minutes.
  8. Let cool completely.
Raspberry Lemonade Icing
  1. In a small bowl, smash raspberries with a fork.
  2. Add powdered sugar, melted butter and 1 tablespoon of lemon juice. Whisk until smooth, adding more lemon juice as necessary.
  3. Spread icing over cooled brownies.
  4. Cut into 2-inch squares and serve with additional raspberries, if desired.
Recipe Notes

*To find the 8 x 8 inch pan I used, click here.

Chocolate Lovers’ Valentine Cake for Two

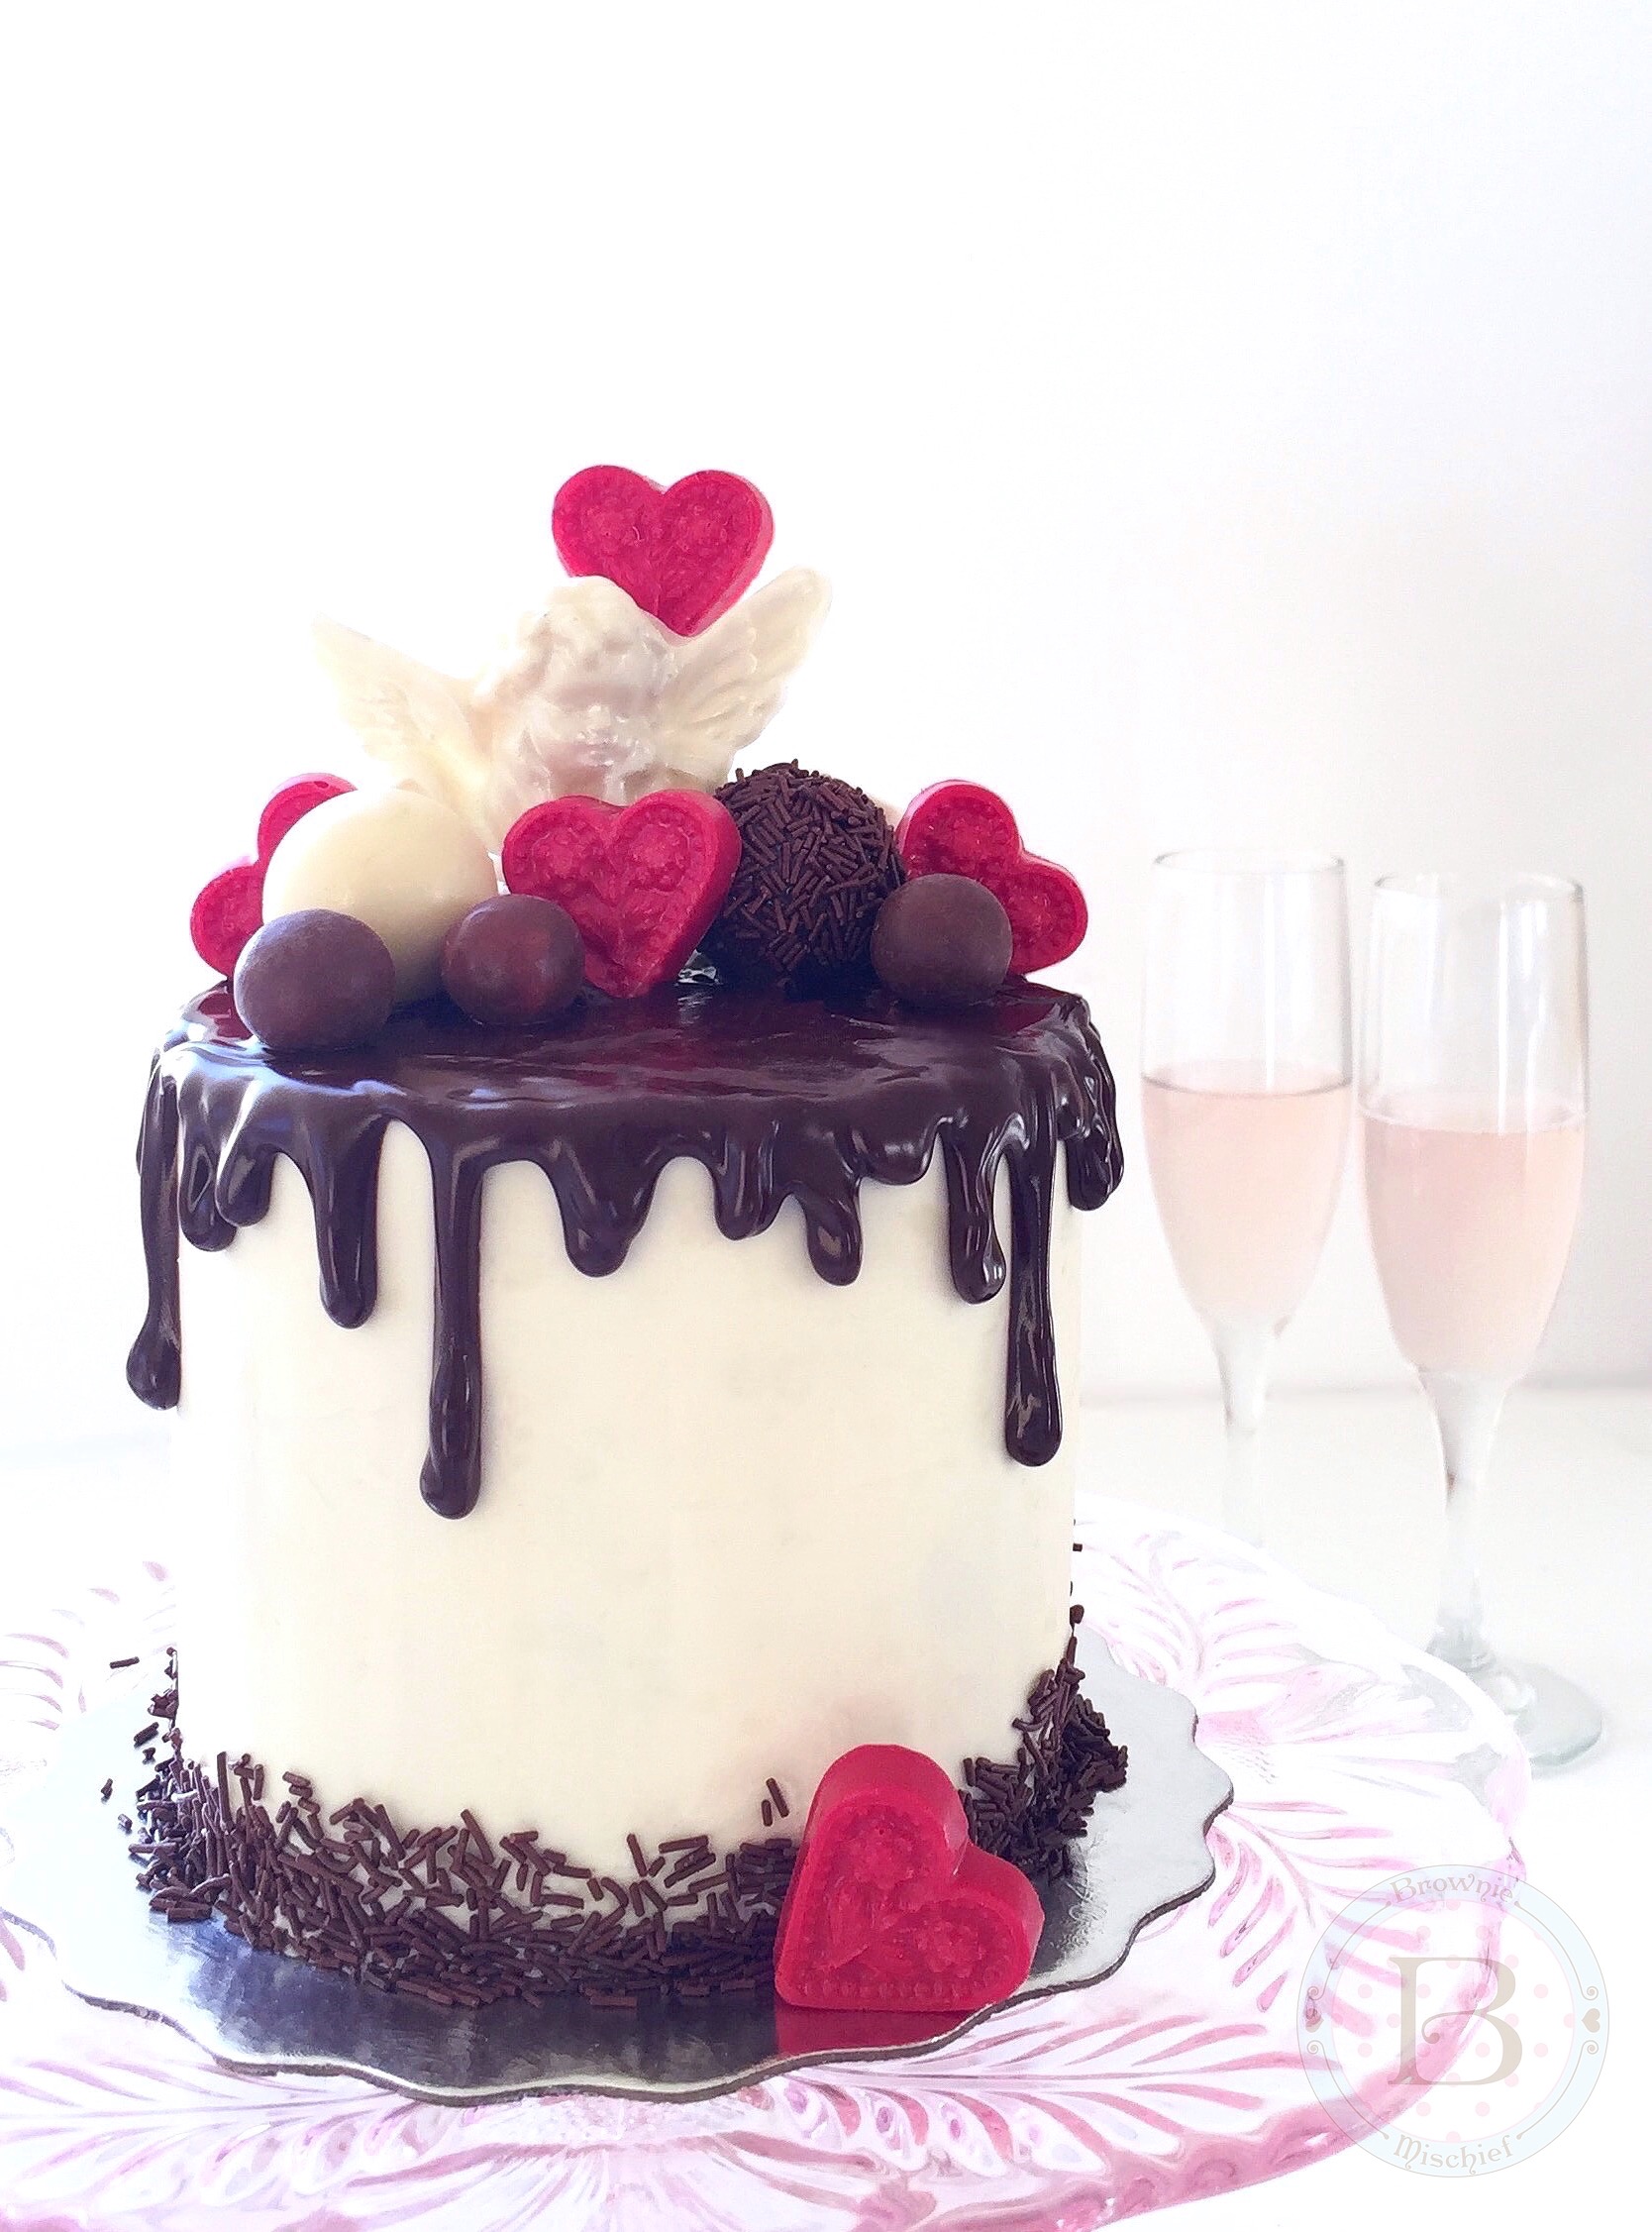
Chocolate Lovers' Valentine Drip Cake for Two

My relationship with Valentine’s Day has transformed over the years. When I was a child, I joyfully skipped home from school with my bounty of tiny Valentine cards, candy hearts and a cupcake someone’s mother baked. As I grew older, I was hot and cold towards Valentine’s Day, depending on the state of my love life at the time. After having kids, Valentine’s Day became about red construction paper, doily hearts and glue sticks. I happily cleaned up sprinkles and kissed chubby, frosting-stained cheeks. Now I think of Valentine’s Day as simply a day to celebrate love. I embrace Valentine’s Day and all the hearts, roses and chocolates that go with it! Show your loved ones that you love them on Valentine’s Day, but more importantly, show them throughout the year, by loving, respecting and accepting them for who they are every day.

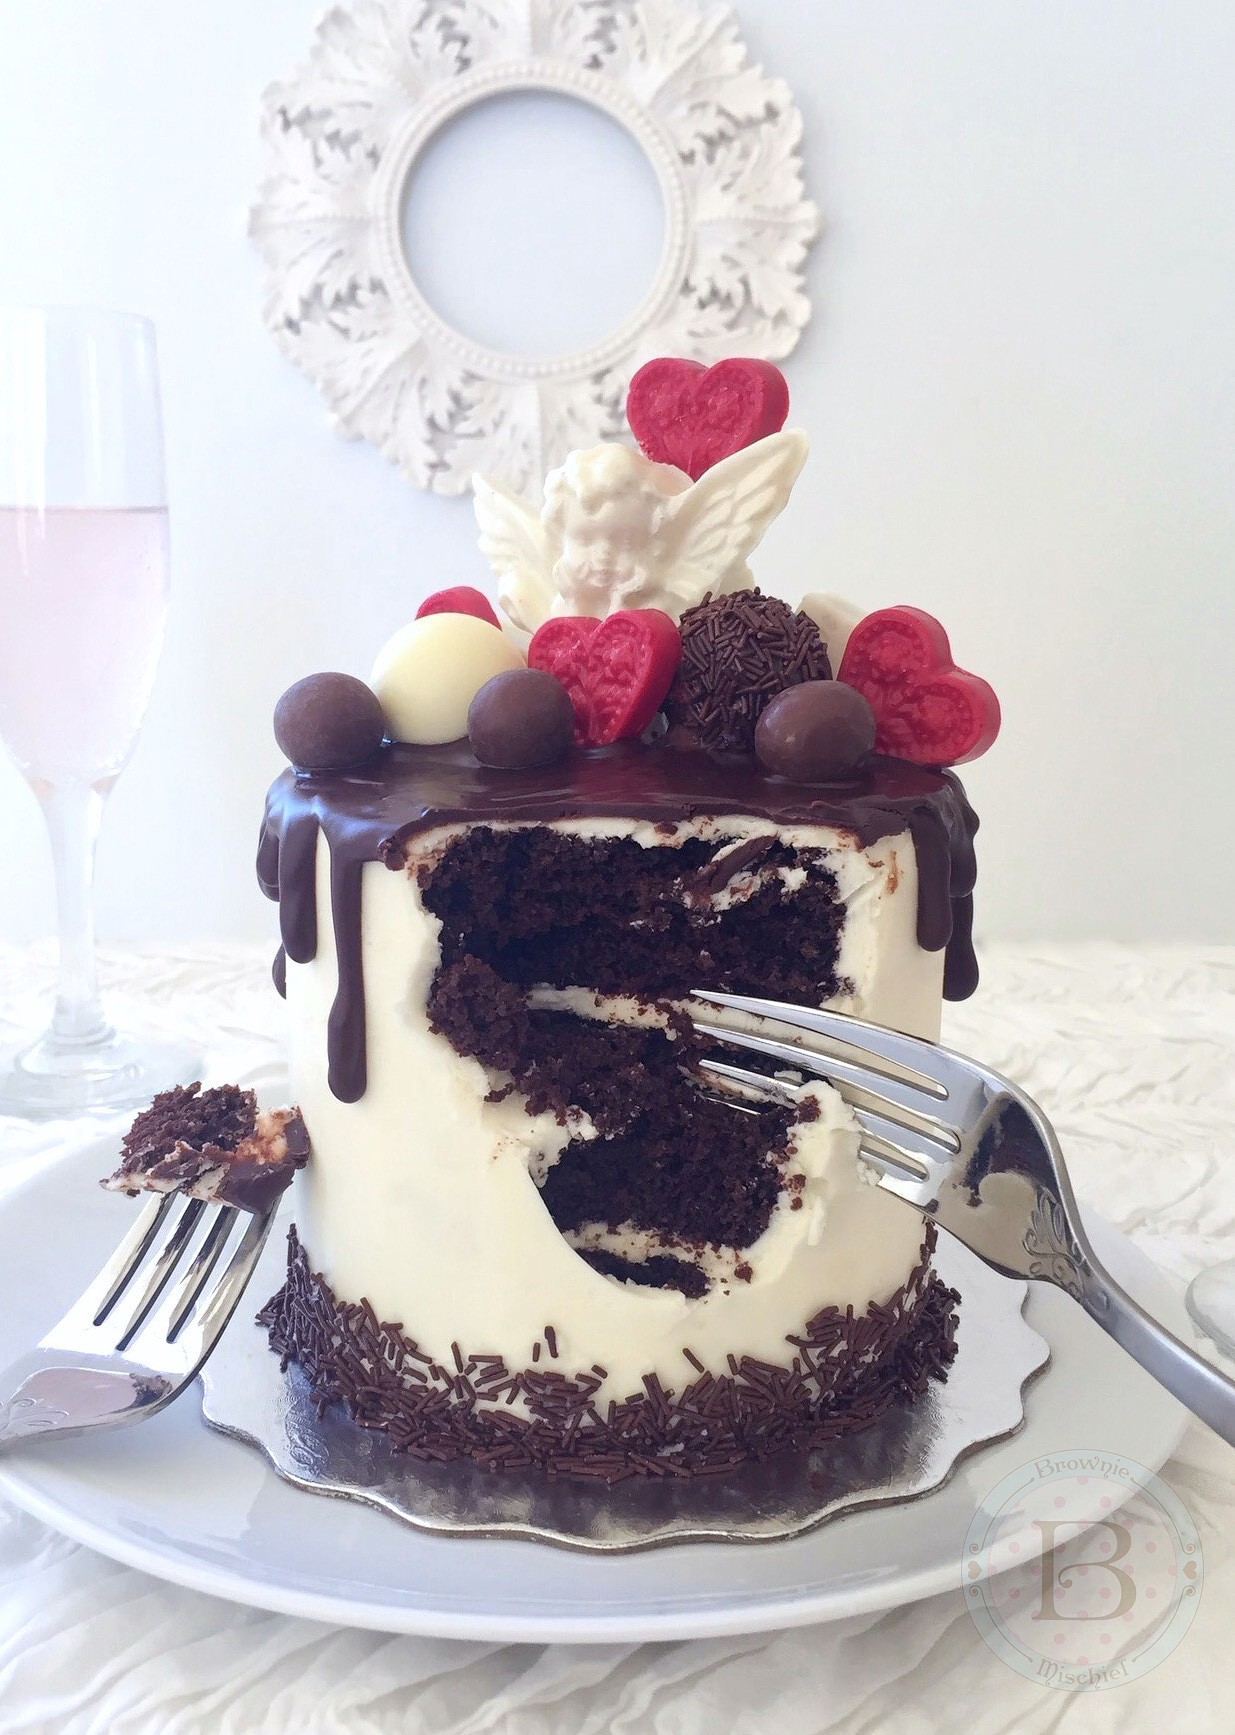
If your heart beats for a chocolate lover, then this Valentine cake for two will have them swooning. It’s small in size, but grand in chocolate indulgence. It has three layers of moist chocolate cake, rich, white chocolate buttercream and a silky chocolate glaze. As if that isn’t enough, I loaded the top with chocolate candy! Some of the candy is store bought and some I made with candy melts and chocolate molds. Click here to find the cherub mold. Click here to find the heart mold.

Chocolate Lovers' Valentine Drip Cake for Two

I hope you share this Valentine cake with someone you love! However you celebrate the day and whoever you love, have a happy one!


Print Recipe


Chocolate Lovers' Valentine Cake for Two

A mini chocolate cake with white chocolate buttercream, topped with chocolate glaze and chocolate Valentine candy. Perfect for sharing!

Course Dessert

Prep Time 1 hour
Cook Time 30 minutes
Passive Time 1 1/2 hours

Servings


Ingredients
Chocolate Cake for Two

White Chocolate Buttercream

Chocolate Drip Glaze

Course Dessert

Prep Time 1 hour
Cook Time 30 minutes
Passive Time 1 1/2 hours

Servings


Ingredients
Chocolate Cake for Two

White Chocolate Buttercream

Chocolate Drip Glaze


Instructions
Chocolate Cake for Two
  1. Preheat oven to 350°F. Grease & flour three 4-inch cake pans. *See note below.

  2. Sift flour, cocoa powder, baking powder, baking soda and salt together in a medium bowl. Add sugar and stir to combine.

  3. Combine egg, buttermilk, vegetable oil and vanilla extract in a small bowl. Whisk lightly to combine.

  4. Add egg mixture to dry ingredients and mix on low speed with a handheld electric mixer, until combined. Stop mixer. Scrape sides of bowl with spatula. Turn mixer up to medium speed and beat for 1 minute.

  5. Add hot coffee and stir until incorporated.

  6. Pour batter into prepared cake pans, dividing batter evenly between the pans. Bake for 20-25 minutes or until a toothpick inserted into the center of the cake comes out clean.

  7. Cool cakes in pans 10 minutes, then invert onto a wire rack to cool.

White Chocolate Buttercream
  1. Melt white chocolate in a double boiler over gently simmering water. (Alternately, you can melt the white chocolate in the microwave. In a small microwaveable bowl, heat the white chocolate for 30 seconds, then stir. Heat again for 10 second intervals, stirring until melted, being very careful not to overheat it.)

  2. Set white chocolate aside to cool until lukewarm and still soft.

  3. In a medium bowl, beat butter with an electric mixer at medium speed until pale and creamy.

  4. Add vanilla extract, salt and melted white chocolate. Beat at low speed until combined. Stop mixer. Scrape sides of bowl with spatula.

  5. Add powdered sugar. Beat at low speed, until powdered sugar is combined. Beat at medium speed until buttercream is smooth, stopping to scrape the bowl occasionally. Keep covered at room temperature until ready to use.

Cake Assembly
  1. When cakes have cooled completely, trim the cake layers to 1-inch tall.

  2. Attach one of the layers to a cake board with some of the white chocolate buttercream. Apply 1/4-inch thick layer of buttercream to the top of the cake layer, followed by the second cake layer, another 1/4-inch thick layer of buttercream, then the final cake layer.

  3. Apply a crumb coat (thin layer) of buttercream to the cake. Chill the cake in the refrigerator for 20 minutes.

  4. Frost the cake with the remaining buttercream. Apply chocolate sprinkles to the bottom edge of the cake.

  5. Melt chocolate drip glaze ingredients together in a double boiler over gently simmering water. Let cool slightly.

  6. Spoon chocolate glaze into a piping bag. Snip off the end of the bag with kitchen scissors. Drizzle chocolate glaze along the edges of the perimeter of the cake, then fill in the middle. Smooth top with a small offset spatula.

  7. Top cake with assorted chocolate candy. If desired, you can stack some of the candy and adhere them with melted chocolate to give some variation in height.