Strawberries & Cream Profiteroles

Strawberries & Cream Profiteroles

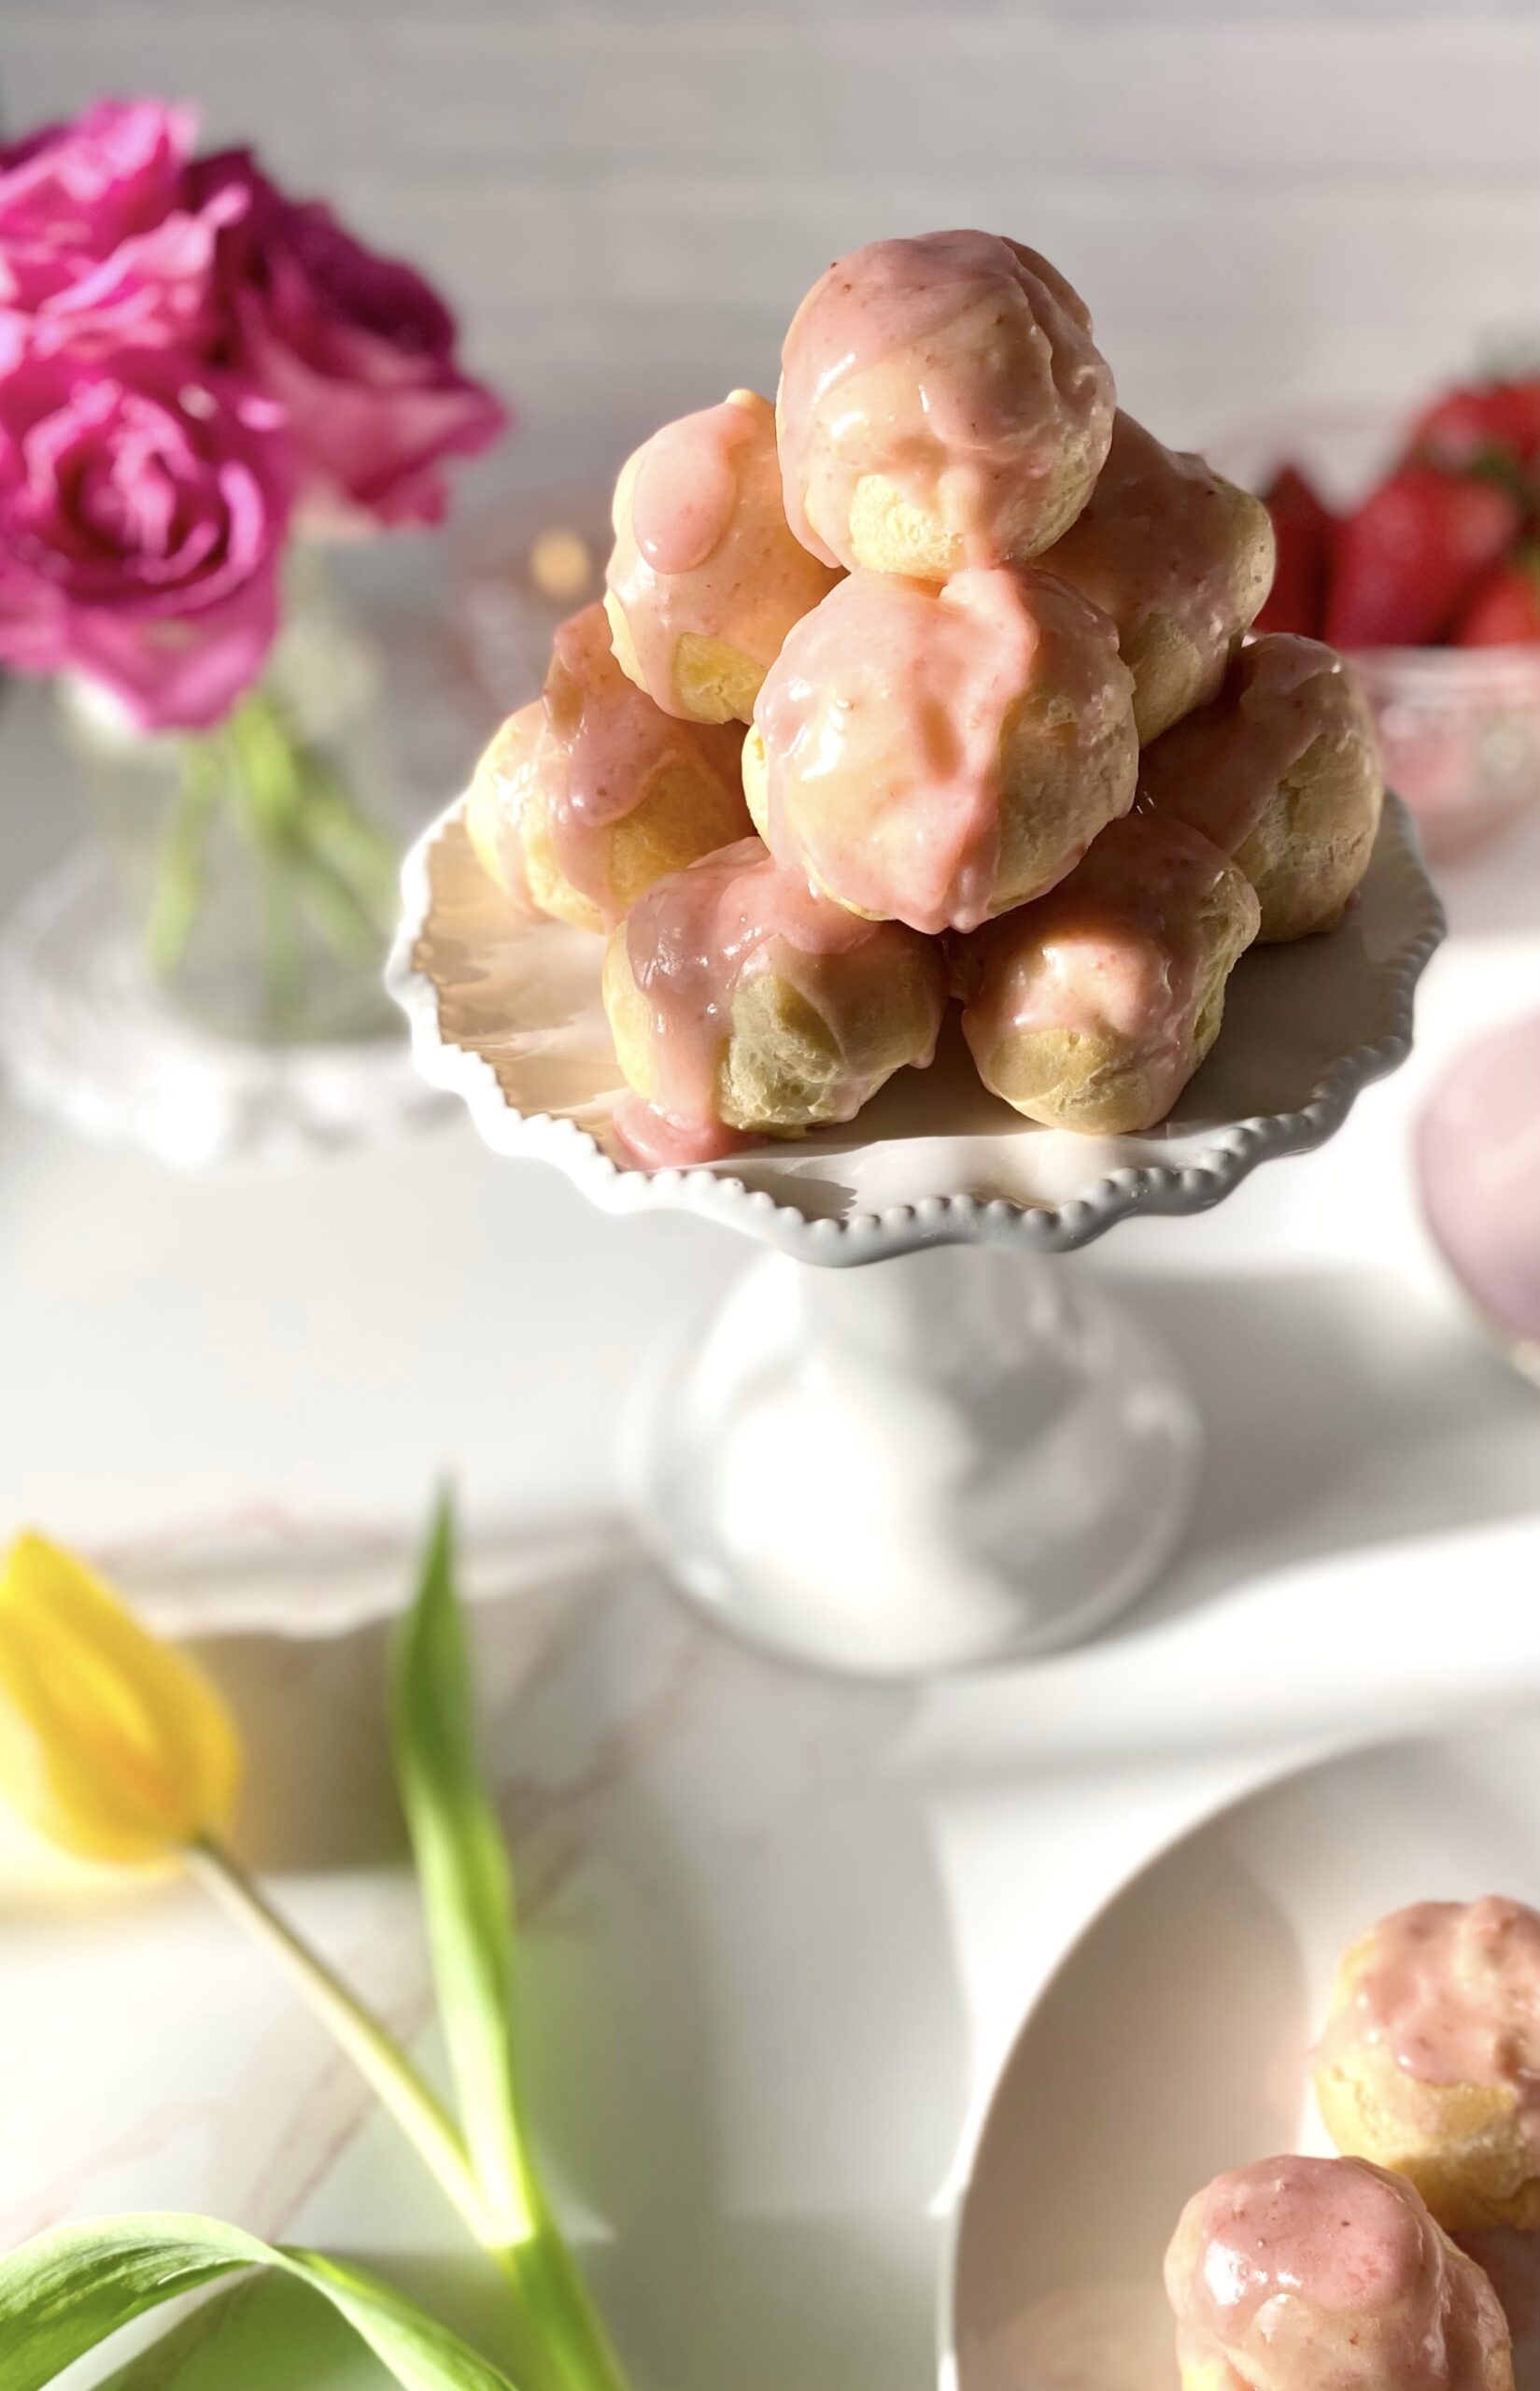
Imagine you’re in a beautiful room, reclining on a plush velvet chaise lounge. There’s a dainty table nearby. On the table is a cake pedestal with a little pyramid of small, perfectly plump, pink pastries. They’re filled with sweet, luscious strawberry cream. And they’re all yours. This Strawberries & Cream Profiteroles recipe can make that dream come true. Maybe not the velvet chaise lounge, but really any comfortable chair will do while you indulge in these delicious little gems. Profiteroles have a way of making you feel regal and majestic. I think princesses and princes snack on them. Most of us don’t have a personal pastry chef or the budget to order from a French bakery every day, but we can certainly follow a recipe and make one of the easiest pastry doughs there is. Choux pastry or pate à choux is used to make profiteroles, cream puffs, eclairs, churros and other pastries. Once you get the hang of it, the possibilities are endless.

This recipe features fresh strawberries, but frozen strawberries will work too. You can also substitute raspberries or peaches. To find the recipe for Peaches & Cream Profiteroles, click here. The strawberry purée can be made a day or two ahead and stored in the refrigerator. To make it easy on myself, I like to make the strawberry purée on day one, the pastry cream on day two, then make the profiteroles and strawberry icing and assemble on day three. It’s also helpful to practice the French culinary style of prep, mise en place, which means to have all of your ingredients and equipment in place before you begin. Everything will go much smoother and prevent you from feeling overwhelmed.


Strawberries & Cream Profiteroles

Mari Vasseur
Bite sized choux pastry puffs filled with fresh strawberries and cream filling and topped with fresh strawberry icing
Course Dessert
Cuisine French
Servings 18 profiteroles

Ingredients
  

Strawberry Pureé

  • 12 ounces (340g) strawberries, hulled and sliced About 2 1/2 cups after hulling and slicing
  • 1 teaspoon lemon juice
  • ½ teaspoon strawberry extract

Strawberries and Cream Filling

  • 1 cup (237ml) whole milk
  • cup (66g) sugar
  • 2 tablespoons (17g) cornstarch
  • ¼ teaspoon fine sea salt
  • 1 large egg
  • 2 tablespoons (28g) unsalted butter, cubed
  • ½ teaspoon pure vanilla extract
  • Strawberry puree recipe above
  • cup (156ml) heavy whipping cream

Profiteroles

  • ½ cup (118ml) water
  • ¼ cup (57g) unsalted butter, cubed
  • teaspoon fine sea salt
  • ½ cup (64g) all purpose flour
  • 2 large eggs room temperature

Strawberry Icing

  • ¾ cup (90g) powdered sugar
  • 2 tablespoons (30ml) reserved strawberry purée
  • 1 tablespoon (15ml) heavy whipping cream
  • ¼ teaspoon strawberry extract

Instructions
 

Strawberry Purée

  • Purée the strawberries in a blender or food processor. Strain the puréed strawberries through a sieve into a small saucepan. Stir in the lemon juice.
  • Bring to a boil over medium heat. Reduce heat and simmer until the strawberry purée is reduced by half. Remove from heat. Stir in the strawberry extract. Set aside to cool completely

Strawberries and Cream Filling

  • Bring the milk to a boil in a small saucepan over medium heat.
  • Meanwhile, whisk the sugar, cornstarch and salt together in a medium bowl. Add the egg and whisk until smooth.
  • When the milk starts to boil, remove from heat and pour 1/3 of the hot milk into the egg mixture and whisk to combine.
  • Pour the egg mixture back into the remaining hot milk and cook over medium heat, whisking continuously, until the mixture comes to a boil and thickens.
  • Remove from heat. Stir in the butter and vanilla extract. Pour the mixture through a sieve placed over a bowl. Cover the surface with plastic wrap and let cool completely.
  • Set aside 2 tablespoons (30ml) of strawberry purée. Add the remaining strawberry purée to the cooled pastry cream and stir until well combined. Cover strawberry pastry cream and chill in refrigerator.
  • In a medium-sized bowl, whip the heavy cream, with an electric mixer at high speed, until stiff peaks begin to form. Fold the whipped cream into cooled strawberry pastry cream. Set aside in the refrigerator.

Profiteroles

  • Preheat oven to 400ºF (205ºC). Line 2 large baking sheets with parchment paper.
  • Combine the water, butter and salt in a medium-sized saucepan. Bring to a boil over medium heat. Reduce the heat. Add the flour and stir vigorously with a wooden spoon until the mixture pulls away from sides of pan and forms a ball.
  • Transfer the mixture to the bowl of a stand mixer. Mix on low speed until steam dissipates and mixture cools to lukewarm. Add the eggs one at a time and beat on medium speed until smooth, stopping to scrape down the bowl.
  • Transfer the mixture to a piping bag fitted with a large round tip. (I used Ateco tip 808.*) Pipe 1 1/4-inch mounds, about 2 inches apart, onto the prepared baking sheets. Smooth the tops lightly with a wet finger.
  • Bake for 15 minutes, then turn down the oven heat to 350ºF (180ºC) and continue baking until golden brown, about 8-10 more minutes. Using a toothpick or skewer, prick a small hole in each profiterole to allow steam to escape. Place on a wire rack to cool completely.
  • Use the tip of a paring knife to make a pilot hole in the bottom of each profiterole.
  • Place strawberries and cream filling into a piping bag fitted with a medium round piping tip. (I used Wilton tip 12**) Place the tip into the pilot holes and fill each profiterole with filling.

Strawberry Icing

  • In a medium -sized bowl, whisk all of the icing ingredients together until smooth. Spoon over the filled profiteroles. Refrigerate profiteroles until ready to serve.
Notes

*To find Ateco tip 808 click here.
**To find Wilton tip 12 click here.
Keyword profiteroles, strawberry

Blueberry Skillet Cornbread

This is a sweet, fluffy blueberry cornbread that my family loves. It’s heavenly served with honey and butter. I love baking it in a cast iron skillet because of the delicious crust that forms from the steady high heat conducted with cast iron. If you don’t have a cast iron skillet, you can use an 8-inch round cake pan instead. To find the 8-inch cast iron skillet I used, click here.

The texture of this cornbread is more like a quick bread than a cake and my family has always called it cornbread. When I posted this recipe previously, I called it a skillet cornmeal cake because I was trying to shy away from the cornbread police who inevitably show up when I post sweet cornbread recipes. These enforcers of non existent cornbread laws no longer intimidate me because I’ve done my cornbread research. There are different regions who make cornbread in many different ways. Various groups of people in the United States argue over whether or not cornbread should contain sugar. Historically, some people had to add sugar to cornbread because of the lower quality cornmeal they had access to. But the first cornbread was made long before that in ancient Mexico. People then and now use the ingredients available to them to create food that tastes good to them. So by any name, it’s all good.


Blueberry Skillet Cornbread

by Mari Vasseur
Sweet cornbread with blueberries baked in a cast iron skillet.
Servings 6

Ingredients
  

  • 1 ¼ cups (about 177-198g) blueberries, divided
  • 1 ¼ cups (159g) all purpose flour, sifted, plus one teaspoon for the blueberries
  • cup (132g) sugar
  • ¼ cup (35g) cornmeal
  • 2 teaspoons baking powder
  • ½ teaspoon fine sea salt
  • 2 large eggs
  • ¾ cup (170g) sour cream
  • ¼ cup (1 7/8 oz or 55ml) vegetable oil or neutral oil of your choice
  • 2 tablespoons (28g) unsalted butter, melted

Instructions
 

  • Preheat the oven to 350ºF (177ºC). Grease an 8-inch cast iron skillet.*
  • Set aside 1/4 cup of blueberries. In a small bowl, toss the remaining 1 cup of blueberries with 1 teaspoon of flour.
  • In a large bowl, whisk together the flour, sugar, cornmeal, baking powder and salt until well blended.
  • In a medium-sized bowl, whisk together the eggs, sour cream, oil and melted butter until creamy and well combined. Add the egg mixture to flour mixture and stir just until combined. A few small lumps are okay. Gently mix one cup of blueberries into the batter.
  • Transfer the batter to prepared skillet. Top with the reserved 1/4 cup of blueberries.
  • Bake until top looks golden brown and a toothpick inserted in center comes out clean, about 35-45 minutes. Let cool in pan for 10 minutes.

Notes

*To find the skillet I used, click here.
If you don't have a cast iron skillet, you can use and 8-inch round cake pan.
Keyword blueberry, cornbread

Raspberry White Chocolate Scones

Raspberry White Chocolate Scones

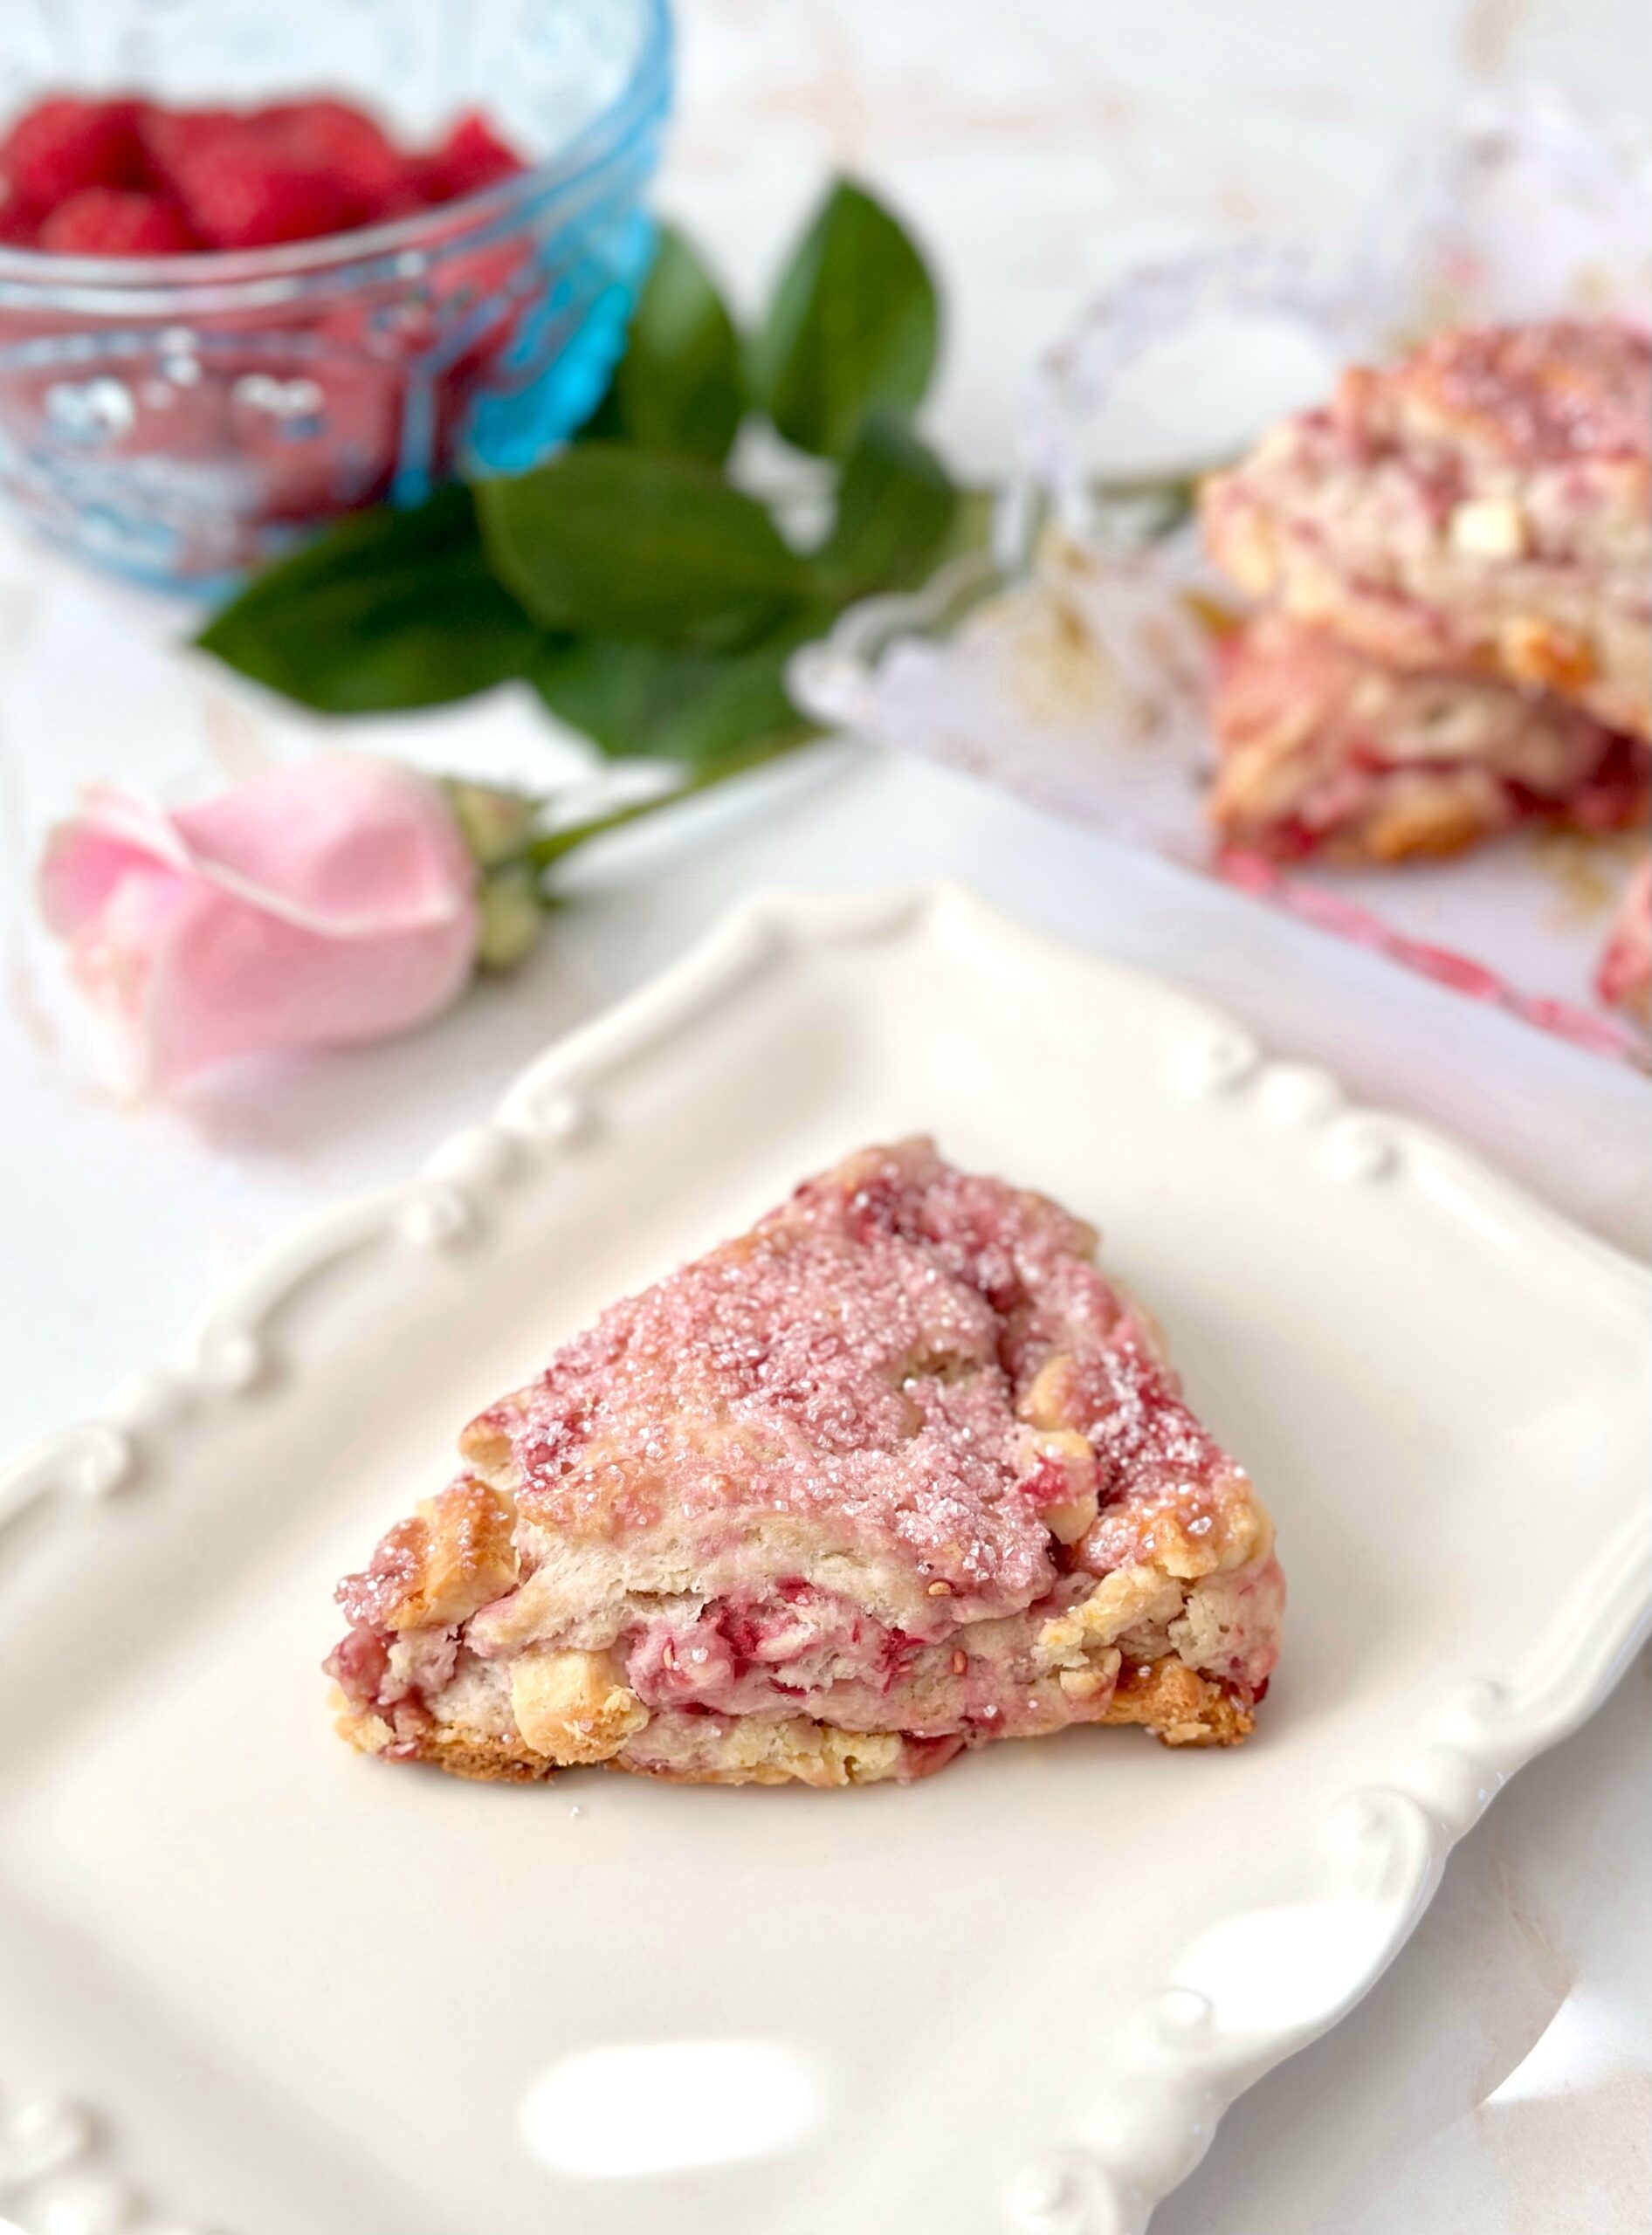
A good scone has a way of making you feel elegant, especially if you pronounce it ‘skon’ instead of ‘skōne’. I went to a lovely tea recently where scones were served, along with an array of dainty tea sandwiches and desserts. The scones were round with pink sugar sprinkled on top. Pretty pink food is always so promising. Unfortunately, the scones were hard, dry and bland. No amount of clotted cream slathered on them could help. There’s nothing elegant about a dry, hard bite of a scone that you have to struggle to choke down. Scones should be dense and slightly dry and crumbly, but there’s no reason we can’t make them more delicious. It’s fun to add fruit, chocolate, herbs, nuts or whatever you like to make them more delightful. These Raspberry White Chocolate Scones are tender and buttery with bursts of flavor from the fresh raspberries and white chocolate. I added pink sparkling sugar for texture and, of course, to make them look pretty!


Raspberry White Chocolate Scones

by Mari Vasseur
Tender scones with fresh raspberries and white chocolate, topped with crunchy sparkling sugar.
Course Breakfast, Brunch
Servings 8 scones

Ingredients
  

  • 1 ¾ cups (226g) all purpose flour, sifted
  • 1 tablespoon baking powder
  • ½ teaspoon fine sea salt
  • 7 tablespoons (100g) cold, unsalted butter, cubed
  • ½ cup (118 ml) cold heavy cream plus extra for the tops of the scones
  • ¼ cup (57g) cold sour cream
  • 1 teaspoon pure vanilla extract
  • ¾ cup (128g) white chocolate chips or chunks Not chopped white chocolate
  • ¾ cup (113g) fresh or frozen raspberries
  • Pink or white coarse sparkling sugar

Instructions
 

  • Line a large baking sheet with parchment paper.
  • In a large bowl, whisk the flour, baking powder and salt together until well combined. Work the butter into the flour mixture with your fingertips or with a pastry blender until pea size pieces form.
  • In a small bowl, whisk together the heavy cream, sour cream and vanilla until well blended. Stir the cream mixture into the flour mixture until a shaggy dough forms. Gently fold in the white chocolate chips and raspberries.
  • Turn the dough out onto a lightly floured surface. Form the dough into a 1-inch thick round, about 6 1/2 inches in diameter. Cut the dough into 8 wedges.
  • Place scones 2 inches apart on the prepared baking sheet. Chill the scones in the refrigerator for 20 minutes.
  • Meanwhile, preheat the oven to 375ºF (190ºC). Brush the tops of the scones with heavy cream. Sprinkle with coarse sugar.
  • Bake until the edges look golden brown, about 20-24 minutes. Transfer the scones to a cooling rack.

Notes

*To find pink sparkling sugar, click here.  
This recipe was updated on 3/23/2023.
Keyword raspberry white chocolate, scones

Strawberry Sugar Hearts

strawberry sugar hearts
To watch the Strawberry Sugar Hearts video, click here.

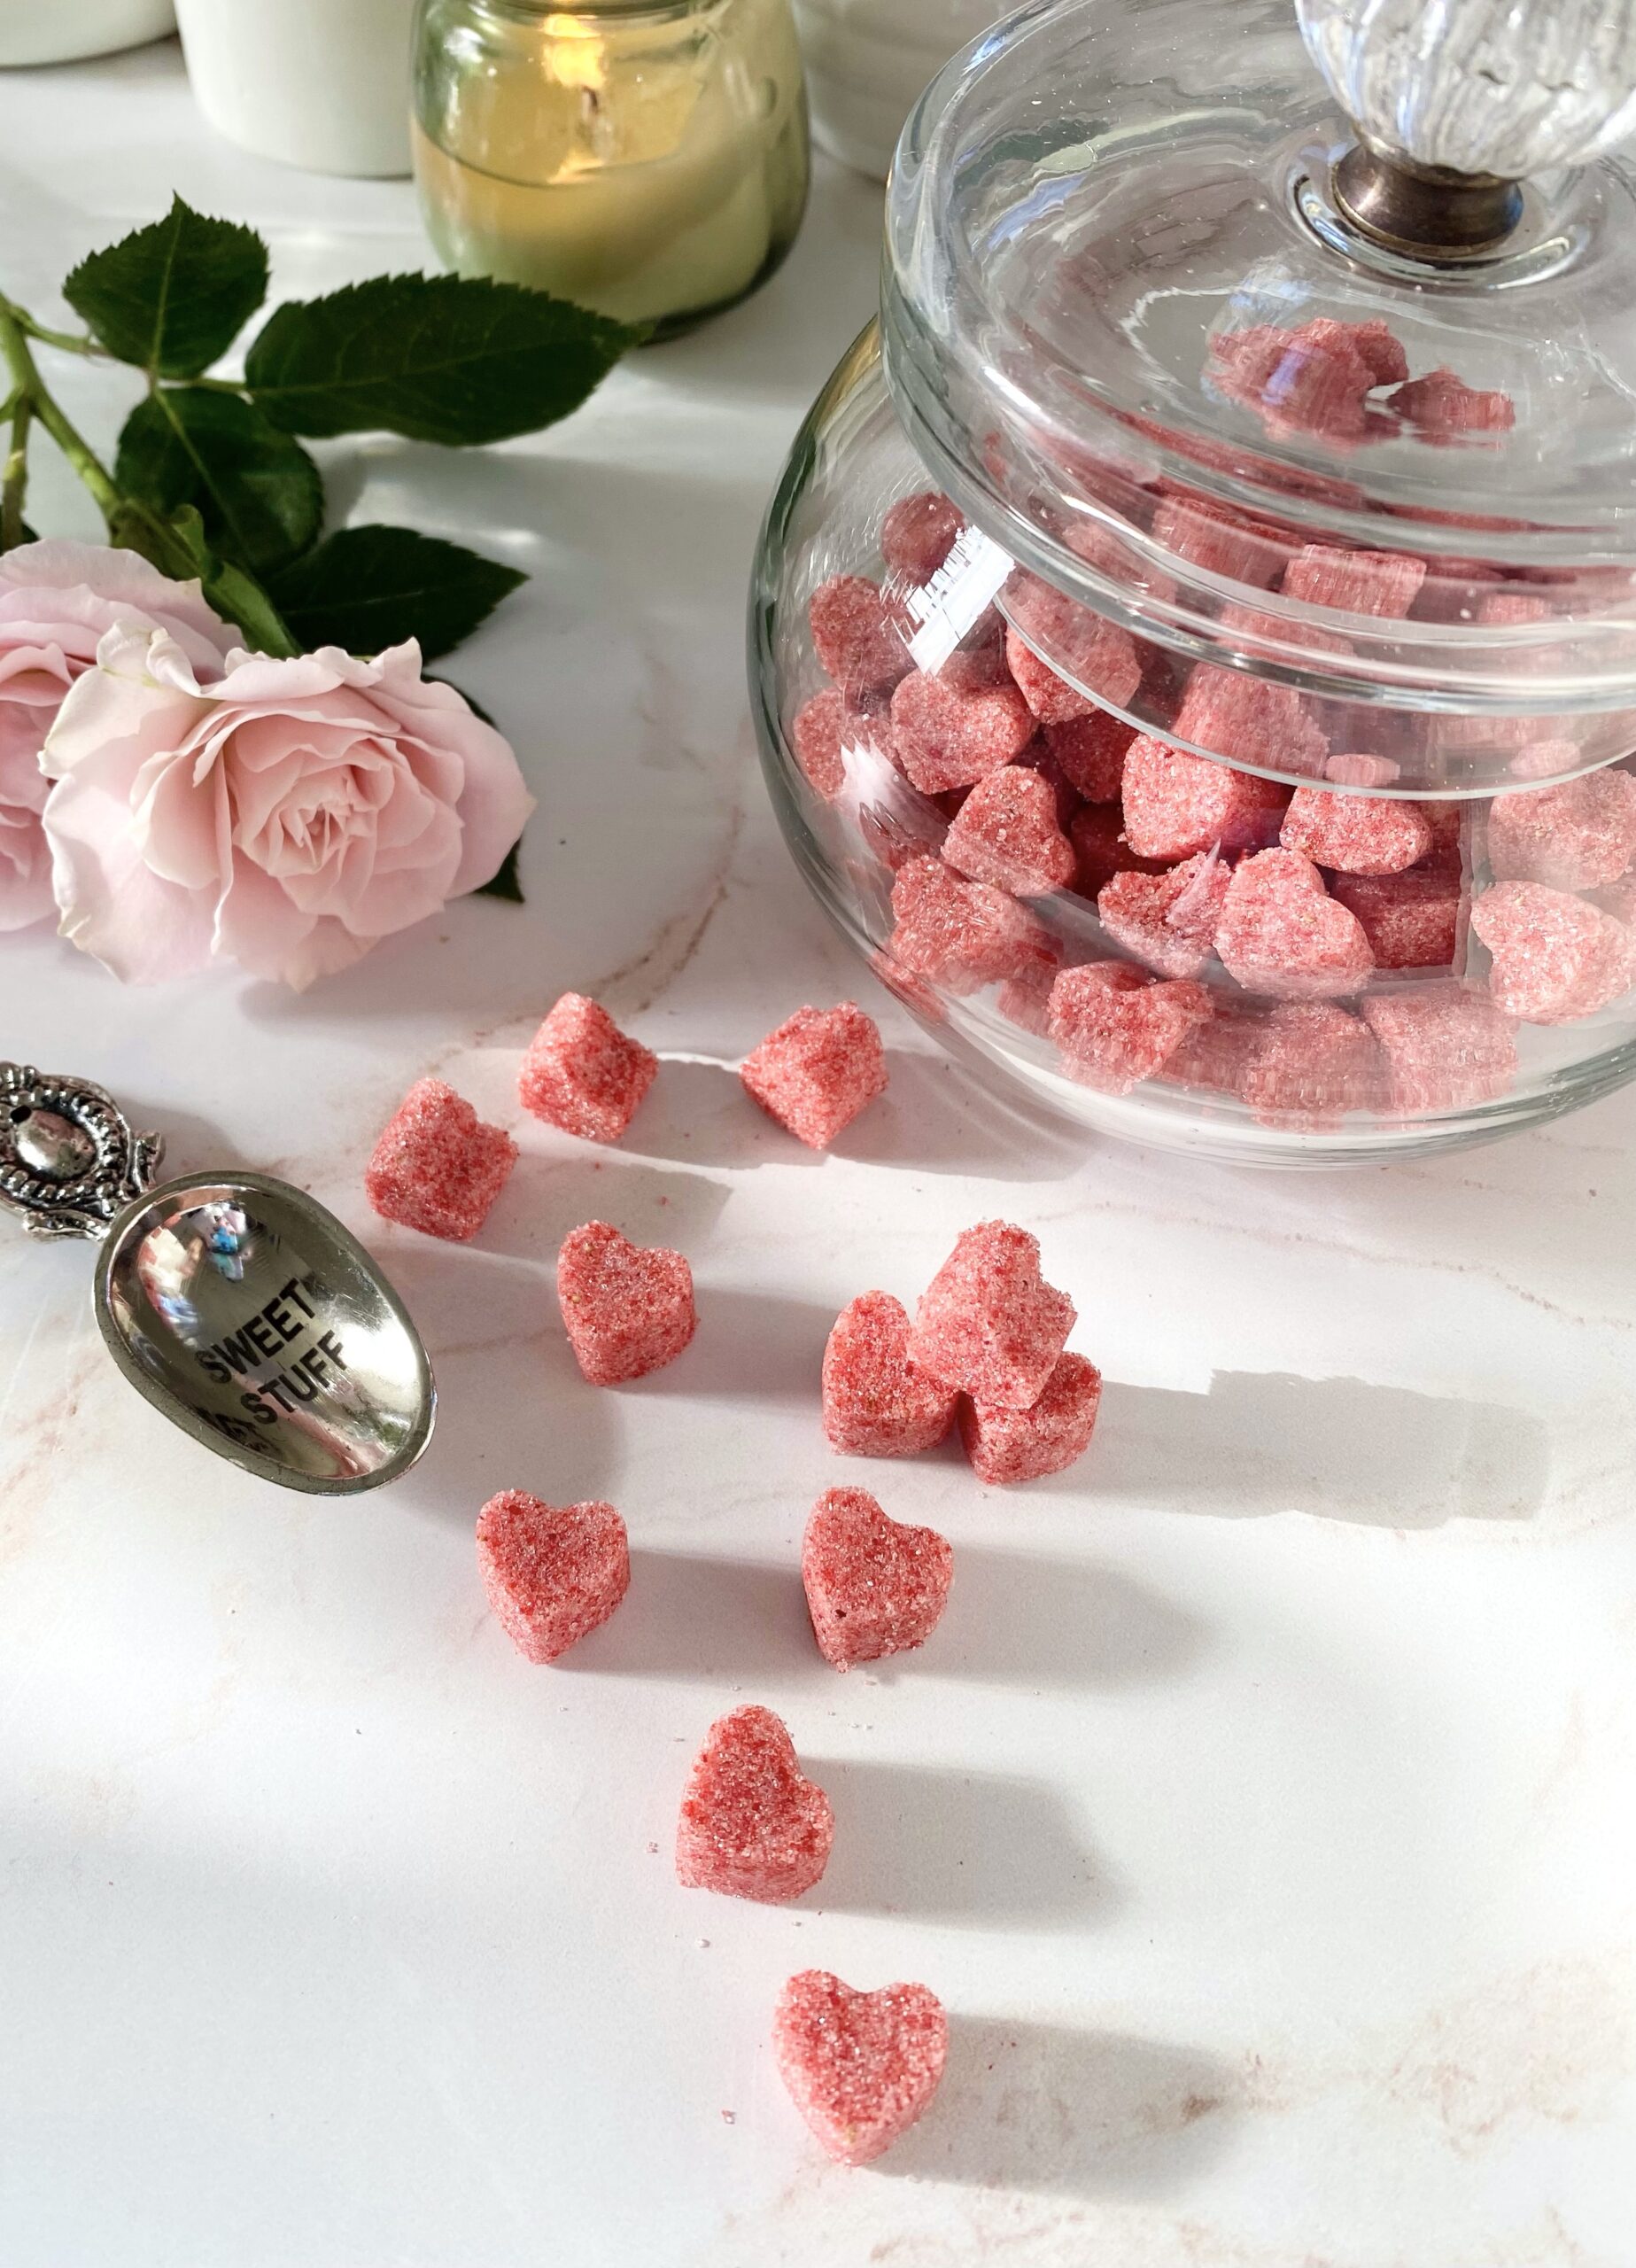
I’ve always been enamored by sugar cubes. You can’t help but feel fancy dropping a lump of sugar or two into your teacup. Flavored sugar formed into cute shapes is so fancy, I may faint. Someone please get the smelling salts! Pardon me while I google “what exactly are smelling salts?” In the mean time please enjoy these sweet, dainty, positively precious Strawberry Sugar Hearts. Pop them into tea, lattes, lemonade, cocktails or sparkling water.

These cuties are fragrant, delicious and easy to make. The most tedious part is filling the molds. Make sure to fill them completely and press firmly for the most defined shape. It’s also important to use enough water. Think of building a sand castle at the beach. You want enough water to dampen the sugar, but not turn it to slush. I live in a dry climate so I used 3 teaspoons, but you may need less depending on your climate.

Feel free to use the freeze dried fruit of your choice. Most grocery stores carry freeze dried fruit and you can always find it online. The most interesting one I saw was an apple-cherry combination. I might try that next!


Strawberry Sugar Hearts

Servings 1 batch 1/2" sugar hearts

Ingredients
  

  • 1 cup freeze-dried strawberries or raspberries
  • 1 cup (200g) granulated sugar
  • 2-3 teaspoons water

Instructions
 

  • Process thenfreeze-dried strawberries in a small food processor or a clean spice grinder until a powdered consistency is reached.
  • Pass the powdered strawberries through a sieve to strain out the seeds.
  • In a medium-sized bowl, whisk together the powdered strawberries and sugar.
  • Add water, one teaspoon at a time, until the mixture is the consistency of wet sand. Your climate will effect how much water is needed.
  • Press the mixture firmly into silicone heart molds* or any shape silicone molds of your choice. Brush off any excess sugar.
  • Let dry, uncovered, at least 24 hours. Remove sugar hearts from molds and store in a covered container.

Notes

*To find the silicone heart molds I used, click here

Chocolate Peanut Butter Tarts

Does anyone else remember those old peanut butter cup commercials where two people on the street would collide and a chocolate bar would miraculously end up inside of a jar of peanut butter? Then the person carrying the open jar of peanut butter would say, “Hey you got chocolate in my peanut butter!” and they would suddenly discover it’s a delicious combination. The real question is, why was anyone walking around outside with an open jar of peanut butter? I miss those silly commercials.

If you love chocolate and peanut butter together, you’ll absolutely love these tarts. The creamy peanut butter filling and the silky chocolate ganache topping are perfect together. The chocolate cookie crust adds a nice crunch. I used heart shaped tart pans to make the tarts a little more special for Valentine’s Day. To find the tart pans I used, click here. You can also use round tart pans if you prefer.


Chocolate Peanut Butter Tarts

Mari Vasseur
Personal peanut butter tarts with chocolate cookie crusts and chocolate ganache topping
Course Dessert
Servings 4 tarts

Ingredients
  

Crust

  • 14 chocolate sandwich cookies, crushed including filling
  • 2 tablespoons (28g) unsalted butter, melted

Filling

  • ½ cup (128g) creamy peanut butter, room temperature
  • 2 tablespoons (28g) unsalted butter, softened
  • ½ cup (60g) powdered sugar, sifted
  • 2 tablespoons (30ml) heavy cream, room temperature
  • ¼ teaspoon pure vanilla extract
  • 1 Pinch fine sea salt

Topping

  • 3 ounces (85g) bittersweet or semi-sweet chocolate, finely chopped
  • ¼ cup plus 2 tablespoons (88ml) heavy cream
  • Chopped peanuts optional
  • Mini peanut butter cups optional

Instructions
 

Crust

  • Preheat the oven to 350ºF. (180ºC). Place four 4-inch tart pans with removable bottoms* on a baking sheet.
  • In a medium-sized bowl, mix the crushed sandwich cookies with the melted butter until well combined. Press the crumb mixture into the tart pans.
  • Bake for 8 minutes. Let cool completely.

Filling

  • In a medium-sized bowl, beat the peanut butter and softened butter until smooth. Add the remaining filling ingredients and beat until smooth and well blended.
  • Fill the cooled tart shells with the filling. Refrigerate the tarts until set, at least 2 hours.

Topping

  • Place the chopped chocolate in a small bowl.
  • In a small saucepan, heat the heavy cream over medium-low heat just until bubbles form around the edges. Do not boil. Pour the hot cream over the chocolate. Let sit two minutes then stir until smooth.
  • Spoon over the peanut butter filling. Add toppings if desired. Refrigerate until chocolate is set. Carefully remove tarts from pans.

Notes

To find the tart pans I used, click here.
Keyword chocolate peanut butter, tarts

Lavender White Chocolate Scones

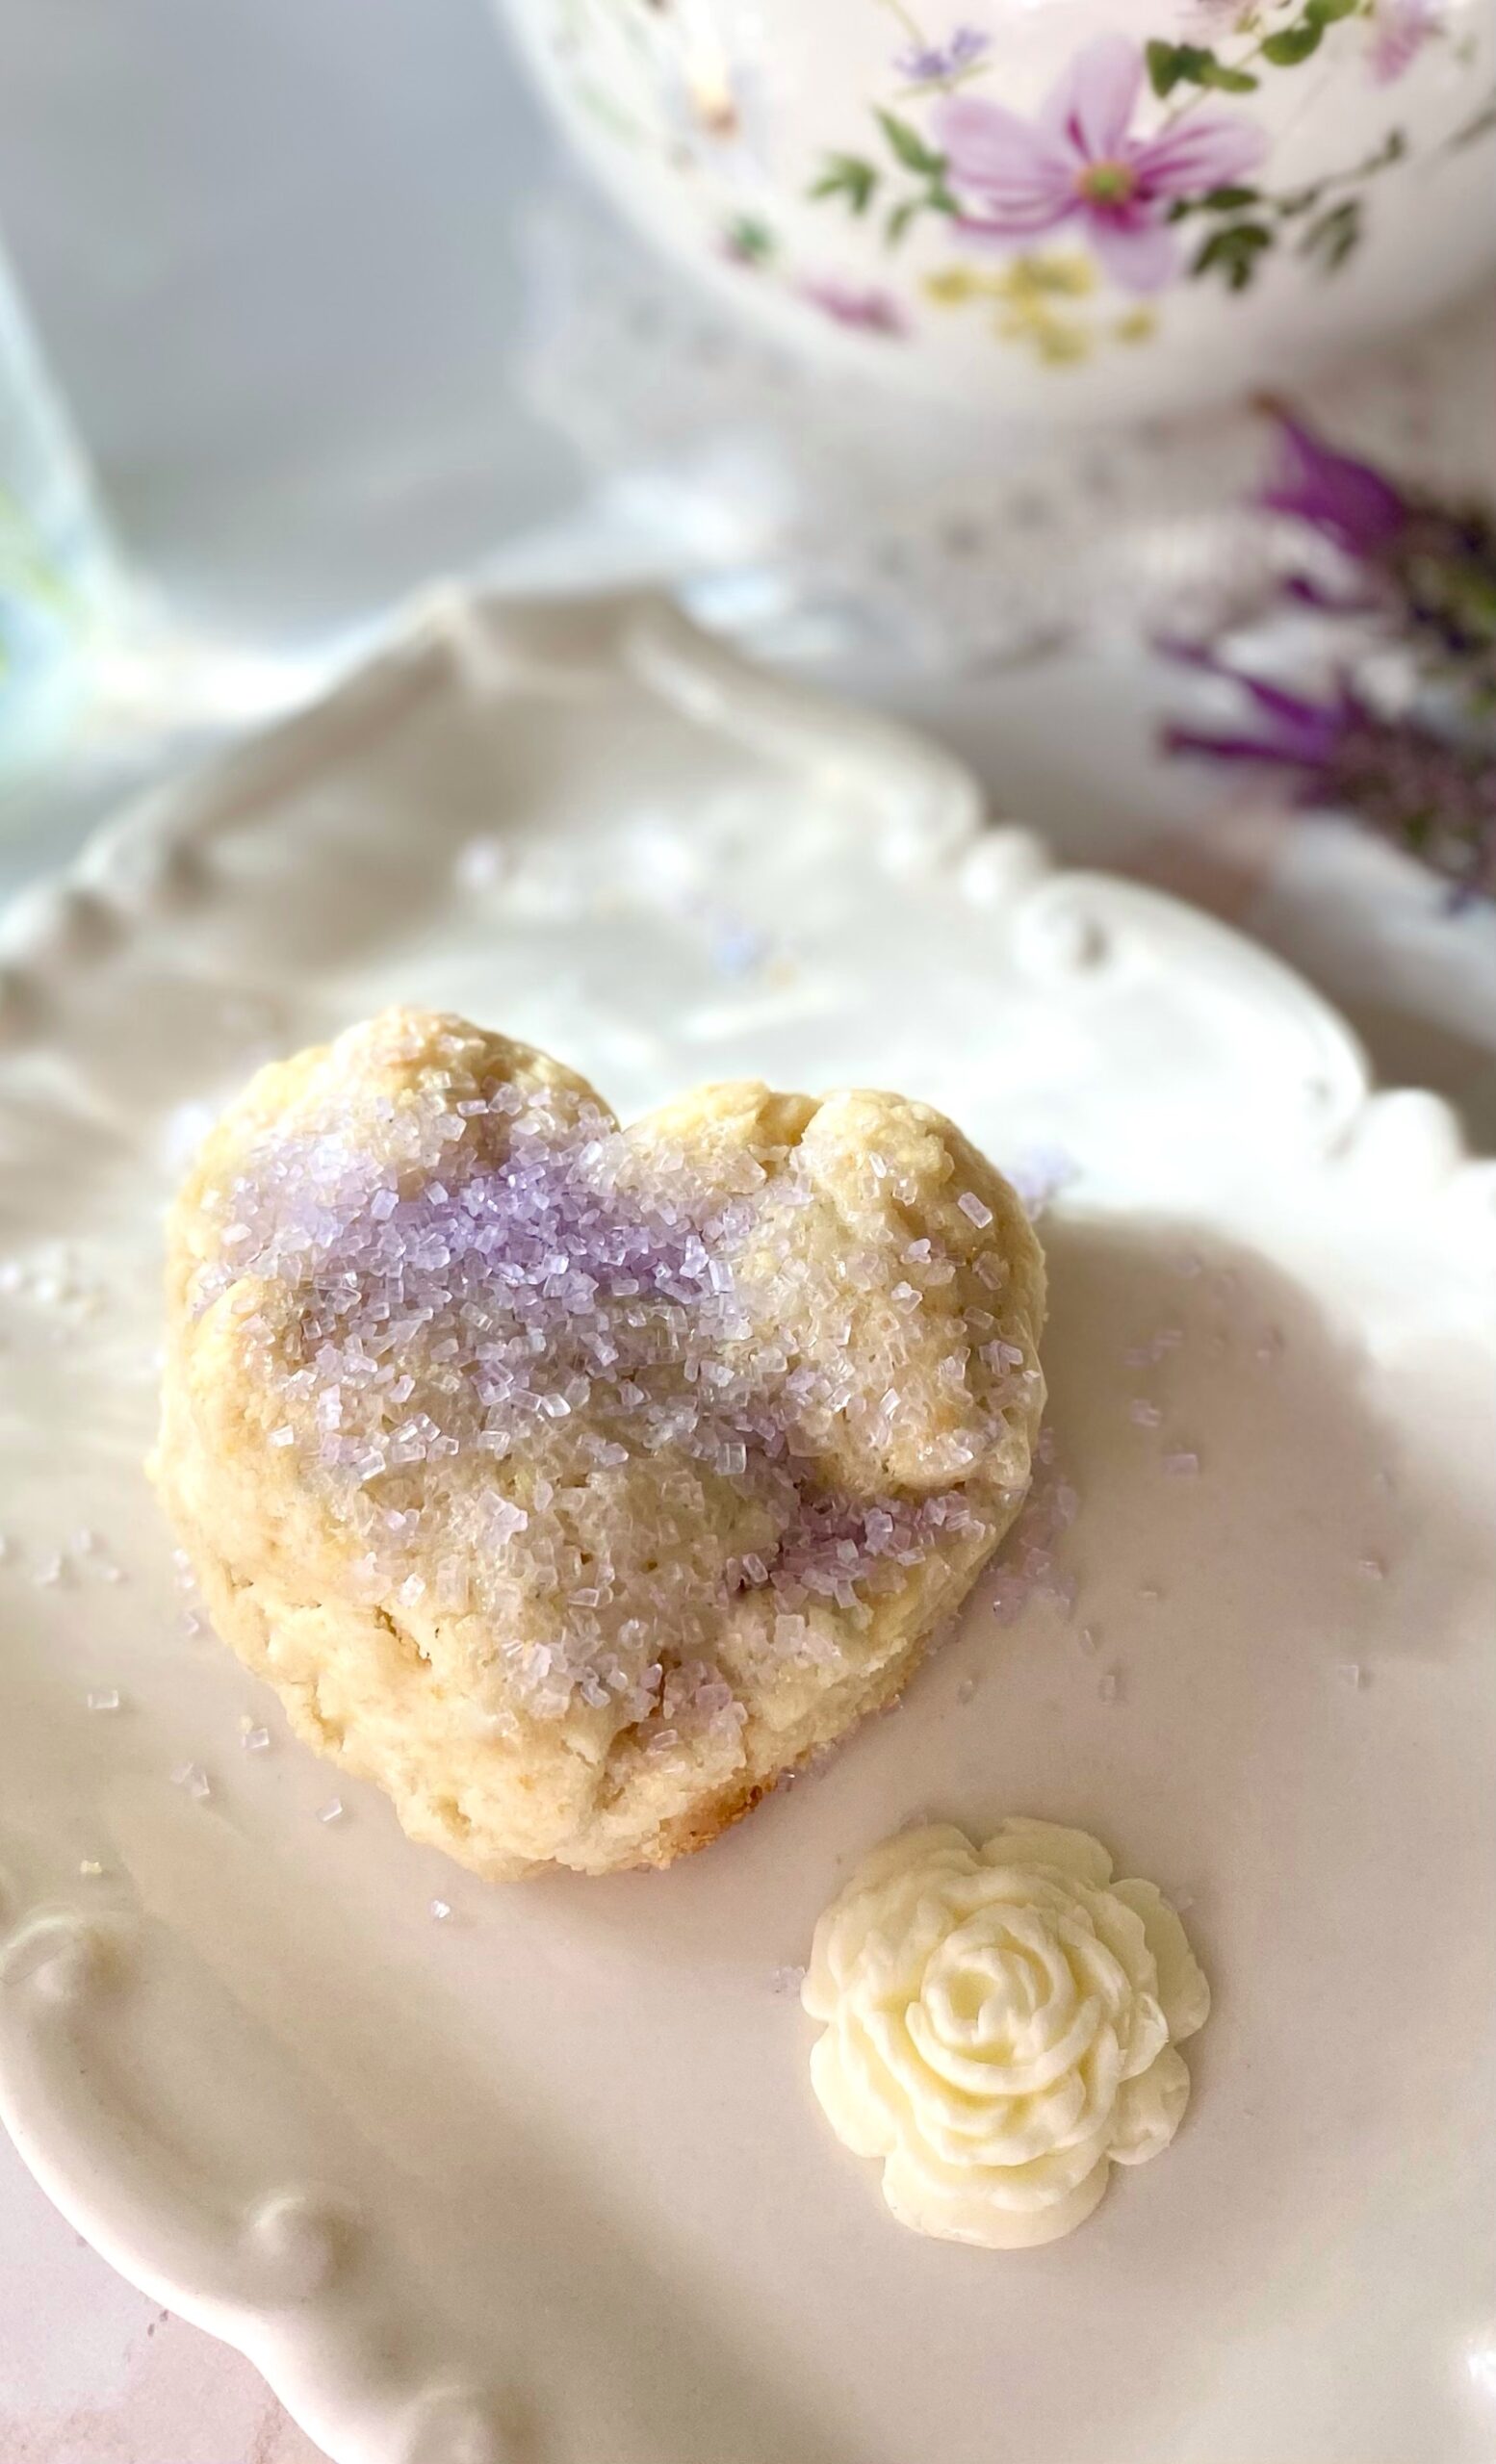
Lavender white chocolate scone
Click here to watch the video of Lavender White Chocolate Scones

These lovely Lavender White Chocolate Scones are soft and tender on the inside with crisp golden exteriors. The pretty, lilac coarse sugar gives them a subtle crunch. The sweet, melted white chocolate is the perfect contrast to the fragrant, earthy notes from the lavender.

Now, let’s talk a little bit about lavender. I used one teaspoon of lavender in these scones, which I think is the perfect amount to give a hint of lavender, without tasting too floral. You can adjust the amount to your preference. Just taste the cream before adding it to the scones. You can use any culinary lavender in this recipe. English lavender is usually used for culinary purposes. Spanish and French varieties tend to be too strong. People are enchanted by lavender because of its beauty and soothing scent. A little touch of lavender makes these scones magical.


Lavender White Chocolate Scones

by Mari Vasseur
Tender, soft heart-shaped scones with crisp, golden edges topped with coarse sugar
Course Breakfast, Brunch
Servings 9 scones

Ingredients
  

  • ¾ cup (177ml) heavy cream
  • 1 teaspoon culinary lavender *
  • 1 ¾ cups (223g) all purpose flour, sifted
  • 1 tablespoon baking powder
  • ½ teaspoon fine sea salt
  • 7 tablespoons (99g) cold, unsalted butter, cubed
  • ¼ cup (57g) cold sour cream
  • 1 cup (170g) white chocolate chunks or chips (not chopped white chocolate)
  • Lavender or lilac coarse sparkling sugar**

Instructions
 

  • In a small saucepan, heat the heavy cream and lavender over medium heat, just until bubbles form around the edges. Turn the heat to low and simmer gently for 1 minute. Strain the lavender cream into a small bowl. Cover and refrigerate until chilled, about 1 hour.
  • Heat the oven to 375ºF (190ºC). Line a large baking sheet with parchment paper.
  • In a large bowl, whisk together flour, baking powder and salt until well blended. Work the butter into the flour mixture with your fingertips or with a pastry blender until pea size chunks form.
  • Whisk together 1/2 cup (118ml) of the chilled lavender cream with the sour cream. Stir this mixture into the flour mixture until a shaggy dough is formed. If your dough seems too dry, add 1-2 more teaspoons of heavy cream. Fold in the white chocolate chunks.
  • Turn the dough out onto a lightly floured surface. Fold the dough over onto itself a couple of times. Do not overwork the dough! Pat or roll the dough into an 8-inch round, about 3/4 inch thick. I used 2 3/4-inch heart biscuit cutter*** to cut out 9 scones.
  • Place the scones about 2 inches apart onto the prepared baking sheet. Brush the scones with the remaining cream. Sprinkle with sparkling sugar. Bake until golden, about 15-17 minutes.

Notes

*To find culinary lavender click here
** To find the sparkling sugar I used click here
***To find the heart shape biscuit cutter I used click here
Keyword lavender white chocolate, scones

The Nutcracker Land of Sweets Cupcakes

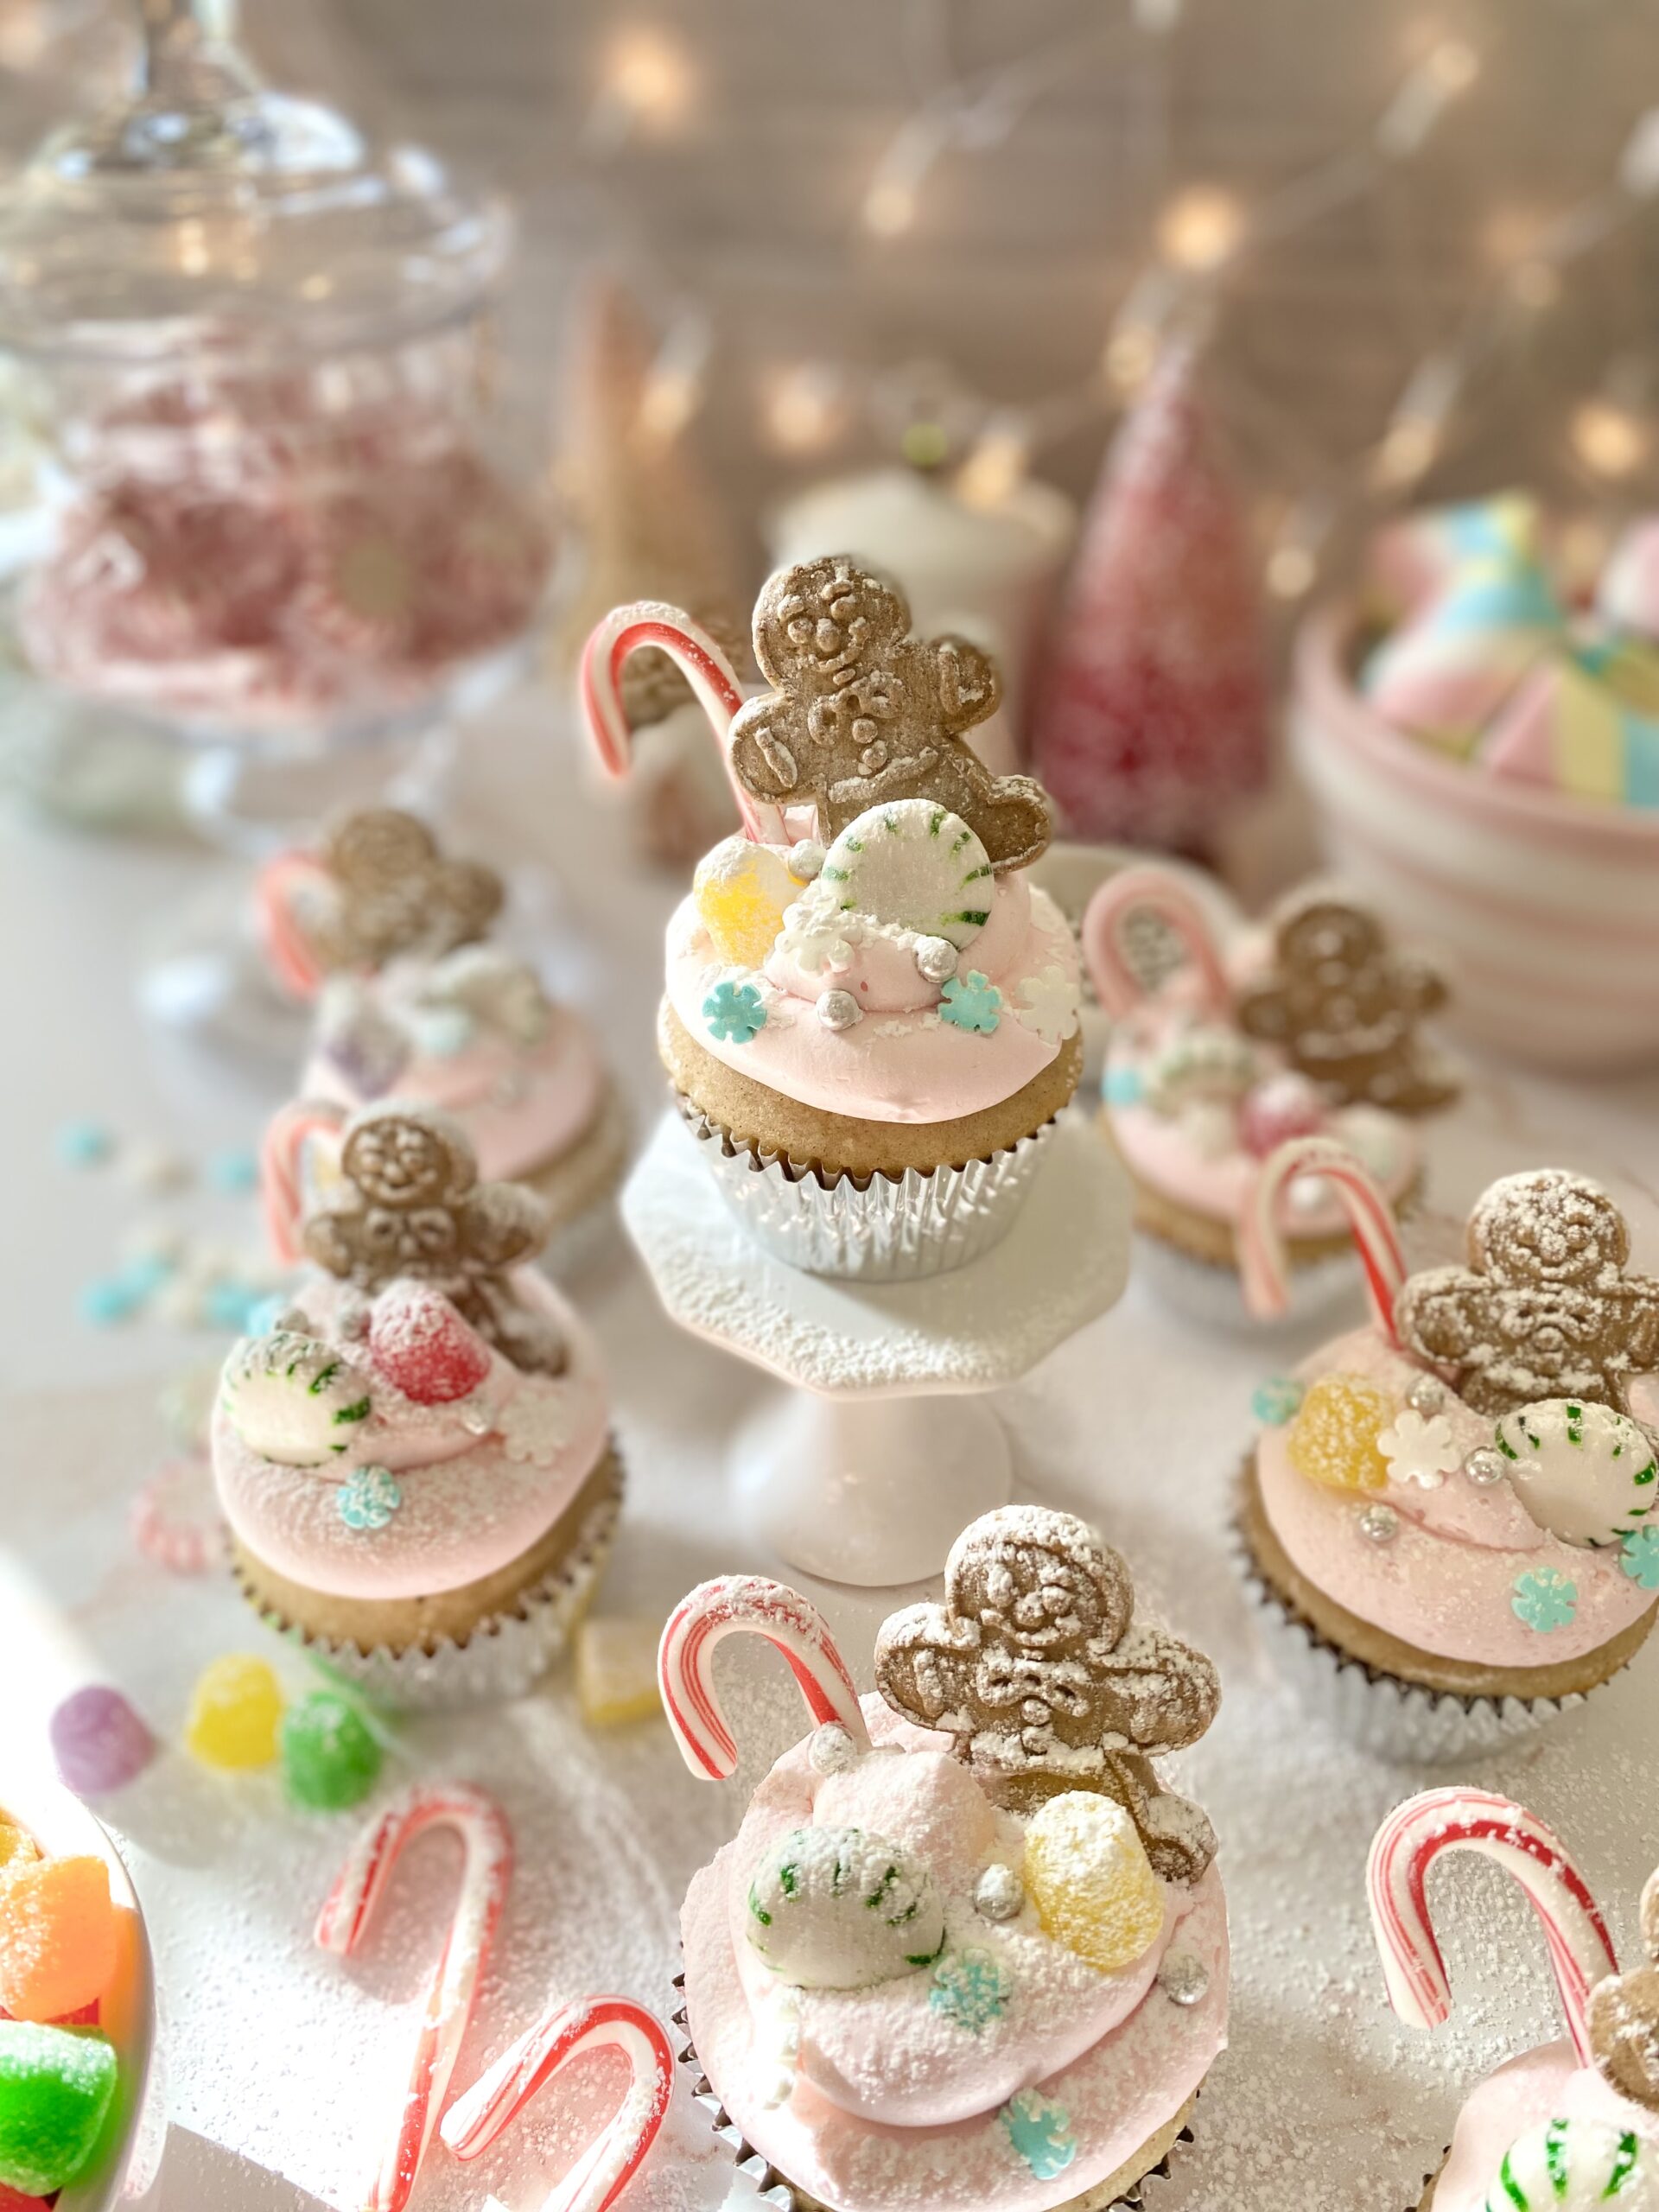
Nutcracker Land of Sweets Cupcakes

The tradition of enjoying the Nutcracker Ballet at Christmastime has been in my family for over 20 years. The Nutcracker Land of Sweets is a magical theme that has me mesmerized. Gingerbread, candy canes, gumdrops and billowy clouds of pink frosting are what dreams are made of. And that’s exactly what these dreamy cupcakes are made of. The cupcake flavor is a subtle spice cake. The recipe is adapted from a Martha Stewart cake recipe I made last summer. The original cake was paired with blackberry jam, but I knew plum jam would be perfect for these cupcakes. I topped them with a mildly sweet, fluffy Swiss meringue buttercream.

Part of the fun of making these cupcakes began at the store as I collected the sweets to decorate the cupcakes. Another perk of the job is taste testing the candy. I discovered that purple spice drops are licorice flavored and red spice drops are cinnamon. Who knew?

You might also like my Nutcracker Land of Sweets inspired candy bark. It’s a delightful holiday bark I designed that is often imitated. To view it, click here.

The Nutcracker Land of Sweets Cupcakes

Spice cupcakes filled with plum jam, topped with fluffy pink frosting, gingerbread men and Christmas candy, and dusted with sugar snow
Course Dessert
Servings 12 cupcakes

Ingredients
  

Spice cupcakes

  • ¾ cups (3 1/4 ounces) all purpose flour, sifted
  • ¾ cups (3 ounces) cake flour, sifted
  • 1 ½ teaspoons baking powder
  • ½ teaspoon ground cinnamon
  • ¼ teaspoon ground nutmeg
  • small pinch ground cloves
  • ¼ teaspoon fine sea salt
  • ½ cup (4 ounces) unsalted butter, softened
  • ¾ cup plus 2 tablespoons (6 1/8 ounces) fine granulated sugar or regular granulated sugar
  • 1 large egg
  • 1 large egg white
  • 1 teaspoon vanilla bean paste or pure vanilla extract
  • cup whole milk
  • ¾ cup plum jam I used red plum jam

Pink Vanilla Swiss Meringue Buttercream

  • 4 large egg whites
  • 1 ⅓ cups (9 3/8 ounces) fine granulated sugar or regular granulated sugar
  • 1 ½ cups (12 ounces) softened, unsalted butter, cubed
  • 1 teaspoon clear vanilla extract or pure vanilla etract
  • ¼ teaspoon fine sea salt
  • 2 drops pink gel food color I used Americolor deep pink

Decorations

  • small gingerbread cookies
  • mini candy canes
  • assorted candies such as spice drops, gumdrops, peppermints,
  • sprinkles or sugar pearls
  • powdered sugar

Instructions
 

Spice Cupcakes

  • Preheat oven to 350ºF. Line a 12 serving muffin pan with disposable baking cups. (I used silver foil liners.)
  • In a medium bowl, whisk together flours, baking powder, spices and salt. Set aside.
  • In a large bowl, cream butter and sugar together with an electric mixer until light and fluffy.
  • Add egg, egg white, and vanilla, one at a time, mixing until well combined.
  • Add flour mixture in two additions, alternating with milk. Mix until combined.
  • Divide batter evenly into wells of prepared muffin pan, filling about 2/3 full.
  • Bake until light golden and toothpick inserted comes out clean, about 16-18 minutes.
  • Let cool in muffin pan for 5 minutes. Gently transfer cupcakes to cooling rack to cool completely.
  • Core the center of each cupcake, removing a 3/4-inch deep circle. Fill with jam and replace the circle top.
  • Frost cupcakes with pink Swiss meringue buttercream. Decorate with cookies and candies. Lightly sprinkle with powdered sugar.

Pink Vanilla Swiss Meringue Buttercreamgue Buttercream

  • Combine egg whites and sugar in a heatproof bowl. Set over a pan of gently simmering water.
  • Whisk constantly until sugar is dissolved and temperature of 160ºF is reached.
  • Transfer mixture to the bowl of a stand mixture with a whisk attachment. Whisk on low speed, gradually increasing to medium-high speed. Whisk until glossy, stiff peaks form and mixture reaches room temperature.
  • Turn mixer to medium-low speed. Add butter, a few pieces at a time, allowing the butter to fully incorporate each time before adding more.
  • Switch to paddle attachment. On low speed, mix in vanilla, salt and food color. Continue mixing on low speed for a few minutes until smooth.

Notes

Recipe adapted from Martha Stewart Spice Cake
Keyword cupcakes

Maple Pecan Brownies

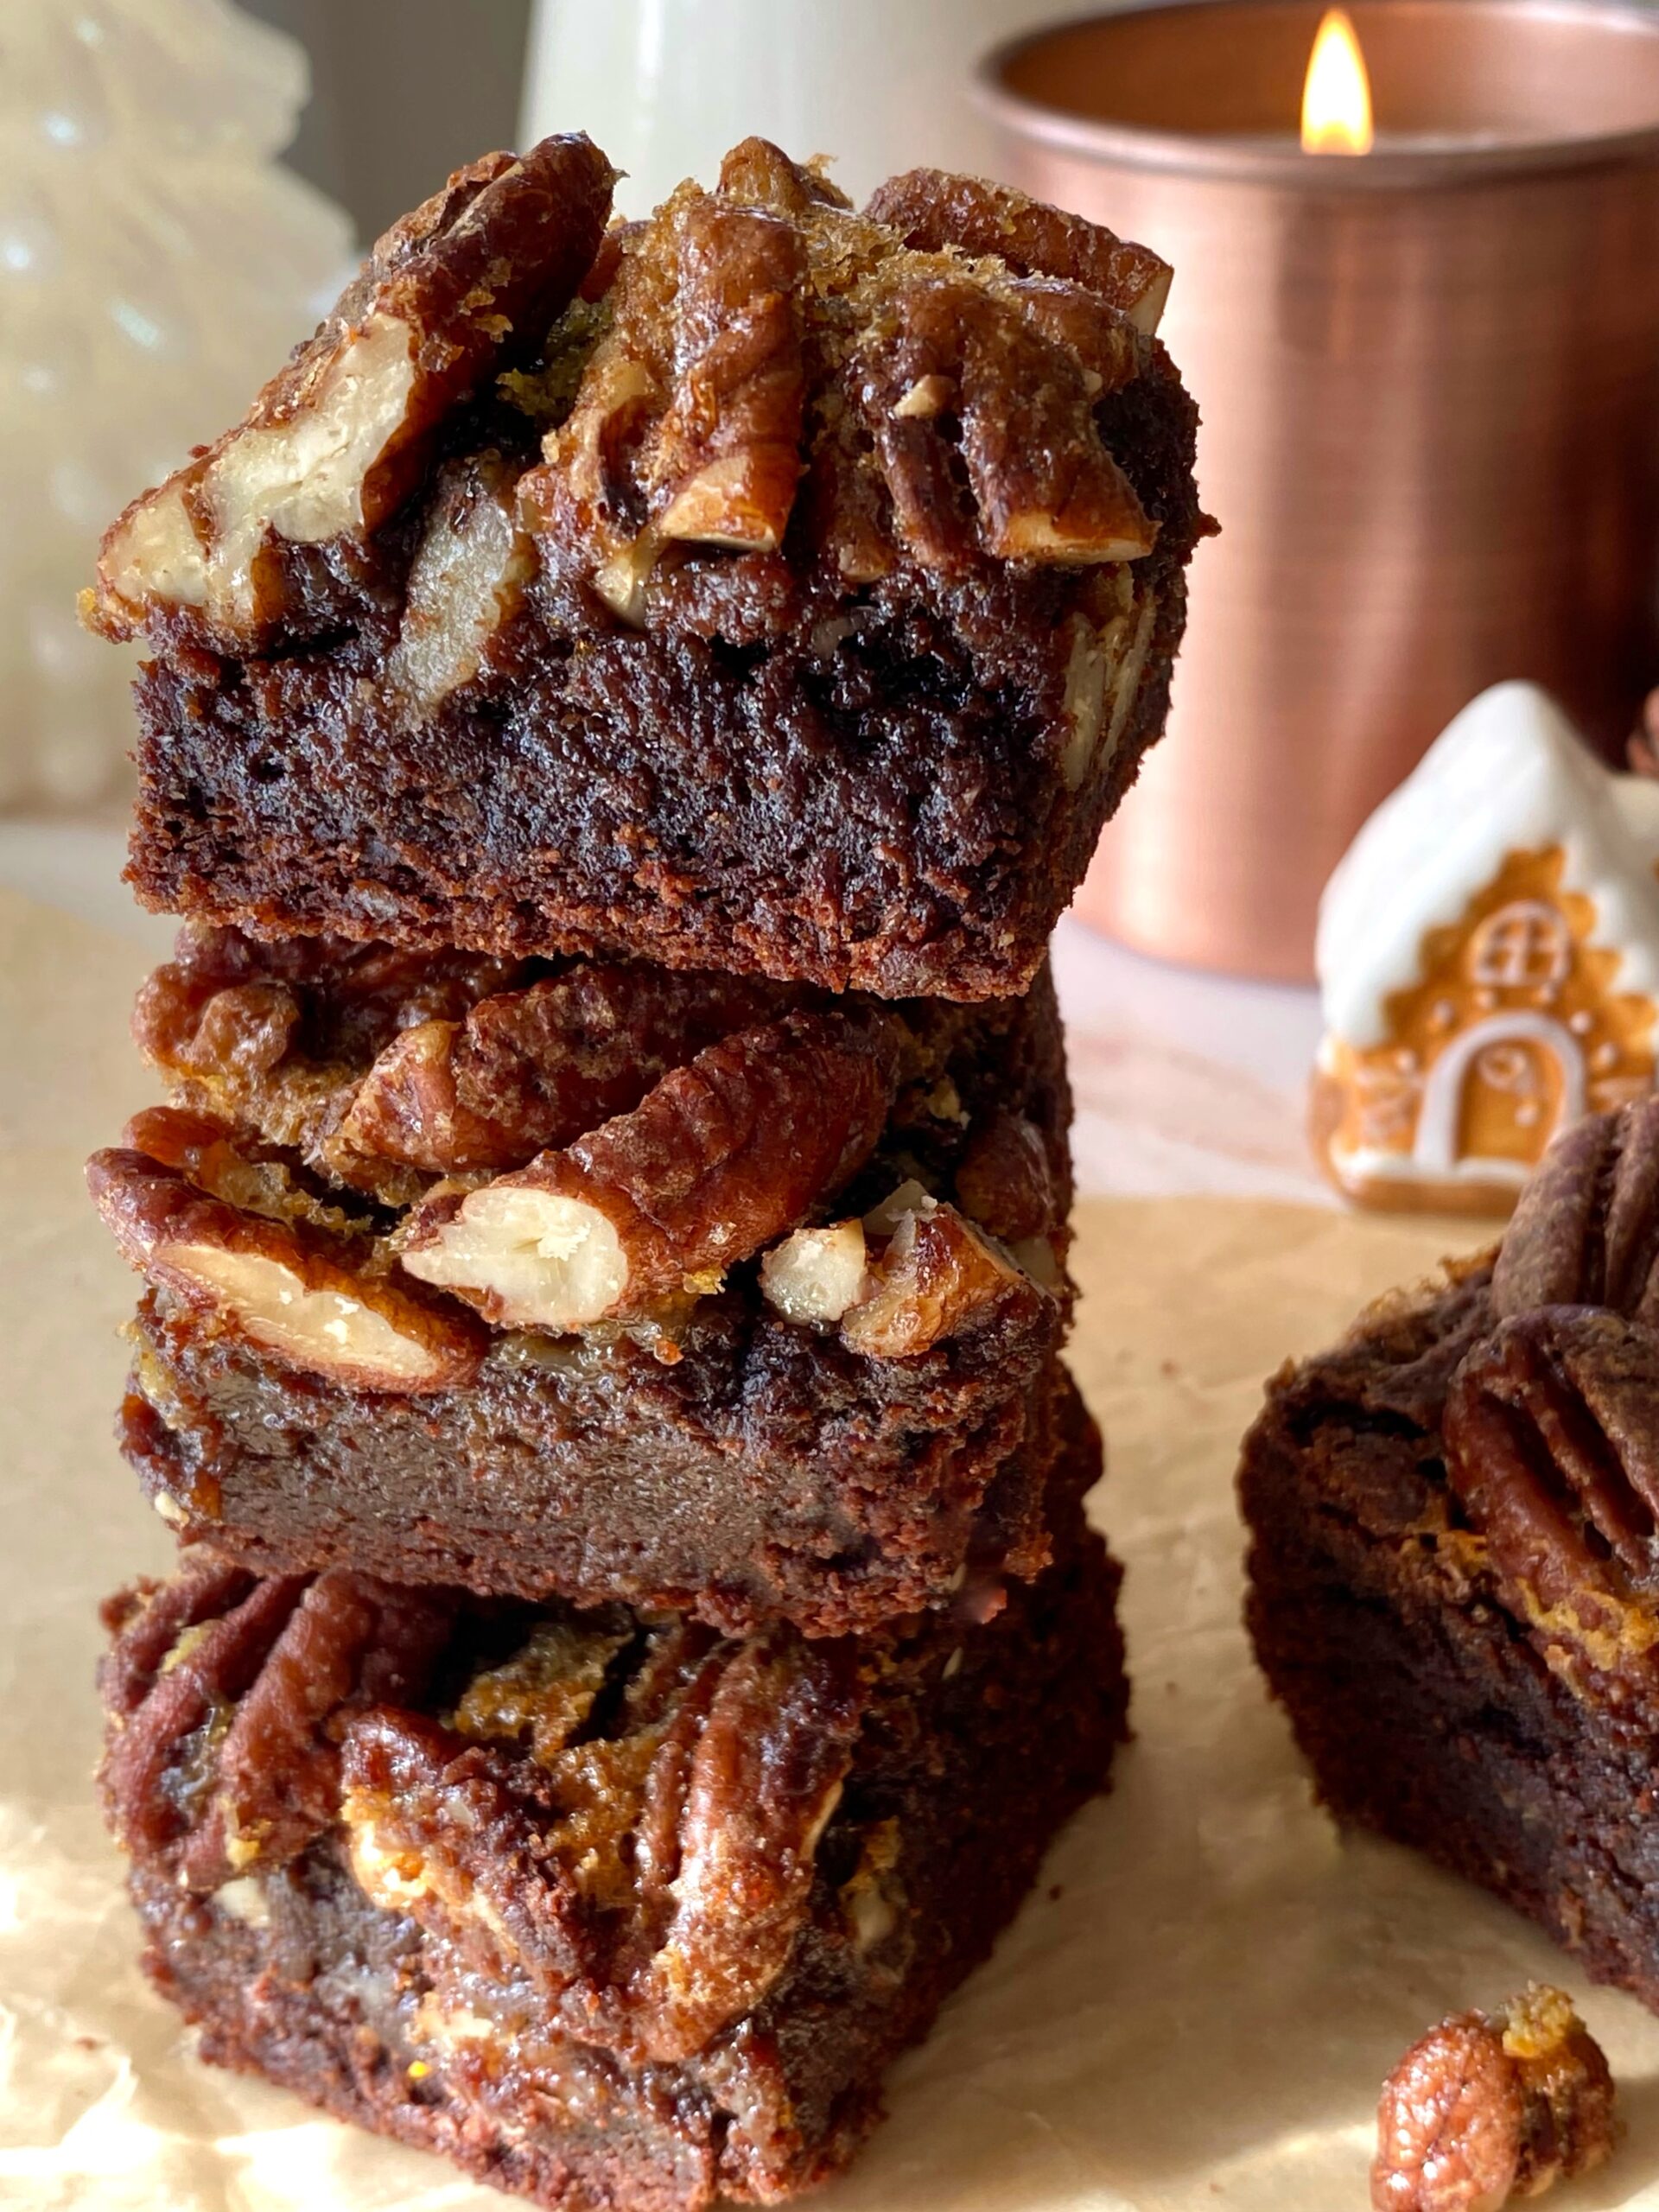
maple pecan brownies

Pecan pie was my mom’s favorite, but she didn’t bake pies, so I always used to bake her one for Thanksgiving. One year, I made a chocolate version. It was delicious, but let’s just say it wasn’t user friendly. It was gooey and hard to serve. Over the years, it eventually morphed into these Maple Pecan Brownies. The brownie version is still delicious, rich and gooey with toasty pecans, but much more user friendly.

Enjoying Maple Pecan Brownies with a glass of milk or a cup of coffee is a must. Thinking of it brings back memories. I can practically smell my dad brewing the coffee to go with these brownies.

Maple Pecan Brownies

Rich, gooey brownies topped with pecan pie filling
Course Dessert
Servings 16 brownies

Ingredients
  

Brownies

  • ¾ cup (6 ounces) unsalted butter, melted
  • 1 cup (7 ounces) granulated sugar
  • ¾ cup (5 1/4 ounces) brown sugar
  • 3 large eggs
  • ½ teaspoon vanilla bean paste or pure vanilla extract
  • ¾ cup (2 1/4 ounces) unsweetened cocoa powder, sifted preferably Dutch process cocoa
  • ½ teaspoon baking soda
  • ½ teaspoon salt
  • 1 ¼ cups (5 5/8 ounces) flour

Pecan Topping

  • ¼ cup pure maple syrup
  • 2 tablespoons (1 ounce) unsalted butter, melted
  • ½ cup (3 1/2 ounces) brown sugar
  • 1 large egg
  • 1 teaspoon maple extract
  • ¼ teaspoon salt
  • 2 cups (7 ounces) pecan halves or pieces

Instructions
 

Brownies

  • Preheat oven to 350ºF. Line a 9-inch square baking pan with parchment paper, overlapping the sides an inch or two. Spray parchment paper with nonstick cooking spray.
  • In a large bowl, stir together melted butter, granulated sugar and brown sugar until well combined.
  • Mix in eggs and vanilla, one at a time, until well combined.
  • Mix in cocoa powder, baking soda and salt until well combined.
  • Stir in flour just until combined.
  • Spread batter into prepared baking pan. Bake just until top is set, about 25 minutes.
  • Meanwhile, prepare pecan topping.
  • When brownie top is set, remove from oven. Gently pour pecan topping around the outer perimeter of brownies, to avoid making brownies sink in the middle. Evenly distribute the pecan topping over the top gently with a spoon.
  • Return the brownies to the oven and continue baking until the topping is set, about 20-25 minutes. Brownies will stop jiggling and topping will look deep golden brown. Toothpick inserted inside will have a few moist crumbs on it. (If your topping starts to brown too much on the edges before the inside is done, apply aluminum foil around the edges as you would with a pie.)
  • Remove from oven and cool completely before cutting, about 2- 2 1/2 hours.
  • Cut into squares, wiping knife between cuts.

Pecan Topping

  • In a medium bowl, stir together maple syrup, butter, brown sugar, egg, maple extract and salt until well combined.
  • Stir in pecans until well coated with maple syrup mixture.
  • Set aside until brownies are partially baked.
Keyword brownies, chocolate, maple pecan

Fairy Tale Meringues

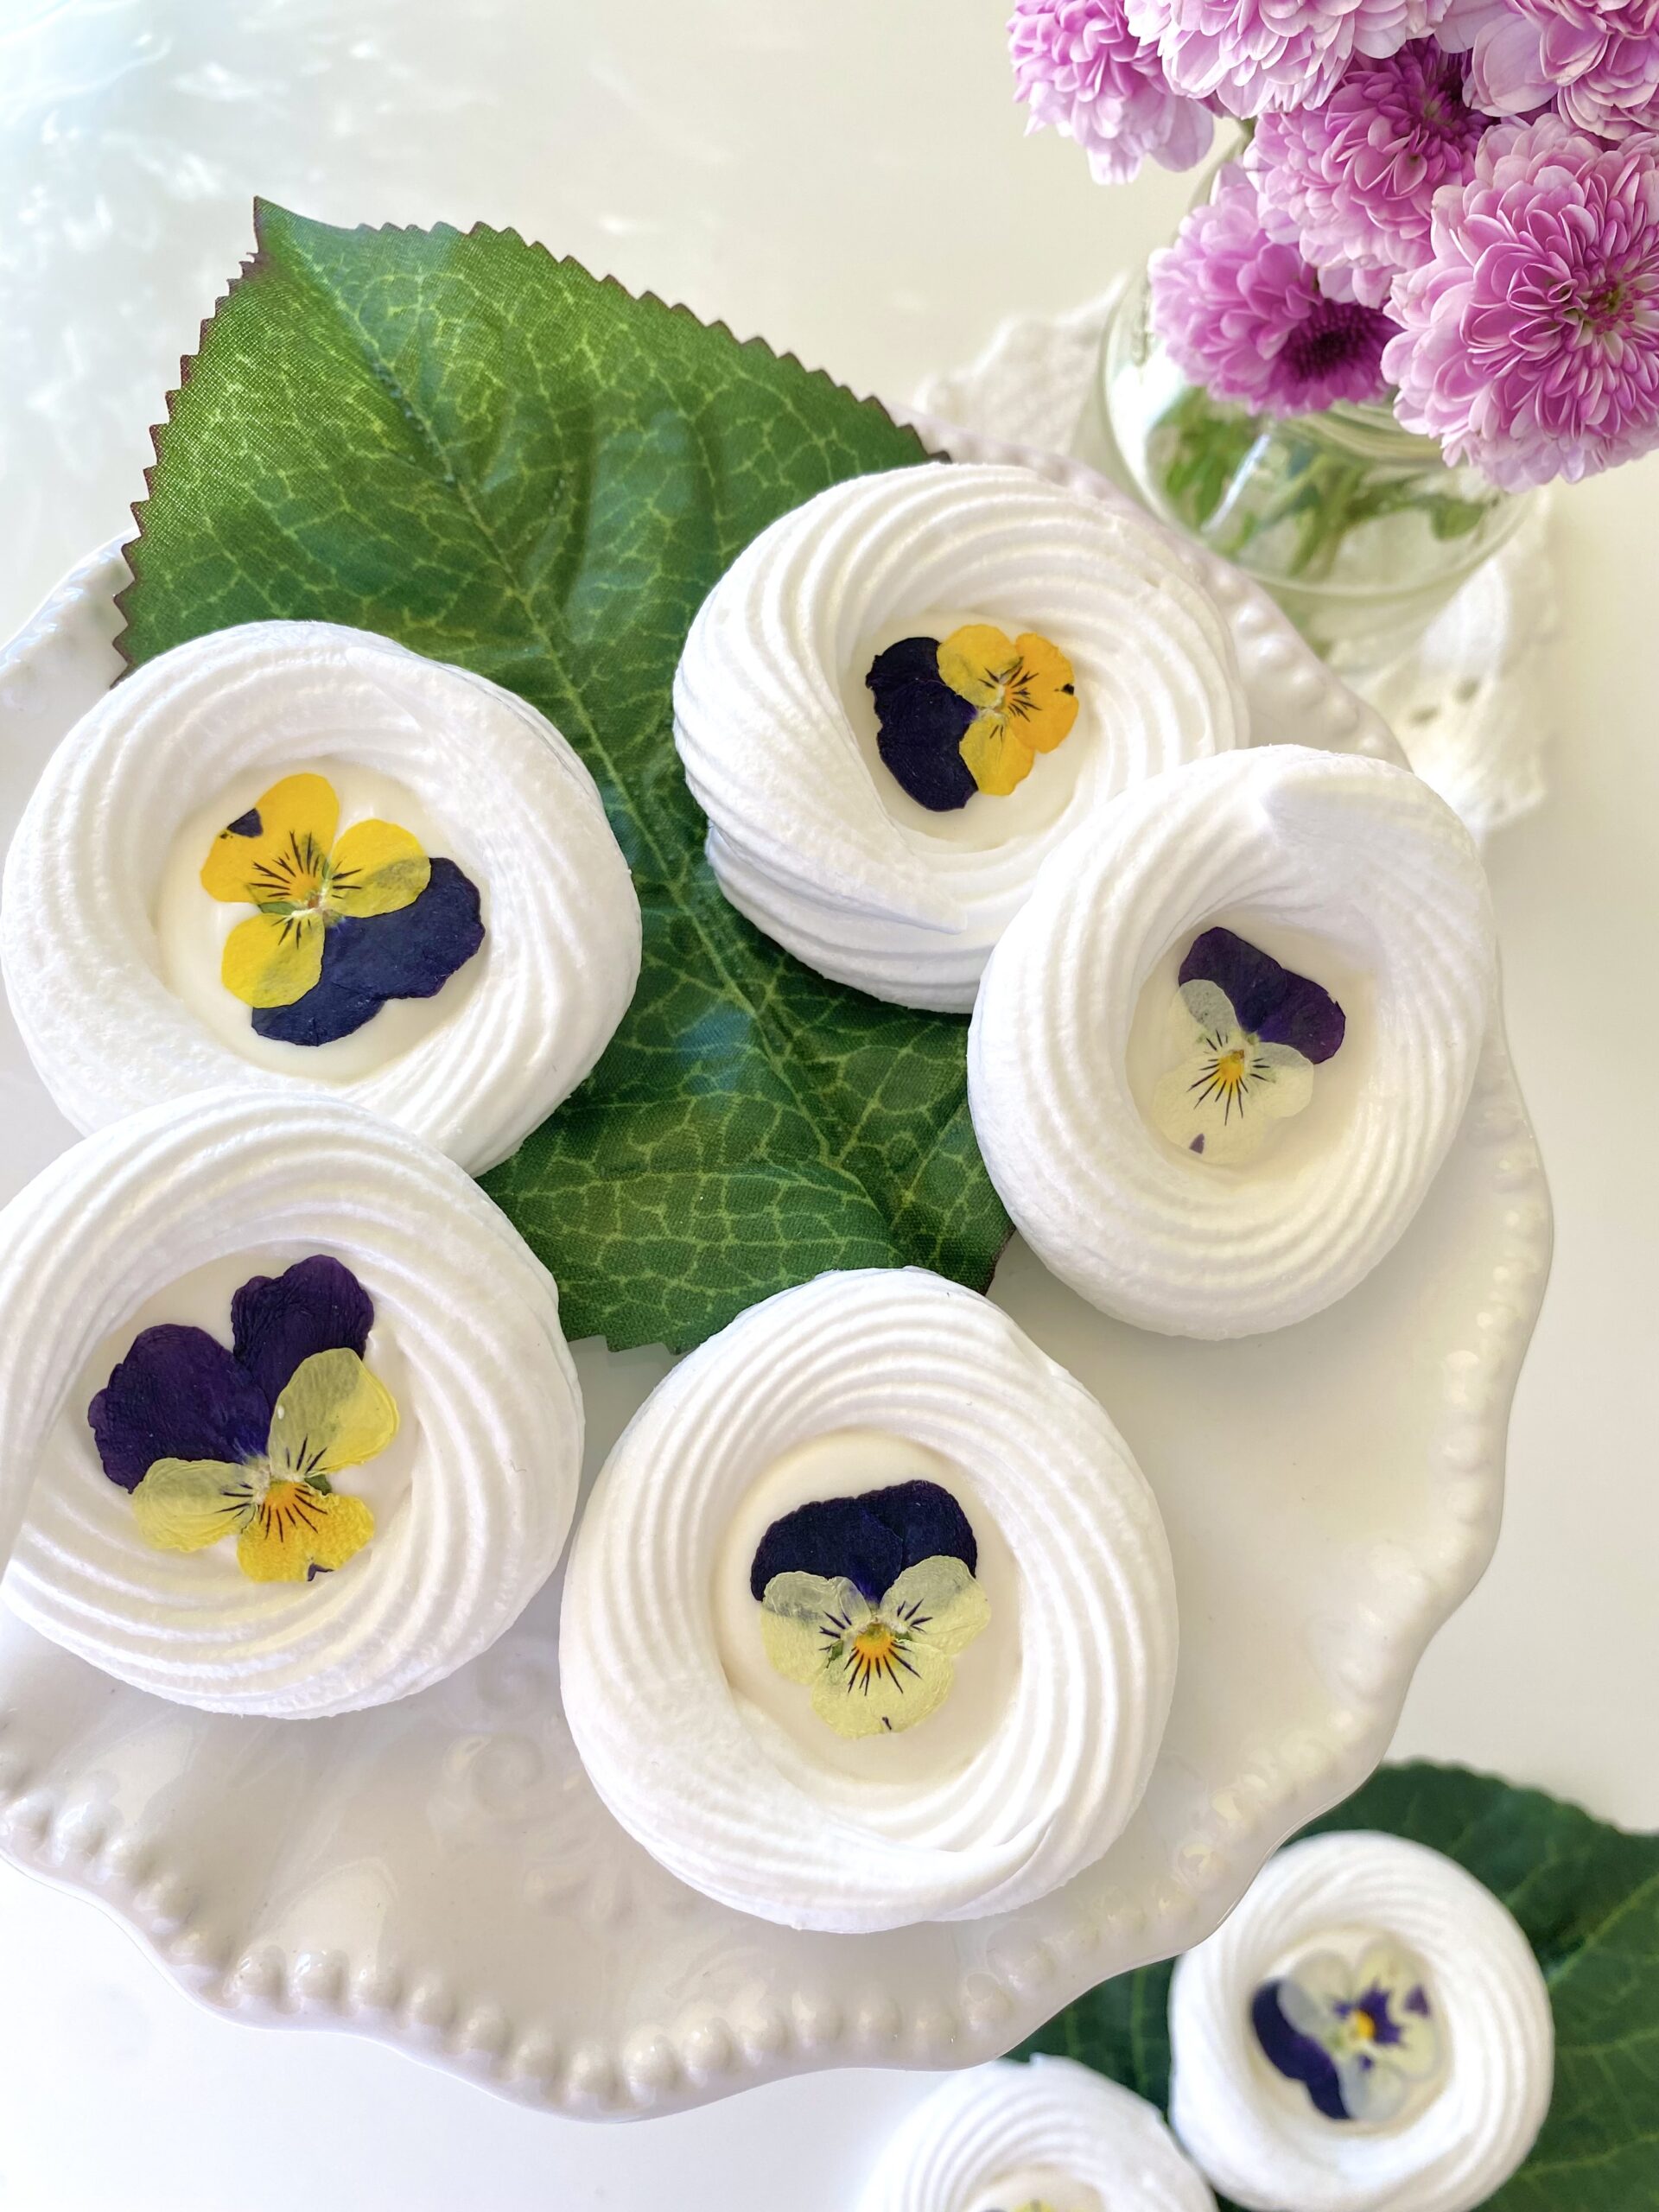
Fairy tale meringue cookies

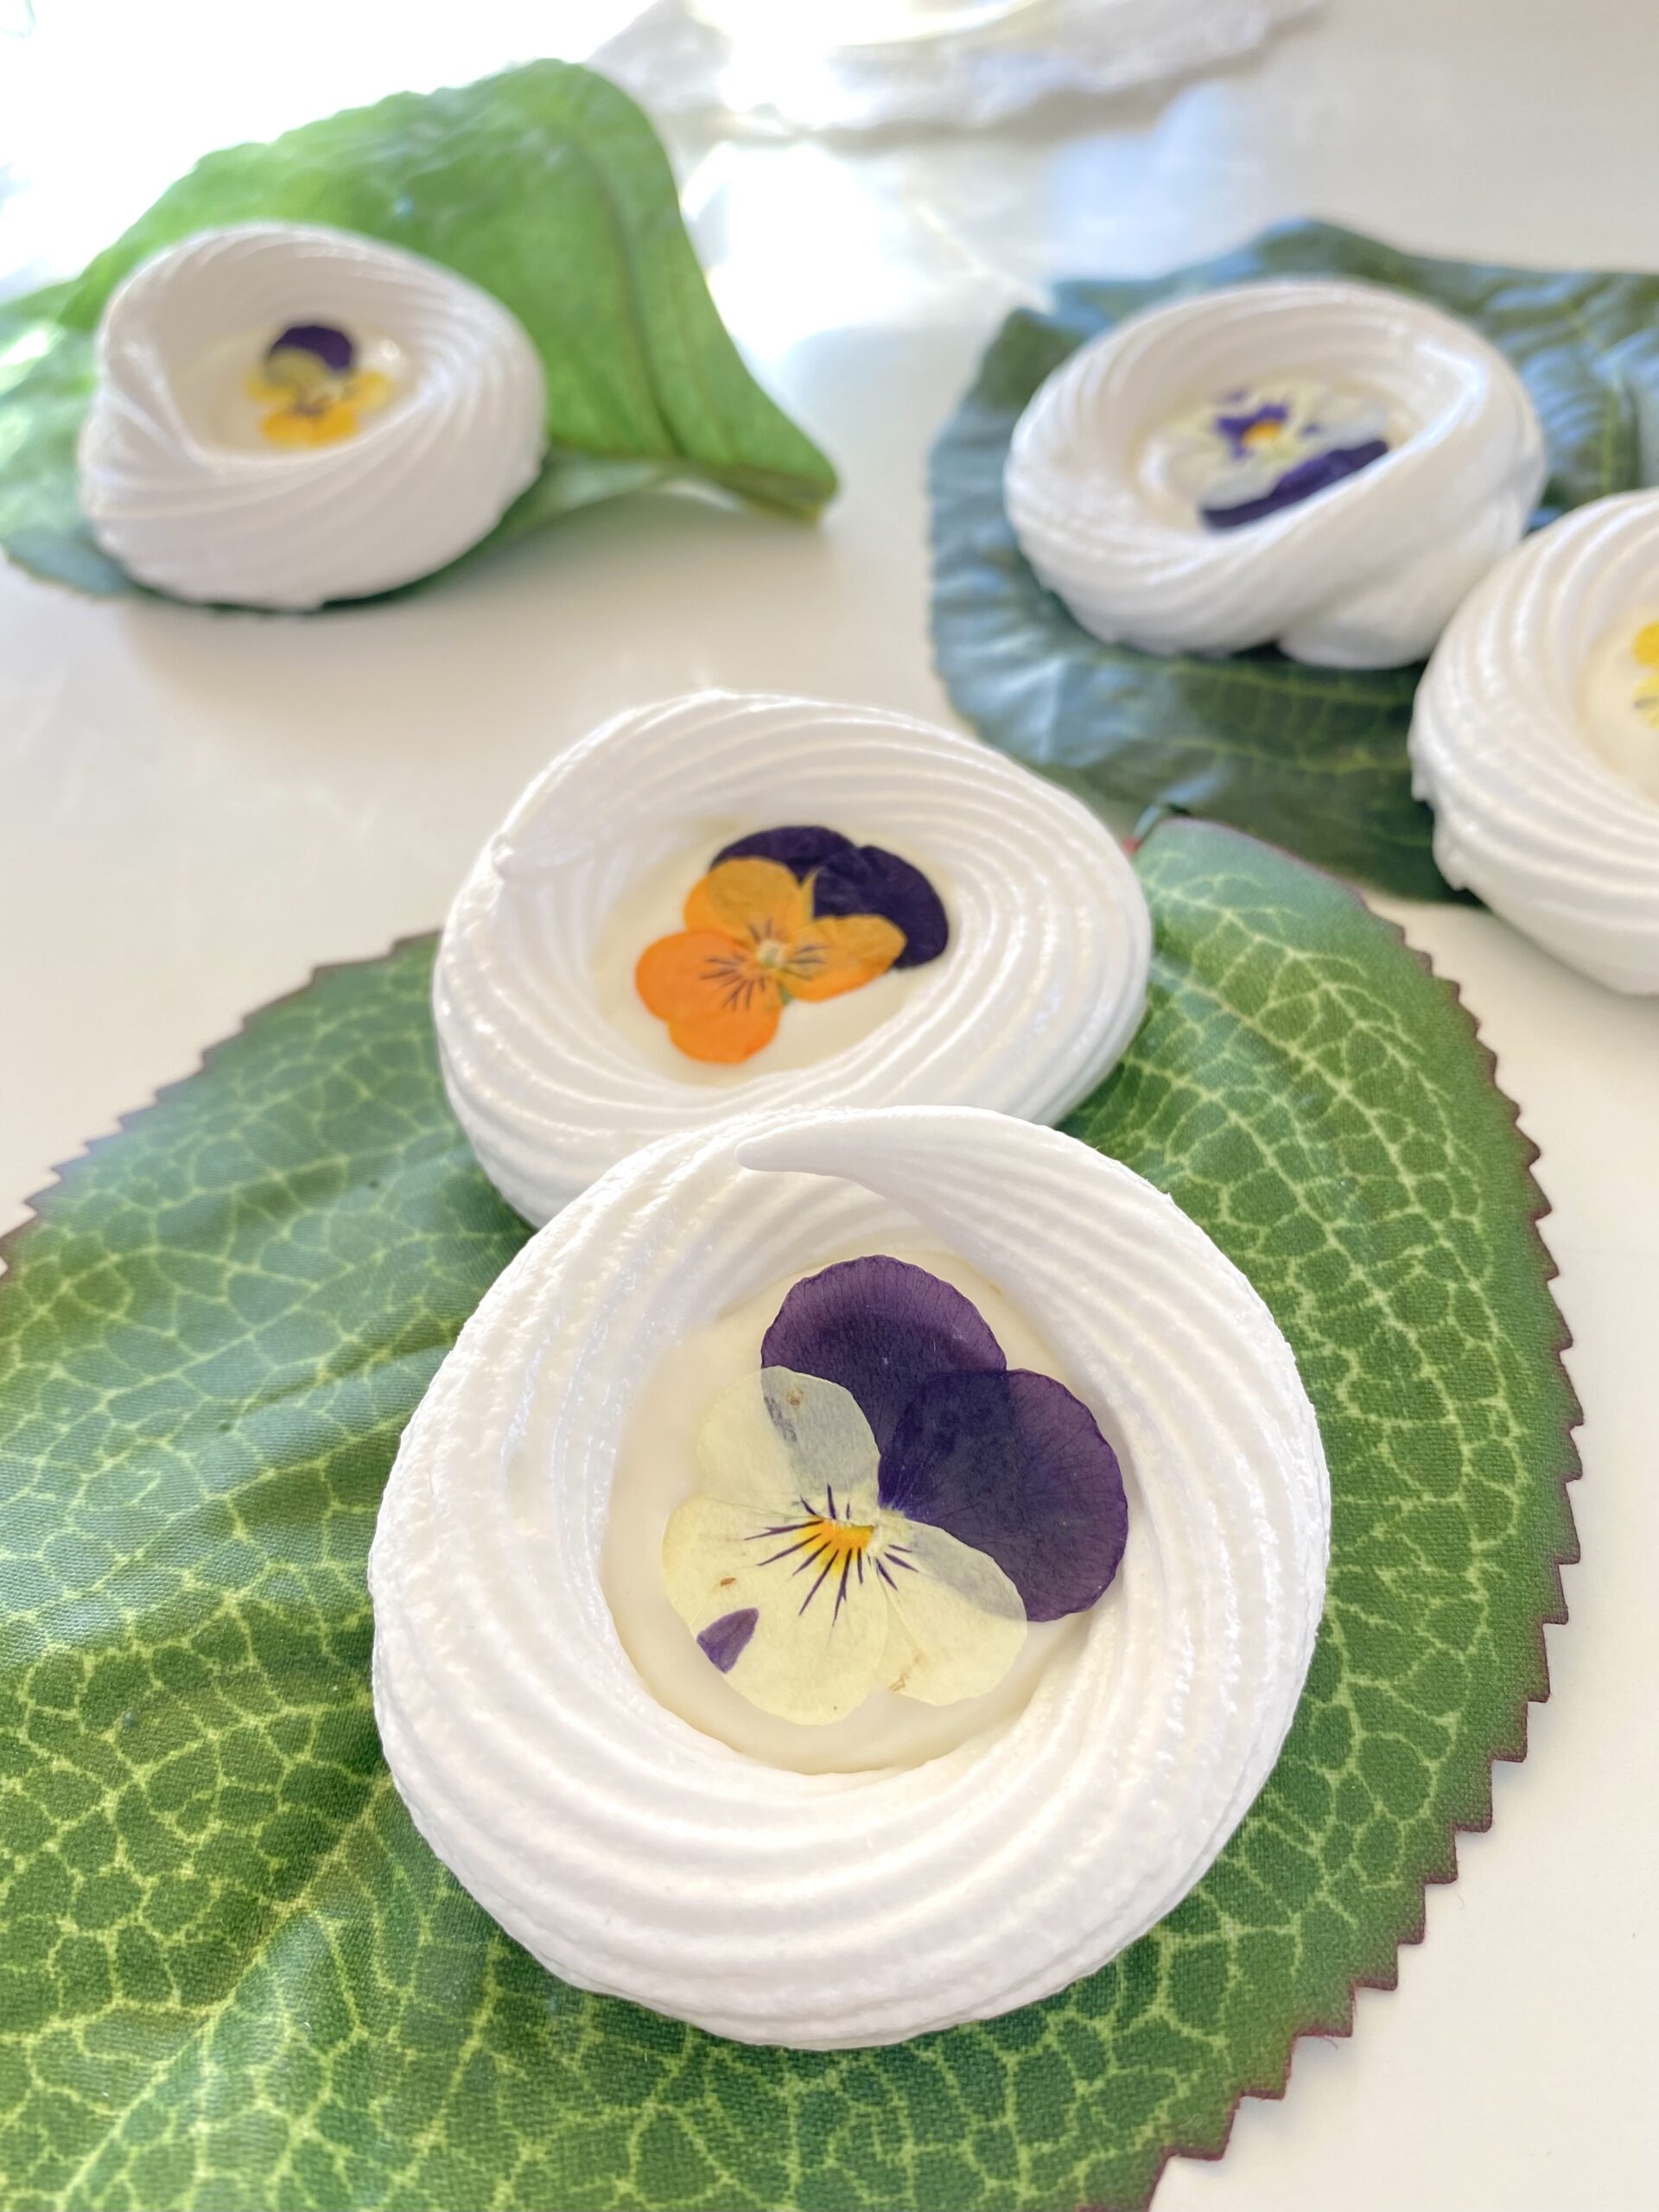
Sometimes we need a little magic in our lives. These pretty, dainty meringue cookies sparked a bit of magic in my life that I want to share with you. It started when I washed some beautiful little violas. Watching them float in a bowl of clear water was positively therapeutic. After pressing and weighing them down with a heavy book overnight, the reveal of perfectly flat, delicate blossoms was so satisfying. The process of making meringue is also very satisfying for me. I love the moment when the frothy egg and sugar mixture magically turns to glossy, billowy sweetness.

Piping the meringue circles was fun! I traced circles on the bottom of the parchment paper to use as a guide for stress-free piping. I used white chocolate to fill the center of the meringue circles, but you can also use white chocolate chips or candy melts. You can use any small edible flowers or flower petals. Feel free to express your creativity! Try using sprinkles, edible glitter or tint the meringue mixture with a few drops of gel food color.

fairy tale meringue cookies


Fairy Tale Meringues

by Mari Vasseur
Meringue cookies filled with white chocolate and topped with pressed edible flowers
Course Dessert
Servings 24 cookies

Ingredients
  

Pressed edible flowers

  • 24-30 small edible flowers

Meringue cookies

  • 4 large egg whites
  • ½ teaspoon cream of tartar
  • 1 cup (200g) fine granulated sugar
  • teaspoon pure almond extract
  • 1 cup (170g) chopped white chocolate or white chocolate chips

Instructions
 

Pressed edible flowers

  • Gently wash the edible flowers. Pat dry with paper towels.
  • Press between parchment paper. Weigh down with a heavy book for at least 24 hours.

Meringue cookies

  • Beat the egg whites, with an electric mixer at medium speed, until frothy. Add the cream of tartar and beat to soft peaks. Continue beating and gradually add thensugar and almond extract.
  • Turn mixer to up to high speed and beat to glossy, stiff peaks.
  • Preheat oven to 200ºF (95ºC. Line two large baking sheets with parchment paper.
  • Transfer the whipped meringue to a piping bag fitted with a large star tip. I used Ateco #864*
  • Pipe 2-inch circles about an inch apart onto prepared baking sheets.
  • Bake for one hour. Turn off the oven and let the meringues cool in oven.
  • In a microwave safe container, microwave white chocolate for 10 second intervals until melted or melt on the stovetop in a double boiler.
  • Transfer the melted white chocolate to a squeeze bottle or a piping bag. Fill the centers of the meringue circles with white chocolate. Top each one with a pressed flower. Let chocolate set at room temperature. Do not refrigerate.

Notes

*To find Ateco tip #864, click here.
Keyword cookies, meringues

Pumpkin Spice Muffins with Caramel Filling

pumpkin spices mini loaves with caramel filling

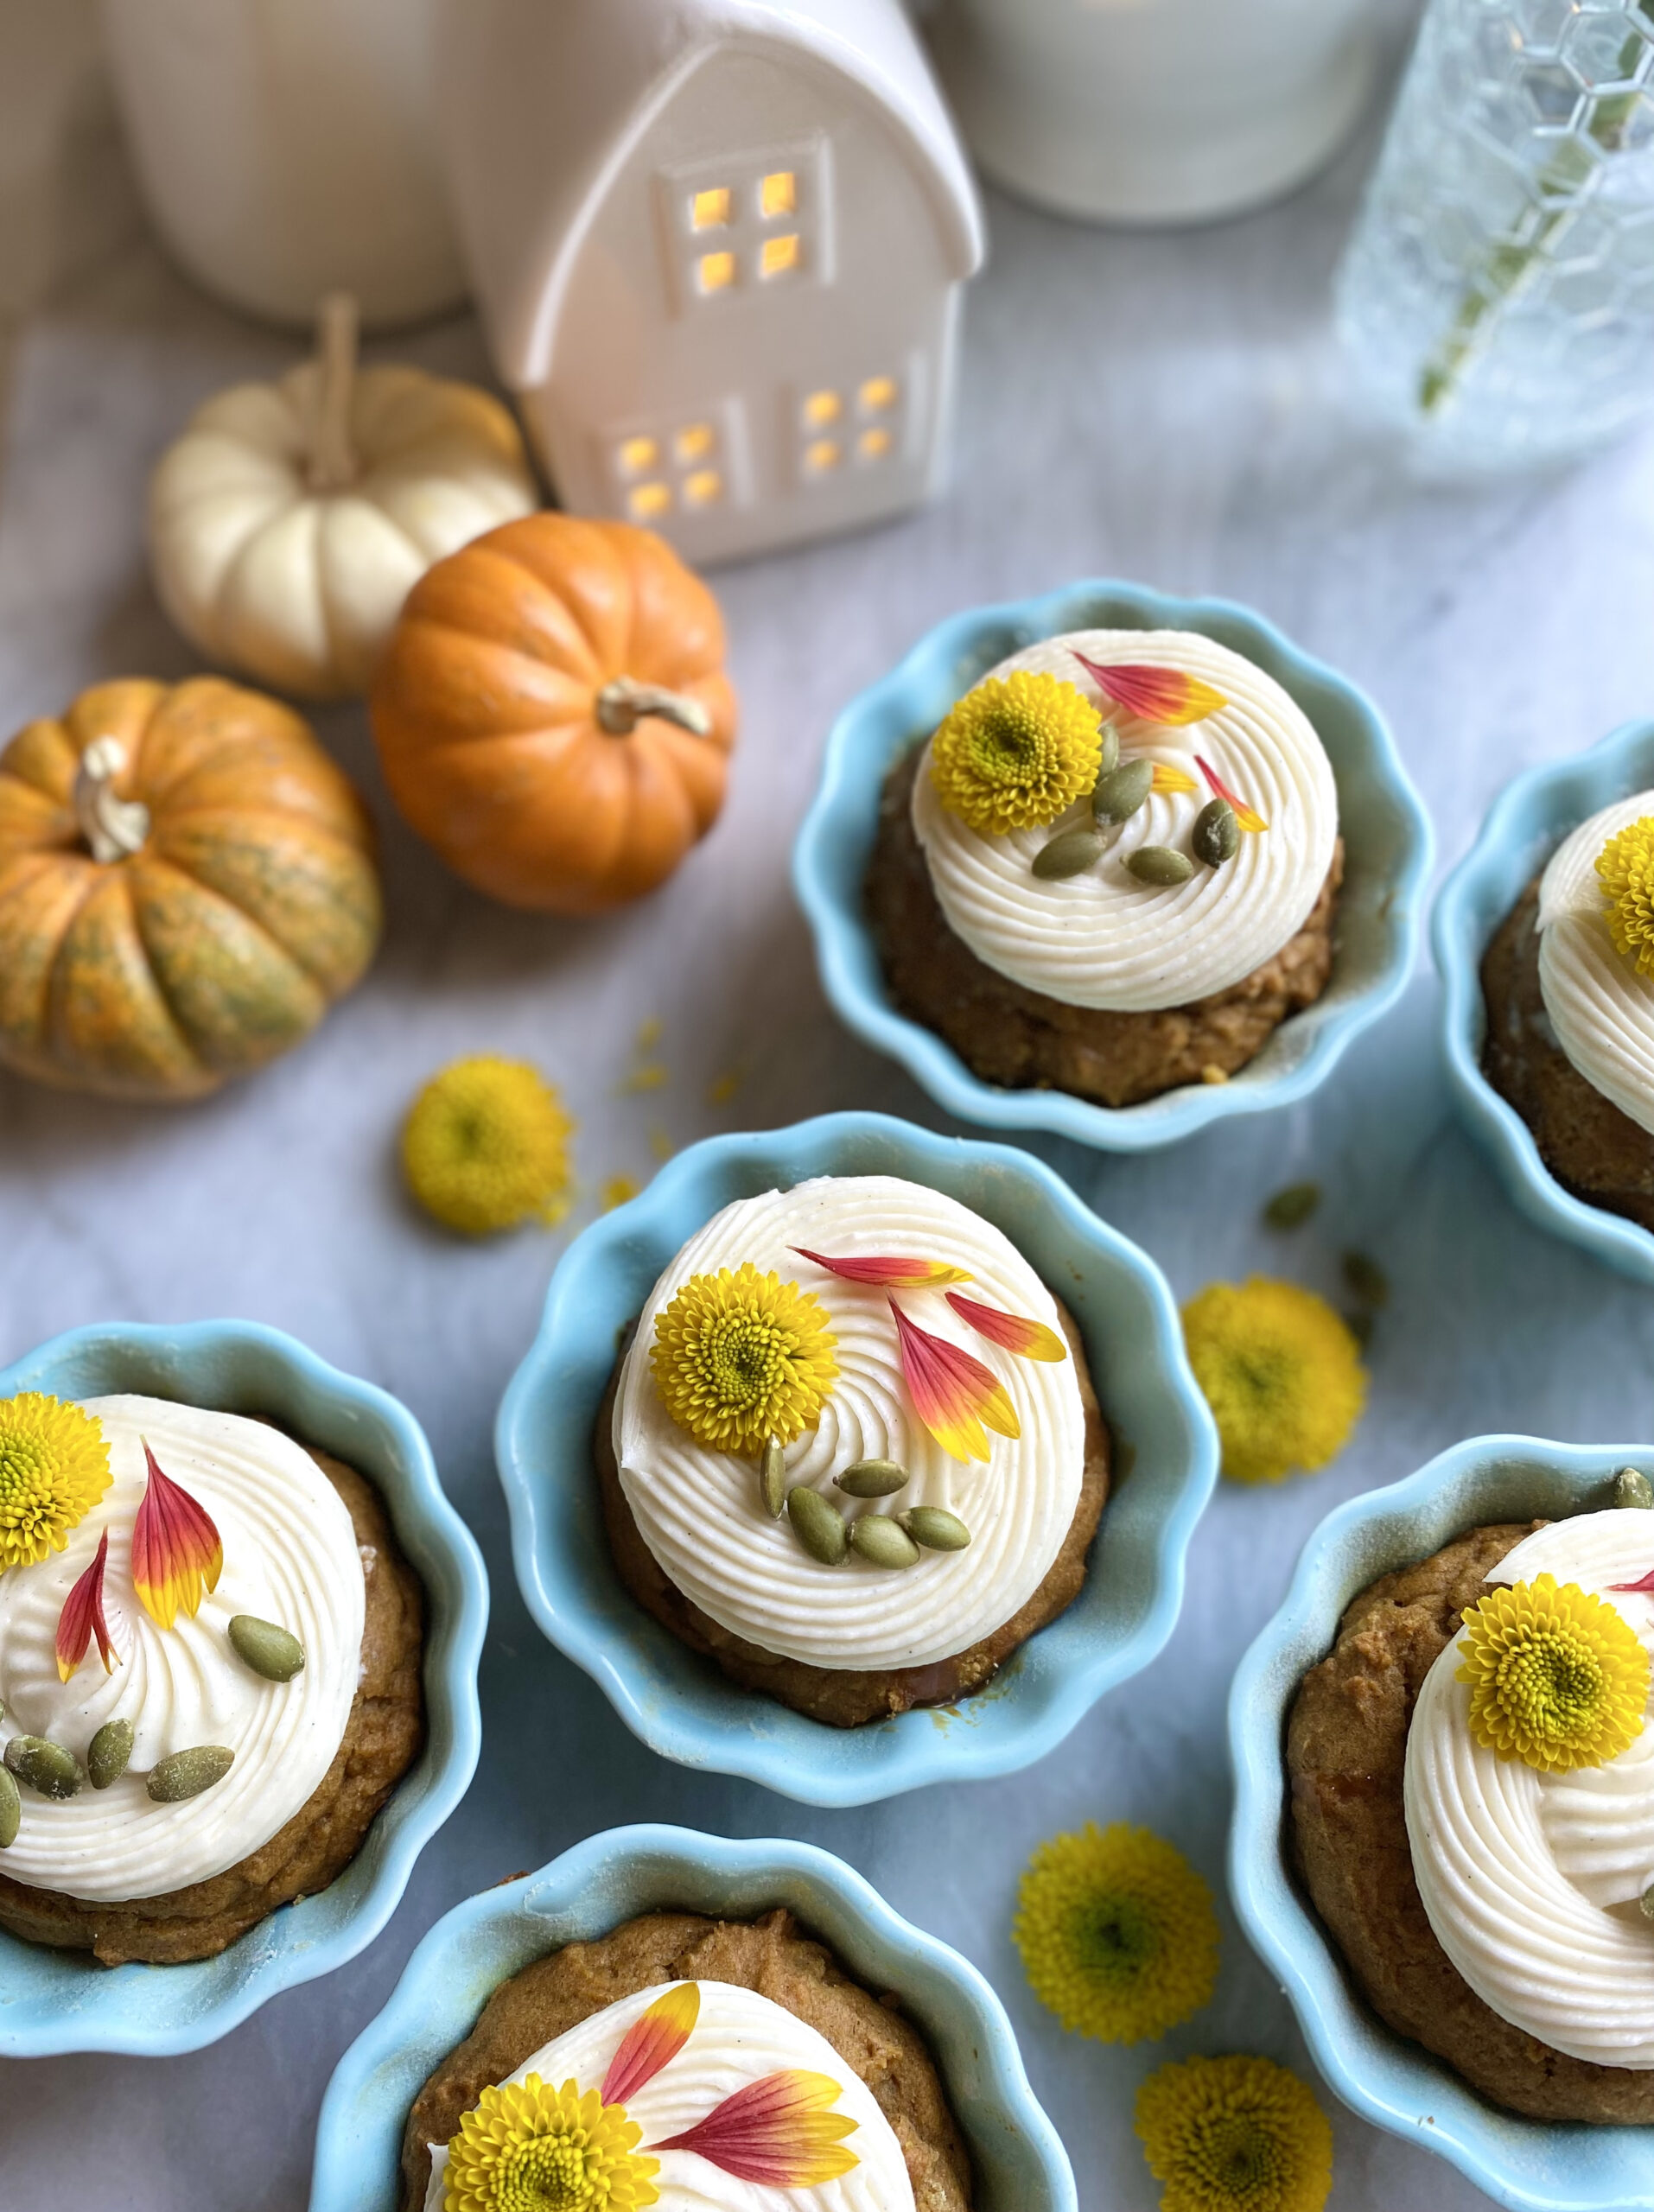
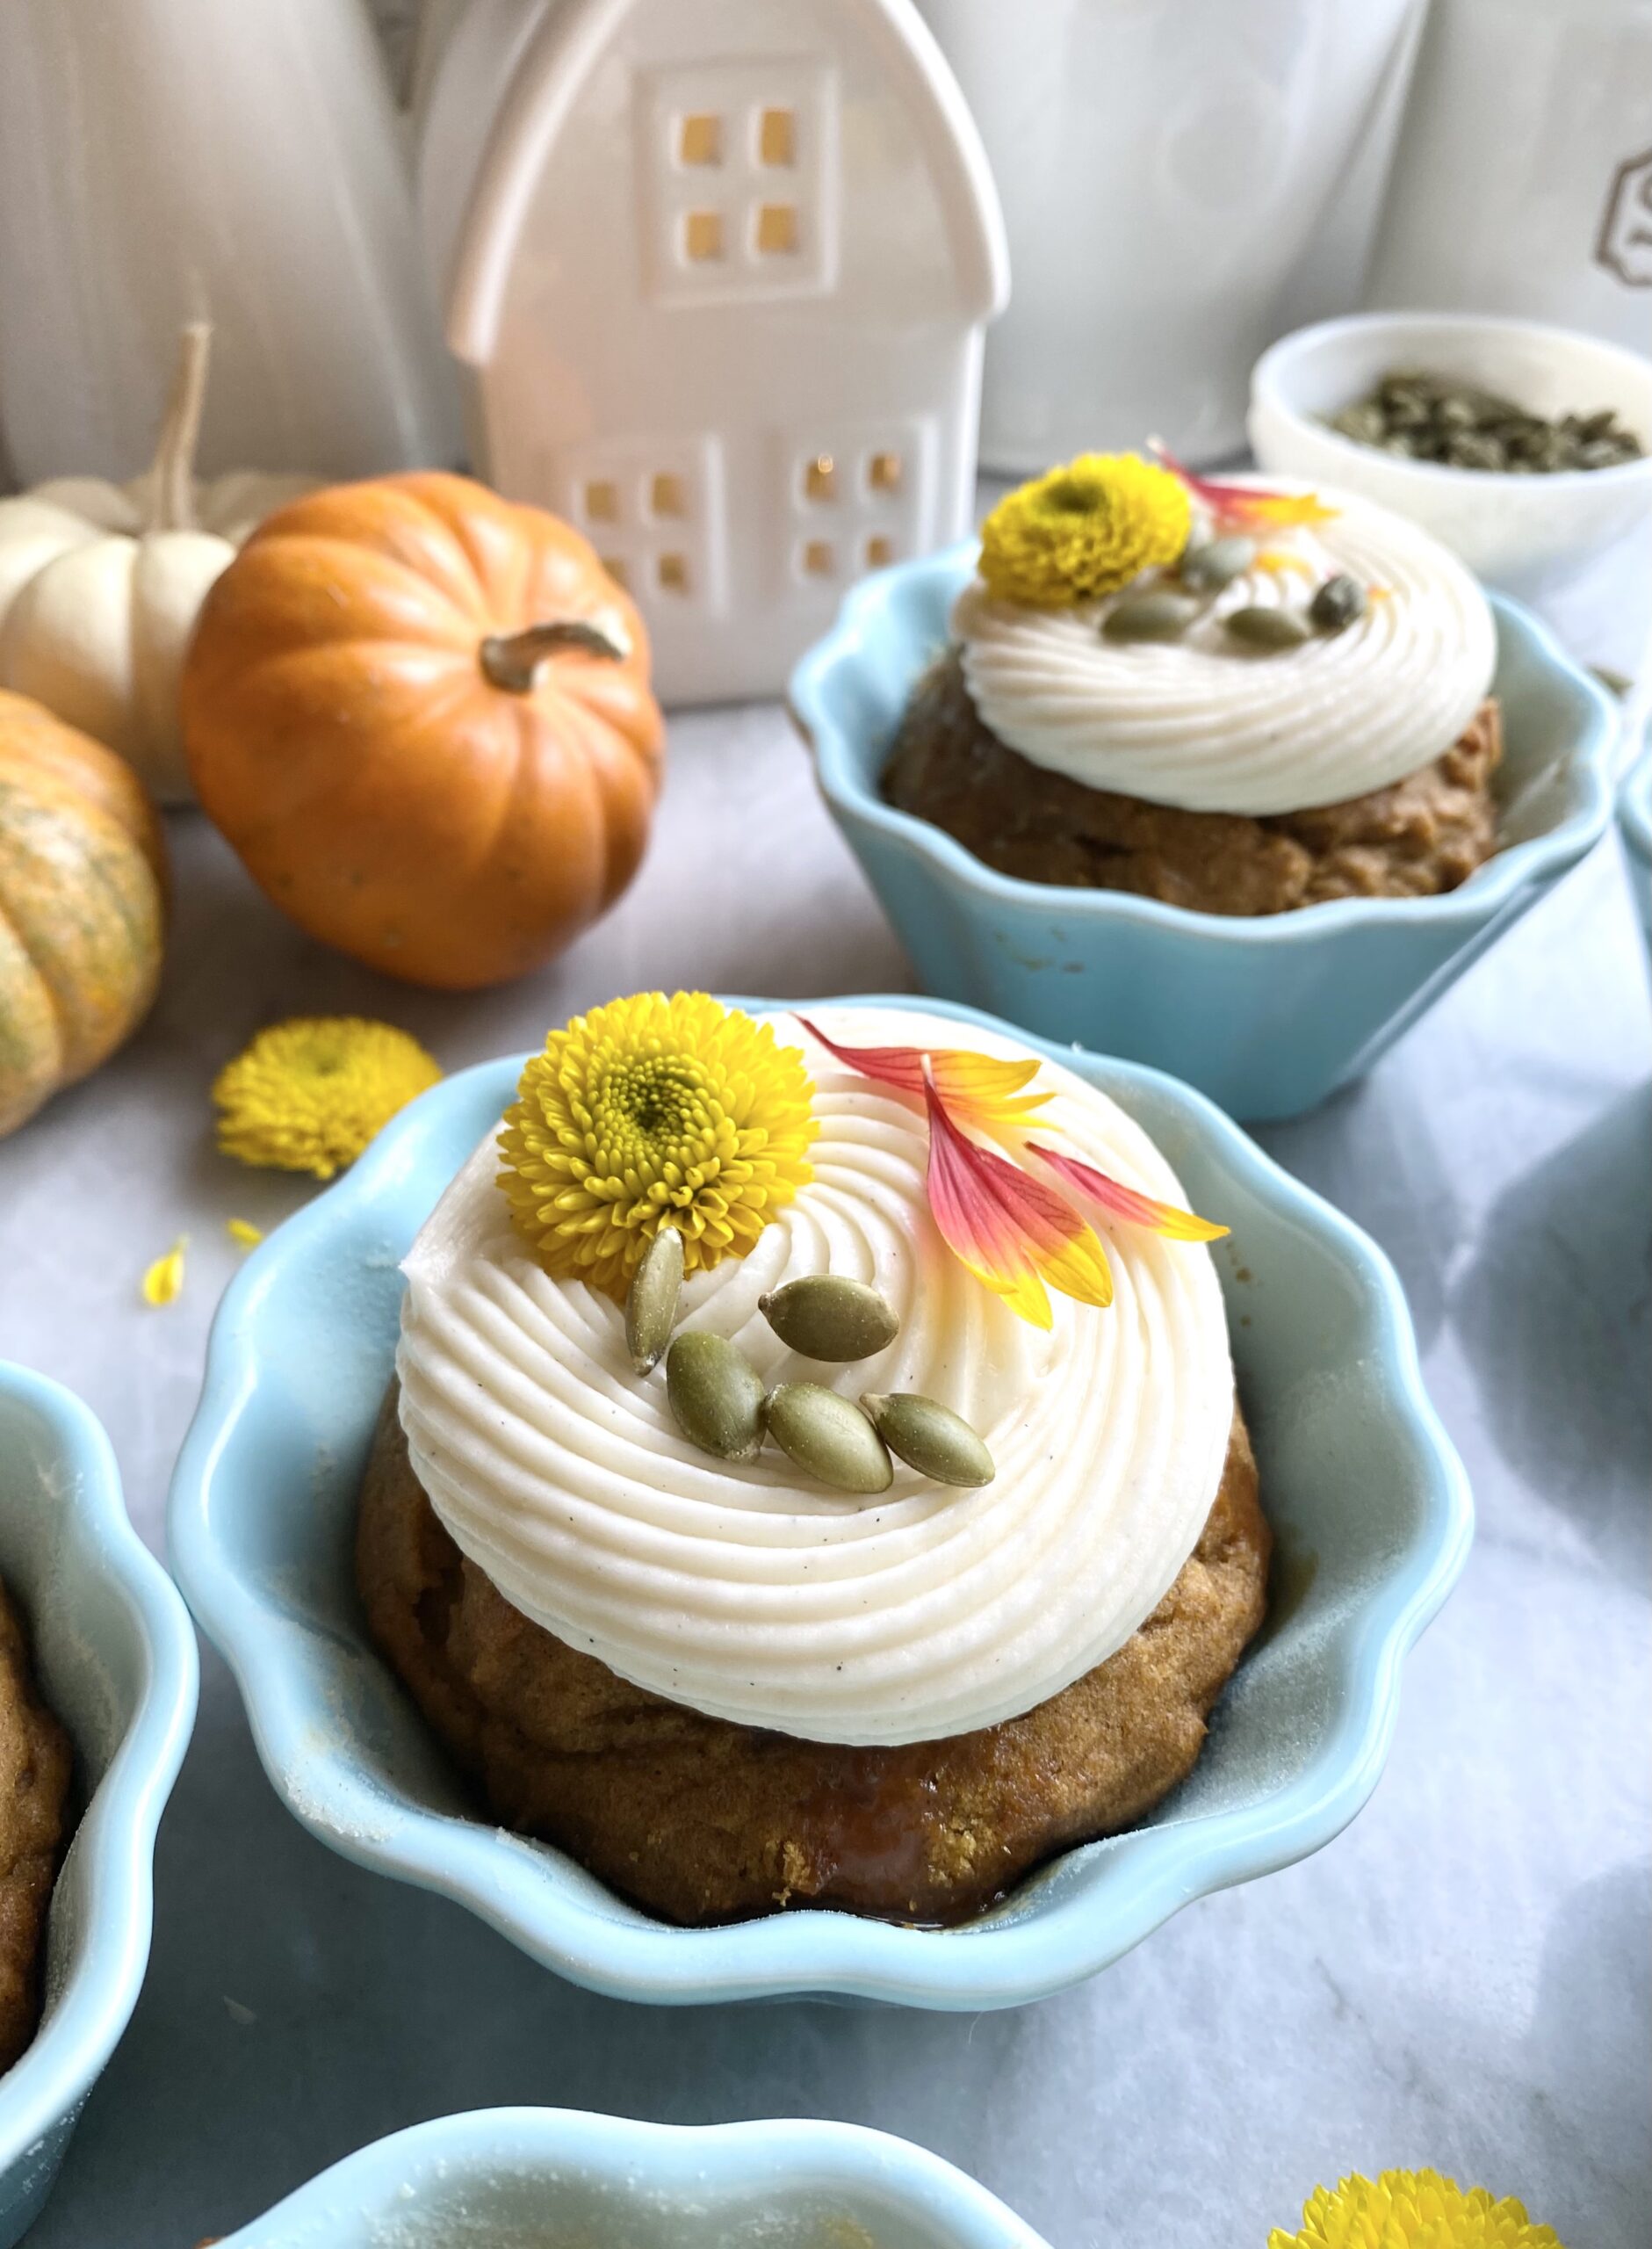
In early September, I saw someone announce the fall season on social media. In addition to people pointing out that it was too early for the announcement, the word police corrected the person with the word autumn. Since both terms are correct, we can call the season whatever we prefer. I think autumn is a pleasant sounding word, so I’ll use it for the rest of this post. Whatever you call it, these Pumpkin Spice Muffins are a perfect little celebration of the season. They have just the right amount of warm spices, making them so fragrant that your kitchen will smell like cozy autumn heaven.

pumpkin spices mini loaves with caramel filling

I originally made them in mini loaf pans, but I thought they would be cute as muffins too. They’re so cute and delicious that I often give them as holiday gifts. This year I decided to try them in ramekins and I loved the results! I used 6-ounce ramekins, but you can use 8-ounce ramekins, any size mini loaf pans, a muffin pan or even an 8 or 9-inch loaf pan. Keep in mind that baking times will differ. To find the ramekins I used, click here.

Pumpkin Spice Muffins with Caramel Filling

by Mari Vasseur
Tender pumpkin spice muffins with caramel filling and luscious cream cheese frosting
Course Breakfast, Brunch, Dessert
Servings 7 muffins

Ingredients
  

Pumpkin Spice Mini Loaves

  • 1 ½ cups (191g) all purpose flour, sifted
  • 1 ¼ teaspoons ground cinnamon
  • 1 teaspoon baking powder
  • 1 teaspoon baking soda
  • ¾ teaspoon fine sea salt
  • ½ teaspoon ground ginger
  • teaspoon ground nutmeg preferably freshly ground
  • 1 pinch ground cloves
  • ½ cup (113g) unsalted butter, softened
  • 1 cup (200g) brown sugar
  • 2 large eggs
  • 1 cup (225g) pure pumpkin purée
  • 1 teaspoon pure vanilla extract
  • cup (100g) caramel sauce, purchased or homemade
  • ¼ cup (28g) roasted, salted shelled pumpkin seeds

Cream Cheese Frosting

  • 3 ounces (85g) cream cheese, softened
  • 6 tablespoons (85g) unsalted butter, softened
  • ½ teaspoon pure vanilla extract
  • 1 pinch fine sea salt
  • 2 cups (240g) powdered sugar, sifted
  • 1-2 teaspoons heavy cream, room temperature

Instructions
 

Pumpkin Spice Mini Loaves

  • Preheat the oven to 350ºF (180ºC). Grease and flour seven 6-ounce ramekins or six 8-ounce ramekins or any mini loaf pans of your choice.
  • In a large bowl, sift together the flour, cinnamon, baking powder, baking soda, salt, ginger, nutmeg and cloves until well blended.
  • In a separate large bowl, beat the butter and brown sugar together, with an electric mixer at medium speed, until pale and fluffy. Beat in the eggs, one at a time, until incorporated. Beat in the pumpkin purée and vanilla extract until well blended. Stir in the flour mixture just until combined.
  • Divide the batter evenly into the prepared ramekins. Bake for 15-25 minutes or until golden brown and a toothpick inserted in the center comes out clean. Do not overbake.
  • Cool completely if serving in ramekins or remove from pans after cooling for 10 minutes. Continue to cool on wire rack.
  • Make 3/4-inch wells in the center of each muffin. Fill with caramel sauce. (For loaves, poke multiple holes with a skewer. Fill with caramel sauce.) Top with cream cheese frosting and pumpkin seeds

Cream Cheese Frosting

  • In a large bowl, beat the cream cheese and butter together, with an electric mixer at medium speed until smooth and well blended. Do not over beat.
  • Add the vanilla extract and salt and beat until combined. On low speed, gradually beat in the powdered sugar incorporated. Add the heavy cream and continue beating at low speed smooth. Remove any bubbles by gently stirring with a spatula.
Keyword muffins, pumpkin, pumpkin spice

Mini Hummingbird Cake

Mini Hummingbird Cake

If you haven’t noticed already, I love little cakes. Mini cakes are not only cute and charming, they’re likely to make you very popular. This recipe makes two darling Mini Hummingbird Cakes, one to keep and one to share. Hummingbird Cake is a delightful way to use your ripe bananas. The version I’m sharing here also contains pineapple, pecans and coconut. This fruity, nutty combination reminds me of spring and would be perfect for Easter or a spring picnic.

Mini Hummingbird Cake

by Mari Vasseur
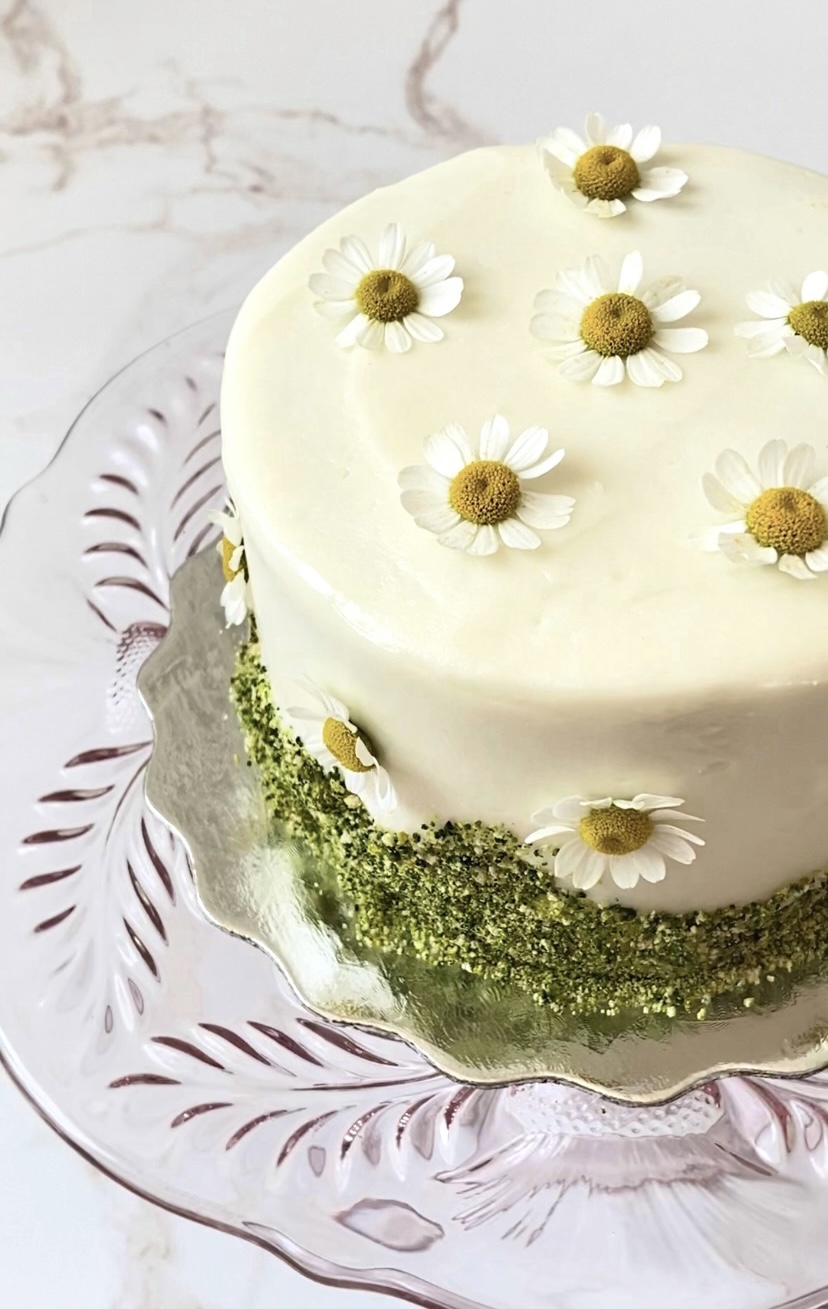
Hummingbird Cakes filled with bananas, pineapple, pecans and coconut, topped with cream cheese frosting and decorated with graham cracker crumb moss and fresh chamomile flowers.
Course Dessert
Servings 2 4-inch 2-layer cakes

Ingredients
  

Hummingbird Cakes

  • 1 ½ cups (191g) all purpose flour, sifted
  • ½ teaspoon baking soda
  • ½ teaspoon fine sea salt
  • ½ teaspoon cinnamon
  • ½ cup (113g) unsalted butter, softened
  • ½ cup (100g) granulated sugar
  • ½ cup packed (100g) packed brown sugar
  • 1 tablespoon (15ml) vegetable oil or neutral oil of your choice
  • 1 large egg
  • 1 large egg yolk
  • 1 teaspoon pure vanilla extract
  • 1 cup (227g) mashed ripe bananas (about 2 large bananas)
  • 1 8 oz (227g) can crushed pineapple, drained
  • ½ cup (60g) chopped pecans, toasted
  • ¼ cup (28g) sweetened dried coconut flakes, chopped* See note below

Cream Cheese Frosting

  • 1 cup (227g) unsalted butter, softened
  • 2 tablespoons (30ml) heavy whipping cream, room temperature, divided
  • 1 ½ teaspoons pure vanilla extract
  • ¼ teaspoon fine sea salt
  • 4 cups (482g) powdered sugar, sifted
  • 1 8 oz (227g) package cream cheese, softened

Optional Decor

  • Green gel food color I used Americolor avocado green**
  • Yellow gel food cool I used Americolor lemon yellow***
  • Vodka
  • 6 graham crackers (two squares each), crushed
  • Fresh pesticide free chamomile flowers

Instructions
 

Hummingbird Cakes

  • Preheat oven to 350ºF (180ºC). Line the bottoms of four 4-inch cake pans**** with parchment paper. Grease and flour the insides.
  • In a medium-sized bowl, whisk together the flour, baking soda, salt and cinnamon until well blended.
  • In a large bowl, beat the butter, sugar, brown sugar and oil with an electric mixer, until pale and fluffy. Beat in the egg, egg yolk, and vanilla extract in three separate additions, making sure each one is incorporated before adding the next. Stir in the bananas, pineapple, pecans and coconut until combined.
  • Transfer the batter to prepared cake pans, about 1 cup of batter in each pan. Place the filled cake pans on a baking sheet.
  • Bake until toothpick inserted in centers comes out clean, about 25-28 minutes. Cool the cakes in pans 10 minutes then turn the cakes out onto a cooling rack.
  • Trim the cakes to 1-inch thickness. Fill, stack and frost the cakes with cream cheese frosting.

Cream Cheese Frosting

  • In a large bowl, beat the butter with an electric mixer until smooth and pale. Beat 1 tablespoon (15ml)of heavy cream, the vanilla extract and salt into the butter until well combined. On low speed, beat in the powdered sugar a half cup at a time, until well combined.
  • In a medium-sized bowl, mix cream the cheese with remaining 1 tablespoon (15ml) heavy cream, with a spatula until smooth. On low speed, beat the cream cheese mixture into the butter mixture until smooth and well blended. Smooth out any bubbles by stirring by hand with a spatula.

Decor

  • To make the graham cracker crumb moss: In two small bowls, dilute 1/8 teaspoon of each gel food color with a few drops of vodka. (Vodka will dissipate as the crumbs dry.) Place the graham cracker crumbs in a plastic food bag. Add diluted food colors a little at a time and seal the bag. Shake the bag and gently massage it to distribute the color. Add more diluted food color as needed until desired your shade of green is reached. Spread the crumbs out onto a parchment lined baking sheet to dry. Apply the crumbs to bottom edges of the frosted cakes.

Notes

*Chop the coconut flakes to achieve a finer texture. This step is optional.
**To find the avocado green food color gel I used, click here.
***To find the lemon yellow food color gel I used, click here.
****To find the 4-inch cake pans I used, click here.
Keyword cake, hummingbird

Cherry Blossom Cookies

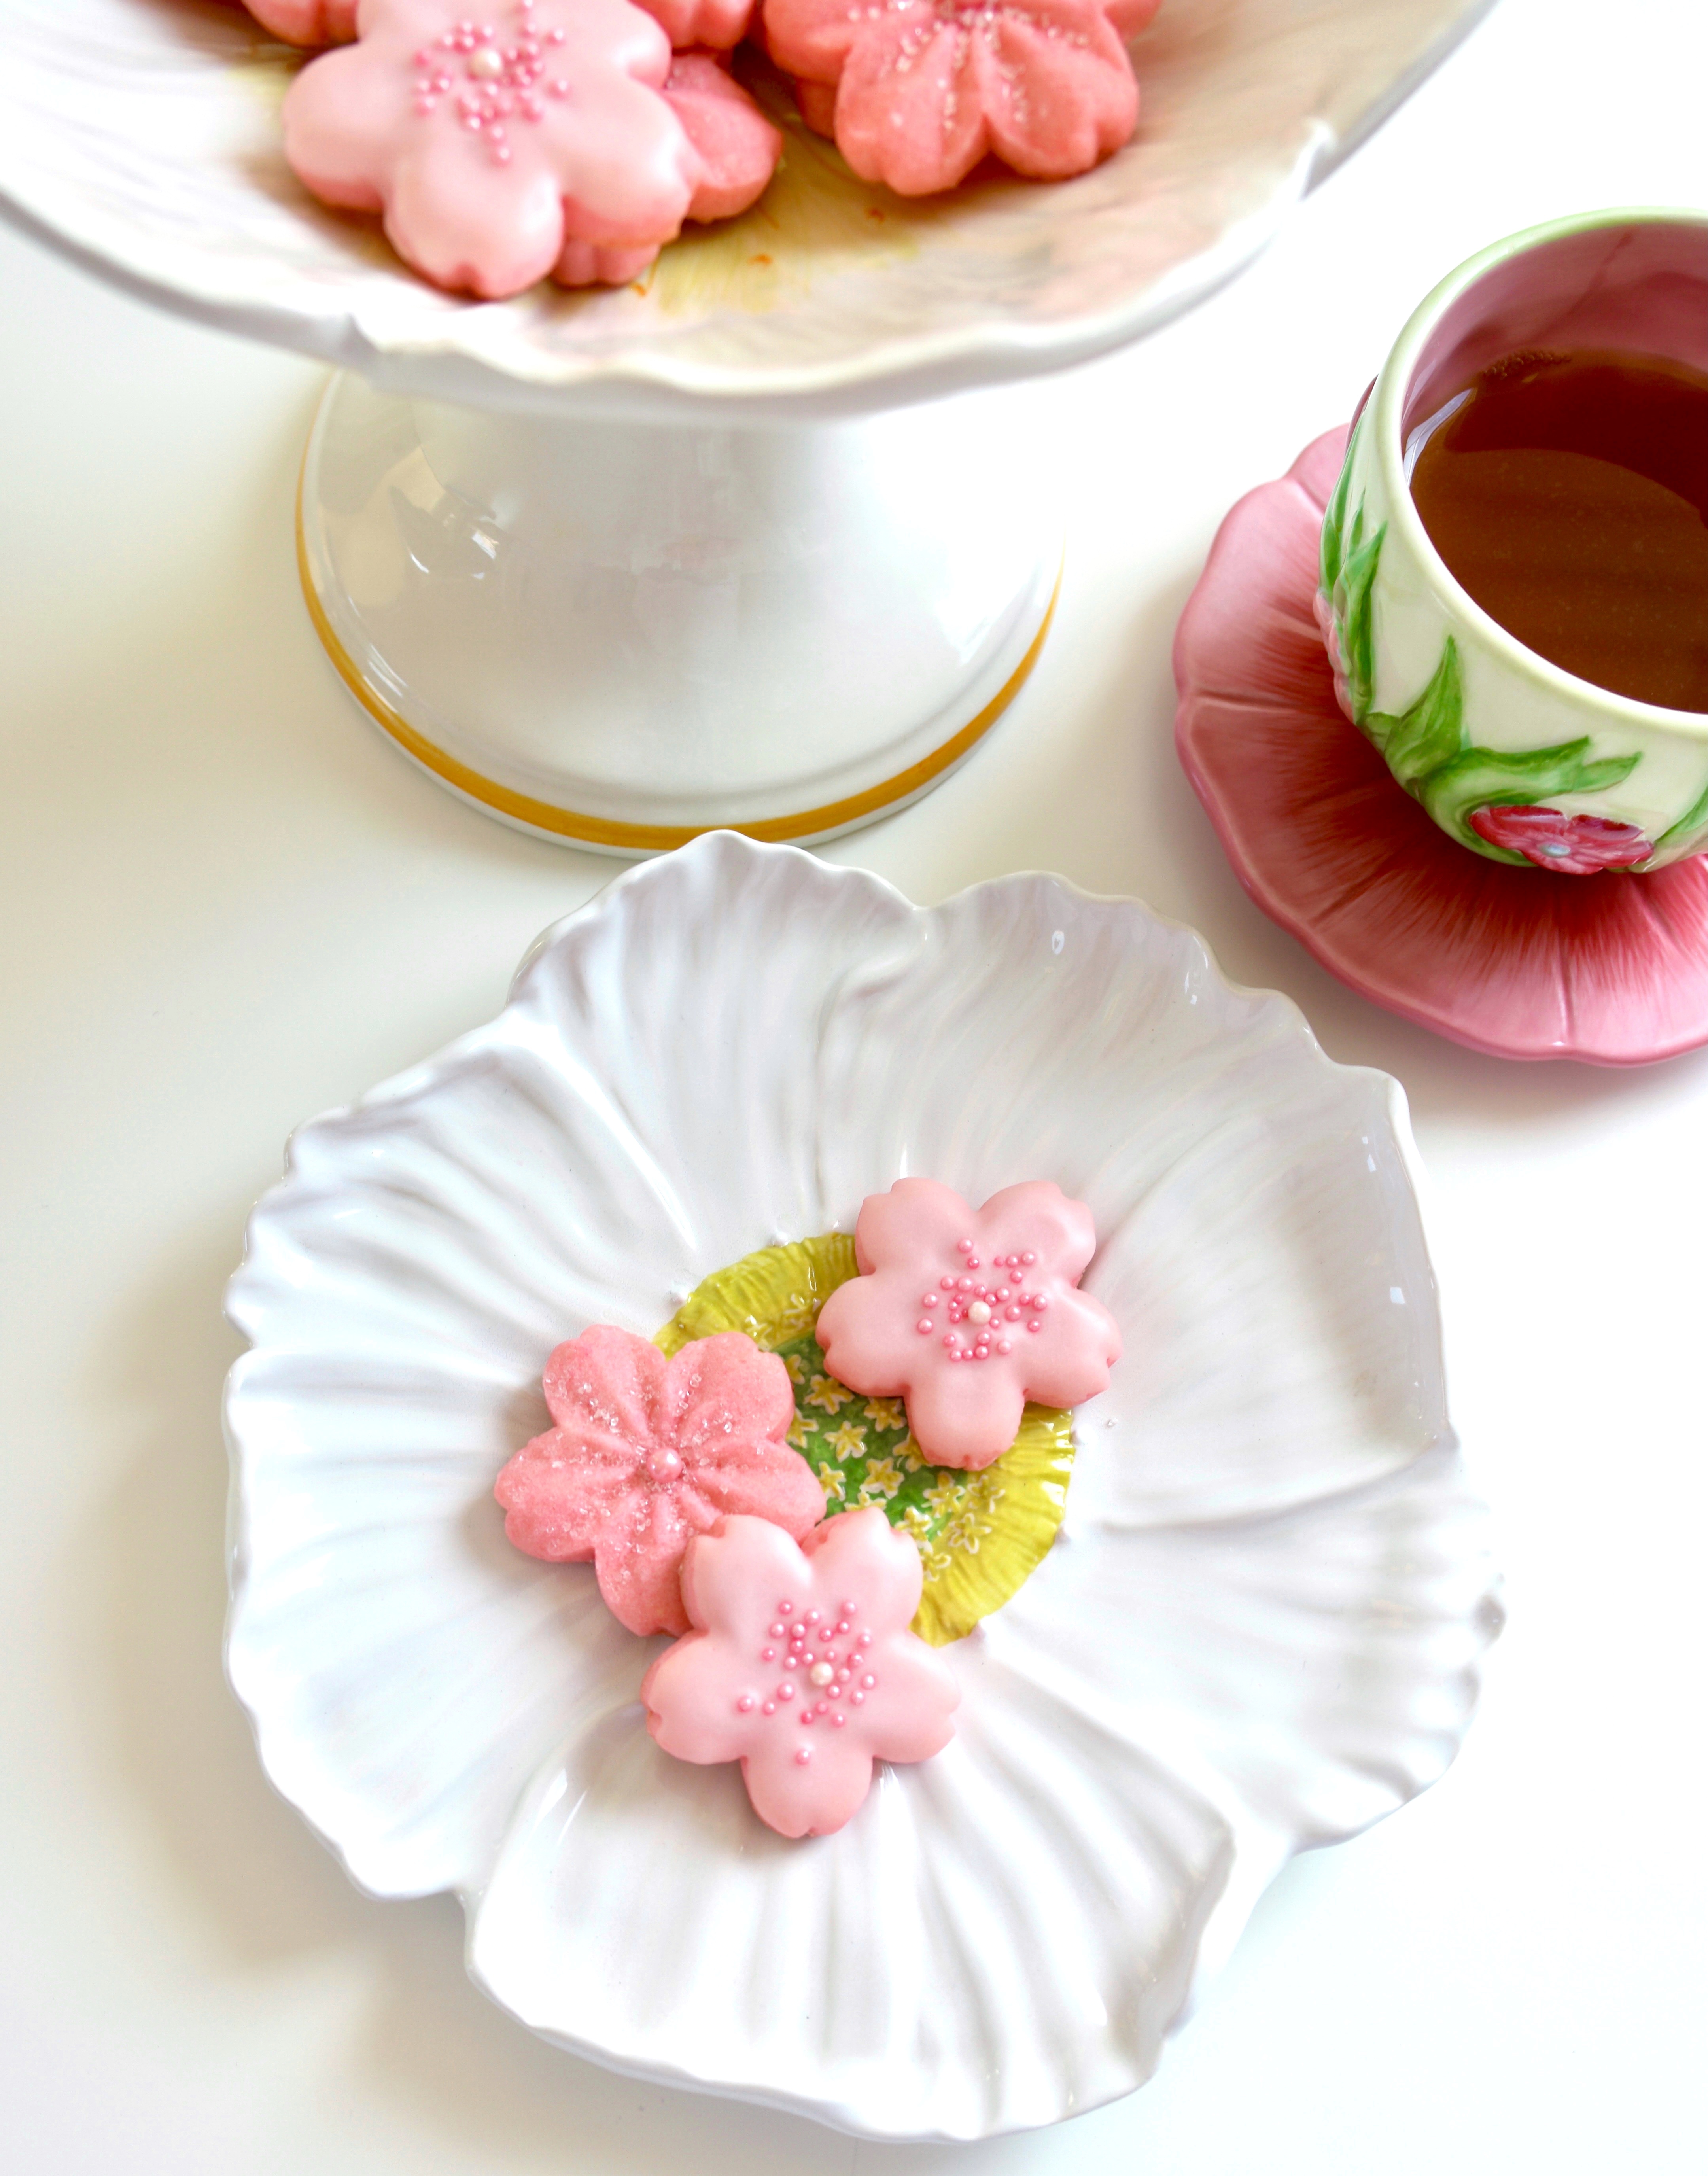
cherry blossom cookies

Each spring, I look forward to the sight and fragrance of beautiful botanical blooms, especially cherry blossoms. We often think of cherry blossoms as something unique to Washington D.C. or Japan, but cherry blossoms can be found in many regions of the United States. Georgia has many thousands of the beautiful pink trees. They can also be found in my home state, California. Here in California we also have many other types of beautiful blossoming fruit trees.

Inspired by the beautiful pink blossoms, I baked some cherry blossom cookies. There are many varieties of the blossoming pink trees. The Yoshino variety that we love to admire is not the same as the trees that produce cherries that we typically eat, but I decided to make the cookies cherry flavor. Cherry extract is more accessible, but it’s also possible to make the cookies sakura blossom flavor if you prefer. You can purchase culinary sakura blossoms or sakura powder and flavor the cookies with it.

These perfectly pretty, pink cookies are easy to make and fun to decorate. You can sprinkle sparkling sugar on them before baking and call it a day or you can make some pink cherry icing and add sugar pearls or sprinkles. Either way, they look beautiful and taste delicious!


Cherry Blossom Cookies

by Mari Vasseur
Pink cherry flavored sugar cookies with cherry icing
Course Brunch, Dessert
Servings 6 dozen

Ingredients
  

Cherry Blossom Cookies

  • 1 cup (227g) unsalted butter, softened
  • 6 tablespoons (3 oz / 85g) cream cheese, softened
  • ¾ cup (150g) sugar
  • ¼ teaspoon fine sea salt
  • 1 large egg
  • 1 teaspoon pure cherry extract or natural cherry flavoring *see note below
  • teaspoon pure almond extract
  • 3 cups (383g) all purpose flour, sifted
  • Pink gel food color **see note below

Cherry Icing

  • 1 cup (120g) powdered sugar
  • 1 pinch fine sea salt
  • 4-5 tablespoons (59-67ml) whole milk
  • ½ teaspoon pure cherry extract or natural cherry flavoring
  • Pink gel food color

Optional Cookie Decorations

  • White sparkling sugar
  • Pink sugar pearls
  • Pink nonpareils

Instructions
 

Cherry Blossom Cookies

  • In a large bowl, beat the butter and cream cheese together with an electric mixer on medium speed, just until smooth and well blended.
  • Add the sugar and salt. Beat on medium speed until pale and fluffy. Mix in the egg, then the extracts until incorporated.
  • On low speed, mix in the flour in two additions, just until combined.
  • Mix in the food coloring, a tiny bit at a time, until the desired shade is achieved.
  • Divide the dough into two disks. Wrap them in plastic wrap and refrigerate until firm, about 2 hours or up to overnight.
  • Preheat the oven to 375ºF (190ºC). Line two large cookie sheets with parchment paper.
  • On a lightly floured surface, roll the dough to 1/8" thickness. Cut out cookies with a 2-inch blossom cutter..***
  • Place the cookies about 2 inches apart onto the prepared baking sheets. Sprinkle with sparkling sugar if using.
  • Bake for 7-9 minutes until the bottom edges are lightly browned. Remove from the oven and transfer the cookies to a cooling rack.
  • Cool completely then ice with cherry icing, if desired. Decorate with sugar pearls or sprinkles before the icing sets.

Cherry Icing

  • In a small bowl, whisk together the powdered sugar, salt, 3 tablespoons (45ml) of milk and the cherry extract. Add additional milk until the desired consistency is reached. Whisk together until smooth.
  • Mix in pink gel food color, a tiny bit at a time, until the desired shade is achieved.

Notes

*Do not use imitation cherry flavoring or extract. Imitation extracts may make your cookies taste medicinal. 
** I used Wilton gel food color in shade rose. Click here to find it. 
*** Use your favorite blossom cookie cutter or click here to find the blossom cutters I used.
Keyword cherry, cherry blossom, cookies