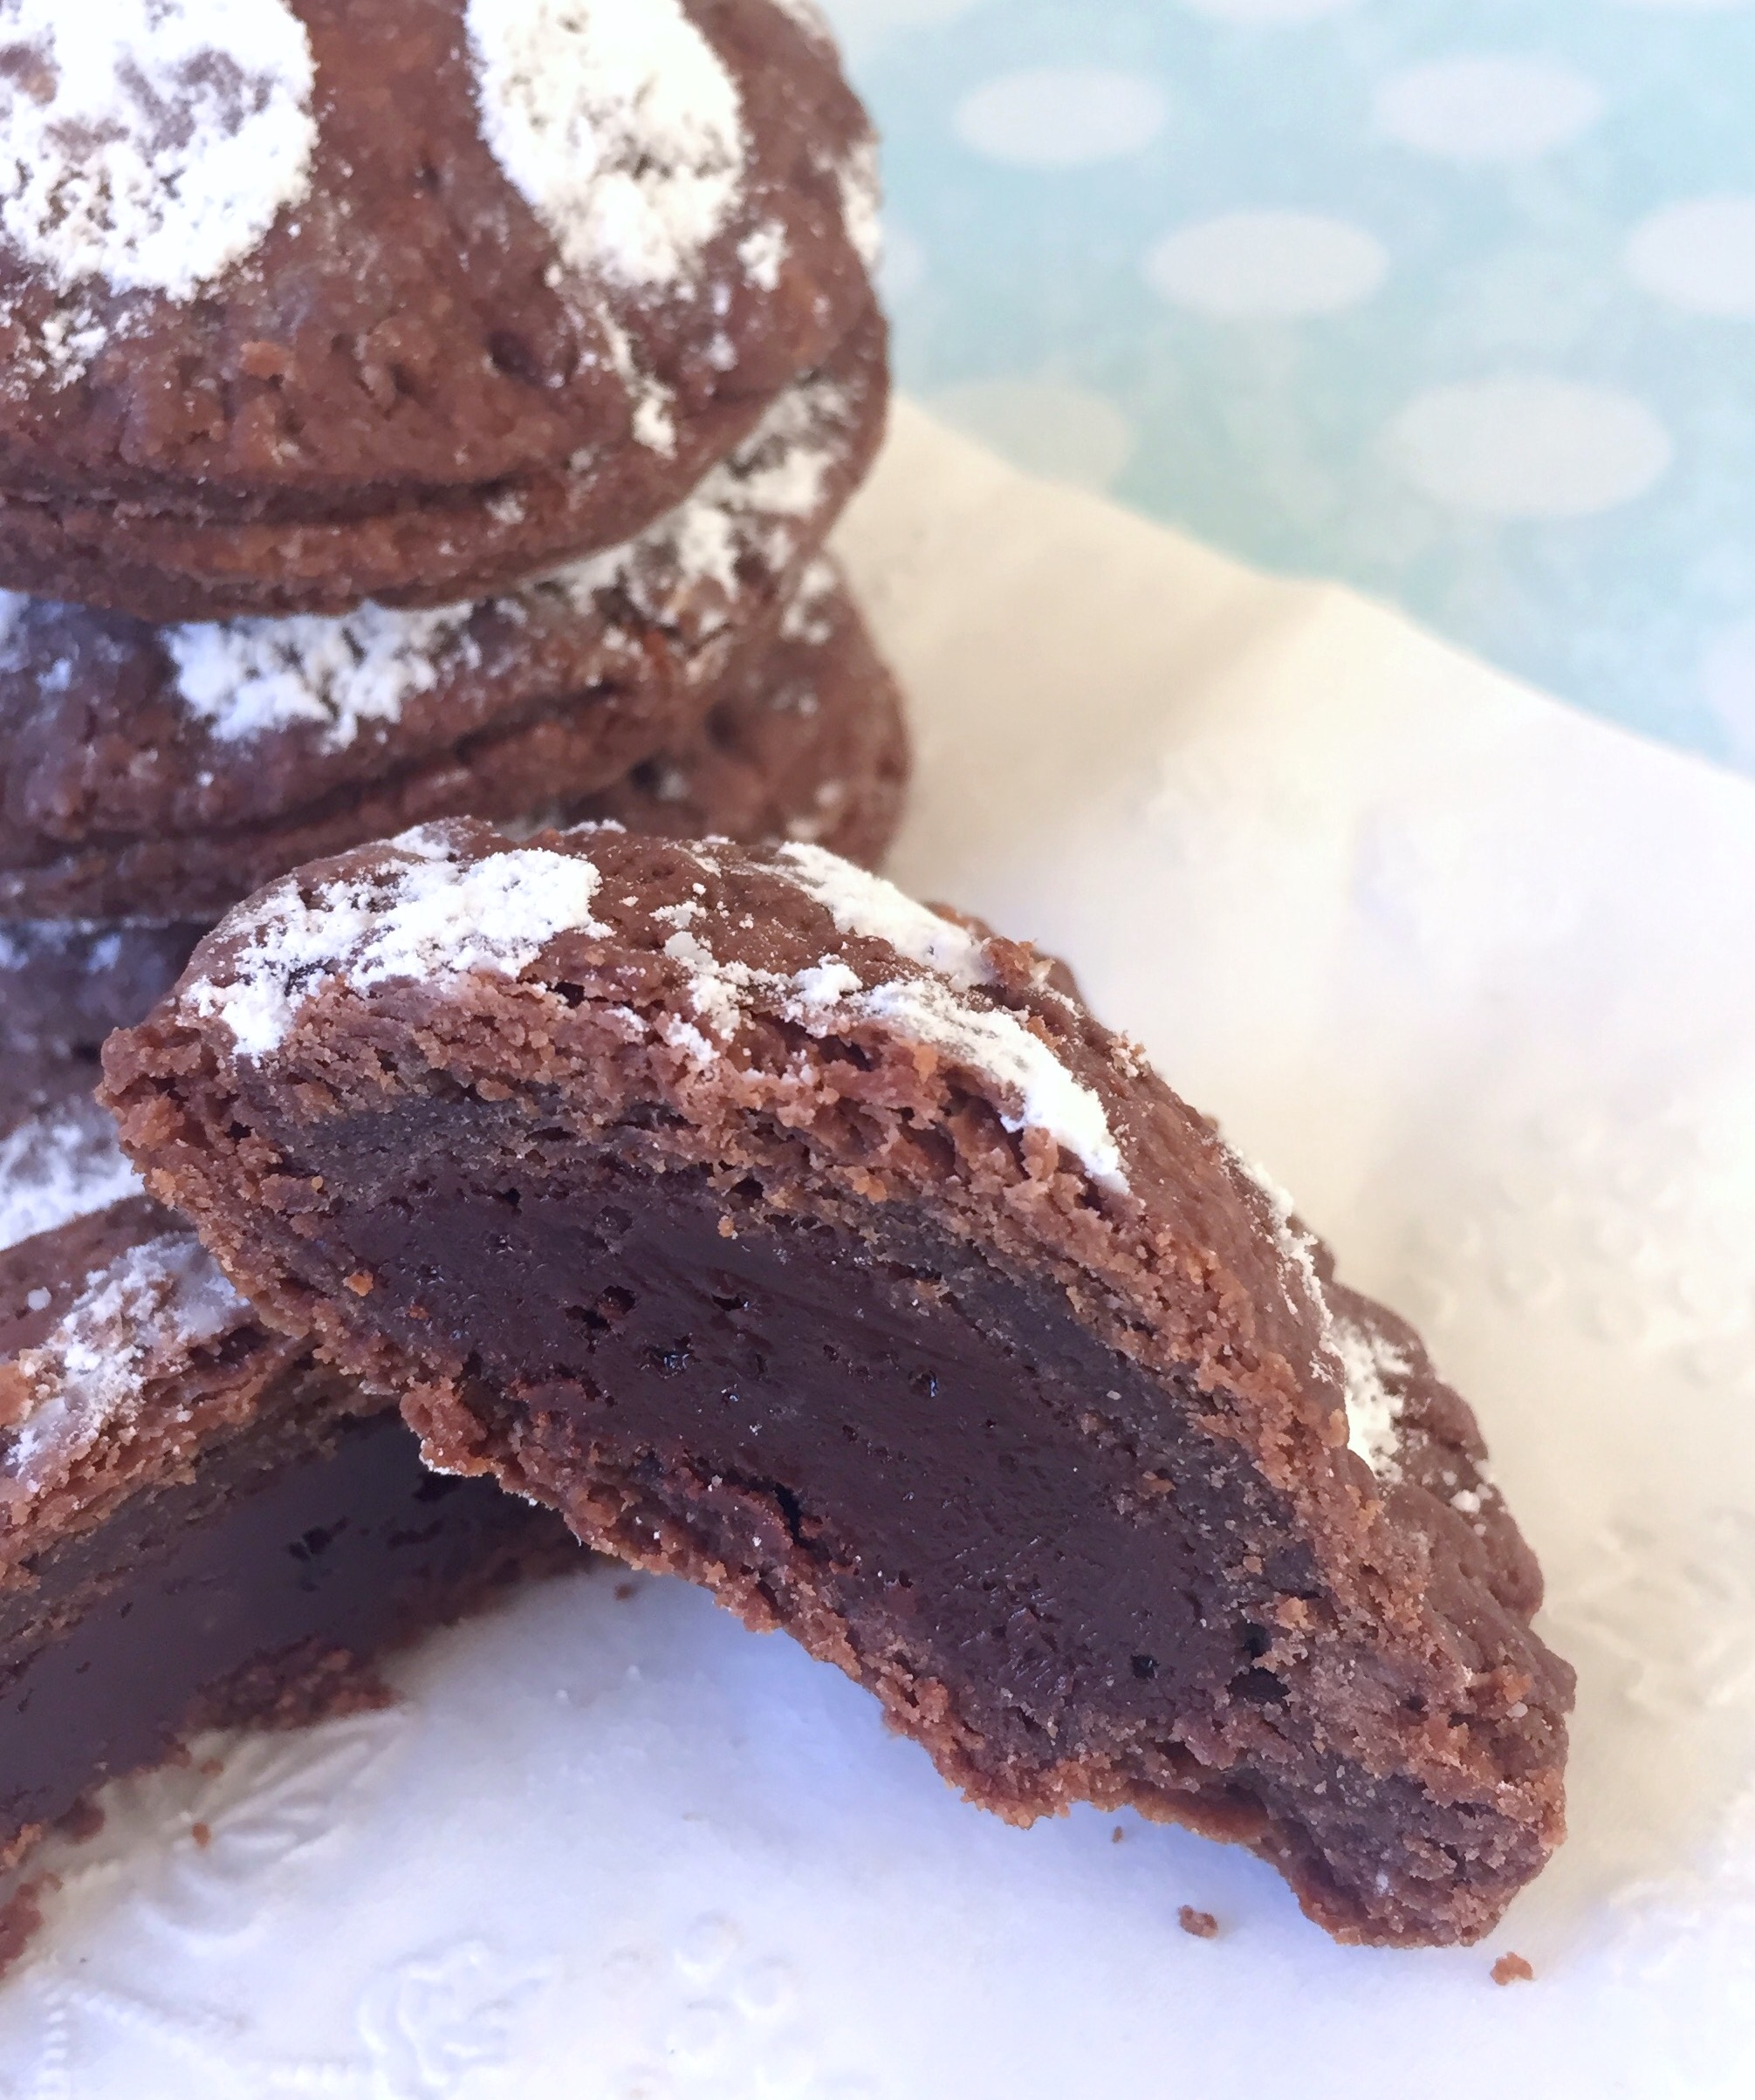
I’ve seen some cookies loaded with add-ins out there, but these extreme cookies just won the title! They’ve got enough chunky, chocolatey, sweet and saltiness to satisfy the most ravenous cookie craving! But, before we even go one step further, I must mention a few disclaimers. I strongly urge you to make sure your fridge is stocked with milk. Please change into your comfiest pants before attempting this recipe. Canceling all plans for the rest of the day is recommended, as a nap may ensue immediately following consumption of these cookies. OK, now that we got that out of the way, let’s jump in with both feet!
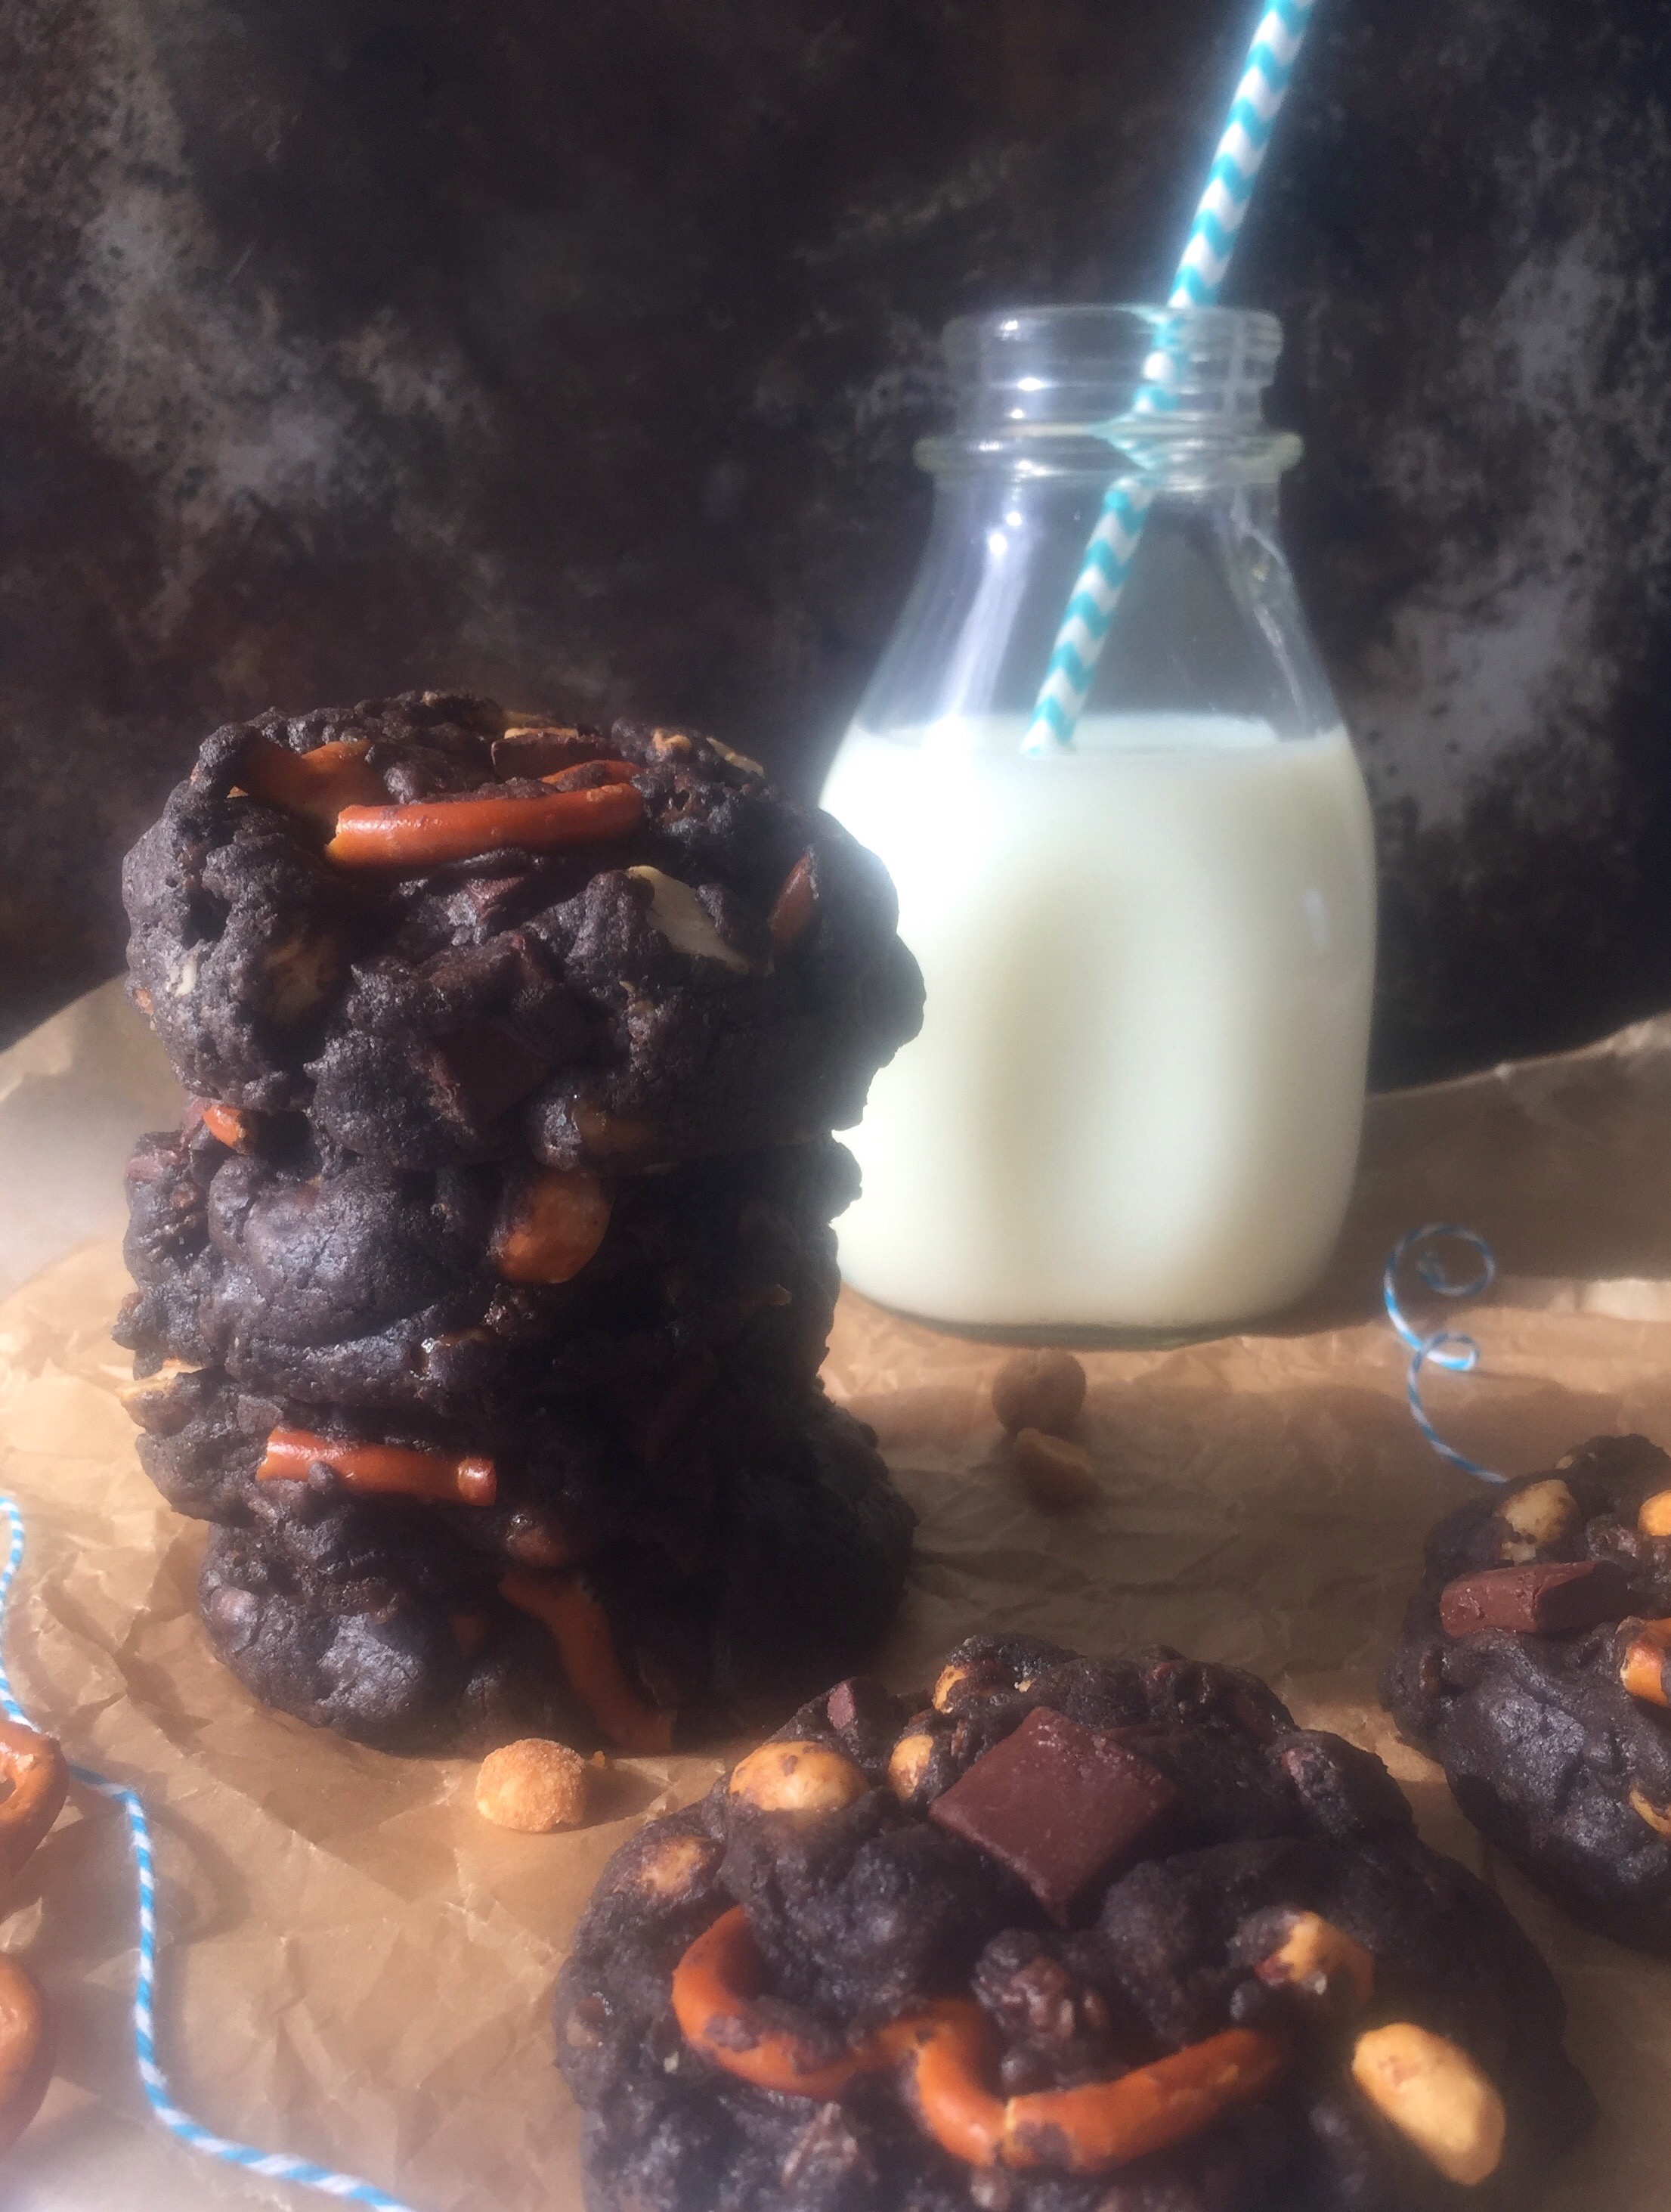
First we need a moody photo that looks like it was taken in a rustic cabin to emphasize the seriousness of these chocolate cookies. It’s no coincidence that I’m sharing this recipe with you right before Father’s Day. Every Dad I know is an accomplished snacker. Dad will love these cookies for his personal snack stash! Package them up and deliver them to your Pop with a jug of milk or a thermos of coffee. You can probably skip the straw. We all know that Dad is going to chug his milk, but every respectable blog photo of milk must contain a pretty straw.
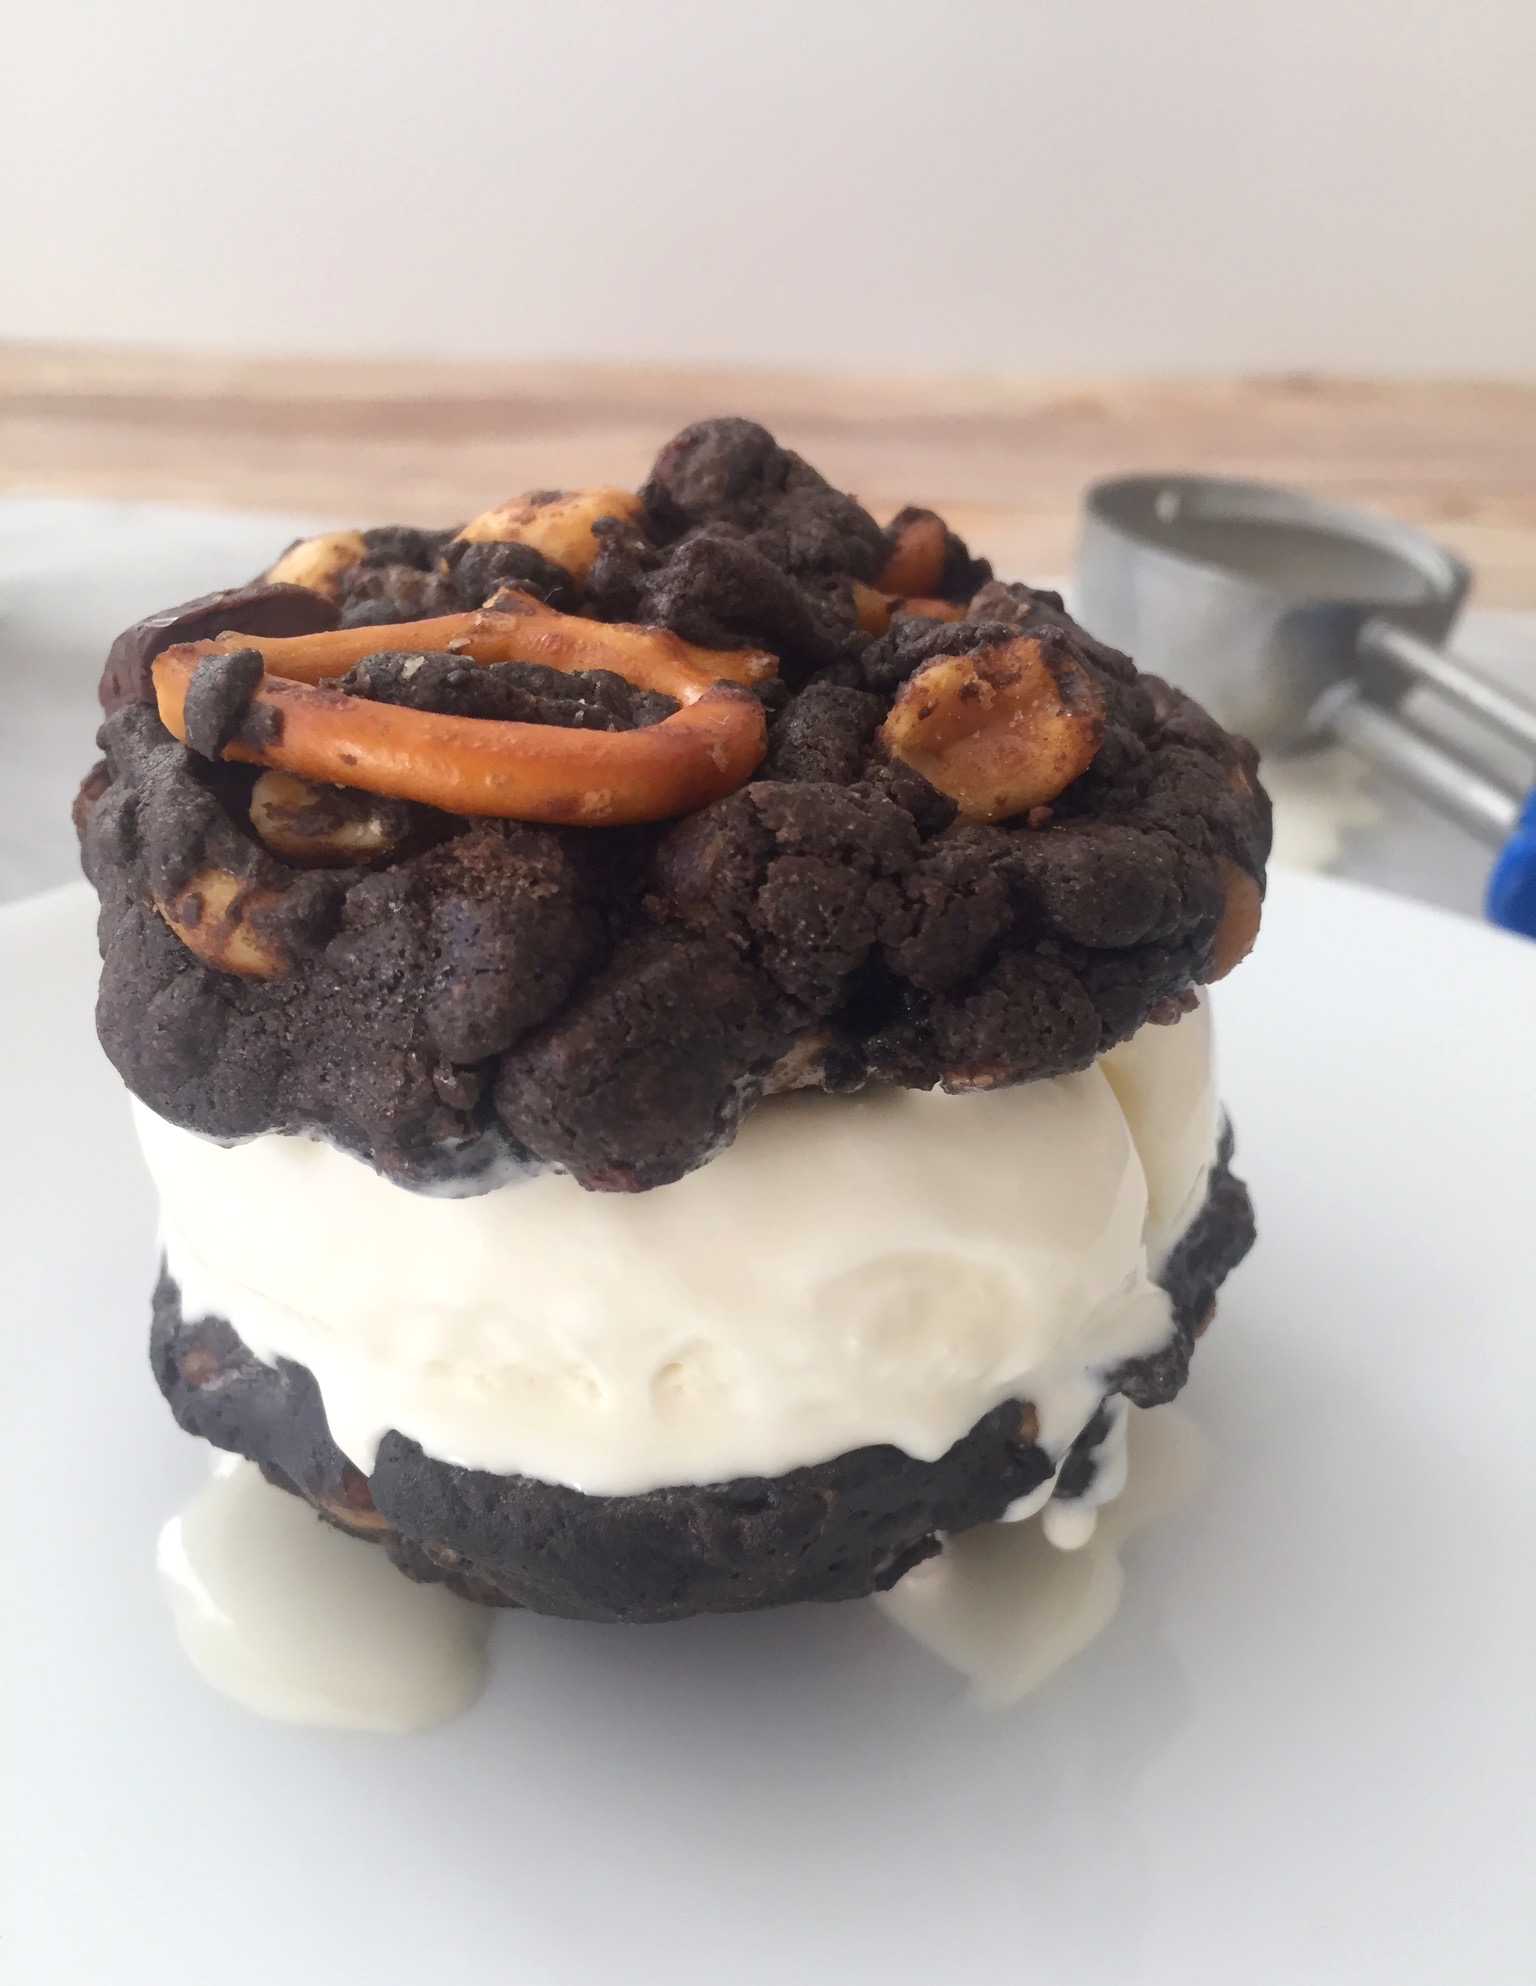
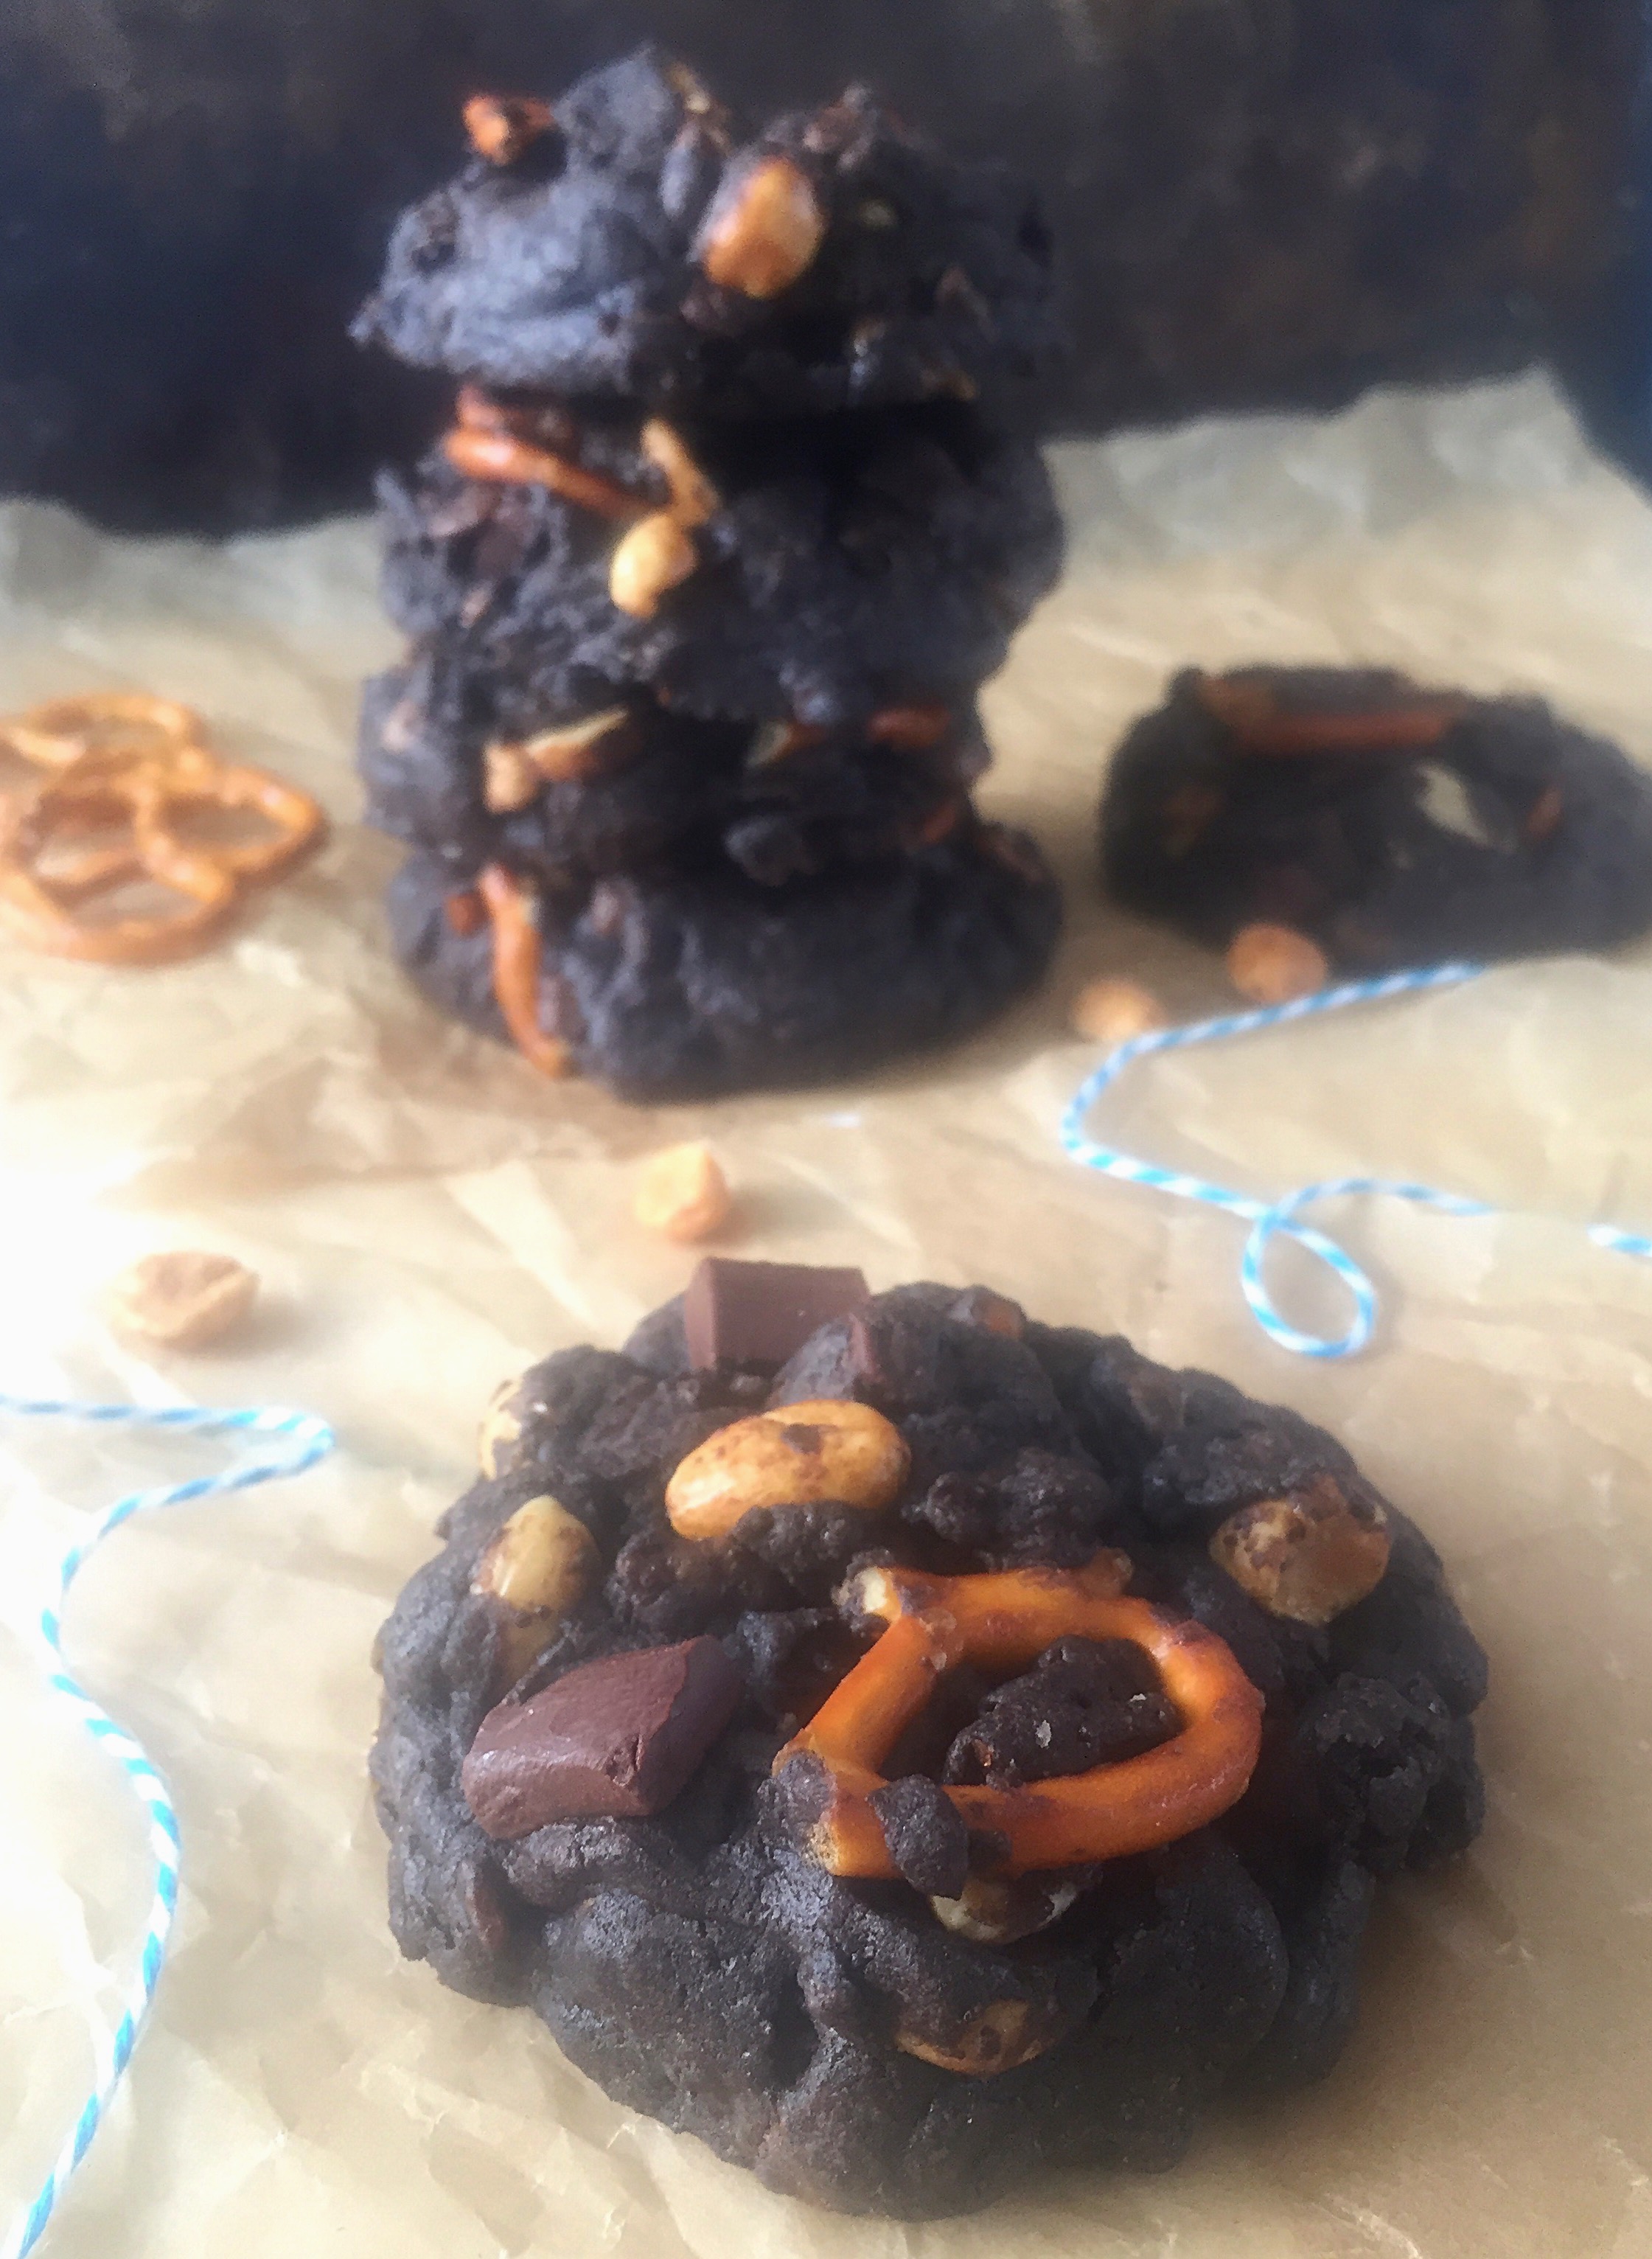
These cookies make amazing ice cream sandwiches, too. Press a scoop of softened vanilla ice cream between two cookies and pop it in the freezer. If you want to make these cookies picture perfect, use a scoop to portion out your dough. This will make them uniform in size and they’ll bake more evenly. Click here to find the scoop I used. For even more visual appeal, don’t crush the pretzels before adding to the cookie dough. Some of them will break when you are mixing them into the dough and this is fine, because the large pieces help make these cookies chunky. This recipe makes eighteen large cookies. That’s one dozen for Dad plus six for you to snack on, because when these babies come out of the oven with their melted chocolate chunks and little pools of caramel, resisting will be impossible! Now it’s cookie time…you’ve got this!
Fully Loaded Chocolate Snack Attack Cookies
Ingredients
- 2 ⅛ cups (270g) all purpose flour, sifted
- ½ cup (45g) dark cocoa powder, sifted
- ½ teaspoon baking powder
- ¼ teaspoon baking soda
- ¼ teaspoon fine sea salt
- 1 cup (227g) unsalted butter, softened
- 1 cup (200g) granulated sugar
- ¼ cup (50g) brown sugar
- 2 large eggs
- 1 teaspoon pure vanilla extract
- 1 ½ cups (213g) semisweet chocolate chunks
- 1 ½ cup (43g) mini pretzel twists
- 1 cup (170g) caramel baking bits
- 1 cup (43g) chocolate rice cereal (I used Cocoa Pebbles)
- ¾ cup (92g) honey roasted peanuts (or roasted mixed nuts)
Instructions
- Preheat the oven to 350º F (180ºC). Line 2 large baking sheets with parchment paper.
- In a medium-sized bowl, whisk together the flour, cocoa powder, baking powder, baking soda and salt until well blended.
- In a large bowl, beat the butter, granulated sugar, and brown sugar together, with an electric mixer at medium speed until pale and fluffy. Add eggs, one at a time, beating until incorporated. Add vanilla and beat until combined. On low speed, mix in the flour mixture just until combined. Stir in the chocolate chunks, pretzels, caramel bits, chocolate rice cereal and peanuts.
- Scoop 1/4 cup portions of cookie dough and place them about 2 inches apart onto the prepared baking sheets. Bake until set, about 13-15 minutes. Let the cookies cool on cookie sheets for 1 minute before transferring to a cooling rack.