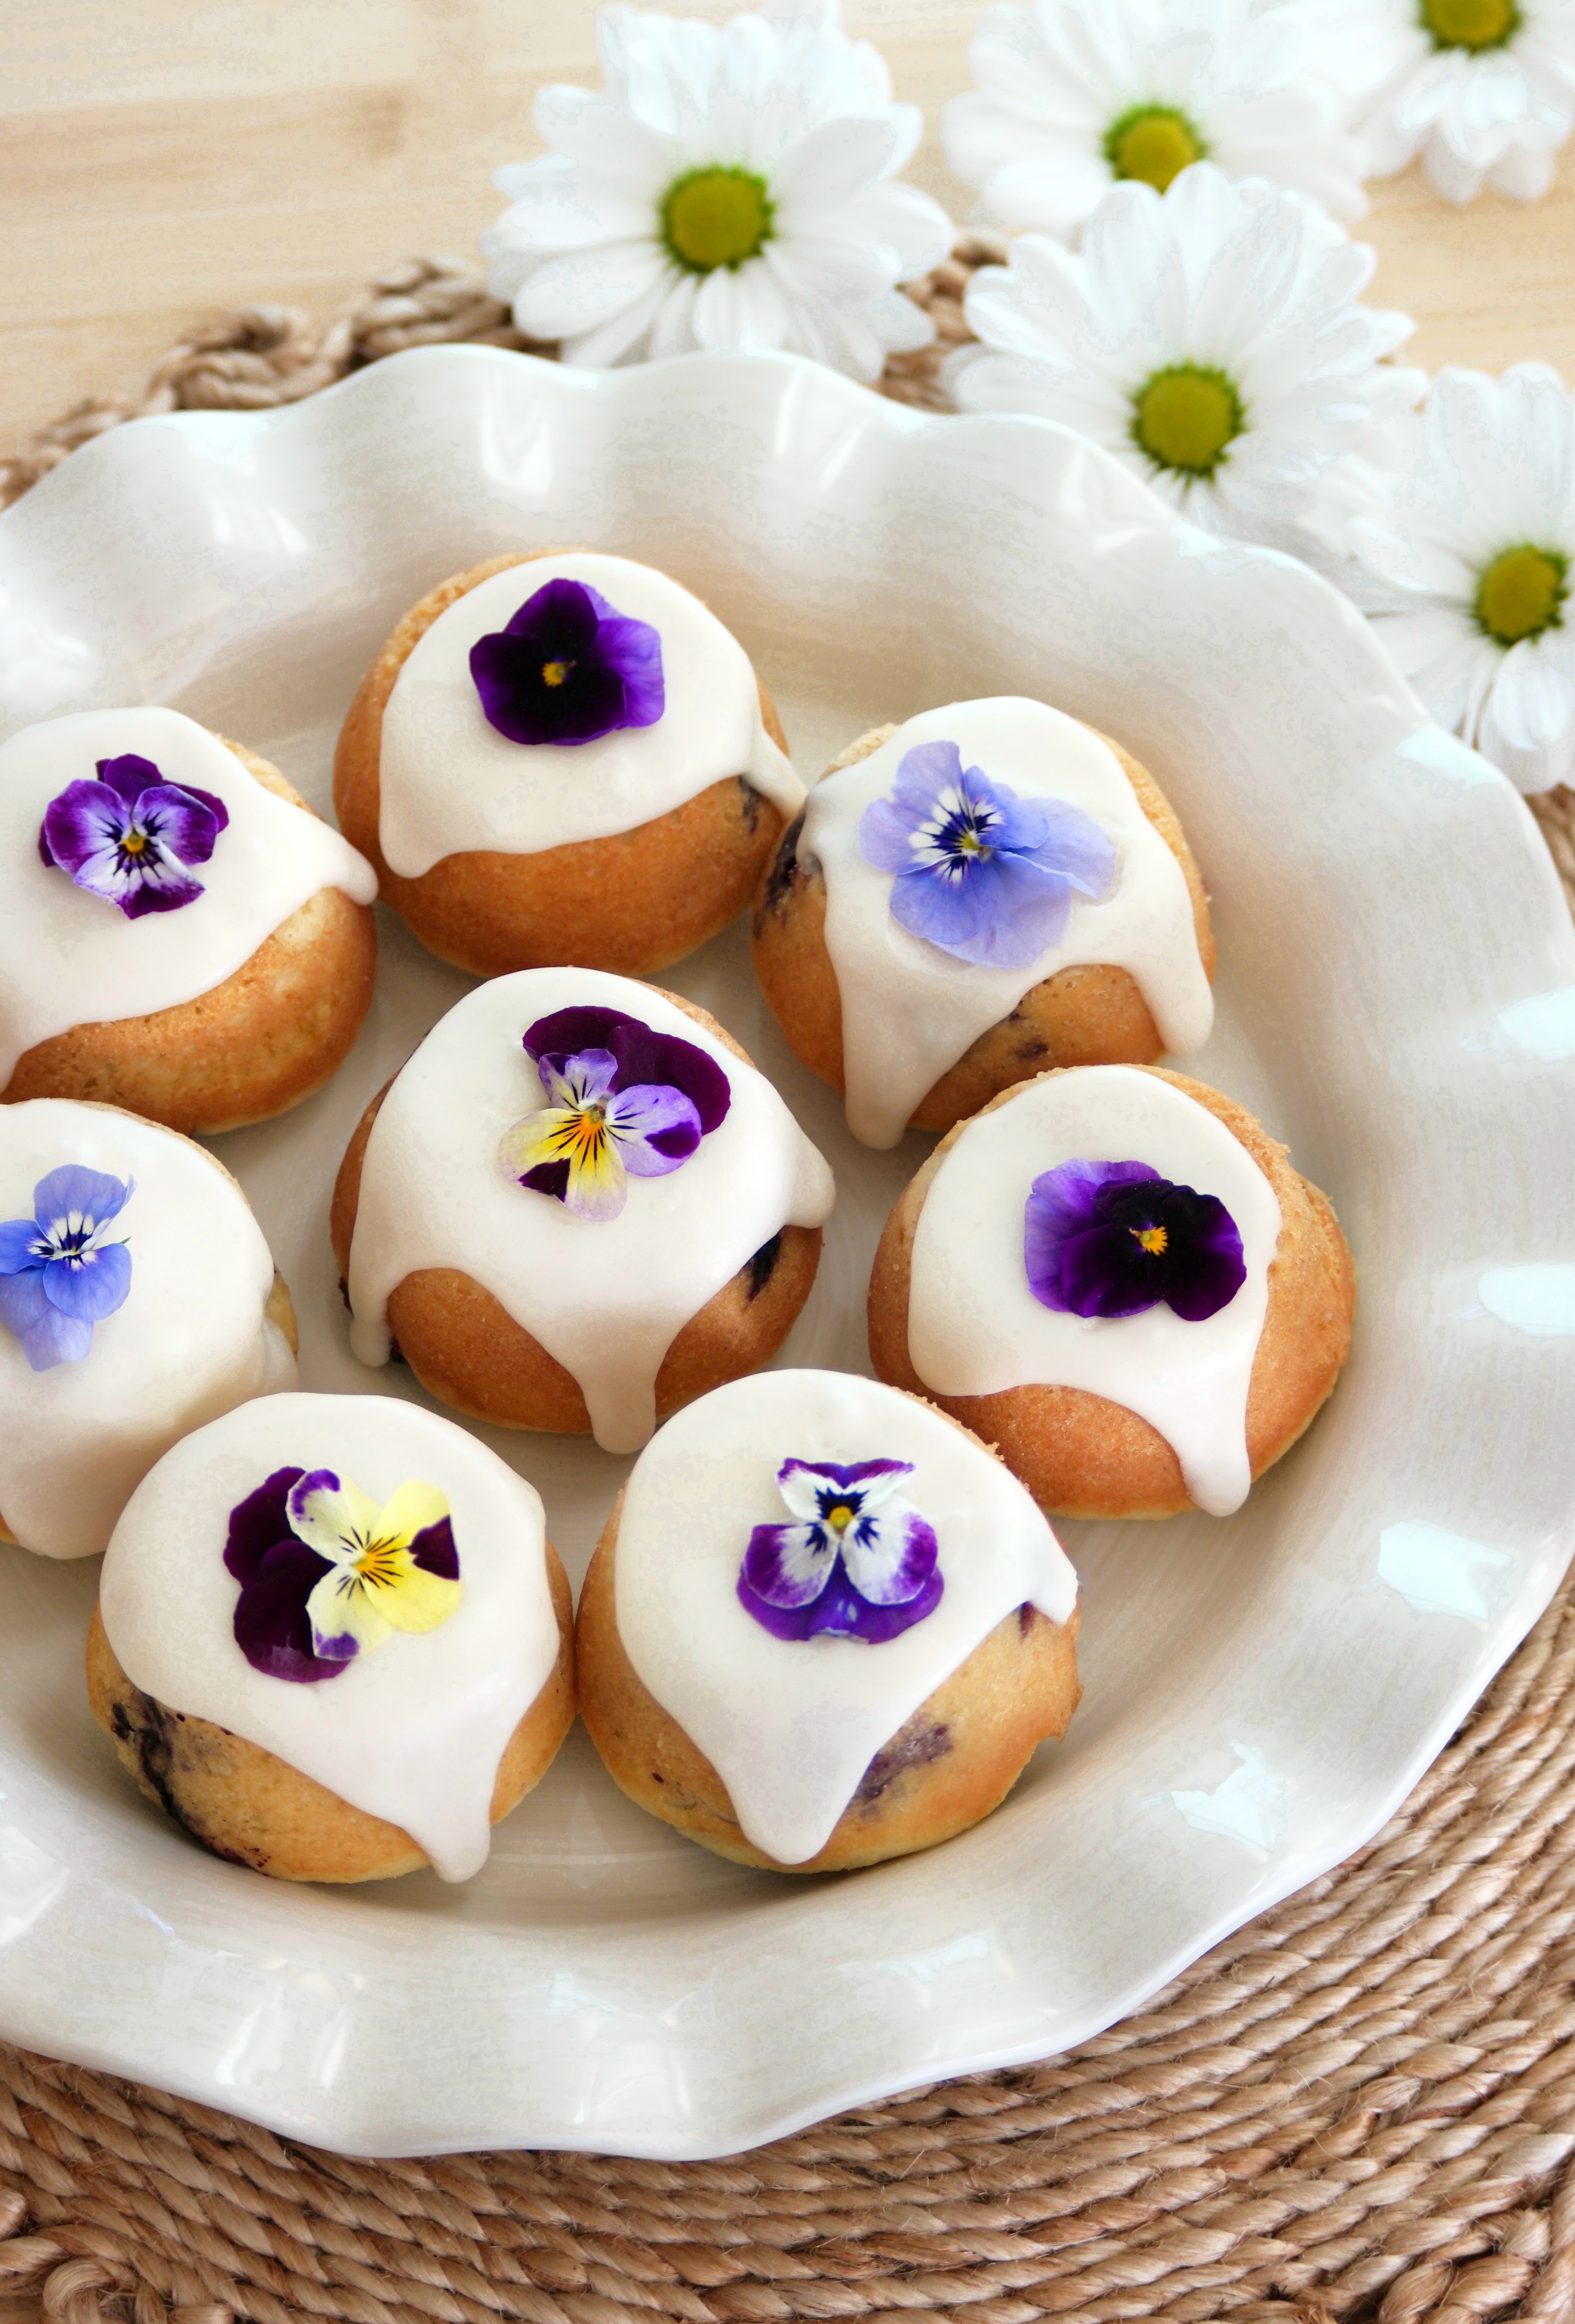
Mocha Pumpkin Spice Bread

Mocha Pumpkin Spice Bread

It wouldn’t be fall without PSL’s and pumpkin bread. This ultra moist, plush version of pumpkin bread has mocha batter swirled through it and a rich chocolate glaze that takes it over the top. It’s dangerously delicious and nearly impossible to eat just one slice. I think this will become your new favorite fall baking recipe.

Print Recipe
Mocha Pumpkin Spice Bread
Soft, ultra moist pumpkin spice bread, swirled with mocha and topped with a shiny chocolate glaze
Servings
loaf
Ingredients
Mocha Pumpkin Spice Bread
Chocolate Glaze
Servings
loaf
Ingredients
Mocha Pumpkin Spice Bread
Chocolate Glaze
Instructions
  1. Preheat the oven to 350ºF (180ºC). Line the bottom of a 9 x 5-inch loaf pan with parchment paper. Grease and flour the insides with a mixture of equal parts unsweetened cocoa powder and flour.
  2. In a medium-size bowl, whisk together the flour, pumpkin pie spice, baking powder, baking soda and salt until well combined.
  3. Set aside one tablespoon (15ml) of the oil. In a large bowl, beat the remaining oil, the sugar, brown sugar, eggs, evaporated milk and vanilla extract until smooth and well combined. Beat in the pumpkin purée until incorporated. Stir in the flour mixture just until combined.
  4. Place one cup (237g) of the batter in a separate medium-size bowl. Add the cocoa powder, espresso powder and the reserved one tablespoon of oil. Mix until incorporated.
  5. Place half of the pumpkin batter into the baking pan. Scoop the mocha batter into the pan, alternating with scoops of the remaining pumpkin batter. Swirl the batter with a skewer. Bake until a toothpick inserted into the center comes out clean or with a few moist crumbs attached (not wet batter), about 35-45 minutes. Let the loaf cool in the pan for 10 minutes, then turn the loaf out and continue cooling on a cooling rack.
Chocolate Glaze
  1. Melt the butter, chocolate, and corn syrup together in a medium-size heatproof bowl set over a pan of barely simmering water, making sure the water doesn't touch the bottom of the bowl. Stir gently until smooth. Set aside to cool slightly then spoon the glaze over the cooled loaf and let it drip down the sides.
Recipe Notes

To find the 9 x 5 inch loaf pan I used, click here.

Apple Fritter Cake with Brown Butter Icing

If you love apple fritters, you’ll adore this moist, tender cake that’s loaded with fresh apples and topped with rich brown butter icing. This is the best Apple Fritter Cake recipe I’ve ever tasted! A couple of simple steps give it the most flavor and the best texture. The apples are cooked briefly on the stovetop before being added to the batter. This gives the apples a better flavor and texture and prevents soggy spots in your cake. The juices that the apples release during this step are saved to add to the icing. The browned butter in the icing adds a rich, nutty flavor that takes this cake over the top.

Print Recipe
Apple Fritter Cake with Brown Butter Icing
A moist, tender, subtly spiced cake loaded with fresh apples and topped with rich brown butter icing
Course Brunch, Dessert
Keyword apple, cake
Servings
servings
Ingredients
Apples
Cake
Icing
Course Brunch, Dessert
Keyword apple, cake
Servings
servings
Ingredients
Apples
Cake
Icing
Instructions
Apples
  1. Melt the butter in a large skillet over medium heat. When the butter starts to bubble, add the apples. Sprinkle the sugar and cinnamon over the apples and cook, stirring occasionally until the apples release their juices and start to become tender, about 5-7 minutes. Remove from heat and set aside to cool to room temperature.
  2. Drain the cooled apples, reserving the juice for the icing.
Cake
  1. Preheat the oven to 350ºF (180ºC). Grease an 8-inch square baking dish. (I used a ceramic baking dish.*)
  2. In a medium-size bowl, whisk together the flour, cinnamon, baking soda, salt and nutmeg until well combined.
  3. In large bowl, beat the butter, granulated sugar and brown sugar together until light and fluffy. Beat in the egg until incorporated, then beat in the vanilla extract.
  4. Stir in the flour mixture in 2 additions, followed by half of the sour cream after each addition. Mix just until combined. Do not over mix. Fold in the cooled, drained apples.
  5. Transfer the batter to the baking dish. Smooth the top with a spatula. Bake until the cake is golden brown and springs back when lightly touched. A toothpick inserted into the center of the cake will be clean or have a few moist crumbs attached, about 23-28 minutes. Do not over bake.
Icing
  1. In a small light-colored saucepan over medium heat, melt the butter and cook until it's deep golden and fragrant. When brown specks start to appear, remove it from the heat and immediately transfer it to a small bowl. Set aside to cool to room temperature.
  2. In a medium bowl, mix the cooled brown butter with the powdered sugar, reserved apple juice, 1 tablespoon (15ml) of milk and the salt until well combined. Add additional milk as needed to achieve the desired consistency. Whisk until smooth. Spread the icing over the cooled cake.
Recipe Notes

*To find an 8-inch ceramic baking dish, click here.

Cherry Lemon Muffins

Cherry Lemon Muffins

Blueberry and lemon are a classic muffin flavor combination, but have you tried cherry and lemon? They complement each other beautifully in lemonade, so why not muffins? Cherries are plentiful at the moment so I came up with these pretty and delicious Cherry Lemon Muffins that are perfect for summer breakfast, brunch or picnics. They have a lovely soft, moist crumb that’s the quintessential muffin texture. Although I’ve been baking muffins since childhood, I learned to refine my muffins in culinary school. Here are a few helpful tips:

~ Muffins with big hole or tunneling may have too much leavening or it wasn’t mixed in evenly. Whisk the leavening agent into the flour thoroughly. Tunnels can also be caused by mixing the batter too aggressively.

~ Dry muffins were likely over baked or have too much flour.

~ Rubbery muffins were likely over mixed.

~ Soggy or gummy muffins were either underbaked or too much wet fruit was added. Try macerating the fruit first to release excess juices. This helps to prevent soggy spots in your muffins.

~ If you want tall, domed muffins, keep in mind that, although they look nice, domed muffins tend to be chewier and less tender. To get domes, try letting the batter rest a few minutes before baking if the muffins contain baking powder. You can also try giving the muffins a boost of high heat by starting them out with a higher temperature 400ºF (200ºC) then drop the temperature to 350ºF (180ºC) after a few minutes.

~ To keep crumble topping from sinking, make sure to work the cold butter into the flour mixture thoroughly, until it looks like wet sand and no large pieces of butter remain. Press the mixture together to form chunks, then chill it in the refrigerator before topping the muffins.

~ To keep fruit from sinking, lightly coat it with flour. Thick, voluminous batter is best for adding fruit.

Print Recipe
Cherry Lemon Muffins
Tender, moist lemon muffins studded with fresh cherries, topped with crumb topping and pink cherry-lemon icing
Servings
muffins
Ingredients
Crumb Topping
Cherry Lemon Muffins
Icing
Servings
muffins
Ingredients
Crumb Topping
Cherry Lemon Muffins
Icing
Instructions
Crumb Topping
  1. In a medium-size bowl, whisk the flour, sugar, and salt together. Work in the butter with your fingertips until the mixture looks like the consistency of sand with no large pieces of butter. Press the mixture together to make chunks. Set aside in the refrigerator until ready to use.
Muffins
  1. In a medium-size bowl, combine the cherries and 1 tablespoon (13g) of sugar. Let stand 30 minutes, then drain the cherries, reserving the juice.
  2. Preheat the oven to 375ºF (190ºC). Line a 12-serving muffin pan with tulip muffin liners.* (You can also use standard muffin liners. They hold less batter so you'll end up with a couple of extra muffins.)
  3. In a medium bowl, whisk the flour, baking powder, baking soda and salt together until well combined.
  4. In a large bowl, beat the butter, 1 cup (200g) of sugar and lemon zest with an electric mixer at medium speed, until light and fluffy. Beat in the eggs, one at a time, until incorporated. Beat in the extracts. On low speed, mix in the flour mixture in two additions, followed by half of the sour cream after each addition. Beat just until combined. Do not over mix. Reserve a couple of tablespoons of the chopped cherries. Coat the remaining cherries with 2 teaspoons of flour, then gently fold them into the batter.
  5. Divide the batter evenly into muffin liners. (If using standard muffin liners, fill 3/4 full.) Top with the reserved cherries and the crumb topping. Bake at 375ºF (190ºC) for 5 minutes. Turn the oven heat down to 350ºF (180ºC) and continue baking the muffins until a toothpick inserted into the centers comes out clean, about 12-17 more minutes. Do not over bake.
  6. Transfer the muffins to a cooling rack to cool completely. Drizzle with icing and top with cherries if desired.
Icing
  1. In a small bowl, whisk the powdered sugar, cherry juice, heavy cream, and 1 tablespoon of lemon juice together until smooth. Add additional lemon juice, if needed, until your desired consistency is reached.
Recipe Notes

*To find  tulip muffin liners, click here. To find floral tulip muffin liners, click here.

Sour Cream & Chive Biscuits

Sour Cream & Chive Biscuits

These soft, fluffy biscuits with buttery, golden edges are prefect for summer picnics and cookouts. I served them with grilled chicken, salad and peach iced tea. They also make delightful biscuit breakfast sandwiches.

Print Recipe
Sour Cream & Chive Biscuits
Servings
biscuits
Ingredients
Servings
biscuits
Ingredients
Instructions
  1. In a large bowl, whisk together the flour, sugar, baking powder and salt.
  2. Work the butter into the flour mixture with your fingertips until flat dime size pieces are formed. Stir in the chives.
  3. In a small bowl, whisk together the sour cream and the heavy cream. Stir this mixture into the flour mixture a little at a time until a shaggy dough is formed. Turn the dough out onto a lightly floured surface. Fold the dough over onto itself a few times. Do not overwork the dough. Form the dough into a 6-inch wide by 1-inch tall square. Cover and refrigerate for 30 minutes or freeze for 15 minutes. This will make the dough easier to cut.
  4. Meanwhile, preheat the oven to 400ºF (200ºC). Line a large baking sheet with parchment paper. Cut the dough square into nine 2-inch squares. Place the biscuits about 2 inches apart onto the prepared baking sheet. Brush the tops with heavy cream. Bake until golden brown, about 18-22 minutes. Transfer the biscuits to a cooling rack and immediately brush with melted butter. Apply the chive blossoms to the tops, if using.
Recipe Notes

*I used a microwave flower press kit to press the chive blossoms.  To see the press I used, click here.  Alternately, you can press the chive blossoms  between sheets of wax paper or parchment paper and weigh them down with a heavy book overnight.

Blueberry Muffin Upside Down Cake

Upside down cakes are so much fun and slightly exciting when you flip the pan over and cross your fingers. This blueberry version tastes like a soft, moist blueberry muffin in cake form. It’s heavenly served warm from the oven with vanilla ice cream or whipped cream on top.

Print Recipe
Blueberry Muffin Upside Down Cake
Servings
Ingredients
Servings
Ingredients
Instructions
  1. Preheat the oven to 350ºF (180ºC). Spray an 8-inch round cake pan* with nonstick spray.
  2. In a small saucepan, melt 6 tablespoons (85g) of the butter with the brown sugar and a pinch of salt. Simmer for 1 minute, then transfer the mixture to the cake pan. Arrange the blueberries on top.
  3. In a medium bowl, whisk together the flour, baking powder, cinnamon, nutmeg and 1/2 teaspoon of salt.
  4. In a medium bowl, beat the remaining 10 tablespoons (142g) of butter and the granulated sugar, with an electric mixer at medium speed, until light and fluffy. Beat in the eggs and the egg yolk in 3 separate additions, making sure each one is incorporated before adding the next. Beat in the vanilla extract until well combined. On low speed, beat in the flour mixture in 2 separate additions, followed by half of the milk after each addition. Beat unit combined.
  5. Gently spoon the batter into the cake pan over the top of the blueberries. Smooth the top with a spatula. Bake until the top is golden brown and a knife inserted into the center of the cake comes out nearly clean, about 45-50 minutes. You don't want to see raw batter on the knife, but a little moisture is okay. Let the cake cool in the pan for 5 minutes. Run a knife around the perimeter and invert the cake onto a serving platter. Serve warm or at room temperature.
Recipe Notes

To find my favorite  8-inch round cake pan, click here.

Lemon Bubble Bread

Lemon Bubble Bread

This fun, summery Lemon Bubble Bread is a soft, sweet, brioche-style pull-apart bread. It’s made in the same way as monkey bread, but with lemon zest instead of cinnamon. Small balls of bread dough are coated in melted butter, rolled in lemon sugar, then baked until golden and fluffy. I like drenching the fluffy puffs of bread in fresh lemon icing which, adds a burst of sweet-tart flavor.

Print Recipe
Lemon Bubble Bread
Soft, sweet lemon brioche-stye pull-apart bread
Servings
Ingredients
Lemon Bubble Bread
Lemon Sugar
Lemon Icing
Servings
Ingredients
Lemon Bubble Bread
Lemon Sugar
Lemon Icing
Instructions
Lemon Bubble Bread
  1. In a small bowl, combine the milk with 1/2 teaspoon of sugar. Stir in the yeast and let it bloom until it's foamy, about 5 minutes.
  2. In the bowl of a stand mixer fitted with a paddle attachment, mix the flour, salt and the remaining sugar until combined.
  3. In a small bowl, lightly whisk the egg, egg yolk and vanilla together. On low speed, gradually add the egg mixture and the milk mixture to the flour. Beat until combined. Switch to the dough hook. On medium speed, add the butter a little at a time, making sure each addition is incorporated before adding the next. Knead with the mixter until the dough is smooth and elastic, about 8-10 minutes. To determine if the dough is ready, pinch off a small piece of dough. It should stretch easily without tearing and look translucent.
  4. Form the dough into a ball and place it in a large oiled bowl. Turn the dough over to coat lightly with oil. Cover and let rise until doubled in size, about 1-1 1/2 hours. Meanwhile butter a 10-inch round baking dish* or a 10-inch cake pan.** (A 9-inch square baking dish also works.) Set aside and make the lemon sugar.
  5. Divide the dough into 20 equal portions and form them into balls. Brush the dough balls all over with melted butter, then roll them in the lemon sugar. Arrange the dough balls in the baking dish. Brush the tops with melted butter and sprinkle with any remaining lemon sugar. Let rise until almost doubled in size, about 20-30 minutes.
  6. Preheat the oven to 350ºF (180ºC). Bake until the top of the bubble bread is golden brown, about 20-25 minutes. Let cool for about 15-20 minutes, then top the warm bread with lemon icing.
Lemon Sugar
  1. Mix the sugar and lemon zest together in a shallow bowl or plate.
Lemon Icing
  1. In a small bowl, whisk the powdered sugar, lemon juice, salt and 1 tablespoon (15ml) of half & half together until smooth. Add additional half & half as needed to reach your desired consistency.
Recipe Notes

*To find a 10-inch round baking dish, click here.

*To find a 10-inch round cake pan, click here.

Easy Apricot Pastries

Easy Apricot Pastries

These cheerful apricot pastries are guaranteed to bring you some sunshine. They’re so cute and easy to make! They remind me of sunny-side-up-eggs. They’re perfect for a summer breakfast or brunch.

Print Recipe
Easy Apricot Pastries
Instructions
Apricot Pastries
  1. In a medium bowl, beat the cream cheese, sugar, egg yolk, heavy cream and vanilla together until smooth.
  2. Line 2 baking sheets with parchment paper. Place a puff pastry sheet on a lightly floured surface. Cut out four 4 1/2-inch rounds using a cookie cutter or trace a bowl using a paring knife. Score a border about 1/2 inch from the edge, making sure not to cut all the way through. I used a 3 1/2 inch cookie cutter for the border. Transfer the cut pastry to the baking sheets. Repeat with the 2nd pastry sheet. Refrigerate the dough rounds for 15 minutes. Meanwhile, preheat the oven to 400ºF (200ºC).
  3. Spoon or pipe the cream cheese filling within the border of each pastry round. Top each one with an apricot half. Brush the borders with egg wash. Bake until puffed and golden brown, about 17-20 minutes. Transfer to a cooling rack.
  4. In a small bowl, whisk the apricot preserves with 1 tablespoon (15ml) of water Brush this mixture over the warm pastries. Once the pastries are cool, drizzle them with icing.
Icing
  1. In a small bowl, whisk together the powdered sugar, heavy cream and 1 tablespoon (15ml) of milk until smooth. Add additional milk as needed to achieve your desired consistency. Add the almond extract and whisk until smooth.

Deluxe Cinnamon Swirl Bread

This dreamy Cinnamon Swirl Bread is a perfectly soft, tender loaf with two layers of brown sugar cinnamon. It was already delicious on its own, but I’m sure Grandma wouldn’t mind that I upgraded it with a generous amount of crumb topping and a drizzle of cream cheese icing. This versatile loaf is enjoyable year round. During spring, it’s delightful served with a cup of blueberry tea. On summer mornings, it’s perfect with a glass of peach iced tea. And of course, during fall and winter, this comforting loaf is cozy served with a mug of hot coffee or cocoa.

To watch the Instagram video, click here.

Print Recipe
Deluxe Cinnamon Swirl Bread
Soft, tender vanilla loaf cake with two layers of brown sugar-cinnamon swirl, topped with crumb topping and cream cheese icing
Course Breakfast, Brunch
Keyword cinnamon swirl, loaf
Servings
loaf
Ingredients
Crumb Topping
Cinnamon Swirl Bread
Cream Cheese Icing
Course Breakfast, Brunch
Keyword cinnamon swirl, loaf
Servings
loaf
Ingredients
Crumb Topping
Cinnamon Swirl Bread
Cream Cheese Icing
Instructions
Crumb Topping
  1. In a medium bowl, stir together the flour, brown sugar, sugar, cinnamon and salt until well combined. With your fingertips, work the butter into the flour mixture until it looks like wet sand with no large pieces of butter. Press the mixture together to form chunks. Set aside in the refrigerator until ready to use.
Cinnamon Swirl Bread
  1. Preheat the oven to 350ºF (180ºC). Line a 9 x 5-inch loaf pan with parchment paper.
  2. In medium bowl, stir together 1/2 cup (100g) of brown sugar and the cinnamon until well combined. Set aside.
  3. In a separate medium bowl, whisk together the flour, baking powder, baking soda and salt until well combined.
  4. In a large bowl, beat the butter, granulated sugar and the remaining 1/4 cup (50g) of brown sugar, with an electric mixer at medium speed, until light and fluffy. Beat in the eggs one at a time, making sure each one is fully incorporated. Beat in the vanilla extract.
  5. In a small bowl or a glass measuring cup, whisk the milk and sour cream together. On low speed, beat the flour mixture into the batter in two additions, followed by half of the milk mixture after each addition. Mix just until combined.
  6. Transfer half of the batter to the prepared loaf pan. Sprinkle half of the brown sugar-cinnamon mixture over the batter. Swirl with a skewer. Add the remaining batter and repeat with the remaining brown sugar-cinnamon mixture. Sprinkle the crumb topping on evenly.
  7. Bake until a toothpick inserted into the center of the loaf comes out clean, about 50-60 minutes. (The toothpick may have some brown sugar or crumb topping on it, but not wet batter.) Let the loaf cool in the pan for 10 minutes, then transfer it to a cooling rack.
Cream Cheese Icing
  1. In a small bowl, whisk together the cream cheese, butter, powdered sugar, vanilla extract, salt and 1 tablespoon (30ml) of milk until smooth. Whisk in additional milk if needed to achieve your desired consistency. Drizzle the icing over the cooled loaf.
Recipe Notes

*To find my favorite cinnamon, click here.

Brown Butter Chocolate Chip Scones

Brown Butter Chocolate Chip Scones

Brown Butter Chocolate Chip Scones are the perfect spring transition bake. They’re cozy enough for rainy days with a cup of hot coffee or tea, but light enough to serve at a spring brunch. The brown butter gives them a fragrant, nuttiness which makes them so much more delicious than most other chocolate chip scones. I used extra large chocolate chips, but feel free to use your favorite chips.

Print Recipe
Brown Butter Chocolate Chip Scones
Tender scones made with brown butter, studded with chocolate chips and topped with crunchy coarse sugar.
Instructions
  1. In a small light colored saucepan over medium heat, melt the butter and cook it until it's deep golden and fragrant. When brown specks begin to appear, remove it from the heat and immediately transfer it to a small bowl. Cover and refrigerate the brown butter until firm, about 2-3 hours or overnight. When the butter has firmed up, cut it into cubes.
  2. Preheat the oven to 375ºF (190ºC). Line a large baking sheet* with parchment paper.
  3. In a large bowl, whisk together the flour, baking powder and salt. Whisk in the brown sugar.
  4. Work the brown butter into the flour mixture with your fingertips or with a pastry blender until pea size pieces are formed.
  5. In a small bowl, whisk together the heavy cream, sour cream, egg yolk and vanilla. Pure this mixture into the flour mixture. Stir just until a shaggy dough forms. Fold in the chocolate chips.
  6. Turn the dough out onto a lightly floured surface. Fold the dough over onto itself a couple of times. Do not overwork the dough. Form the dough into a 7-inch wide, 1-inch thick round. Cut it into 8 wedges.
  7. Place the scones onto the prepared baking sheet. Brush the tops of the scones with heavy cream and sprinkle with coarse sugar. Bake until the scones are golden brown, about 15-18 minutes. Serve warm.
Recipe Notes

*To find the baking sheet I used, click here.  

Blueberry Cornmeal Tea Cakes with Honey Butter Icing

Blueberry Cornmeal Tea Cakes with Honey Butter Icing

If you’re looking forward to spring as much as I am, you’ll love these tender, fluffy Blueberry Cornmeal Tea Cakes. They taste like soft, sweet cornbread with the added freshness of juicy blueberries. The Honey Butter Icing adds the perfect, sweet finish. Who doesn’t love cornbread slathered with honey and butter? It’s a match made in heaven and it works so well on these delightful tea cakes.

I placed them upside down because they look more pretty and elegant that way. I added some fresh, pesticide free violas to the tops. They would also be cute decorated with fresh blueberries or chamomile flowers.

This versatile recipe can also be made into muffins by filling the muffin pan cups 2/3 full instead of 1/2 full. The baking time may be a little longer. Place the muffins right side up on the cooling rack.

To see the inside of the tea cakes, watch the TikTok video. Click here.

Print Recipe
Blueberry Cornmeal Tea Cakes with Honey Butter Icing
Sweet, soft cornbread cakes with blueberries, topped with honey butter icing
Servings
Ingredients
Blueberry Cornmeal Tea Cakes
Honey Butter Icing
Servings
Ingredients
Blueberry Cornmeal Tea Cakes
Honey Butter Icing
Instructions
Blueberry Cornmeal Tea Cakes
  1. Preheat the oven to 350ºF (180ºC). Grease and flour a 12-serving muffin pan*.
  2. In a large bowl, whisk together the flour, sugar, cornmeal, baking powder and salt.
  3. In a medium bowl, whisk together the eggs, sour cream, oil, butter, vanilla and lemon zest until smooth.
  4. Stir the wet ingredients into the dry ingredients until combined. Don't over mix. A few lumps are okay. Fold in the blueberries.
  5. Fill the muffin cups half full. Bake until the tops of the cakes are light golden, the tops are springy and a toothpick inserted into the center of the cakes comes out clean, about 14-16 minutes.
  6. Cool the cakes in the pan for 5 minutes, then remove them from the pan and place them upside down on a cooling rack. Top the cooled cakes with Honey Butter Icing.
Honey Butter Icing
  1. In a medium bowl, whisk together the powdered sugar, butter, honey, salt and 1 tablespoon of milk. Add additional milk as needed to achieve your desired consistency. Whisk until smooth.
Recipe Notes

To find the muffin pan I used, click here.

Strawberry Crumb Cake


Print Recipe


Strawberry Crumb Cake

Tender vanilla crumb cake topped with fresh strawberries, plenty of crumb topping and fresh strawberry icing

Keyword cake, strawberry

Servings


Ingredients
Crumb Topping

Cake

Fresh Strawberry Icing

Keyword cake, strawberry

Servings


Ingredients
Crumb Topping

Cake

Fresh Strawberry Icing


Instructions
Crumb Topping
  1. In a medium bowl, whisk the flour, sugar , brown sugar and salt together.

  2. Work in the butter with your fingertips until the mixture looks like wet sand. Press it together to form chunks. Set aside in the refrigerator until ready to use.

Cake
  1. Preheat the oven to 350ºF (180ºC). Line the bottom of an 8-inch cake pan with a removable bottom or an 8-inch springform pan, with parchment paper. Grease and flour the insides or line with a strip of parchment paper.

  2. In a medium bowl, whisk together the flour, baking powder and salt. Set aside.

  3. In a large bowl, cream the butter and sugar with an electric mixer on medium speed, until light and fluffy.

  4. Beat the egg, egg yolk and vanilla into the butter mixture in 3 separate additions, making sure each addition is incorporated before adding the next.

  5. In a small bowl, whisk the milk and sour cream together. On low speed, mix the flour mixture into the batter in two additions alternating with half of the milk mixture. Beat just until combined.

  6. Transfer the batter to the prepared pan. Smooth the batter with a spatula. Place the strawberries evenly on top of the batter. Sprinkle the crumb topping over the top.

  7. Bake until the topping is golden brown and a toothpick inserted into the center of the cake comes out clean, about 48-55 minutes. Do not over bake. Let the cake cool in the pan for 10 minutes, then remove it from the pan and transfer it to a cooling rack.

Fresh Strawberry Icing
  1. In a medium bowl, whisk together the powdered sugar and puréed strawberries. Add the half & half a little at a time until your desired consistency is achieved. Whisk until smooth. Drizzle over the cooled cake.


Recipe Notes

To find the cake pan I used, click here.

Heavenly Glazed Vanilla Bean Scones

Heavenly Glazed Vanilla Bean Scones

I’ve often been asked to create a vanilla scone recipe. At first I thought vanilla scones seemed a bit uninteresting, but the perfectly tender texture combined with the fragrant addition of vanilla bean and luscious vanilla icing, changed my mind completely. They’re truly delicious and much better than any vanilla scones I’ve tasted in any coffee shop or bakery. The classic vanilla flavor pairs perfectly with all of the warm, cozy drinks of the season.

Print Recipe
Heavenly Glazed Vanilla Bean Scones
Tender vanilla bean scones with luscious vanilla bean icing
Course Breakfast, Brunch
Keyword scones, vanilla bean
Servings
scones
Ingredients
Vanilla Bean Scones
Vanilla Bean Icing
Course Breakfast, Brunch
Keyword scones, vanilla bean
Servings
scones
Ingredients
Vanilla Bean Scones
Vanilla Bean Icing
Instructions
Vanilla Bean Scones
  1. Line a large baking sheet with parchment paper.
  2. In a large bowl, whisk together the flour, sugar, baking powder and salt. Work the butter into the flour mixture with your fingertips or with a pastry blender until pea size pieces form.
  3. In a small bowl, whisk together the heavy cream, sour cream and vanilla. Stir the cream mixture into the flour mixture until a shaggy dough is formed.
  4. Turn the dough out onto a lightly floured surface. Fold the dough over onto itself a couple of times. Don't overwork the dough. Pat the dough into a 6 1/2-inch diameter, 3/4-inch thick round. Cut the dough into 8 wedges.
  5. Place the scones 2 inches apart onto the prepared baking sheet. Chill the scones in the refrigerator for 15-20 minutes.
  6. Preheat the oven to 375ºF (190ºC). Brush the tops of the scones with egg wash. Bake until the scones are golden brown, about 16-20 minutes. Transfer the scones to a cooling rack. Brush the tops of the cooled scones with vanilla bean icing.
Vanilla Bean Icing
  1. In a medium bowl, whisk together the powdered sugar, butter, vanilla, 1 tablespoon (15ml) of milk and the salt. Add additional milk as needed to reach your desired consistency.