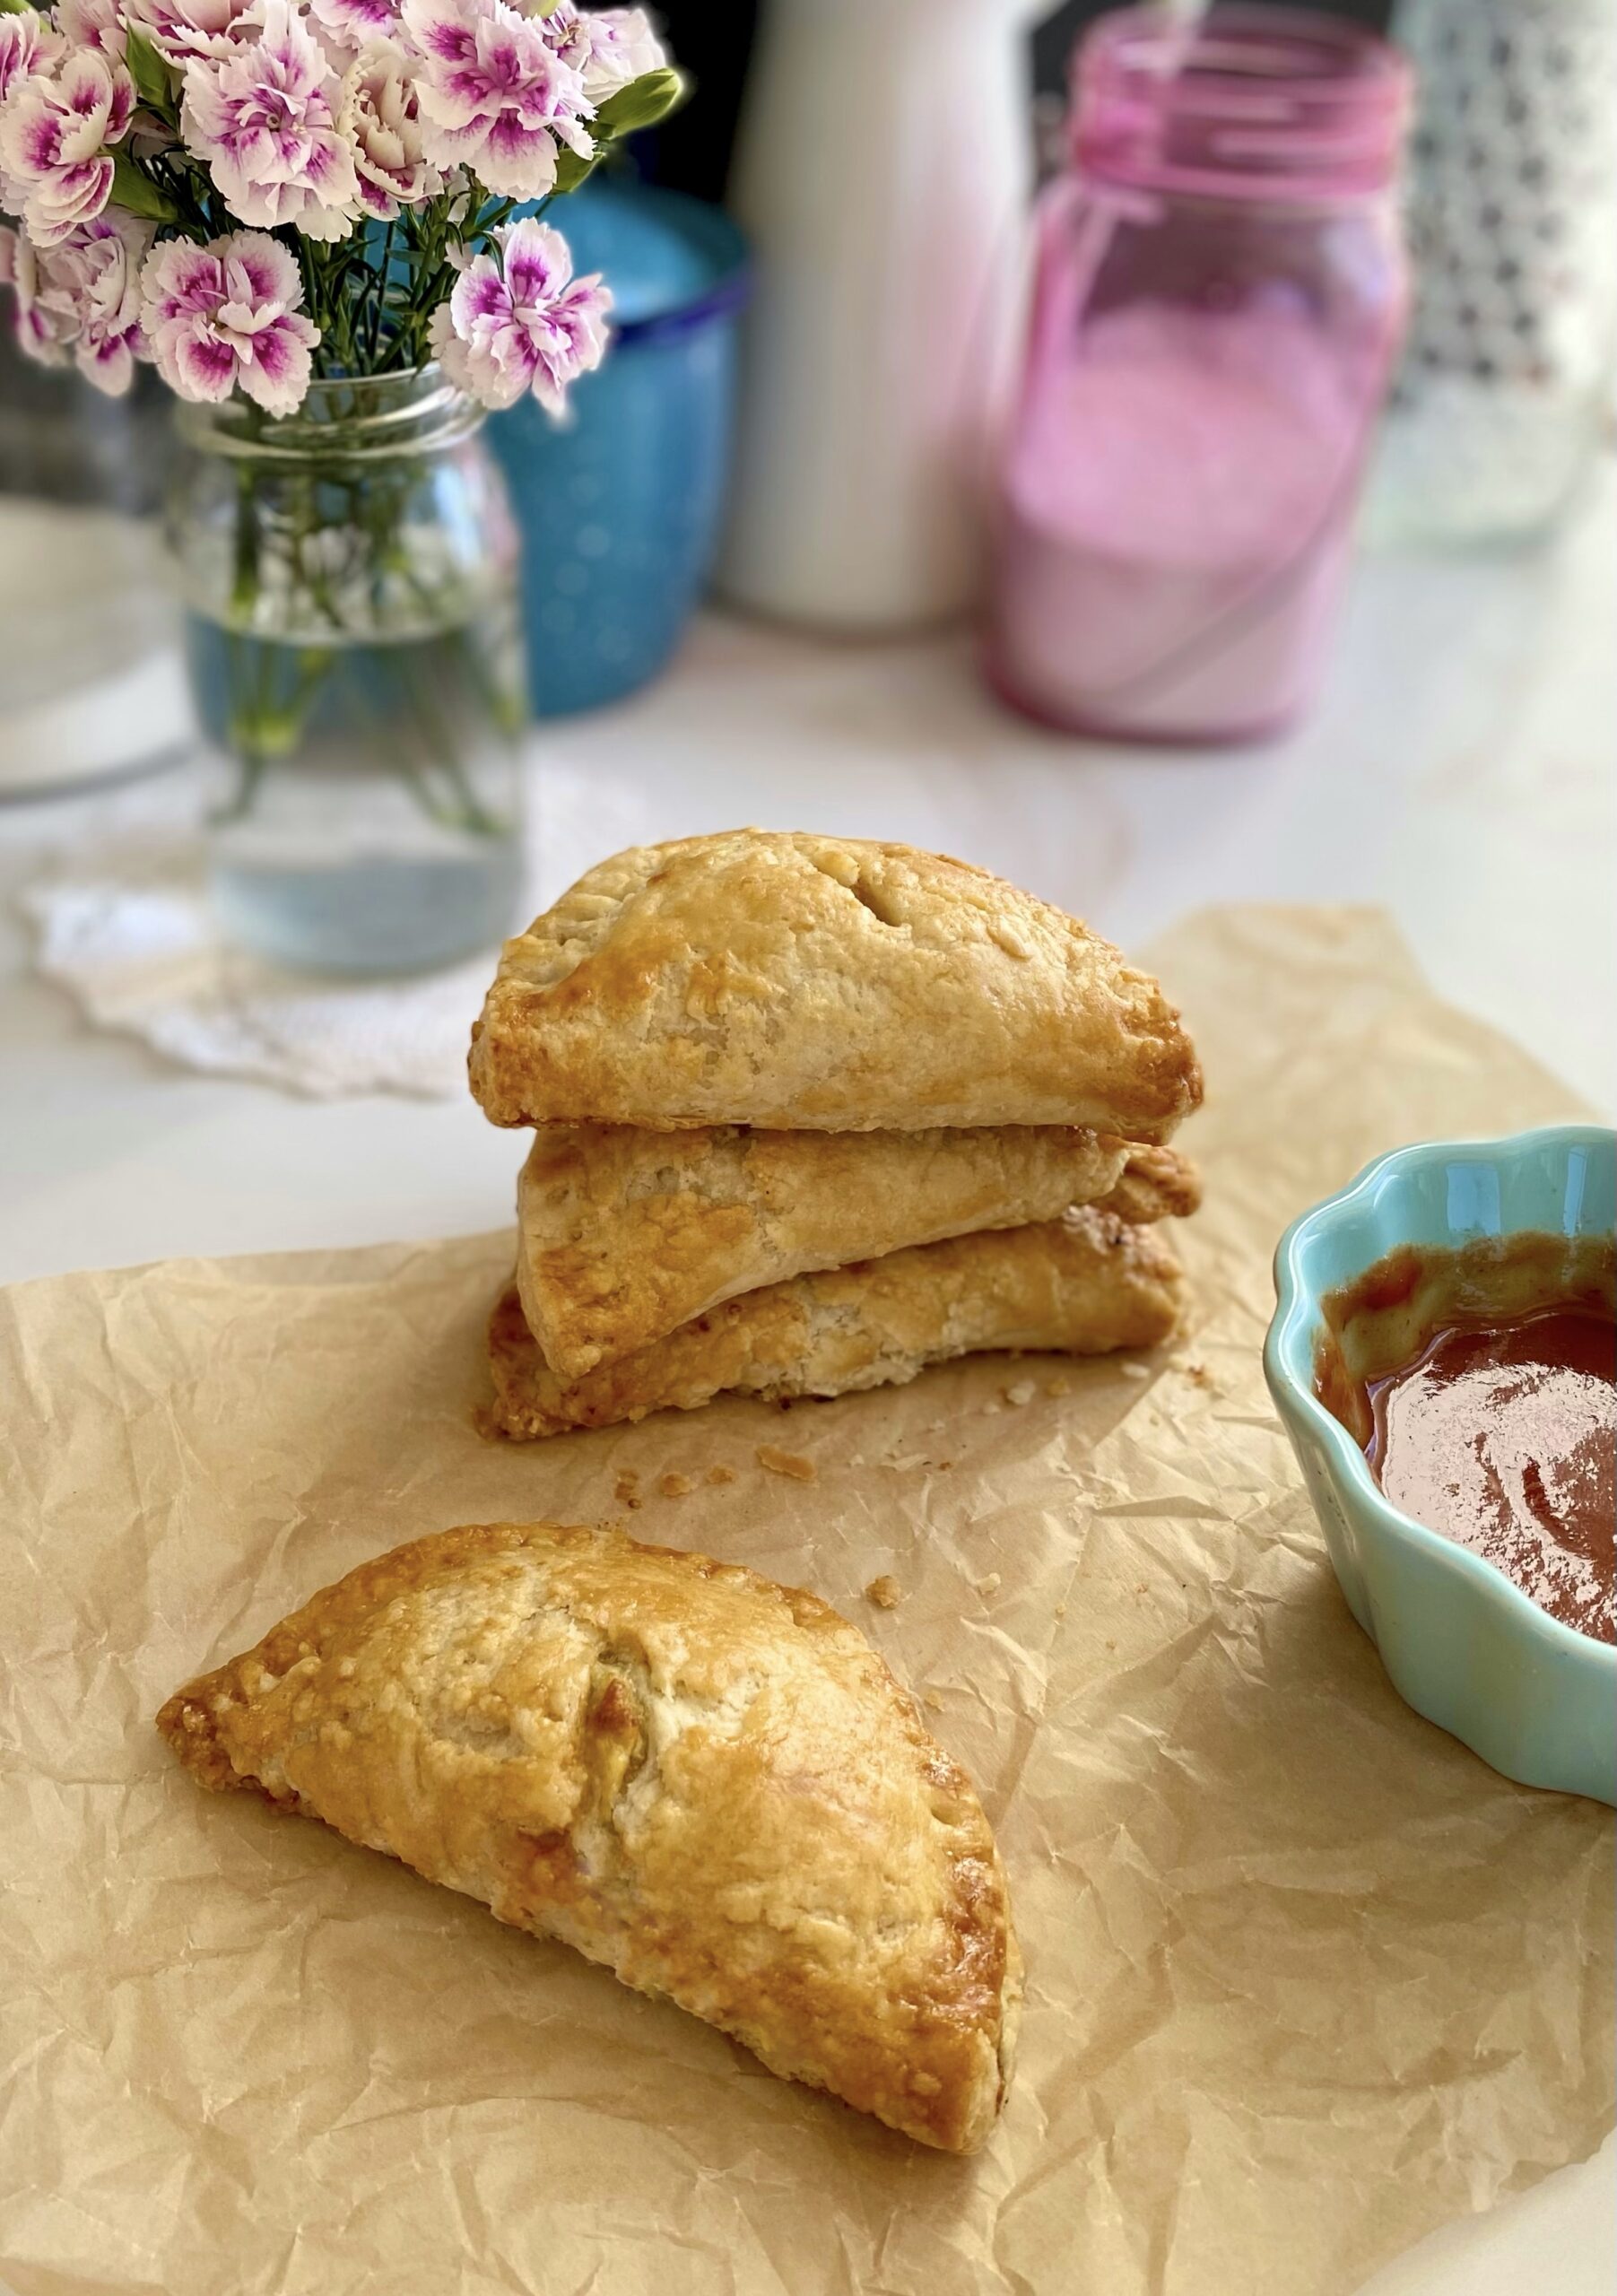
I had pineapple smoothies two days in a row. There’s something so vibrant and refreshing about pineapple. It feels sunny and tropical. Should scones ever feel sunny and tropical? I’m going to say yes, why not? Scones deserve a vacation too. They can take a break from tea parties and coffee shops and enjoy a little sunny picnic with iced tea or a beachfront breakfast or brunch with mimosas.
You’ll be pleasantly surprised when you experience your first bite of a scone with a burst of pineapple flavor. I immediately thought, “Why isn’t this a thing?” There are probably other pineapple scones out there in the universe, but they’re definitely not well known, like the very popular blueberry scone for example. I’m going to go so far as to say, pineapple scones are better than blueberry scones. And this is coming from a person who loves blueberries!
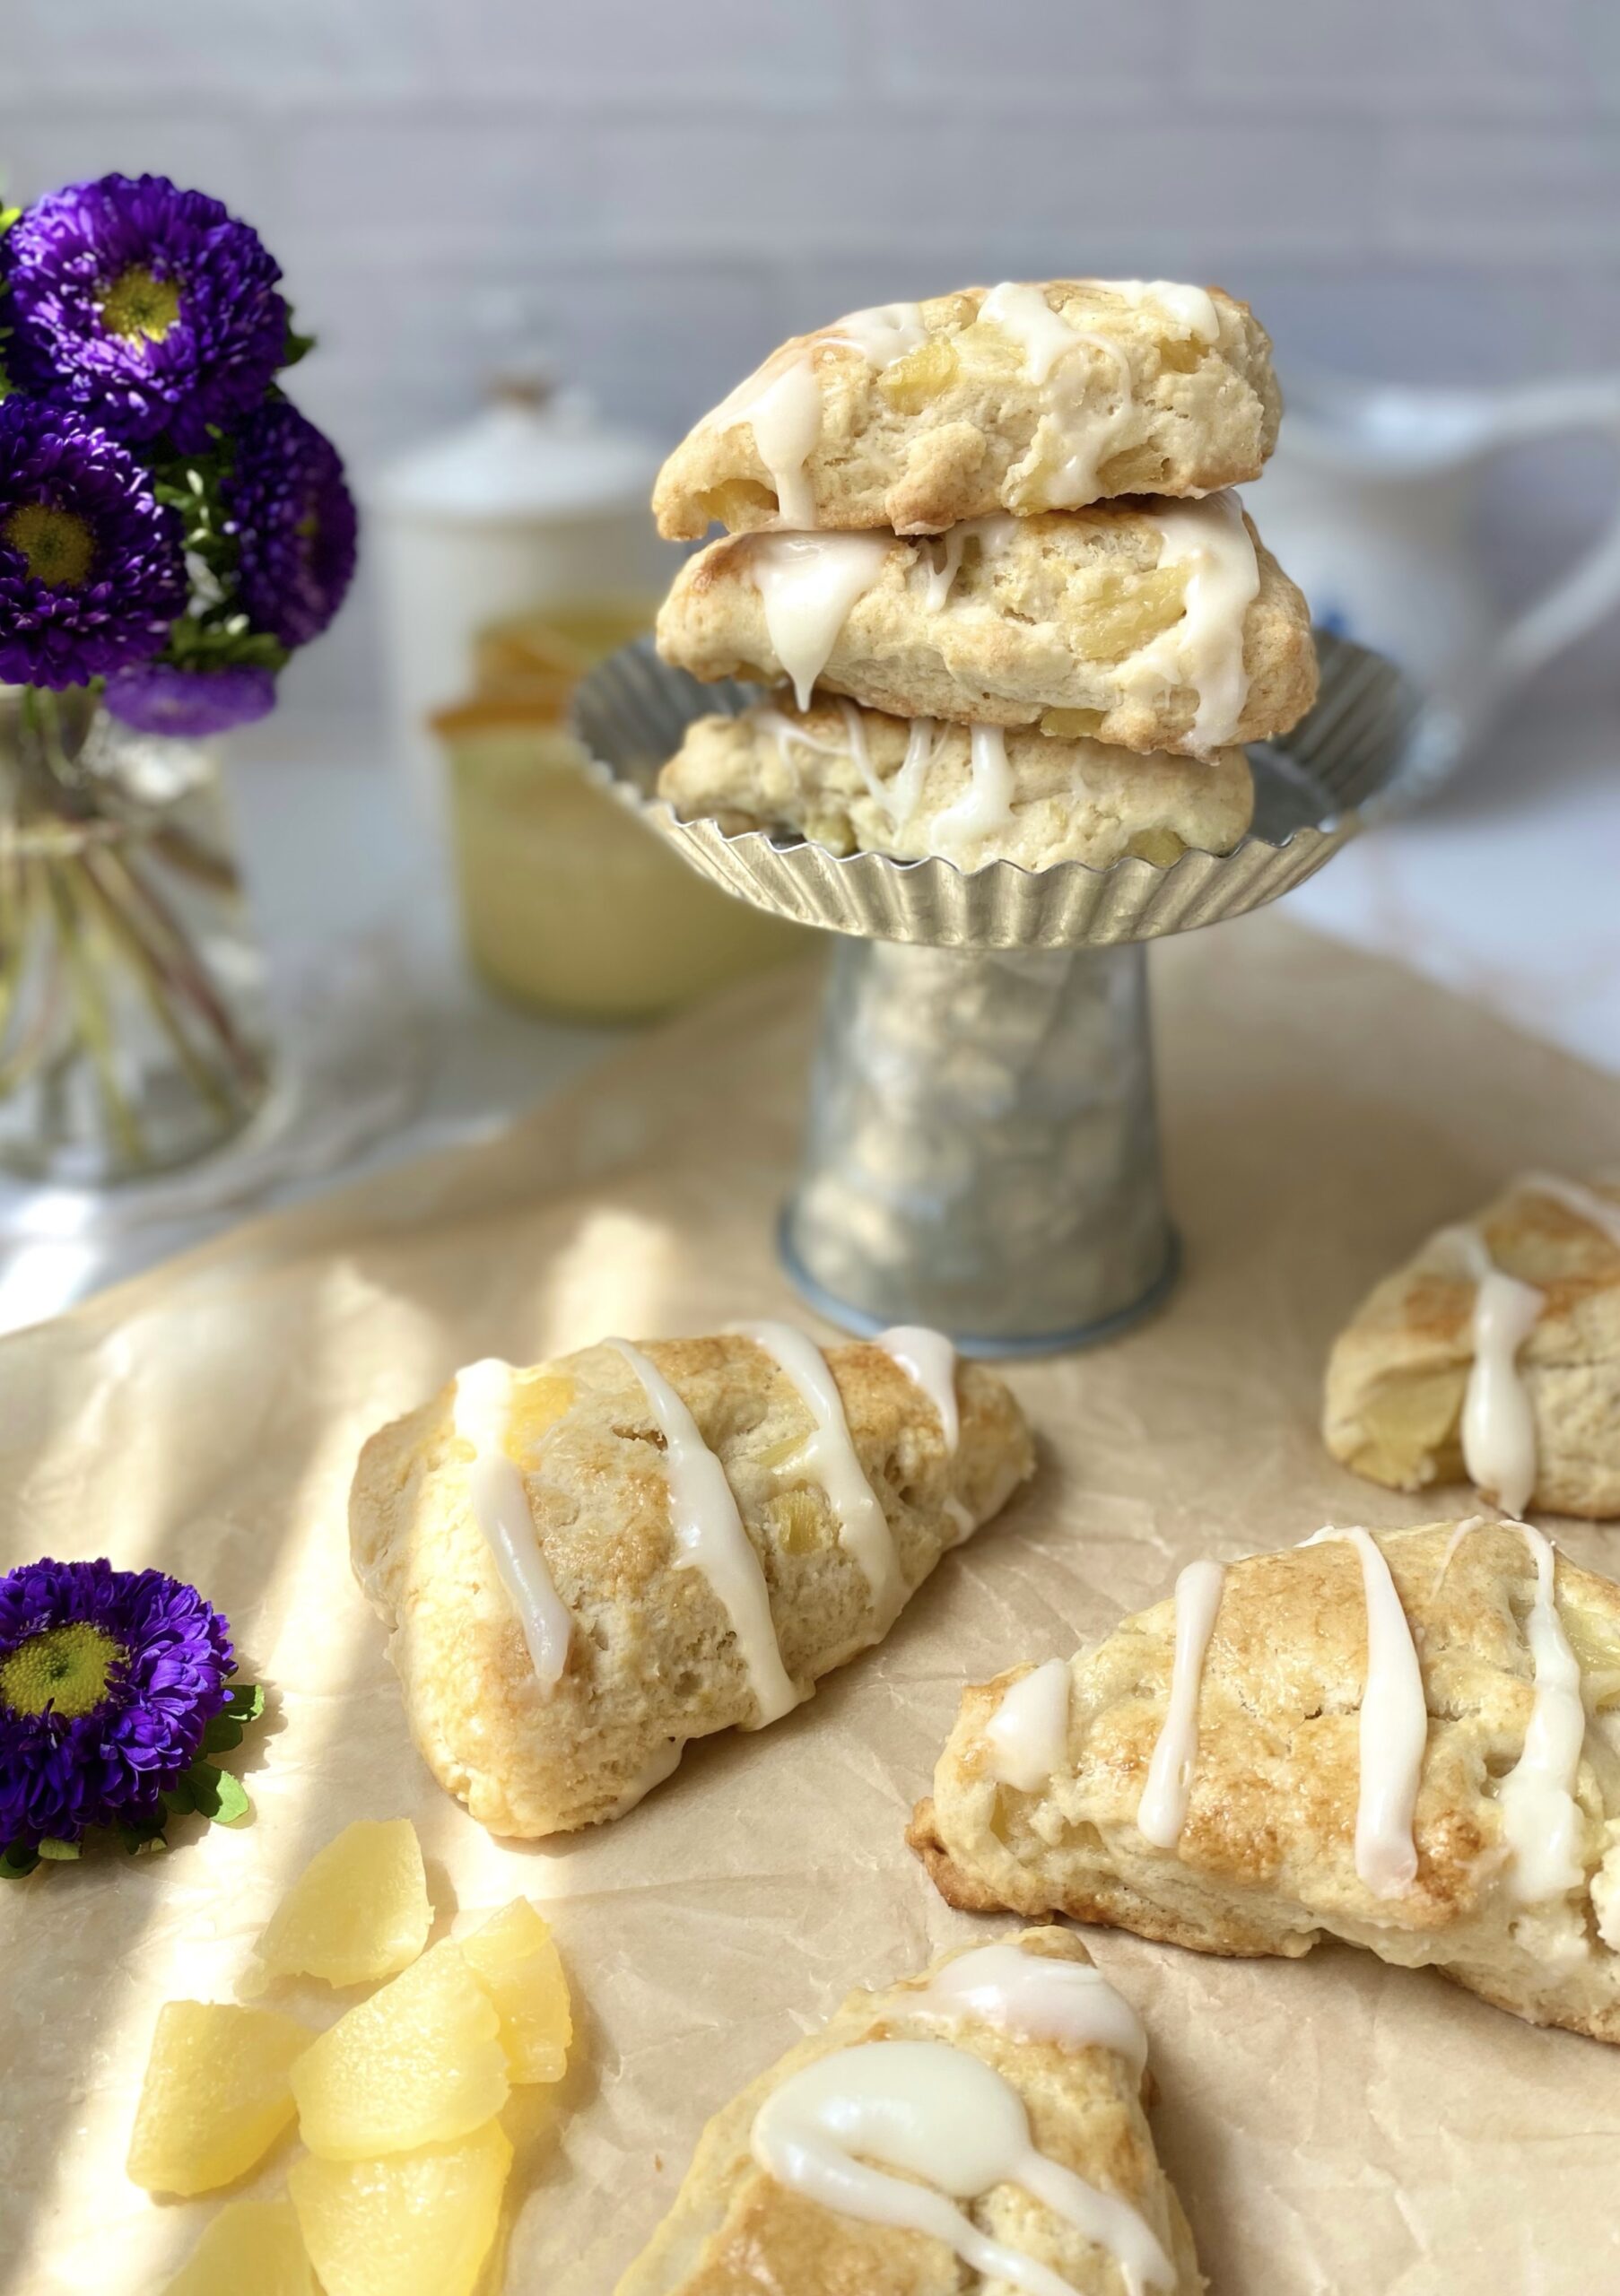
Pineapple Scones with Cream Cheese Icing
Ingredients
Pineapple Scones
- 1 ¾ cups (223g) all purpose flour, sifted
- 2 tablespoons (25g) sugar
- 1 tablespoon (14g) baking powder
- ½ teaspoon fine sea salt
- 7 tablespoons (99g) cold, unsalted butter, cubed
- ½ cup (118ml) cold heavy cream
- 2 tablespoons (30ml) pineapple juice
- 1 teaspoon pure vanilla extract
- 1 cup (170g) chopped pineapple, fresh or canned in juice Chop into 1/2-inch pieces. If using canned pineapple, drain well and reserve the juice
- Egg wash 1 egg whisked together with 1 tablespoon water
Cream Cheese Icing
- 2 tablespoons (28g) cream cheese, softened
- 1 tablespoon (14g) unsalted butter, softened
- ½ cup (57g) powdered sugar, sifted
- 2 tablespoons (30ml) pineapple juice
Instructions
Pineapple Scones
- Preheat the oven to 375ºF. (190ºC). Line a baking sheet with parchment paper.
- In a large bowl, whisk together the flour, sugar, baking powder and salt until well combined. Work the butter into the flour mixture with your fingertips or with a pastry blender until pea size pieces form.
- In a small bowl, whisk together the heavy cream, pineapple juice and vanilla. Stir the heavy cream mixture into the flour and butter mixture until a shaggy dough is formed. Gently stir in the pineapple.
- Turn the dough out onto a lightly floured surface. Fold the dough over onto itself a few times. Do not overwork the dough. Pat or roll the dough into a 7-inch round. Cut the dough into 8 wedges.
- Place the scones about 2 inches apart onto the prepared baking sheet. Brush the scones with egg wash. Bake until golden brown, about 18-22 minutes. Transfer the scones to a cooling rack.
Cream Cheese Icing
- In a medium-sized bowl, stir the cream cheese with a spatula until smooth. Add the butter and beat until smooth and well combined. Whisk in the powdered sugar and pineapple juice until smooth. Drizzle the icing over the cooled scones.