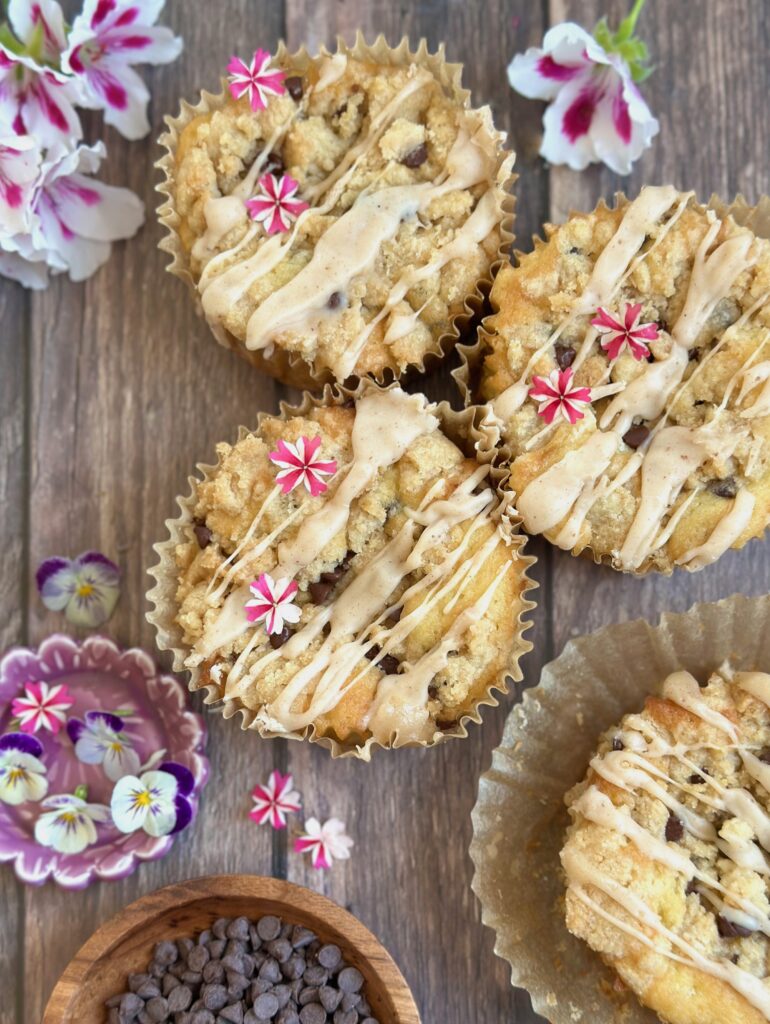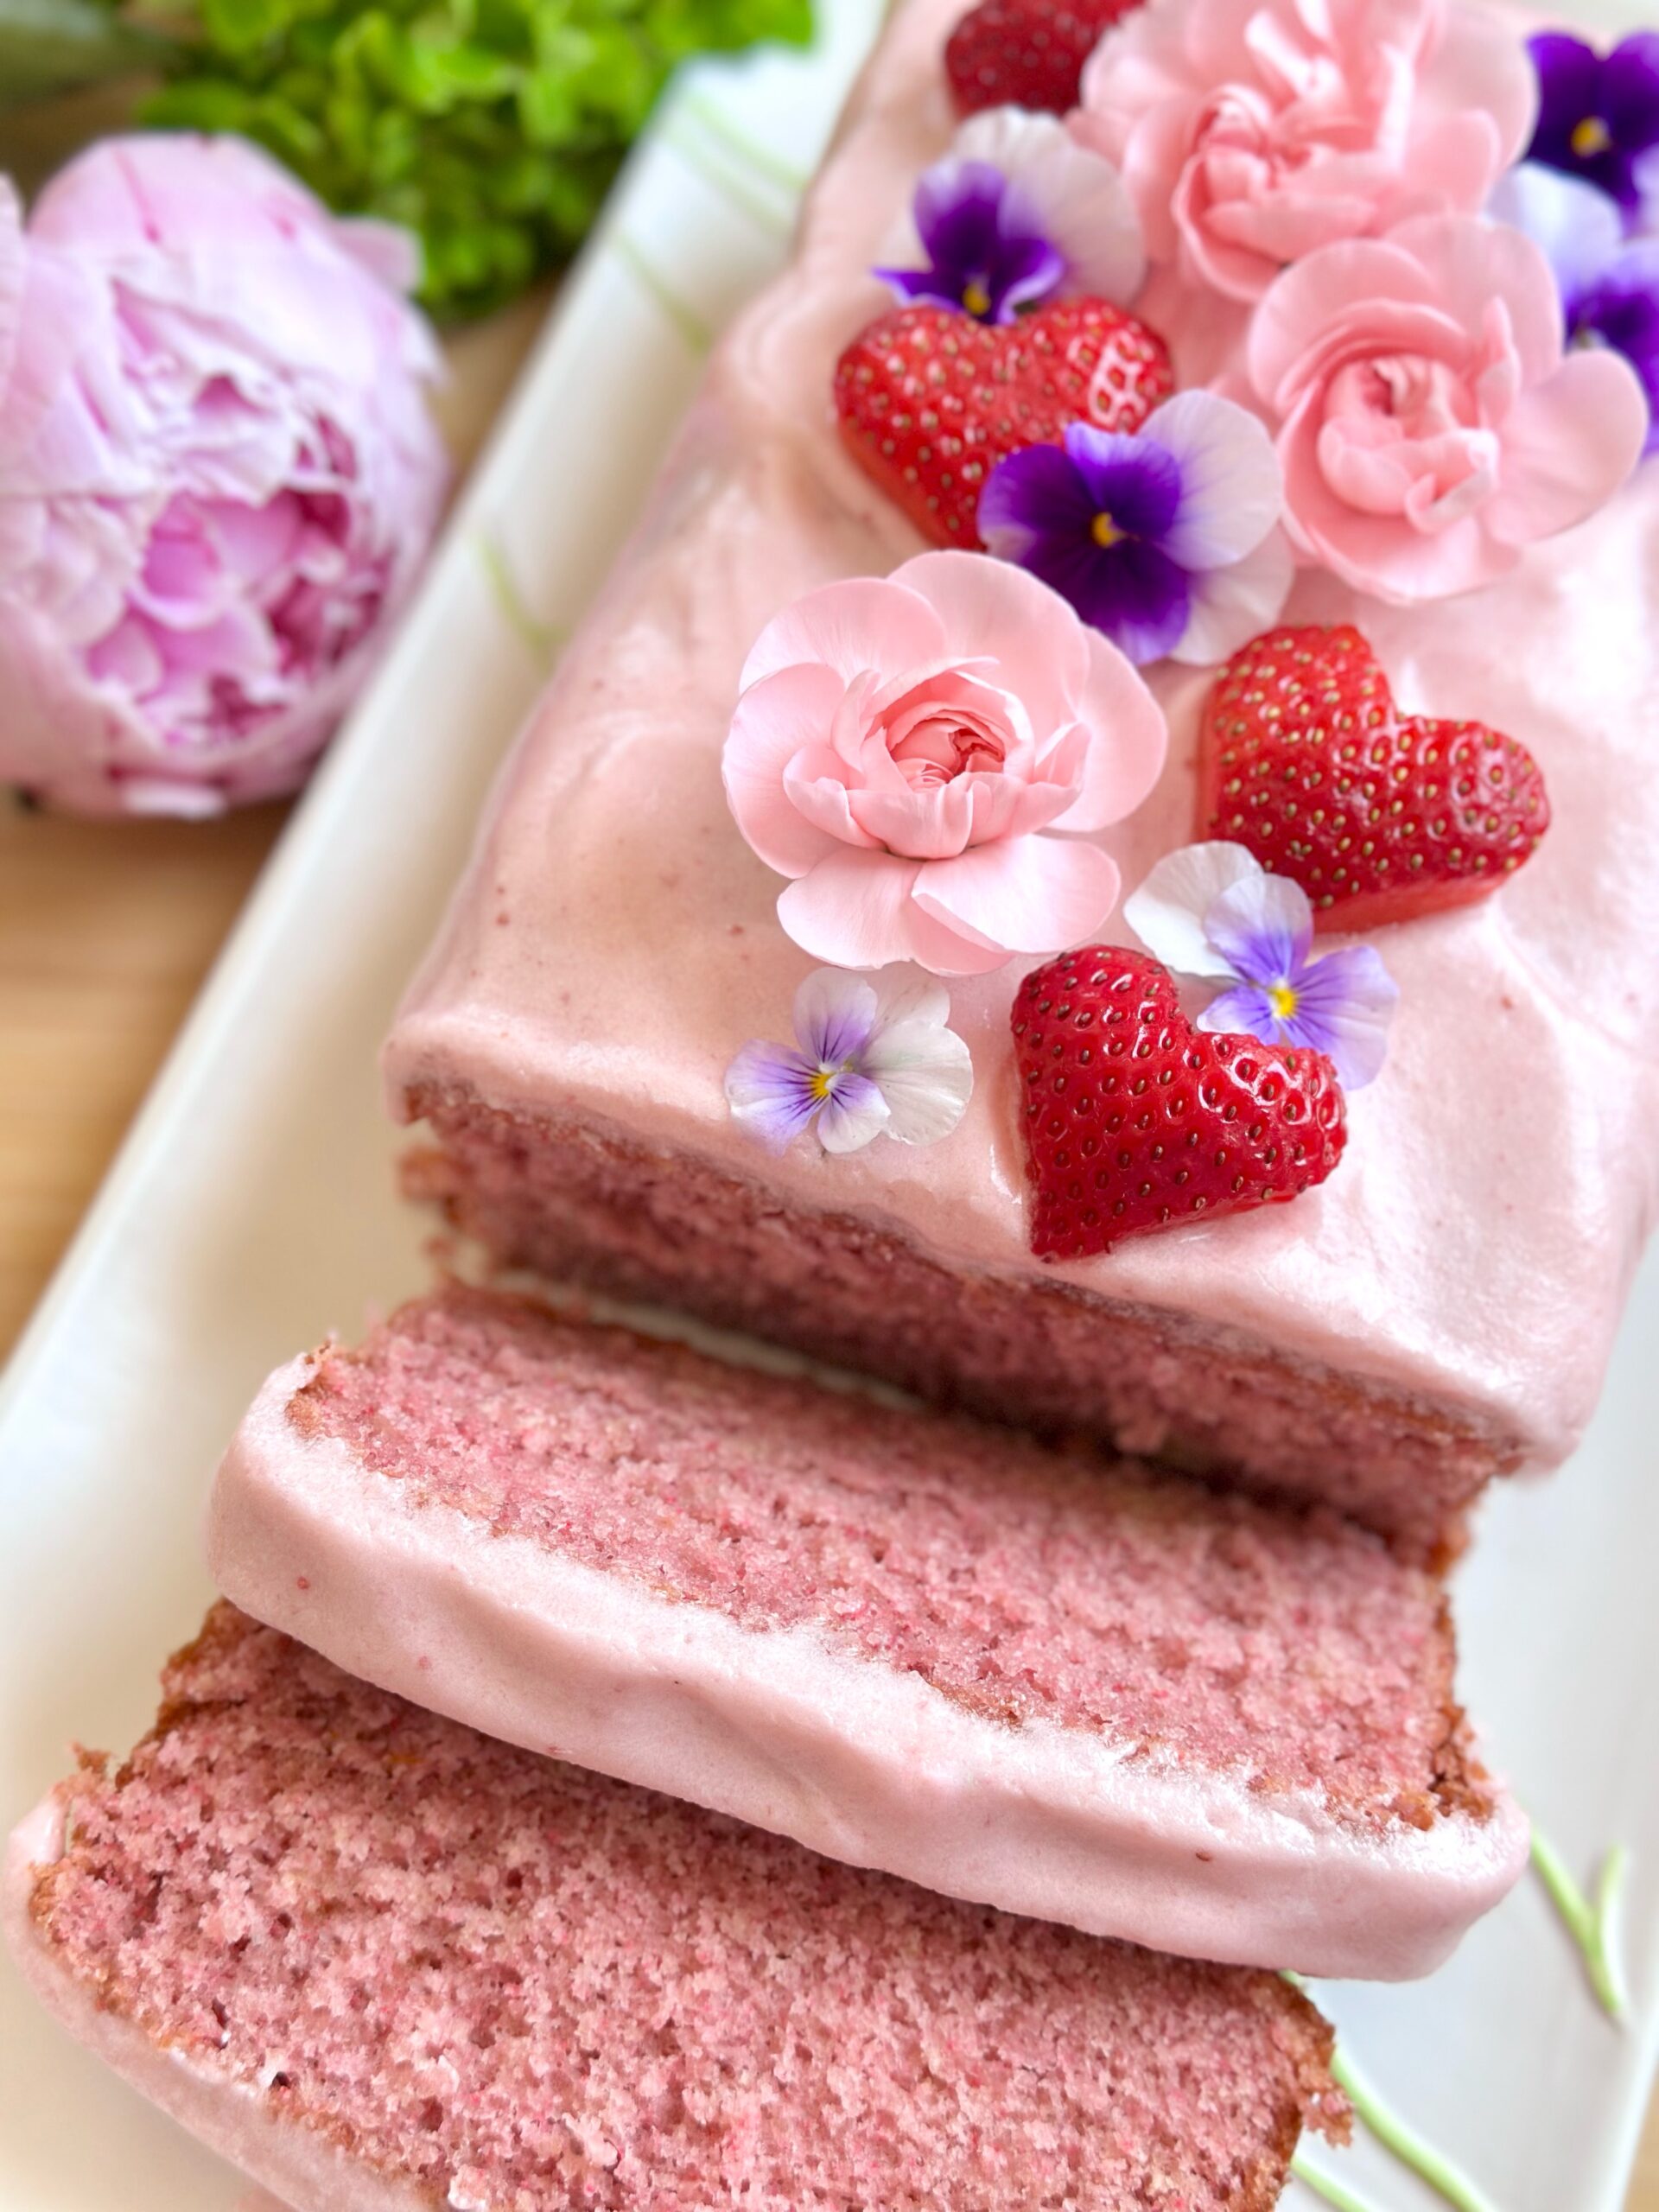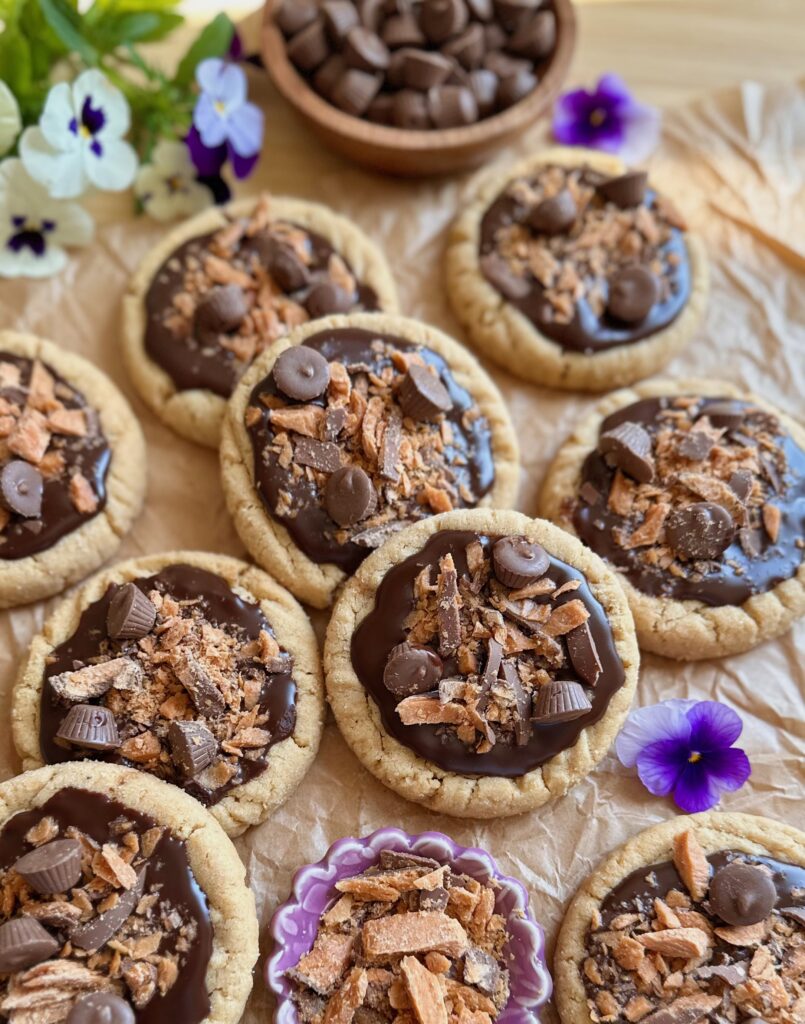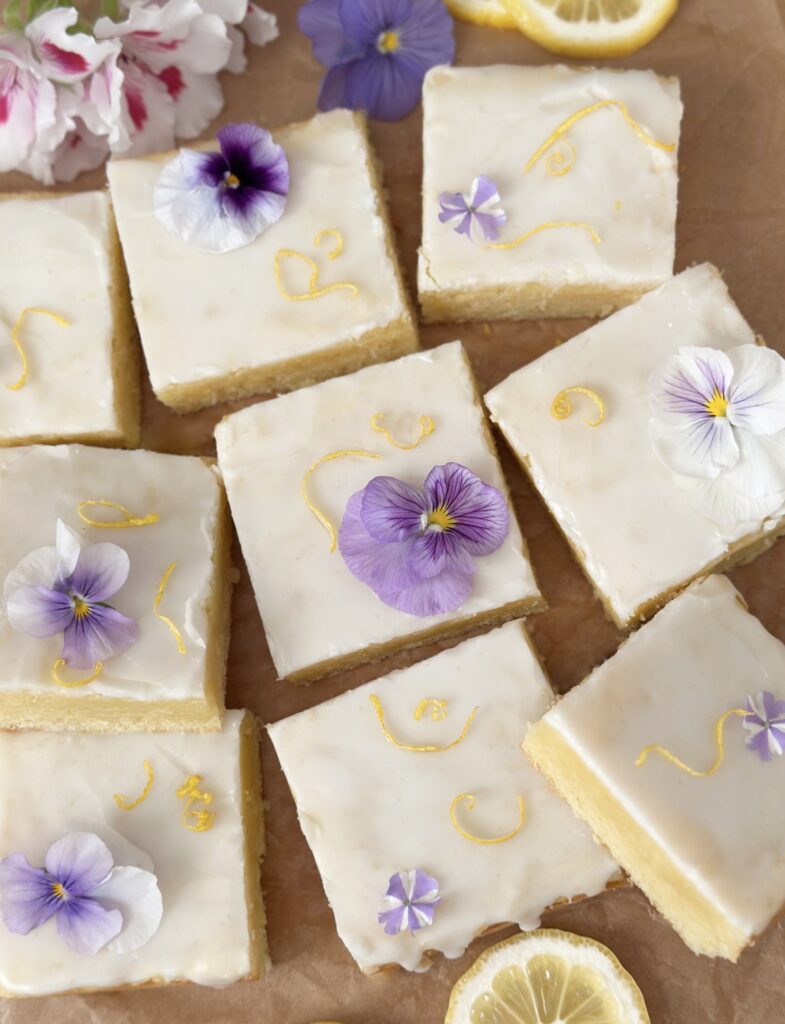
Lemon Brownies

Lemon Brownies by Brownie Mischief

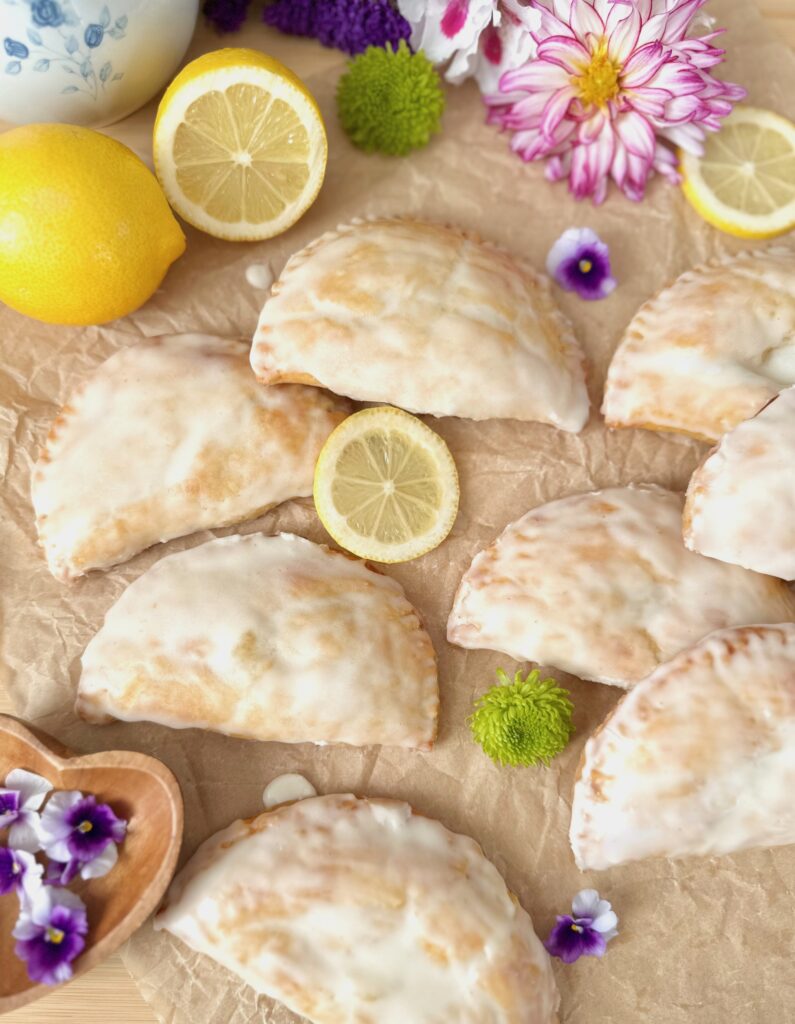
This is my favorite Lemon Brownie recipe to date. These beauties are buttery and fudgy with a burst of vibrant lemon flavor from fresh lemon zest and crisp lemon icing. They’re such a cheerful, delicious dessert, which is perfect for picnics or teatime.

Did you know that Lemon Brownies have been around for at least 20 years? There have been plenty of online disagreements about what to call them. Blondies? Lemon Bars? Lemonies? I chose to call mine Lemon Brownies because they contain white chocolate, which helps to give them the fudgy texture of a traditional chocolate brownie, not a flat, dense cake bar. They’re technically not blondies either because they don’t contain brown sugar. Whatever you choose to call them, they’re a delightful treat for anyone who loves lemons.

Lemon Brownies

by Mari Vasseur
Soft, fudgy lemon-flavored brownies with lemon icing
Course Dessert
Servings 9 servings

Ingredients
  

Lemon Brownies

  • ½ cup (113g) unsalted butter, cubed
  • 6 ounces (170g) white chocolate, finely chopped or 1 cup (170g) white chocolate chips
  • ¾ cup (150g) fine granulated sugar* Not powdered sugar
  • Zest of 2 large lemons or 3 medium-sized lemons
  • 2 large eggs
  • 1 large egg yolk
  • 2 tablespoons (30ml) lemon juice
  • 1 tablespoon (15ml) avocado oil or neutral oil of your choice
  • ½ teaspoon fine sea salt
  • ½ teaspoon pure vanilla extract
  • 1 ½ cups (190g) all purpose flour, sifted

Lemon Icing

  • ¾ cup (90g) powdered sugar, sifted
  • 2-3 tablespoons (30-45ml) lemon juice
  • 1 pinch fine sea salt

Instructions
 

Lemon Brownies

  • Preheat the oven to 325ºF (165ºC). Line an 8-inch square baking pan** with parchment paper, leaving a couple of inches of overhang.
  • Place the butter in a heat-safe bowl placed over a pan of barely simmering water, making sure the water doesn't touch the bottom of the bowl. When the butter is melted, turn off the heat and add the white chocolate. Let stand for 3-4 minutes, then stir gently until smooth and melted. (Alternately you can melt the butter in the microwave.)
  • In a large bowl, whisk together the sugar, lemon zest, eggs, egg yolk, lemon juice, oil, salt and vanilla until the sugar is dissolved and the mixture is creamy and well blended. Stir in the melted butter and white chocolate mixture until well combined. Stir in the flour just until combined.
  • Transfer the batter to the baking pan. Smooth the top with a spatula. Bake until a toothpick inserted into the center of the brownies comes out with a few moist crumbs on it (not wet batter), about 18-23 minutes. Be careful not to over bake your brownies, as this will dry them out. Let the brownies cool in the pan.

Lemon Icing

  • In a medium-sized bowl, whisk together the powdered sugar, salt and 1 tablespoon (15ml) of lemon juice. Add more lemon juice as needed to achieve the desired consistency. Whisk until smooth. Drizzle or spread over the cooled brownies.

Notes

* If you don’t have fine granulated sugar it’s okay to use standard granulated sugar.
 
**To find my favorite 8-inch square brownie pan, click here.
Keyword brownies, lemon

Strawberry Oatmeal Cookies

Strawberry Oatmeal Cookies by Brownie Mischief

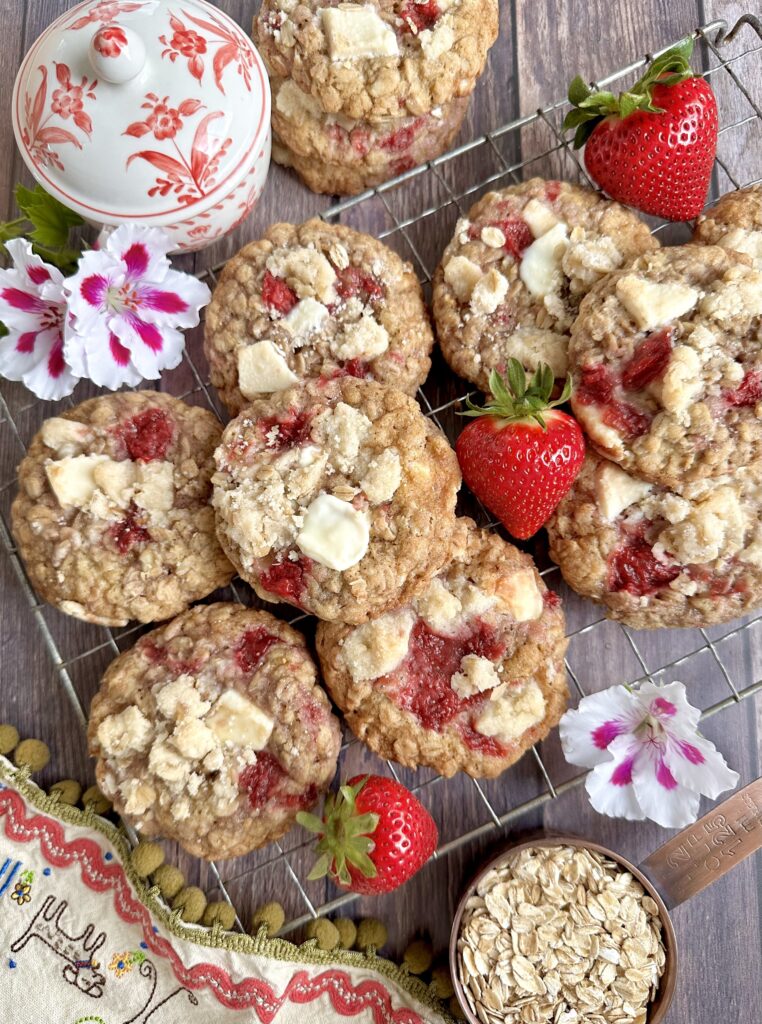
Opinions are divided when it comes to oatmeal cookies. Crispy or soft & chewy? Chocolate chips or raisins? Are you one of those people who think of oatmeal cookies as being bland and dry? These incredibly delicious Strawberry Oatmeal Cookies may just change your mind. The crisp, buttery edges, chewy centers, pools of melted white chocolate, sweet, bright homemade strawberry jam, and tender oatmeal crumb topping take these cookies to another level. Browning half of the butter adds a nutty richness to the dough. It’s an extra step, but so worth it. I made a simple, homemade strawberry jam for these cookies using fresh strawberries, which is especially flavorful during strawberry season. If you don’t have fresh strawberries, you can use frozen ones or you can use store-bought strawberry fruit spread or lower sugar strawberry jam.

Strawberry Oatmeal Cookies

by Mari Vasseur
Chewy, moist oatmeal cookies with buttery, crisp edges, swirls of strawberry jam, white chocolate chunks & oat crumb topping
Course Dessert
Servings 20 cookies

Ingredients
  

Strawberry Jam

  • 2 cups (285g) chopped strawberries, divided 1/2-inch pieces
  • 1 ½ tablespoons granulated sugar
  • 1 teaspoon lemon juice
  • 1 ½ teaspoons cornstarch
  • 2 teaspoons water
  • ½ teaspoon pure vanilla extract
  • 1 pinch fine sea salt

Crumb Topping

  • ½ cup (64g) all purpose flour
  • 2 tablespoons (25g) brown sugar
  • 3 tablespoons (38g) granulated sugar
  • 1 tablespoon (5g) old fashioned oats
  • 1 pinch fine sea salt
  • 3 tablespoons (43g) cold unsalted butter, cubed

Oatmeal Cookies

  • 1 cup (227g) unsalted butter, room temperature, cubed and divided
  • 1 ¾ cups (225g) all purpose flour, sifted
  • 1 teaspoon baking soda
  • 1 teaspoon fine sea salt
  • ¼ teaspoon cinnamon
  • ¾ cup (150g) packed brown sugar
  • ½ cup (100g) granulated sugar
  • 2 large eggs
  • 1 ½ teaspoons pure vanilla extract
  • 3 cups (260g) old fashioned oats NOT instant oats
  • 1 4 oz (113g) white chocolate bar, broken into bite-sized pieces

Instructions
 

Strawberry Jam

  • Set aside 1/2 cup (71g) of strawberries. In a medium-sized saucepan, combine 1 1/2 cups (214g) of strawberries with the sugar and lemon juice. Cook over medium heat, stirring occasionally until the sugar dissolves and the strawberries start to release their juices. Turn the heat down and simmer until the strawberries soften and the mixture starts to thicken, about 5-7 minutes.
  • In a small bowl, whisk the cornstarch and water together. Stir this mixture to the saucepan and continue simmering until the strawberries reach a jam consistency, about 1-2 minutes. Stir in the reserved strawberries, the vanilla extract and the salt. Transfer the mixture to a bowl and set aside to cool to room temperature.

Crumb Topping

  • In a medium-sized bowl, whisk the flour, granulated sugar, brown sugar, oatmeal and salt together until well blended. Work the butter into the flour mixture with your fingertips, until it looks sandy with no large pieces of butter remaining. Press the mixture together to form chunks. Set aside in the refrigerator until ready to use.

Oatmeal Cookies

  • Begin by browning half of the butter. In a medium-sized, light colored saucepan over medium heat, melt 1/2 cup (113g) of the butter and cook until it's deep golden and fragrant. When brown specks begin to appear, remove it from the heat and immediately transfer the butter to a small bowl. Let it sit until it reaches room temperature, then refrigerate it until firm.
  • Preheat the oven to 350ºF (180ºC). Line 2 large cookie sheets with parchment paper.
  • In a large bowl, beat the butter, brown butter, brown sugar and granulated sugar together, with an electric mixer on medium speed, until pale and fluffy. Beat in the eggs in 2 additions, making sure each one is incorporated, then mix in the vanilla extract. On low speed, stir in the flour mixture in 2 additions, just until combined, then mix in the white chocolate pieces.
  • Set aside 3 tablespoons (54g) of the cooled strawberry jam. Add dollops of the remaining strawberry jam to the cookie dough. Stir very gently, but don't mix in the jam completely. You want to see strawberry swirls in the dough. Do not over mix! Over mixing will change the texture of the cookies.
  • Place 3-tablespoon sized portions of cookie dough about 3 inches apart onto the prepared cookies sheets. (I used a #24 portion scoop.*) Top each cookie with some of the crumb topping, pressing lightly to adhere. Top each one with about a half teaspoon of the reserved strawberry jam.
  • Bake the cookies until the edges are golden brown and the tops are set, about 12-14 minutes. If you want to make your cookies more perfectly round, immediately use a large round cookie cutter to shape the hot cookies. Place the cookie cutter on the cookie sheet over each cookie and slide it around a couple of times in a circular motion. Let the cookies cool on the pan for 1 minute, then transfer them to a cooling rack.

Notes

If your cookies spread too much, you can refrigerate the unbaked cookie dough balls for 1 hour before baking. Do not refrigerate the dough for too long or it may begin to discolor.
*To find the cookie scoop that I used, click here.
Keyword oatmeal cookies, strawberry

Fluffy Coconut Cake

Fluffy Coconut Cake by Brownie Mischief

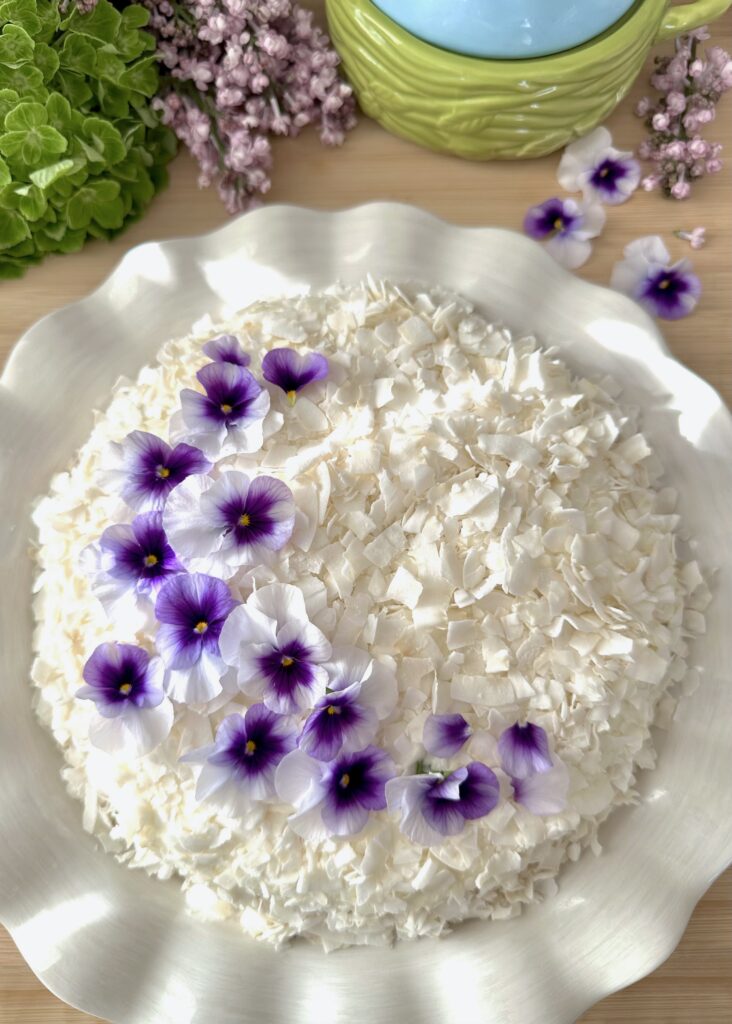
If you like coconut cake with a fluffy texture and a light, tender crumb, this is the recipe for you. This cake has a refined texture, which reminds me of wedding cake. There are so many good coconut cake recipes out there and I love them all. Some have a very coarse, rustic texture which good too. This is a single layer cake, but it’s sturdy enough for stacking, so you can double it if you want a two layer cake. I used my luscious Whipped Cream Cheese Frosting for the single layer, but you can pair a double layer cake with a more stable frosting, such Swiss meringue or American buttercream. I used unsweetened coconut flakes, but you can use sweetened shredded coconut if you prefer.

Fluffy Coconut Cake

by Mari Vasseur
Light, fluffy coconut cake topped with luscious whipped cream cheese frosting and coconut flakes
Course Dessert
Servings 8

Ingredients
  

Coconut Syrup

  • â…“ cup (78ml) water
  • ¼ cup (50g) granulated sugar
  • 2 tablespoons (8g) unsweetened coconut flakes or sweetened shredded coconut

Coconut Cake

  • 1 ¼ cups plus 2 tablespoons (160g) cake flour, sifted
  • 1 teaspoon baking powder
  • ½ teaspoon fine sea salt
  • ¼ cup (57g) unsalted butter, room temperature
  • ¾ cup plus 2 tablespoons (175g) granulated sugar
  • 2 tablespoons (30ml) avocado oil or neutral oil of your choice
  • 1 teaspoon natural coconut extract or flavoring
  • 3 large egg whites, room temperature
  • ¾ cup (177ml) canned coconut milk see note below
  • 1 cup (60g) unsweetened coconut flakes or sweetened shredded coconut

Whipped Cream Cheese Frosting

  • 3 oz (85g) 3 oz (85g) cream cheese, room temperature
  • ¼ cup (30g) powdered sugar, sifted
  • ¾ teaspoon natural coconut extract or flavoring
  • 1 ½ cups (355ml) cold heavy whipping cream

Instructions
 

Coconut Syrup

  • In a small saucepan combine the water, sugar and coconut flakes over medium heat. Cook, stirring occasionally until the sugar is dissolved. Set aside to cool to room temperature. Strain the cooled syrup through a sieve to remove and discard the coconut flakes.

Coconut Cake

  • Preheat the oven to 350ºF (180ºC). Line the bottom of an 8-inch round cake pan with parchment paper. Grease and flour the insides.
  • In a medium-sized bowl, whisk together the flour, baking powder and salt until well blended.
  • In a large bowl, beat the butter and sugar together, with an electric mixer on medium speed, until pale and fluffy. Gradually add the oil and coconut extract and beat until smooth and creamy. Beat in the egg whites in 3 separate additions, making sure each one is incorporated before adding the next.
  • On low speed or by hand, stir in the flour mixture in 2 additions, followed by half of the coconut milk after each addition. Mix just until combined.
  • Transfer the batter to the prepared cake pan. Bake until a toothpick inserted into the center of the cake comes out clean, about 23-28 minutes, being careful not to over bake. Let the cake cool in the pan for 10 minutes, then remove it from the pan and transfer it to a cooling rack. Brush the warm cake generously with coconut syrup.

Whipped Cream Cheese Frosting

  • In a large bowl, stir the cream cheese with a spatula until smooth and lump-free. Beat the cream cheese and powdered sugar together, with an electric mixer on medium speed, until smooth. Mix in the coconut extract. On medium speed, gradually beat in the heavy cream. Turn the speed up to high and continue whipping until medium peaks form. Refrigerate until ready to use.
  • Spread the frosting onto the top and sides of the cooled cake. Top with coconut flakes. Lightly press coconut flakes onto the sides.

Notes

If your coconut milk is slightly separated, whisk it before using. If it’s completely separated you can re-emulsify it in a blender for a few seconds. 
To find unsweetened coconut flakes, click here.
Keyword cake, coconut, coconut cake

Honey Cloud Cake

Honey Cloud Cake by Brownie Mischief

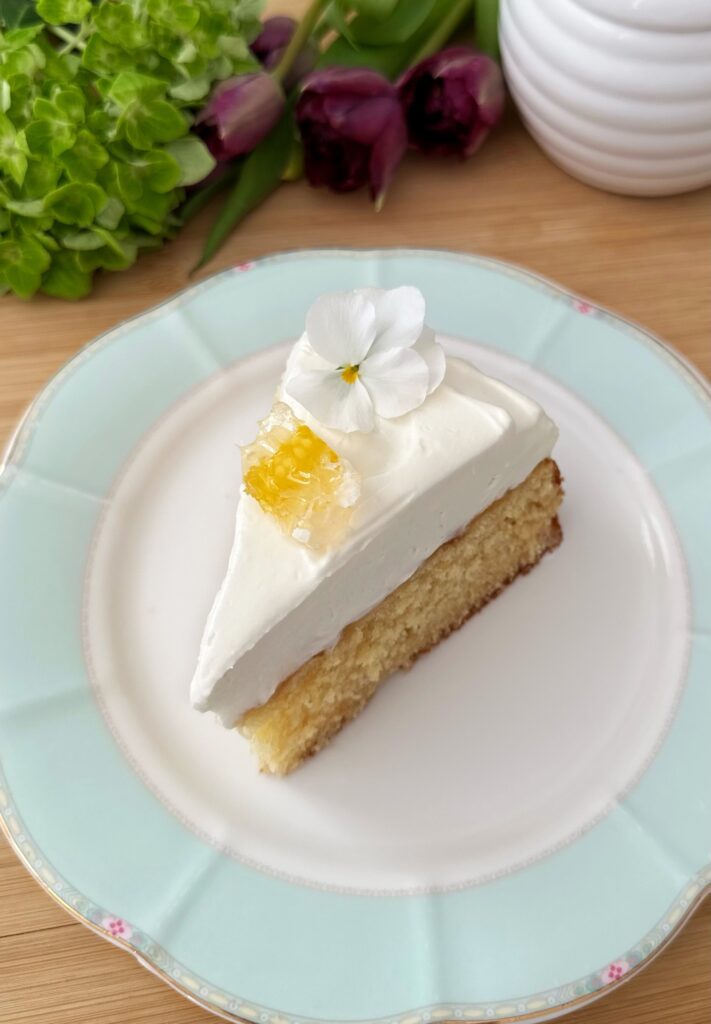
A soft, buttery, golden cake topped with fluffy, white whipped frosting simply has to be named after a cloud. And this beauty definitely lives up to her name! This is one of the most ethereal cakes you’ll ever make. There’s an elegant simplicity about this cake, but the flavors and textures are outstanding.

This yellow cake recipe is a treasure. It’s wonderful on it’s own, fresh from the oven. It’s best served at room temperature on the day it’s baked. The cake by itself stays soft if left covered at room temperature, even for a day or two, which is unusual for a butter cake. The whipped frosting should be refrigerated, but will be more easily spreadable if it sits out for a bit. To make the cake ahead, I like to make the sponge the night before, cover and store it at room temperature, then I make the frosting the next day, right before serving.

Honey Cloud Cake

by Mari Vasseur
Fluffy, moist golden honey cake topped with honey butter glaze and a fluffy cloud of subtly sweet whipped cream cheese frosting
Course Brunch, Dessert
Servings 8

Ingredients
  

Honey Butter Glaze

  • 2 tablespoons unsalted butter, cubed
  • 1 tablespoon (21g) honey
  • 1 tablespoon (15ml) orange juice
  • ¼ cup (30g) powdered sugar, sifted
  • 1 pinch fine sea salt or to taste

Honey Cake

  • 1 cup (128g) all purpose flour, sifted
  • 1 ¼ teaspoons baking powder
  • ¼ teaspoon baking soda
  • ½ teaspoon fine sea salt
  • ½ cup (113g) unsalted butter, room temperature
  • ½ cup (100g) granulated sugar
  • 2 tablespoons (42g) honey
  • 1 large egg, room temperature
  • 1 large egg yolk, room temperature
  • 1 ½ teaspoons pure vanilla extract
  • ¼ cup (59ml) whole milk, room temperature
  • ¼ cup (57g) sour cream, room temperature

Whipped Cream Cheese Frosting

  • 3 oz (85g) cream cheese, room temperature
  • ¼ cup (30g) powdered sugar
  • 1 teaspoon pure vanilla extract
  • 1 ½ cups (355ml) cold heavy whipping cream

Instructions
 

Honey Butter Glaze

  • In a small saucepan, melt the butter over medium-low heat. Whisk in the honey, orange juice, powdered sugar and salt until smooth and well blended. Add additional salt to taste if desired.

Honey Cake

  • Preheat the oven to 325ºF (165ºC). Line the bottom of an 8-inch round cake pan with parchment paper. Grease and flour the insides.
  • In a medium-sized bowl, whisk together the flour, baking powder, baking soda & salt.
  • In a large bowl, beat the butter and sugar together, with an electric mixer at medium speed, until pale and fluffy. Add the honey and beat until well blended. Mix in the egg, egg yolk and vanilla extract in 3 separate additions, making sure each one is incorporated before adding the next.
  • In a small bowl, whisk the milk and sour cream together until well blended. On low speed, add the flour mixture into the batter in 2 additions, followed by half of the milk mixture after each addition. Beat just until smooth and combined. Do not over mix.
  • Transfer the batter to the cake pan. Smooth the top with a spatula. Bake until the cake is golden and a toothpick inserted into the center comes out clean, about 25-28 minutes. Let the cake cool in the pan for 10 minutes, then remove it from the pan and transfer it to a cooling rack. Brush the warm cake with Honey Butter Glaze.

Whipped Cream Cheese Frosting

  • In a large bowl, stir the cream cheese with a spatula until smooth and lump-free. Beat the cream cheese and powdered sugar together, with an electric mixer on medium speed, until smooth. Mix in the vanilla extract. On medium speed, gradually beat in the heavy cream. Turn the speed up to high and continue whipping until medium peaks form. Refrigerate until ready to use.

Notes

I topped my cake with edible flowers and chunks of honeycomb. To find honeycomb, click here.
Keyword cake, honey

Pineapple Scones with Cream Cheese Icing

Pineapple Scones with Cream Cheese Icing

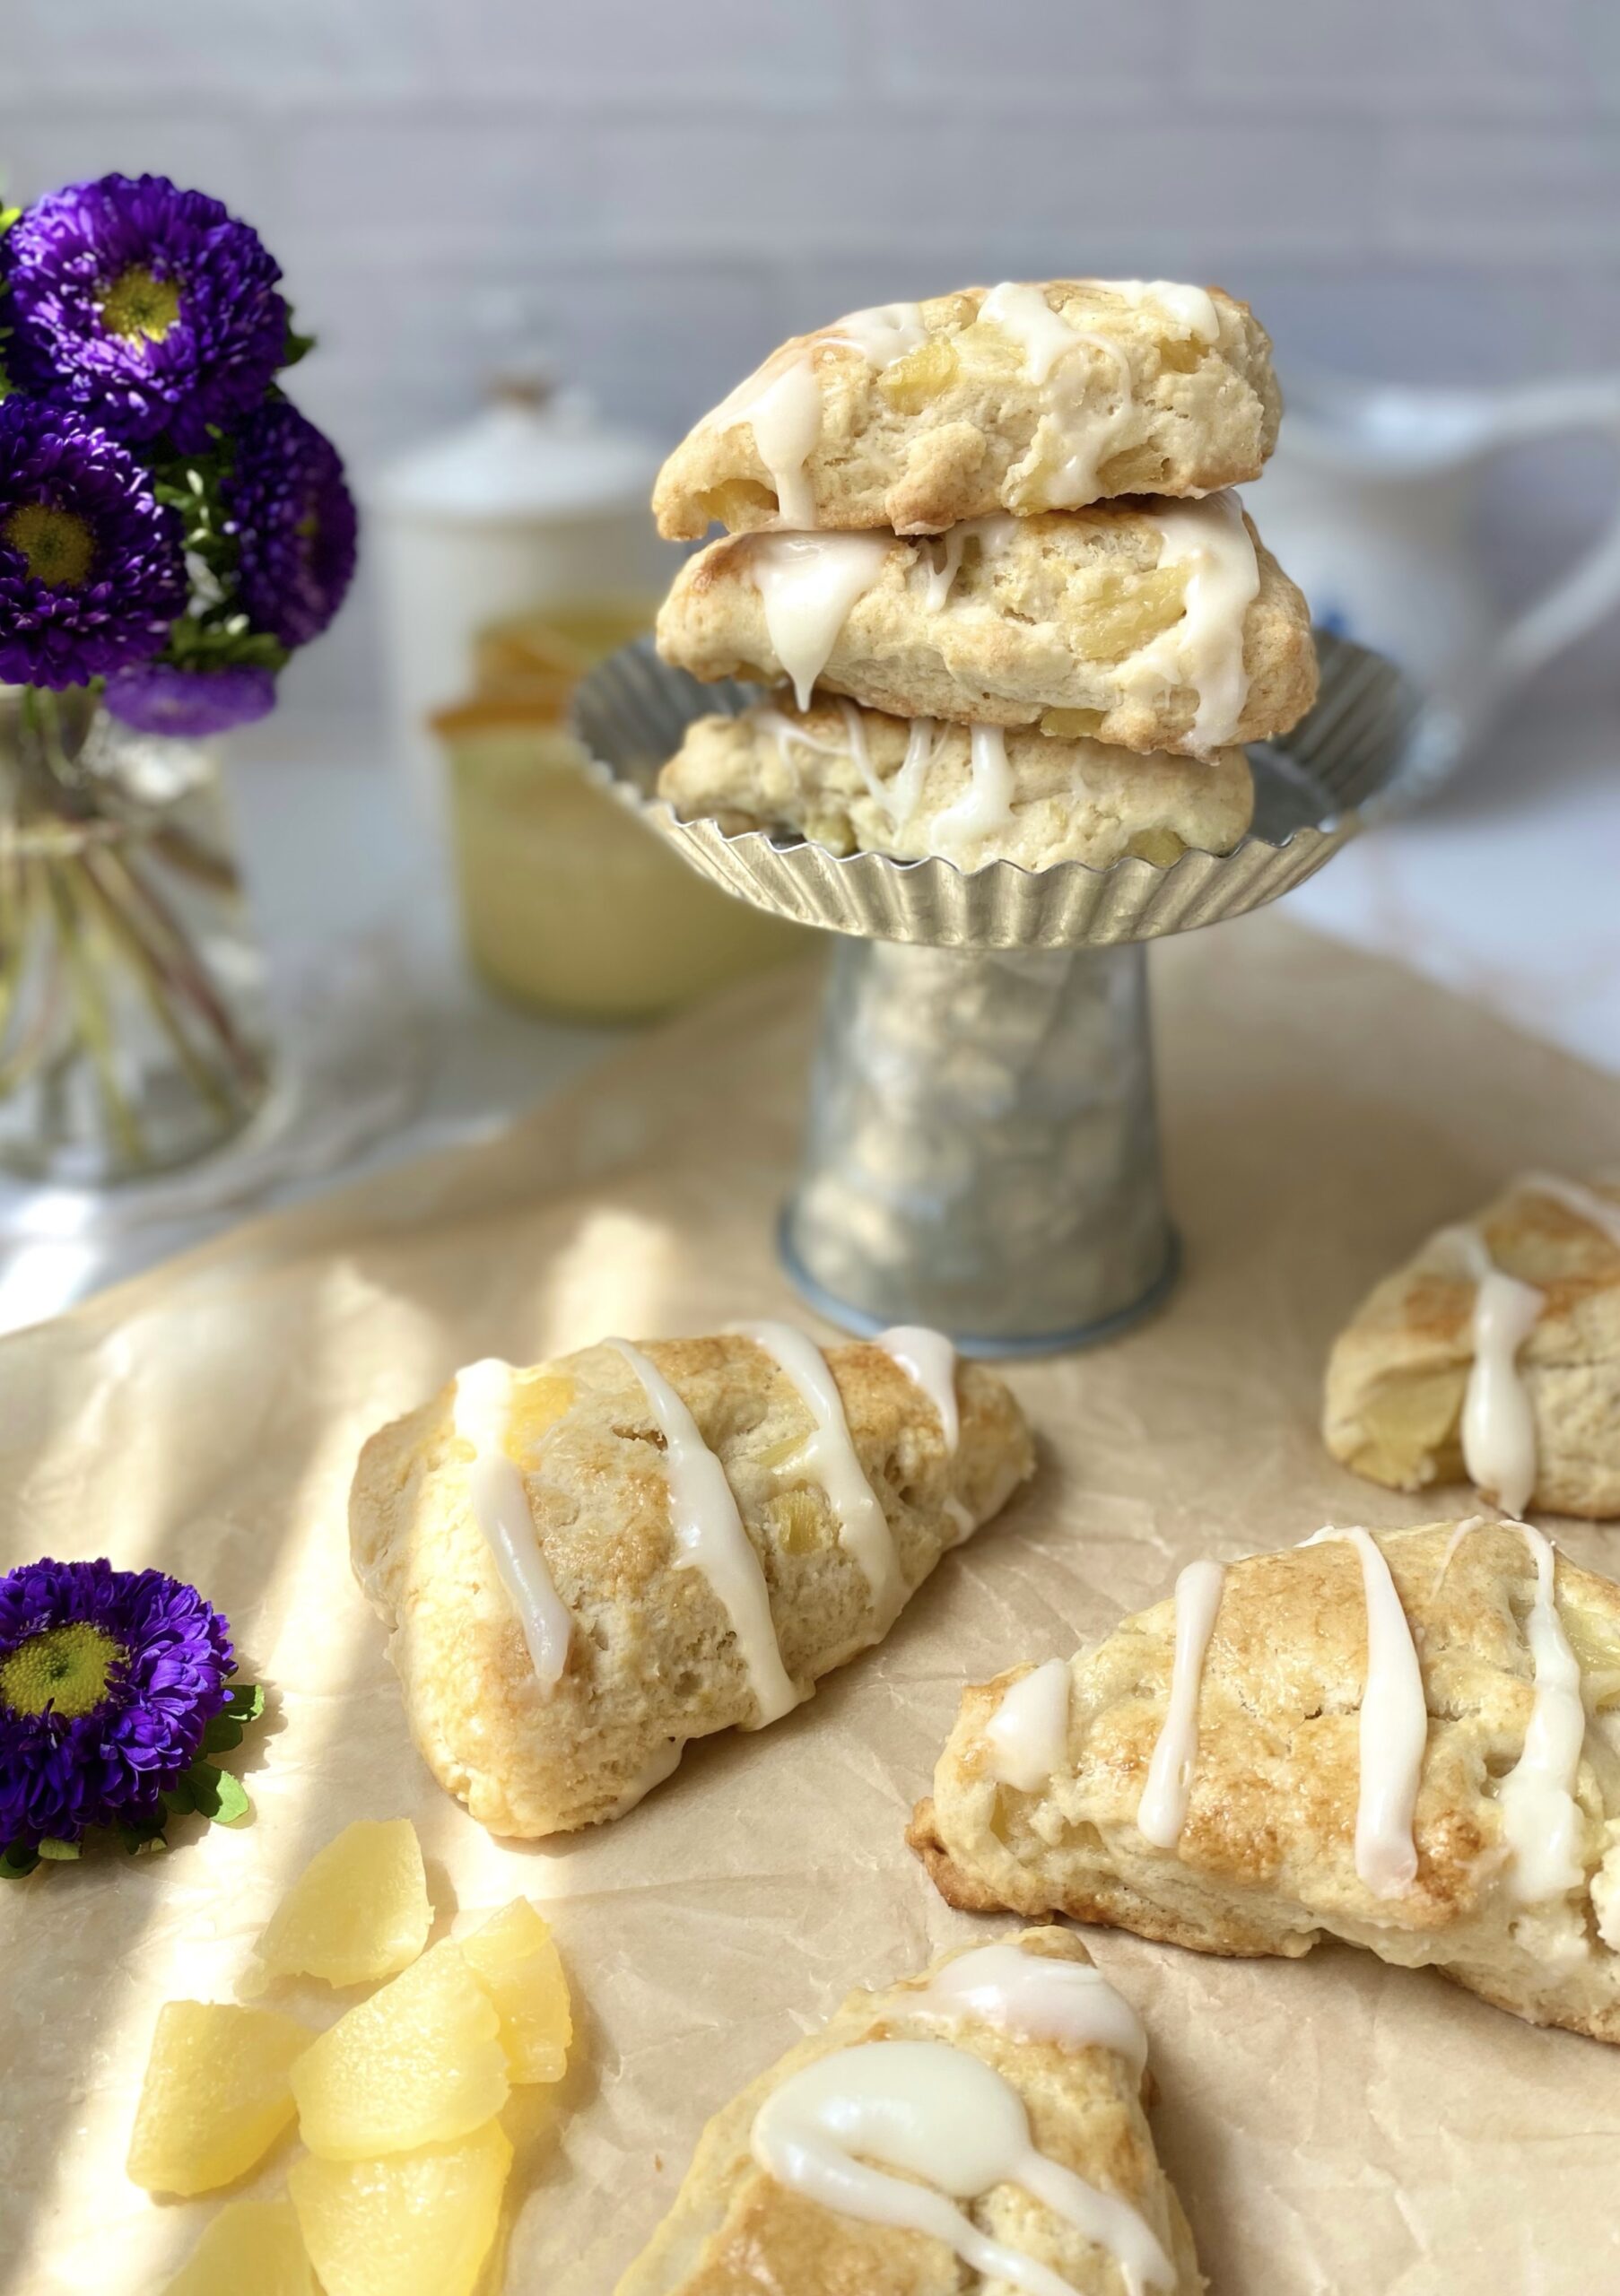
I had pineapple smoothies two days in a row. There’s something so vibrant and refreshing about pineapple. It feels sunny and tropical. Should scones ever feel sunny and tropical? I’m going to say yes, why not? Scones deserve a vacation too. They can take a break from tea parties and coffee shops and enjoy a little sunny picnic with iced tea or a beachfront breakfast or brunch with mimosas.

You’ll be pleasantly surprised when you experience your first bite of a scone with a burst of pineapple flavor. I immediately thought, “Why isn’t this a thing?” There are probably other pineapple scones out there in the universe, but they’re definitely not well known, like the very popular blueberry scone for example. I’m going to go so far as to say, pineapple scones are better than blueberry scones. And this is coming from a person who loves blueberries!


Pineapple Scones with Cream Cheese Icing

by Mari Vasseur
Course Breakfast, Brunch
Servings 8 scones

Ingredients
  

Pineapple Scones

  • 1 ¾ cups (223g) all purpose flour, sifted
  • 2 tablespoons (25g) sugar
  • 1 tablespoon (14g) baking powder
  • ½ teaspoon fine sea salt
  • 7 tablespoons (99g) cold, unsalted butter, cubed
  • ½ cup (118ml) cold heavy cream
  • 2 tablespoons (30ml) pineapple juice
  • 1 teaspoon pure vanilla extract
  • 1 cup (170g) chopped pineapple, fresh or canned in juice Chop into 1/2-inch pieces. If using canned pineapple, drain well and reserve the juice
  • Egg wash 1 egg whisked together with 1 tablespoon water

Cream Cheese Icing

  • 2 tablespoons (28g) cream cheese, softened
  • 1 tablespoon (14g) unsalted butter, softened
  • ½ cup (57g) powdered sugar, sifted
  • 2 tablespoons (30ml) pineapple juice

Instructions
 

Pineapple Scones

  • Preheat the oven to 375ºF. (190ºC). Line a baking sheet with parchment paper.
  • In a large bowl, whisk together the flour, sugar, baking powder and salt until well combined. Work the butter into the flour mixture with your fingertips or with a pastry blender until pea size pieces form.
  • In a small bowl, whisk together the heavy cream, pineapple juice and vanilla. Stir the heavy cream mixture into the flour and butter mixture until a shaggy dough is formed. Gently stir in the pineapple.
  • Turn the dough out onto a lightly floured surface. Fold the dough over onto itself a few times. Do not overwork the dough. Pat or roll the dough into a 7-inch round. Cut the dough into 8 wedges.
  • Place the scones about 2 inches apart onto the prepared baking sheet. Brush the scones with egg wash. Bake until golden brown, about 18-22 minutes. Transfer the scones to a cooling rack.

Cream Cheese Icing

  • In a medium-sized bowl, stir the cream cheese with a spatula until smooth. Add the butter and beat until smooth and well combined. Whisk in the powdered sugar and pineapple juice until smooth. Drizzle the icing over the cooled scones.
Keyword pineapple, scones

Cheddar Ham Biscuits

Have you ever had one of those mornings where you wake up starving? It typically happens to me when I skip dinner the night before. So one morning that happened. My family and I were really hungry, there was a bit of leftover holiday ham in the fridge and these fluffy, satisfying biscuits were born. I think these biscuits need to be included in all lumberjack breakfasts from now on.

If you love ham and cheese anything, you’ll love these biscuits. You can also add fresh chives or swap out the ham for bacon if you like. I love baking them in a cast iron skillet because of the rustic, crispy sides and bottoms you get from the high heat conductivity of cast iron. To find the cast iron pan I used, click here. You can also bake them in a 9-inch cake pan or pie plate.

Cheddar Ham Biscuits

Course Breakfast, Brunch
Servings 8 biscuits

Ingredients
  

  • 2 cups (9 ounces) all purpose flour
  • 1 tablespoon baking powder
  • 1 tablespoon sugar
  • 1 teaspoon fine sea salt
  • ½ cup (4 ounces) cold, unsalted butter, cubed
  • ¾ cup (3 ounces) shredded cheddar cheese, preferably sharp cheddar
  • ½ cup (2 3/4 ounces) diced cooked ham (1/4-inch pieces) Pat dry with paper towel.
  • â…” cup cold buttermilk
  • 1 tablespoon melted butter

Instructions
 

  • Preheat oven to 425ºF. Butter a 9-inch cast iron skillet*
  • In a large bowl, sift together flour, baking powder, sugar and salt.
  • Work butter into flour mixture with your fingertips, until flat dime size pieces are formed.
  • Gently stir in cheese and ham.
  • Stir in buttermilk a little at a time until a shaggy dough is formed.
  • Turn dough out onto a lightly floured surface.
  • Fold dough over onto itself a few times. Form dough into a 7-inch diameter 3/4-inch thick round.
  • Using a 2 1/2-inch biscuit cutter, cut dough into seven biscuits. Press the scraps together and cut one more biscuit. If dough becomes warm at any point, chill in the refrigerator for 10-15 minutes, then proceed with recipe.
  • Transfer biscuits to prepared pan. Brush with melted butter.
  • Bake until biscuits are puffy and tops are golden brown, about 22-25 minutes.
  • Serve immediately.

Notes

To find the skillet I used, click here.

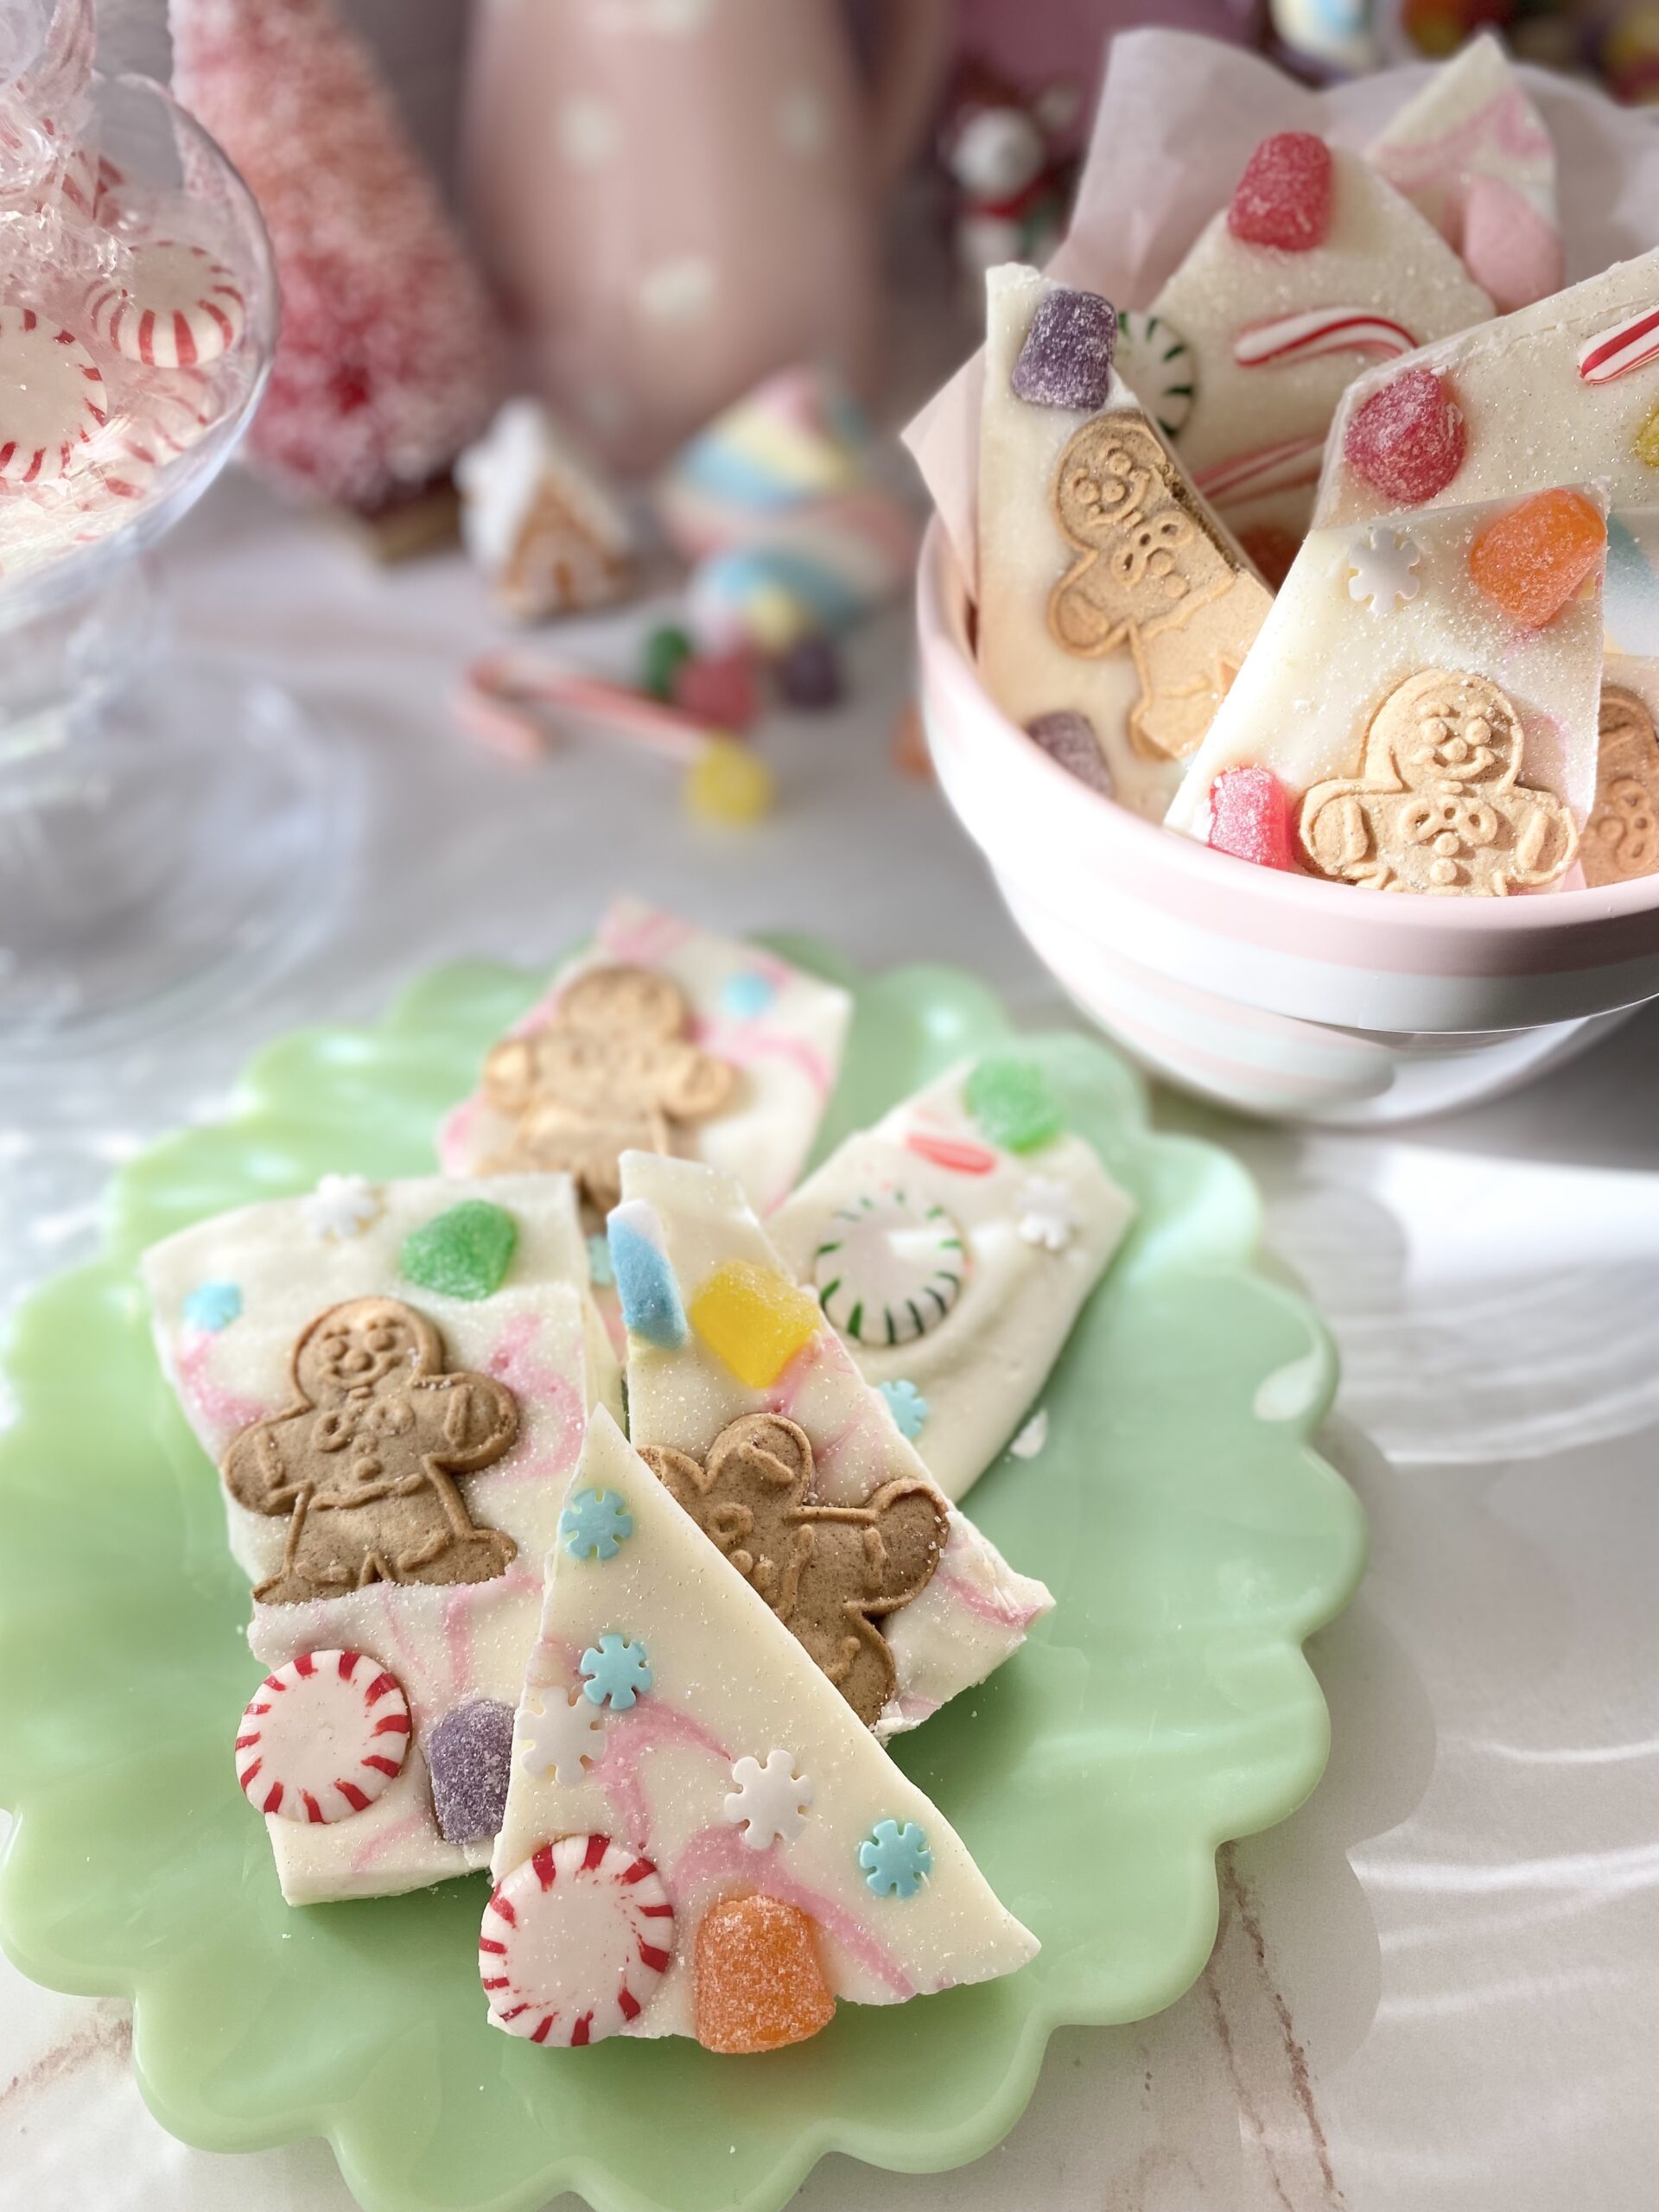
The Nutcracker Land of Sweets Bark

The Nutcracker Land of Sweets Bark
To watch the original Nutcracker Land of Sweets Bark video click here

The Nutcracker Land of Sweets Bark

White chocolate candy bark topped with mini gingerbread cookies, gumdrops and candy canes. Inspired by The Nutcracker Ballet.
Course Dessert

Ingredients
  

  • white chocolate or candy melts, melted
  • pink candy melts, melted
  • gingerbread cookies
  • puffy poles marshmallows
  • gum drops
  • mini candy canes
  • mint candies
  • sprinkles of your choice

Instructions
 

  • Spread melted white chocolate onto a parchment lined quarter sheet pan. Drizzle on lines of pink chocolate and make swirls with a skewer. Top with remaining ingredients. Cut or break into pieces when set.