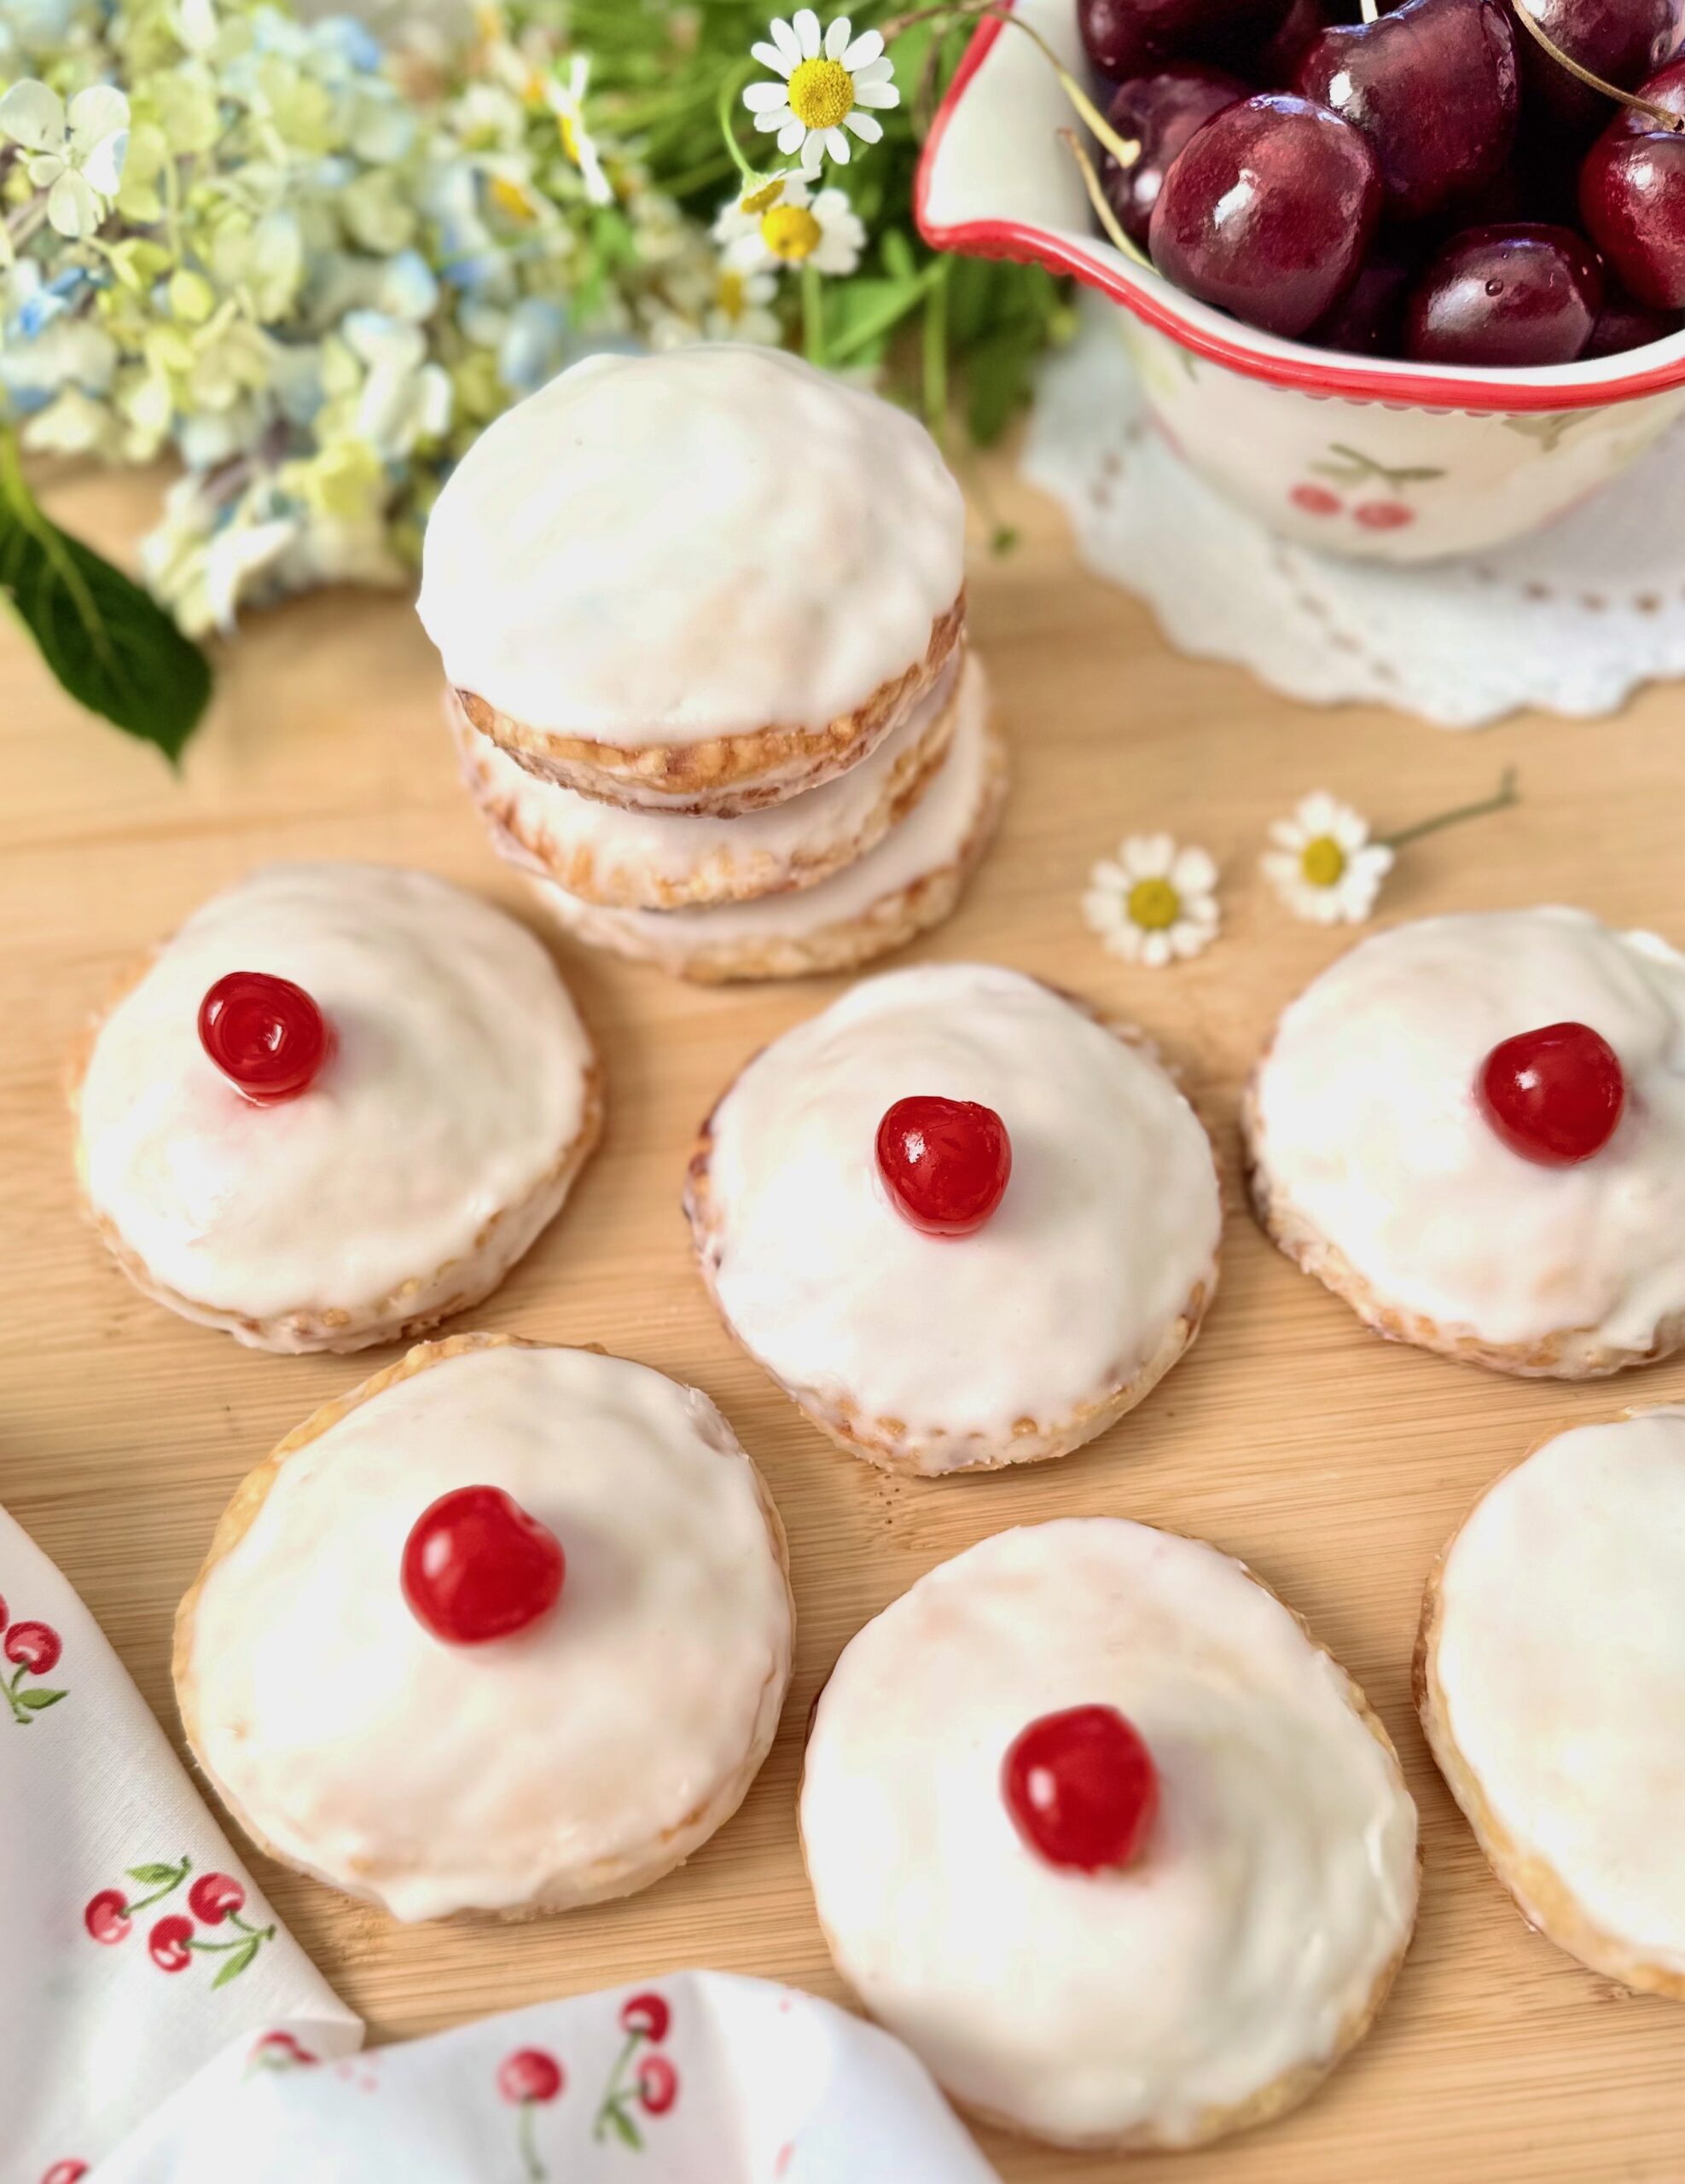
Cherry Cutie Pies

Cherry Cutie Pies

Cherry season is highly anticipated at my house. We love enjoying a bowl of fresh cherries during the summer. We also love fresh cherry desserts. These cute little hand pies are a family favorite. They have the most delicious fresh cherry filling, surrounded with buttery, flaky crust and topped with vanilla icing. The small size makes them perfect for sharing or taking them along in a picnic lunch. I like to make the crust and the filling the day before, which makes them come together quicker on baking day. I decorated mine with bright red maraschino cherries for the photo, but my favorite cherries to top them with are Italian-style maraschino cherries.

Print Recipe
Cherry Cutie Pies
3-inch cherry hand pies with flaky crust, topped with vanilla icing
Course Dessert
Cuisine American
Keyword cherry, pastry, pie
Servings
hand pies
Ingredients
Pie Crust
Cherry Filling
Icing
Course Dessert
Cuisine American
Keyword cherry, pastry, pie
Servings
hand pies
Ingredients
Pie Crust
Cherry Filling
Icing
Instructions
Pie Crust
  1. In a large bowl, whisk together the flour, sugar and salt. Work the shortening into the flour with your fingertips until it's evenly dispersed throughout. Work the butter into the flour mixture, creating flat dime size pieces.
  2. In a glass measuring cup, mix the ice water and vinegar together. Sprinkle the liquid over the flour mixture a little at a time, stirring until the dough comes together. You may not need all of the liquid depending on your climate.
  3. Turn the dough out onto a lightly floured surface. Fold the dough over onto itself a couple of times. Do not overwork the dough. Divide the dough into 2 equal portions and form into disks. Wrap them in plastic wrap and refrigerate until firm, at least 2 hours or up to overnight.
Cherry Filling
  1. In a medium-size saucepan, combine the cherries, sugar and cornstarch. Simmer over low heat, stirring occasionally, until the cherries start to soften and the juices are thickened, about 5 minutes. Transfer the cherries to a bowl. Stir in the almond extract. Set aside to cool completely.
Icing
  1. In a medium-size bowl, whisk together the powdered sugar, meringue powder, 1 1/2 tablespoons (22ml) of milk, the salt and the vanilla extract. Add additional milk as needed to achieve the desired consistency. (If you decide to omit the meringue powder, you'll need less milk.)
Assembly
  1. Preheat oven to 375°F (190°). Line a large baking sheet with parchment paper.
  2. On a lightly floured surface, roll dough to about 1/8-inch (.3cm) thickness. Cut out 20-22 3-inch (7.6cm) rounds. Transfer half of the rounds to a baking sheet, placing them about 2 inches (5cm) apart. Using a slotted spoon, place the filling onto rounds to within 1/2-inch (1.3cm) of the edges. Using a small pastry brush or your finger, apply egg wash to the edges. Top with the remaining rounds. Press the edges to seal & crimp with a fork. Brush the pies with egg wash. Cut a small x in the top of each pie.
  3. Bake until golden, about 18-24 min. Transfer the pies to a cooling rack to cool completely. Brush icing on the cooled pies with a pastry brush. When the icing is almost set, top the pies with pitted cherries if desired.
Unicorn Rainbow Milkshake

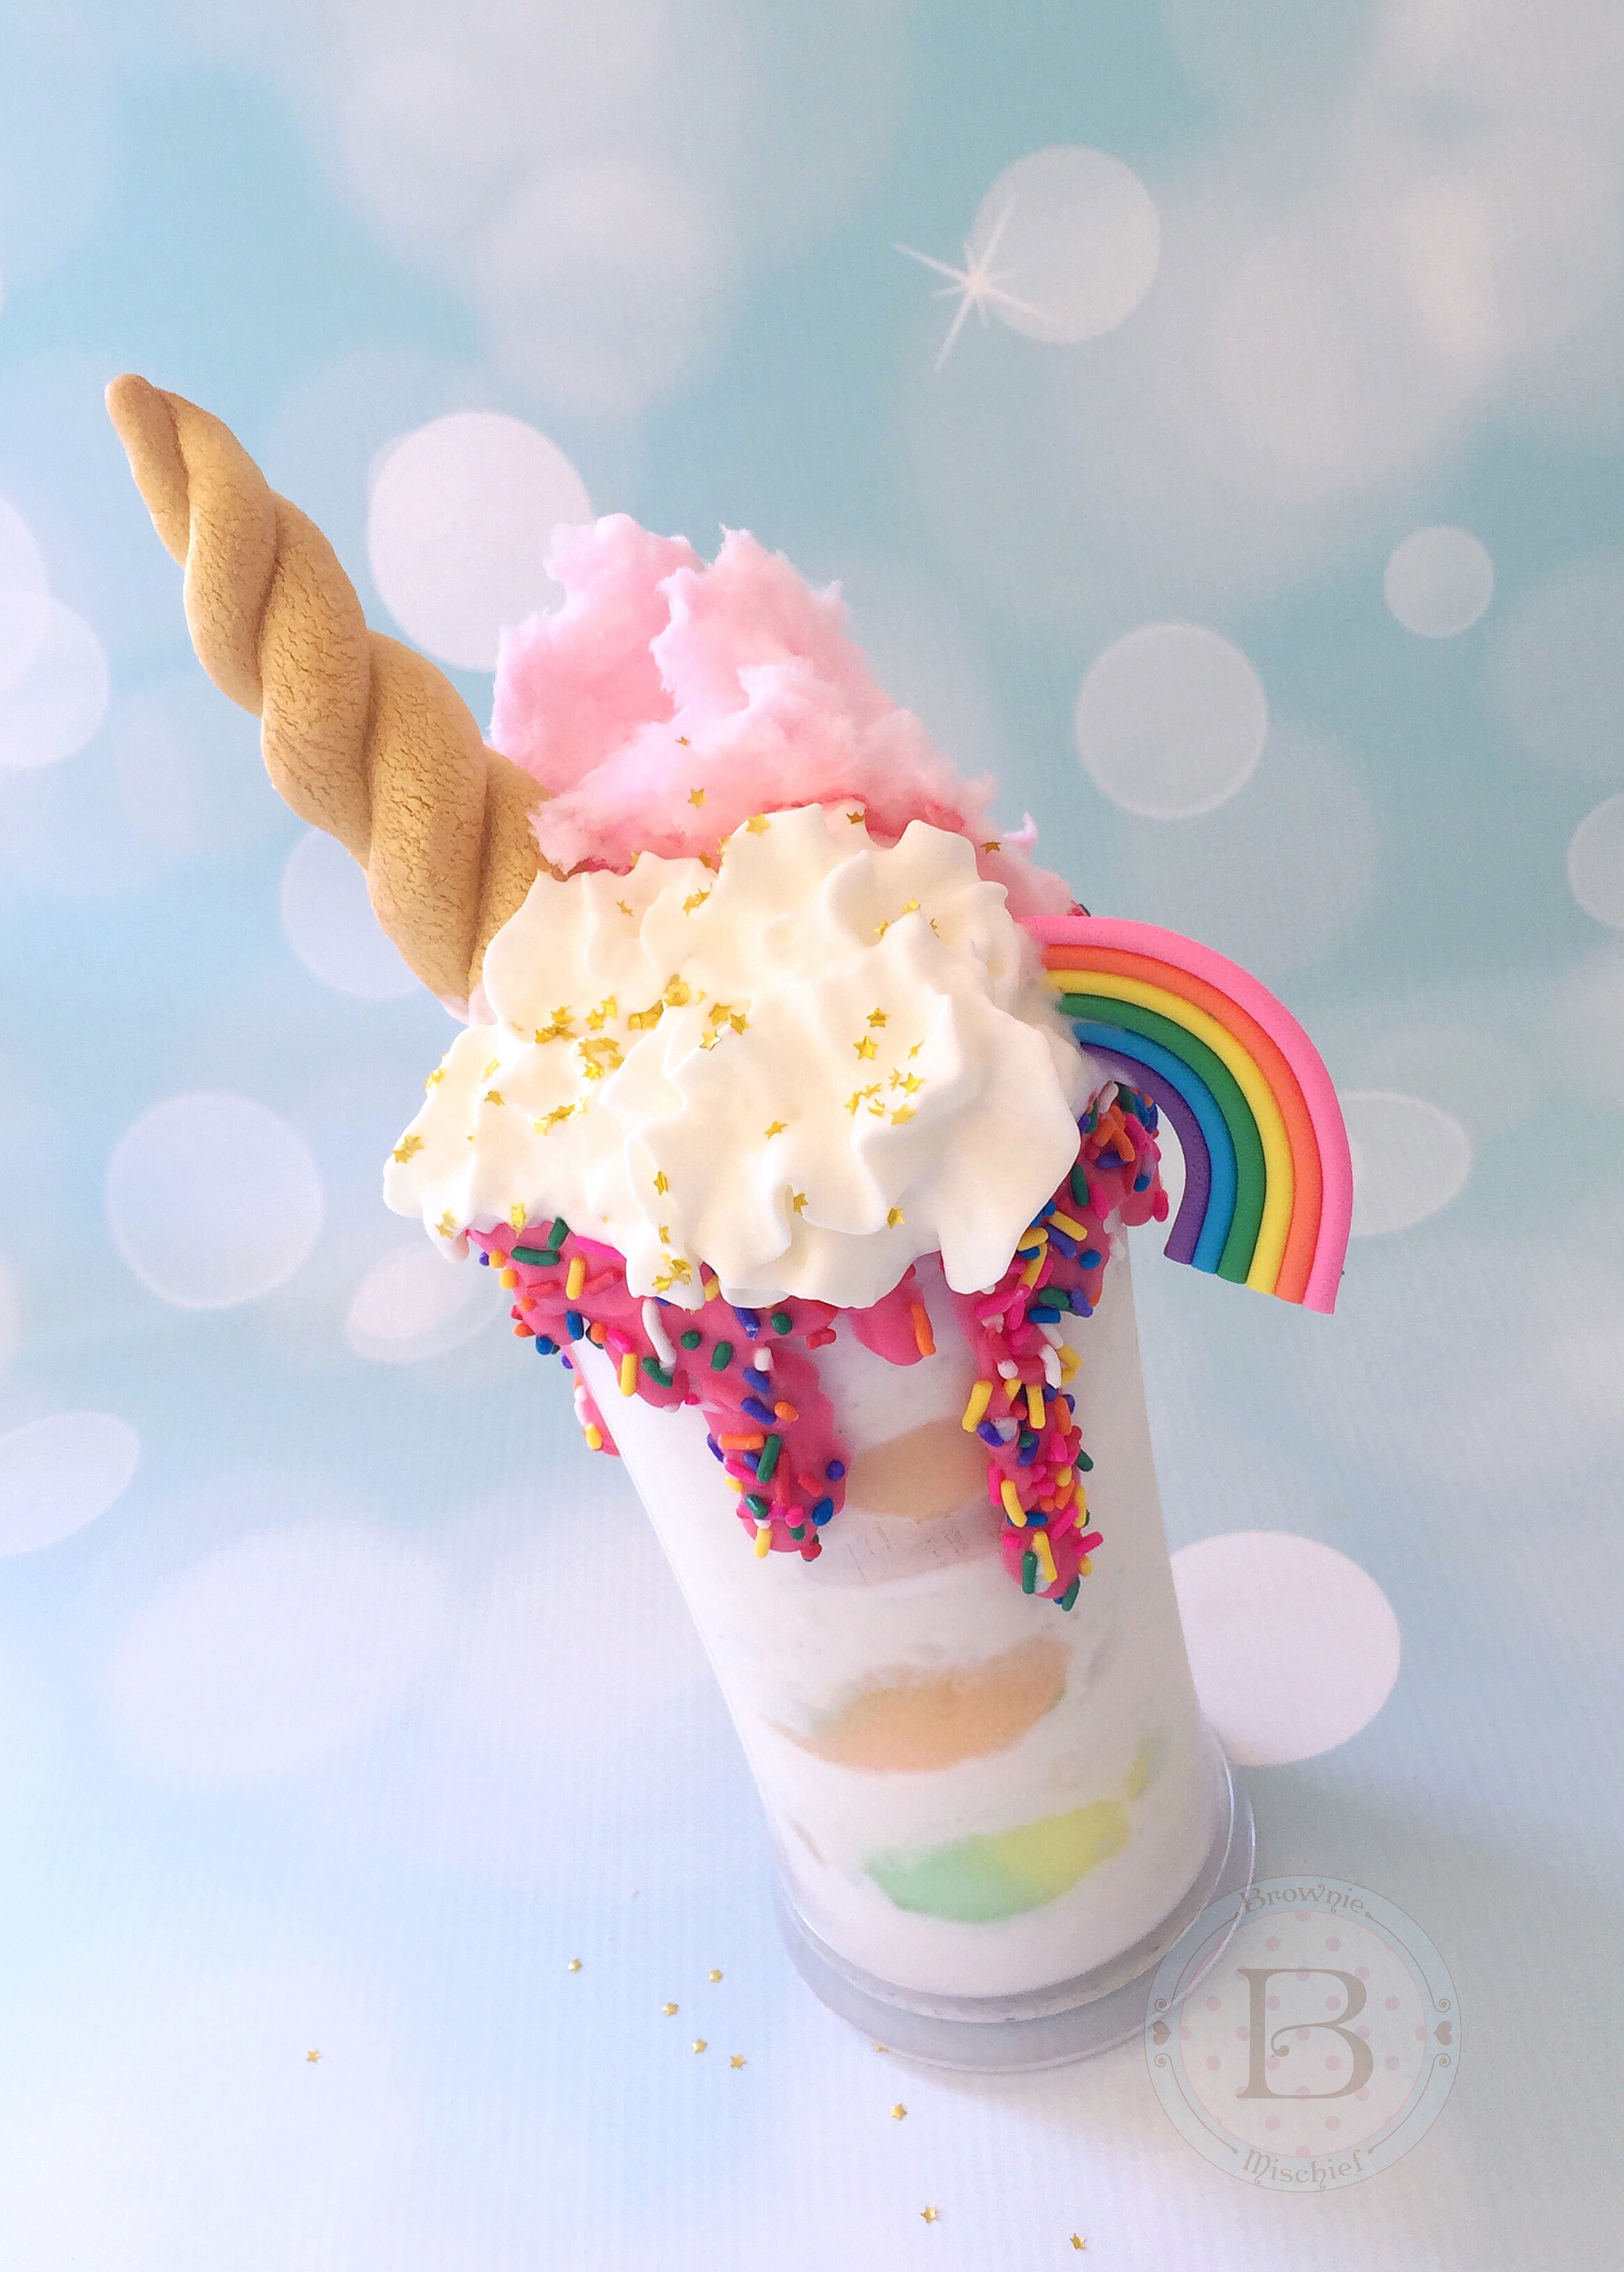
Unicorn Rainbow Milkshake by Brownie Mischief

I’ve been dying to try one of those over-the-top milkshakes that have been catching my eye on social media for some time now. Also known as freakshakes, some magnificently indulgent ones can be found in Australia, the UK and New York City. It’s certainly on my bucket list to go meet up with one of those glorious creations in person and dig in! In the meantime, I decided to concoct my humble version here at home, in honor of National Unicorn Day. Yup, unicorns have their own day! Whoever invented celebrating national days, I thank you. It gives me a great excuse to indulge in a delicious treat…not that I need an excuse.

There are so many versions of unicorn milkshakes out there and I love every one of them! In fact, anything that’s unicorn related sets my heart aflutter. The current unicorn craze won’t seem to go away and, as you can imagine, that is just fine by me! One of the cutest unicorn things I’ve seen is my adorable cousin Nicole, scooting around in her fluffy unicorn slippers. Unicorn slippers are a must while drinking a Unicorn Rainbow Milkshake!

To make the Unicorn Rainbow Milkshake, you’ll need:

  • Unicorn Horn Cookie (Recipe below.)
  • Fondant Rainbow Topper (Click here for instructions.)
  • 3 ounces (about 1/2 cup) candy melts in the color of your choice
  • vegetable shortening, melted (about 1 tablespoon)
  • piping bag or squeeze bottle
  • tall glass (24 ounce)
  • rainbow sprinkles
  • 8 ounces vanilla ice cream
  • 1/3 cup milk (any kind)
  • 6 ounces rainbow sherbet
  • cotton candy
  • whipped cream
  • edible gold star glitter (Click here to find glitter.)

Place candy melts in a microwave safe container. Heat in the microwave for 1 minute at 50% power. Stir. Heat in the microwave for 10 second intervals until melted and smooth. If your melted candy melts are too thick, stir in melted shortening a teaspoon at a time until desired consistency is reached. Transfer the melted candy melts to a disposable piping bag or a squeeze bottle. (Alternately, you can use a plastic zip bag.) Place your glass on a rimmed plate or baking sheet. Snip off the tip of the piping bag and drizzle the melted candy along the rim of the glass. Immediately sprinkle on the rainbow sprinkles, before the melted candy sets.

Combine vanilla ice cream and milk in a blender and blend until smooth. Place 3 scoops of rainbow sherbet into your glass. Pour vanilla milkshake over the sherbet scoops in your glass. Top with cotton candy, whipped cream, a Unicorn Horn Cookie, a Fondant Rainbow Topper and a sprinkle of edible gold star glitter. Put on your unicorn slippers and enjoy your unicorn milkshake!

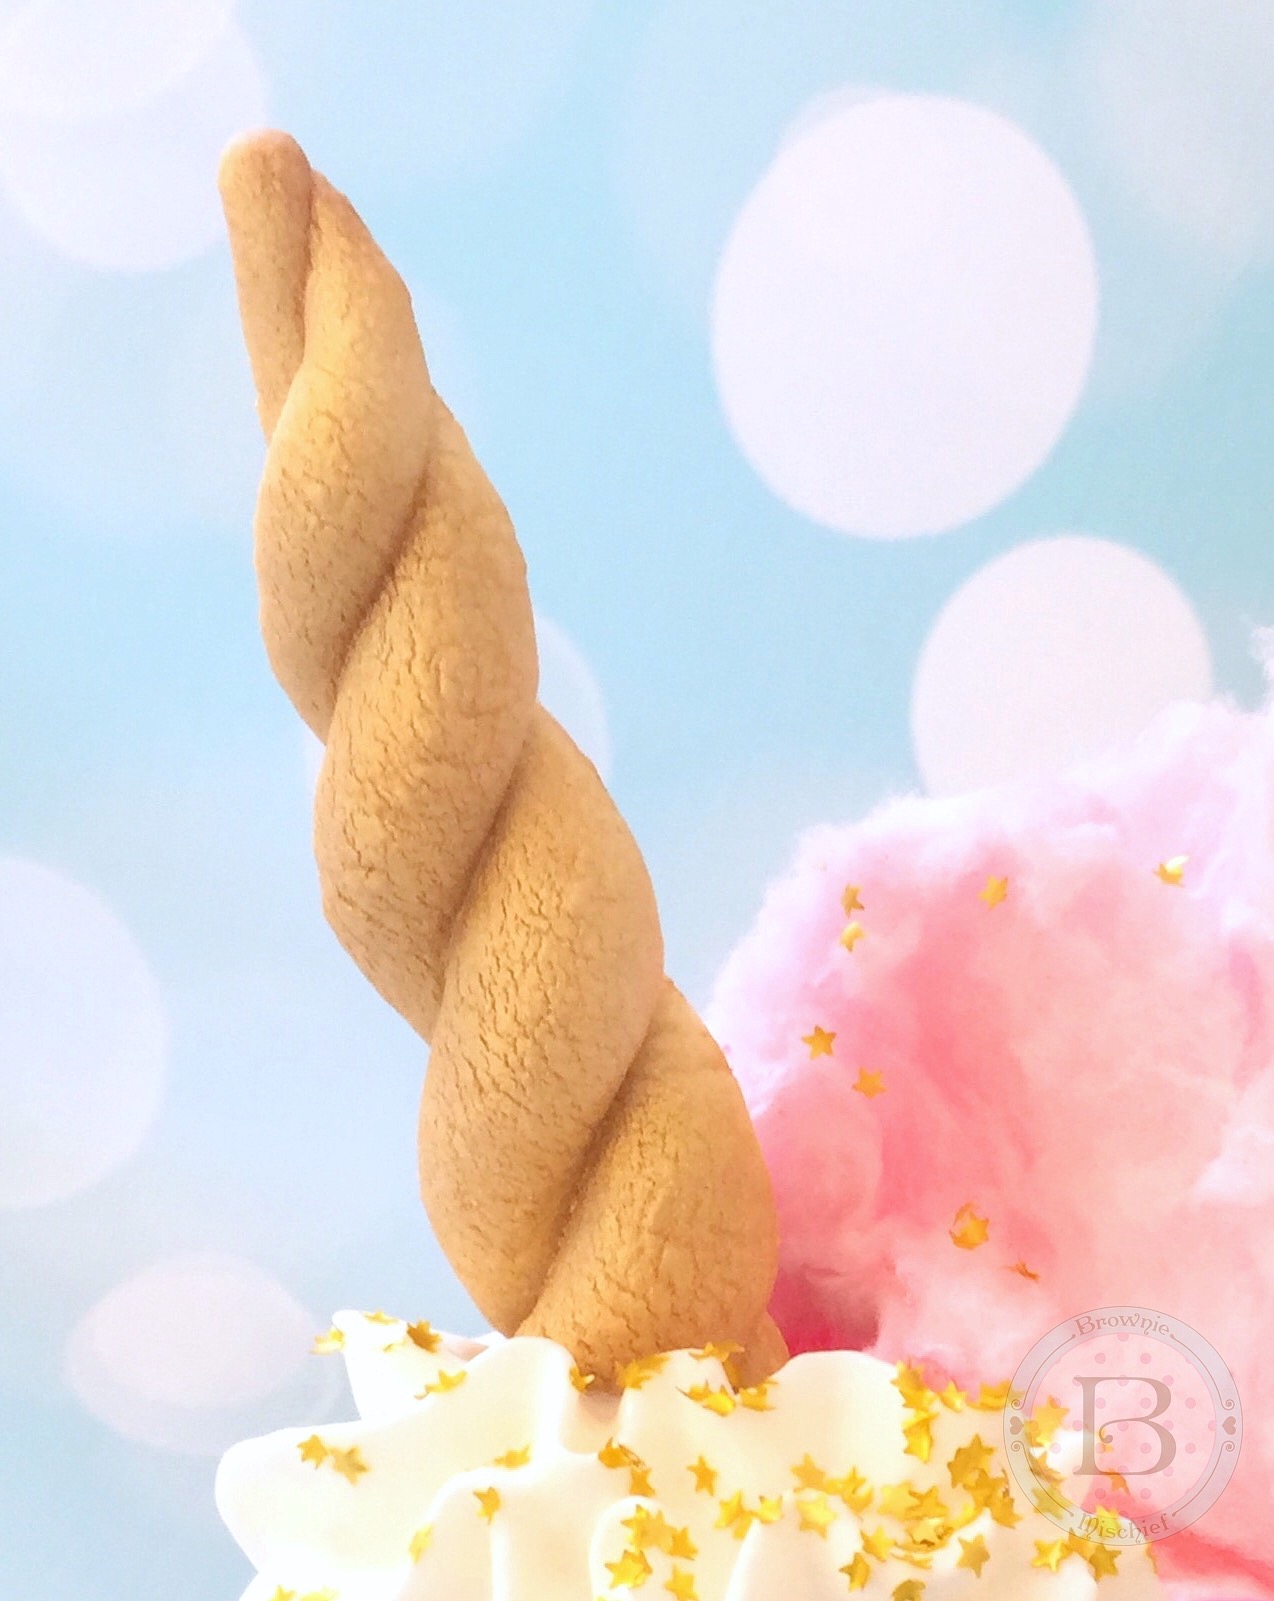
Unicorn Horn Cookie by Brownie Mischief


Print Recipe


Unicorn Horn Cookies

Sugar cookies shaped like unicorn horns.

Course Dessert
Keyword drinks, milkshake

Prep Time 15 minutes
Cook Time 15 minutes
Passive Time 11/2 hours

Servings
cookies (*see note)


Ingredients

Course Dessert
Keyword drinks, milkshake

Prep Time 15 minutes
Cook Time 15 minutes
Passive Time 11/2 hours

Servings
cookies (*see note)


Ingredients


Instructions
  1. In a medium bowl, sift together flour, baking powder and salt. Set aside.

  2. In a large bowl, cream butter and sugar with an electric mixer at medium speed until light and fluffy, about 2-3 minutes.

  3. Add the egg yolk and extracts. Beat at medium speed until combined.

  4. Gradually add the flour mixture, beating at low speed just until combined. Do not over mix.

  5. Cover dough with plastic wrap and chill in the refrigerator for 30 minutes.

  6. Line 2 large cookie sheets with parchment paper.

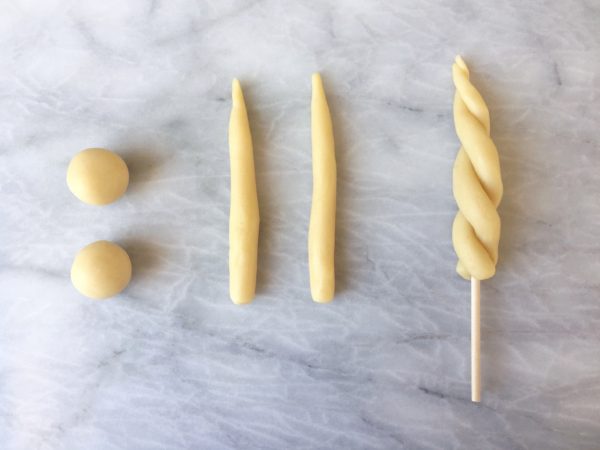
  7. Form dough into tablespoon size balls. (I used a tablespoon cookie scoop to make them uniform in size.) Form each ball of dough into a log, tapering at one end.
    Unicorn Horn Cookie Tutorial

  8. Twist two logs together to form a horn shape. Repeat with remaining logs. Insert skewers or lollipop sticks, if using. Place about 2 inches apart on prepared cookie sheets.

  9. Cover with plastic wrap and chill in the refrigerator for 30 minutes.

  10. Preheat oven to 350ºF. Bake until golden brown, about 13-15 minutes. Transfer cookies to wire rack to cool.
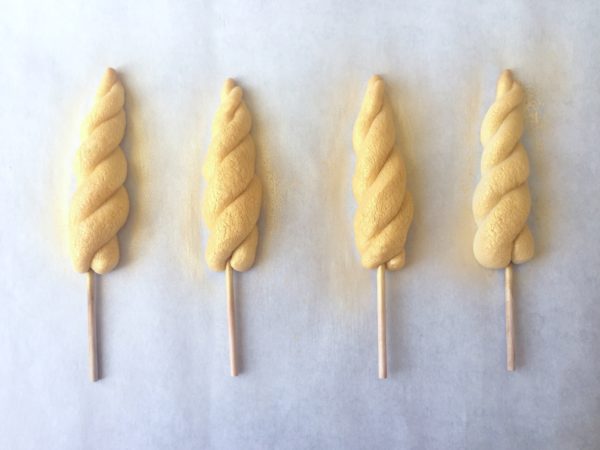
    Unicorn Horn Cookies Tutorial

  11. When cookies have cooled completely, place them on a parchment paper lined work surface. (You can use the same pieces of parchment paper that you baked them on.) If you are using lollipop sticks, you may want to cover the sticks with plastic wrap to keep them clean. Spray with edible gold spray. Let dry. Apply an additional coat of edible gold spray, if desired.


Recipe Notes

*This recipe makes about 14 unicorn horn cookies, but if you only need a few, you can roll out the remaining dough and use your favorite cookie cutter to make cookies. The baking time will be a bit less. You can also make as many unicorn horns as you need and freeze the remaining dough for later use.

**To make toppers as shown, use wooden skewers. To make cookie pops, use lollipop sticks.

***Click here to find Wilton Gold Color Mist

Marshmallow Love


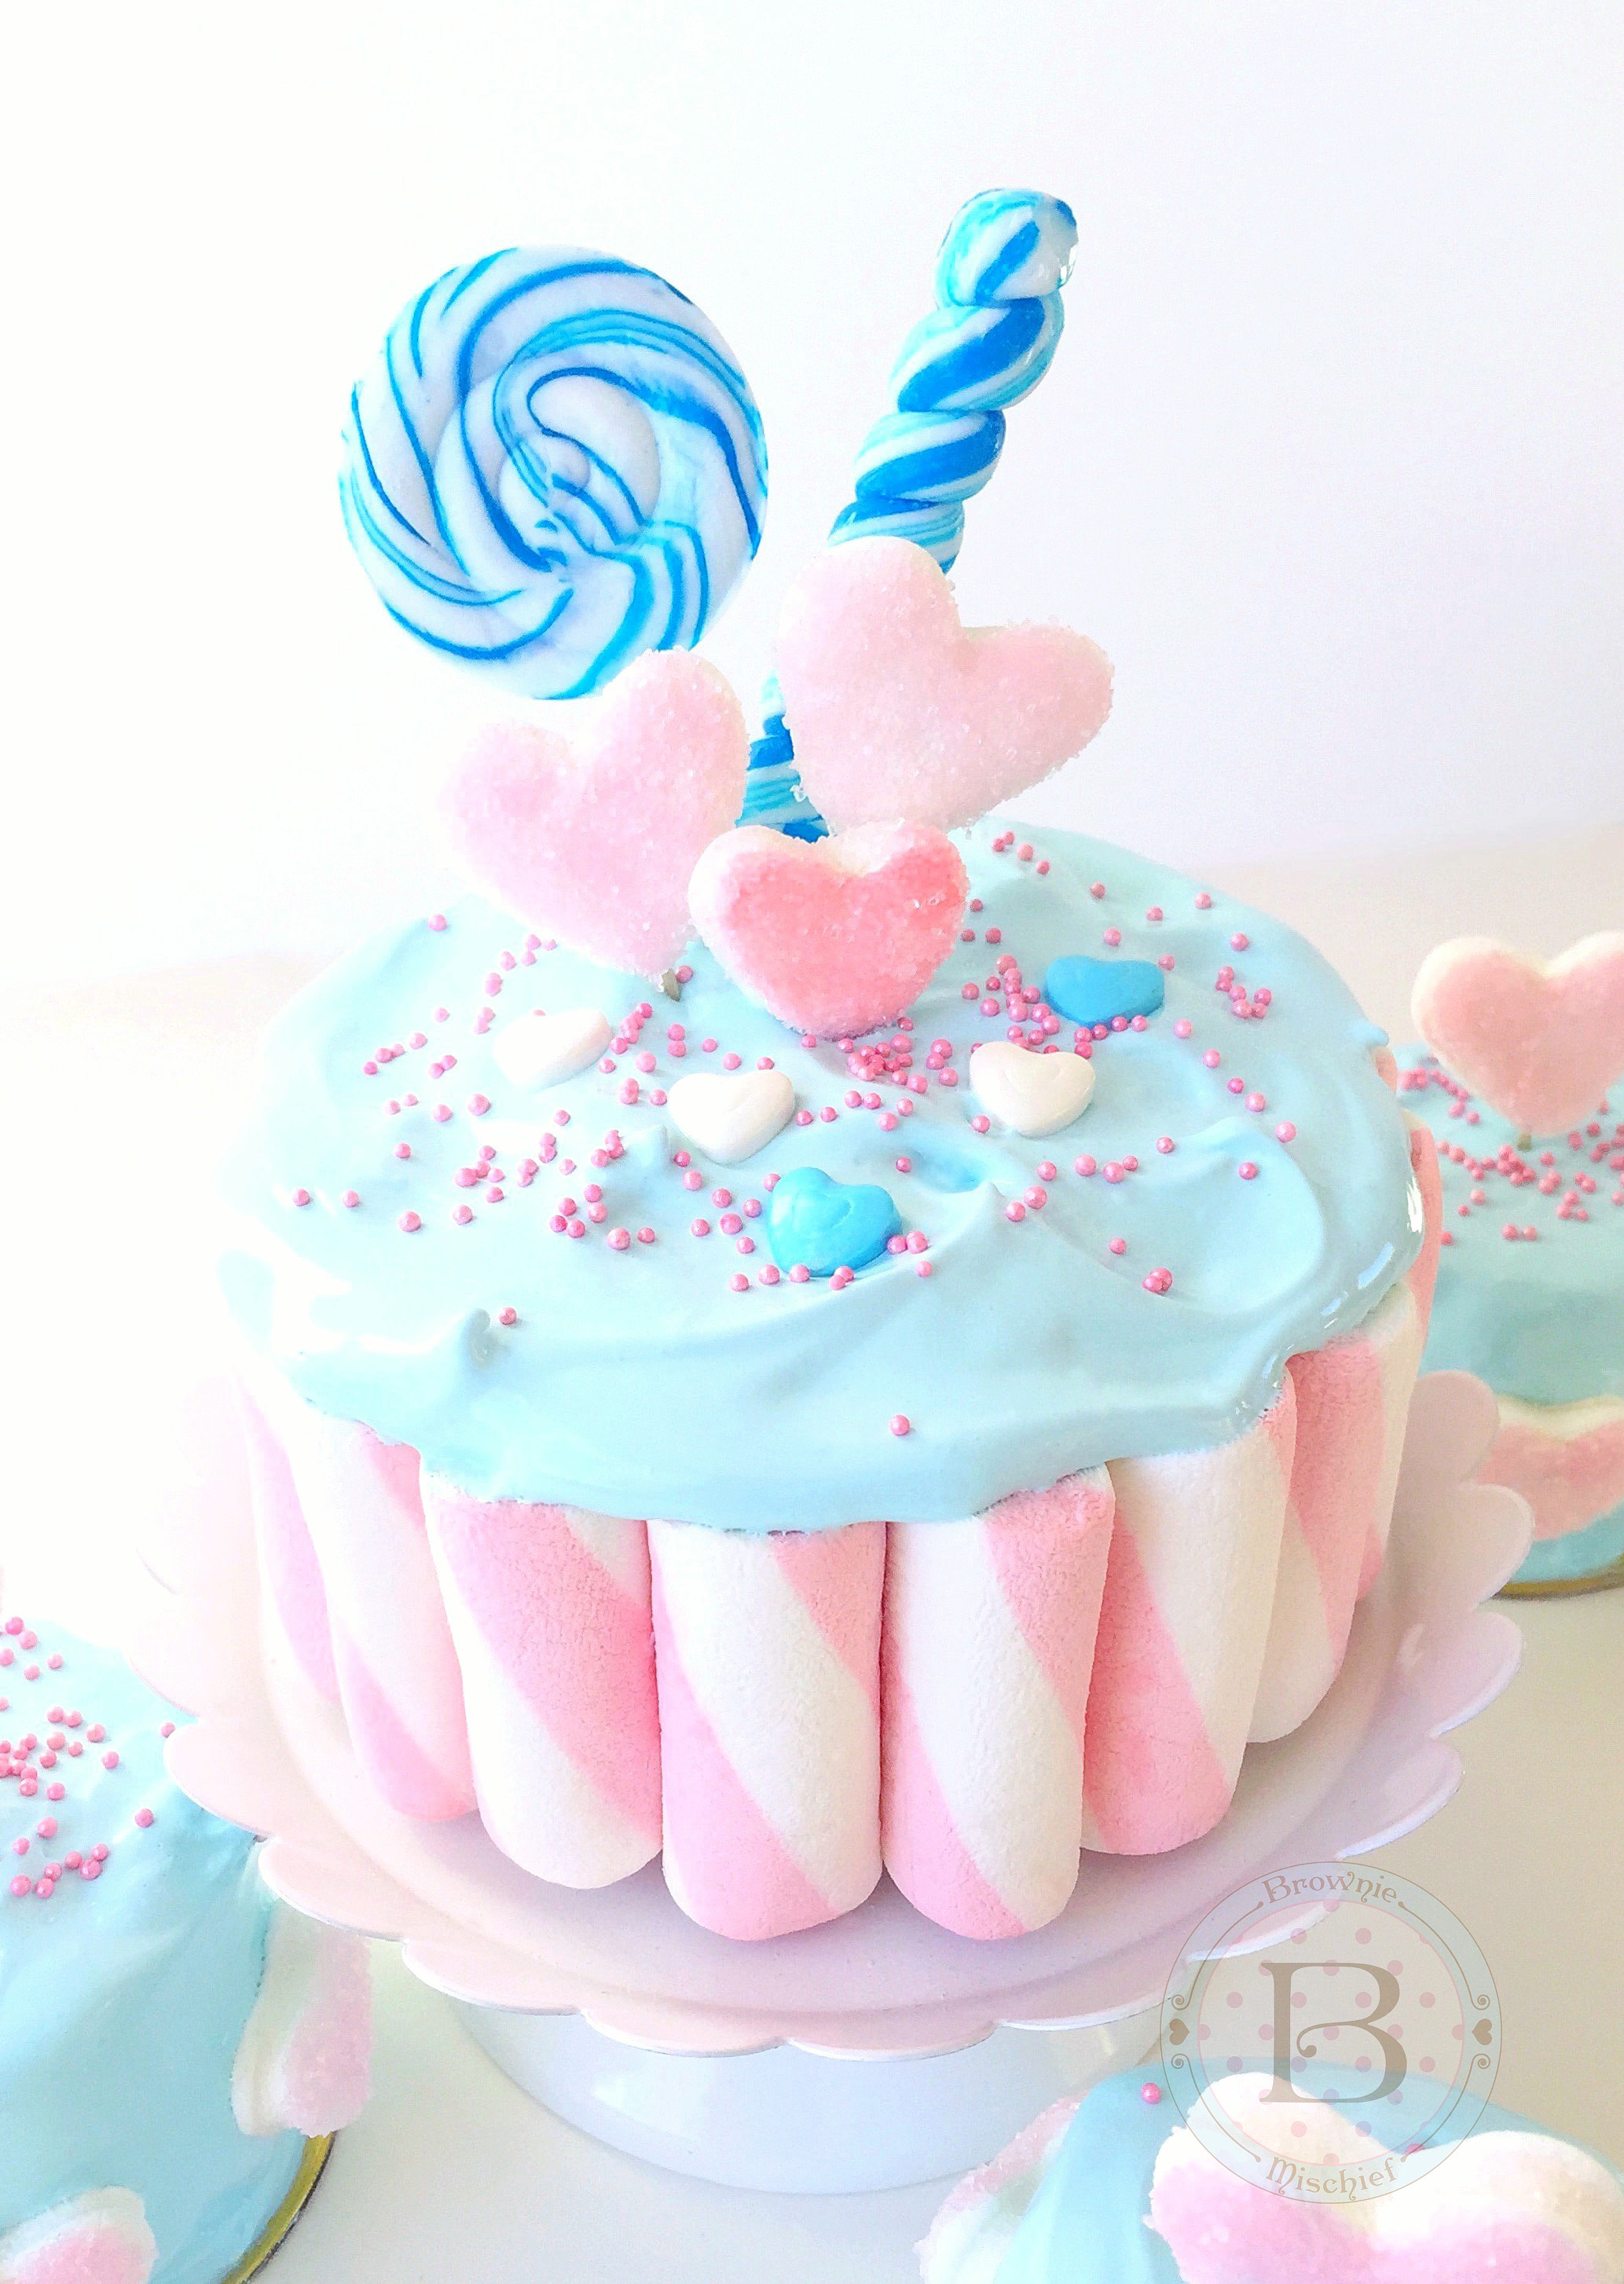
Marshmallow Cake by Brownie Mischief

Dear marshmallows, why are you so sweet and fluffy? I shall call you squishy and you shall be mine! Yes, it’s true, I’m a bit crazy about marshmallows. This post is nothing short of a marshmallow fest! First, my daughter and I made some Sparkly Marshmallow Hearts that are super fun and easy to make. I literally want to put them on everything! How cute do they look on this mini cake? They also make adorable cupcake toppers! To view the Sparkly Marshmallow Hearts tutorial click here.

We also had some fun with Puffy Poles. In case you’re not marshmallow savvy, Puffy Poles are marshmallows that look like chubby barber poles. They’re very popular on dessert tables and candy buffets. We used pink ones, which have a subtle strawberry flavor. We applied them to the pictured 4-inch diameter by 2 1/4 inch tall strawberry cake, which was crumb coated with a thin layer of vanilla buttercream. We used buttercream to adhere them to the sides of the cake. To find Puffy Poles click here.

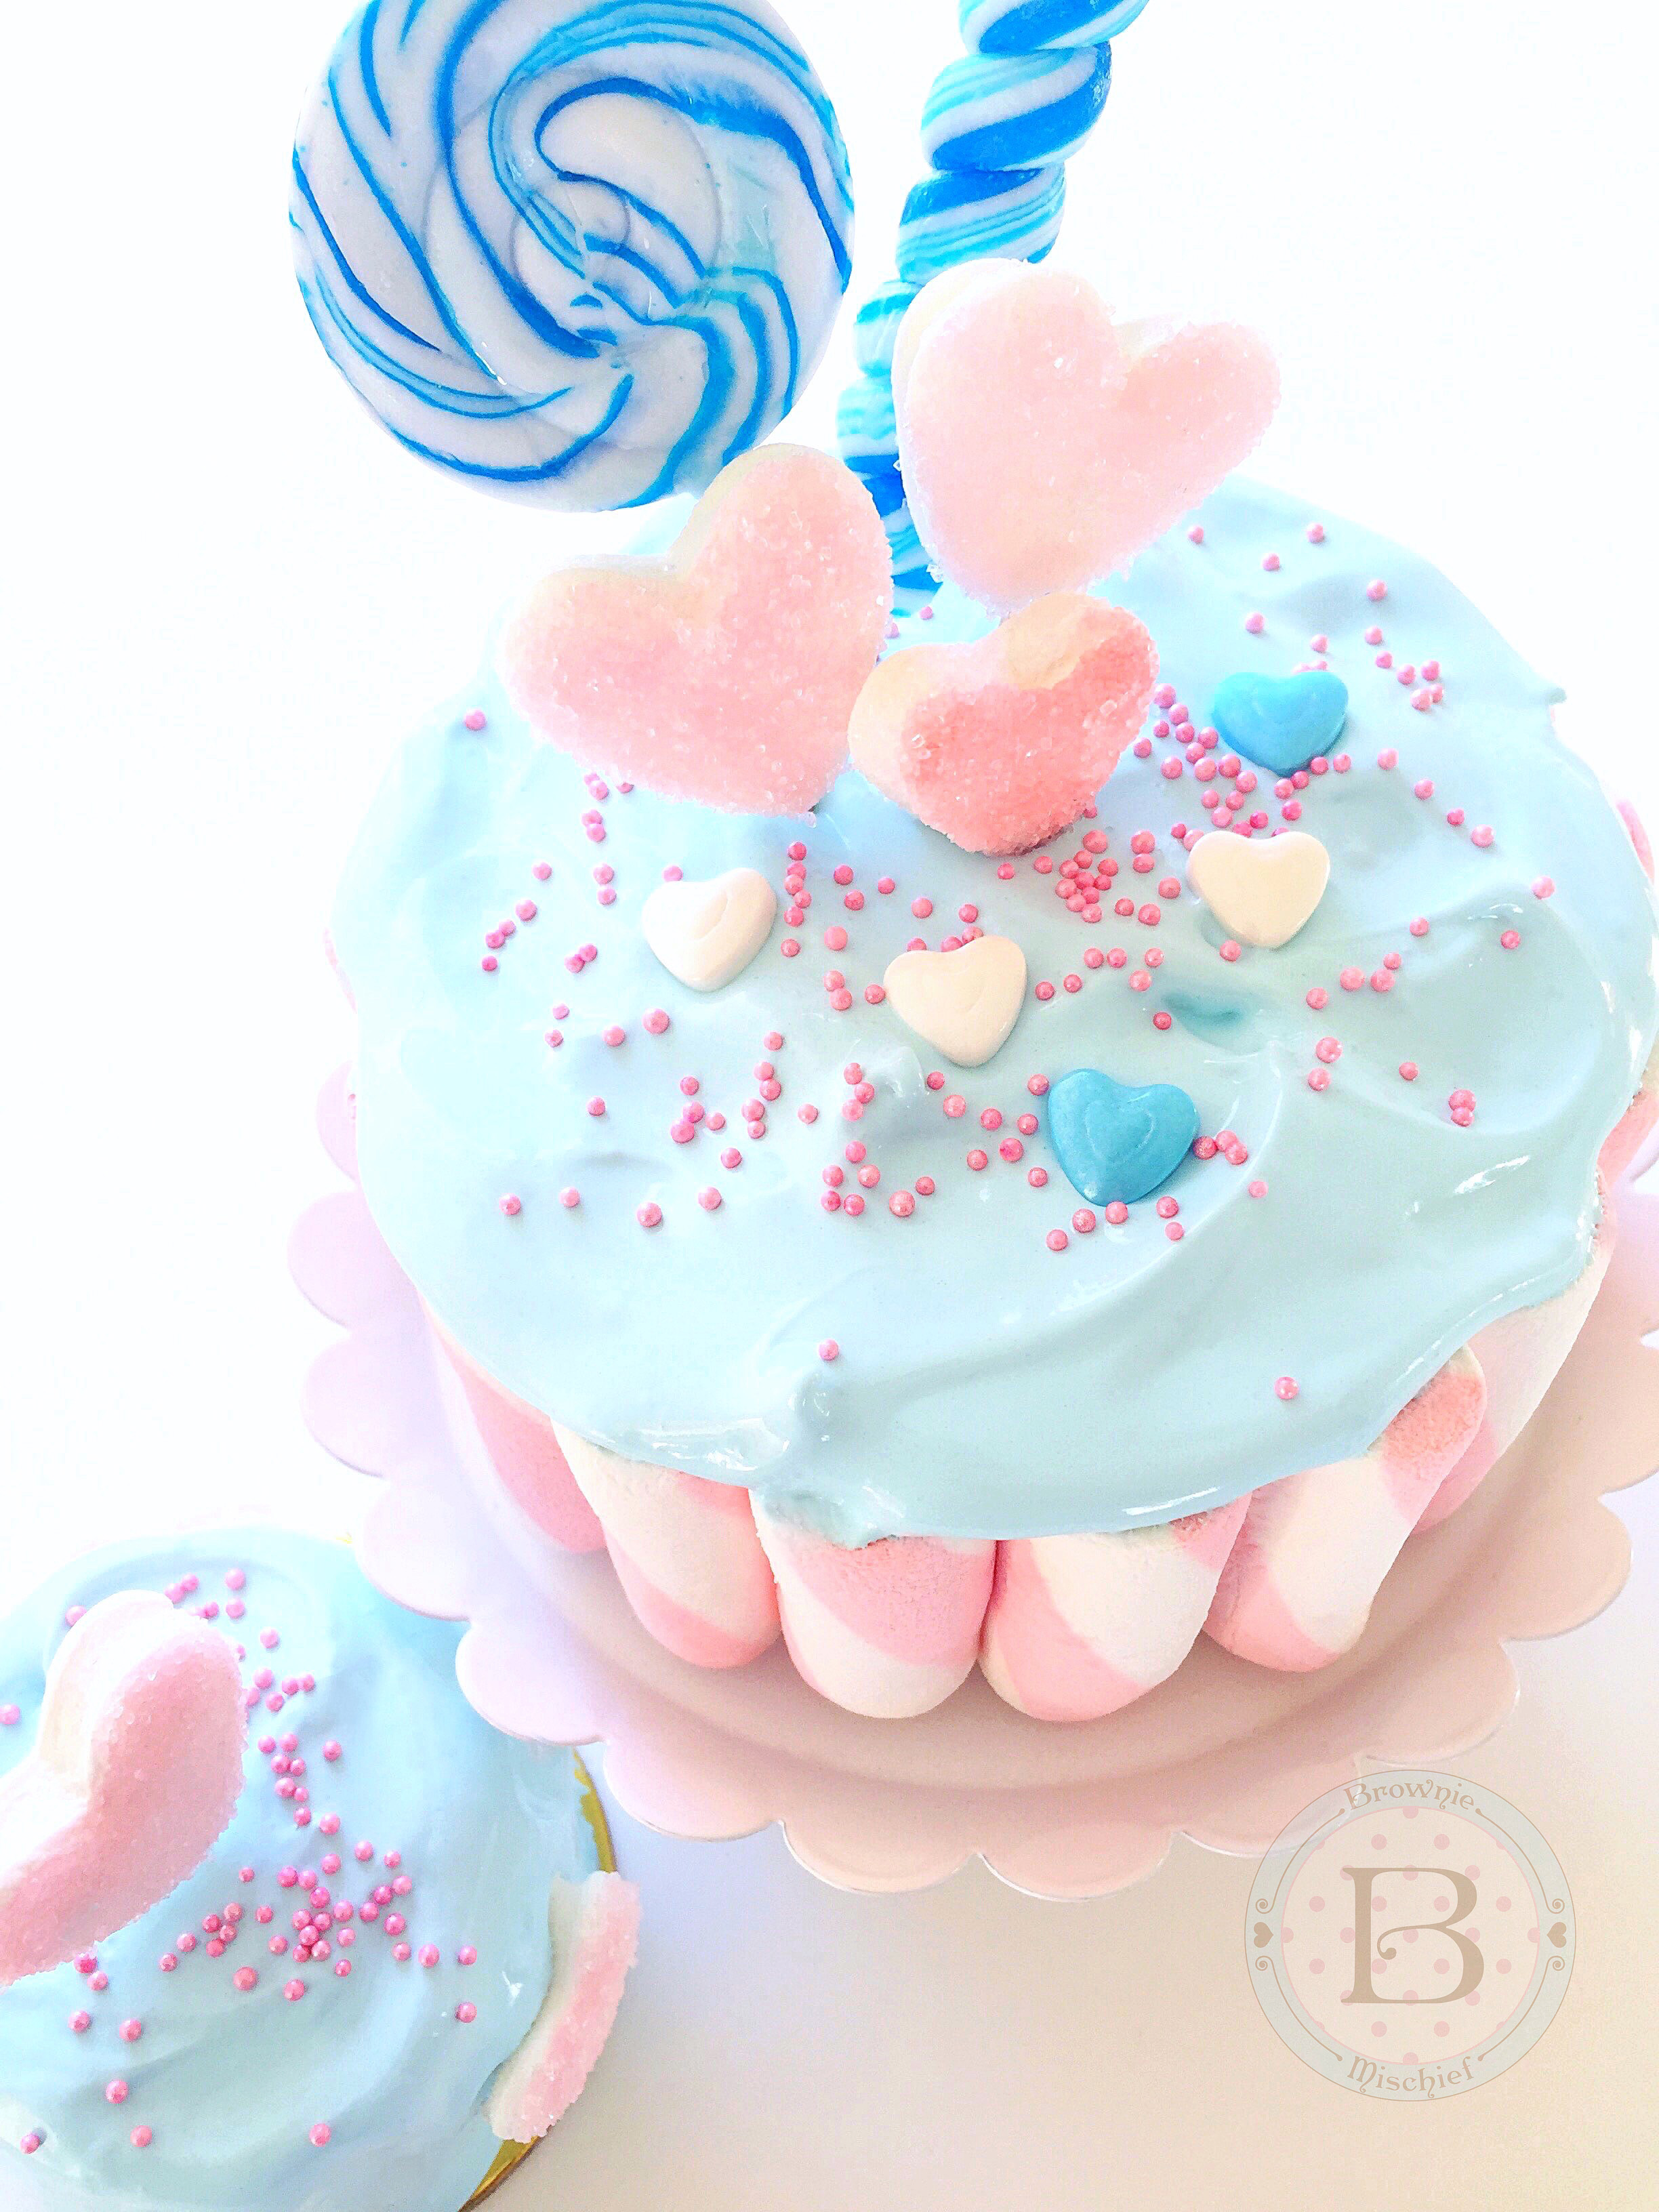
Marshmallow Cake by Brownie Mischief

Next, I made some Billowy Sky Blue Marshmallow Frosting to share with you. One of the things you’re going to love about this frosting, besides being yummy, is it’s natural beauty. You can simply spoon it on, no piping or fancy tricks necessary. Everything it touches becomes an ethereal cloud of deliciousness! The recipe is below.

Print Recipe
Billowy Sky Blue Marshmallow Frosting
Fluffy, glossy, sweet marshmallow frosting.
Course Dessert
Prep Time 10 minutes
Cook Time 15 minutes
Servings
cups
Ingredients
Course Dessert
Prep Time 10 minutes
Cook Time 15 minutes
Servings
cups
Ingredients
Instructions
  1. In a large heatproof bowl, whisk together sugar, egg whites, water and cream of tartar until frothy.
  2. Place bowl over a pan of gently simmering water, making sure the water isn't touching the bottom of the bowl. Whisk mixture until temperature reaches 160° and sugar is completely dissolved.
  3. Remove bowl from heat. Add extracts. Beat mixture with the whisk attachment of an electric mixer on high speed until stiff and glossy.
  4. Add a small amount of food color with a toothpick and mix on low speed. Continue adding food color, a little at a time, until desired shade is reached. Use a clean toothpick for each addition.
Recipe Notes

*It's important to dissolve all of the sugar when making this frosting. Ultra fine sugar dissolves easier, but if you are unable to find it, you can use regular granulated sugar.