Once upon a time, there was a little black bear who woke up from a long nap. As she stretched, she felt her tummy growl. She ventured into the morning sunshine and smelled something sweet. She sniffed the air, following the sweet fragrance until she came upon a beautiful purple tree. She climbed up to a comfy branch and ate the tender, purple blossoms to her heart’s content.
Bears, butterflies and bees know something good when they see it. We humans can also enjoy lilacs. I knew lilacs were edible, but I hadn’t tasted them until recently. The flavor reminds me of beets, slightly sweet with a vegetable aftertaste. I really wanted to try lilac syrup after seeing so many photos of pretty purple syrup online. I discovered that lilac syrup is not purple. It’s more of a dull, brownish blue-green. Many people use food coloring or blueberries to color their syrup. I also discovered that lilac syrup will turn a pretty shade of mauve by adding a small amount of lemon juice to the finished syrup. Since I would be using my lilac syrup inside of cake layers, I let it remain its natural color. I made a simple syrup with lilac blossoms and let them steep for a couple of hours. It was just long enough to give a subtle lilac flavor without being too floral. If you want a stronger lilac flavor, I suggest using more lilac blossoms rather than steeping longer to avoid bitterness.
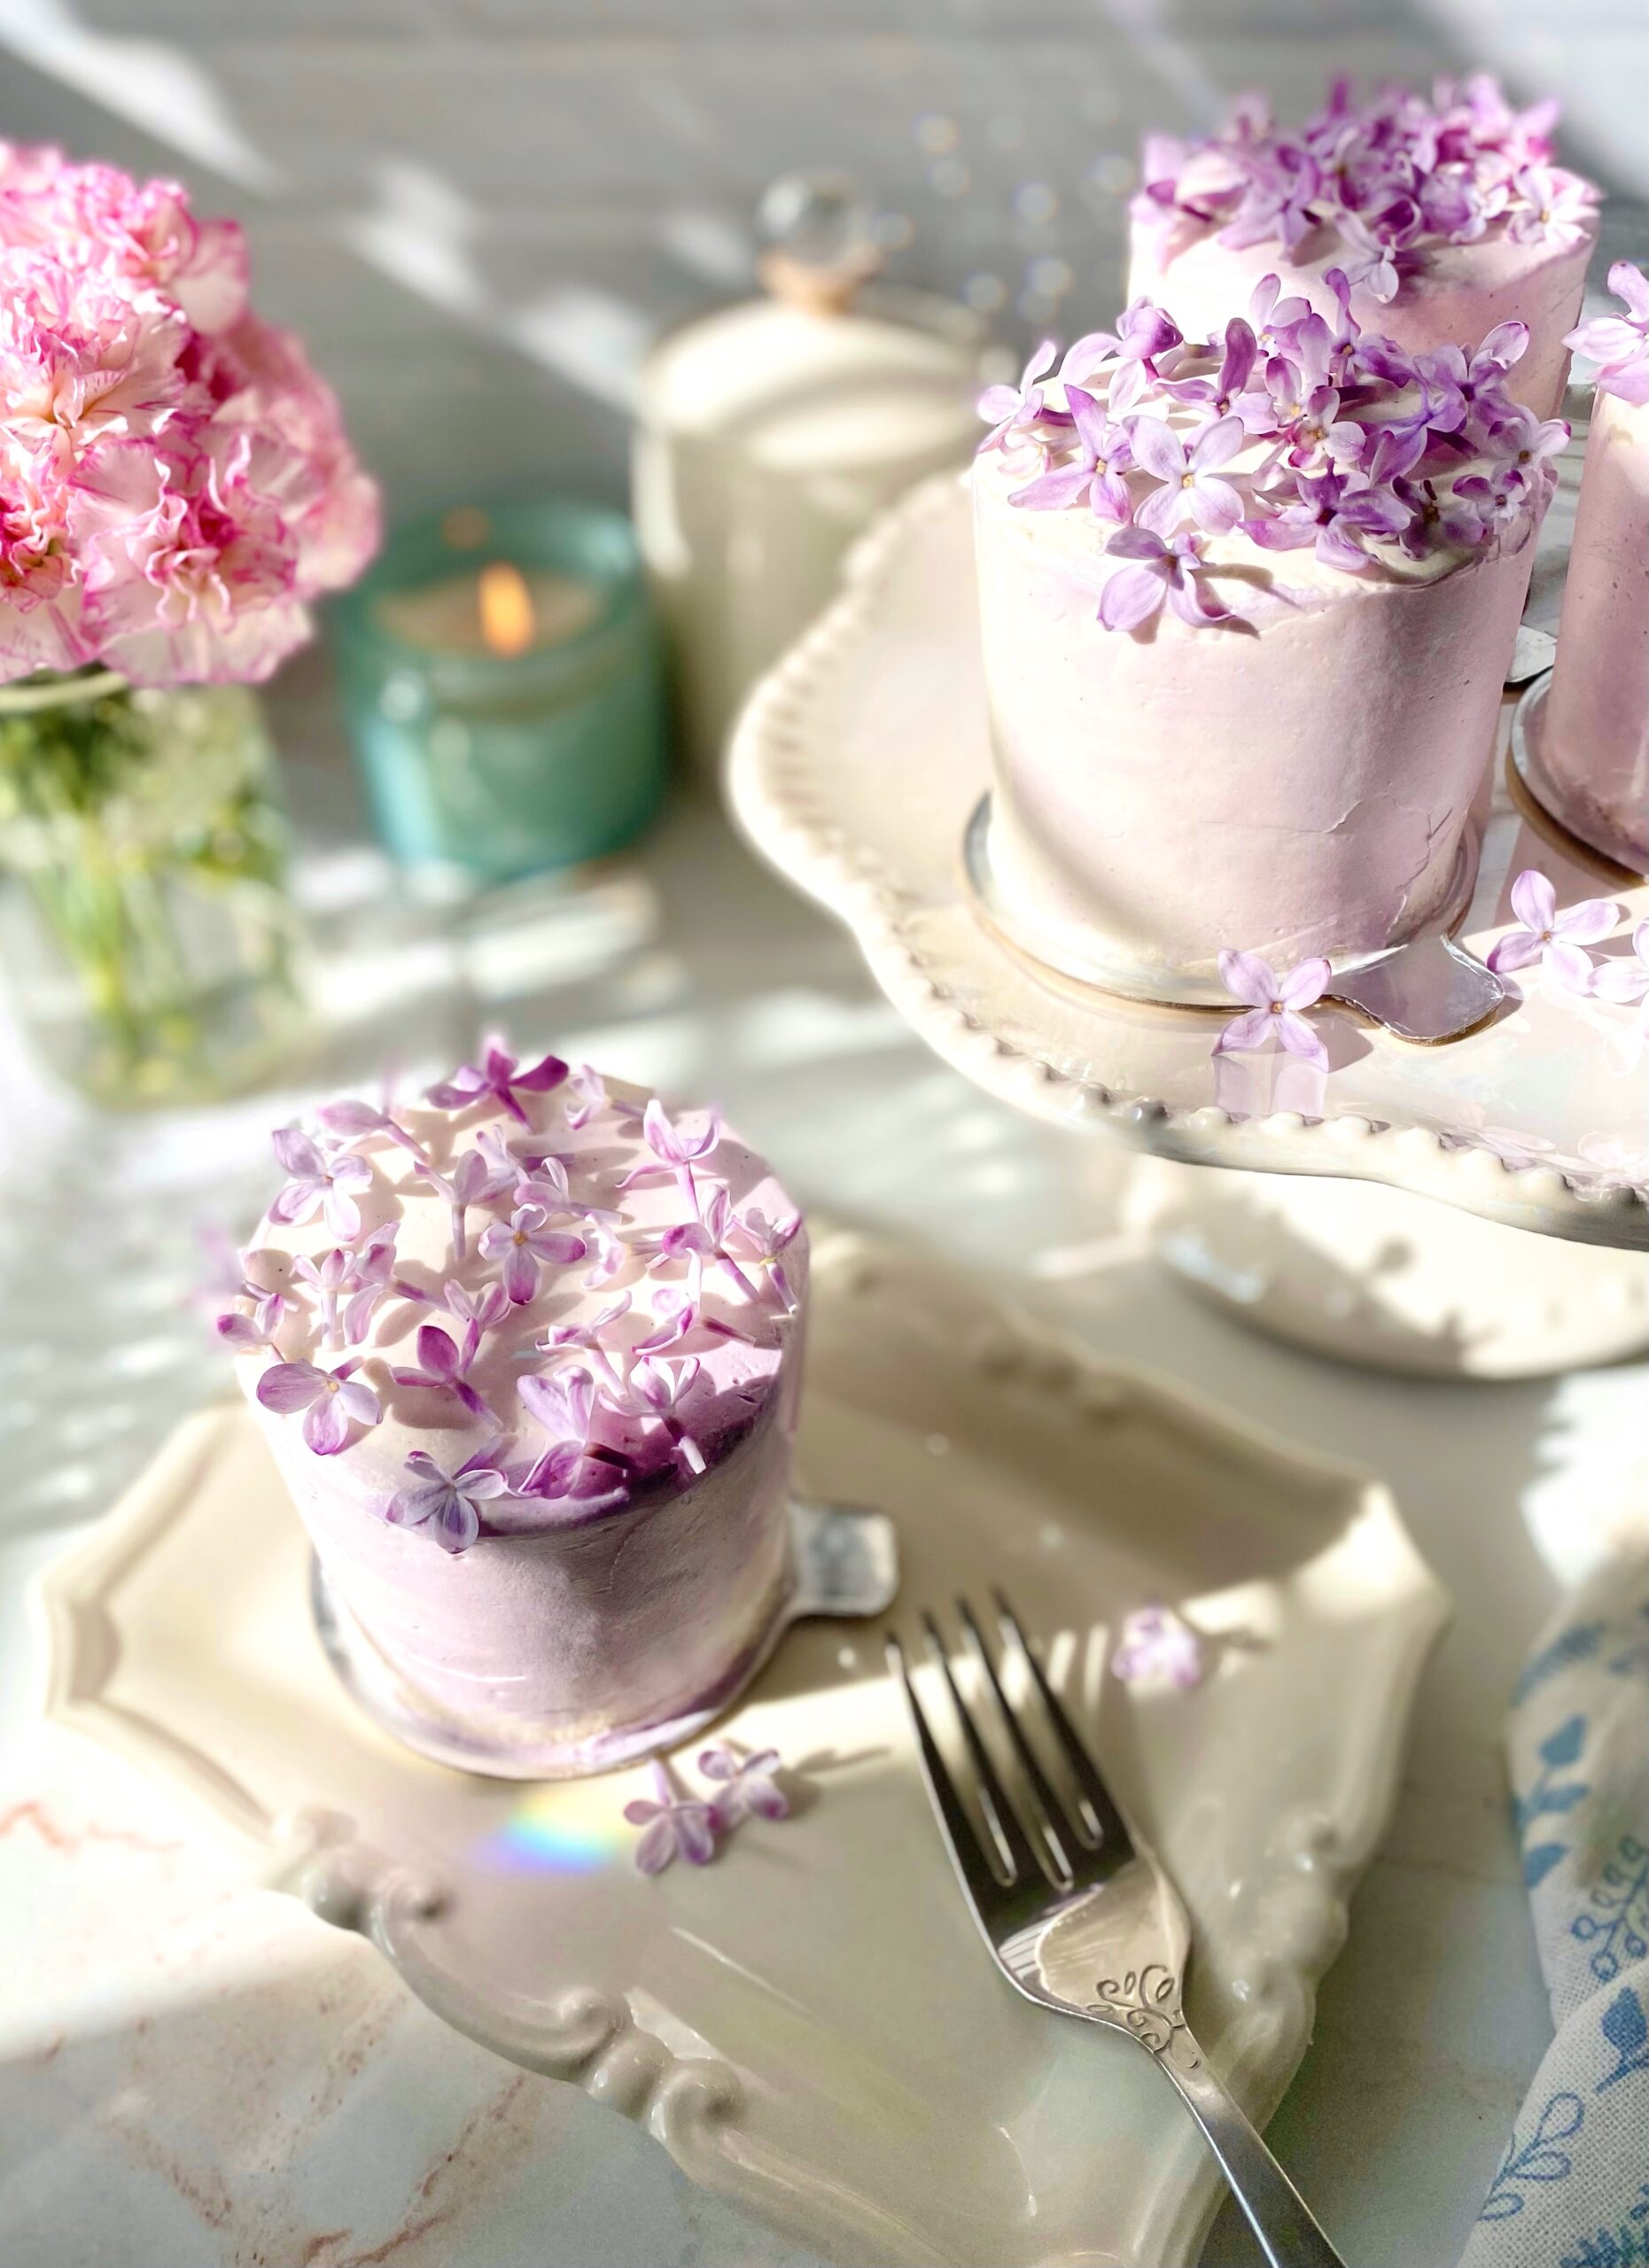
I paired the lilac syrup with this soft, fluffy vanilla cake and silky Swiss meringue buttercream. If you aren’t a fan of lilac syrup, feel free to use vanilla simple syrup instead and just use the lilac blossoms to decorate your cakes. They look stunning on any cake or cupcakes.
Lilac Vanilla Mini Cakes
Ingredients
Lilac Syrup
- ½ cup (100g) sugar
- ½ cup (118ml) water
- ½ cup (7g) lilac blossoms, rinsed and all stems removed
- 1 teaspoon fresh lemon juice optional
White Vanilla Cake
- 2 ¾ cups (319g)) cake flour, sifted
- 2 teaspoons baking powder
- 1 teaspoon fine sea salt
- ½ cup (113g) unsalted butter, softened
- 1 ¾ cups (350g) ultra fine granulated sugar* Not powdered sugar
- ¼ cup (2 oz or 57ml) vegetable oil or neutral oil of your choice
- 2 teaspoons vanilla bean paste or pure vanilla extract
- 4 large egg whites, room temperature
- 1 large egg, room temperature
- ½ cup (118ml) sour cream, room temperature
- 1 cup (237ml) whole milk, room temperature
Swiss Meringue Buttercream
- 4 large egg whites
- 1 ⅓ cups (265g) ultra fine granulated sugar* Not powdered sugar
- 1 ½ cups (340g) softened, unsalted butter, cubed
- 1 teaspoon vanilla bean paste or pure vanilla extract
- ¼ teaspoon fine sea salt
- 1-2 drops lilac gel good color See notes below
- 1 drop violet gel food color See notes below
Assembly
- 6 3-inch mini cake boards**** See notes below
- Lilac blossoms, rinsed and all stems removed
Instructions
Lilac Syrup
- In a small saucepan combine the sugar and water. Bring to a boil over medium heat, stirring gently to dissolve the sugar. Add the the lilac blossoms and stir gently. Turn the heat down and simmer for 5 minutes.
- Remove from heat and allow the lilac blossoms to steep for 2 hours. Pass the lilac syrup through a mesh sieve.
White Vanilla Cake
- Preheat the oven to 350ºF (180ºC). Grease and flour two 9-inch round cake pans and line the bottoms with parchment paper.
- In a medium-sized bowl, whisk together the cake flour, baking powder and salt until well blended.
- In a large bowl, beat the butter, sugar, oil and vanilla bean paste with an electric mixer at medium speed, until pale and fluffy, about 3 minutes.
- On medium speed, beat in the egg whites in two additions, then beat in the egg until incorporated. On low speed, beat in one third of the flour mixture, then beat in the sour cream just until combined. Beat in the remaining flour mixture in two additions, alternating with milk. Beat just until combined.
- Transfer the batter to prepared cake pans. Bake until the tops of the cakes are light golden brown and a toothpick inserted in center comes out clean, about 28-33 minutes. Do not over bake.
- Allow the cakes to cool in the pans for 10 minutes, then remove from the pans and transfer to a cooling rack.
- Cut each cake into four 2 3/4-inch rounds using a cookie or biscuit cutter.
- Using a pastry brush, brush the mini cakes generously with lilac syrup or vanilla simple syrup.
Swiss Meringue Buttercream
- Combine the egg whites and sugar in a large heatproof bowl. Set over a pan of gently simmering water, making sure the water doesn't touch the bottom of the bowl.
- Whisk constantly until the sugar is dissolved and a temperature of 160ºF (71ºC) is reached.
- Transfer the mixture to the bowl of a stand mixer with a whisk attachment. Whisk on low speed, gradually increasing to medium-high speed. Whisk until glossy, stiff peaks form and the mixture reaches room temperature.
- Turn the mixer to medium-low speed. Add the butter, a few pieces at a time, allowing it to fully incorporate before adding more. If the mixture looks curdled, keep mixing and it will correct itself.
- Switch to a paddle attachment. On low speed, mix in the vanilla bean paste and salt. Continue mixing on low speed for a few minutes until smooth.
- Remove about 3/4 cup of frosting and transfer it to a small bowl. Using a toothpick, place two tiny drops of lilac gel food color and one tiny drop of violet gel food color into the bowl. Mix with a spatula until well combined.
Assembly
- Smear a bit of frosting on each mini cake board. Top each one with a cake round, a layer of frosting, then a second cake round. Frost with a crumb coat if desired. Refrigerate of 15 minutes. Frost the mini cakes with white Swiss meringue buttercream, then smear small amounts of lilac Swiss meringue buttercream around the sides and top. Smooth frosting with a bench scraper and smooth the tops with a small offset spatula. Decorate with lilac blossoms.
Vanilla Simple Syrup (optional)
- Combine 1/2 cup sugar and 1/2 cup water in a small saucepan. Bring to a boil over medium heat, stirring gently to dissolve the sugar. When the sugar has dissolved, remove from heat and stir in 1 teaspoon vanilla bean paste or pure vanilla extract.