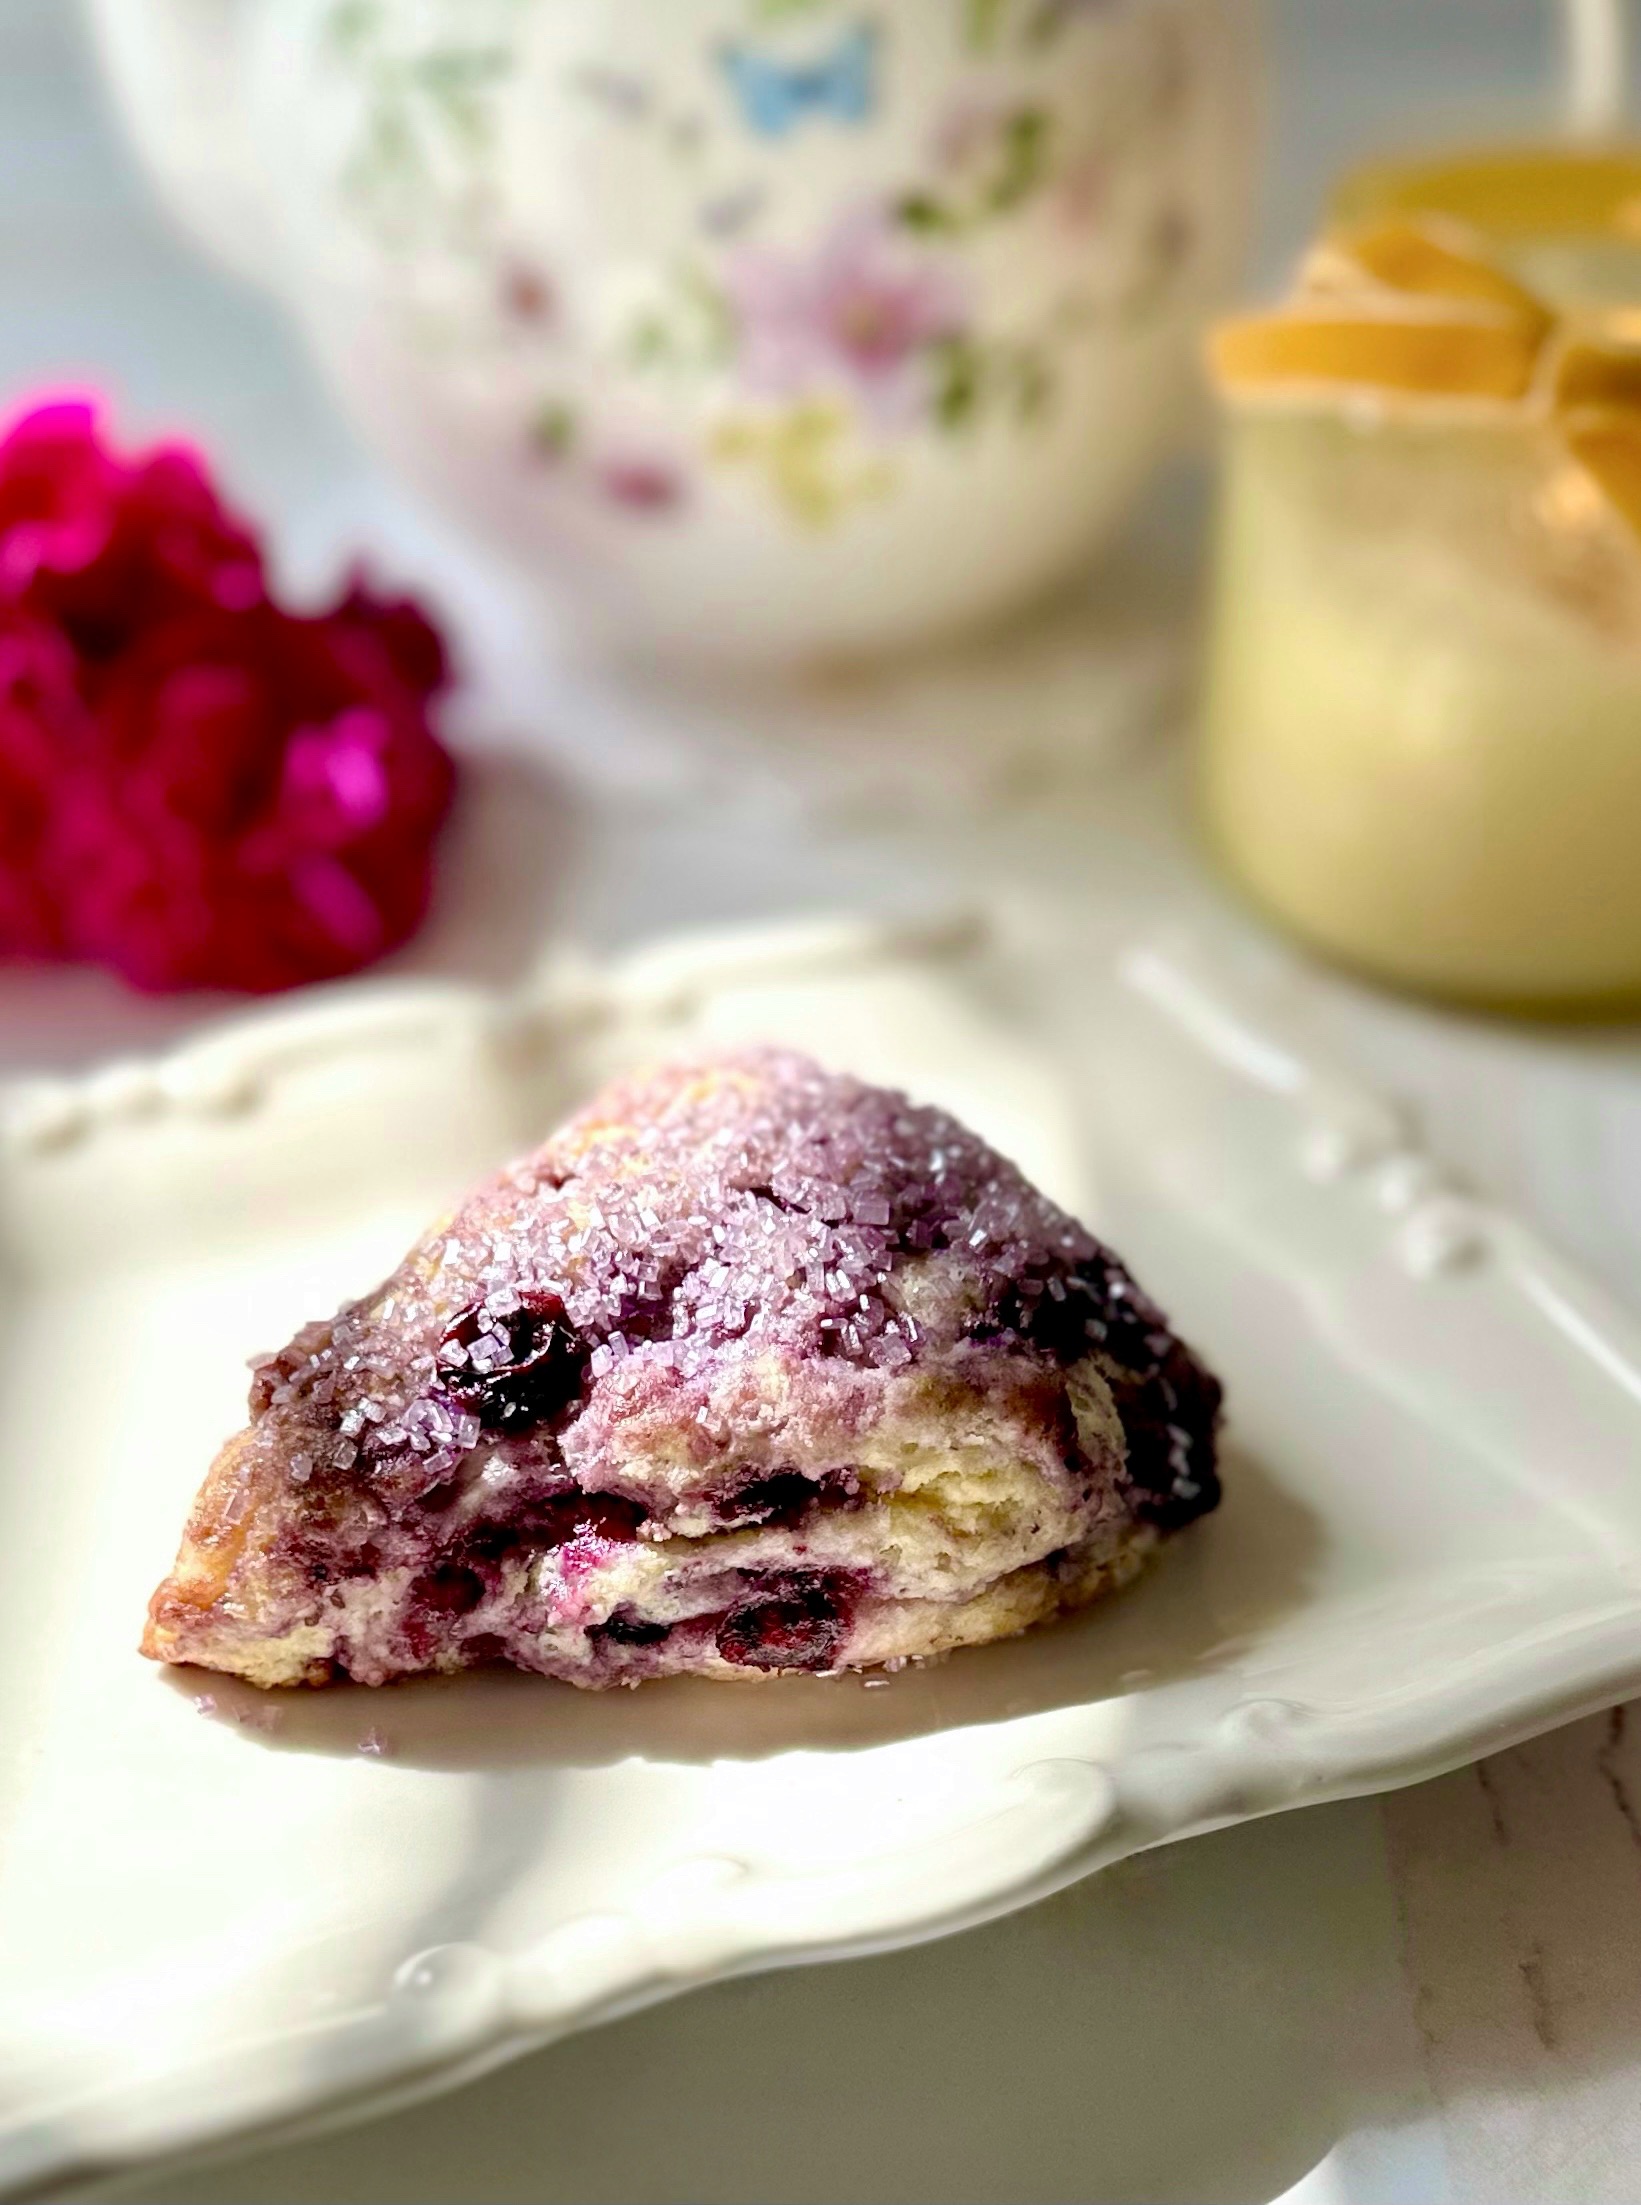
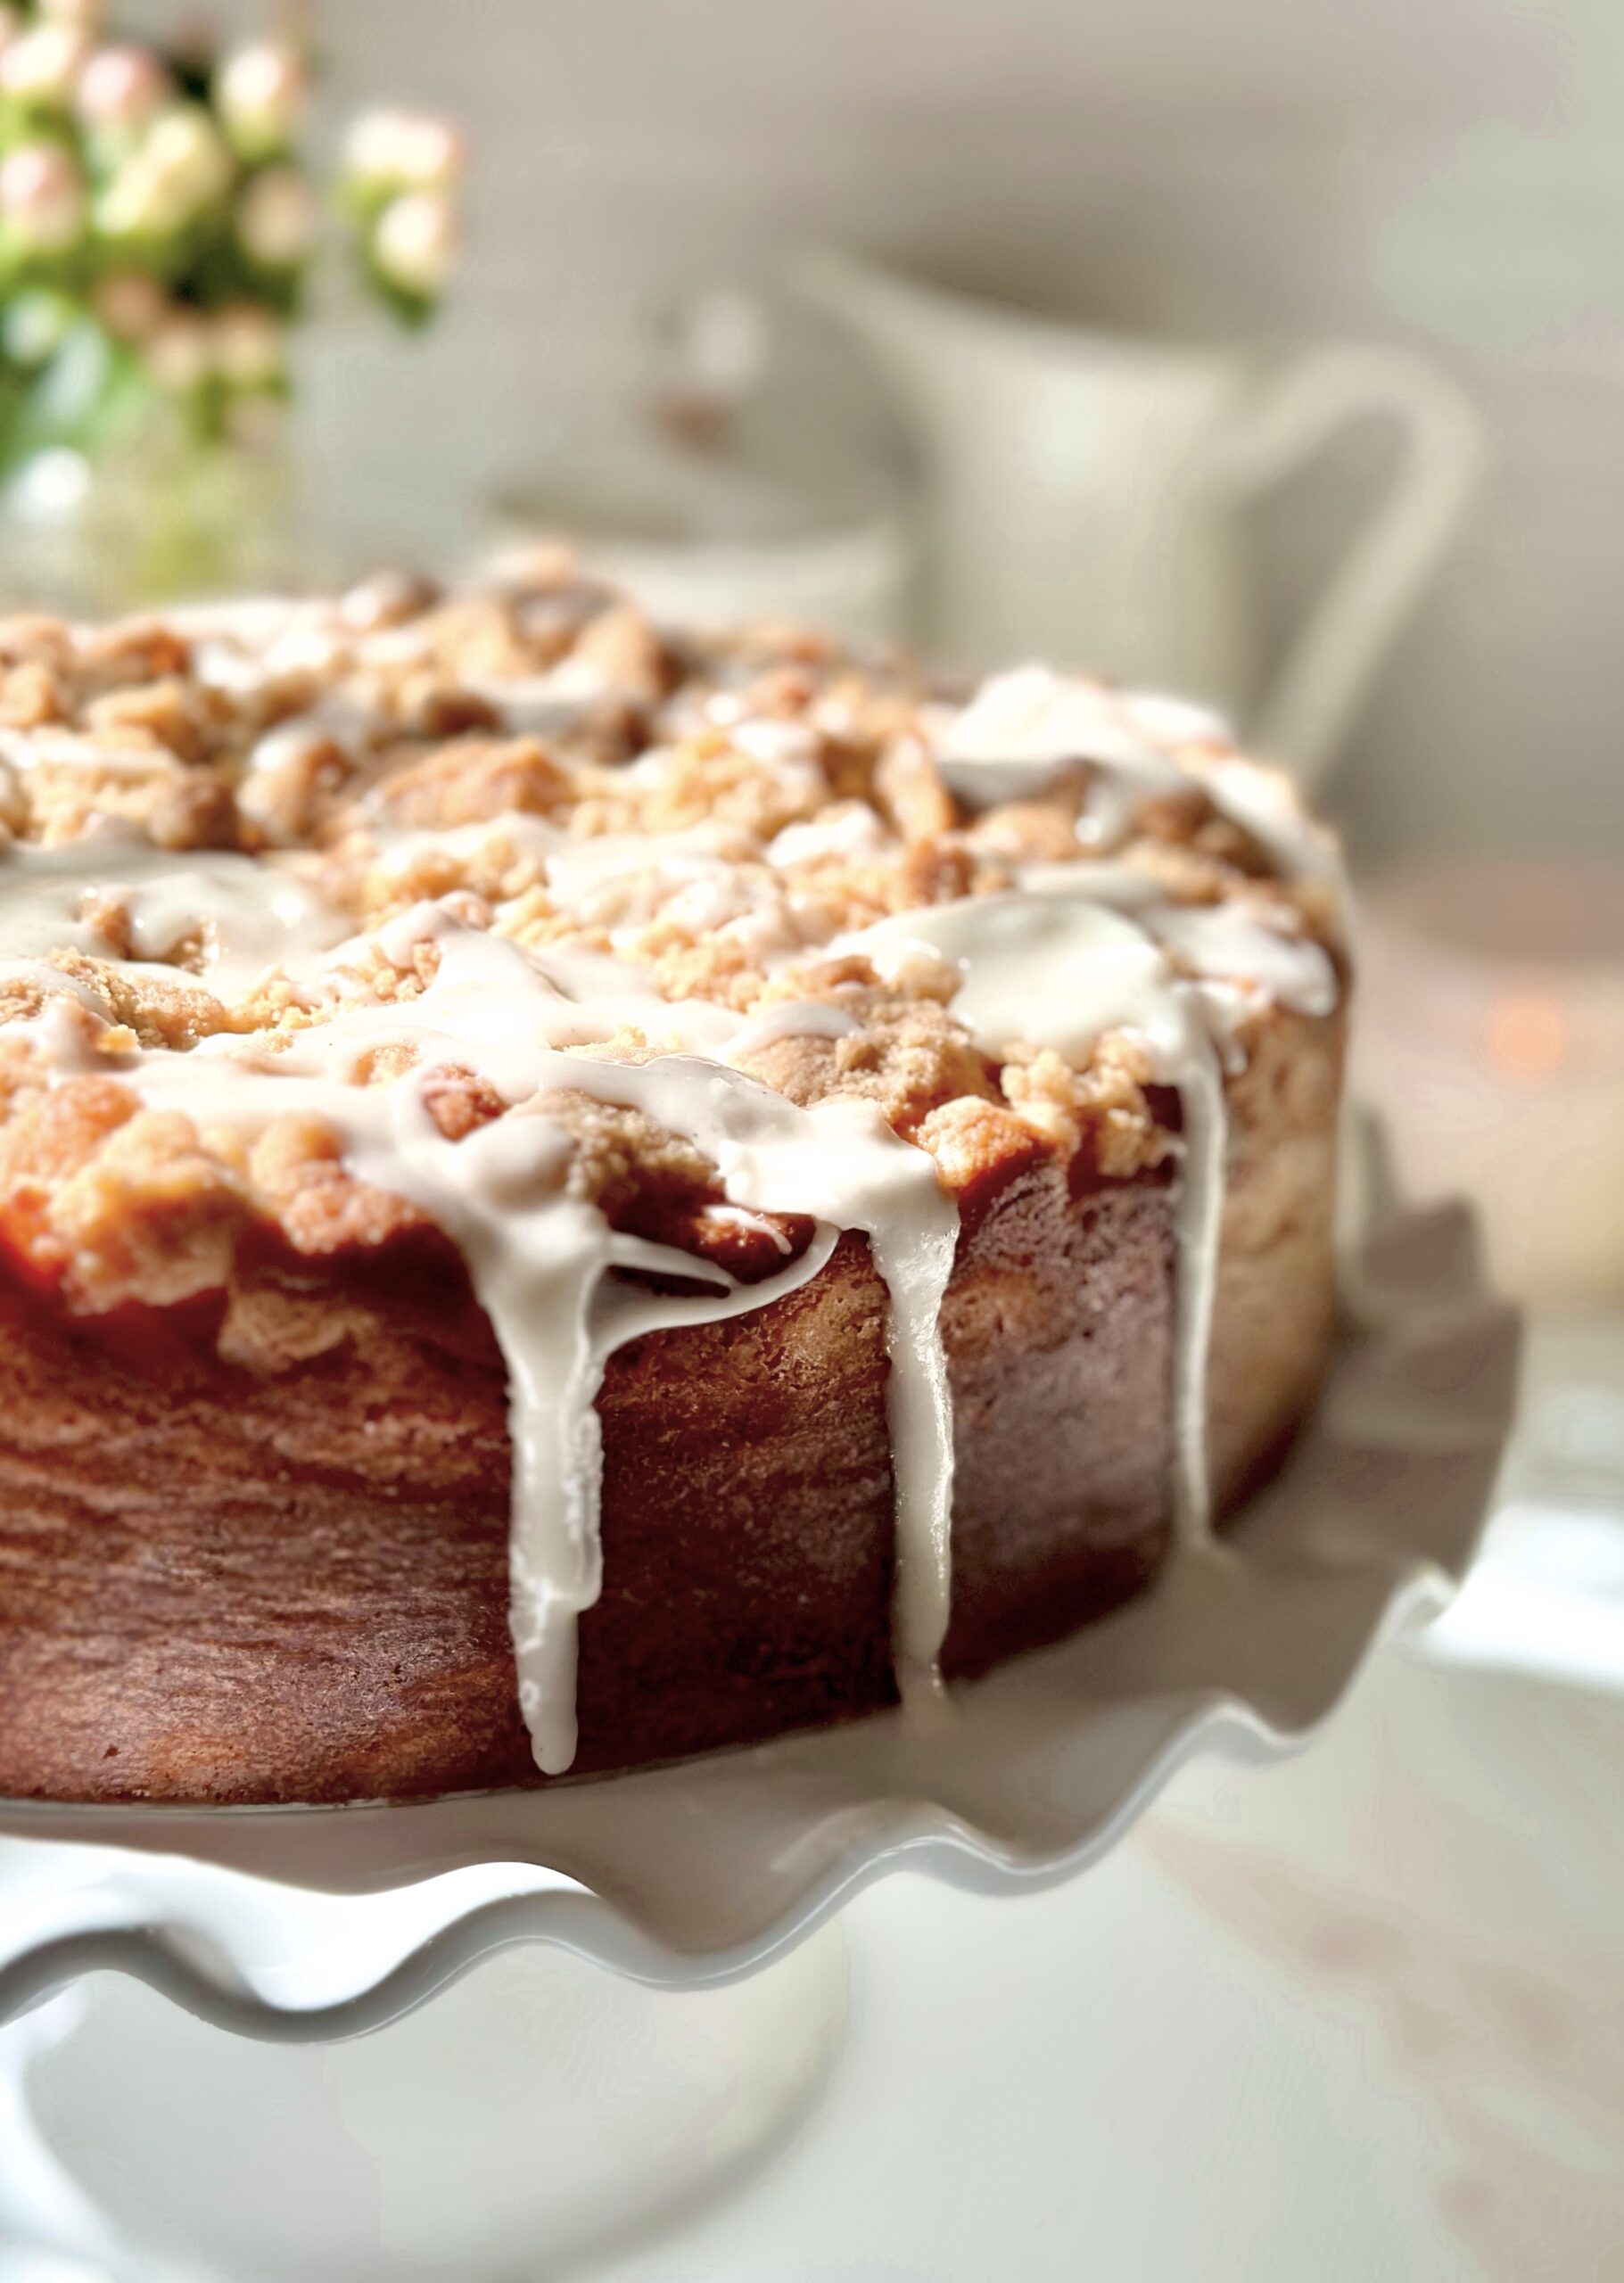
The texture and flavor of these cute Blueberry Lemon Crumb Cakes is immaculate. You’ll love them so much, you won’t want to share, but this recipe makes six 4-inch personal crumb cakes, so you’ll have one all to yourself. You’ll understand once you taste the soft, fluffy lemon scented cake with juicy blueberries, a generous amount of sweet crumb topping and a lemony cream cheese icing. I was a bit hesitant to share this recipe. But I was taught to share recipes by my two grandmothers who were amazing cooks and bakers. They shared their knowledge and recipes with anyone who asked. Recipes are a legacy that should be passed on to family and friends. If you’re reading this, I consider you a friend. So enjoy this recipe that’s especially dear to me, because it’s based on my Grandma’s Apple Crumb Cake recipe.
I used a six serving shallow jumbo muffin pan to bake the cakes. The muffin cups are 4 inches across by 1 inch deep. To find the pan, click here. A hamburger bun pan for 4-inch buns will work too. If you happen to have six 4-inch cake pans, those work nicely. I used jumbo muffin liners to line the muffin cups, which fit perfectly by pressing them in around the inside bottom edges.
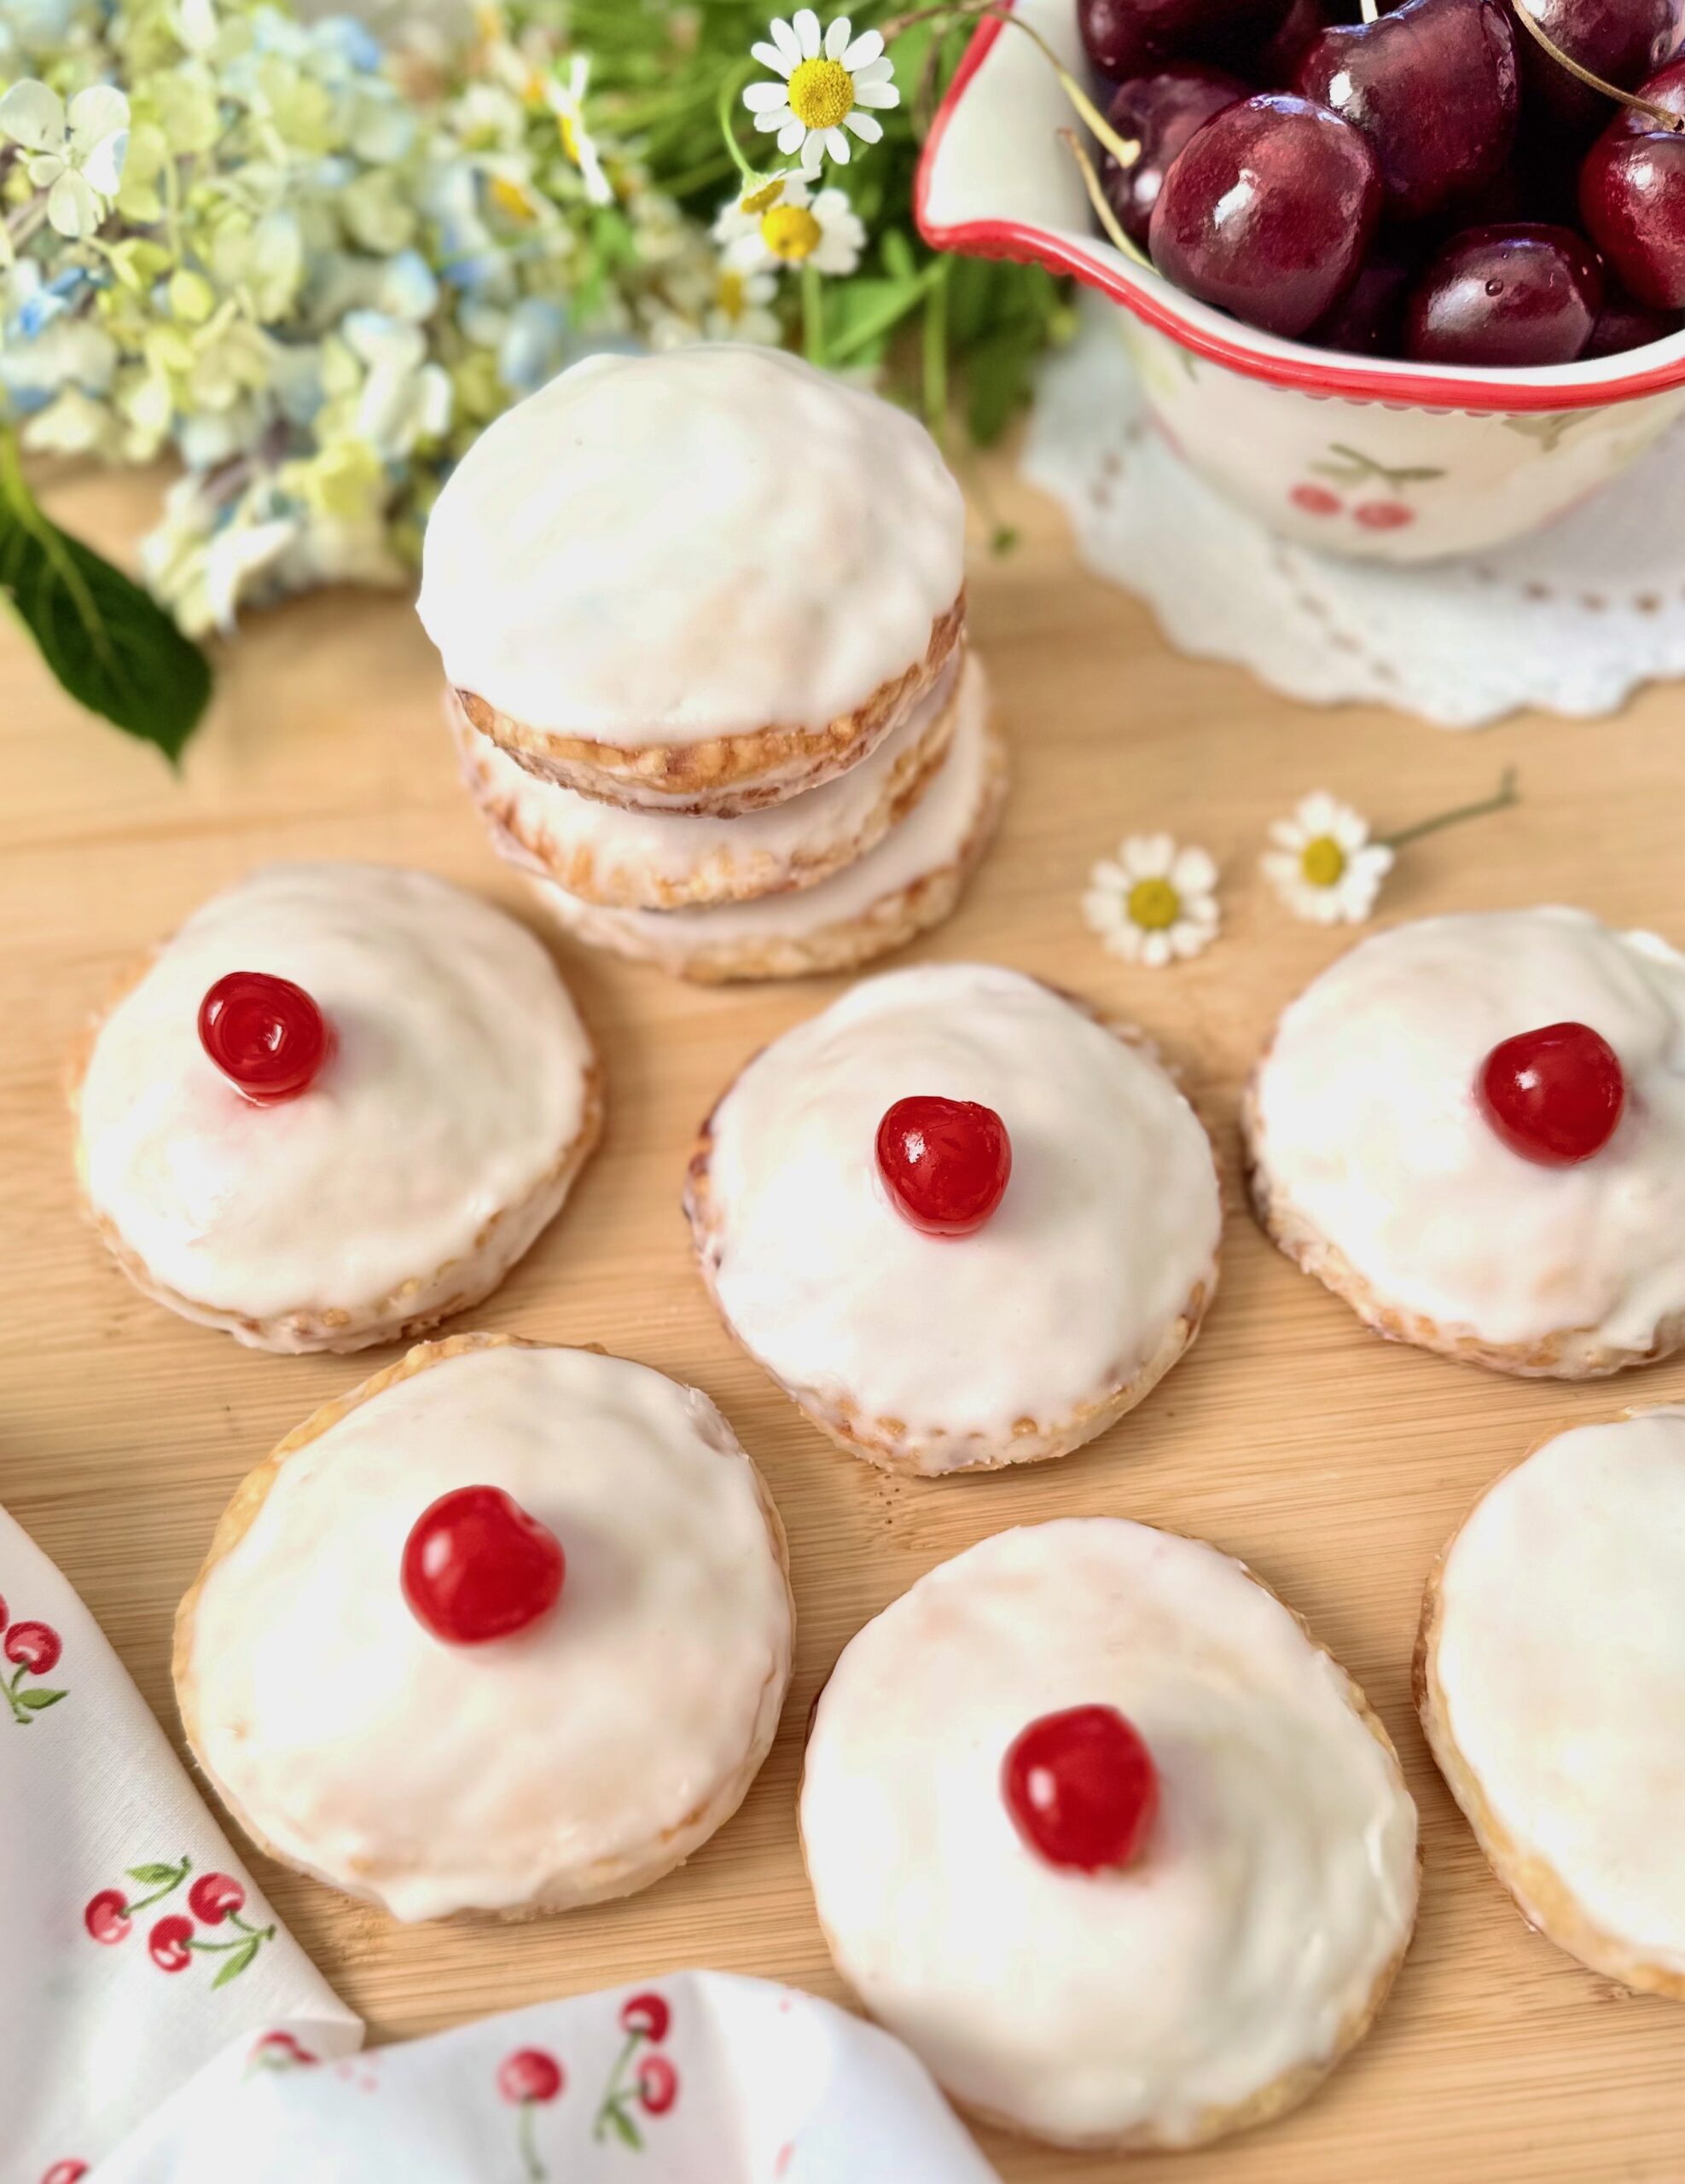
Blueberry Lemon Crumb Cakes
Ingredients
Crumb Topping
- ¾ cup (96g) all purpose flour
- ⅓ cup (66g) granulated sugar
- 2 tablespoons (25g) packed brown sugar
- ⅛ teaspoon fine sea salt
- 4 ½ tablespoons (64g) cold, unsalted butter, cubed
Crumb Cakes
- 1 ¼ cups (159g) all purpose flour, sifted
- 1 ½ teaspoons baking powder
- ⅜ teaspoon fine sea salt
- 6 tablespoons (85g) unsalted butter, softened
- ¾ cup (150g) granulated sugar
- Zest of two medium lemons
- 1 large egg, room temperature
- 1 large egg yolk, room temperature
- 1 teaspoon pure vanilla extract
- ½ teaspoon pure lemon extract
- ⅓ cup (78ml) whole milk, room temperature
- ¼ cup (57g) sour cream, room temperature
- 1 cup (170g) blueberries
- 1 teaspoon all purpose flour for blueberries
Cream Cheese Icing
- 1 tablespoon (14g) cream cheese, softened
- 1 tablespoon (14g) unsalted butter, melted
- ¾ cup (85g) powdered sugar, sifted
- 1 pinch fine sea salt
- 2-3 tablespoons (30-45ml) fresh lemon juice
Instructions
Crumb Topping
- In a medium bowl, whisk the flour, sugar, brown sugar and salt together.
- Work in the butter with your fingertips until the mixture looks like the consistency of wet sand. Press the mixture together to make chunks. Set aside in the refrigerator until ready to use.
Crumb Cakes
- Preheat the oven to 350ºF (180ºC). Line a 6-serving shallow jumbo muffin pan* with jumbo muffin liners.** Jumbo muffin liners will fit by pressing them around the inside bottom edges.
- In a medium bowl, whisk together the flour, baking powder and salt.
- In a large bowl, cream the butter, sugar and lemon zest with an electric mixer on medium speed, until light and fluffy.
- Beat the egg and egg yolk into the butter mixture in 2 separate additions, making sure each addition is incorporated before adding the next. Beat in the extracts until combined.
- In a small bowl, whisk the milk and sour cream together.
- On low speed, mix the flour mixture into the batter in 2 additions alternating with half of the milk mixture after each addition. Beat just until combined.
- Transfer the batter to the prepared baking pan, evenly distributing the batter and filling the cups about half full.
- In a medium bowl, toss the blueberries with 1 teaspoon of flour and place them into the cups on top of the batter, about 1 ounce (28g) in each. Top each one with crumb topping.
- Bake until a toothpick inserted into the center of the cakes comes out clean, about 25-30 minutes. Let the cakes cool in the pan for 5 minutes, then transfer them to a cooling rack to cool completely.
Cream Cheese Icing
- In a medium bowl, whisk together the cream cheese, melted butter, powdered sugar, salt and 1 tablespoon (30ml) of lemon juice. Add additional lemon juice, a little at a time until your desired consistency is reached. Drizzle over the cooled cakes.