Banana bread is typically everyone’s go-to when we have overripe bananas on our countertops. There’s something so wholesome and comforting about a slice of homemade banana bread. This Banana Cake recipe gives you all of those heart-warming flavors, but it’s a little more rich and satisfying. The cake is moist, soft and fluffy. The silky Cream Cheese Frosting pairs beautifully with the spices in the cake. A swirl of salted caramel adds the perfect, decadently delicious finishing touch.
Banana Cake with Cream Cheese Frosting & Salted Caramel
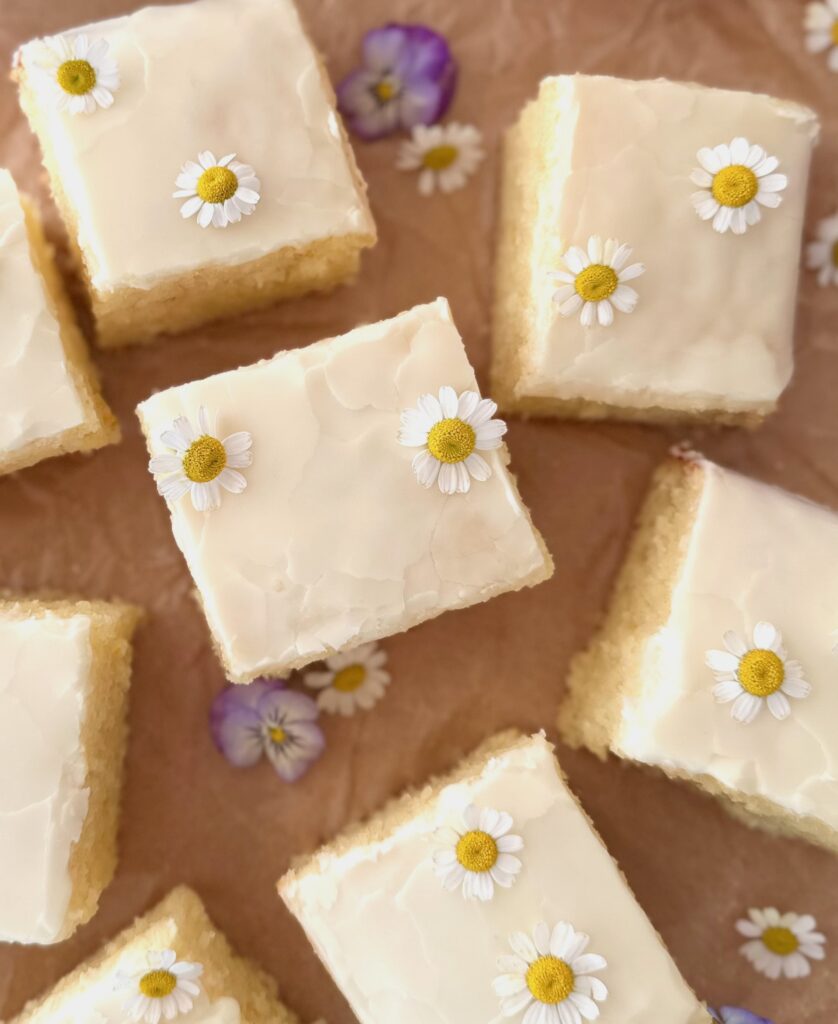
Moist, flavorful banana sheet cake topped with silky cream cheese icing and salted caramel sauce
Ingredients
Banana Cake
- 1 ¼ cups (142g) cake flour, sifted
- 1 teaspoon cinnamon
- ¾ teaspoon baking soda
- ¼ teaspoon fine sea salt
- ¼ teaspoon ground nutmeg preferably freshly ground
- ¼ cup (57g) unsalted butter, softened
- ¾ cup (150g) packed brown sugar
- ⅓ cup (70ml) avocado oil or neutral oil of your choice
- 2 large eggs
- 1 teaspoon pure vanila extract
- 1 cup (227g) mashed very ripe bananas about 3 small or 2 large bananas
- ¼ cup (57g) sour cream, room temperature
Cream Cheese Frosting & Salted Caramel
- ½ cup (113g) cream cheese, softened
- ½ cup (113g) unsalted butter, softened
- 2 ½ cups (300g) powdered sugar, sifted
- ¾ teaspoon pure vanilla extract
- 1-2 teaspoons heavy cream, room temperature
- 1 pinch fine sea salt
- ¼ cup (70g) salted caramel sauce store bought or homemade*
Instructions
Banana Cake
- Preheat the oven to 350ºF (180ºC). Line the bottom of an 8-inch square cake pan with parchment paper. Grease and flour the insides.
- In a medium-sized bowl, whisk together the flour, cinnamon, baking soda, salt and nutmeg until well blended.
- In a large bowl, beat the butter, with an electric mixer on medium speed, until pale and creamy, Add the brown sugar and oil. Continue beating until creamy and well blended, about 2-3 minutes. Beat in the eggs and vanilla extract in 3 separate additions, making sure each one is incorporated before adding the next. Stir in the mashed bananas. Add the flour mixture in two additions, followed by half of the sour cream after each addition. Mix just until combined.
- Transfer the batter to the prepared cake pan. Bake until a toothpick inserted into the center of the cake comes out clean, about 25-30 minutes. Let the cake cool in the pan for 10 minutes, then remove it from the pan and place it on a cooling rack.
Cream Cheese Frosting & Salted Caramel
- In a medium-sized bowl, stir the cream cheese with a spatula until smooth. Beat in the butter, with an electric mixer on low speed, until smooth and well blended.
- Beat in the powdered sugar, vanilla, salt and heavy cream, on medium speed, until smooth and well blended. Stir slowly with a spatula to smooth the frosting and remove bubbles.
- Spread the cream cheese frosting on the cooled cake. Drizzle with a couple of tablespoons of salted caramel sauce and swirl it into the frosting with a spoon, adding more if desired.
Notes
*For my homemade caramel sauce recipe, click here.
For my easy caramel sauce recipe, click here.
To find premade salted caramel sauce, click here.