Mini Baklava Cheesecakes

Mini Baklava Cheesecakes

These Mini Baklava Cheesecakes are so cute and incredibly delicious that they actually made me mad! I’d been thinking about making them for awhile, so I was mad at myself for not making them sooner. They’re much quicker and easier to make than a full size cheesecake. I par-baked the buttered phyllo dough, then topped it with a nut mixture. I used a combination of pistachios and almonds, but you can use any combination of pistachios, almonds or walnuts of your choice. After I baked the cheesecakes, I soaked the phyllo shells with honey syrup.Yum!

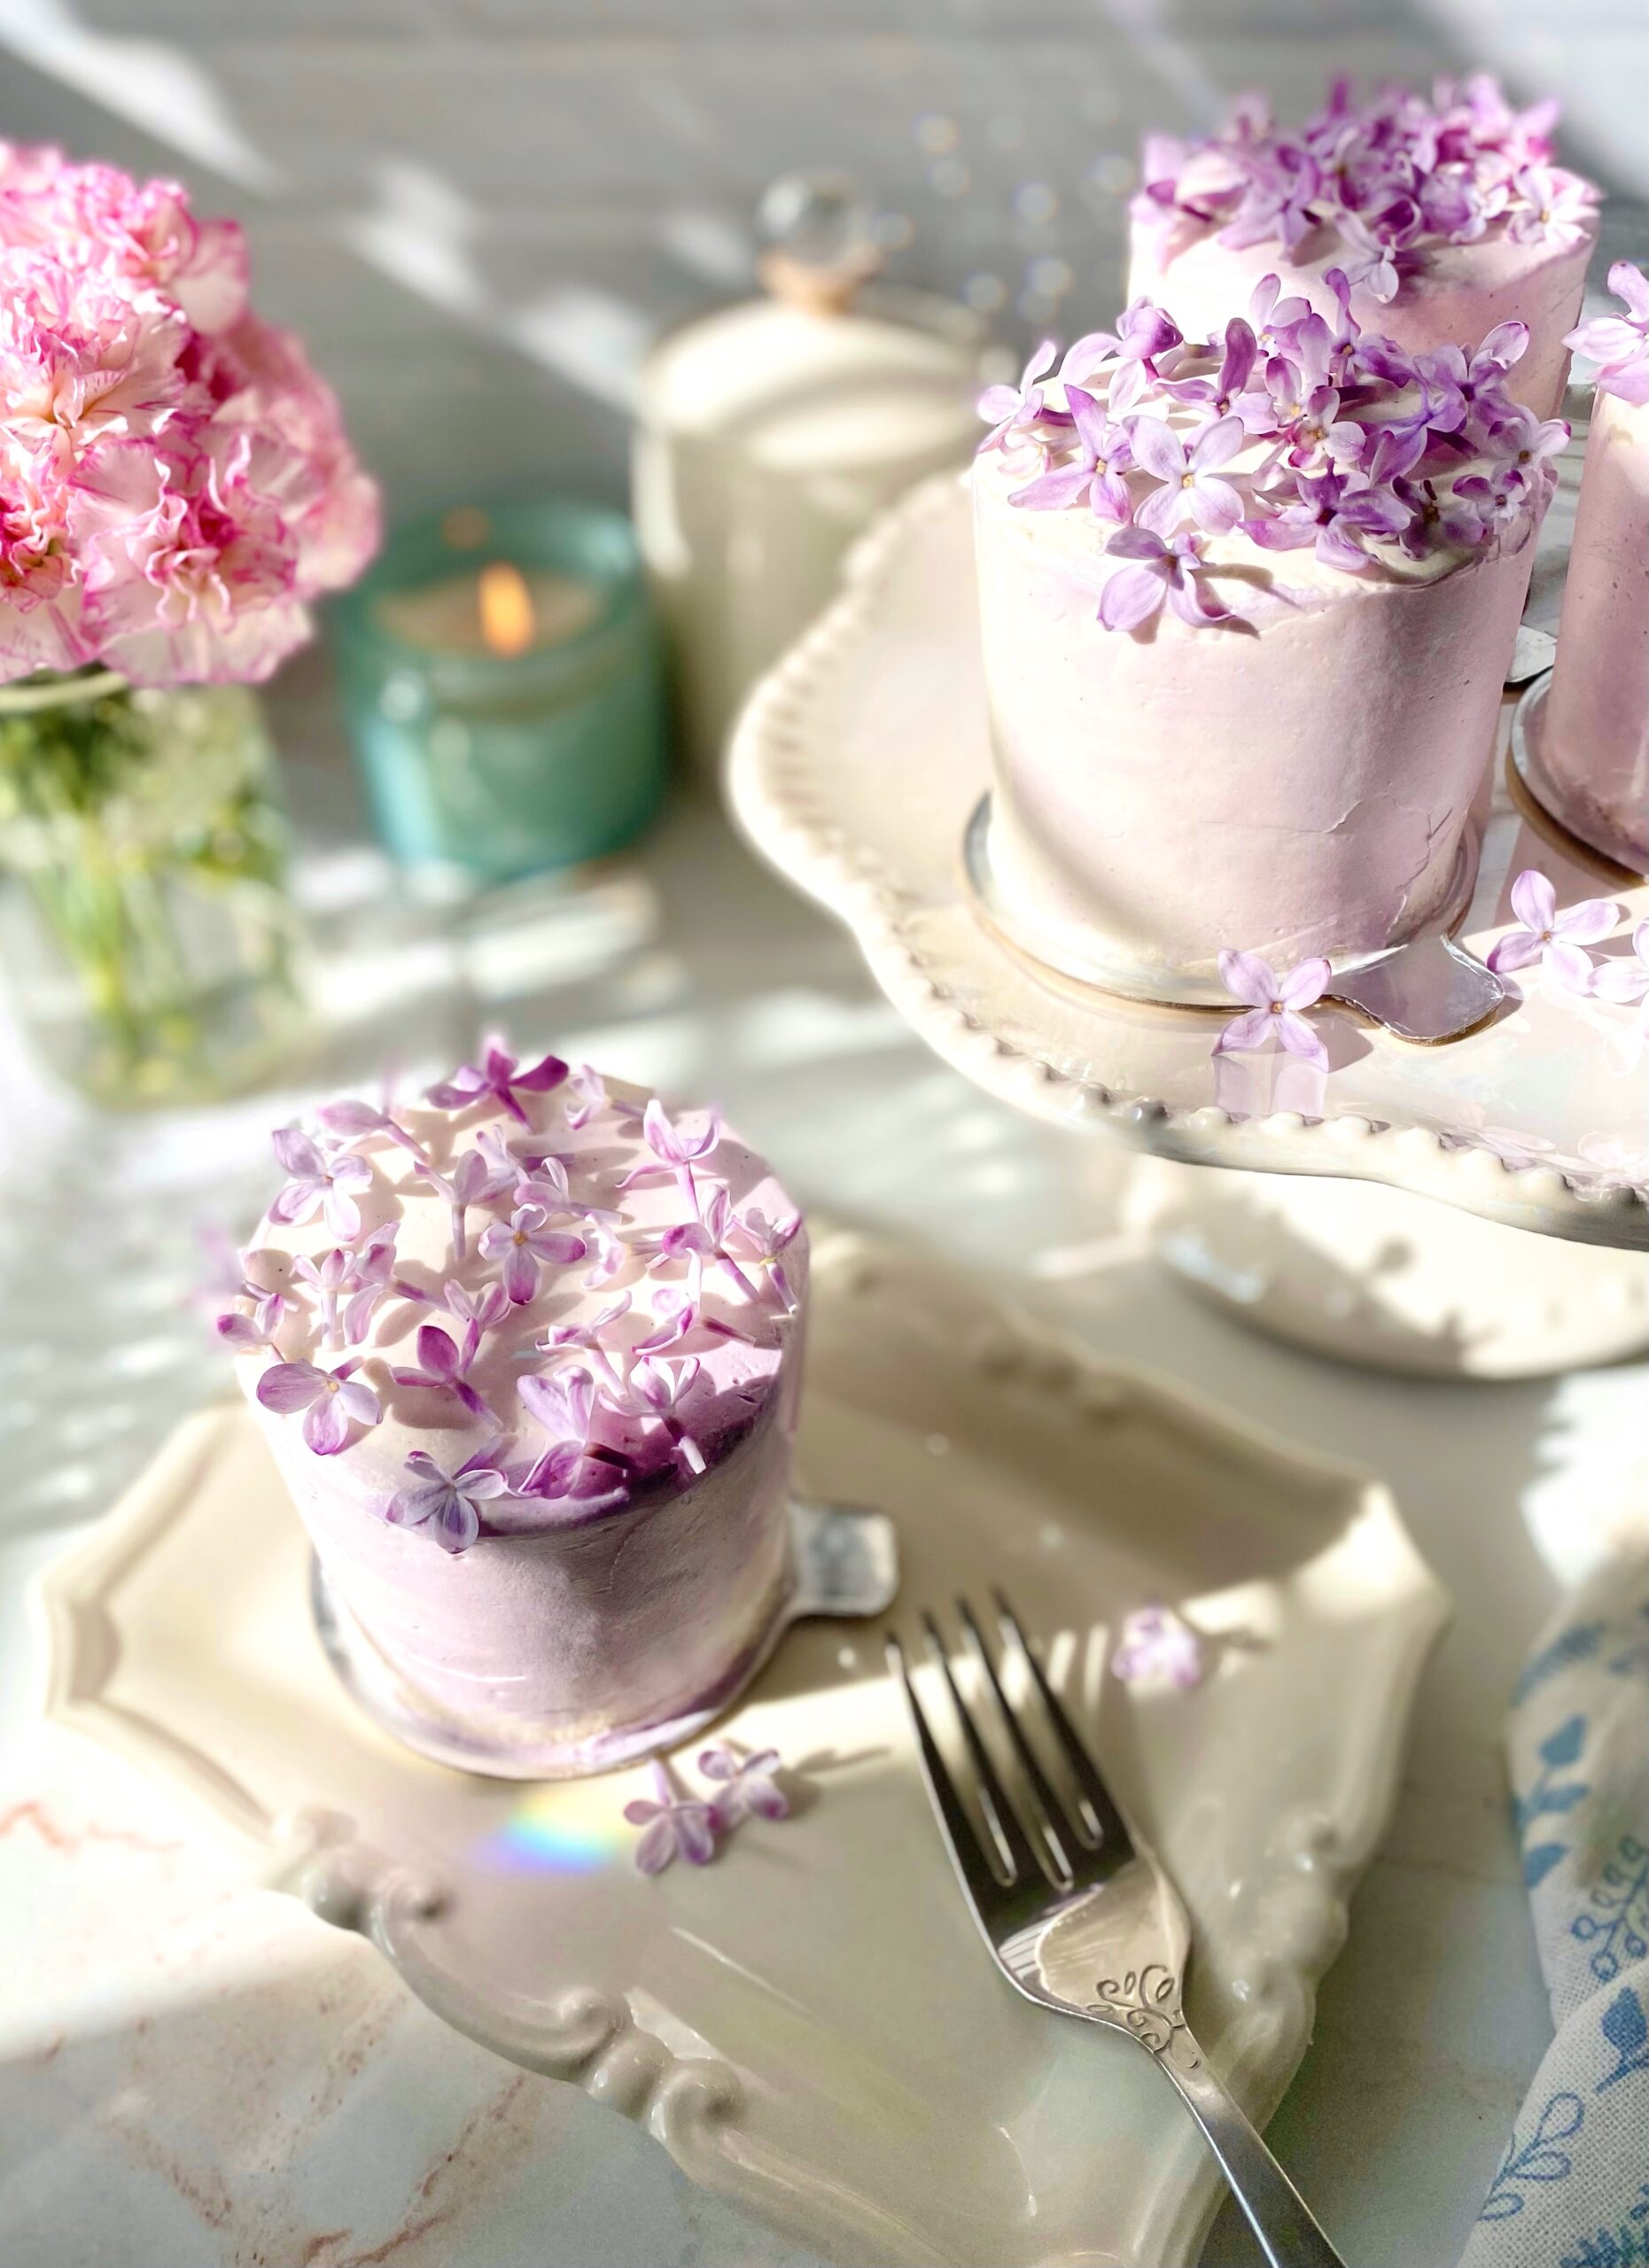
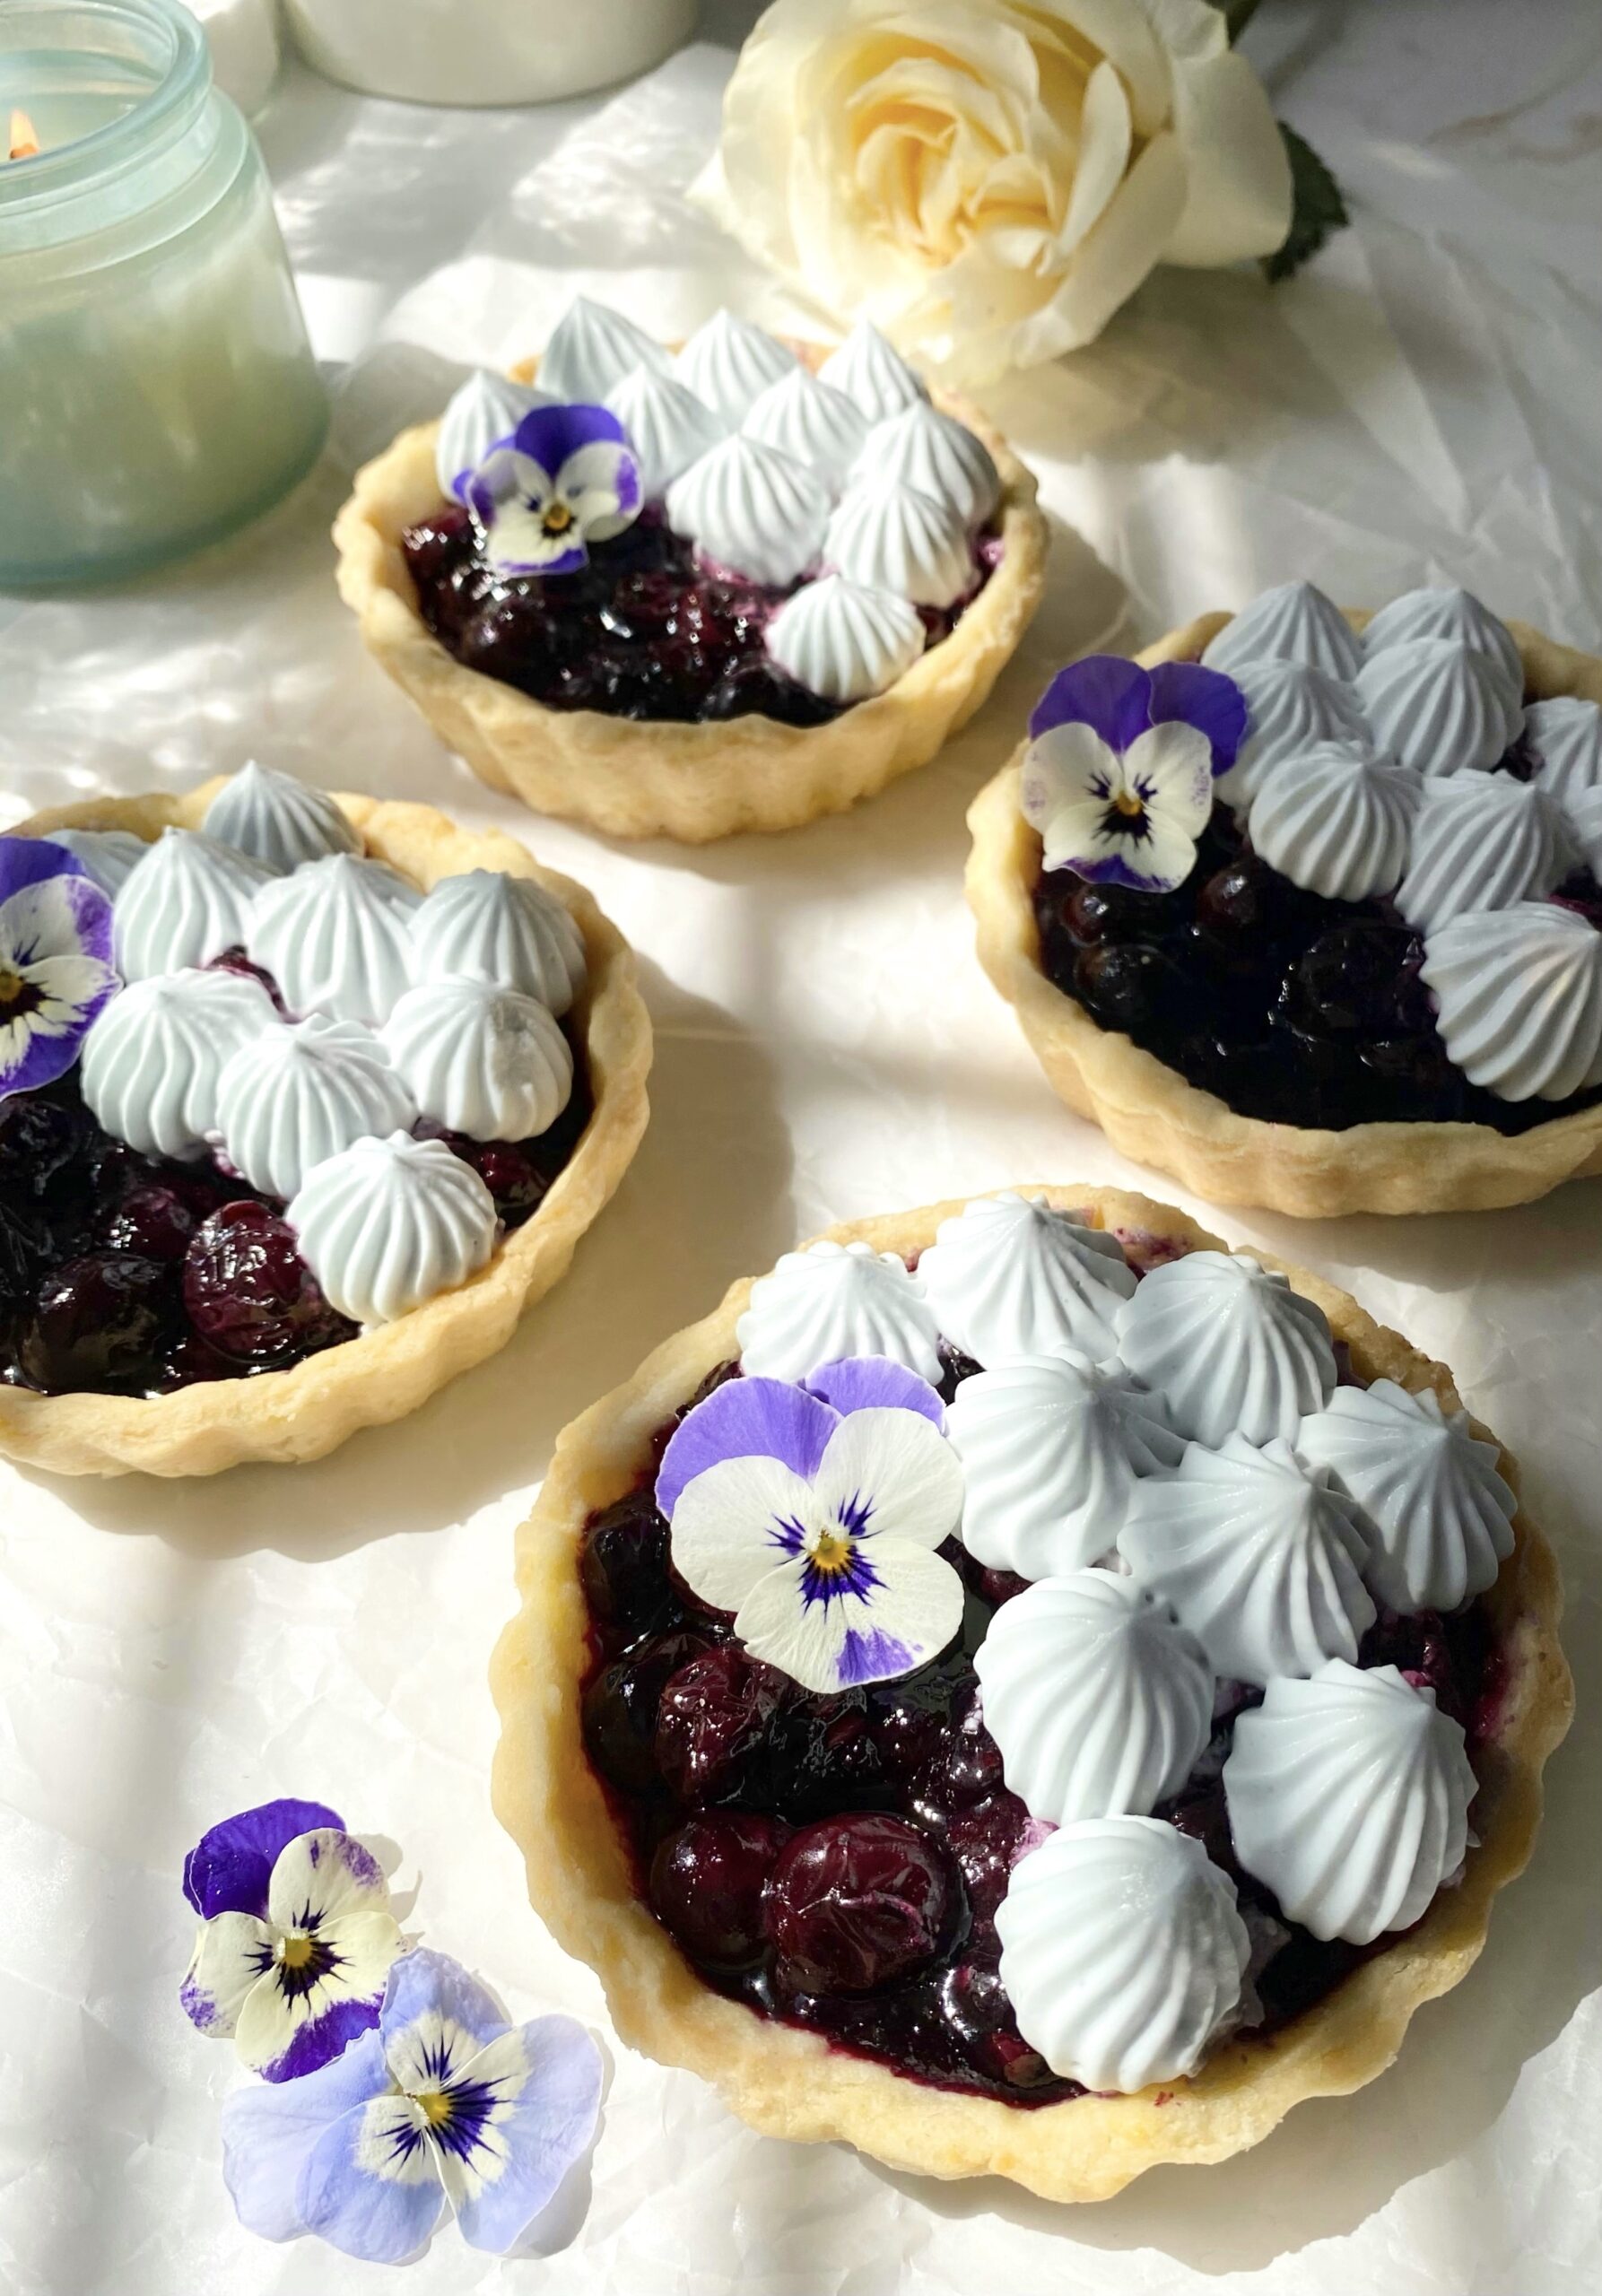
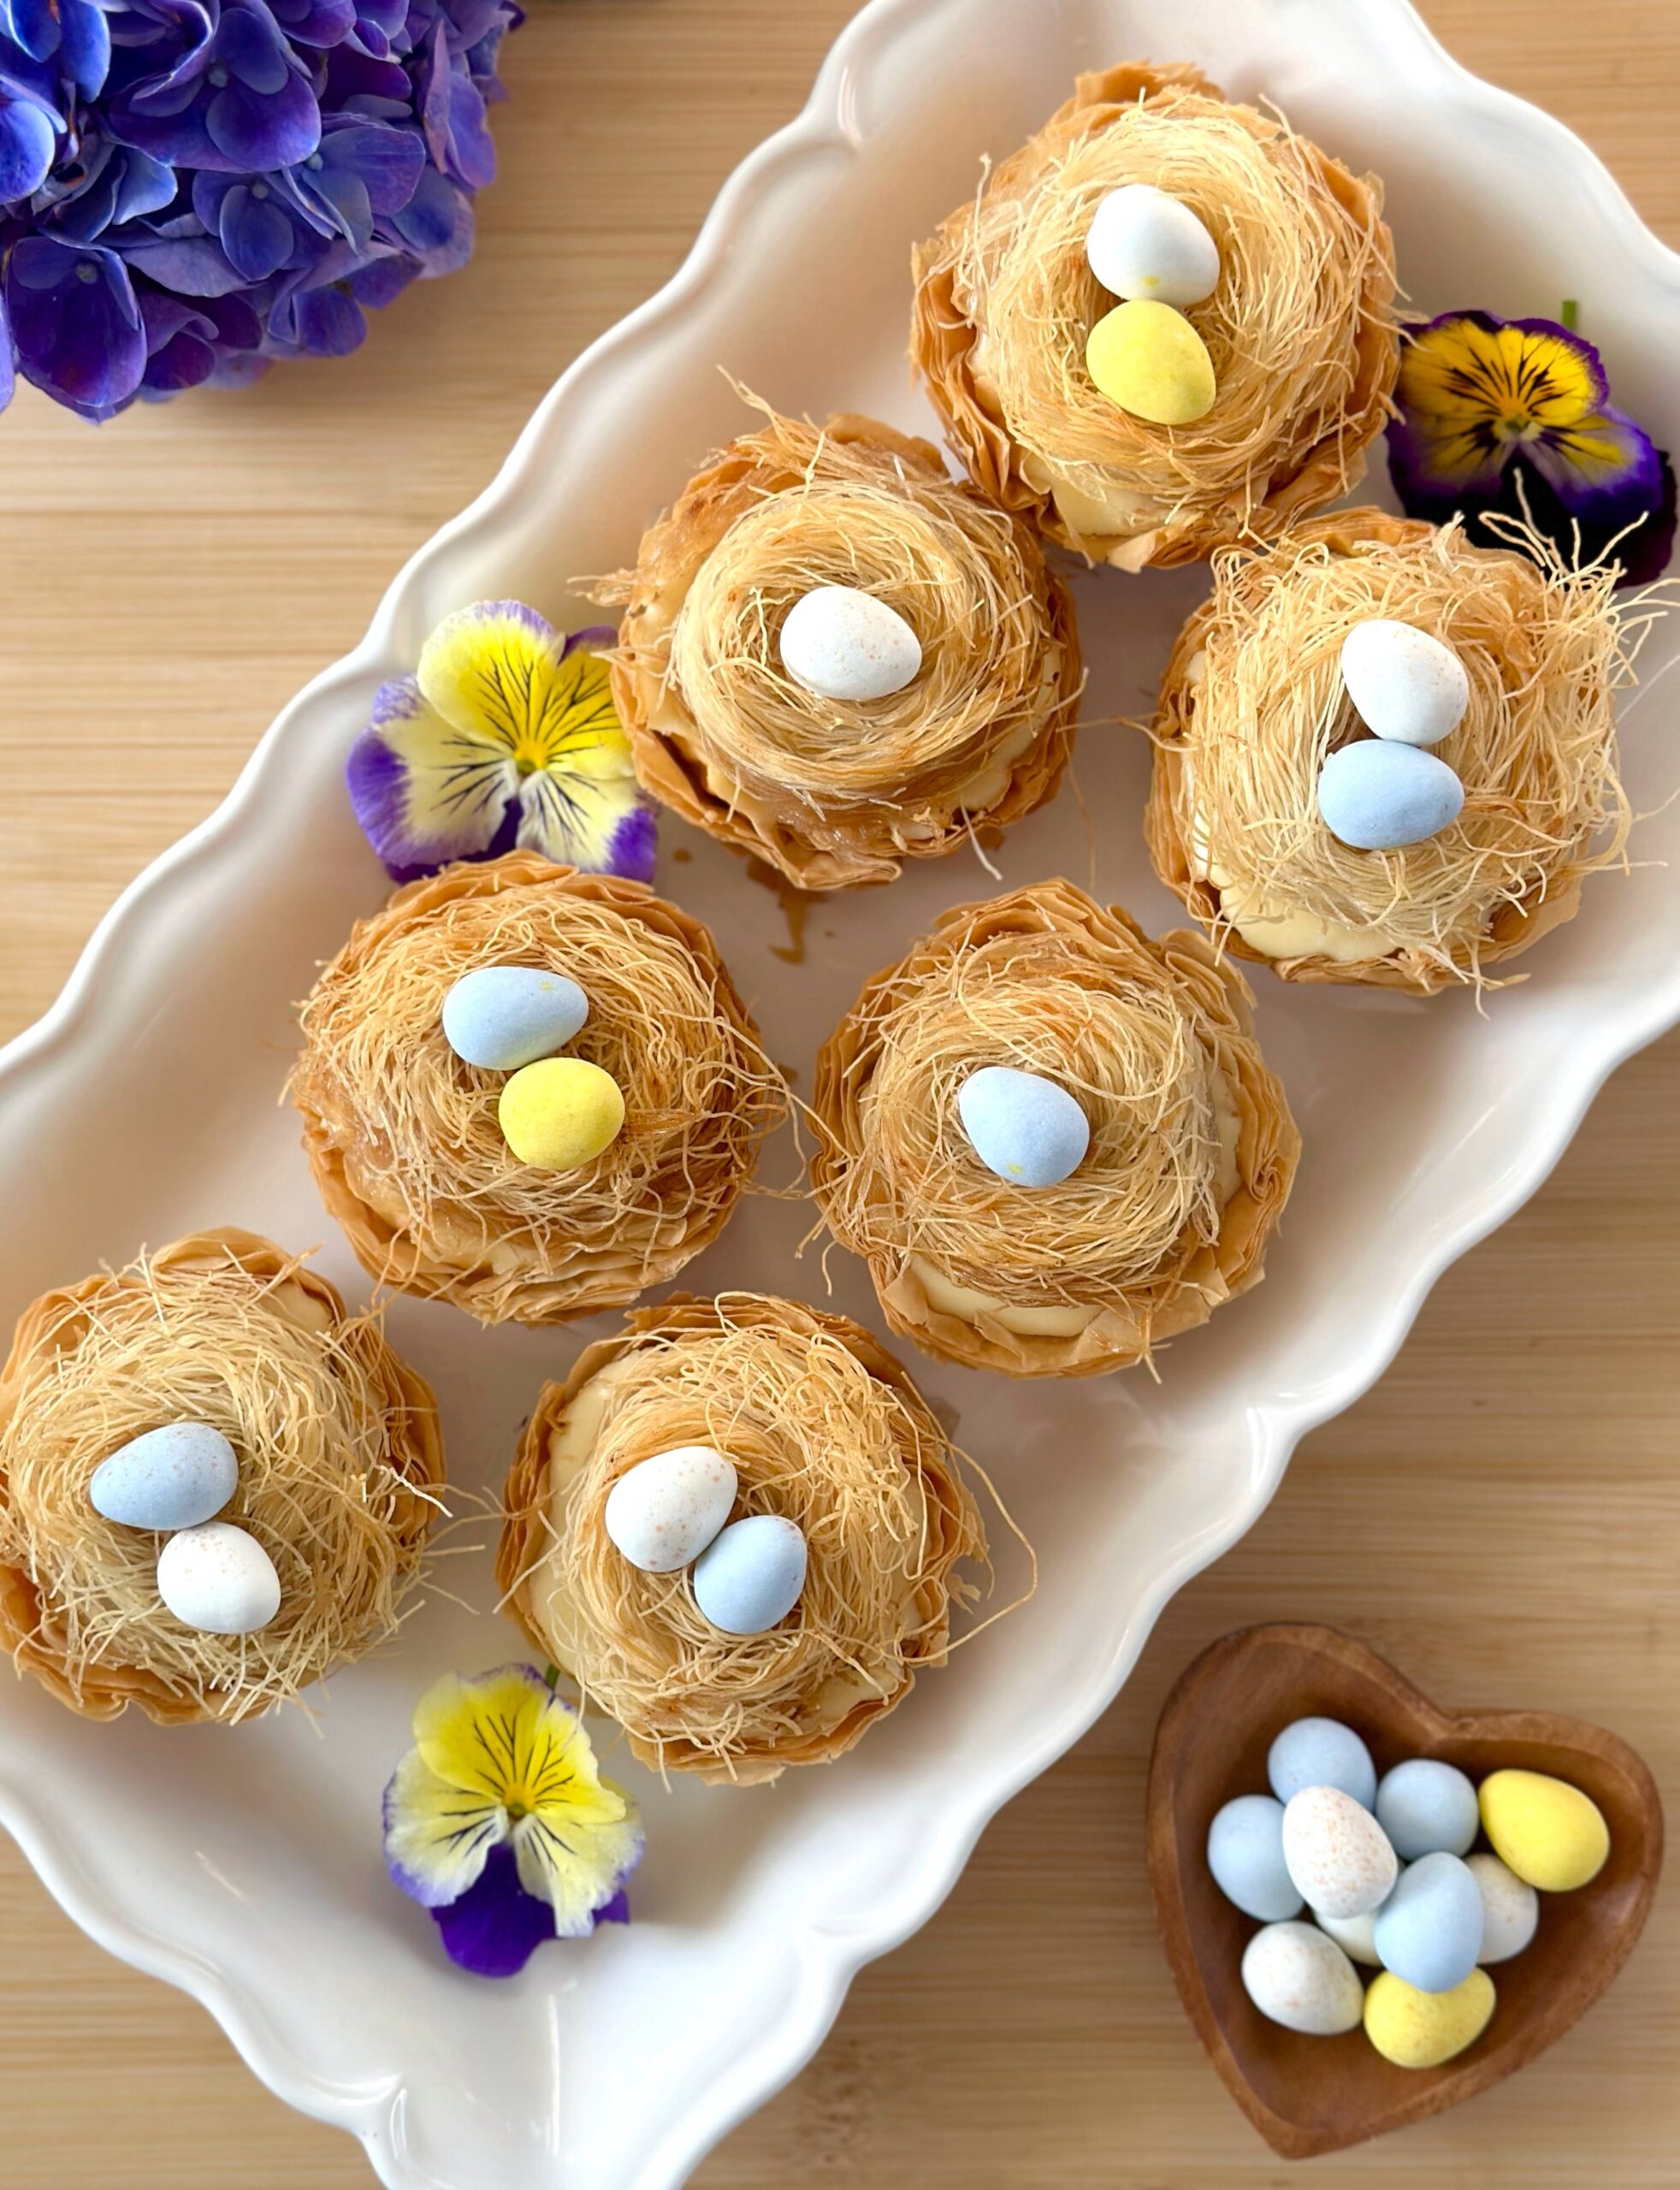
I topped them with little nests made of kataifi, which are so cute and perfect for Easter. Kataifi is thinly shredded phyllo pastry. You can find it in the freezer section of supermarkets and international markets. Toasted coconut makes a good substitute if you can’t find kataifi. These cute cheesecakes are also pretty topped with edible flowers or rose petals, which would be perfect for Mother’s Day or any springtime celebration.

Mini Baklava Cheesecakes

Mini cheesecakes with a baklava base, topped with kataifi nests
Course Dessert
Servings 12 mini cheesecakes

Ingredients
  

Honey Syrup

  • ¾ cup (150g) granulated sugar
  • ¾ cup (177ml) water
  • 3 tablespoons (63g) honey
  • 1 teaspoon lemon juice
  • 1 teaspoon pure vanilla extract

Mini Cheesecakes

  • 1 cup (227g) unsalted butter, melted and divided
  • 10 9 x 14-inch phyllo dough sheets, thawed
  • ½ cup (57g) finely chopped toasted pistachios, almonds or walnuts or a combination of nuts of your choice (I used pistachios and almonds.)
  • ¼ teaspoon ground cinnamon
  • 8 ounces (227g) cream cheese, softened
  • 1 cup (200g) granulated sugar, divided
  • 1 teaspoon pure vanilla extract
  • 1 large egg, room temperature
  • 2 tablespoons (30ml) heavy whipping cream, room temperature

Kataifi Nests

  • 1 16 ounce (454g) package kataifi phyllo pastry, thawed You'll need about 1/4 of the package.
  • ¼ cup (57g) unsalted butter, melted
  • 18-24 candy eggs I used Cadbury Mini Eggs.

Instructions
 

Honey Syrup

  • In a medium saucepan over medium heat, cook the sugar, water, honey and lemon juice, stirring occasionally until the sugar is dissolved. Remove from heat and stir in the vanilla extract.

Mini Cheesecakes

  • Preheat the oven to 350ºF (180ºC). Brush the insides of a 12-serving muffin pan with melted butter.
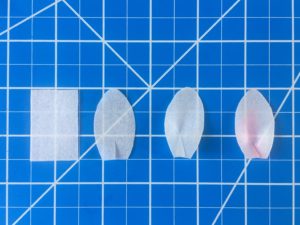
  • Place a sheet of phyllo dough on your work surface. Brush it lightly with melted butter. Place another sheet of phyllo dough on top of the first one and brush it lightly with melted butter. Repeat this process until you have 5 sheets. Using a pastry wheel or a sharp knife, cut the phyllo into 6 squares, measuring about 4 1/2 x 4 1/2 inches each. Repeat this process with the five remaining phyllo sheets. Make sure to keep your unused phyllo sheets covered while you work to prevent them from drying out.
  • Place the phyllo squares into the cups of the muffin pan. Press them in with a pastry tamper or with the flat bottom of a small shot glass. Prick the bottoms of the phyllo with a fork. Bake until light golden brown, about 14-17 minutes.
  • Meanwhile, combine the nuts, 2 tablespoons of sugar, 2 tablespoons of melted butter and the cinnamon in a small bowl. Mix until well combined.
  • Turn the oven heat down to 325ºF (165ºF). Place about a tablespoon of the nut mixture into the baked pyllo shells and press lightly with the back of a spoon.
  • To make the cheesecake filling, in a large bowl, beat the cream cheese with an electric mixer on low speed, until smooth. Add the remaining 6 tablespoons of sugar, the egg, heavy cream and vanilla extract. Beat until smooth and well combined, but do not over beat.
  • Ladle the cheesecake mixture into the phyllo shells over the nuts. Fill them almost to the top. Bake until the cheesecakes are set, but still slightly jiggly in the centers, about 13-15 minutes.
  • Using a small offset spatula, gently loosen the cheesecakes from the muffin pan. Drizzle honey syrup generously along the perimeter of the outside of the cheesecakes, letting the syrup drip down the sides of the phyllo pastry. Let the cheesecakes cool in the pan. When the cheesecakes have cooled and the syrup has absorbed, transfer the cheesecakes to the refrigerator to chill for at least 1 hour.

Kataifi Nests

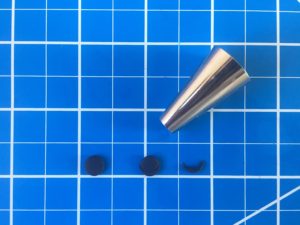
  • Turn the oven temperature up to 350ºF (180ºC). Brush an 8 x 8-inch or a 9 x 7-inch baking dish with melted butter. Roll clusters of kataifi stands into twelve 2-inch wide spiral shapes to form the nests. Place them in the baking dish. Drizzle the nests with melted butter. Gently brush more melted butter over the surface of the nests. Bake until golden brown, about 25-35 minutes. Immediately drizzle with honey syrup. Let the nests cool in the baking pan.
  • Place the nests onto the cheesecakes. Fill the nests with candy eggs.

Notes

To find the muffin pan I used, click here.
Keyword baklava, cheesecake

Lilac Vanilla Mini Cakes

Lilac Vanilla Mini Cakes

Once upon a time, there was a little black bear who woke up from a long nap. As she stretched, she felt her tummy growl. She ventured into the morning sunshine and smelled something sweet. She sniffed the air, following the sweet fragrance until she came upon a beautiful purple tree. She climbed up to a comfy branch and ate the tender, purple blossoms to her heart’s content.

Bears, butterflies and bees know something good when they see it. We humans can also enjoy lilacs. I knew lilacs were edible, but I hadn’t tasted them until recently. The flavor reminds me of beets, slightly sweet with a vegetable aftertaste. I really wanted to try lilac syrup after seeing so many photos of pretty purple syrup online. I discovered that lilac syrup is not purple. It’s more of a dull, brownish blue-green. Many people use food coloring or blueberries to color their syrup. I also discovered that lilac syrup will turn a pretty shade of mauve by adding a small amount of lemon juice to the finished syrup. Since I would be using my lilac syrup inside of cake layers, I let it remain its natural color. I made a simple syrup with lilac blossoms and let them steep for a couple of hours. It was just long enough to give a subtle lilac flavor without being too floral. If you want a stronger lilac flavor, I suggest using more lilac blossoms rather than steeping longer to avoid bitterness.

I paired the lilac syrup with this soft, fluffy vanilla cake and silky Swiss meringue buttercream. If you aren’t a fan of lilac syrup, feel free to use vanilla simple syrup instead and just use the lilac blossoms to decorate your cakes. They look stunning on any cake or cupcakes.


Lilac Vanilla Mini Cakes

by Mari Vasseur
Soft, fluffy mini white vanilla cakes with lilac syrup and vanilla Swiss meringue buttercream, topped with lilac blossoms
Course Dessert
Servings 6 mini cakes

Ingredients
  

Lilac Syrup

  • ½ cup (100g) sugar
  • ½ cup (118ml) water
  • ½ cup (7g) lilac blossoms, rinsed and all stems removed
  • 1 teaspoon fresh lemon juice optional

White Vanilla Cake

  • 2 ¾ cups (319g)) cake flour, sifted
  • 2 teaspoons baking powder
  • 1 teaspoon fine sea salt
  • ½ cup (113g) unsalted butter, softened
  • 1 ¾ cups (350g) ultra fine granulated sugar* Not powdered sugar
  • ¼ cup (2 oz or 57ml) vegetable oil or neutral oil of your choice
  • 2 teaspoons vanilla bean paste or pure vanilla extract
  • 4 large egg whites, room temperature
  • 1 large egg, room temperature
  • ½ cup (118ml) sour cream, room temperature
  • 1 cup (237ml) whole milk, room temperature

Swiss Meringue Buttercream

  • 4 large egg whites
  • 1 â…“ cups (265g) ultra fine granulated sugar* Not powdered sugar
  • 1 ½ cups (340g) softened, unsalted butter, cubed
  • 1 teaspoon vanilla bean paste or pure vanilla extract
  • ¼ teaspoon fine sea salt
  • 1-2 drops lilac gel good color See notes below
  • 1 drop violet gel food color See notes below

Assembly

  • 6 3-inch mini cake boards**** See notes below
  • Lilac blossoms, rinsed and all stems removed

Instructions
 

Lilac Syrup

  • In a small saucepan combine the sugar and water. Bring to a boil over medium heat, stirring gently to dissolve the sugar. Add the the lilac blossoms and stir gently. Turn the heat down and simmer for 5 minutes.
  • Remove from heat and allow the lilac blossoms to steep for 2 hours. Pass the lilac syrup through a mesh sieve.

White Vanilla Cake

  • Preheat the oven to 350ºF (180ºC). Grease and flour two 9-inch round cake pans and line the bottoms with parchment paper.
  • In a medium-sized bowl, whisk together the cake flour, baking powder and salt until well blended.
  • In a large bowl, beat the butter, sugar, oil and vanilla bean paste with an electric mixer at medium speed, until pale and fluffy, about 3 minutes.
  • On medium speed, beat in the egg whites in two additions, then beat in the egg until incorporated. On low speed, beat in one third of the flour mixture, then beat in the sour cream just until combined. Beat in the remaining flour mixture in two additions, alternating with milk. Beat just until combined.
  • Transfer the batter to prepared cake pans. Bake until the tops of the cakes are light golden brown and a toothpick inserted in center comes out clean, about 28-33 minutes. Do not over bake.
  • Allow the cakes to cool in the pans for 10 minutes, then remove from the pans and transfer to a cooling rack.
  • Cut each cake into four 2 3/4-inch rounds using a cookie or biscuit cutter.
  • Using a pastry brush, brush the mini cakes generously with lilac syrup or vanilla simple syrup.

Swiss Meringue Buttercream

  • Combine the egg whites and sugar in a large heatproof bowl. Set over a pan of gently simmering water, making sure the water doesn't touch the bottom of the bowl.
  • Whisk constantly until the sugar is dissolved and a temperature of 160ºF (71ºC) is reached.
  • Transfer the mixture to the bowl of a stand mixer with a whisk attachment. Whisk on low speed, gradually increasing to medium-high speed. Whisk until glossy, stiff peaks form and the mixture reaches room temperature.
  • Turn the mixer to medium-low speed. Add the butter, a few pieces at a time, allowing it to fully incorporate before adding more. If the mixture looks curdled, keep mixing and it will correct itself.
  • Switch to a paddle attachment. On low speed, mix in the vanilla bean paste and salt. Continue mixing on low speed for a few minutes until smooth.
  • Remove about 3/4 cup of frosting and transfer it to a small bowl. Using a toothpick, place two tiny drops of lilac gel food color and one tiny drop of violet gel food color into the bowl. Mix with a spatula until well combined.

Assembly

  • Smear a bit of frosting on each mini cake board. Top each one with a cake round, a layer of frosting, then a second cake round. Frost with a crumb coat if desired. Refrigerate of 15 minutes. Frost the mini cakes with white Swiss meringue buttercream, then smear small amounts of lilac Swiss meringue buttercream around the sides and top. Smooth frosting with a bench scraper and smooth the tops with a small offset spatula. Decorate with lilac blossoms.

Vanilla Simple Syrup (optional)

  • Combine 1/2 cup sugar and 1/2 cup water in a small saucepan. Bring to a boil over medium heat, stirring gently to dissolve the sugar. When the sugar has dissolved, remove from heat and stir in 1 teaspoon vanilla bean paste or pure vanilla extract.

Notes

*If you can't find ultra fine granulated sugar, it's okay to substitute with regular granulated sugar.
**To find the lilac gel food color I used, click here.
***To find the violet gel food color I used, click here.
****To find 3-inch mini cake boards, click here.

Blueberry Earl Grey Tarts

Blueberry Earl Grey Tarts

These Blueberry Earl Grey Tarts have three individual components, which, when combined together, are absolutely delicious. I experimented with each separate component of this recipe until I perfected them individually. The tart crust is flaky and tender, yet sturdy enough to hold the filling. The filling is just sweet enough for my sweet tooth and the whipped cream has just enough Earl Grey flavor.

This recipe makes enough whipped cream to cover the entire tops of the tarts or you can be like me and try to be artistic and avant-garde with your whipped cream. To make the Earl Grey infused whipped cream, use your favorite Earl Grey tea, whether it’s loose leaf tea or a teabag. We don’t discriminate here. All forms of tea are welcome! I do have a favorite Earl Grey tea. If you want to check it out, click here. The tea will make your whipped cream a dull pale yellow. This issue is purely aesthetic. I added a tiny bit of violet gel food color which brightens the whipped cream. You can add more if you want a lavender shade.


Blueberry Earl Grey Tarts

Mari Vasseur
Personal-sized tarts with sweet blueberry filling, topped with Earl Grey whipped cream
Course Dessert
Servings 6 4-inch tarts

Ingredients
  

Tart Crust

  • 1 ½ cups (191g) all purpose flour, sifted
  • ¼ cup (30g) powdered sugar, sifted
  • ¼ teaspoon fine sea salt
  • ½ cup (113g) cold, unsalted butter, cubed
  • 1 large egg yolk
  • 1-2 tablespoons (15-30ml) ice water

Blueberry Filling

  • 4 cups (about 565-600g) blueberries
  • â…” cup (132g) sugar
  • 1 ½ tablespoons (12g) corn starch
  • 1 tablespoon (15ml) lemon juice

Earl Grey Whipped Cream

  • 1 cup (237ml) heavy whipping cream
  • 2 teaspoons Earl Grey tea leaves or 1 tea bag
  • 2 tablespoons (15g) powdered sugar, sifted
  • 1 small drop violet gel food coloring

Instructions
 

Tart Crust

  • In a large bowl, whisk together the flour, powdered sugar and salt until well blended. Work in the butter and egg yolk, with a pastry blender or with your fingertips, until pea sized pieces are formed. Add ice water one tablespoon (15ml) at a time until the dough comes together.
  • Form the dough into a disk. Wrap in plastic wrap and chill in the refrigerator for at least one hour or up to overnight.
  • On a lightly floured surface, roll the dough to a scant 1/4-inch thickness. Cut the dough into six 5-inch rounds.
  • Press the rounds into six 4-inch or 4 1/4-inch tart pans. Dock the bottoms of the tart crusts with a fork. Freeze for 30 minutes.
  • Meanwhile, preheat oven to 375ºF (190ºC). Place the tart pans on a large baking sheet. Line the tart shells with 6-inch parchment rounds. Fill with pie weights. (You can use dried beans or rice if you don't have pie weights.)
  • Bake the tart shells for 12 minutes. Remove the parchment paper and pie weights. Continue baking until the tart shells are light golden brown, about 4-6 more minutes.

Blueberry Filling

  • Set aside 1 cup (155g) blueberries. Combine the remaining 3 cups blueberries, sugar, corn starch and lemon juice in a medium-sized saucepan.
  • Simmer over low heat, stirring occasionally, until blueberries are softened and sauce is thickened, about 5 minutes. Stir in the reserved 1 cup of blueberries during the last minute of cooking. Remove from heat and let cool completely.

Earl Grey Whipped Cream

  • Combine the heavy cream and tea leaves or tea bag in a small saucepan. Heat just until bubbles form around the edges.
  • Transfer the mixture to a small bowl, cover with plastic wrap and let cool. Pass the cream through a sieve to strain the out tea leaves or remove the tea bag. Cover the surface with plastic wrap and place in refrigerator to chill.
  • Transfer the chilled cream to a large bowl. Whip with an electric mixer until thickened. Add the powdered sugar and food color in separate additions and continue whipping at high speed just until stiff peaks begin to form.
Keyword blueberries, tarts

Baby Bunny Coconut Cakes

Baby Bunny Coconut Cakes

Spring is the time for blue skies, flowers blooming, bunnies scampering around and Easter celebrations. What better time to make cute Baby Bunny Coconut Cakes? I wanted to make them look like newborn bunnies curled up peacefully for a nap, so I decided to use a hemisphere pan.

When I was shopping around for hemisphere pans, also know as ball pans, I considered metal pans and silicone pans. In general, I prefer metal pans for baking cakes, but I decided on silicone, hoping to get more use out them. I plan on using them for frozen and refrigerated desserts as well. You can find hemisphere pans at kitchen stores, craft stores, baking supply stores and online. To find the pan I chose, click here.

My next dilemma was whether or not to coat the pans before baking. From what I’ve read, many people seem to have trouble getting their baked goods out of silicone pans, even though the majority of these pans claim to be non-stick. I decided to experiment, trying three different ways. I coated some of the wells with grease and flour, some with only grease, and some were left uncoated. I found that when I inverted the pan, the cakes released effortlessly from the coated wells. The cakes in the uncoated wells took a slight amount of prodding and a bit of residue was left behind, but the cakes were in tact. All three ways seem to work fine, but I decided that, for my own peace of mind, I will grease all of the wells in the future.

Decorating these bunny cakes is fun and easy, so this would make a great project for the little ones. You can use the candies of your choice to make eyes and noses. I used white candy pearls for the noses and colored them pink with edible petal dust. I made sleepy eyes out of black fondant. Black fondant is difficult to make, so I always buy it. It’s available for purchase in small quantities. I used edible wafer paper to make the bunny ears, but fondant would also work. A little puff of cotton candy makes a sweet tail. So many possibilities! Whether you make Baby Bunny Coconut Cakes for Easter, a child’s birthday party, a baby shower or simply to celebrate spring.

Baby Bunny Coconut Cakes


Baby Bunny Coconut Cakes

by Mari Vasseur
Fluffy, moist mini hemisphere coconut cakes with coconut buttercream frosting, topped with shredded coconut.
Course Dessert
Servings 12 mini cakes

Ingredients
  

Mini Coconut Cakes

  • 1 â…“ cups (165g) cake flour, sifted
  • 1 teaspoon baking powder
  • ½ teaspoon fine sea salt
  • 4 tablespoons (57g) unsalted butter, softened
  • ¾ cup plus 2 tablespoons (175g) sugar
  • 2 tablespoons (30ml) vegetable oil
  • 1 teaspoon natural coconut extract
  • 3 large large egg whites
  • ¾ cup (155ml) canned light coconut milk

Coconut Buttercream

  • ½ cup (113g) unsalted butter, softened
  • 2 cups (240g) powdered sugar, sifted
  • ¼ teaspoon natural coconut extract
  • 1 pinch fine sea salt
  • 3 tablespoons (45ml) canned light coconut milk

Finishing Touches

  • 3 cups (240g) sweetened, shredded coconut
  • Candies such as Sixlets
  • Edible pink luster dust
  • Black fondant
  • Edible wafer paper or white fondant
  • Piping gel
  • Cotton candy or mini marshmallows

Instructions
 

Mini Coconut Cakes

  • Preheat the oven to 325ºF (165ºC). Grease 2 silicone 6-serving mini hemisphere pans. Place the pans on large baking sheet.
  • In a medium-sized bowl, sift together the flour, baking powder and salt until well blended.
  • In a large bowl, beat the butter, sugar and oil together with an electric mixer at medium speed, until pale and fluffy. Beat in the coconut extract. Gradually beat in egg whites, until the mixture is well combined, stopping to scrape the sides of the bowl.
  • On low speed, beat in the flour mixture in three additions, alternating with the coconut milk, stopping to scrape the sides of the bowl as needed.
  • Fill the hemisphere pan wells, 2/3 full with batter. Bake for 20-24 minutes, until a toothpick inserted into the center of cakes comes out clean.
  • Place the silicone pans on a cooling rack to cool for 10 minutes. Invert the pans to remove mini cakes and place on cooling racks to cool completely.

Coconut Buttercream

  • In a large bowl, beat the the butter with an electric mixer on medium speed, until pale and fluffy.
  • On low speed, gradually add the powdered sugar and mix until smooth and well combined. Add the coconut extract and salt. Beat until combined. Add the coconut milk a little at a time until the desired consistency is reached. Continue beating at low speed until the buttercream is smooth.
  • Frost the domed tops of the mini cakes with a small offset spatula. Cover with shredded coconut, pressing lightly to adhere. Decorate as desired.

Finishing Touches

  • To make bunny ears, cut twenty-four 1 1/2-inch by 1-inch rectangles out of edible wafer paper. Cut each rectangle into a long football shape, flat at one end. Cut a 1/2-inch slit at the flat end. With a small paint brush, dab a bit of piping gel on one side of the slit. Overlap the cut ends of the slit and press together with your fingers. Let dry. Brush pink luster dust into the center of the ears. Skip this step if you are using floral wafer paper. Cut small slits into the bunny cakes and insert the ears.
    Baby Bunny Coconut Cakes Tutorial
  • To make sleepy eyes, roll out a bit of black fondant to 1/16-inch thickness. Cut circles using the small end of a #12 piping tip. Cut thin crescent shapes from the circles using the small end of the piping tip. For easier handling, let eyes dry for a few minutes. If the coconut on your bunny cakes is still moist and tacky, the eyes will stick. If not, brush them with a small bit of water or piping gel.
    Baby Bunny Coconut Cakes Tutorial
  • To make noses, use the candy of your choice, such as candy pearls or candy hearts. I used white candy pearls, brushed with edible pink luster dust.
  • To make tails, you can use cotton candy or mini marshmallows attached with a bit of buttercream. If using cotton candy, keep in mind that it melts when exposed to air, so it's best applied right before serving.

Notes

*Do not substitute all-purpose flour. For best results, weigh your dry ingredients.
**For best results, use natural coconut extract. Imitation coconut flavorings may give your baked goods an unpleasant flavor.
***If your coconut milk is separated when you open the can, simply place it in a blender to emulsify it before using.
To find the hemisphere pan I used, click here.
To find white edible wafer paper,  click here. Floral wafer paper can be found on Etsy.
To find black fondant, click here.