Snacking on fresh summer berries is a treat I look forward to every year. Making desserts with berries is even more anticipated! So I decided to share my dreamy Triple Berry Crumble Cheesecake bars. The cheesecake filling is so creamy and silky. I used a combination of blackberries, blueberries and raspberries with plenty of crumb topping. Feel free to use any combination of berries you like. If you use strawberries, just cut them into chunks. The raspberry sauce is a bonus. You can also make the sauce using strawberries instead if you like. These cheesecake bars are so stress-free. There’s no water bath required and you don’t have to worry about cracking.
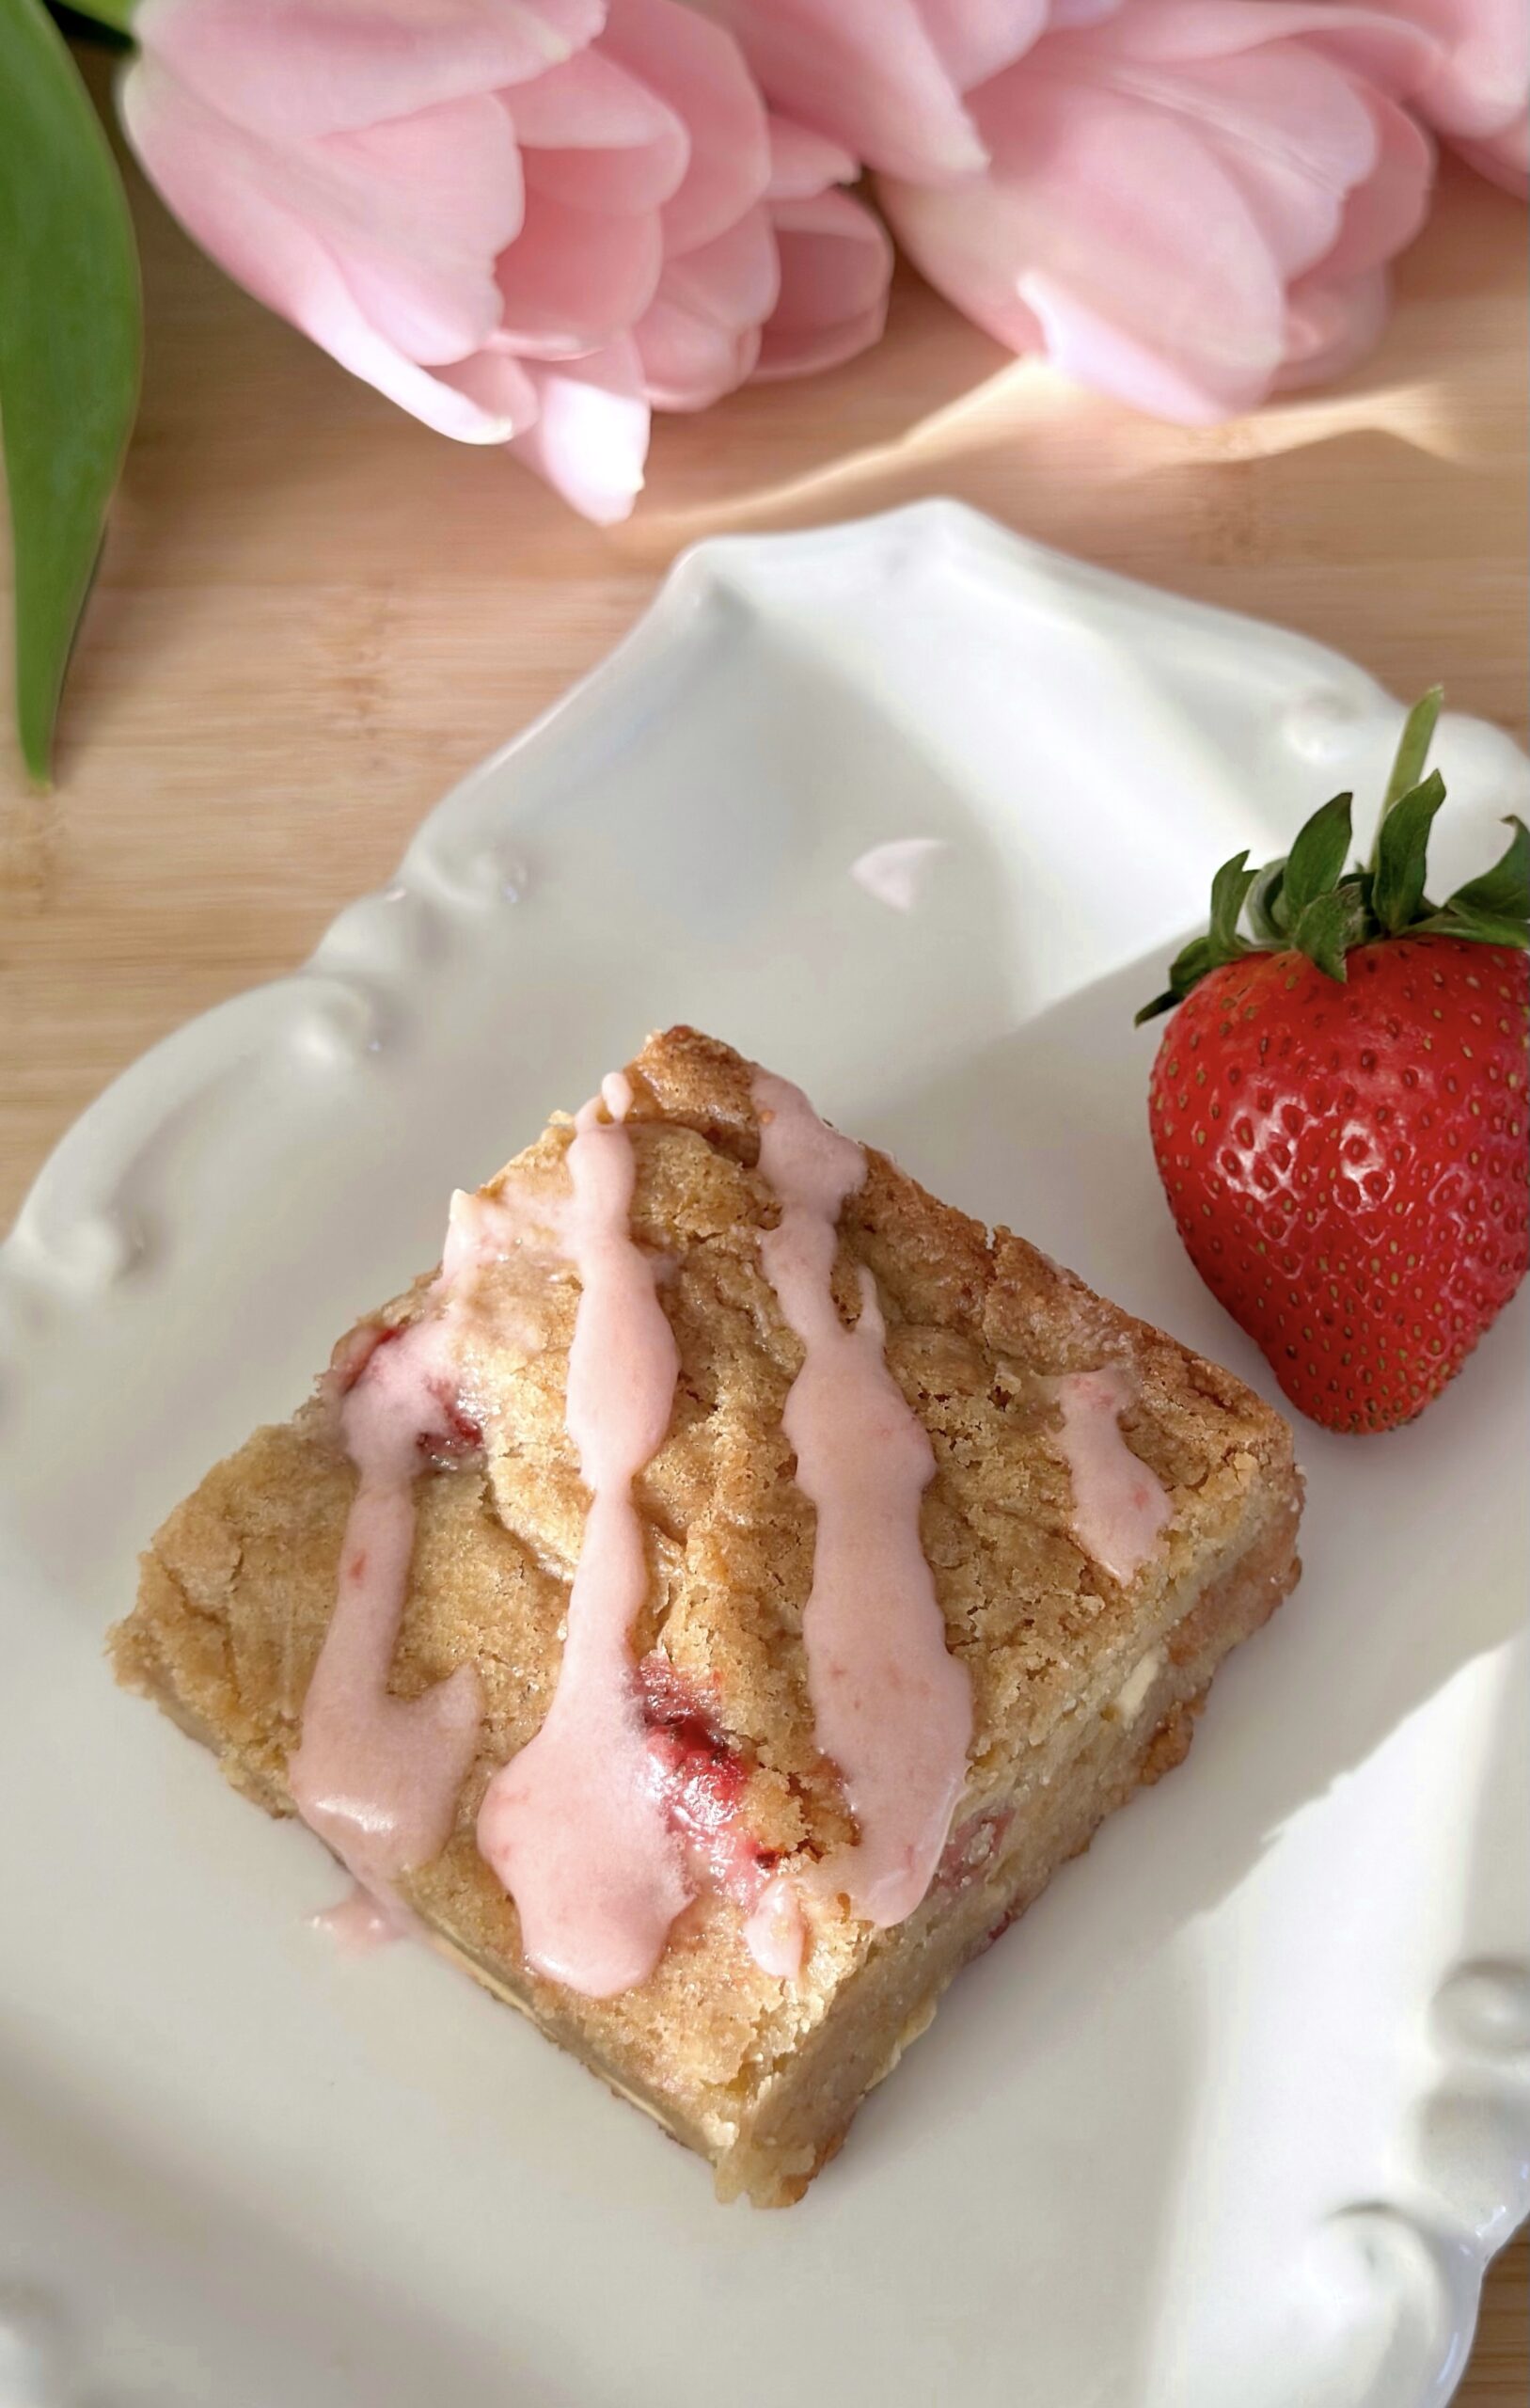
Triple Berry Crumble Cheesecake Bars
A creamy cheesecake filling on a graham cracker base, topped with berries and a generous crumb topping. Served with raspberry sauce.
Ingredients
Berries
- 2 cups (284-312g) assorted berries I used 1 cup (142g) blackberries, 1/2 cup (78g) blueberries and 1/2 cup (71g) raspberries
- 1 tablespoon (13g) granulated sugar
- 1 teaspoon lemon juice
Crumb Topping
- 1 cup (128g) all purpose flour
- ⅓ cup (66g) granulated sugar
- 3 tablespoons (38g) packed brown sugar
- ¼ teaspoon fine sea salt
- 6 tablespoons (85g) cold, unsalted butter, cubed
Graham Cracker Crust
- 1 ½ cups (170g) graham cracker crumbs
- 2 tablespoons (25g) granulated sugar
- ⅛ teaspoon cinnamon
- 6 tablespoons (85g) melted butter
Filling
- 16 ounces (454g) cream cheese, softened
- ½ cup (100g) granulated sugar
- 1 pinch fine sea salt
- ¼ cup (59ml) heavy whipping cream, room temperature
- 1 ½ teaspoons pure vanilla extract
- 2 large eggs, room temperature
Raspberry Sauce
- 1 ¼ cups (142g) raspberries
- ½ cup (100g) granulated sugar
- ½ cup (118ml) plus 1 tablespoon (15ml) water, divided
- 1 teaspoon cornstarch
Instructions
Berries
- Combine the berries, sugar and lemon juice in a medium bowl. Let stand 30 minutes, then drain the juices.
Crumb Topping
- In a medium bowl, whisk together the flour, granulated sugar, brown sugar and salt.
- Work the butter in with your fingertips until it looks like wet sand and no large pieces of butter remain. Press the mixture together to form chunks. Set aside in the refrigerator until ready to use.
Graham Cracker Crust
- Preheat the oven to 350ºF (180ºC). Spray an 8-inch (20.3cm) square baking dish with nonstick spray. (I used a ceramic baking dish.*)
- In a medium bowl, mix the crumbs, sugar and cinnamon together until well combined. Stir in the melted butter until evenly distributed. Press this mixture into the baking pan. Bake until set, about 5 minutes.
Filling and Assembly
- Turn the oven temperature down to 325ºF (165ºC).
- In a large bowl, beat the cream cheese with the sugar and salt until well combined. Gradually beat in the heavy cream, then the vanilla extract. Beat in the eggs one at a time, just until smooth and combined. Don't over beat.
- Pour the batter into the baking dish over the crust. Spoon the drained berries over the batter. Sprinkle on the crumb topping. Bake until the topping is golden brown and the cheesecake center is wobbly but not runny, about 45-50 minutes. The internal temperature should be 145º-150ºF (63º-66ºC).
- Run a small offset spatula or a knife along the perimeter edges of the cheesecake to separate it from the pan. Let the cheesecake cool to room temperature, about 1 1/2 hours. Chill in the refrigerator for at least 2 hours. Cut into squares and serve with raspberry sauce.
Raspberry Sauce
- Purée the raspberries n a blender or small food processor. Pass the purée through a mesh sieve.
- Place the raspberries, sugar and 1/2 cup (118ml) of water in a medium saucepan over medium heat. Bring to a boil, then turn the heat down to low and simmer for 10 minutes.
- In a small bowl, whisk together the cornstarch with 1 tablespoon (15ml) of water. Add this mixture to the saucepan and whisk until smooth. Continue cooking until thickened, about 2-3 more minutes. Remove from heat. Transfer the raspberry sauce to a bowl. Cover and refrigerate until ready to use. The sauce will thicken a bit as it cools.
Notes
*To find an 8-inch ceramic baking dish, click here.