If you’re craving a rich, gooey piece of chocolate cake that’s so good you can’t stop eating it until you stuff yourself into a food coma, then this is the cake for you. The soft, moist chocolate cake is topped with a light silky Biscoff® mousse that’s so good, you may be tempted to eat it with a spoon straight out of the bowl. You can drizzle on the chocolate glaze or be like me and go all in by spreading the glaze all over the top. If you’re a true cookie butter fan, feel free to top your cake with more drizzles of Biscoff® and some Biscoff® cookies for crunch.
Chocolate Biscoff® Cake
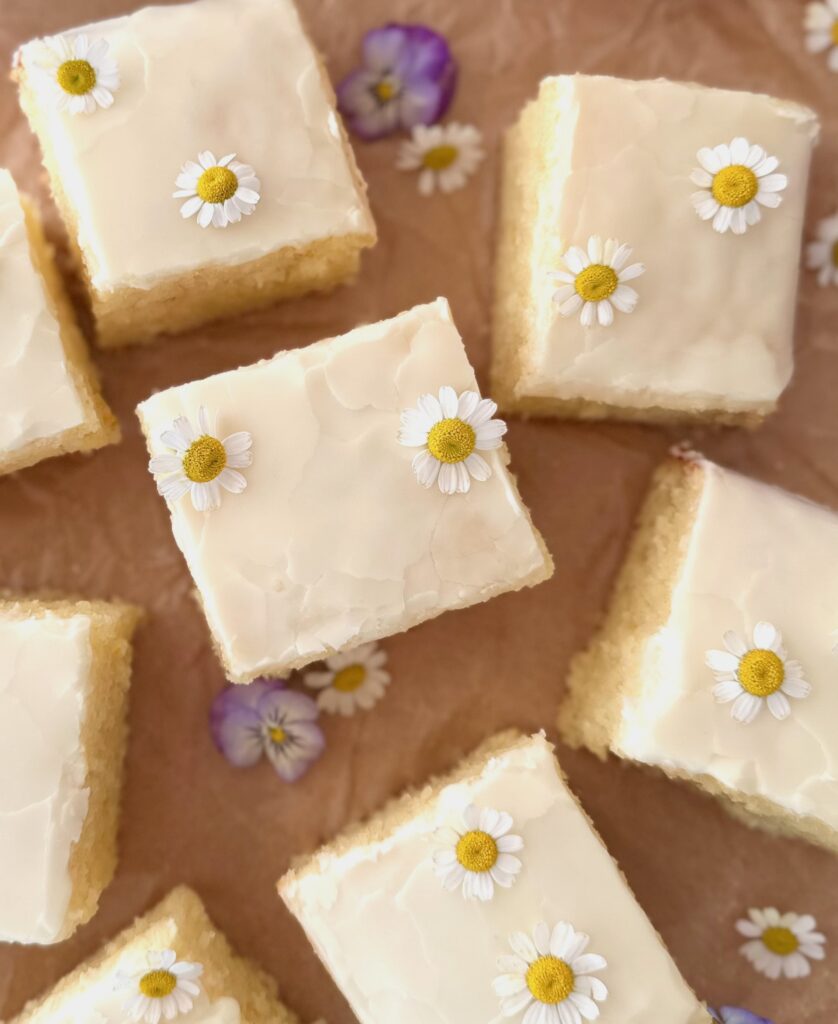
Soft, moist single layer chocolate cake topped with light, silky Biscoff® mousse and rich chocolate glaze by Brownie Mischief
Ingredients
Chocolate Cake
- 1 cup (128g) all purpose flour, sifted
- ½ cup (45g) Dutch process unsweetened cocoa powder, sifted
- 2 tablespoons (20g) corn starch
- 1 teaspoon baking powder
- ½ teaspoon baking soda
- ½ teaspoon fine sea salt
- 1 cup (200g) granulated sugar
- ⅓ cup (66g) packed brown sugar
- ⅓ cup (74ml) vegetable oil or neutral oil of your choice
- 1 large egg
- 1 large egg yolk
- 1 teaspoon pure vanilla extract
- ⅔ cup (150g) sour cream
- ⅔ cup (156ml) hot coffee or espresso
Biscoff® Mousse
- ½ cup (148g) Biscoff® creamy cookie butter spread
- 2 tablespoons (28g) cream cheese, softened
- ¾ cup (177ml) cold heavy whipping cream
Chocolate Glaze
- 3 ounces (85g) semisweet chocolate, chopped
- 4 ½ tablespoons (63g) unsalted butter, cubed
- 1 ½ teaspoons corn syrup
Garnishes
- Extra Biscoff® creamy cookie butter spread, melted slightly optional
- 9 Biscoff® cookies optional
Instructions
Chocolate Cake
- Preheat the oven to 350ºF (180ºC). Line a 9-inch square baking pan with parchment paper, leaving a couple of inches of overhang. (If you would like to serve the cake directly out of the pan, skip the parchment paper and grease the inside of the pan, then sprinkle with a mixture of equal parts flour and cocoa powder. Tap out the excess.)
- In large bowl, whisk the flour, cocoa powder, cornstarch, baking powder, baking soda and salt together until well blended. Stir in the granulated sugar and brown sugar.
- In a medium-sized bowl, whisk together the oil, egg, egg yolk, vanilla extract and sour cream until smooth and well blended. Add this mixture to the dry ingredients and beat, with an electric mixer at medium speed, until combined. Gradually mix in the hot coffee and and beat until the batter is smooth.
- Transfer the batter to the baking pan. Bake until a toothpick inserted into the center of the cake comes out mostly clean or with a few moist crumbs attached, about 18-25 minutes. Cool the cake in the pan for 15 minutes, then remove the cake and transfer it to a cooling rack.
Biscoff® Mousse
- In a medium-sized bowl, beat the Biscoff® and cream cheese together until well blended. Do not over beat. Gradually beat in the heavy cream, stopping to scrape the sides of the bowl. Continue beating until the mixture is smooth, fluffy and reaches medium peaks, being careful not to over beat.
Chocolate Glaze
- Melt the chocolate and butter together in a heat-safe bowl set over a pan of barely simmering water, making sure the water doesn't touch the bottom of the bowl. Stir occasionally until melted and smooth. Remove from heat and set aside to cool slightly.
Assembly
- Spread the Biscoff® mousse over the top of the cake. Chill in the refrigerator for 20 minutes to set up the mousse. Meanwhile prepare the chocolate glaze. Spoon or drizzle the chocolate glaze over the top of the cake. Drizzle on melted cooke butter and add Biscoff® cookies if desired.